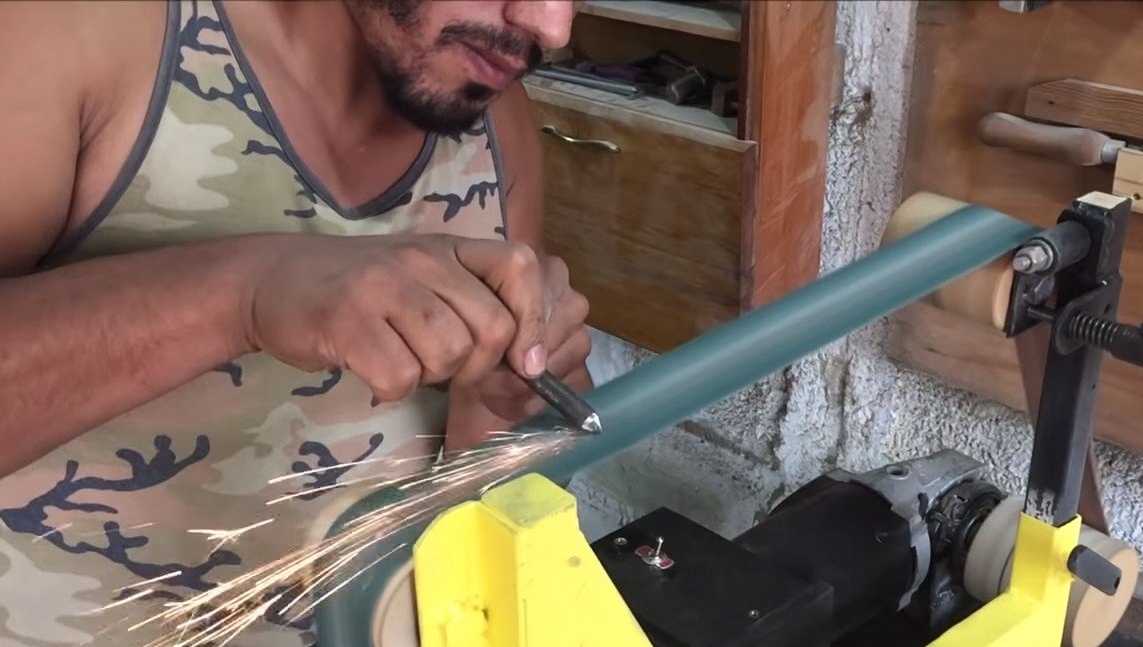

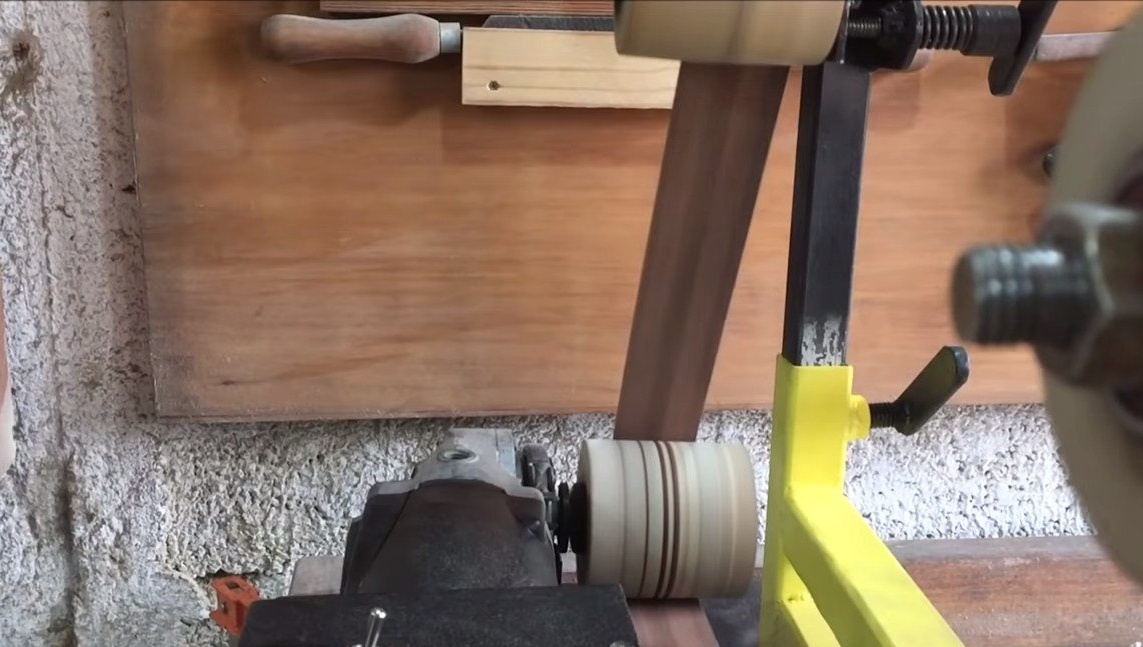
Hello everyone, in this instruction we will look at how to make a good belt sander with a belt size of 2X72. Homemade operates on a basis whose power is more than 2350 watts. The machine copes well with polishing wood and metal. When grinding steel, thick sparks fly, which indicates that the speed of the grinding belt is more than enough.
The machine is assembled quite easily, the grinding wheels are made of wood, however, for their manufacture you will need a lathe. The frame is assembled from shaped pipes, all other parts are also easy to get. If you are interested in the project, I propose to study it in more detail.
Materials and tools used by the author:
Material List:
- (the author has a capacity of 2350 watts);
- sanding belt 2X72;
- profile pipes;
- plywood or boards (for the manufacture of wheels);
- Sheet steel;
- bolts, nuts, washers, etc .;
- steel corner;
- a platform made of wood or other material (for the base);
- paint.
Tool List:
- lathe;
- drilling machine;
- grinder;
- a circular saw;
- welding machine;
- drill;
- swing keys, tape measure, marker, etc.
The process of manufacturing a tape machine:
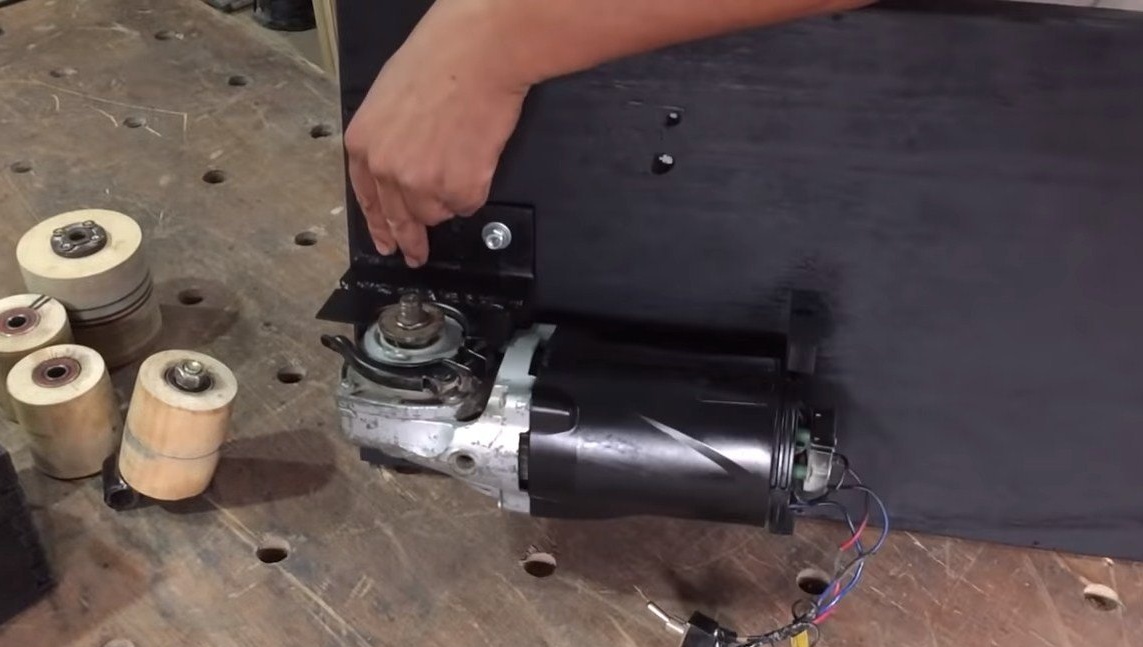
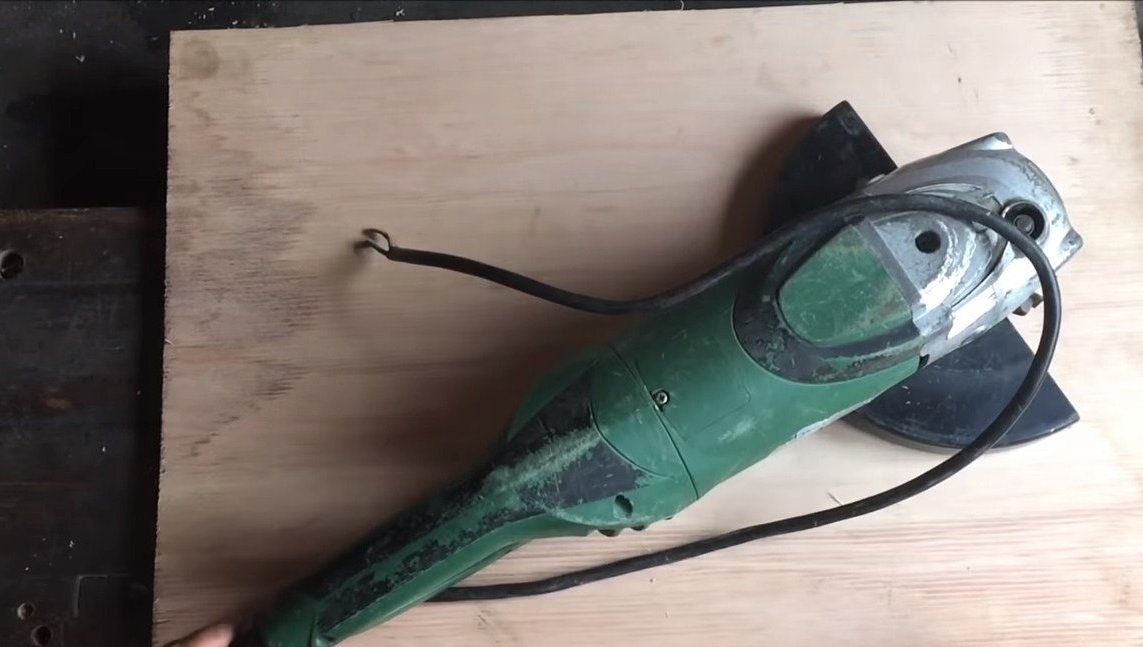
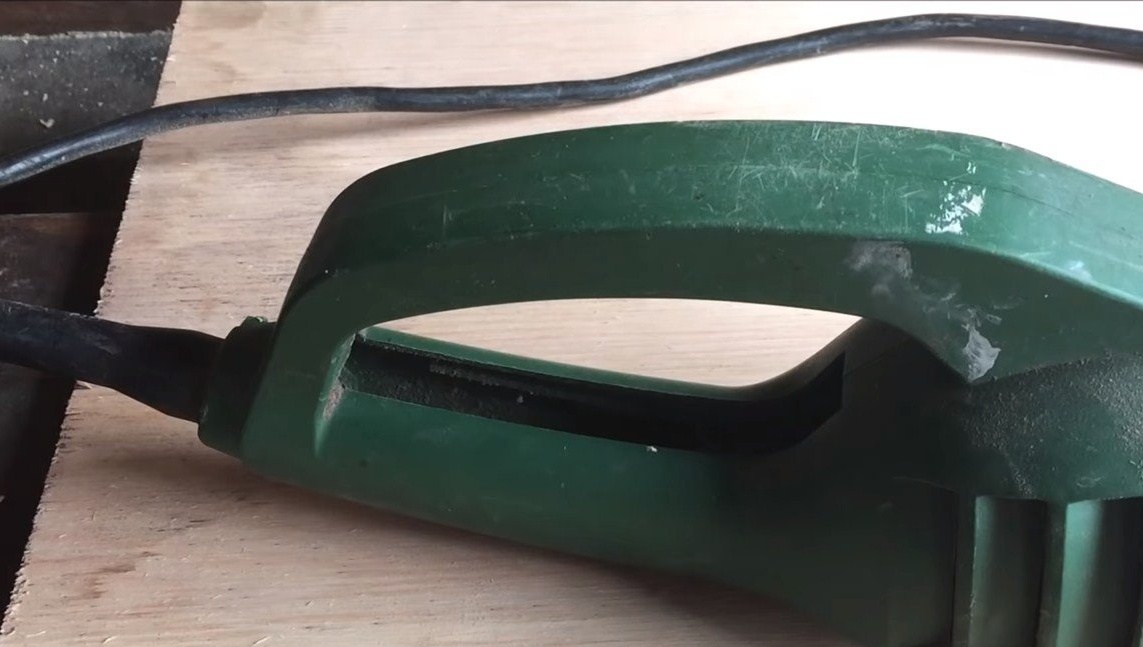
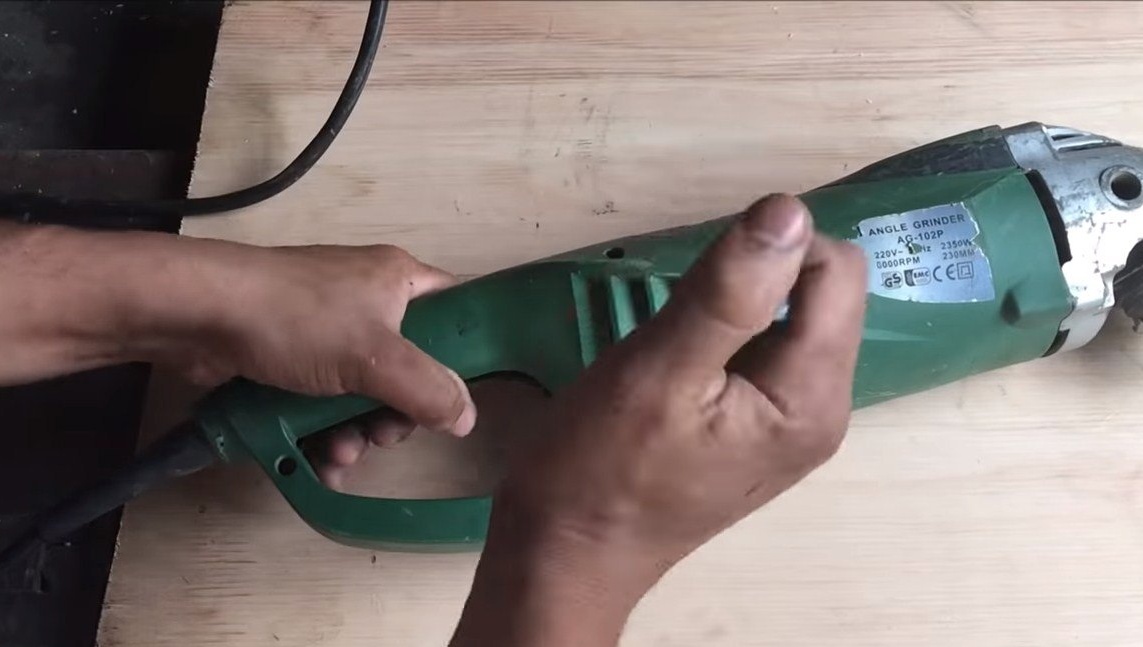
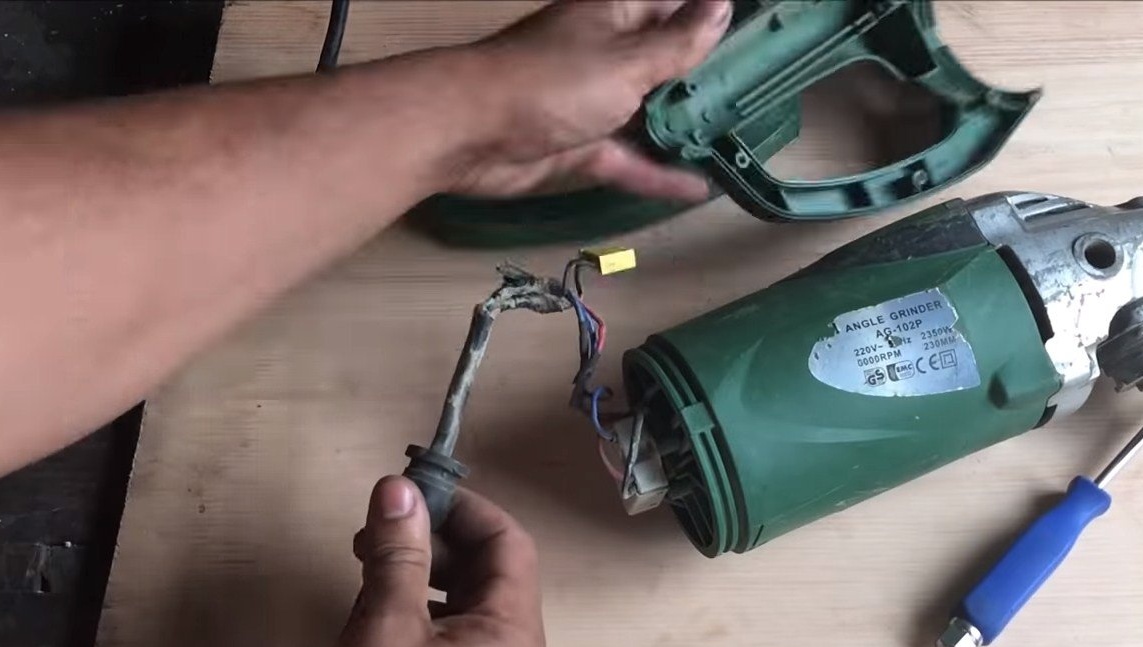
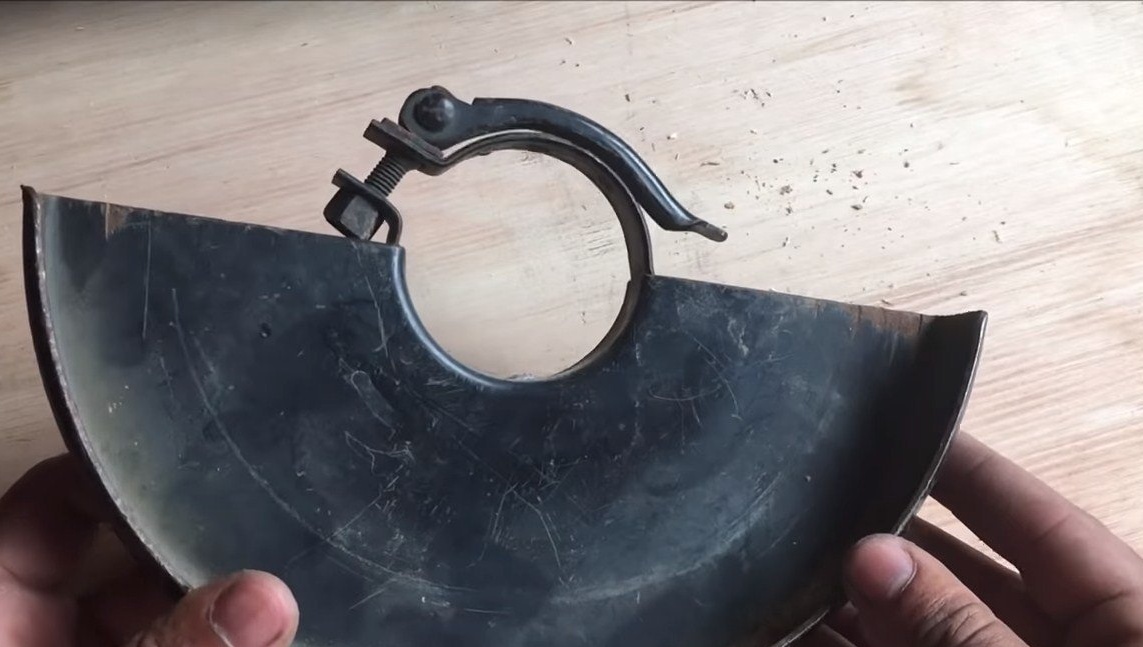
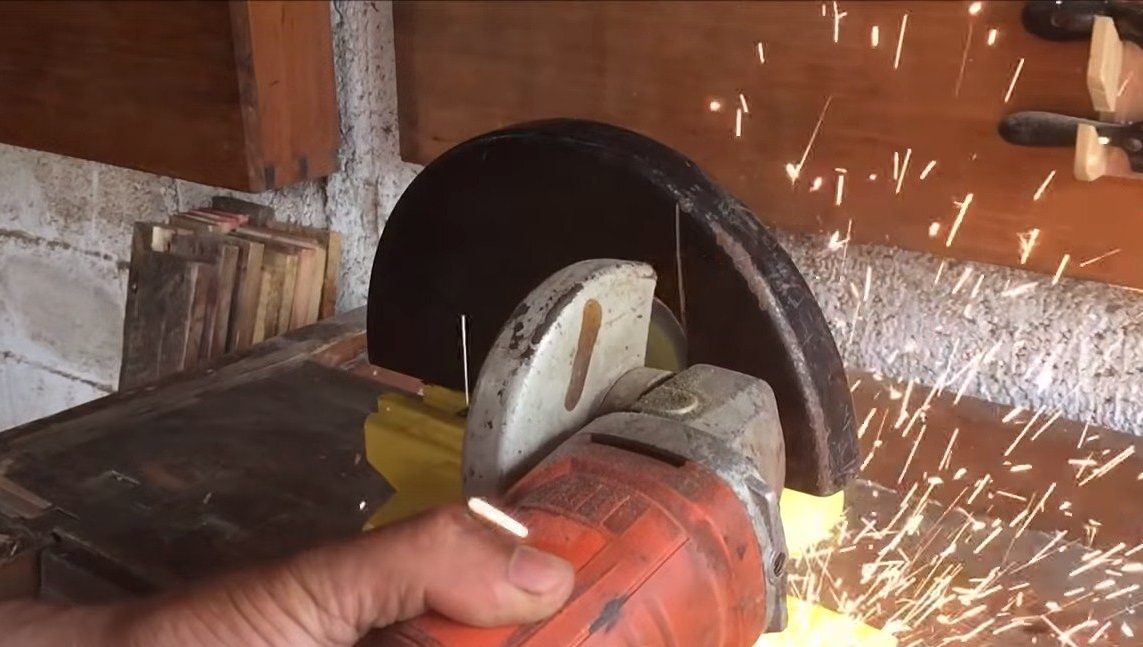
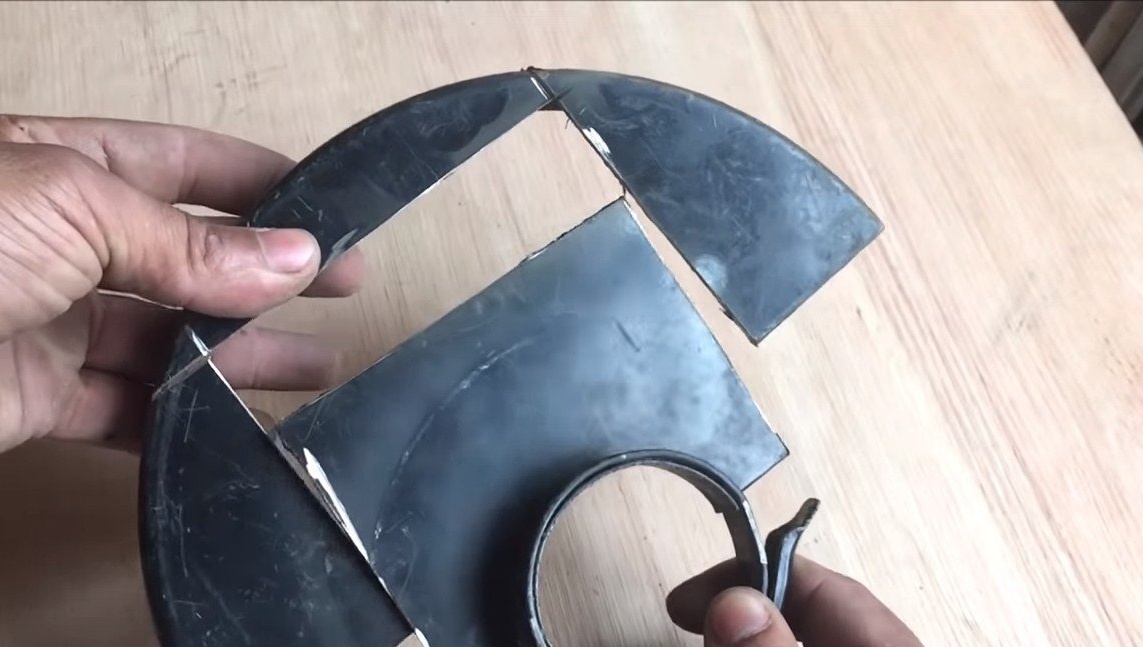
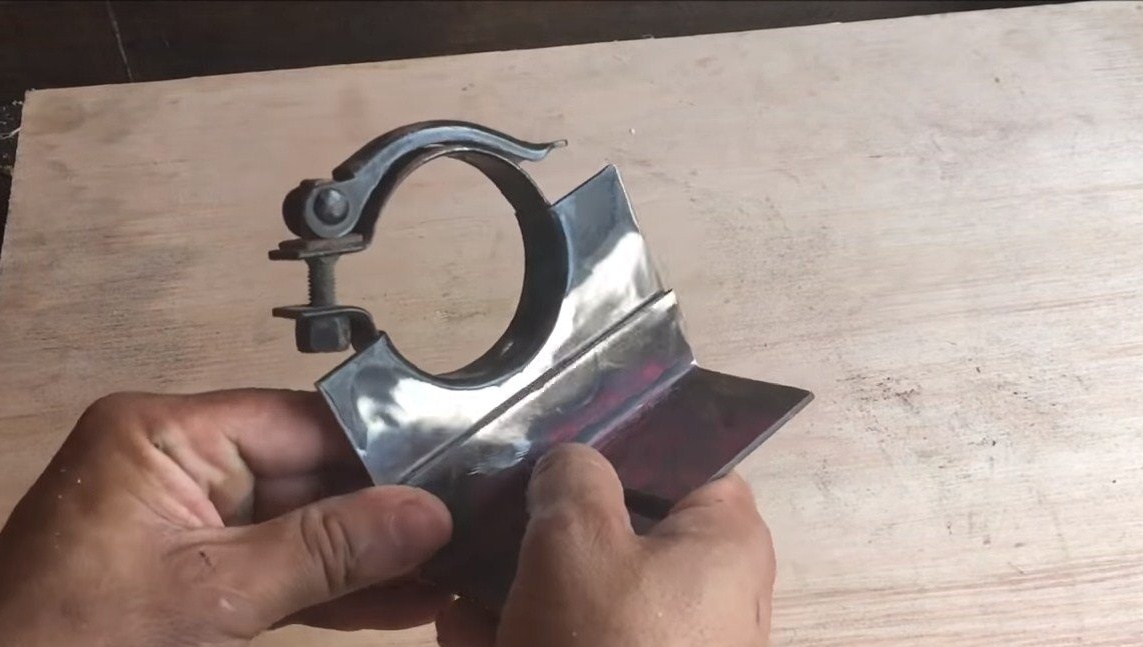
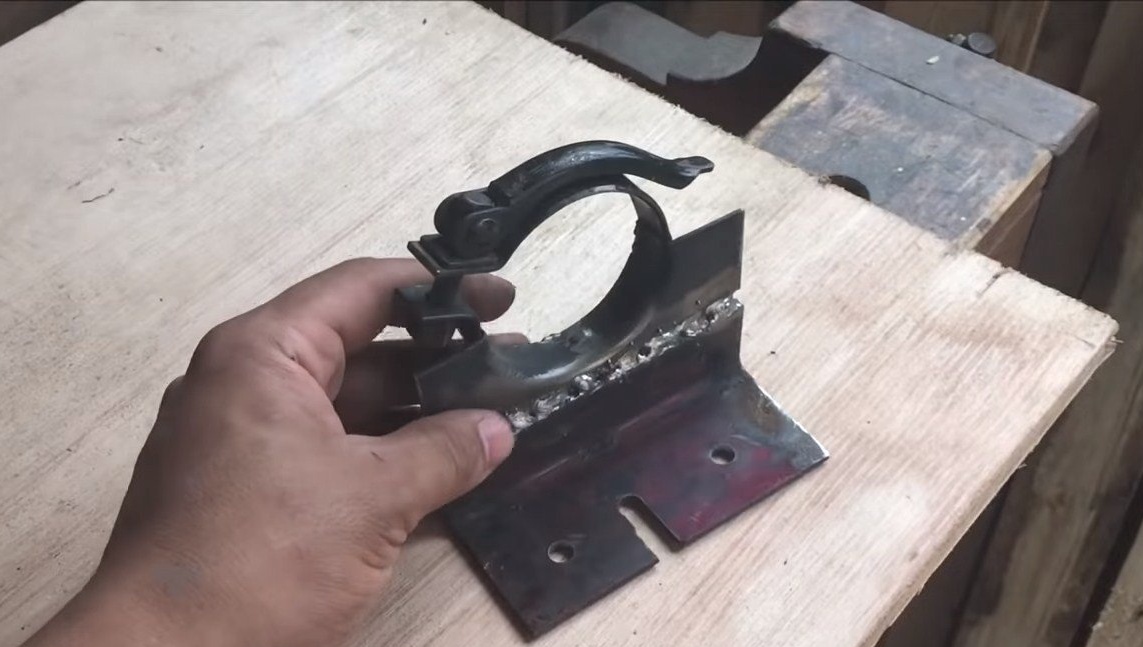
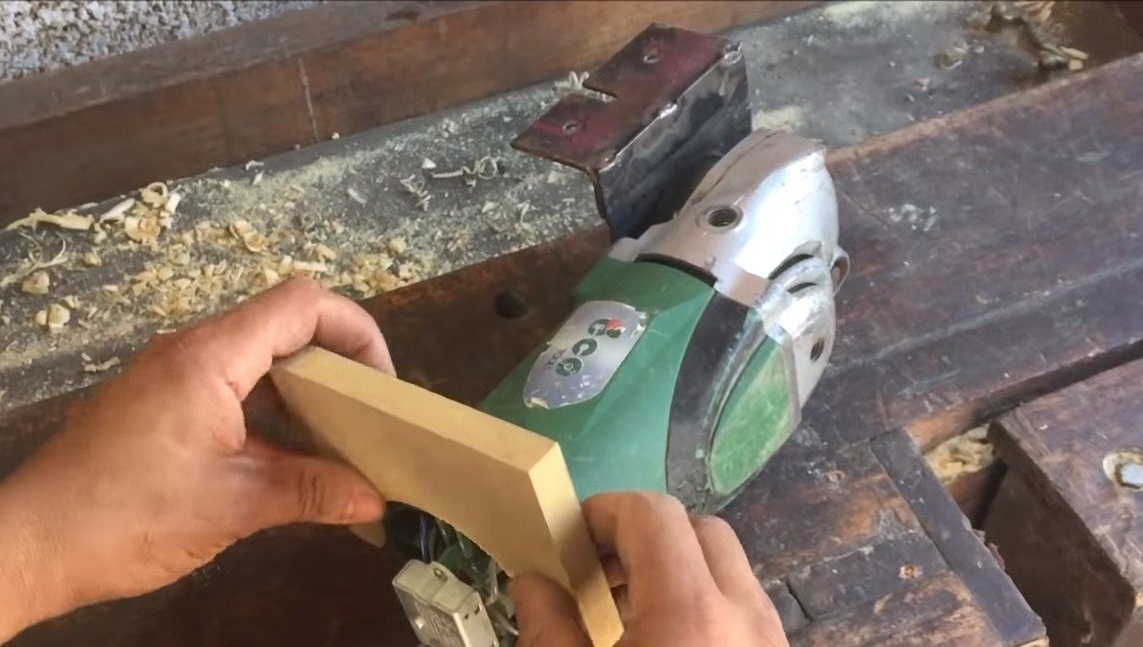
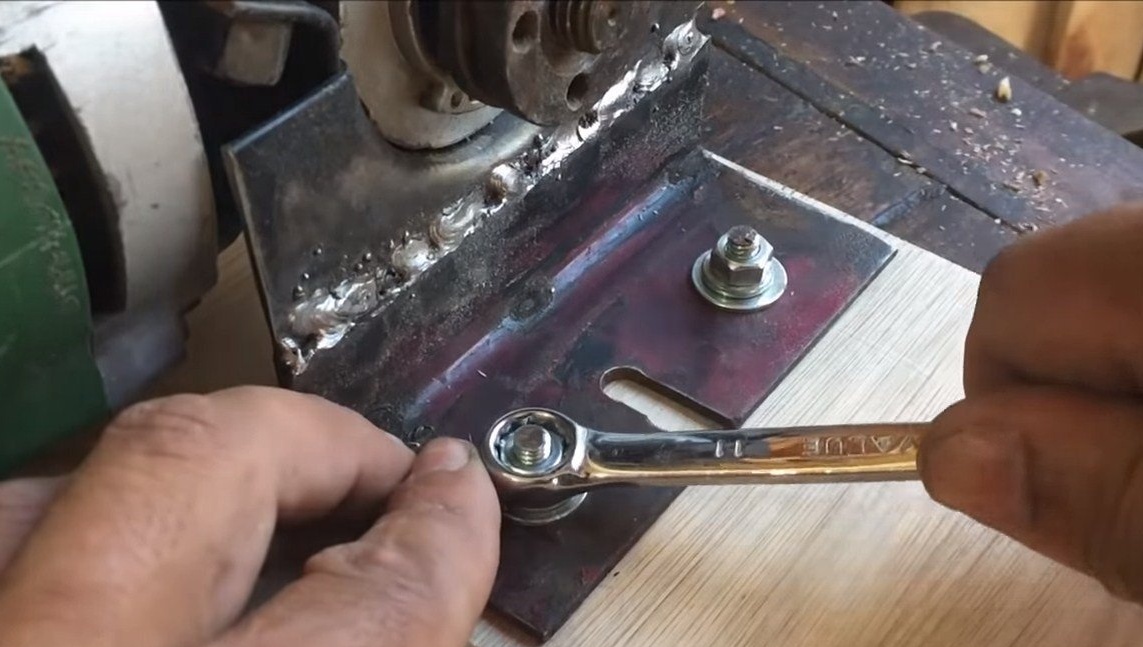
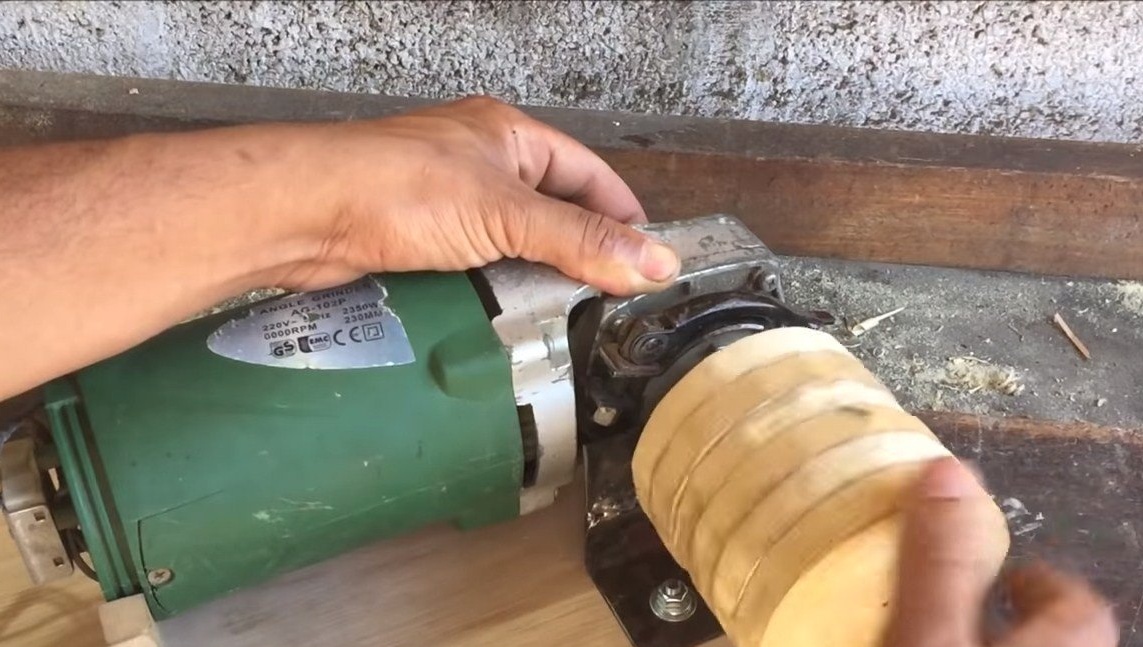
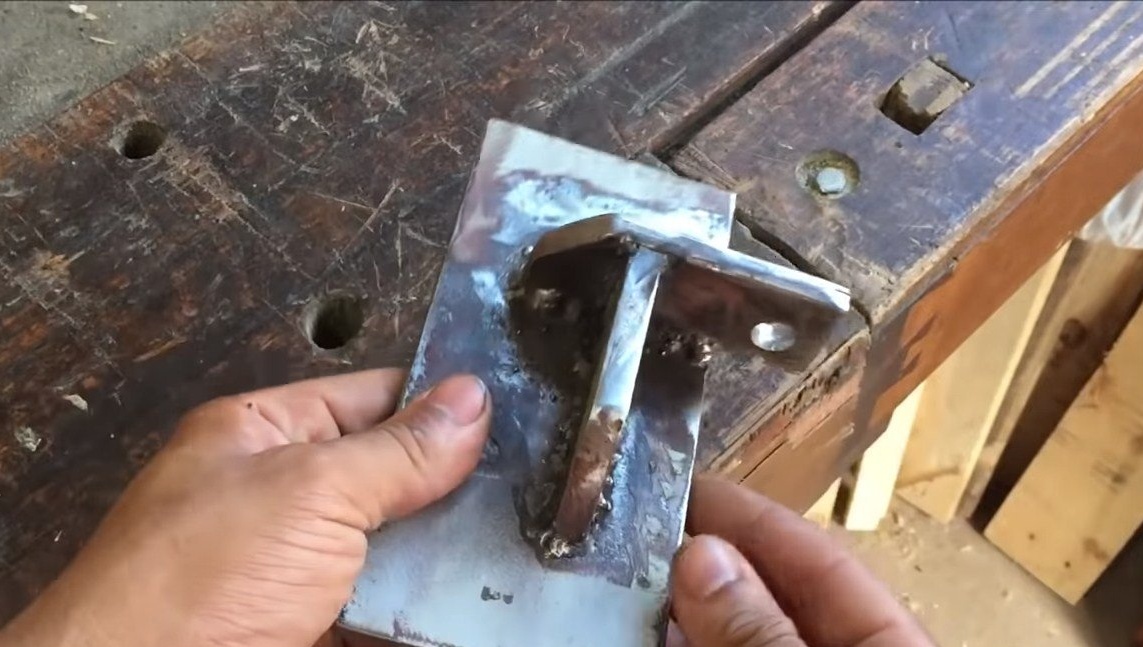
Step one. Fasteners for grinders
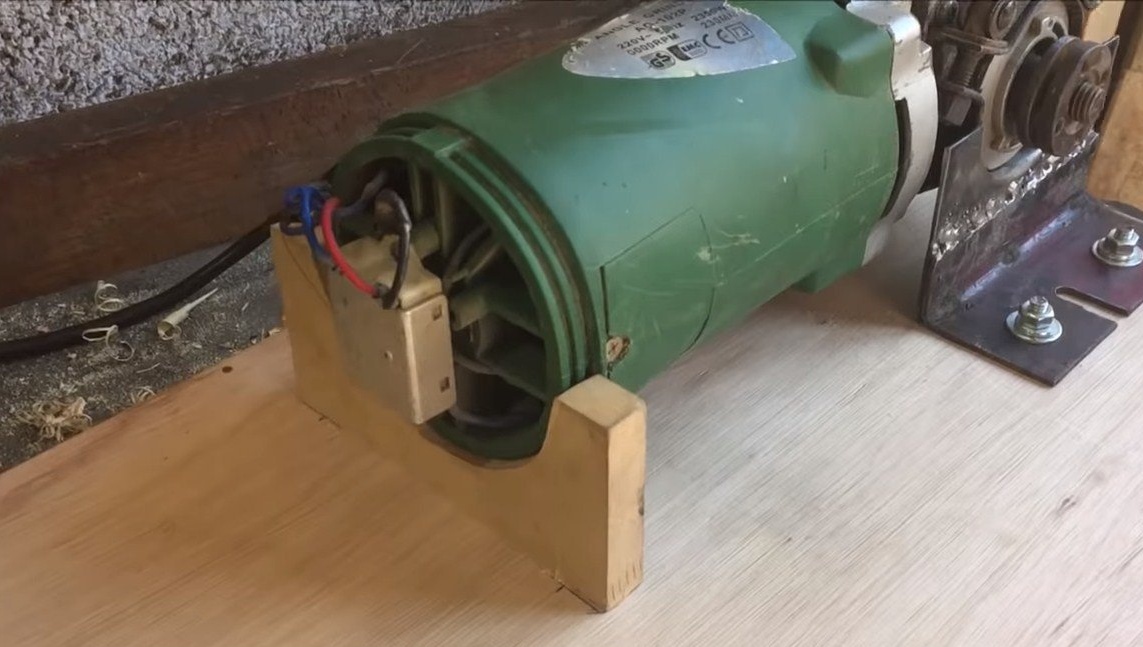
First of all, we will prepare, we need to remove the handle and remove the switch, we connect the cable directly to the engine. Also remove the shield and handle. From the shield we need to make a mounting bracket. We cut off the excess and weld a piece of the corner to the part, like the author. Under the back of the grinder, the author made a wooden stand.

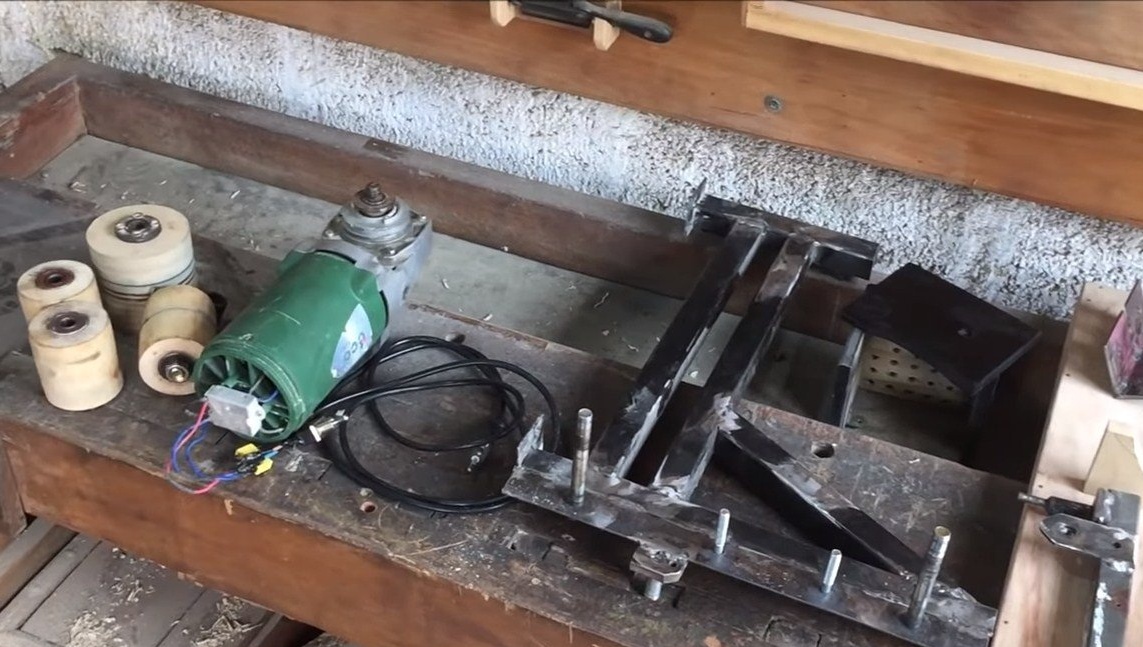
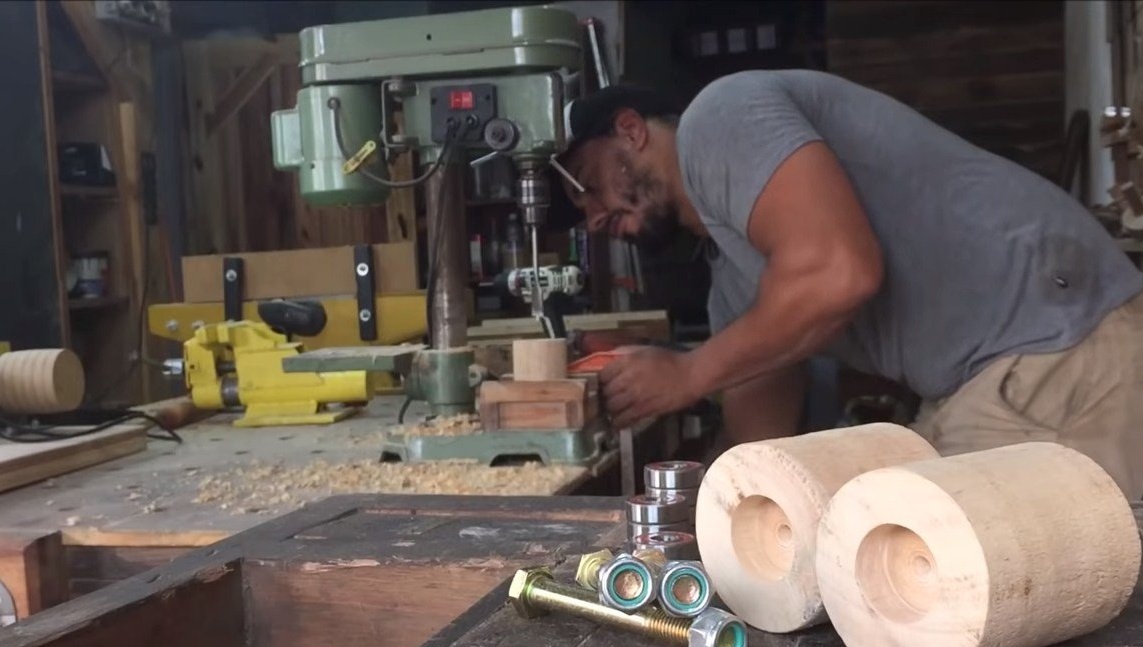
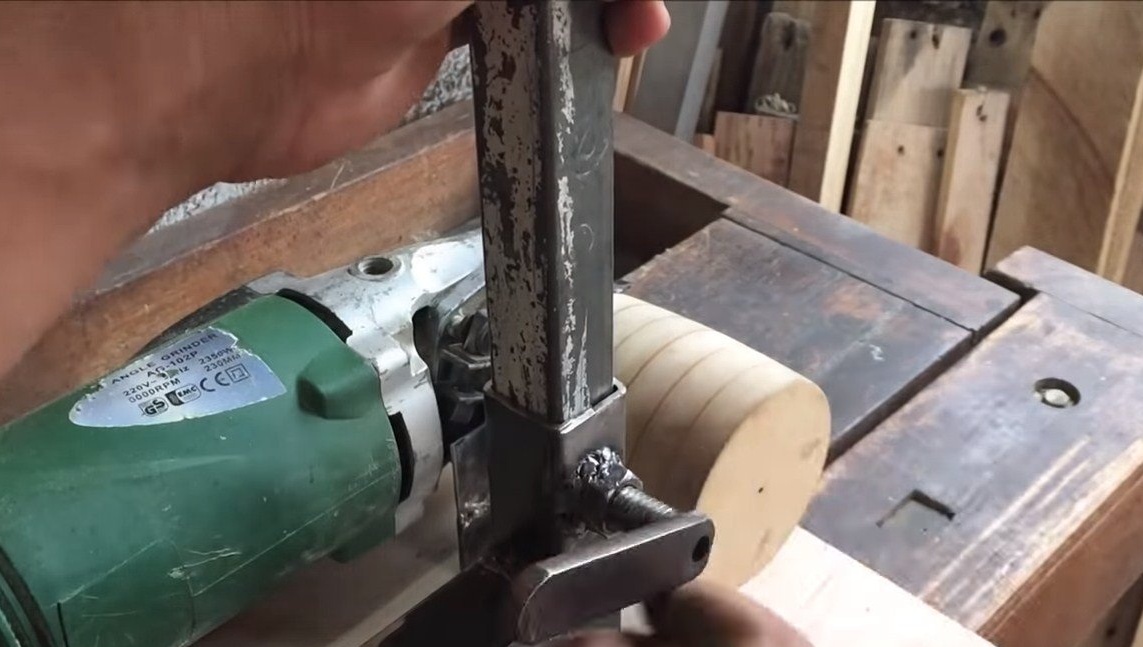
Step Two Production of a driving wheel
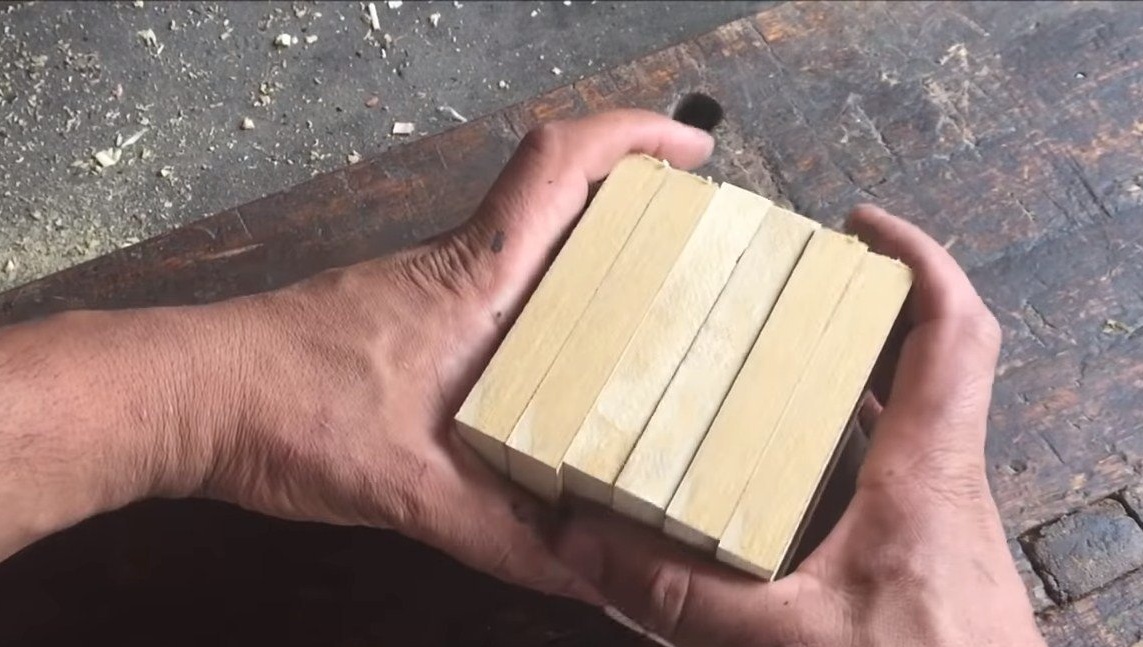
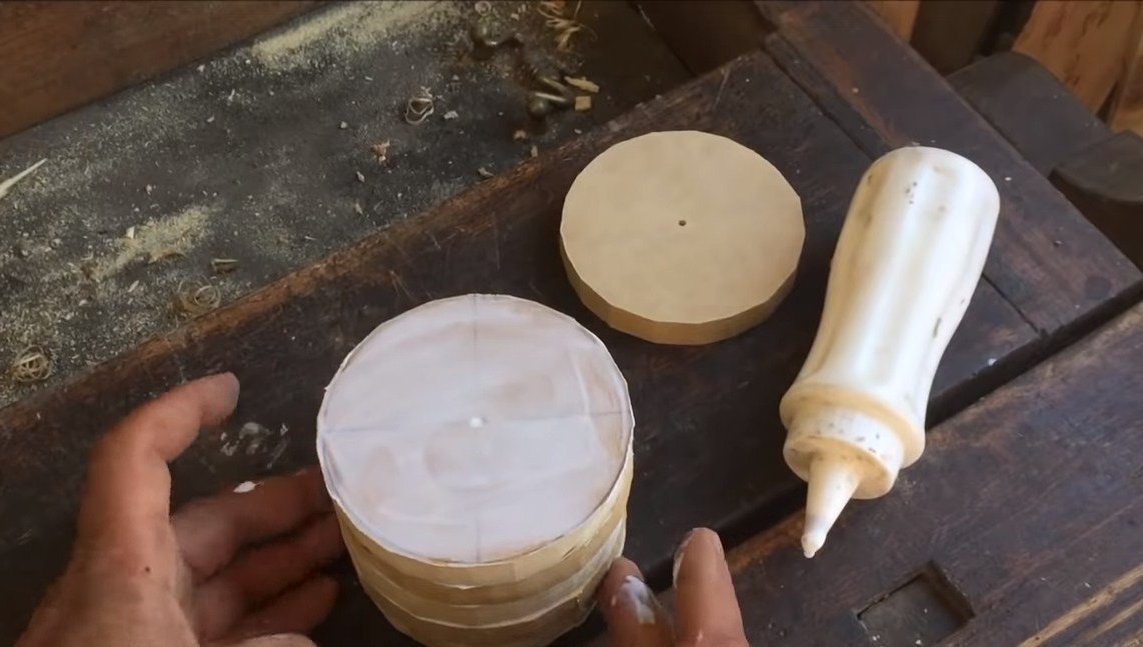
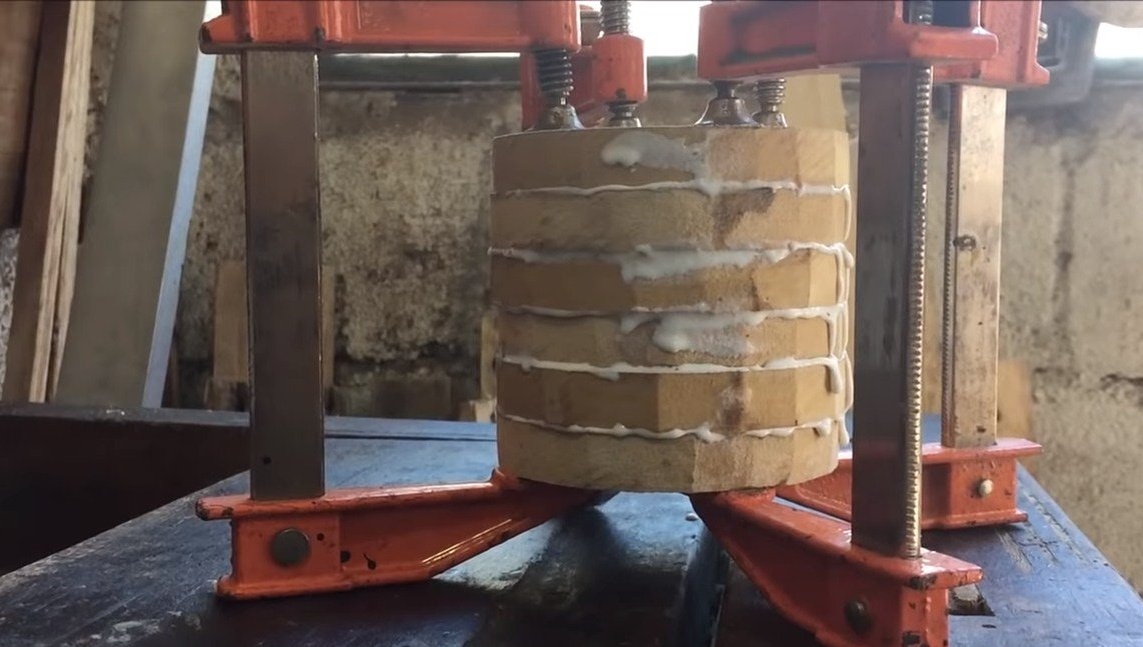
The drive wheel is made of wood by gluing boards, and a more robust construction will be made of plywood. Please note that the speed of the sanding belt as well as the torque will depend on the size of the drive wheel.
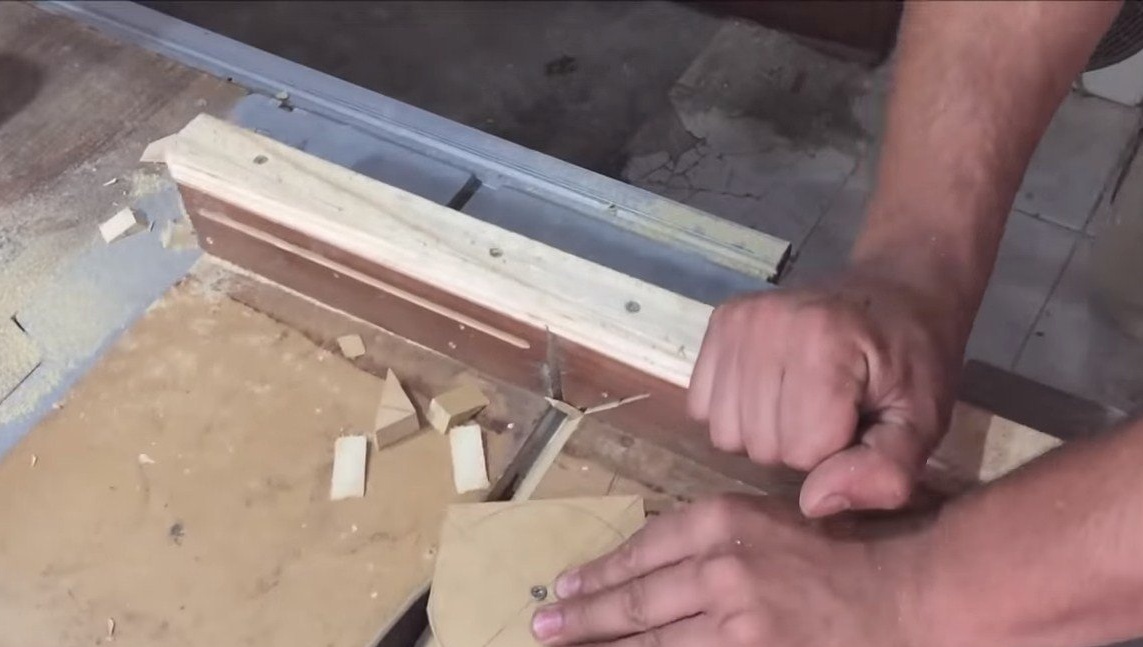
We cut round saws with a circular saw, mark the places and drill holes. Next, we glue these round logs with carpentry glue, tightening all the clamps well.

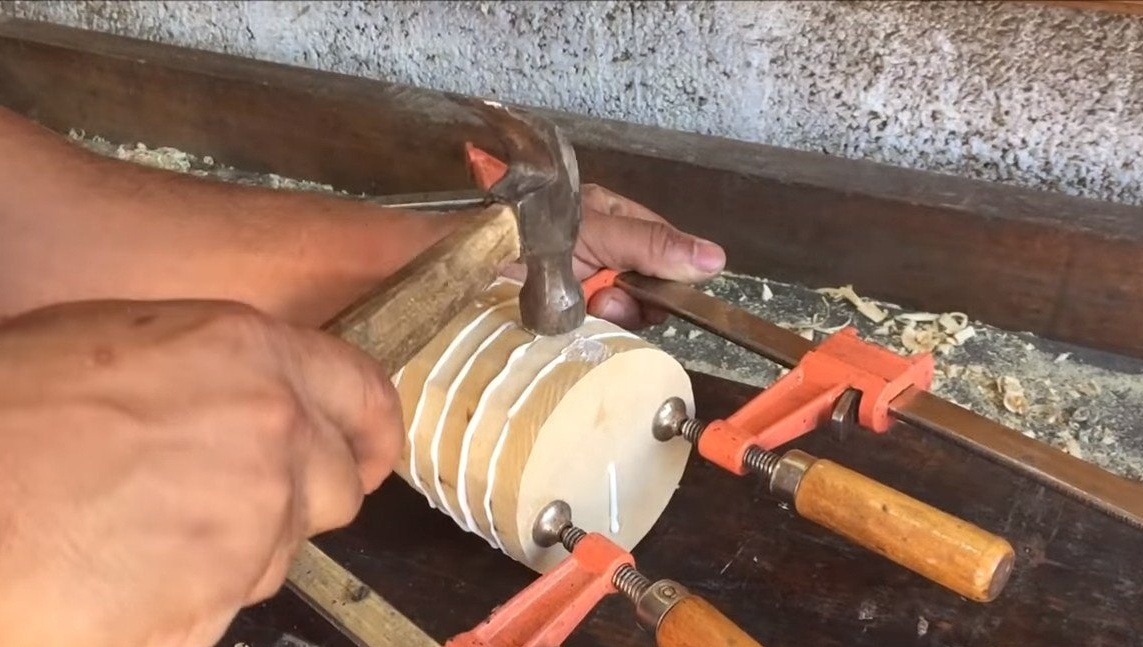

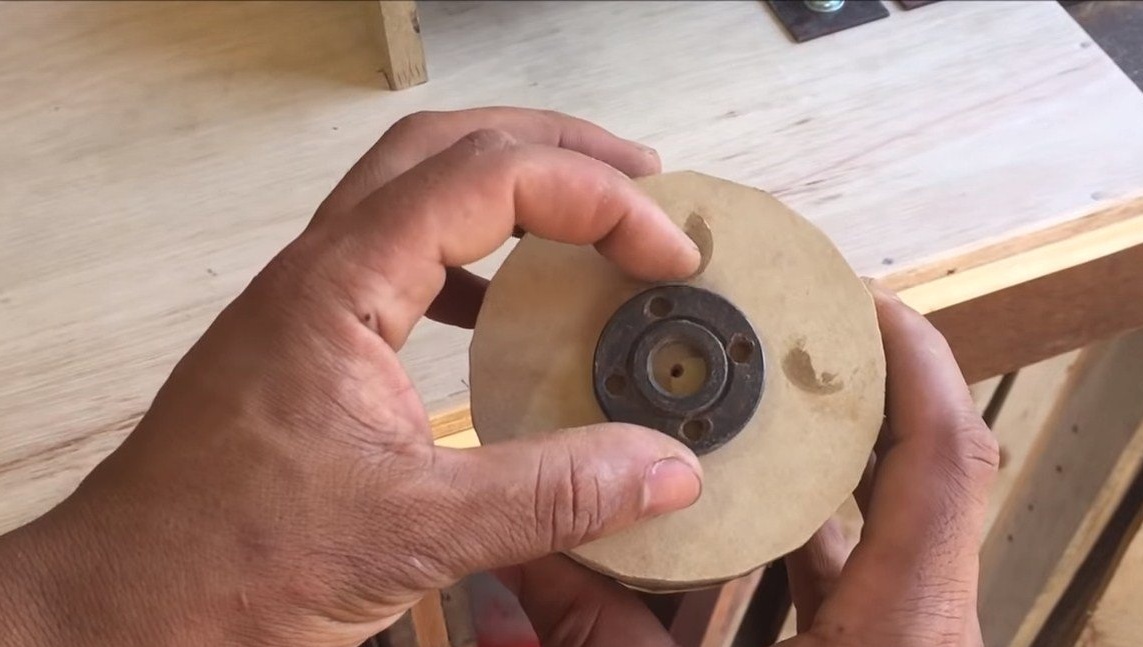
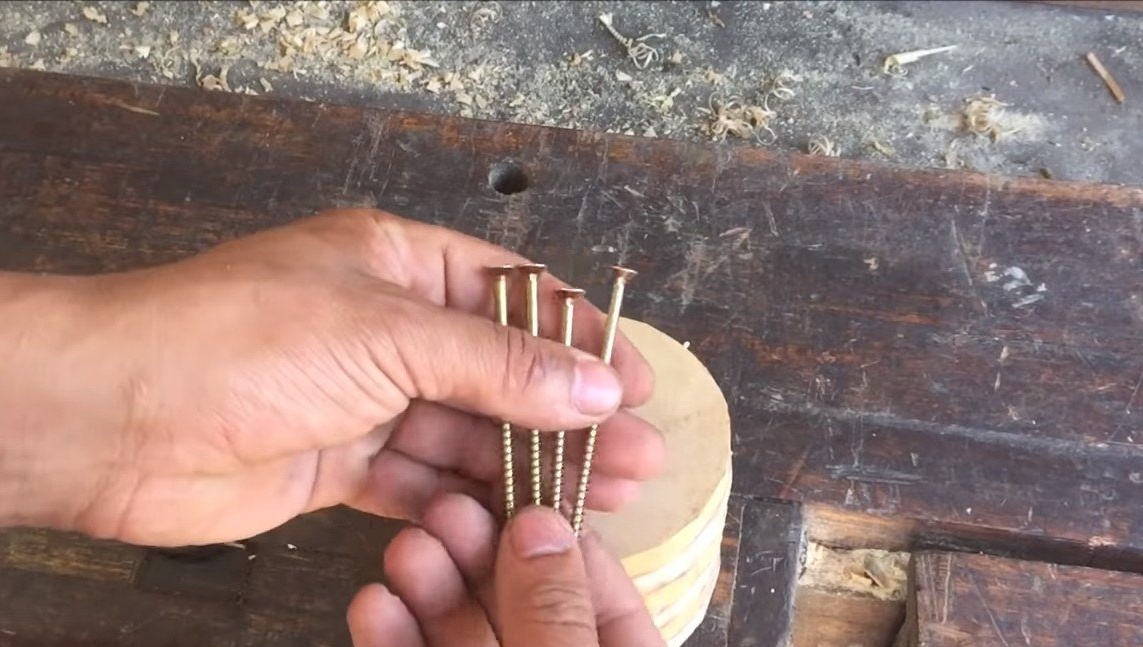

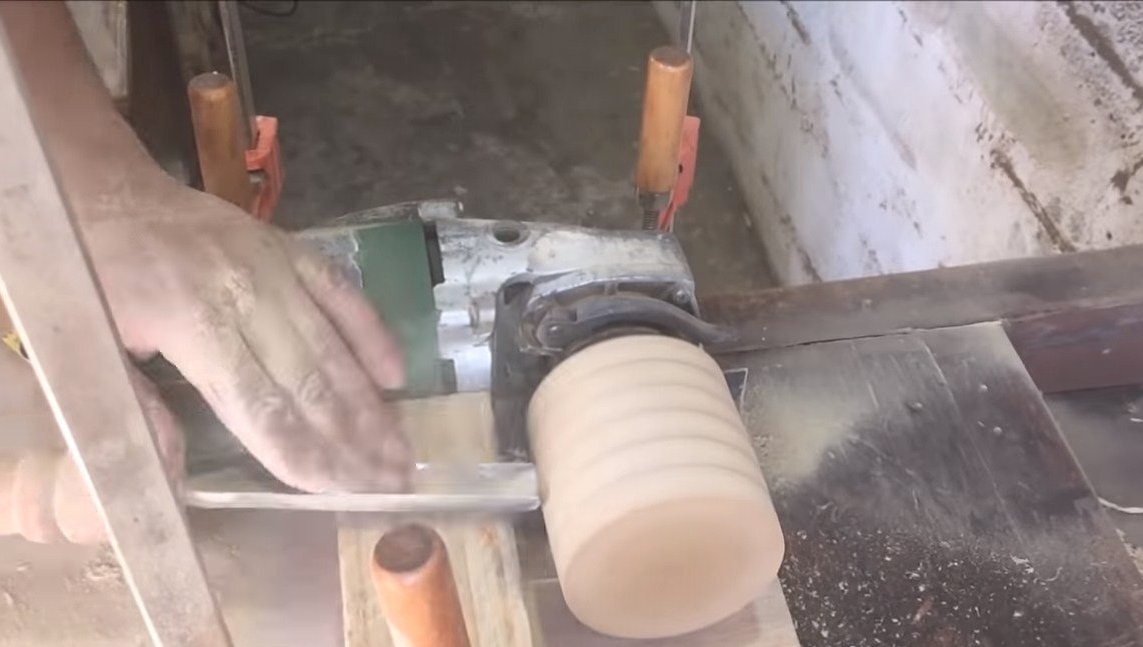
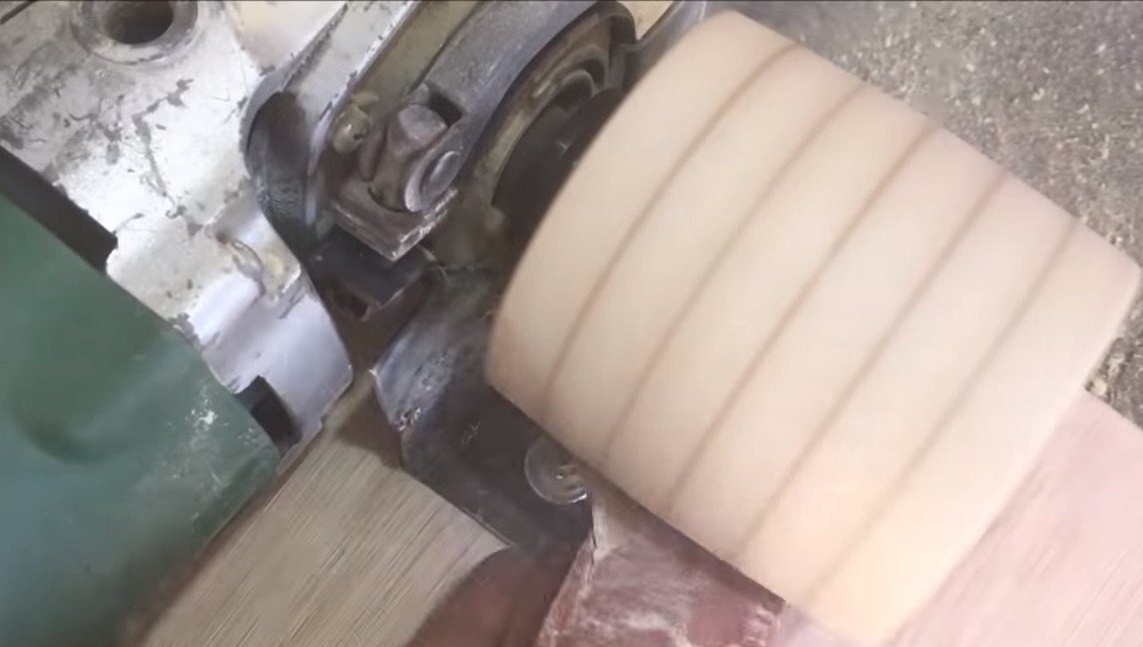
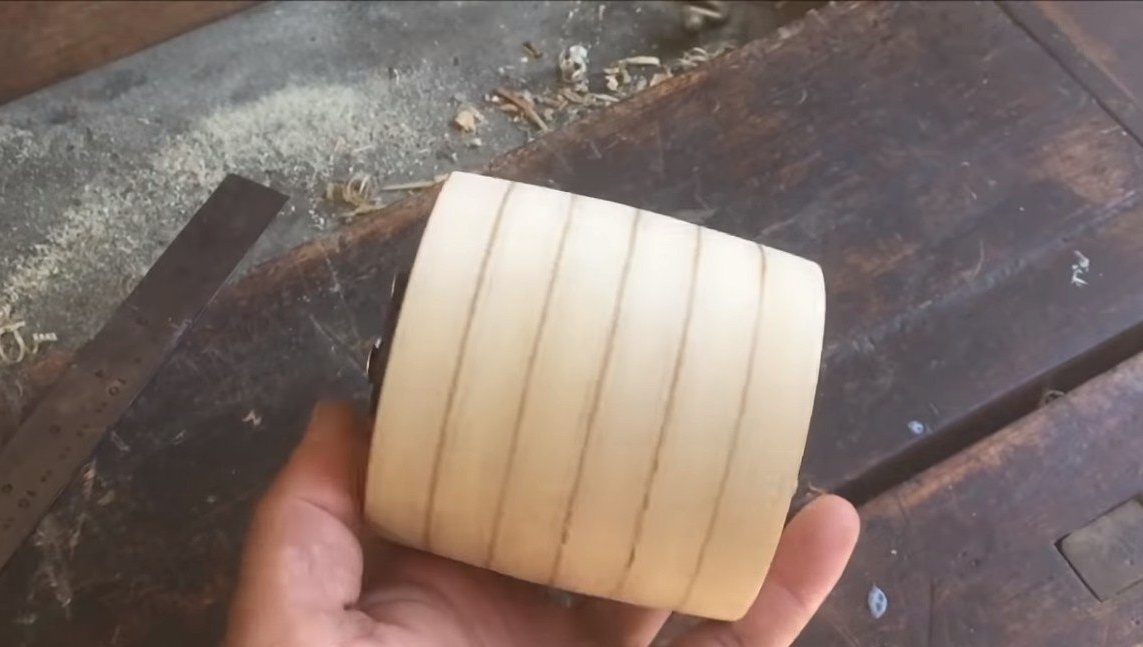
When the glue dries, we need to carry out some turning work so that the wheel becomes smooth, we will conduct them directly on the shaft of the grinder. We need a nut, which is used to install the cutting discs on the grinder. We take 4 long screws and fasten the nut to the wheel with them. Well, then we wind the wheel on the shaft of the grinder and start the hellish machine.At the first start, it is better off to the side, since a strong imbalance can lead to the fact that the wheel will fly apart with all the consequences. Well, then, if everything is fine, we work with a chisel, sandpaper, we bring the wheel to the ideal.
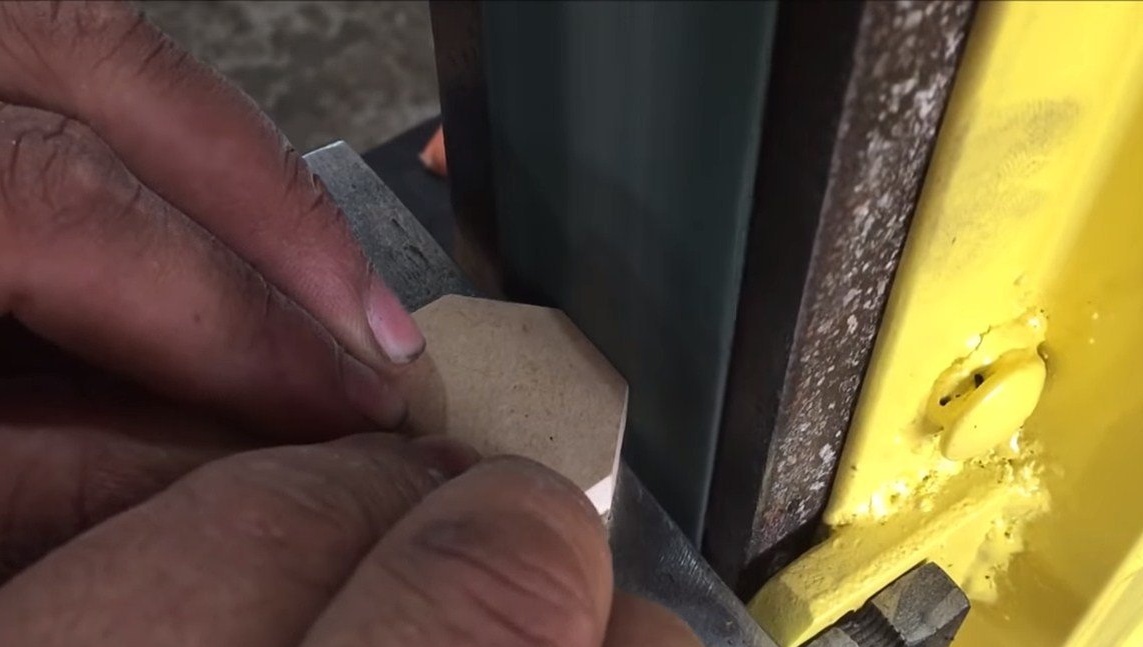
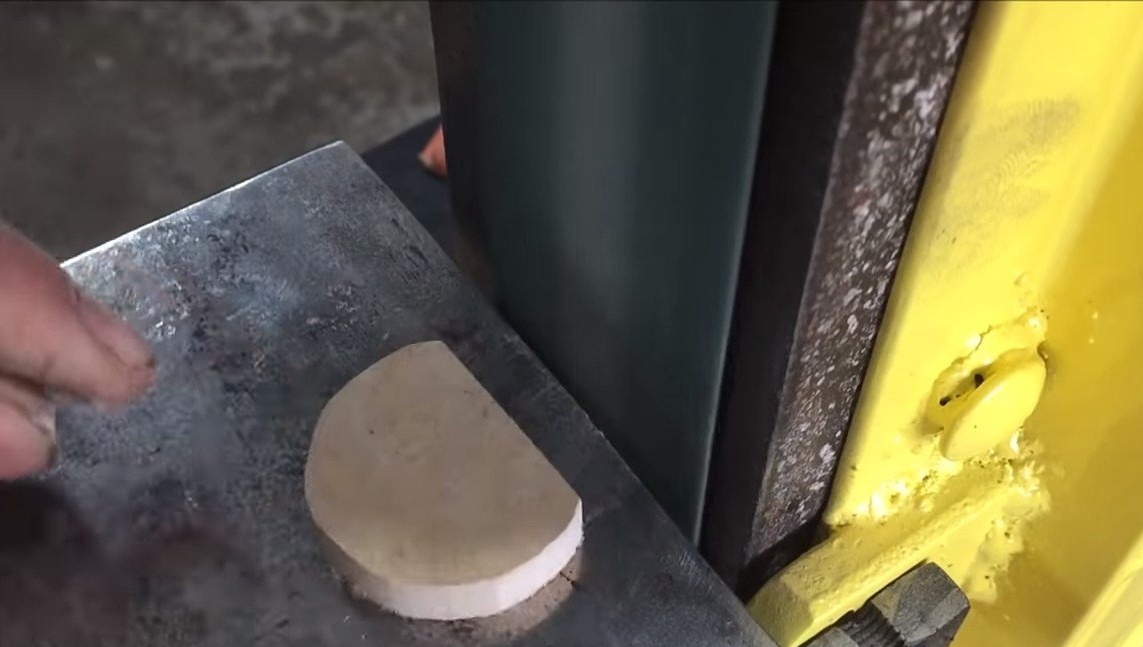
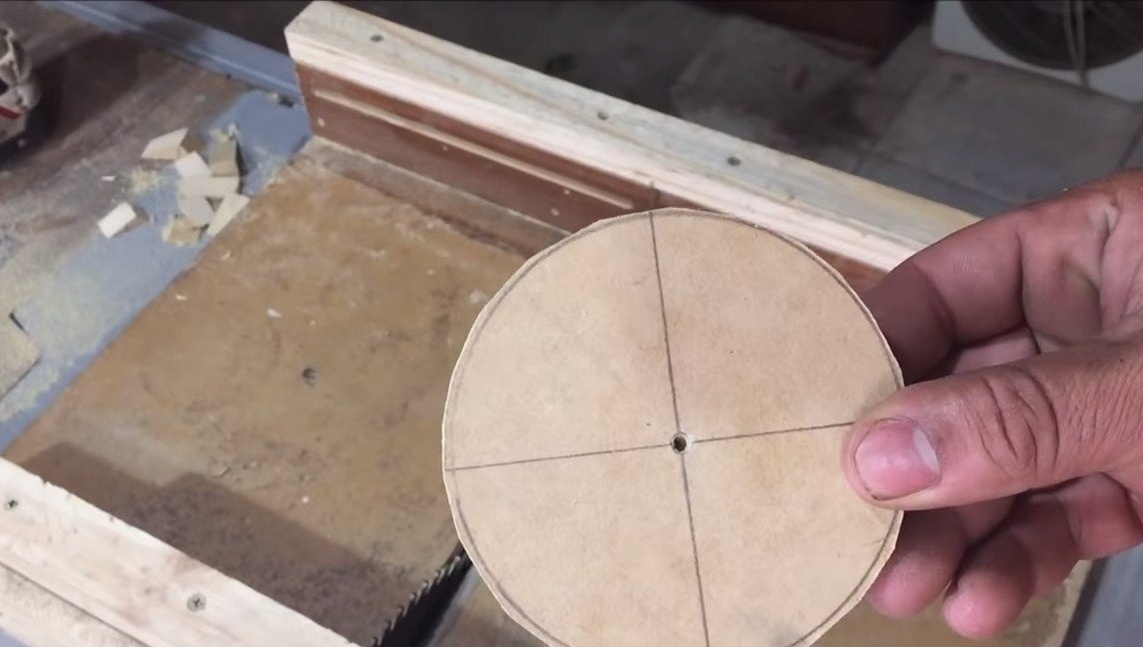
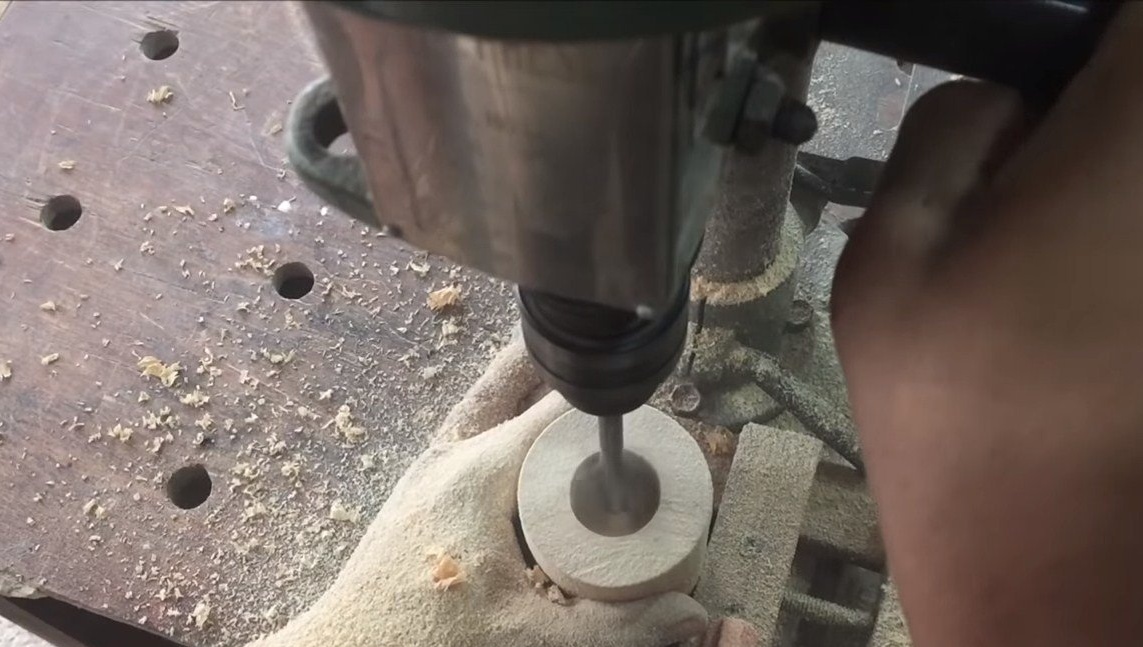
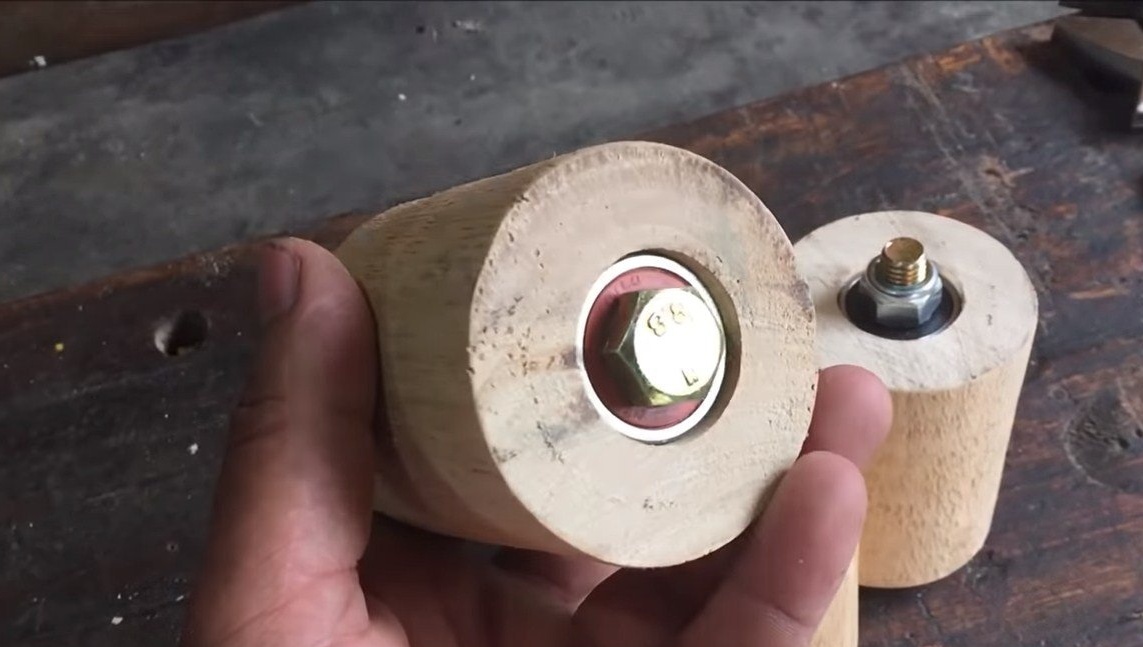
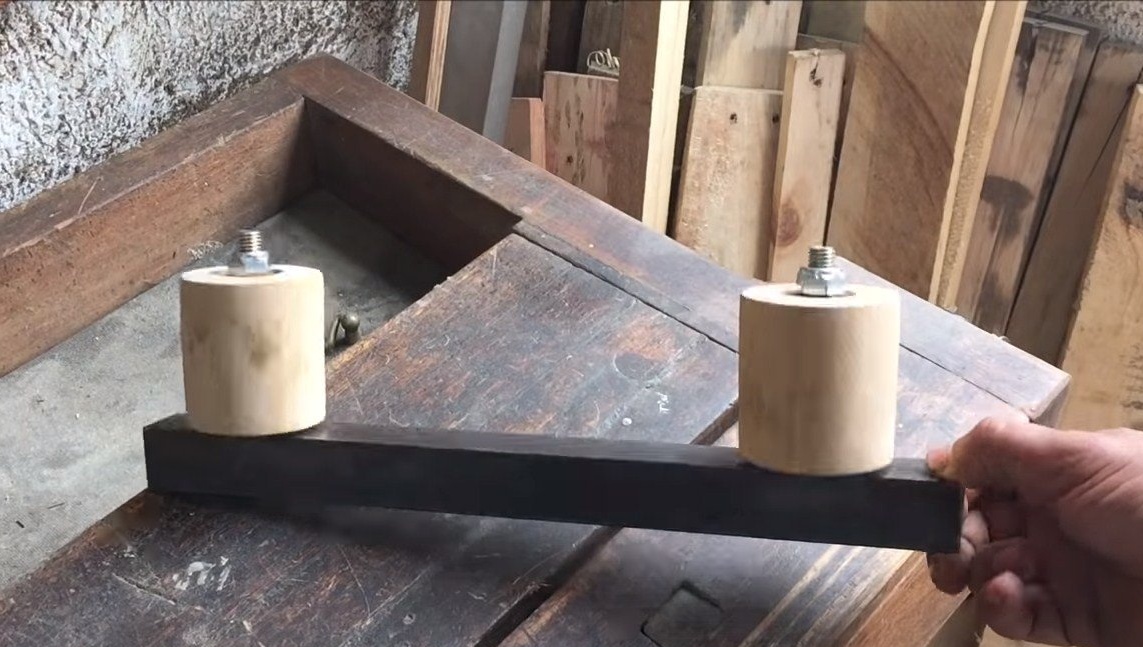
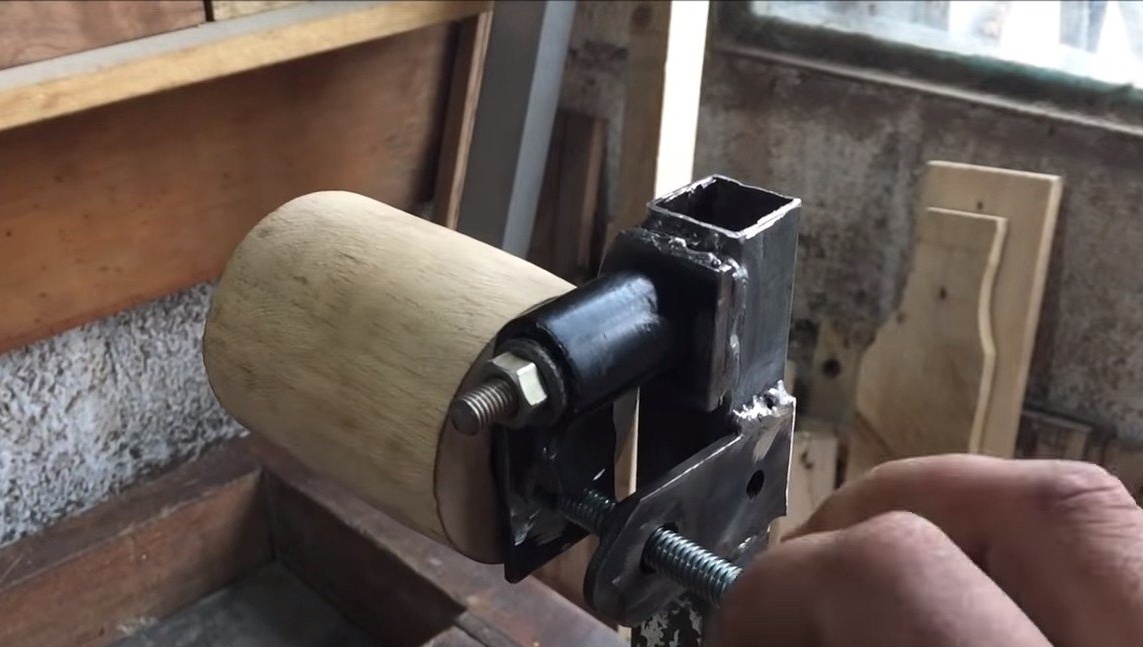
Step Three Production of driven wheels
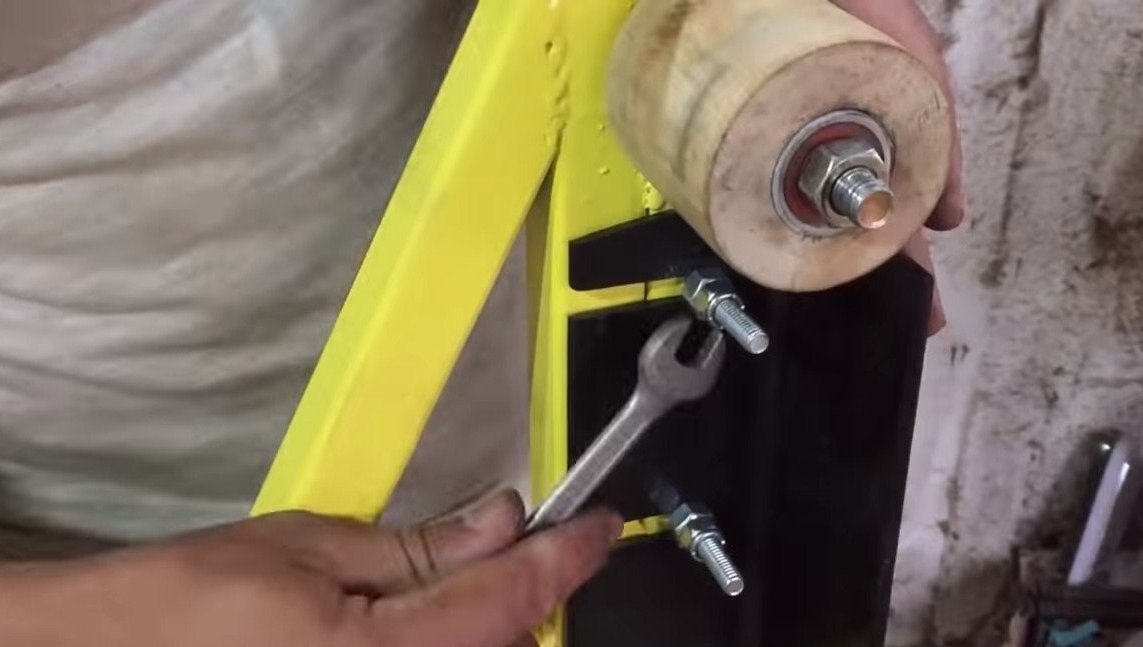
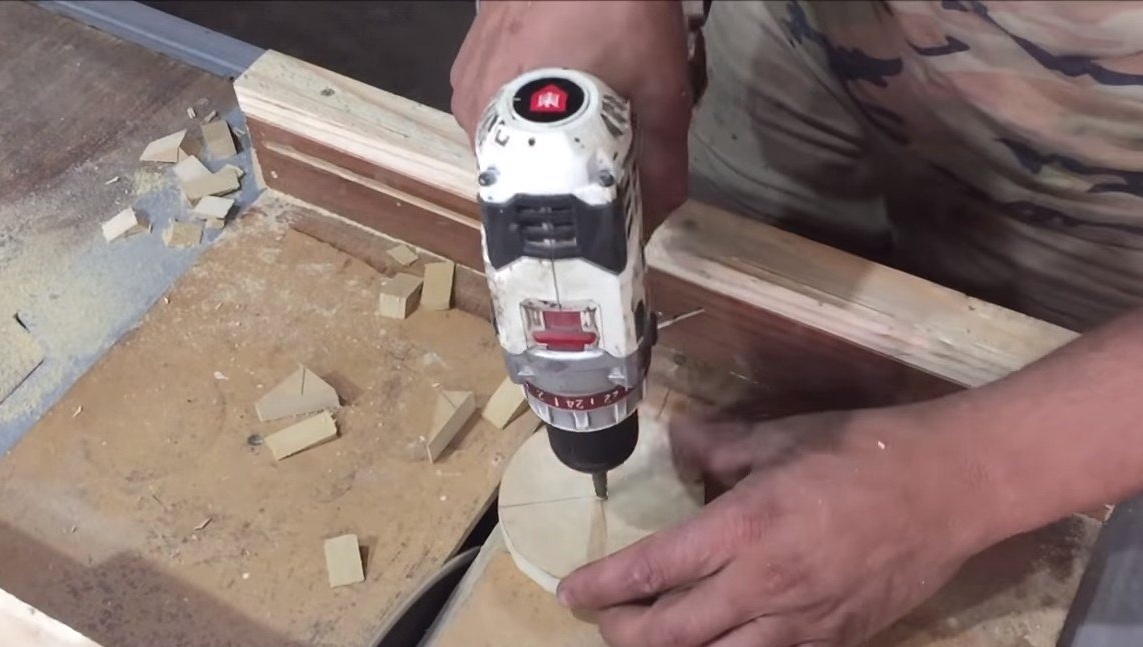
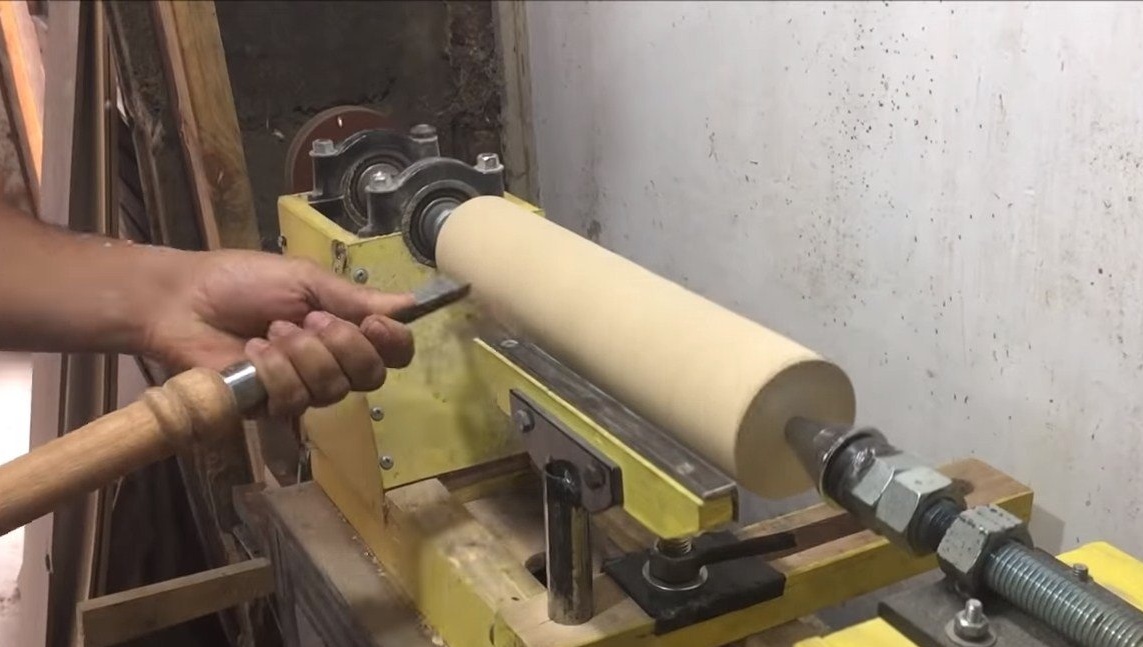
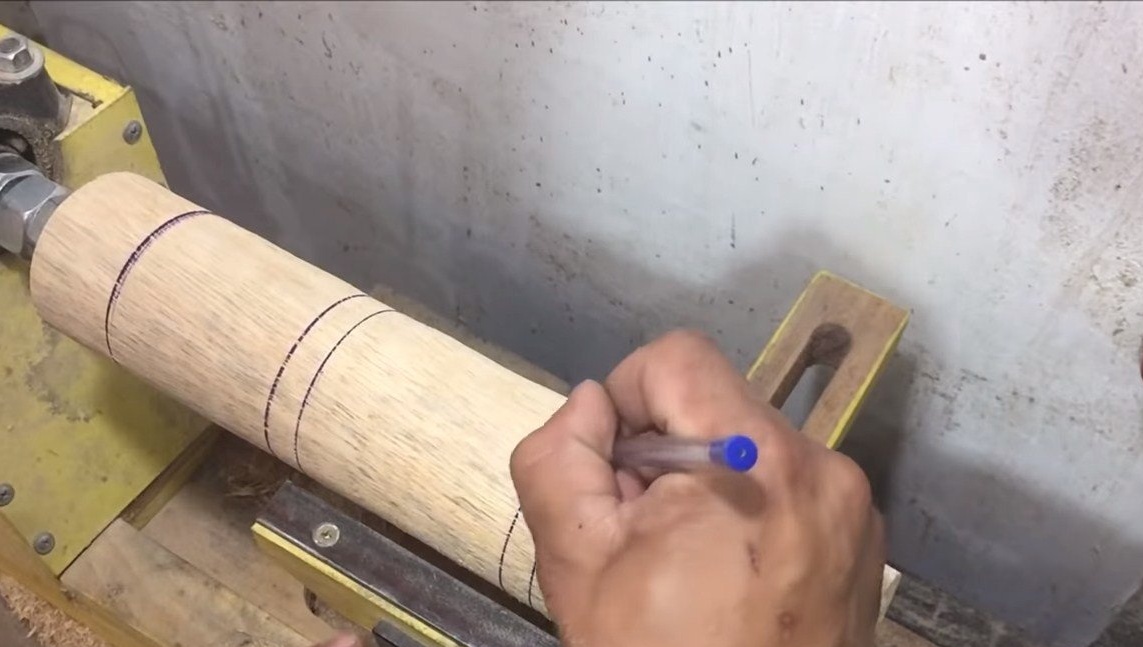
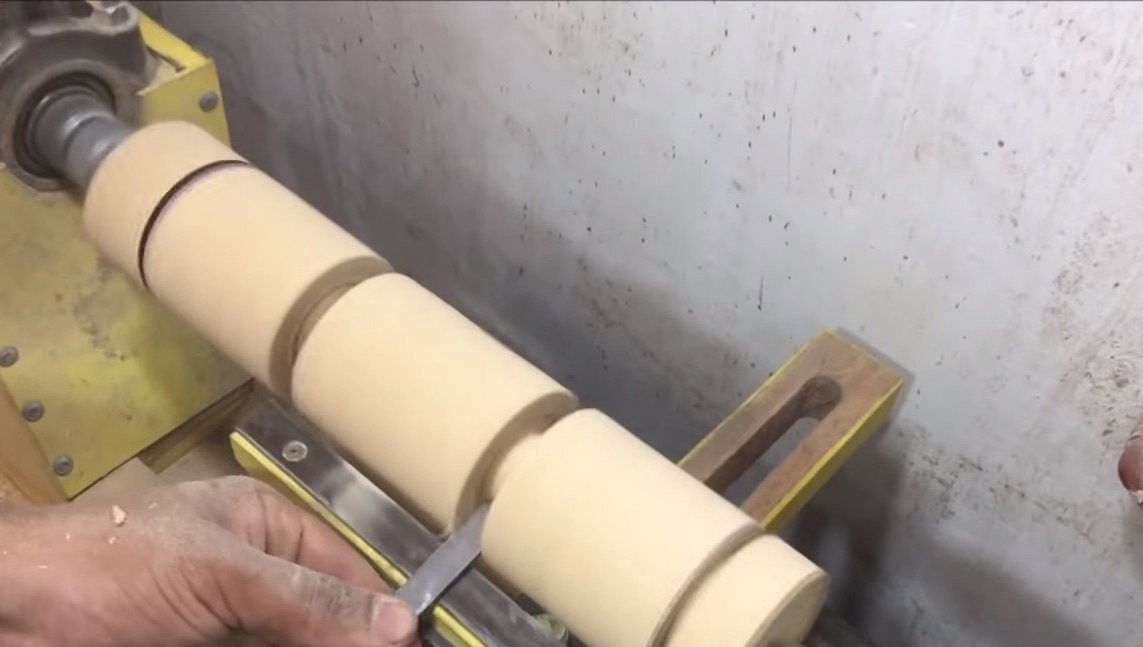
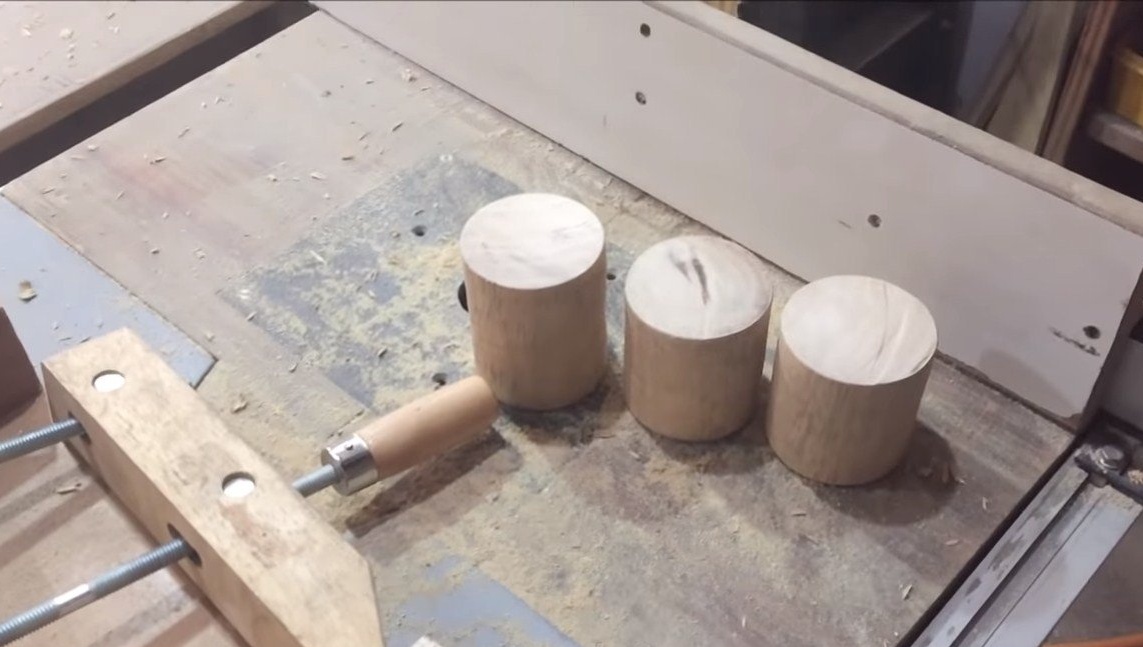
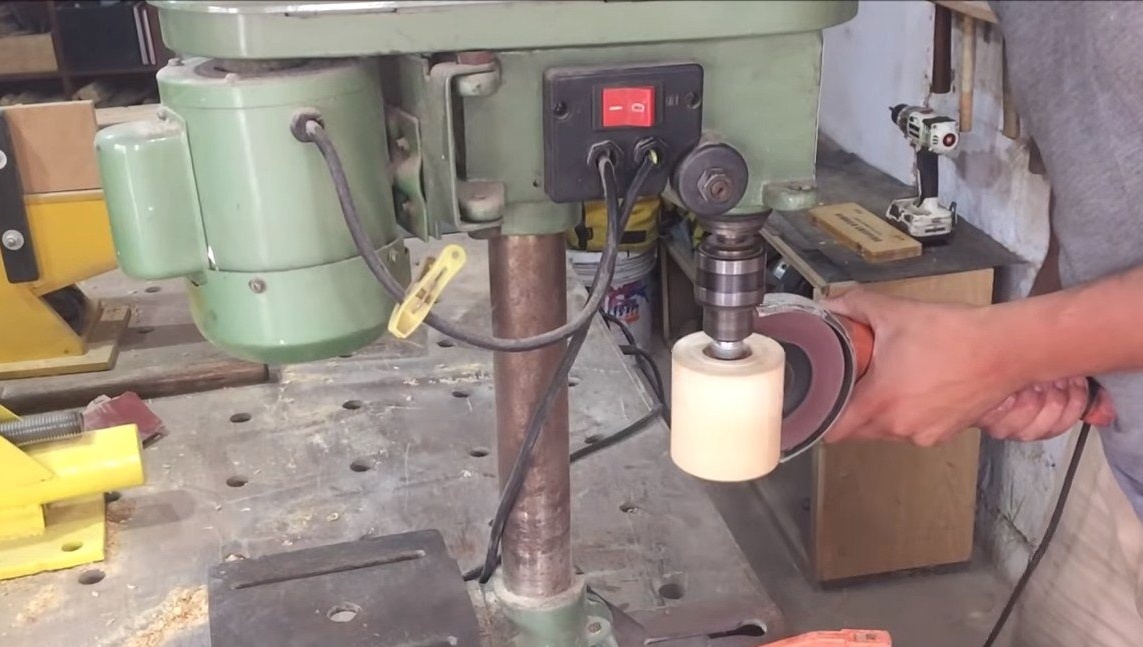
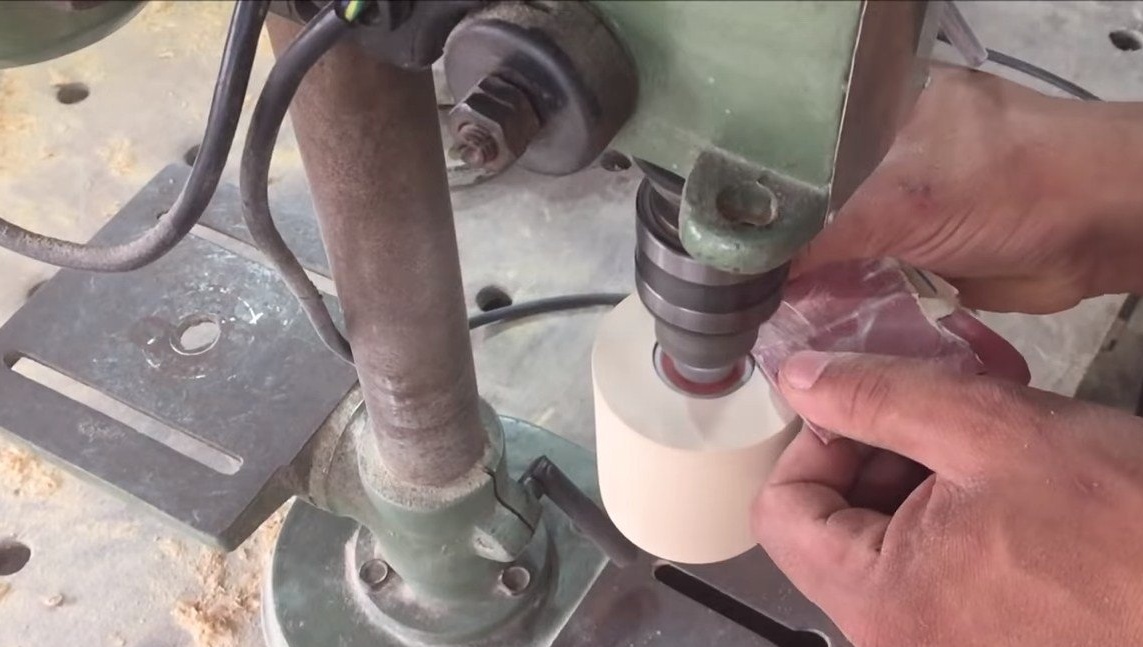
We make the driven wheels for the machine, they are also made of wood, this time using solid wood. The wheels are made on a lathe, their author brings them to perfect condition on a drilling machine, using a grinder with a petal nozzle and sandpaper.
In wheels with a drill pen, you need to make seats for bearings, we use bolts as axles.

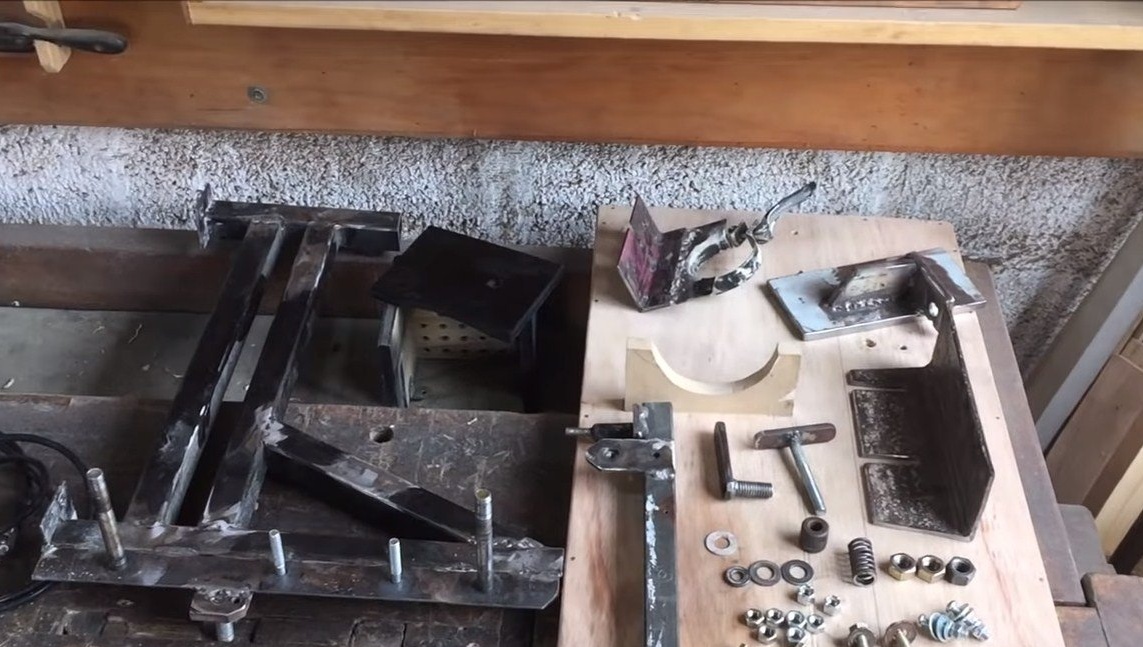
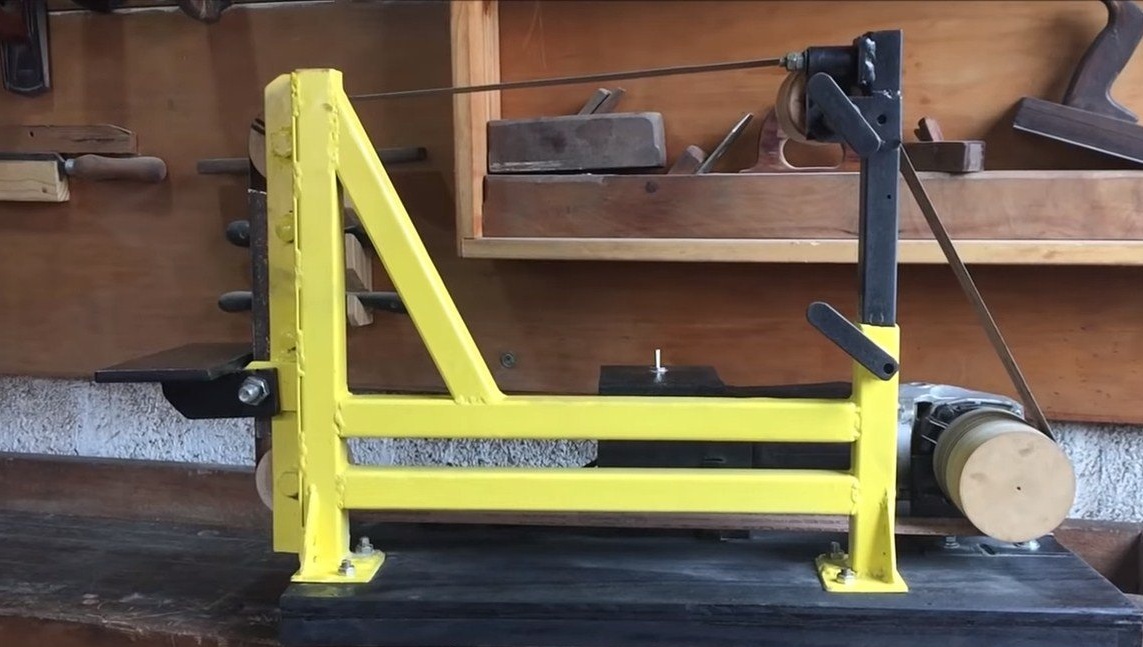
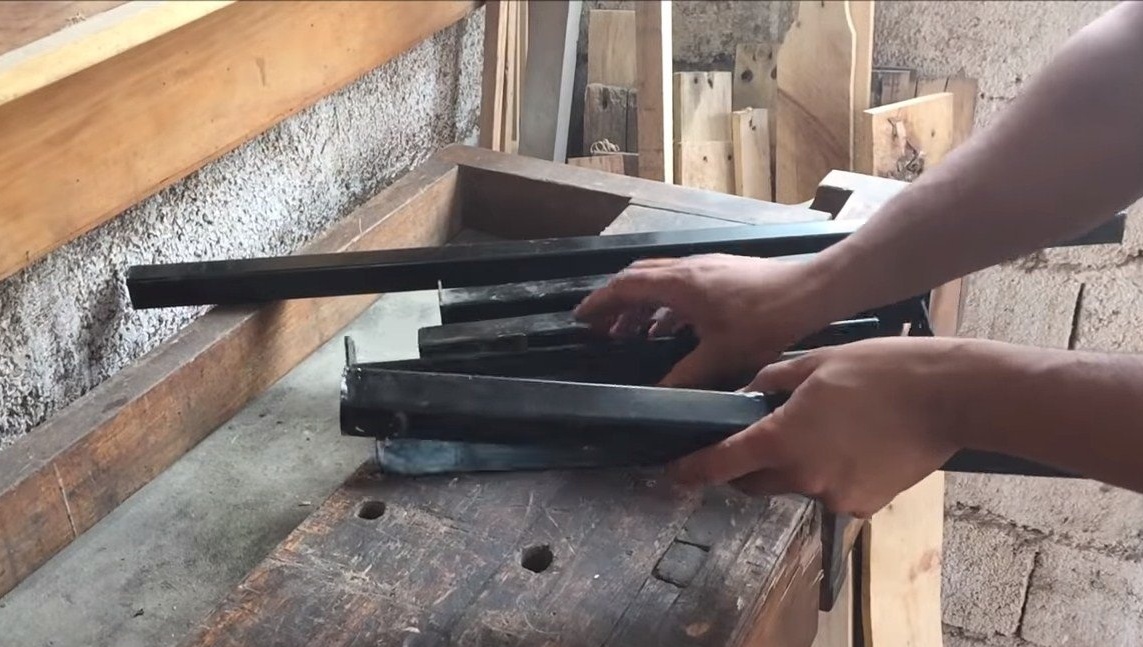
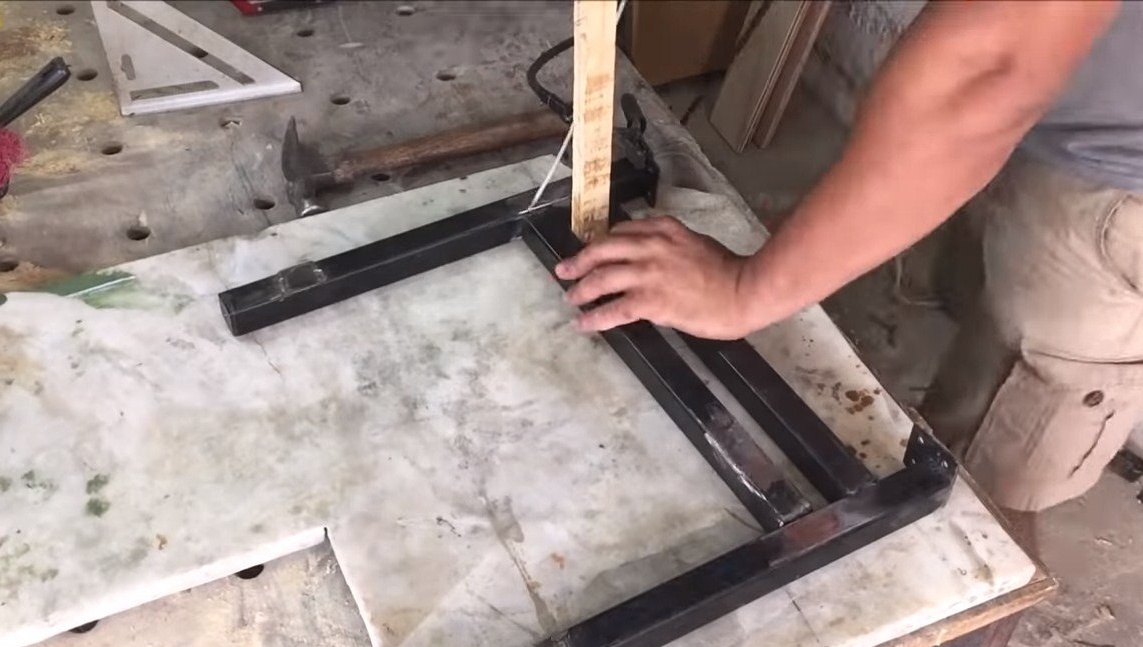
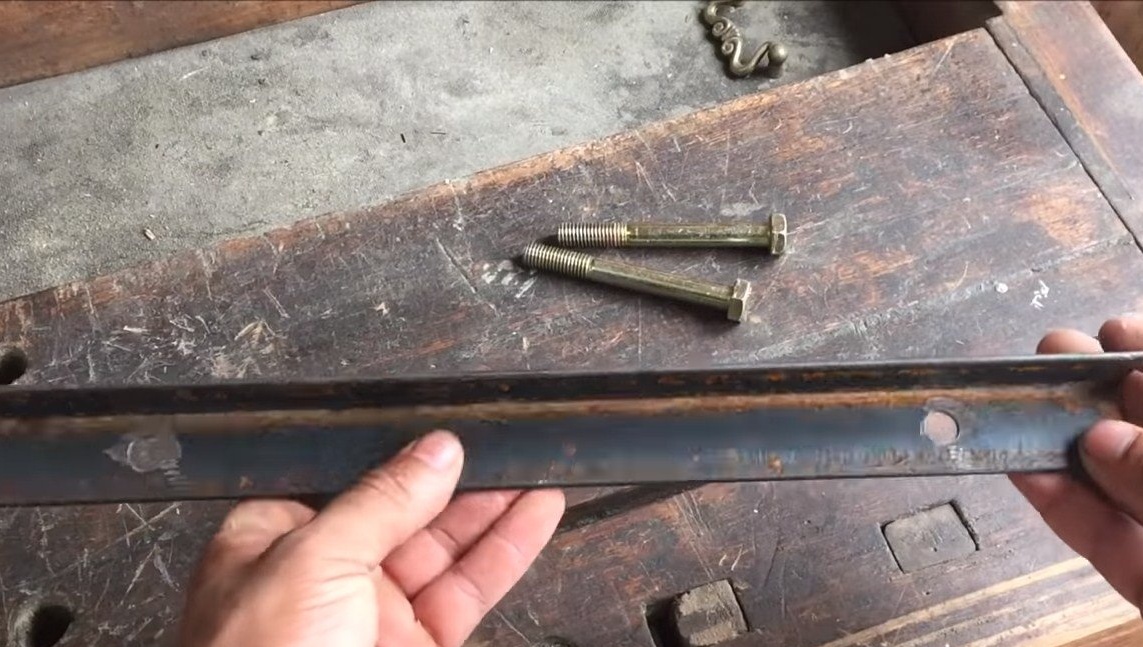
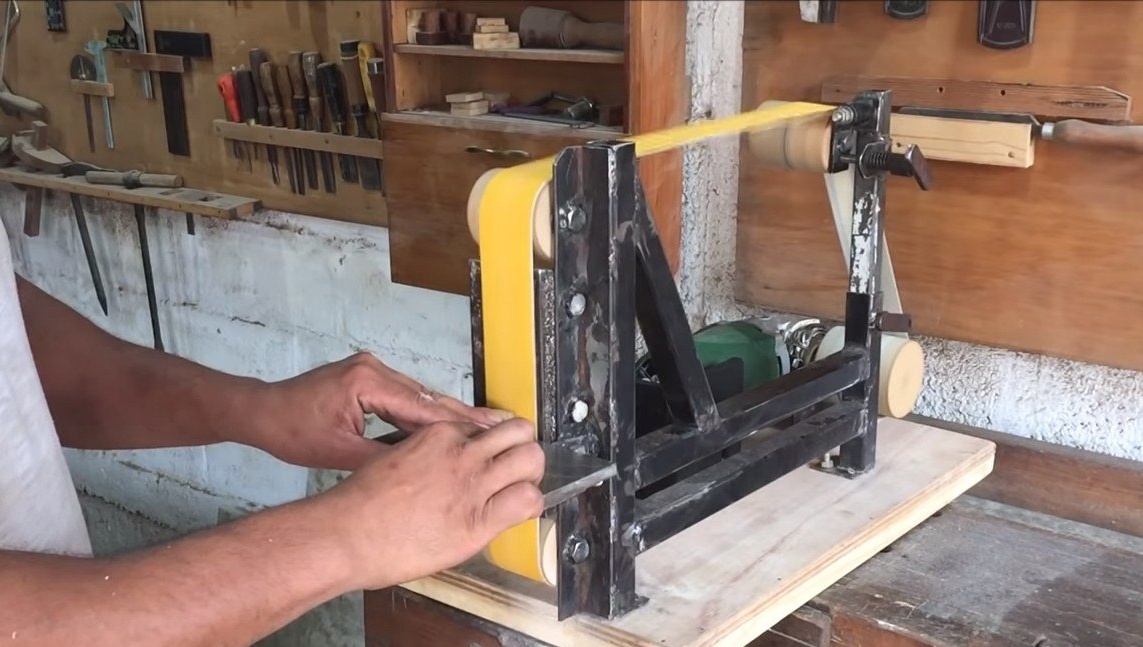
Step Four Frame
We assemble the frame for the machine, here we need profile pipes and corners, there is nothing complicated in the design. The engine and frame are attached to a wooden base.
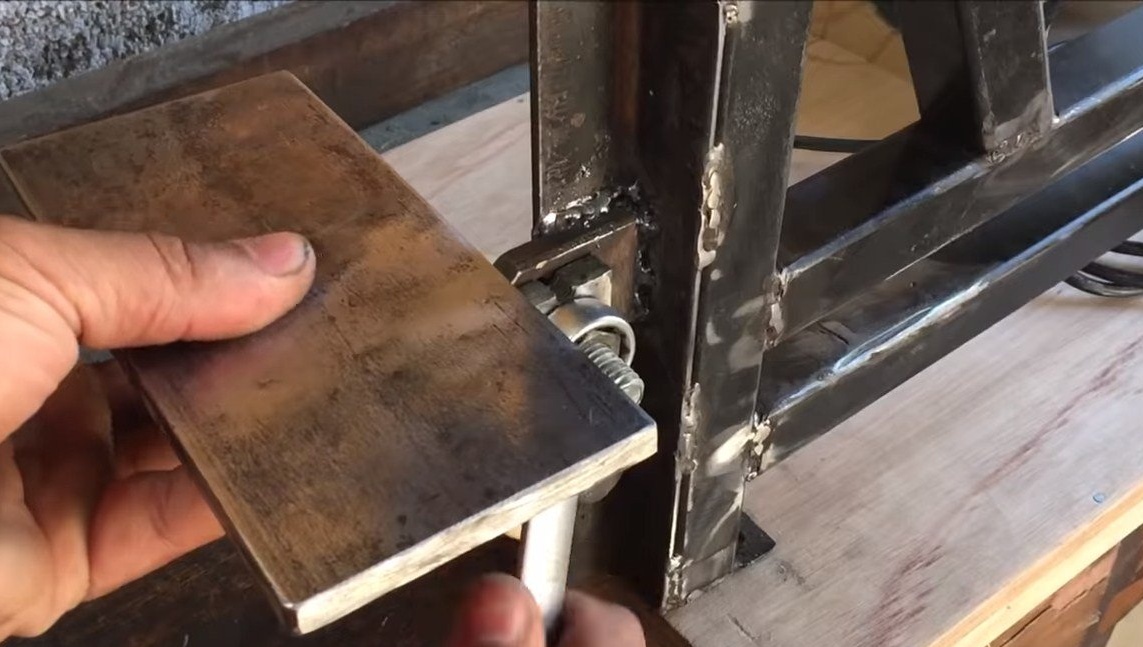
There must be a tensioner on the frame; it is a smaller profile pipe that is inserted into a part of the frame from a larger profile pipe. For automatic belt tightening, it is useful to equip the tensioner with a spring.
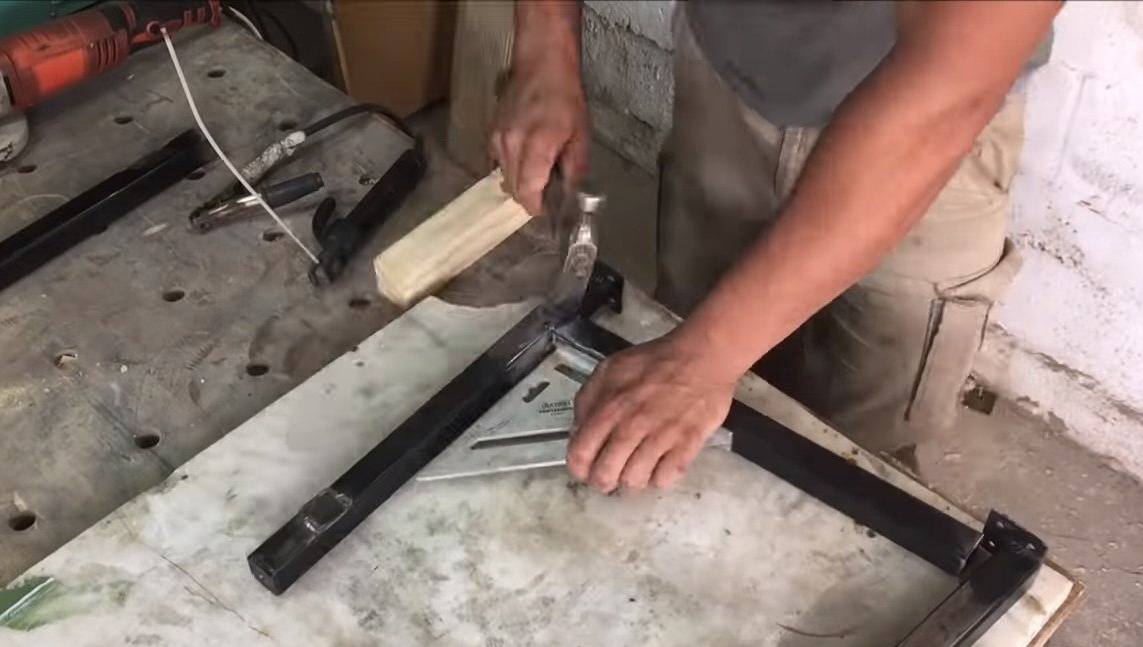
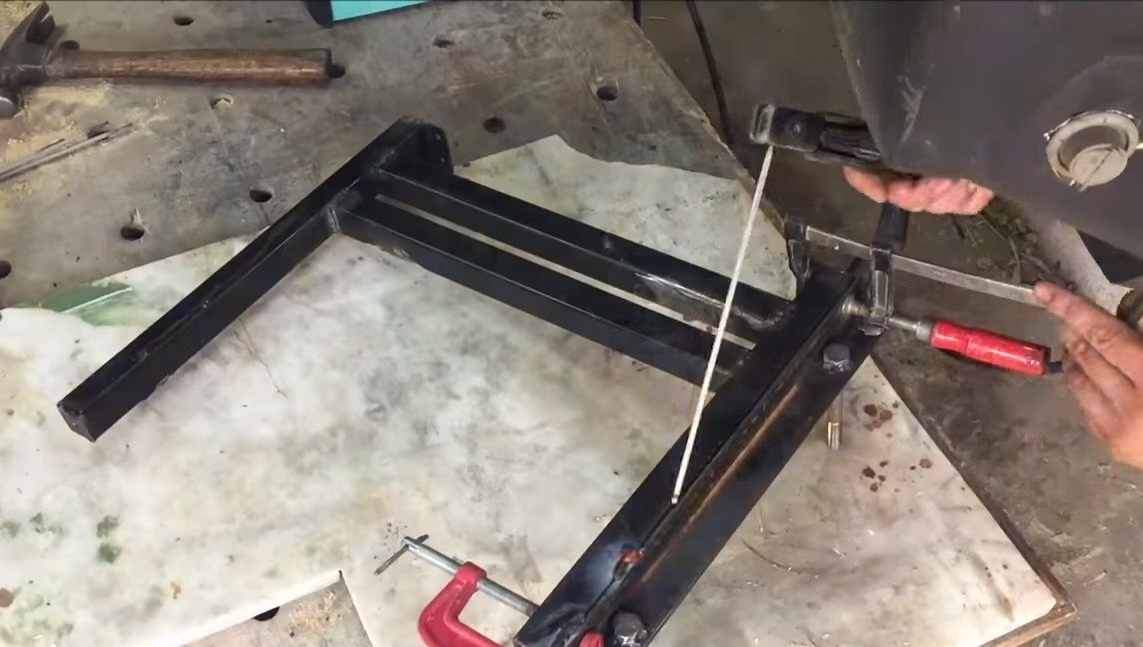
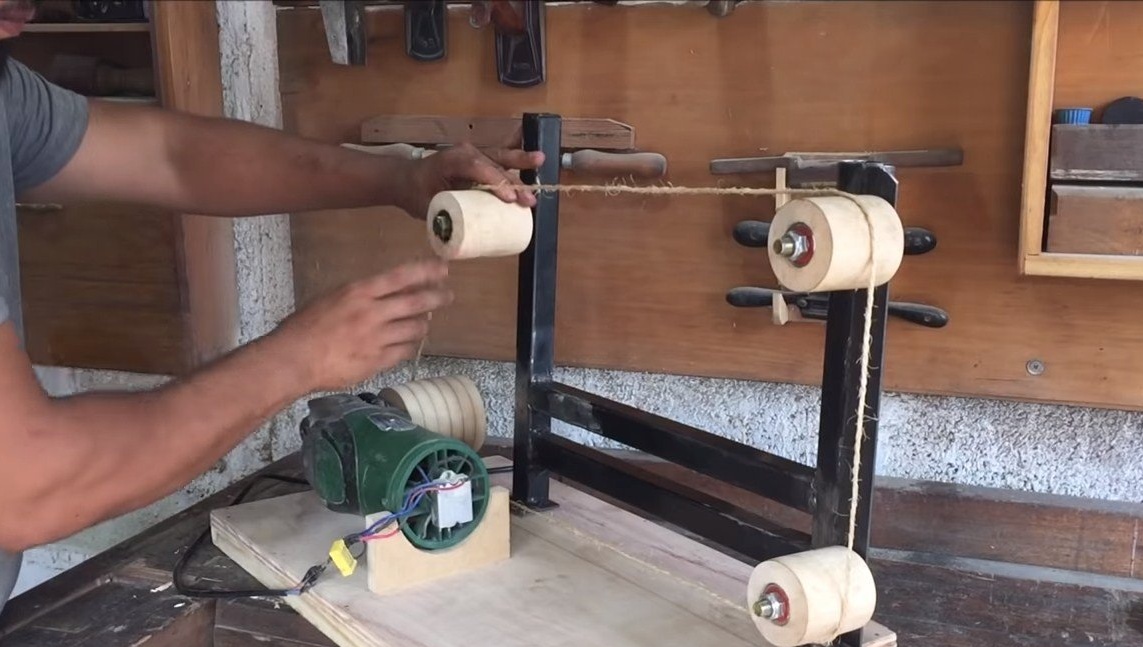
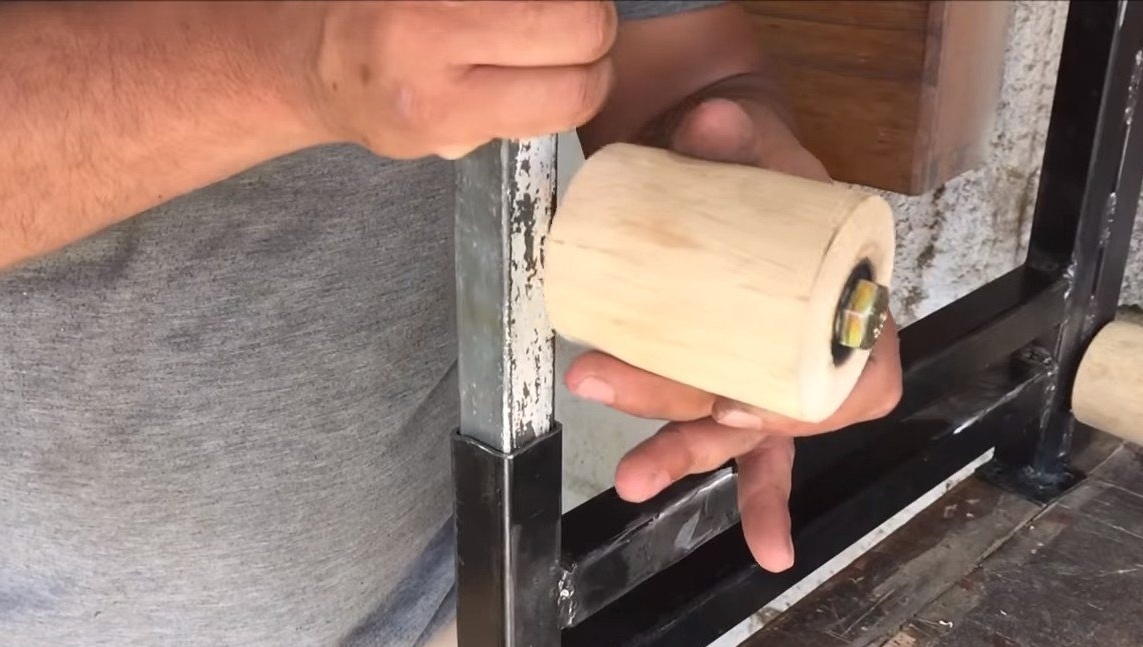
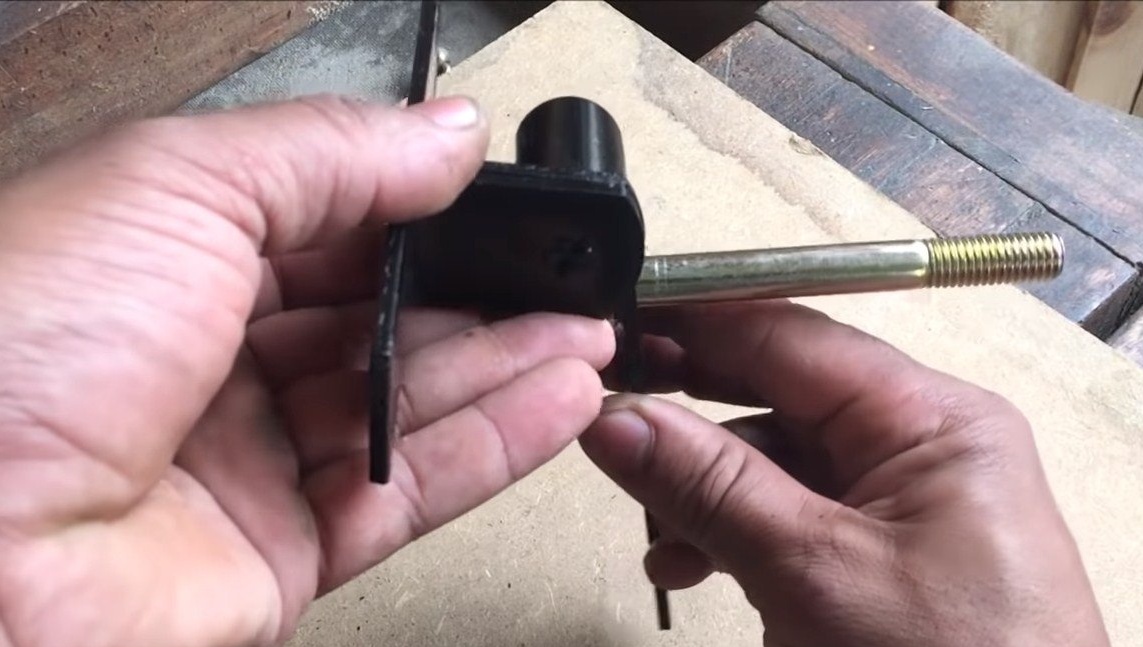
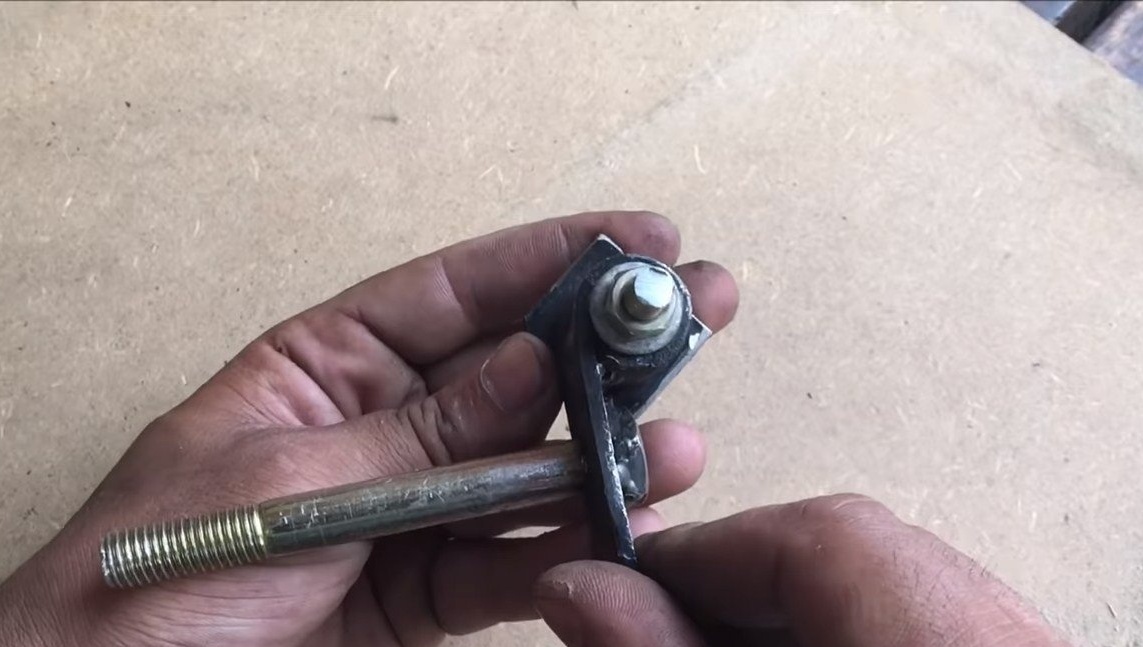

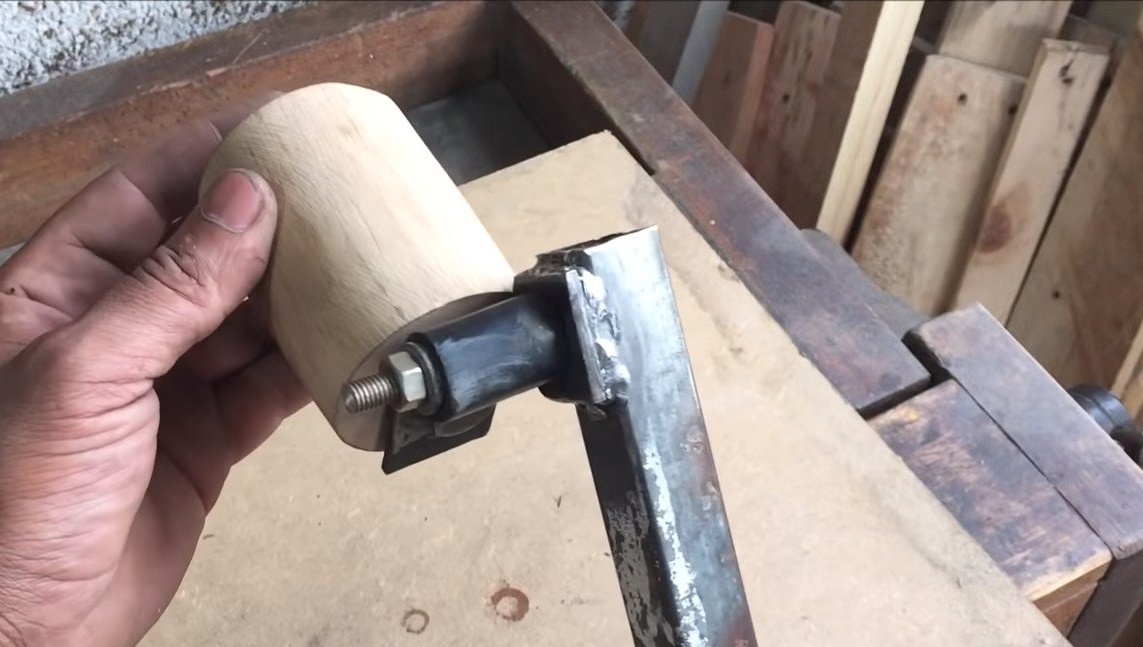
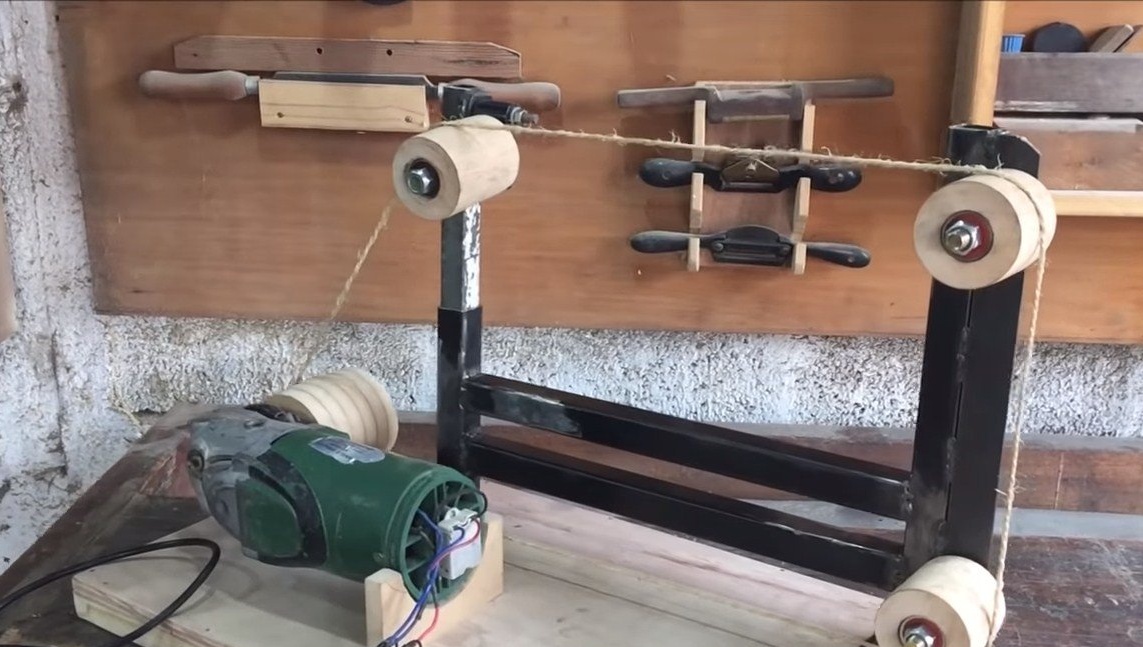
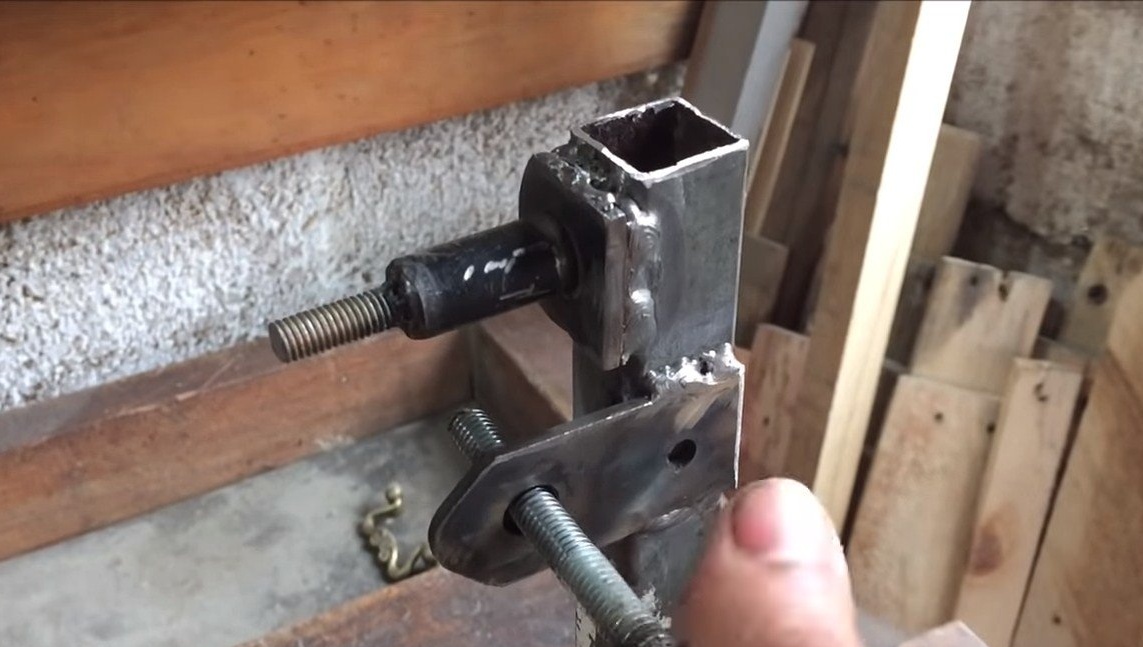
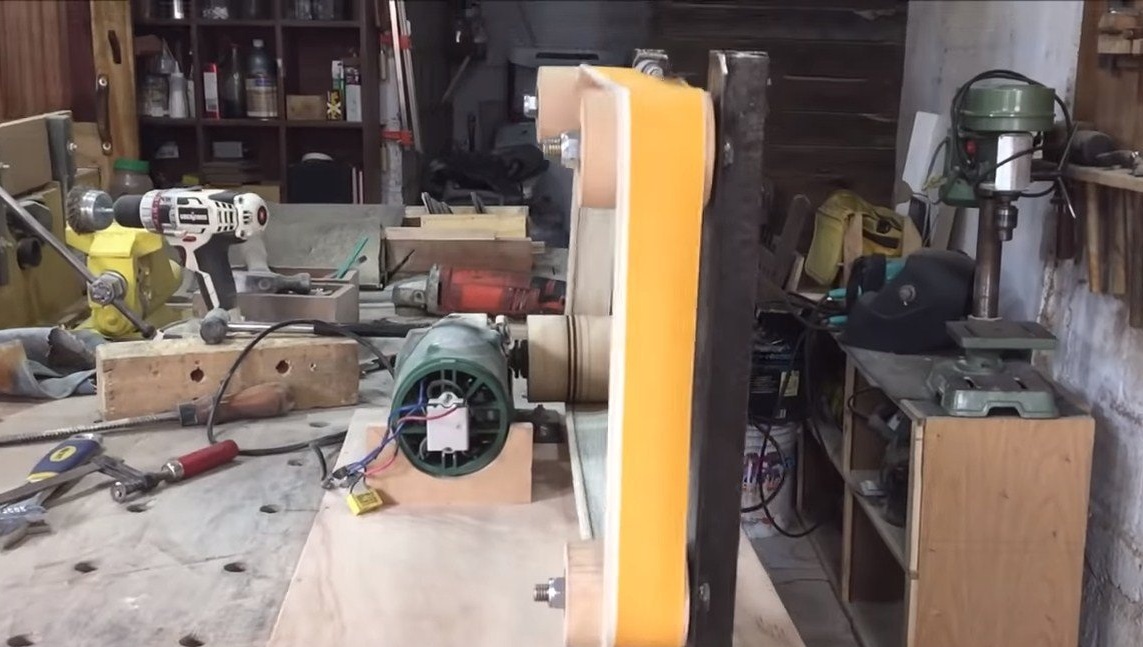
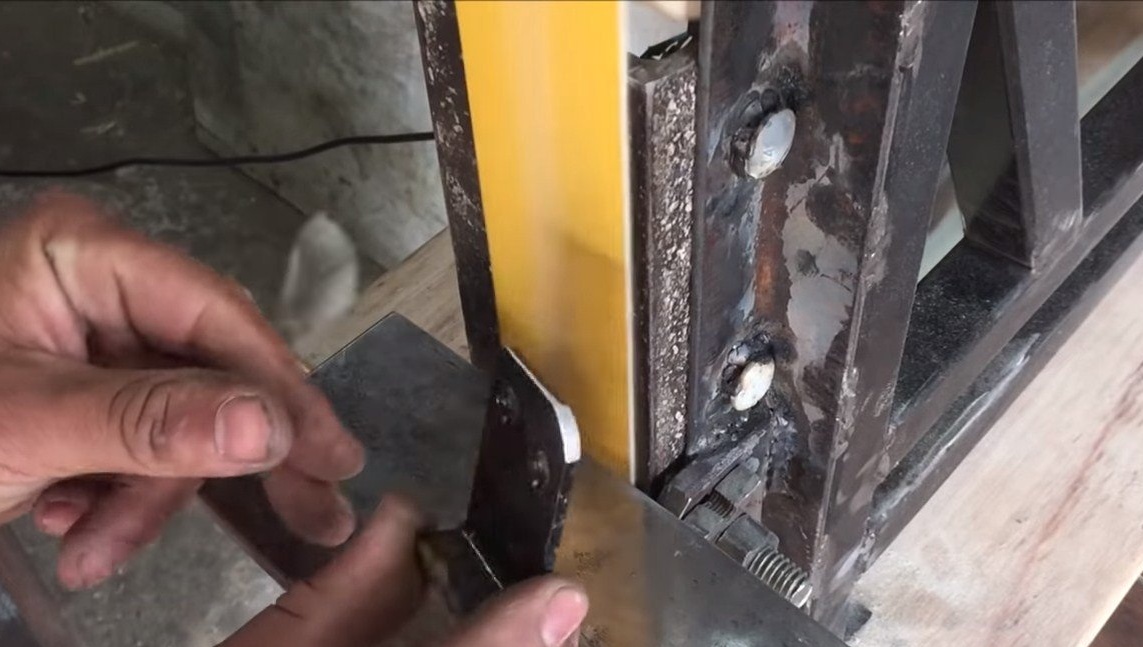
We also need an adjustment unit, the point is that the adjustment wheel can change the angle, thereby we will center the tape on the wheels. This assembly is very simple to assemble, you will need to make a hinge from a piece of pipe and a bolt, which will be supported by an adjusting bolt with a welded handle.
The machine is almost ready, you can install a test tape and start the machine, if everything works, fine, go ahead.
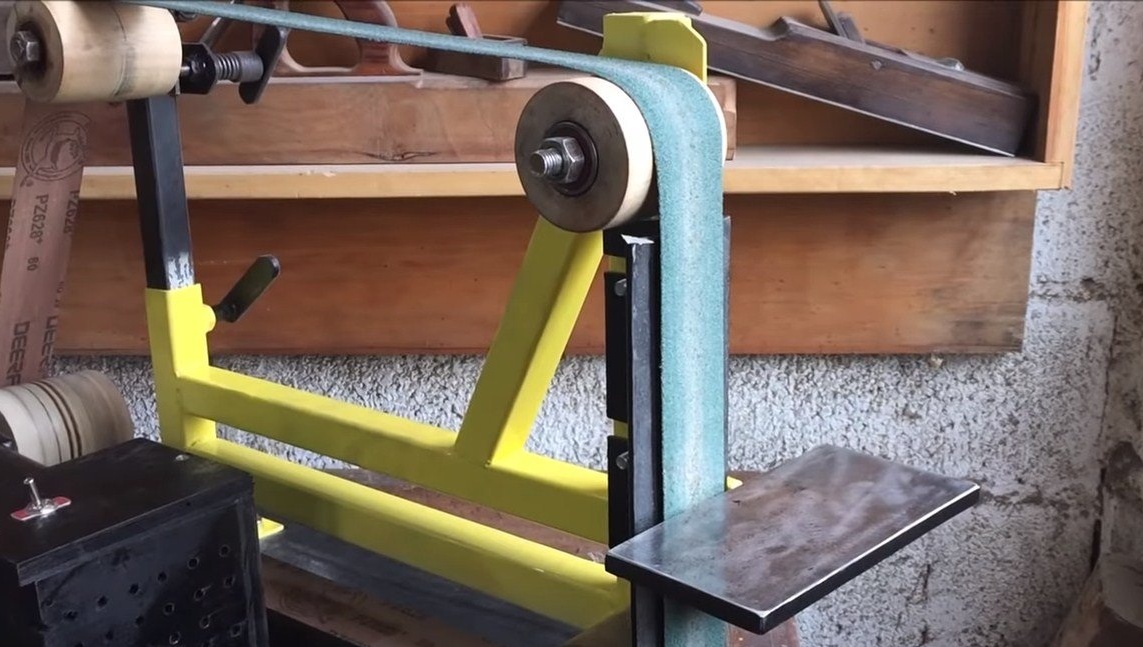
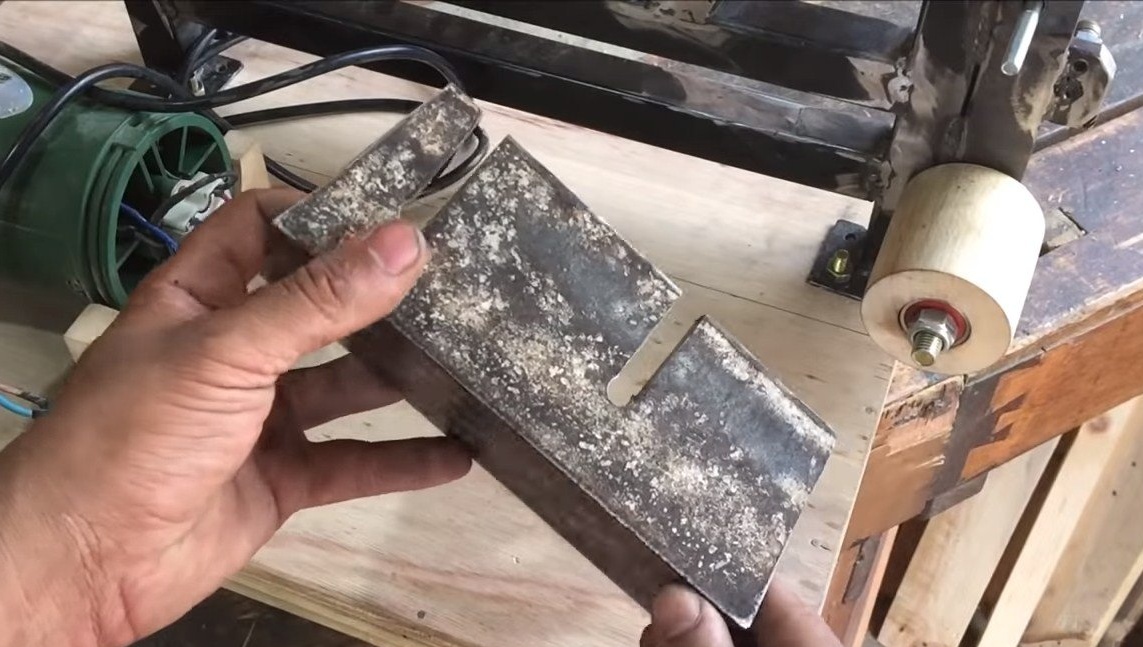
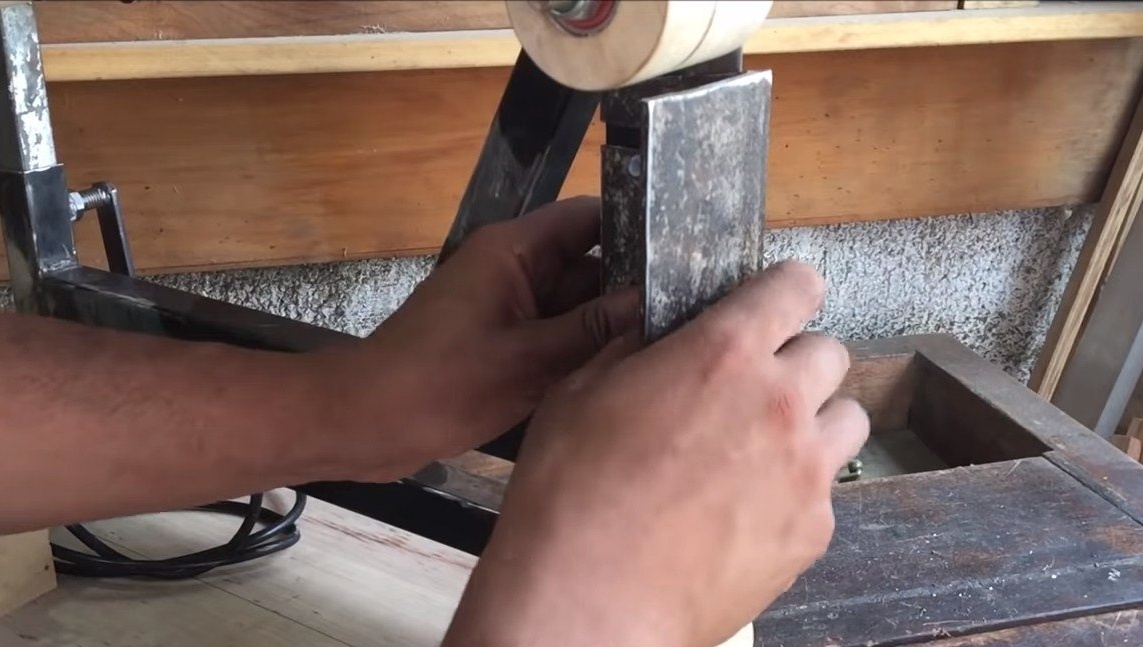
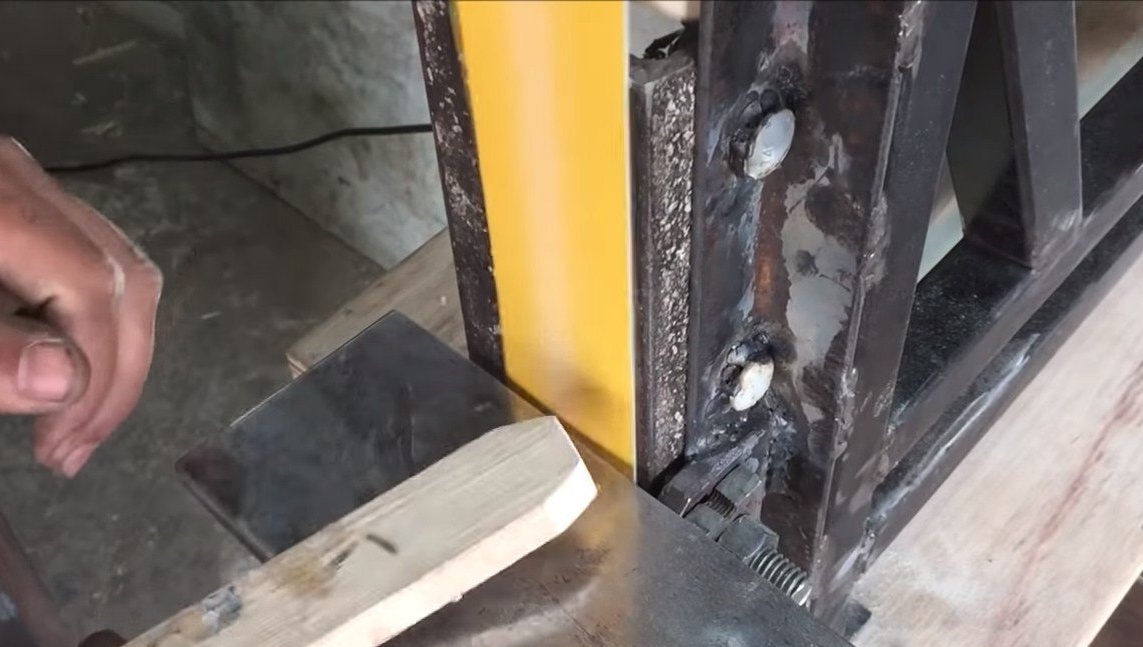
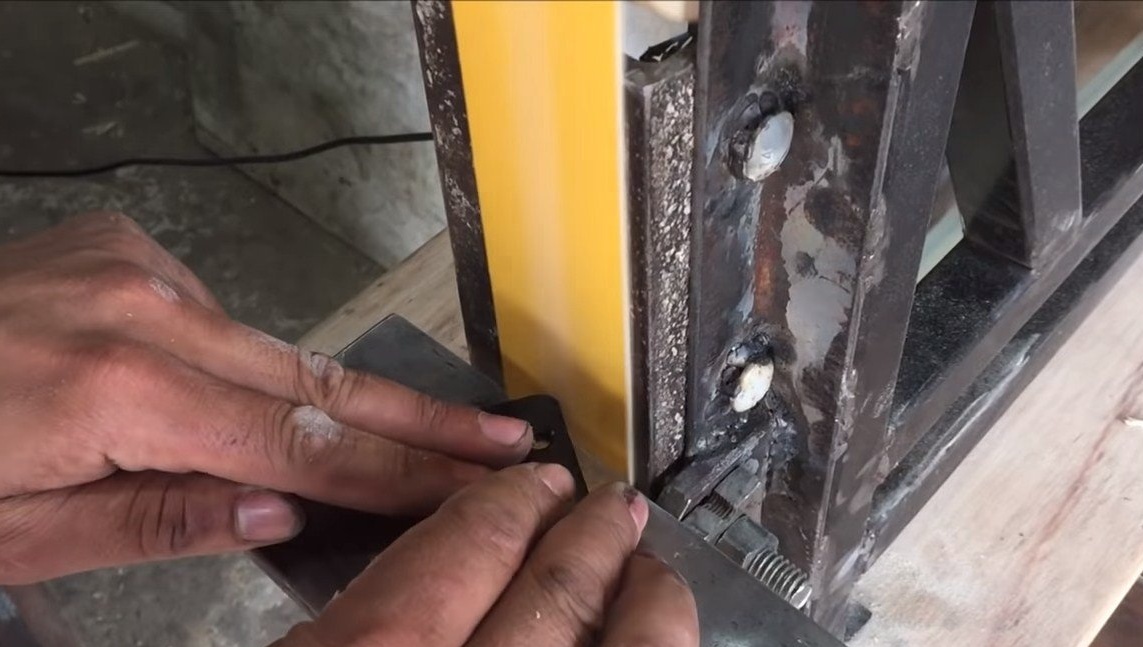
Step Five Work planes
Set two thrust planes, horizontal and vertical. Here we need sheet steel and other pieces of iron. It is useful to make the horizontal plane adjustable so that you can grind at the right angle.
Step Six Painting and testing
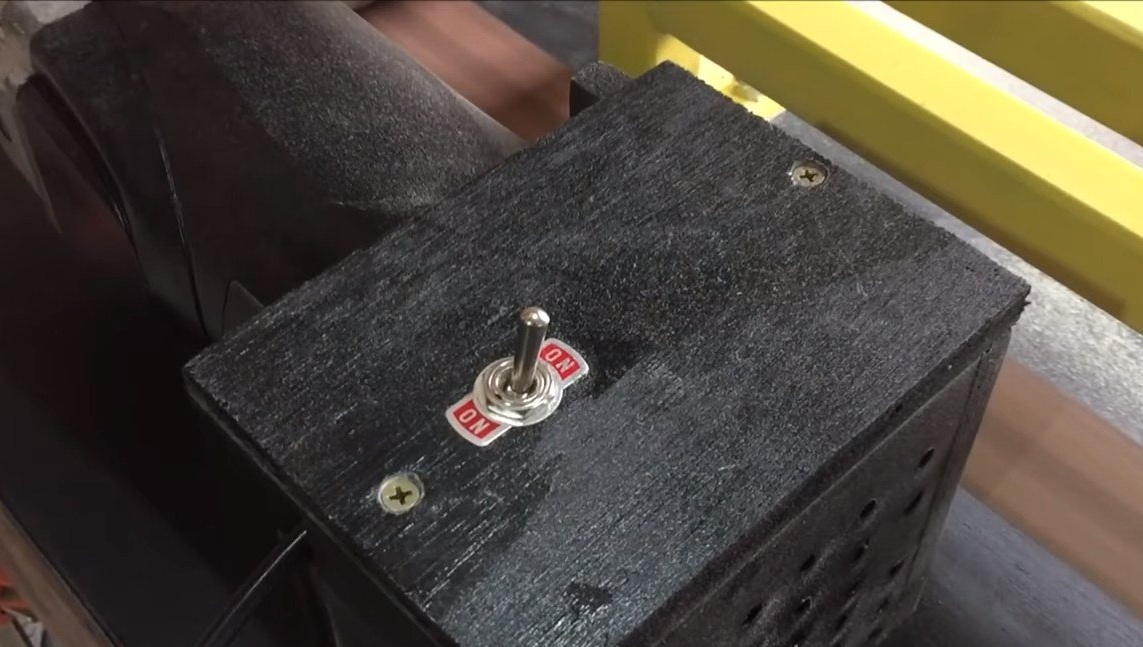
We disassemble the machine, and paint all the parts well, as a result, the machine will please the eye, and will not rust. Above the rear of the engine, the author made a protective case of plywood, on which a switch was installed.
The machine is ready, assembled and tested. After installing a good sanding belt, the machine worked as expected. He easily “gnaws” both wood and metal. Of course, there are slight wheel beats, but they are not critical, their consequences can be minimized by installing a spring for automatic tensioning of the grinding belt.
The project is over, I hope you liked the homemade. Good luck and creative inspiration, if you decide to repeat this, do not forget to share your ideas and homemade things with us!