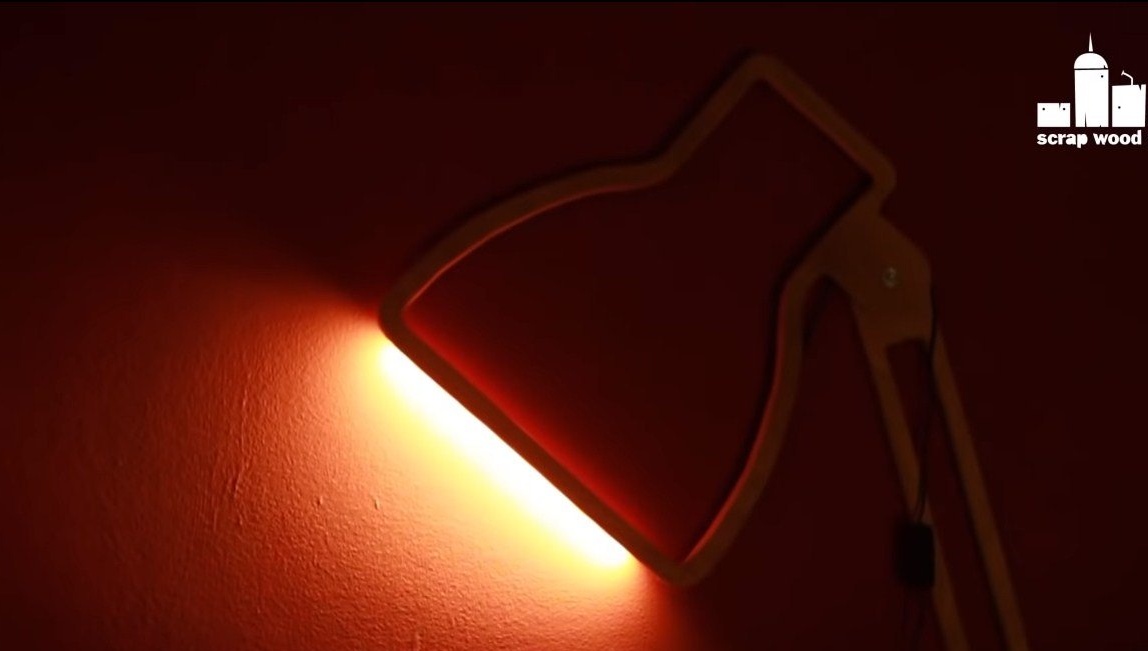
Hello everyone, today we will look at how to make an unusual lamp out of plywood. Of course, it emits little light, it's more like a nightlight, it becomes much more comfortable at home with it. An indisputable plus of such a design is that it practically does not take up space, the whole thing is attached to the wall and acts only to the thickness of the plywood.
The light source is an LED strip, manufactured homemade quite simply, you only need to cut out the contour, and then there will be a bit of grinding work. If the project interests you, I propose to familiarize yourself with it in more detail!
Materials and tools used by the author:
Material List:
- plywood;
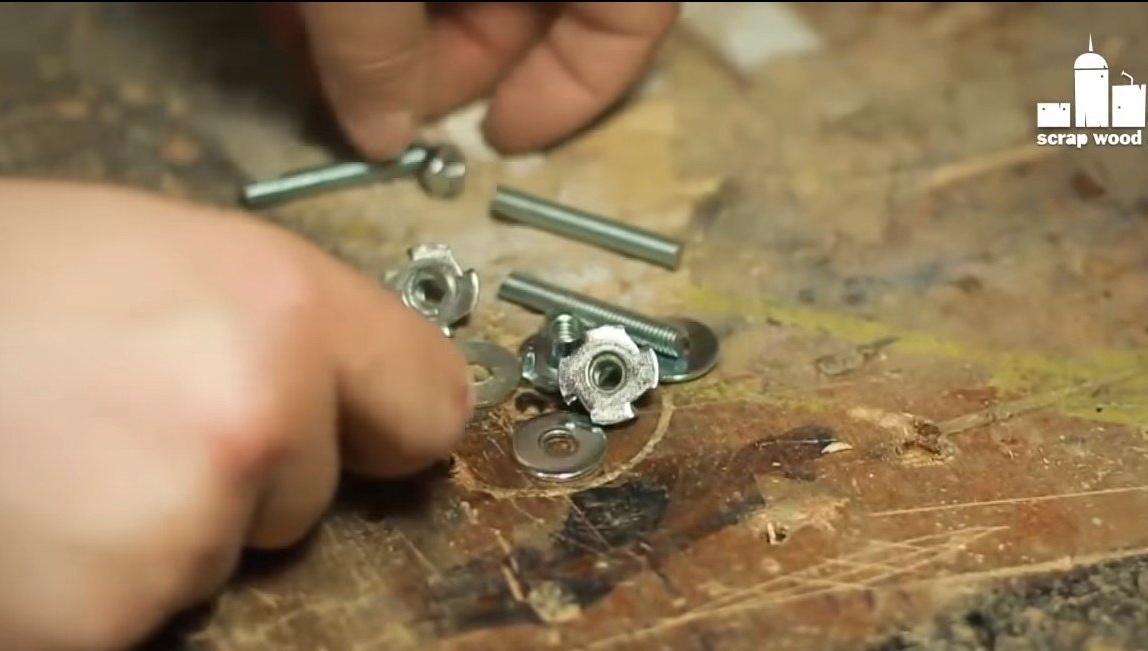
- furniture nuts, dowels, wing nuts;
- wire, switch and power supply;
- self-adhesive LED strip;
- varnish, oil or other impregnation for wood.
Tool List:
- drill;
- a chisel;
- a hacksaw;
- a manual fret saw;
- sandpaper;
- manual frezer;
- drawing instrument and paper.
The manufacturing process of the lamp:
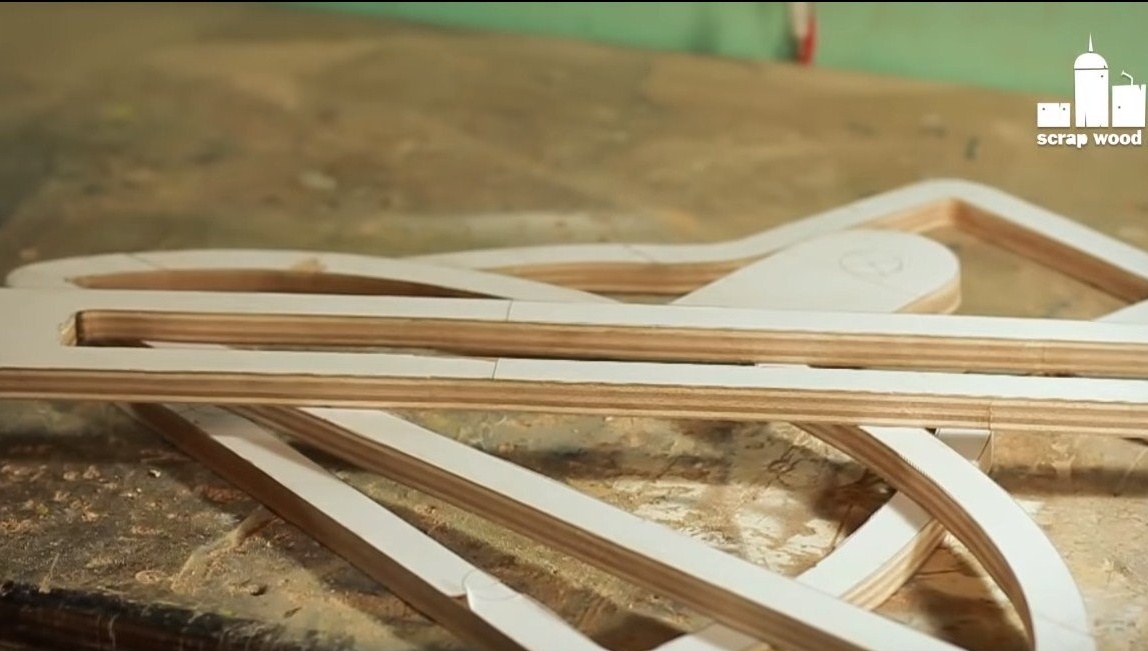
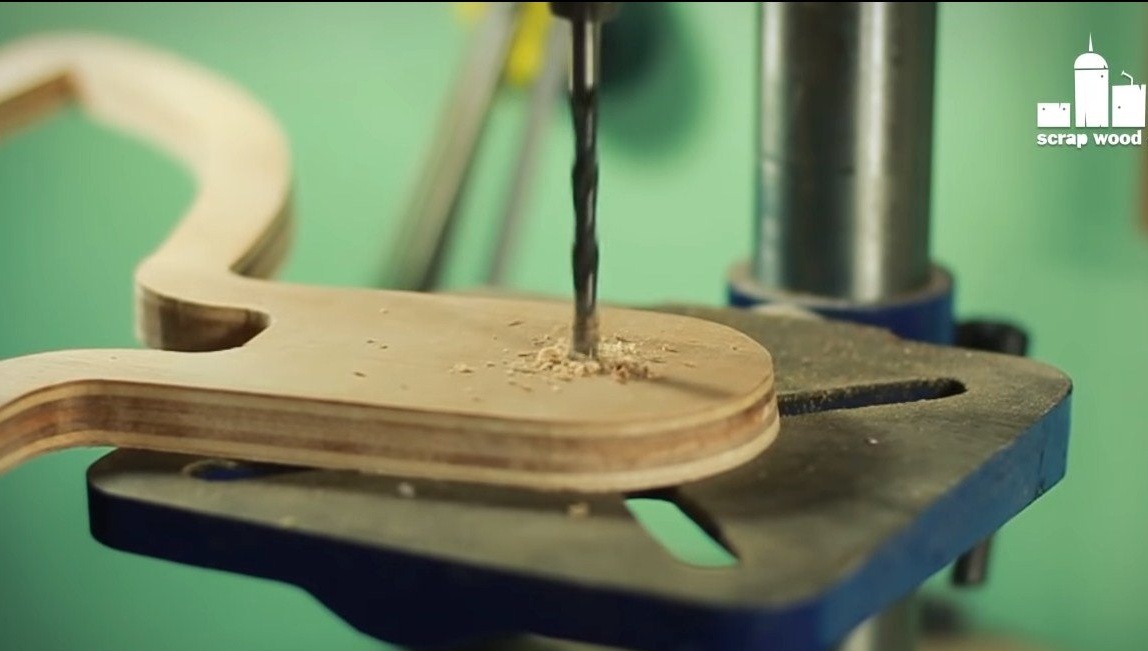
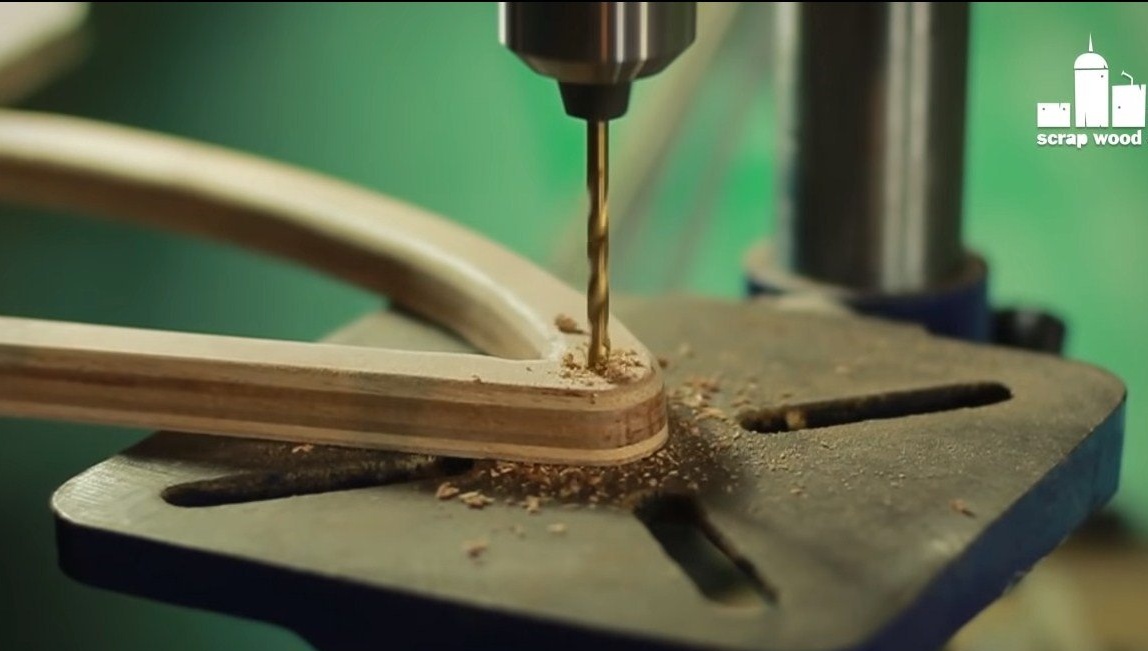
Step one. Cut out the details
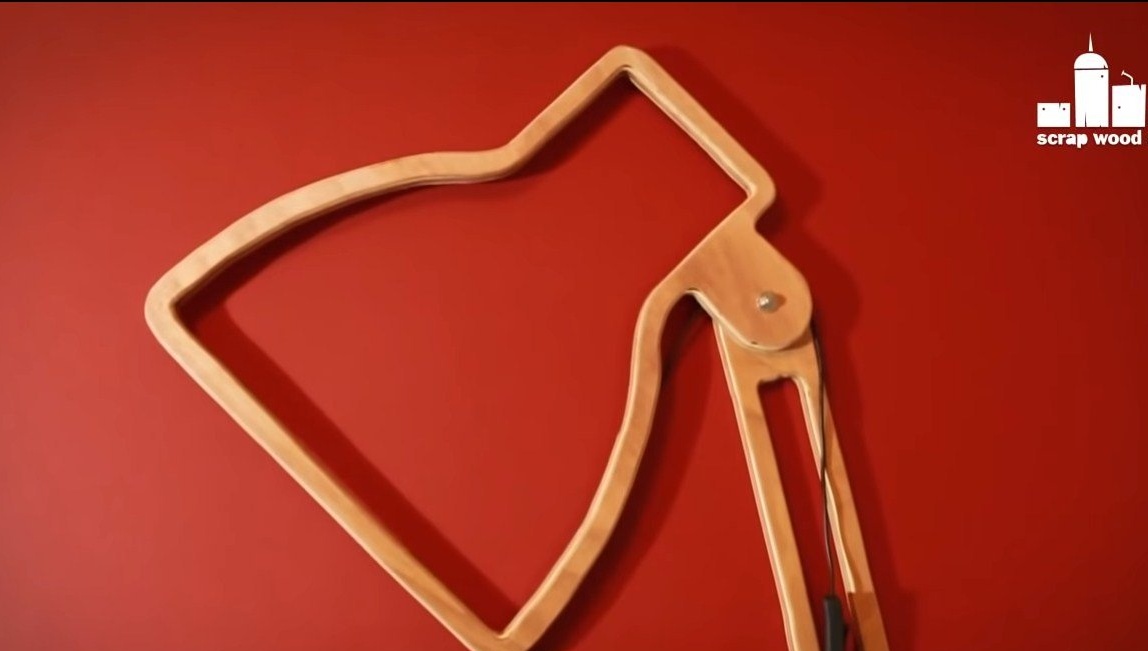
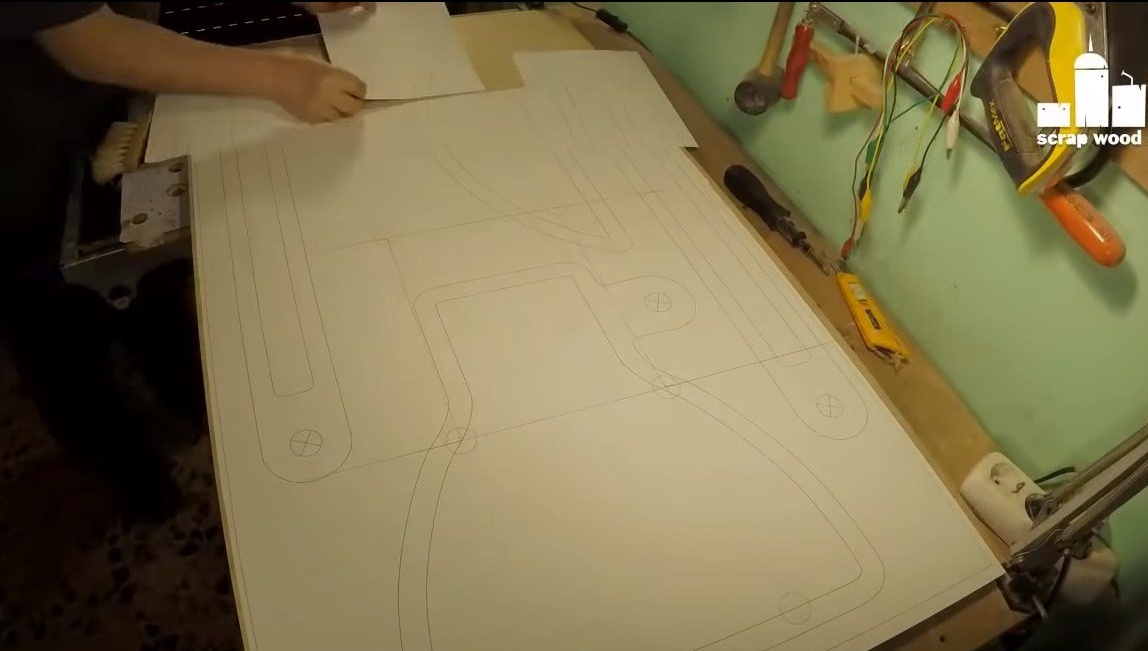
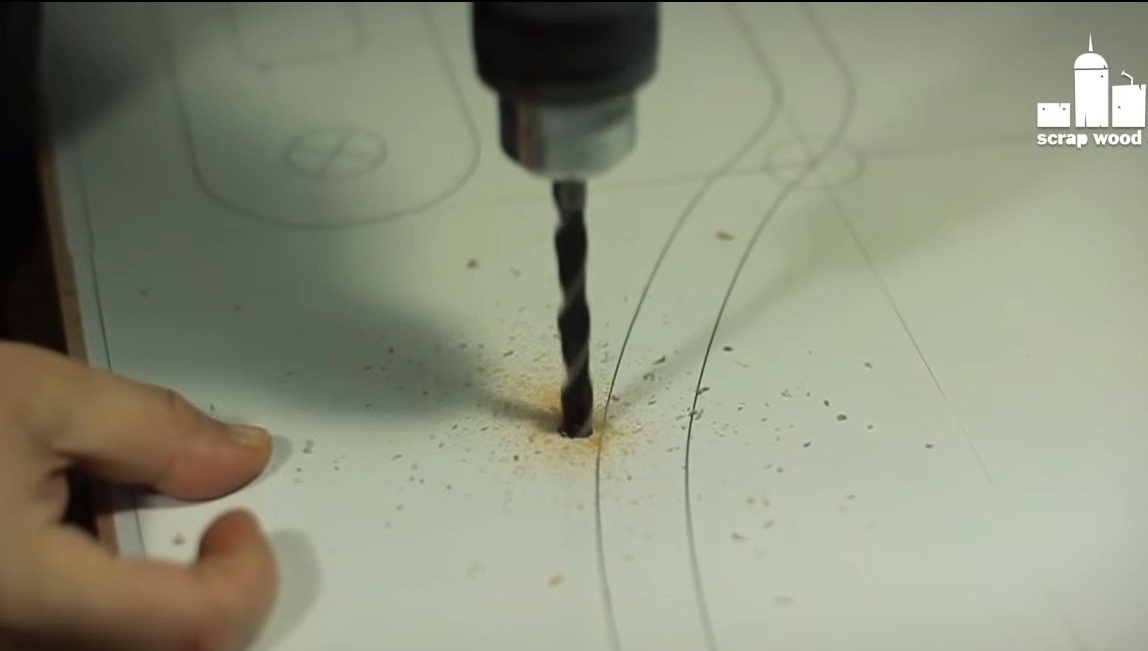
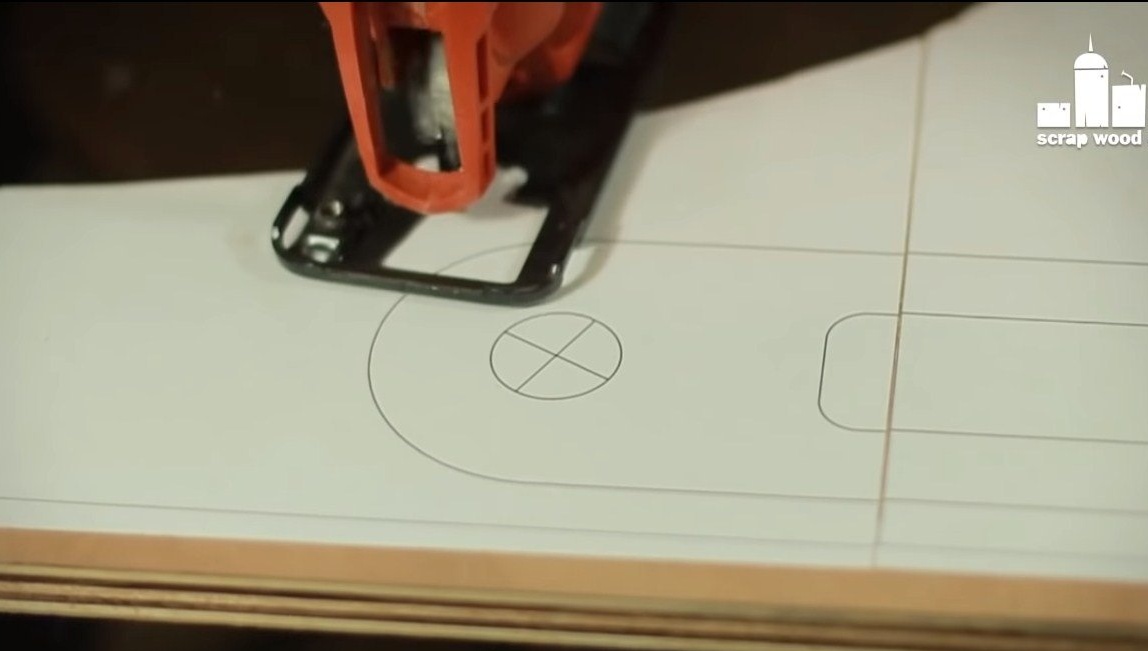
First of all, we cut out all the necessary details, for this you first need to draw a project on paper. We have a rather large lamp, so it won’t fit on a piece of paper. Details can be printed in stages on a printer, on several sheets, or you can draw by hand.
Next, glue the template to the plywood and cut out the details. The glue needs to be used one that can then be easily dissolved, otherwise you will need to grind all this paper with glue.

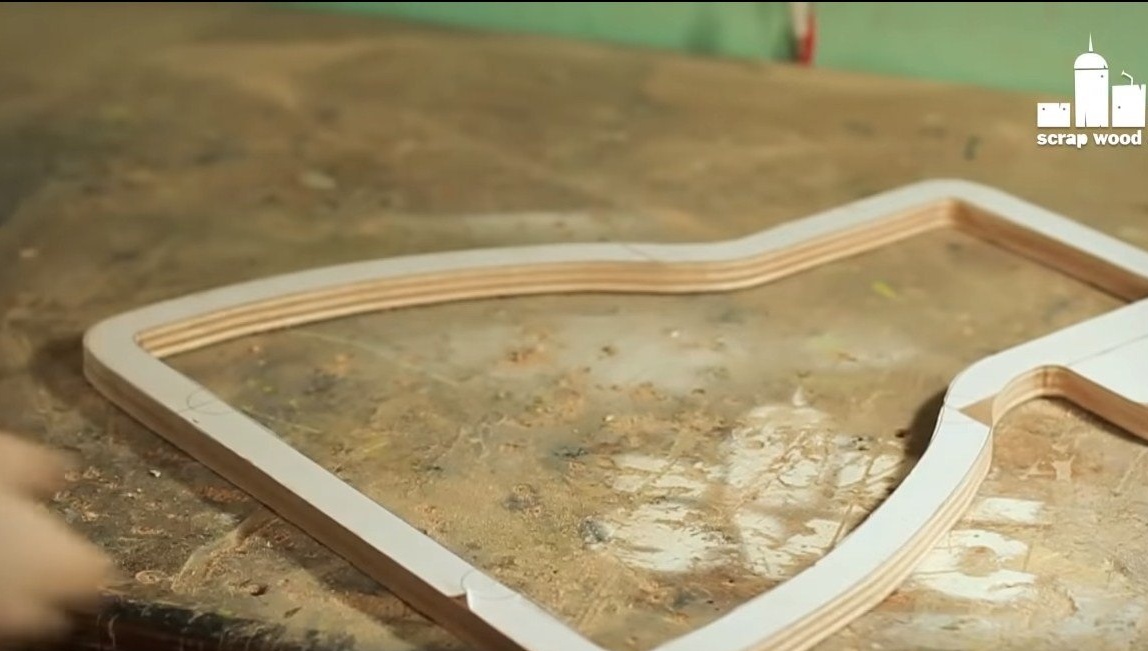
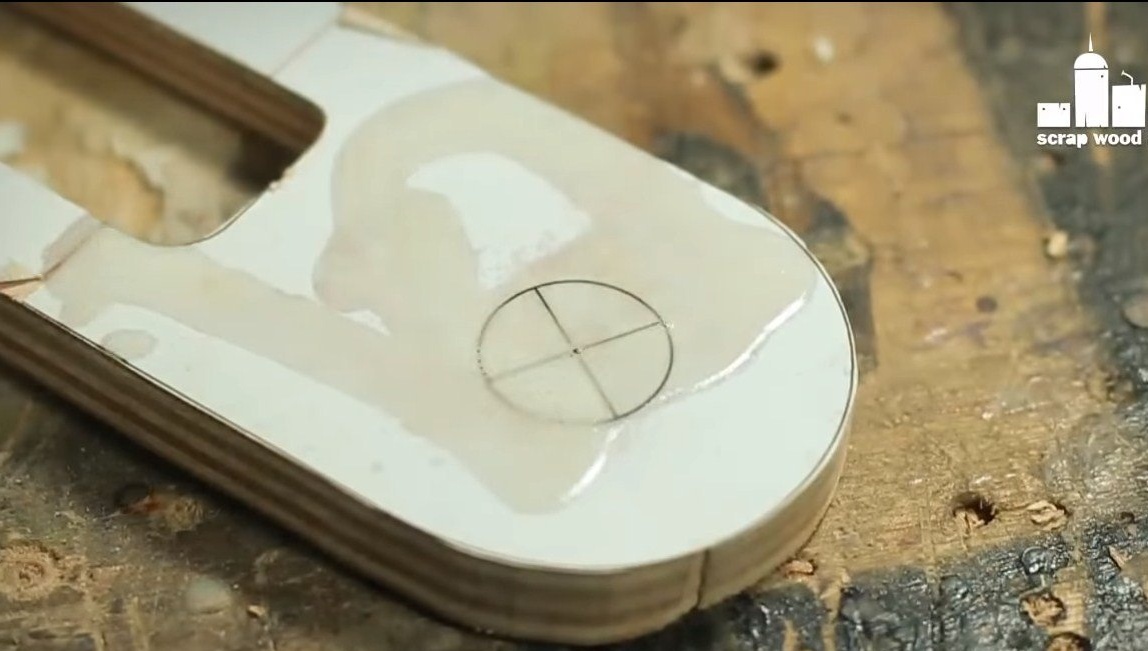
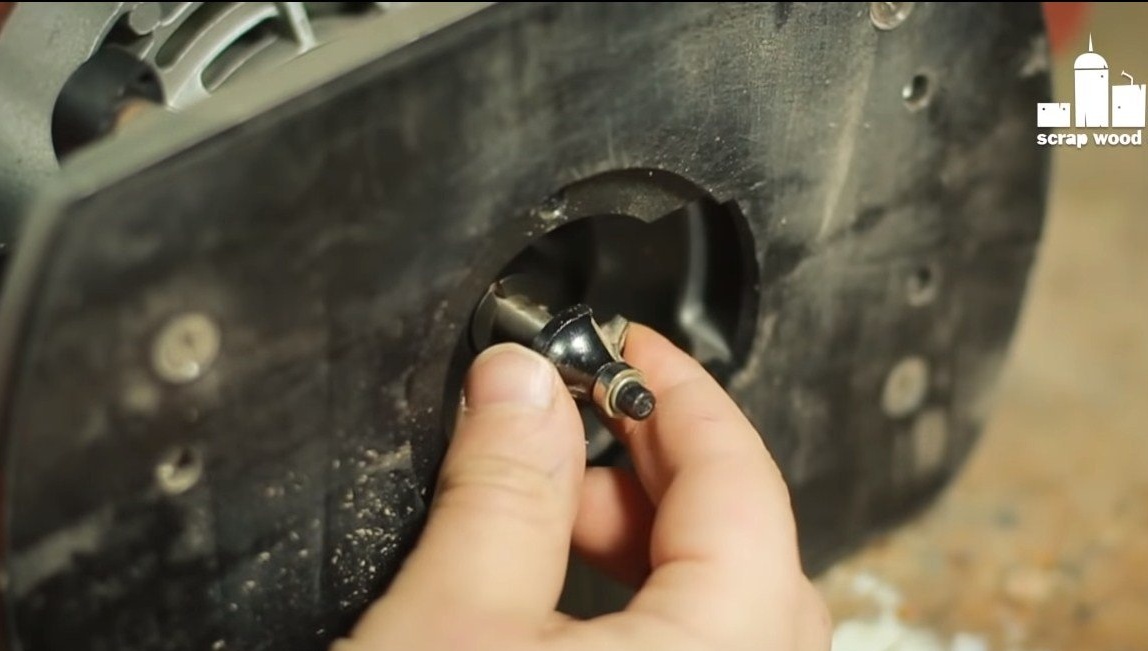
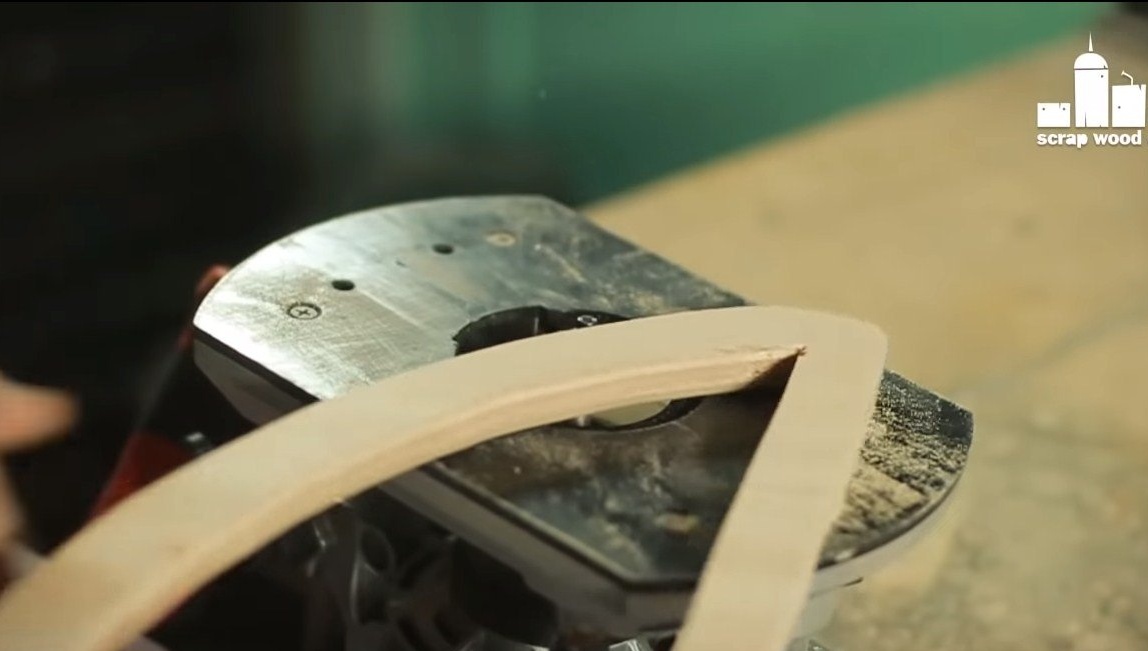
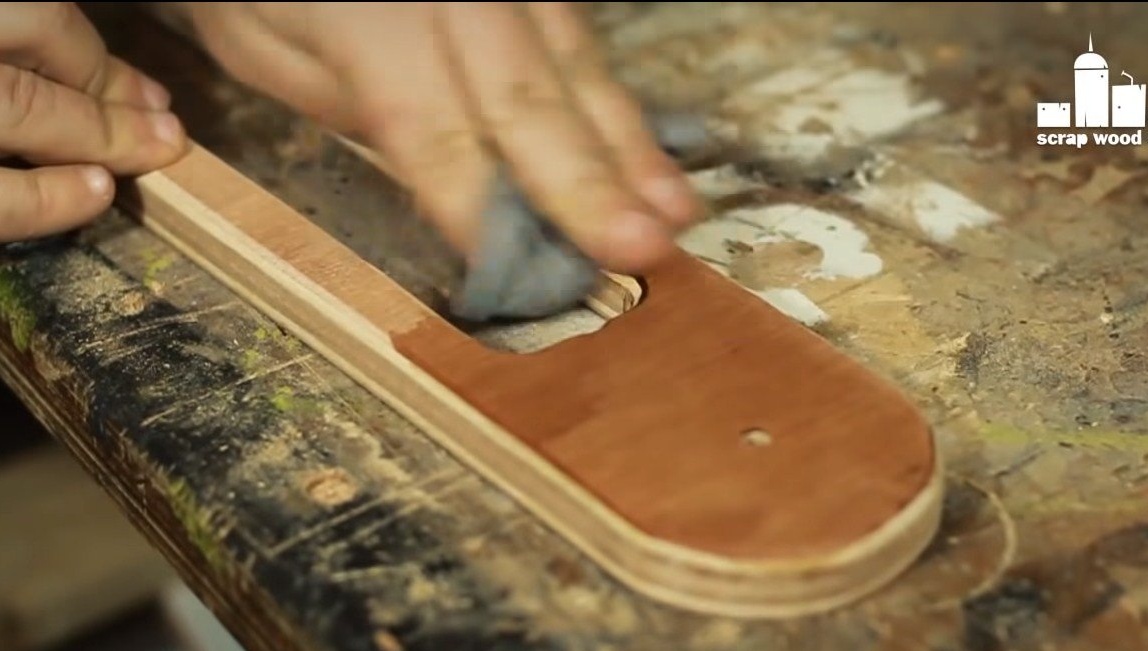
Step Two Treatment
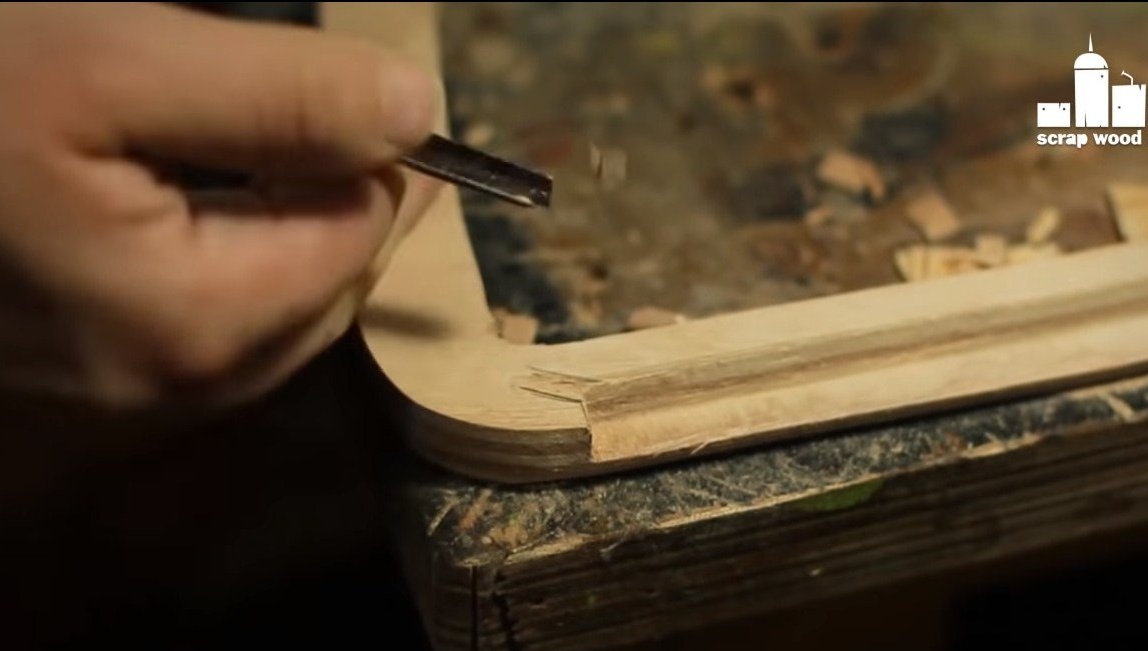
We will grind all the details well, it would be nice to have a drill here, but the author is well alloyed by hand. Some corners were machined with a milling cutter.

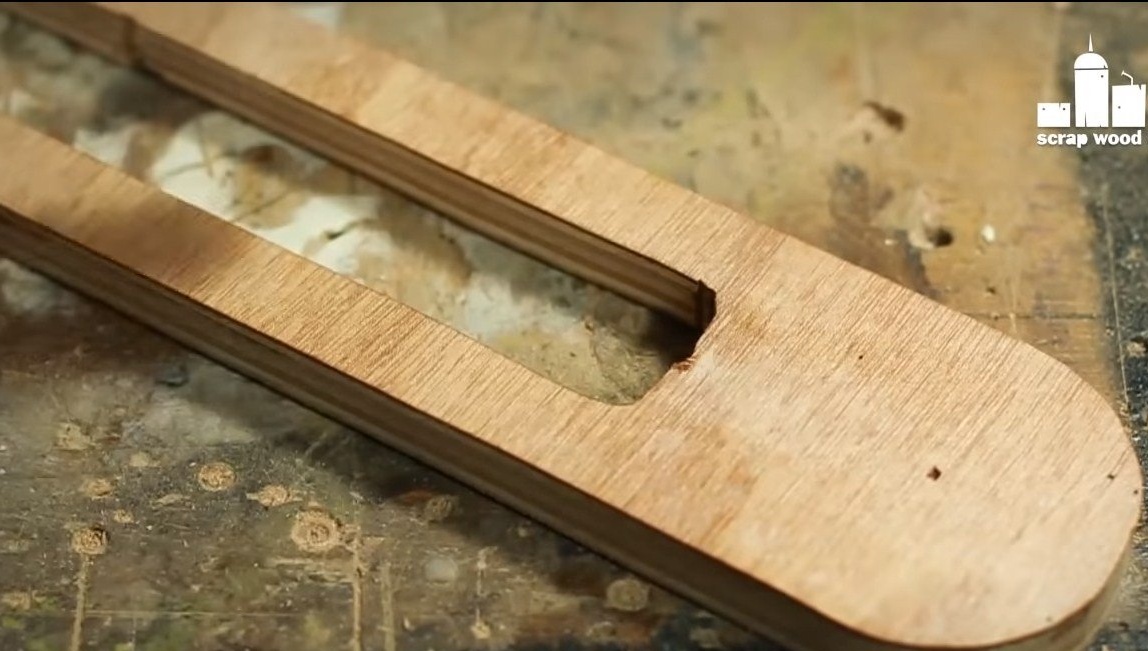

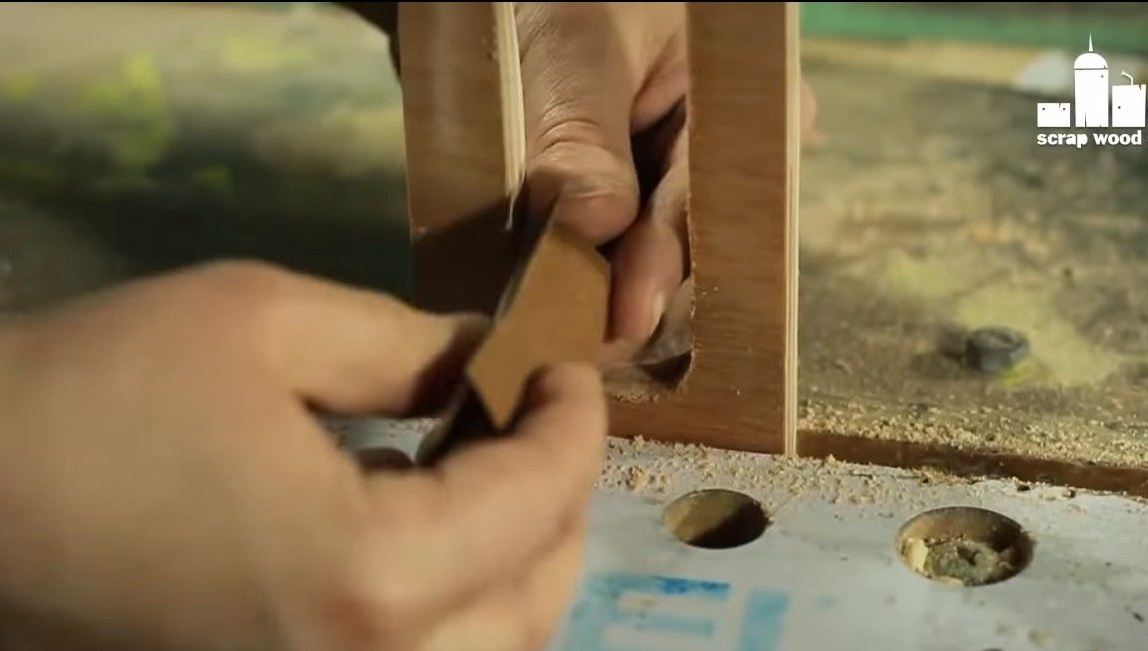
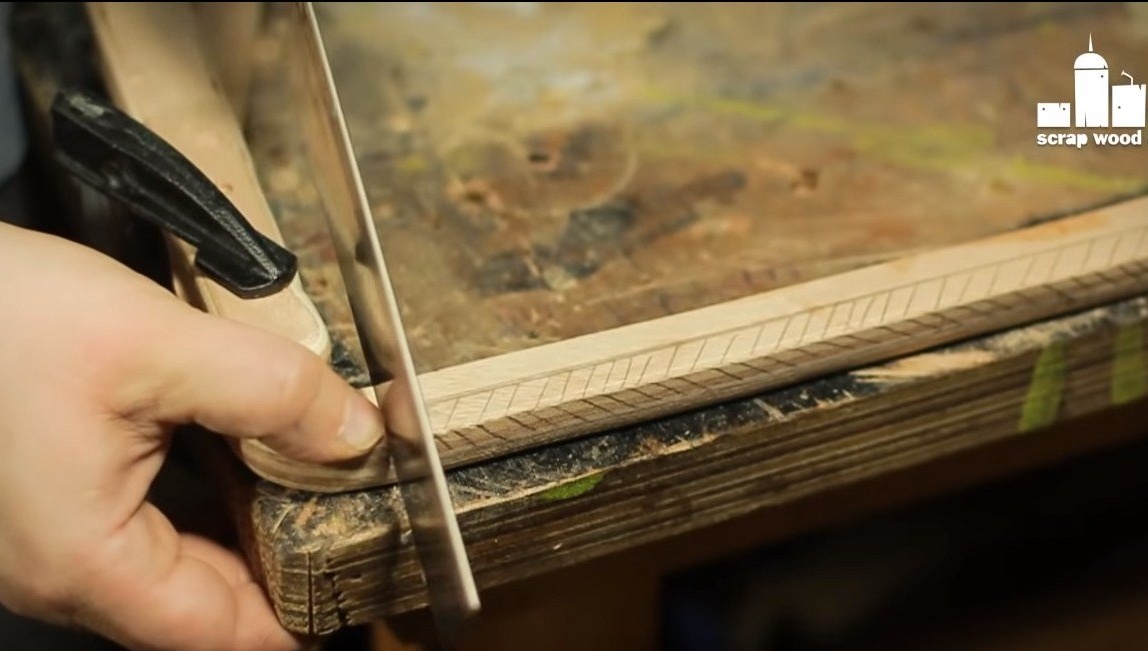
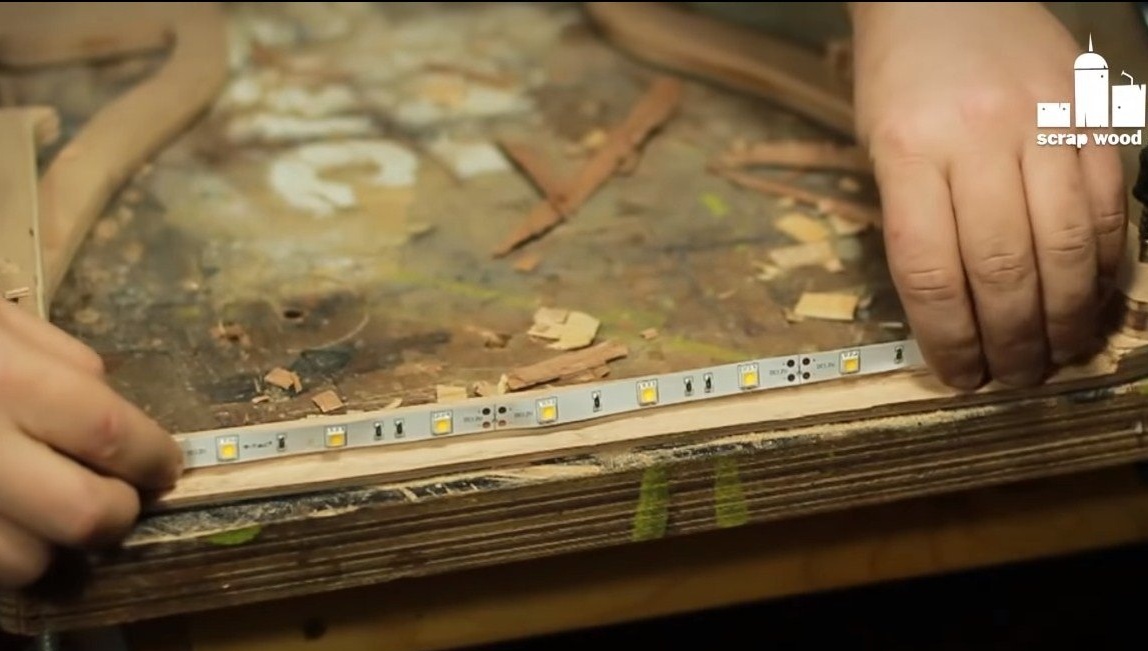
Step Three LED Strip Installation
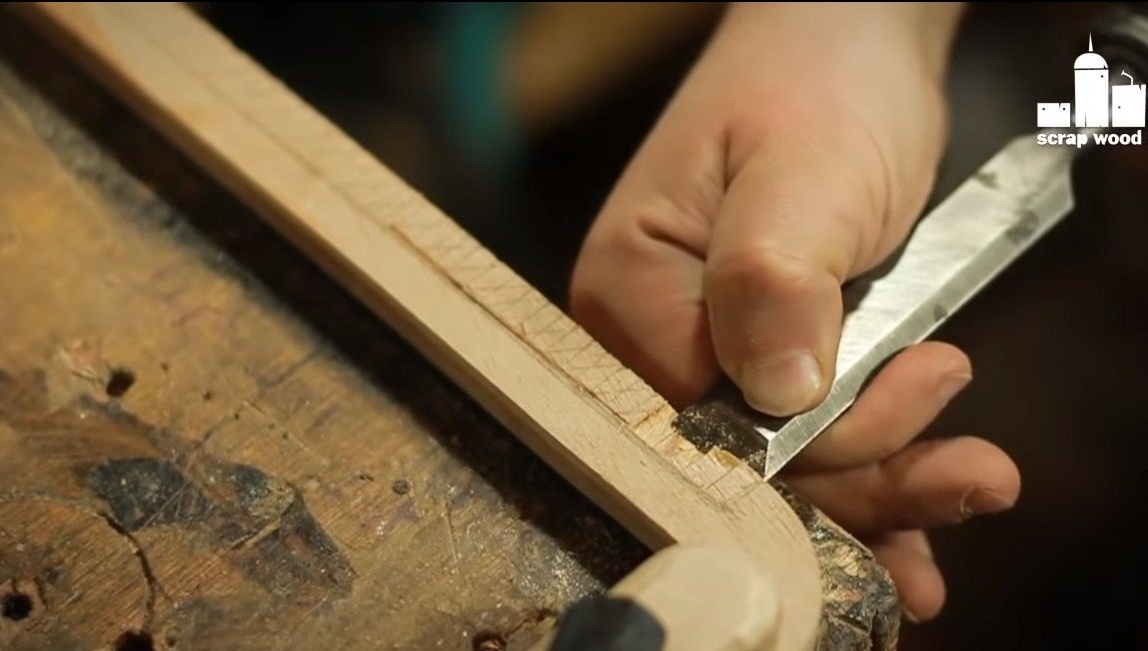
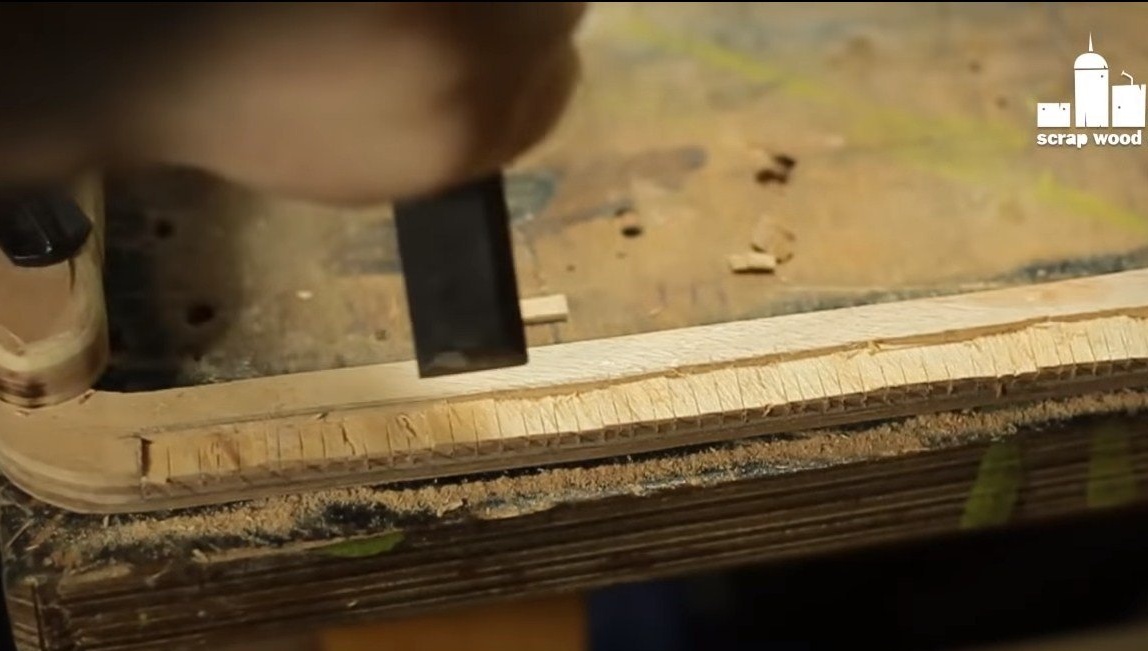
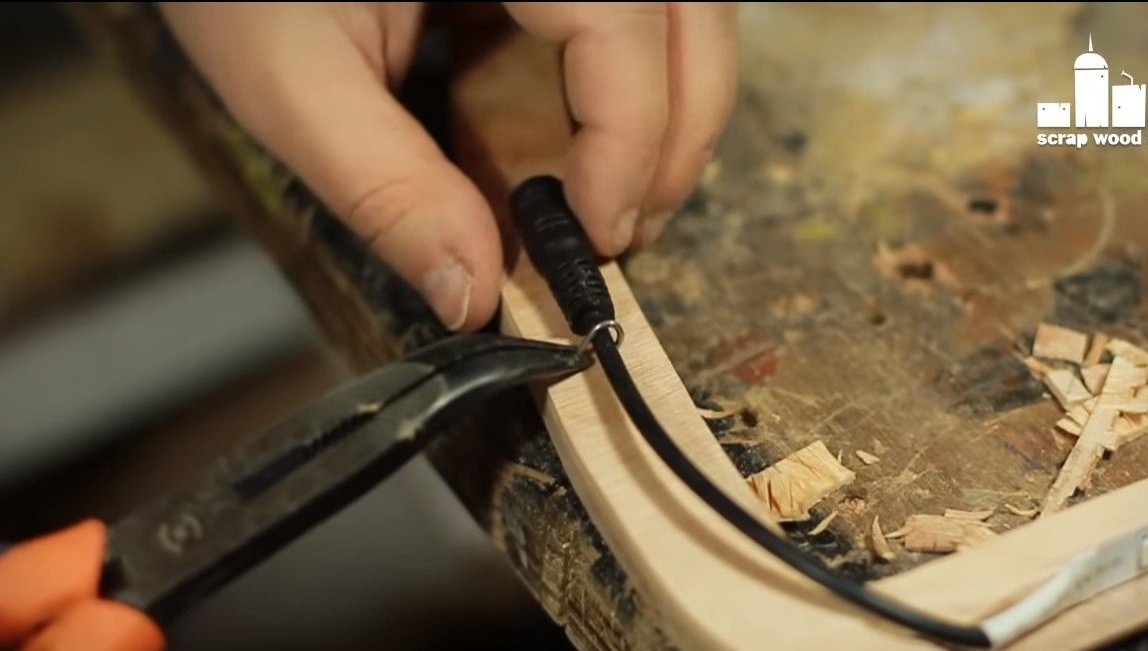
We install the LED strip in the lamp. For her, we need to make a groove, make a cut with a hacksaw, and then work with a chisel.
The author’s LED tape is self-adhesive, we stick it in its place. You also need to make a groove for the cable. We fix the cable with a metal bracket.
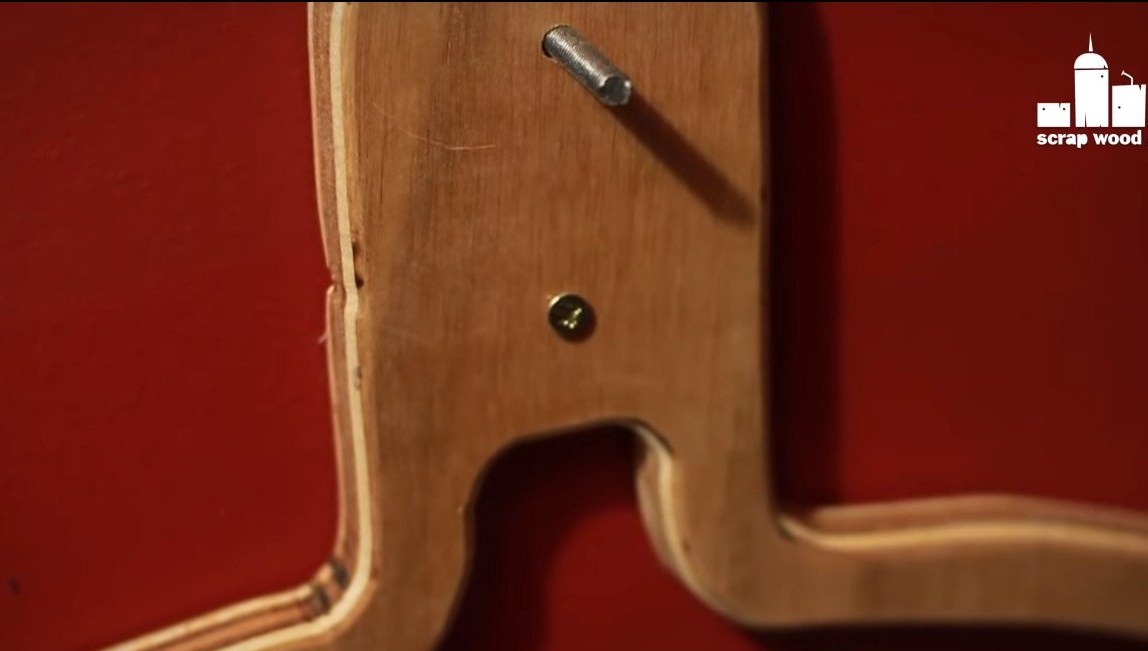
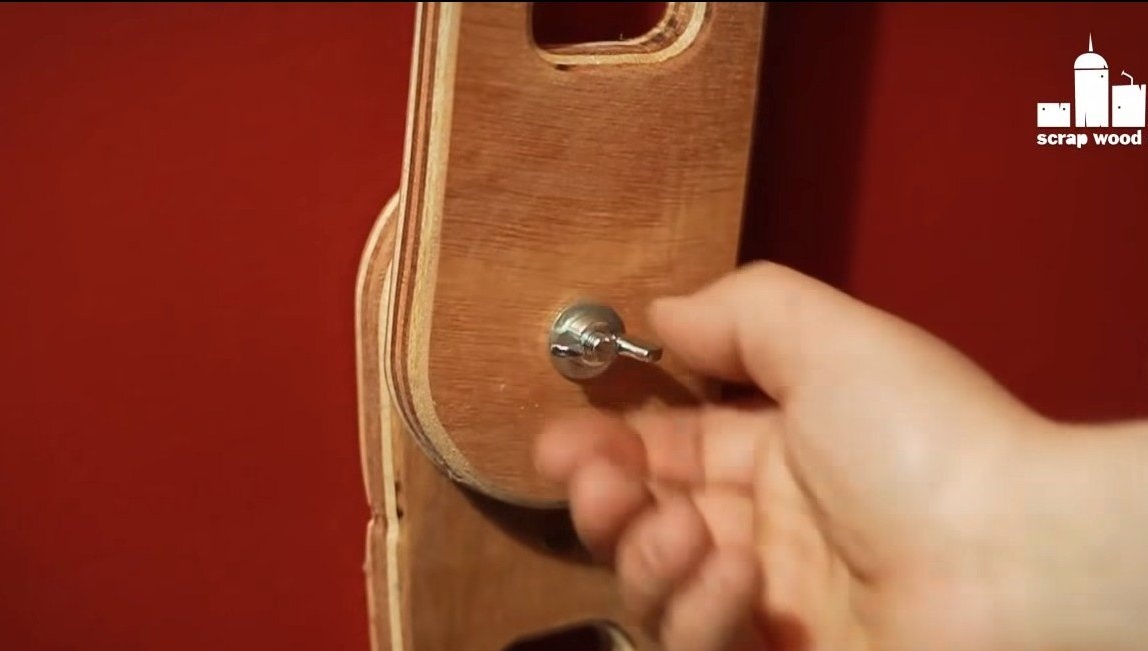
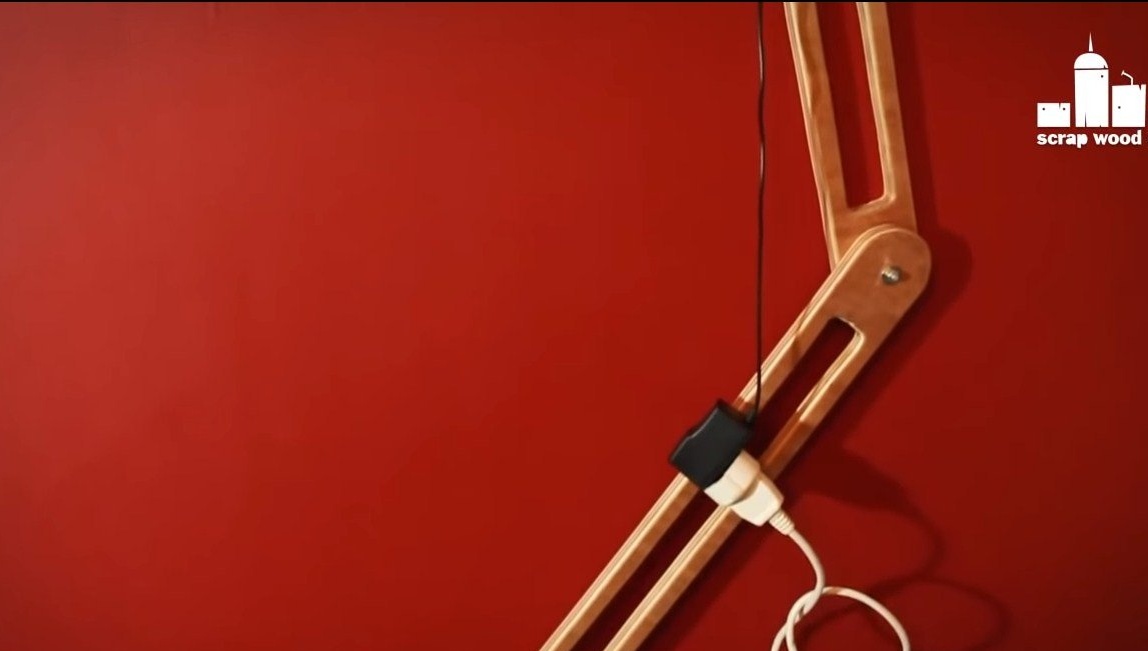
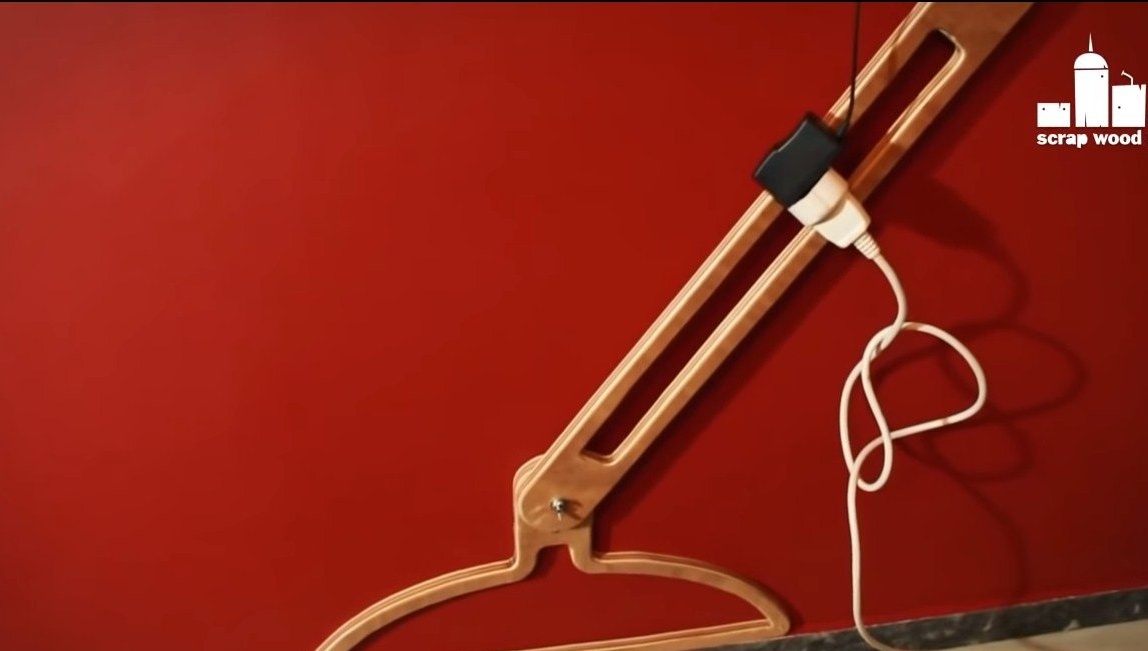
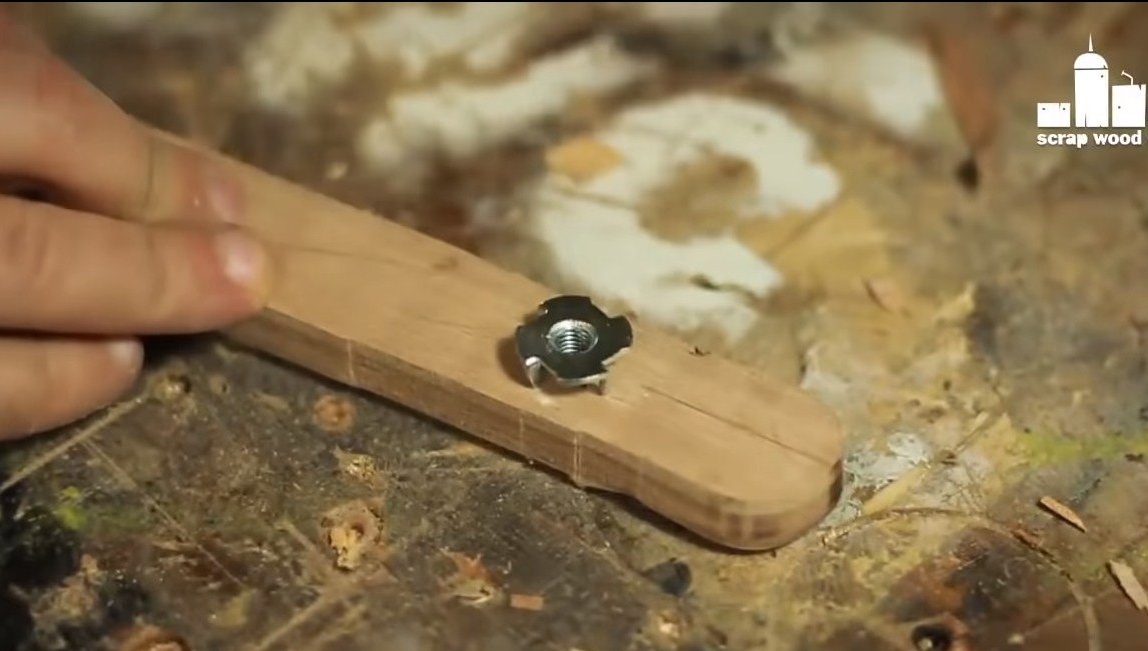
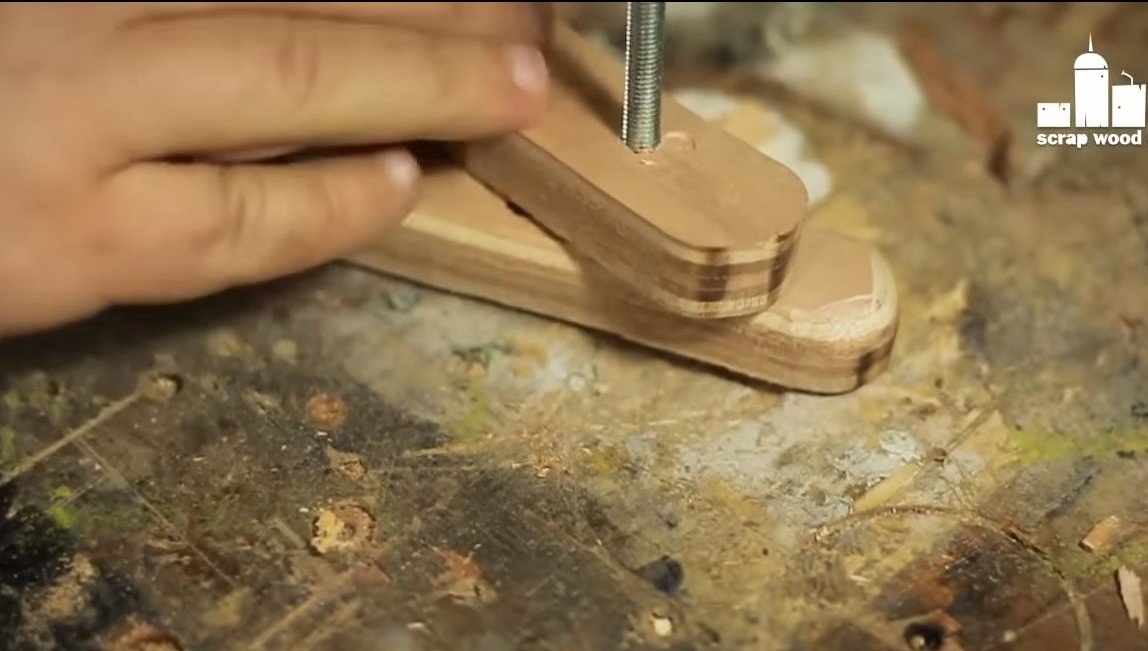
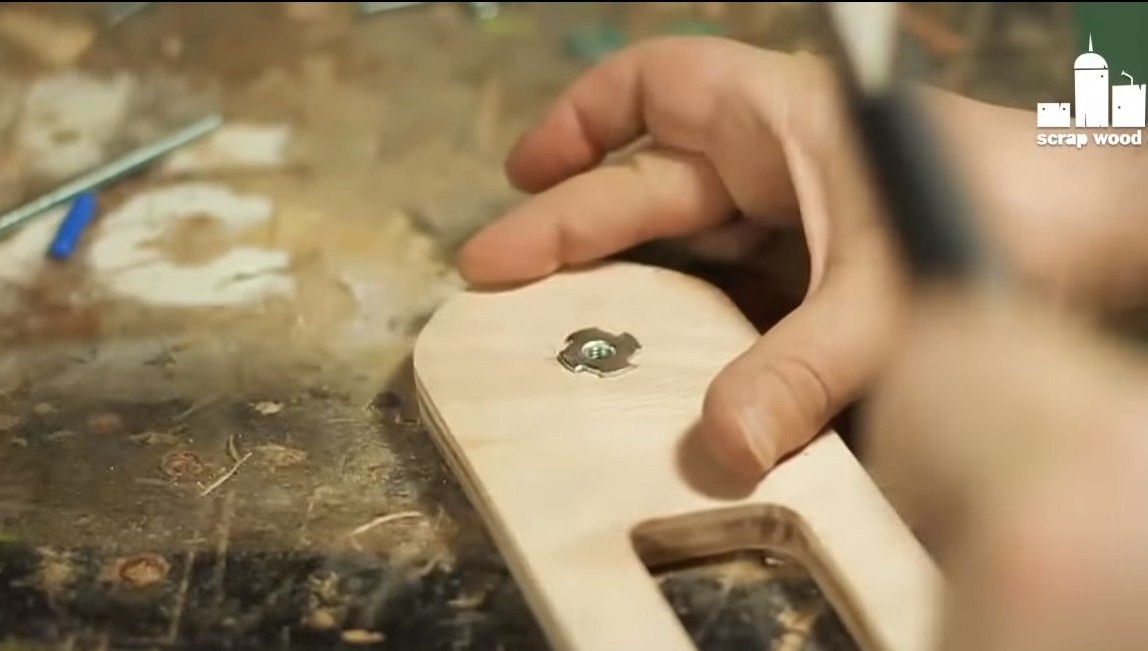
Step Four Hinges
The luminaire has swivel joints that even allow you to adjust the position of the luminaire on the wall. To do this, we mount the furniture nuts, wrap the threaded rods, well, and the wing nuts will be used as clamps.
At the end, we cover the tree with oil or varnish so that everything looks beautiful.
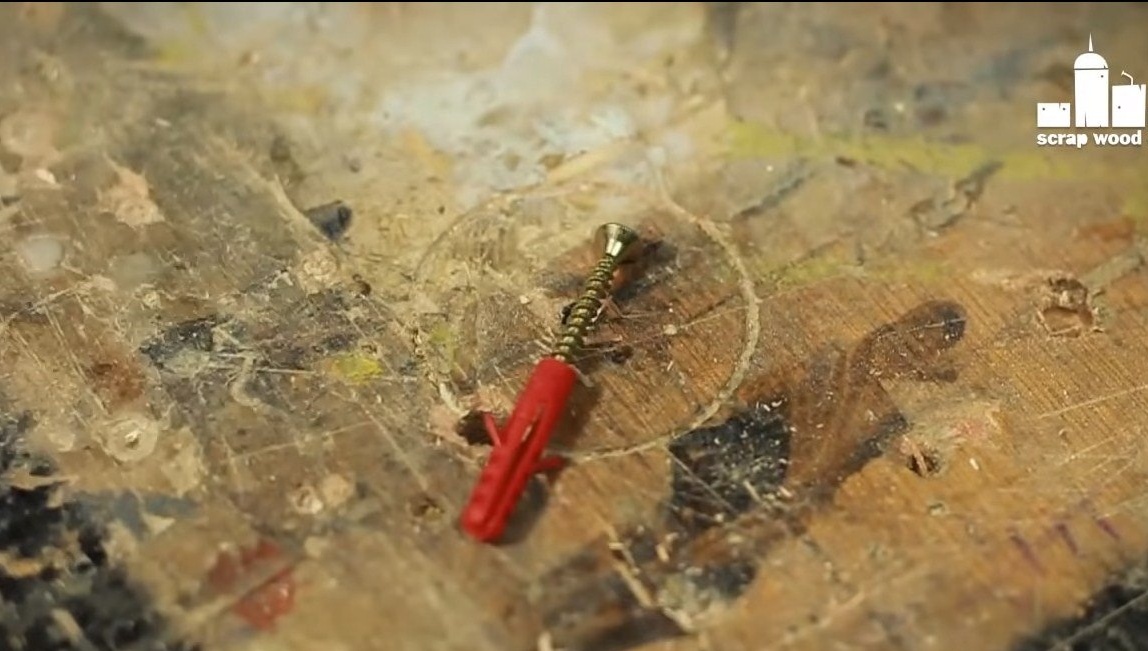
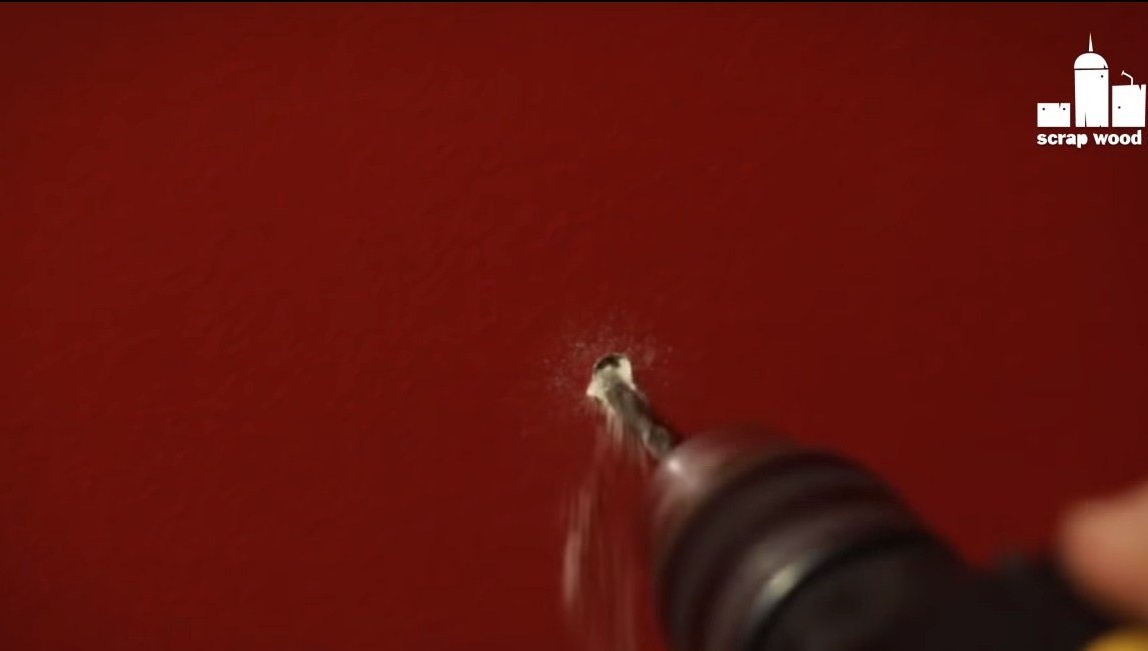
Step Five Installation
We install the lamp on the wall, drill holes in the wall with a drill for concrete and install dowels. Well, then we tighten everything well with screws. We connect the power supply and enjoy doing it yourself. The homemade shine is interesting, a sense of comfort immediately appears in the house.
The project is over, I hope you liked the homemade. Good luck and creative inspiration, if you decide to repeat this. Do not forget to share your ideas and homemade things with us!