Good day to all.
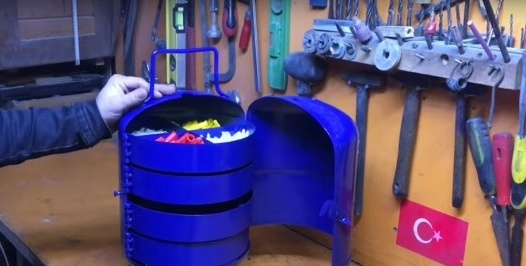
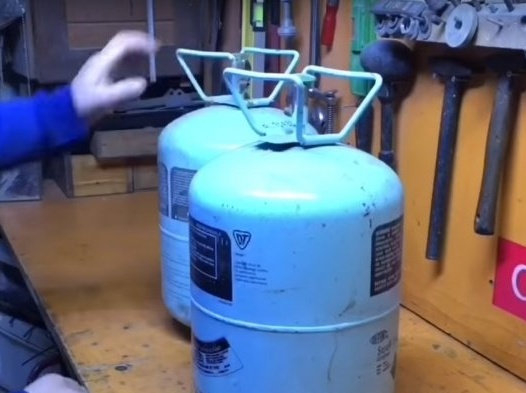
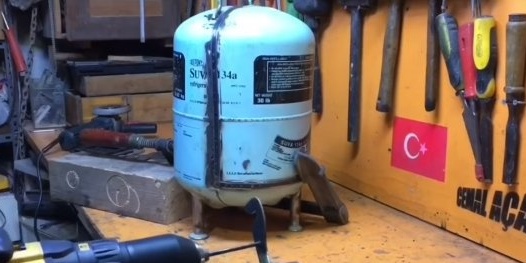
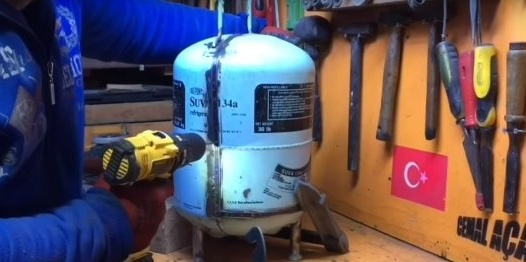
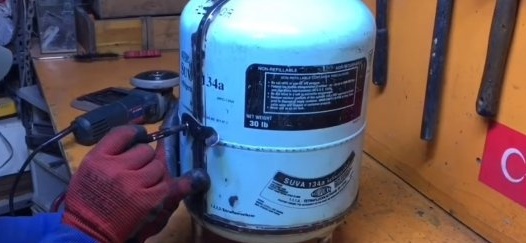
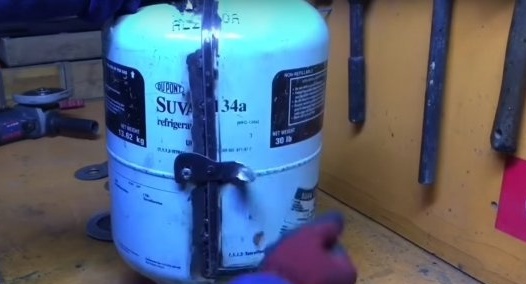
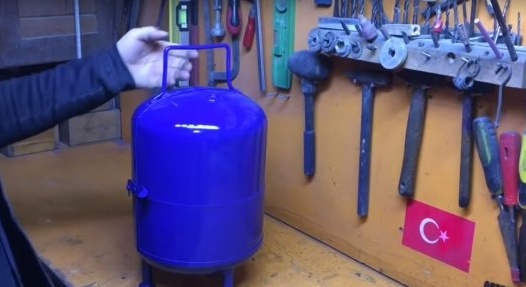
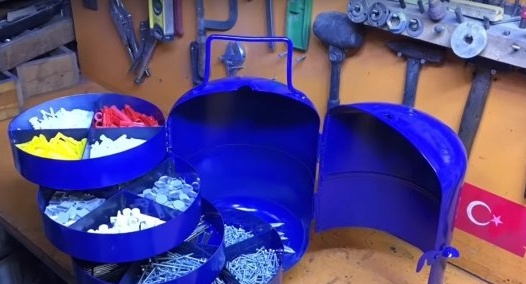
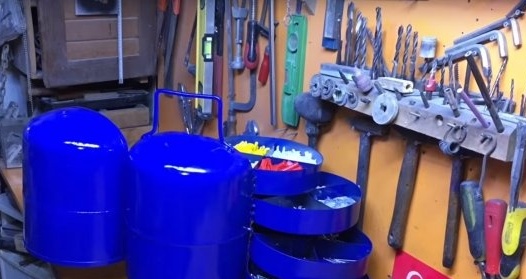
In this article, we will consider how the master from YouTube of the cemaL AÇAR channel made of a freon cylinder made an organizer for various little things.
Instruments:
Angle grinder
Metal cutting wheel
Petal circle
Vise
Metal brush
Hammer
Welding machine
Electrodes
Pliers
Masking tape
Drill
Drill
Paint
Materials:
Freon cylinder
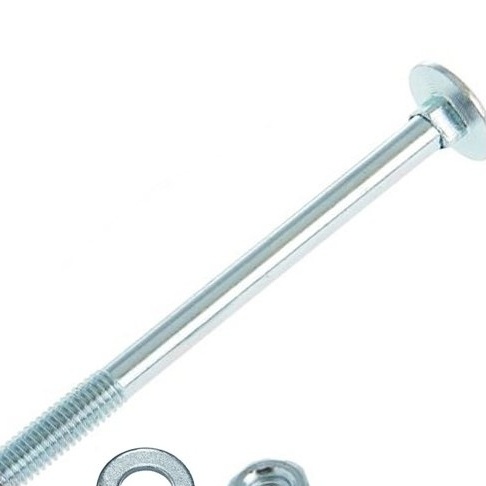
Bolts and nuts
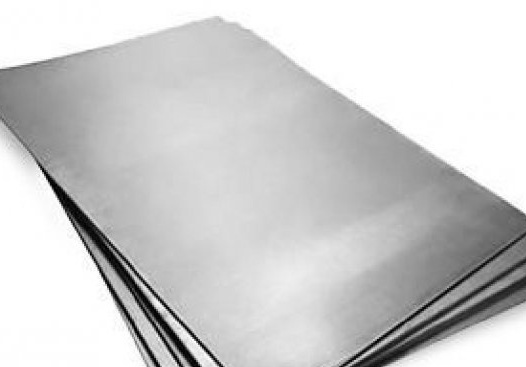
Sheet metal
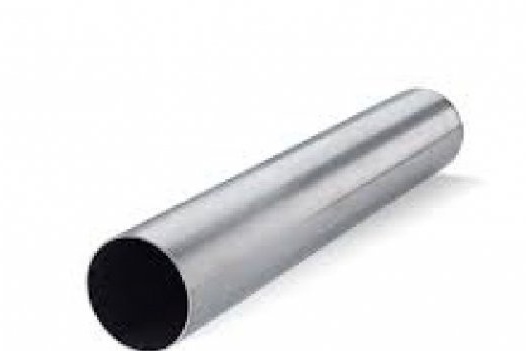
Steel pipe approx. 3⁄4
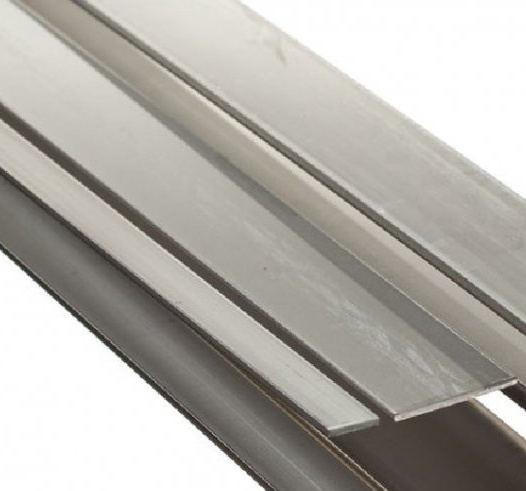
Steel strip narrow and wide
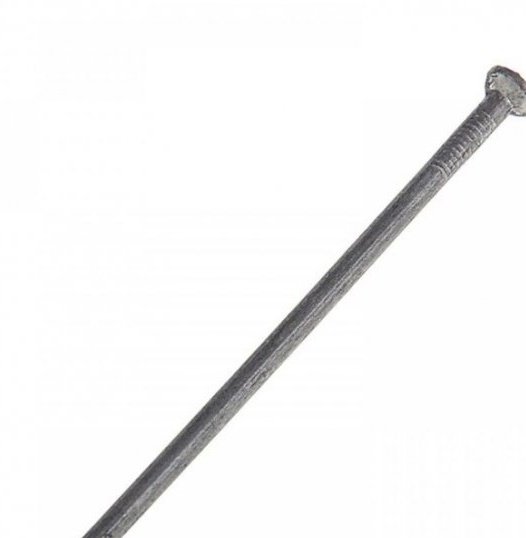
Nail
Steel bar with a diameter of 6 mm
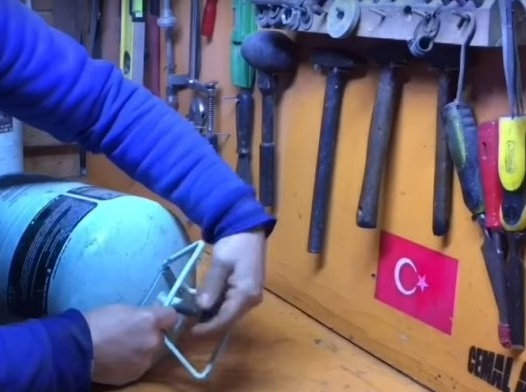
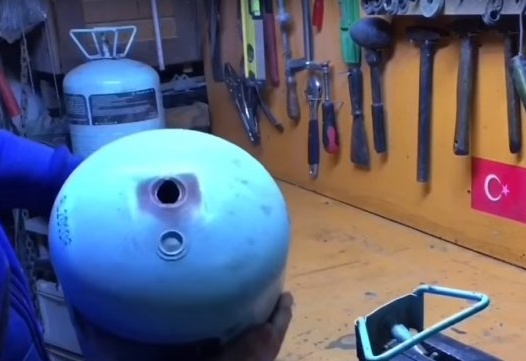
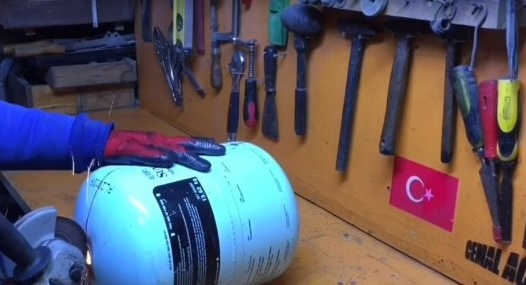
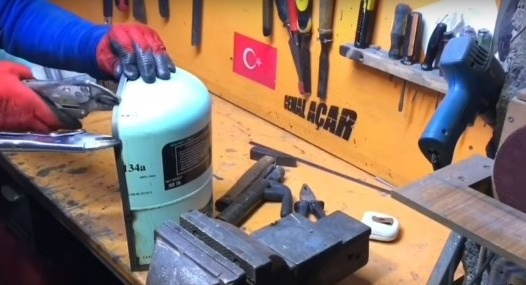
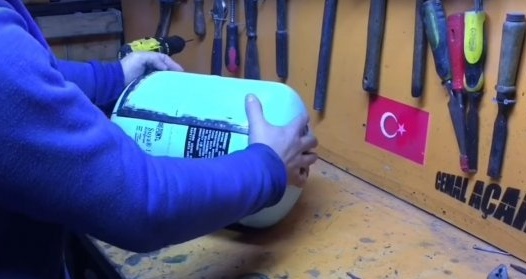
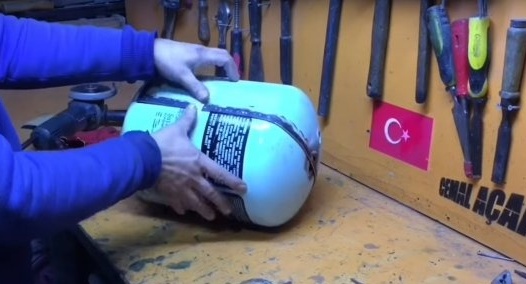
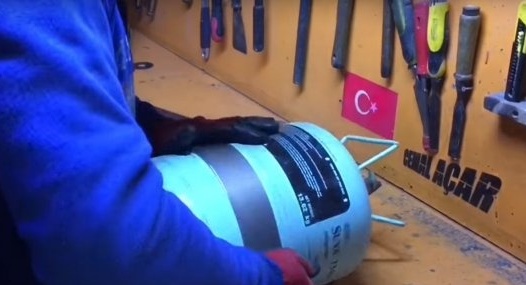
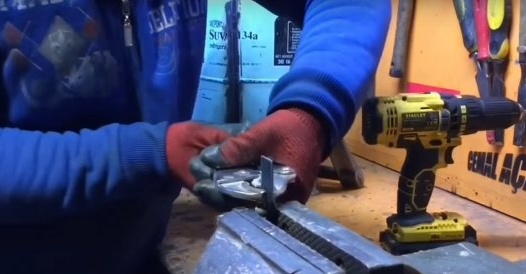
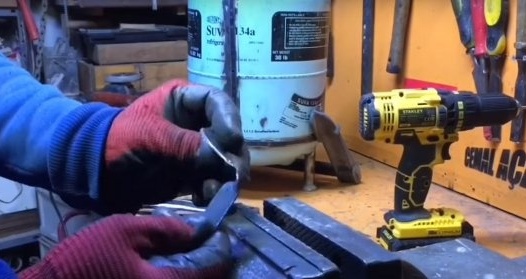
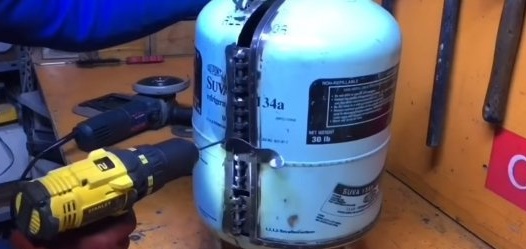
And first of all, the author unscrewed the tap on the cylinder so that the remnants of freon came out.
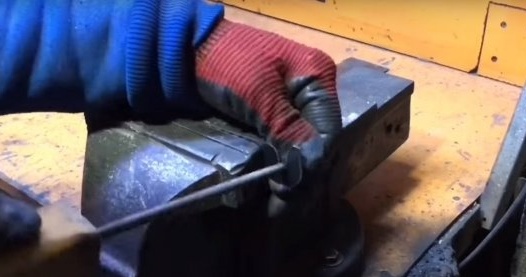
After he clamped the tap in a vice.
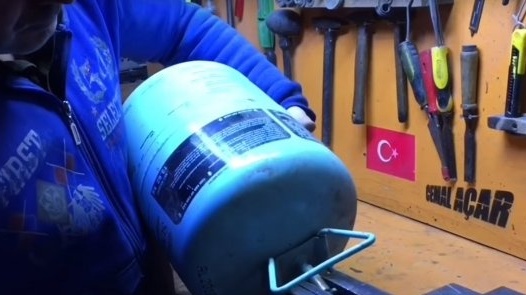
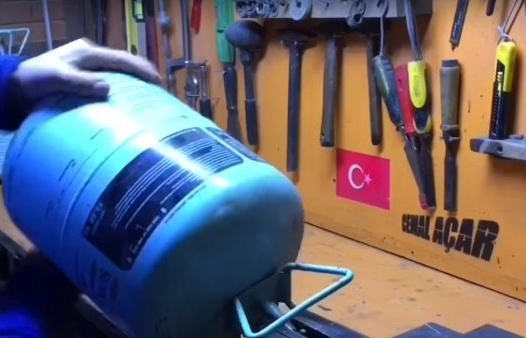
And moving the balloon from side to side.
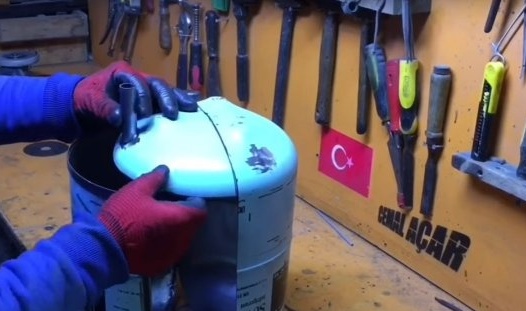
Disconnected the plate with a tap and handles from the cylinder.
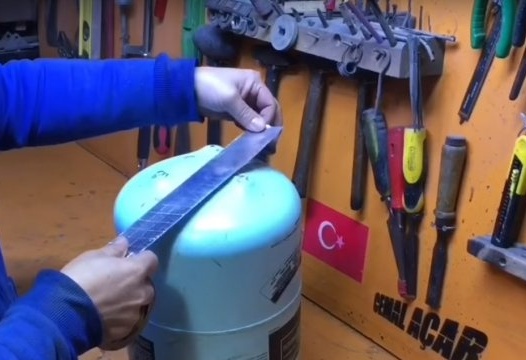
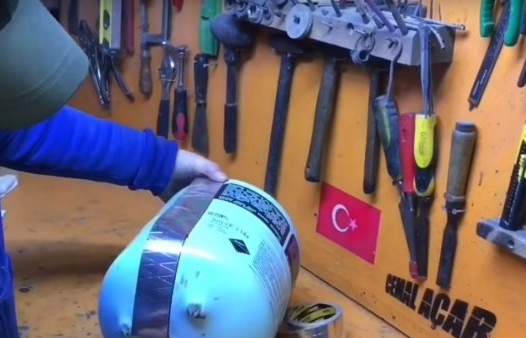
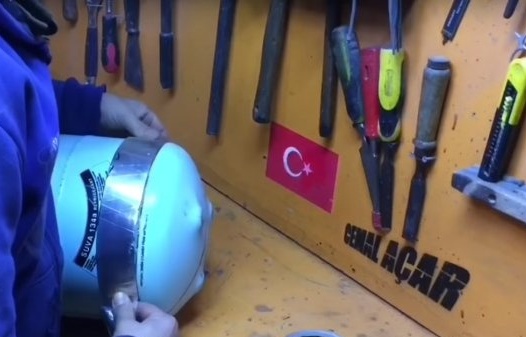
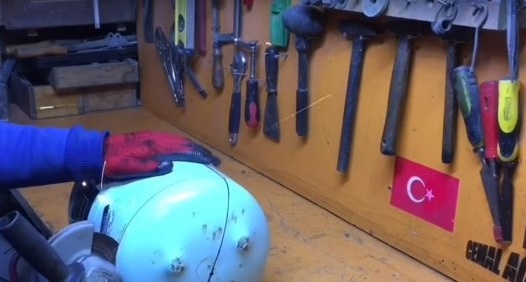
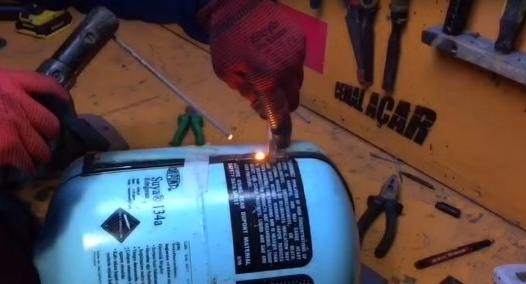
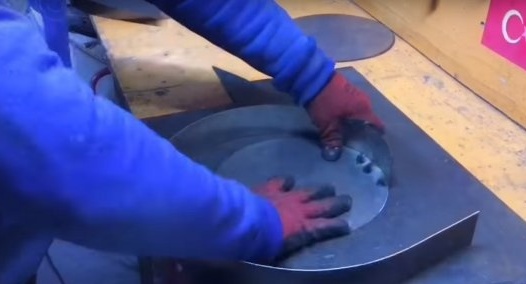
Then marked up.
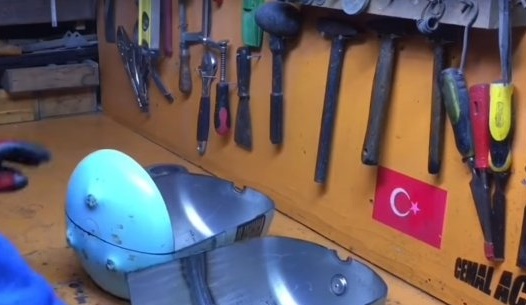
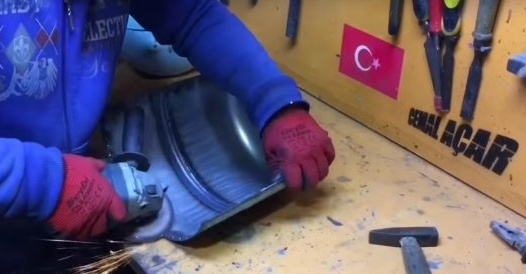
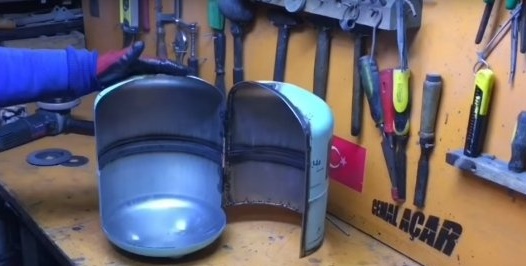
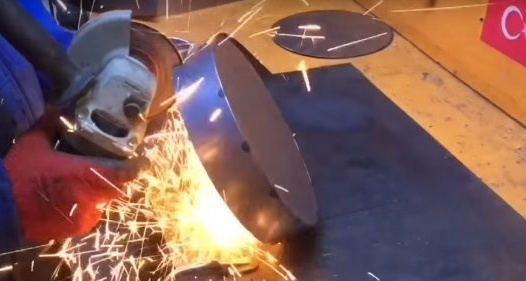
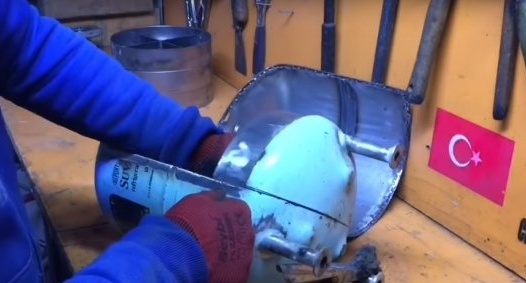
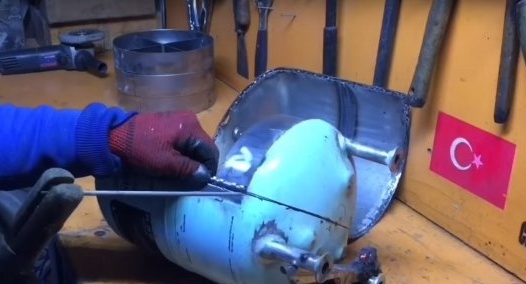
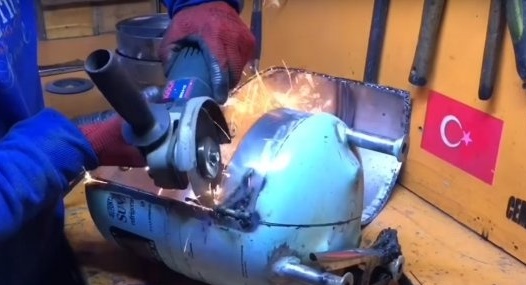
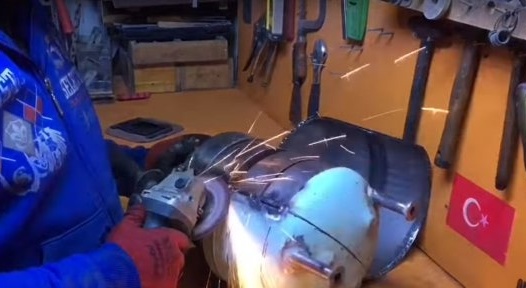
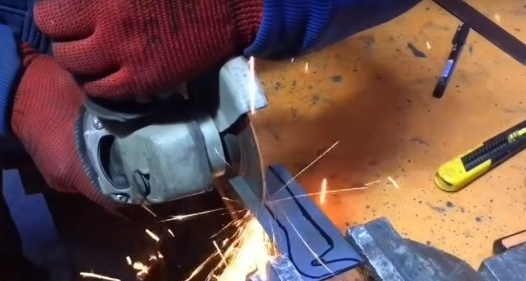
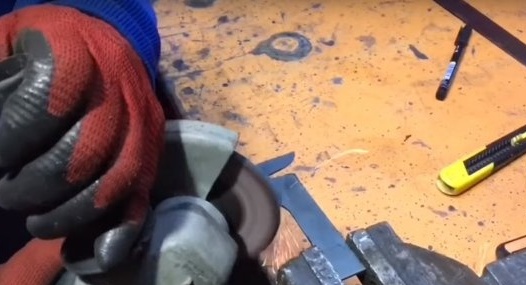
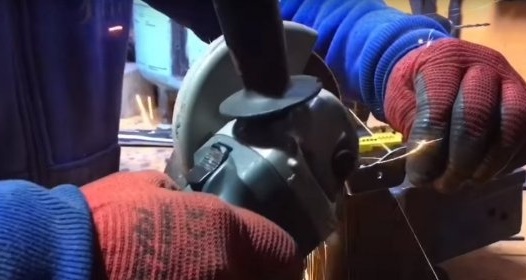
And cut the balloon according to the marking.
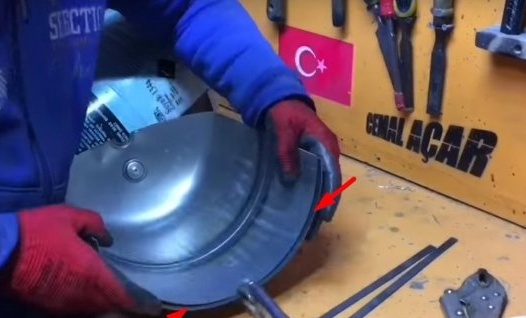
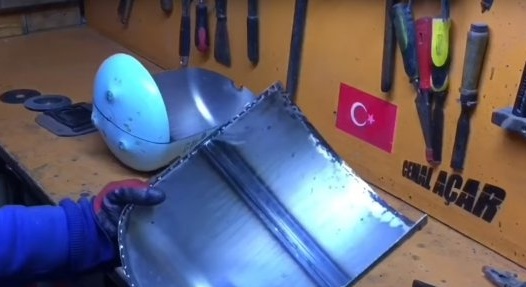
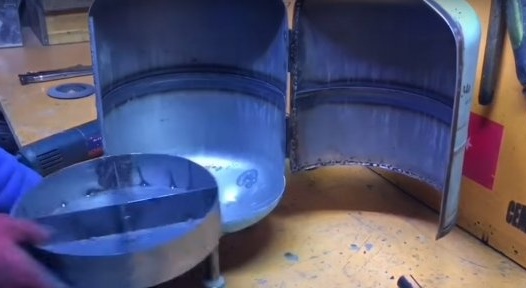
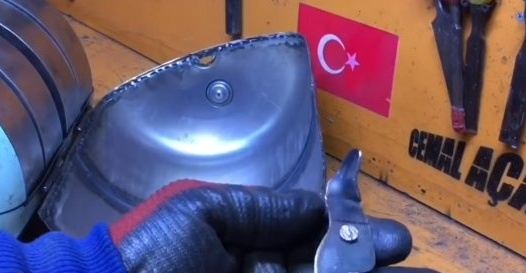
Two details have turned out. The part with the bottom will be the body, and the second door.
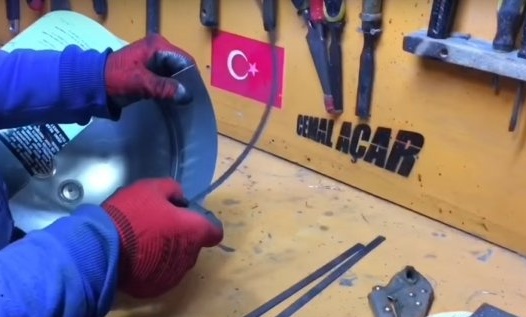
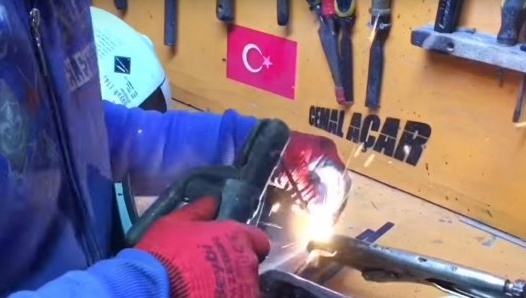
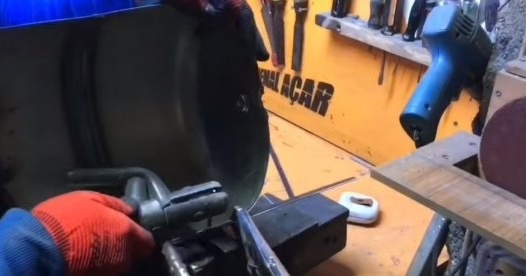
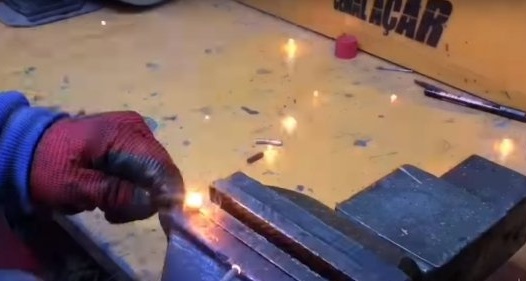
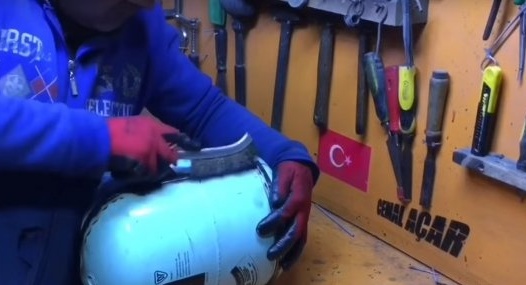
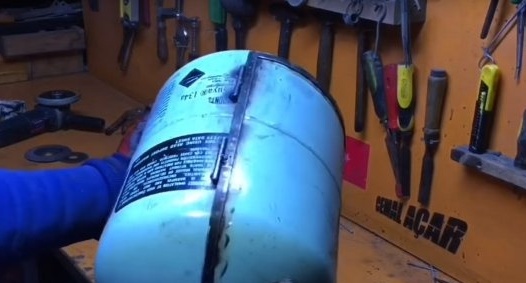
Along the edge of the future door, the author welded a narrow steel strip.
After processed the seams.
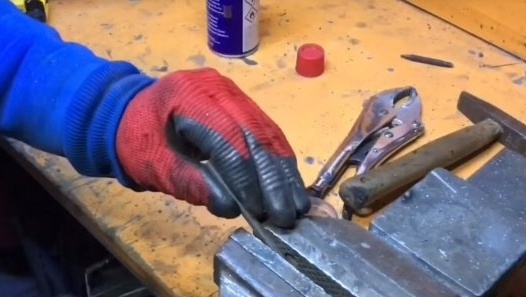
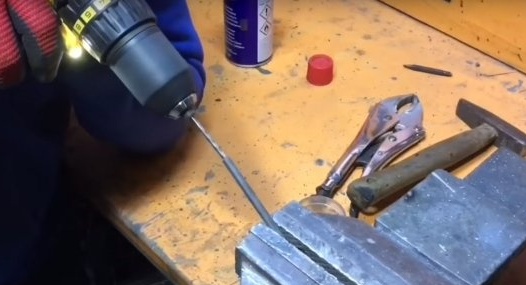
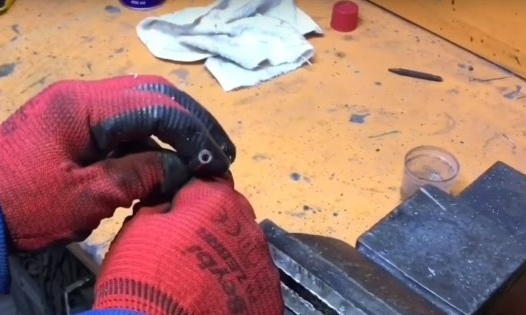
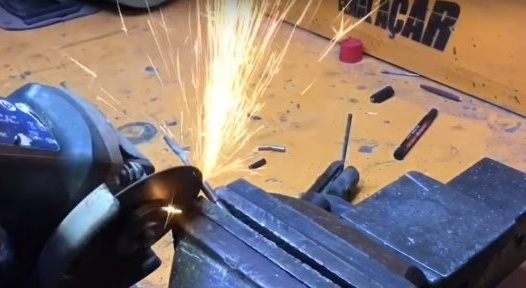
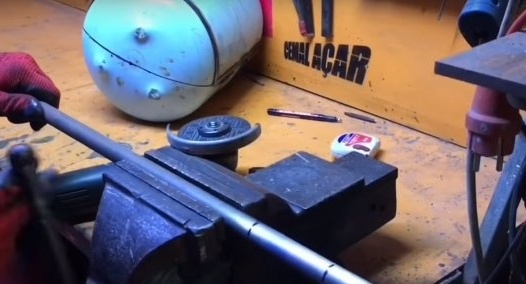
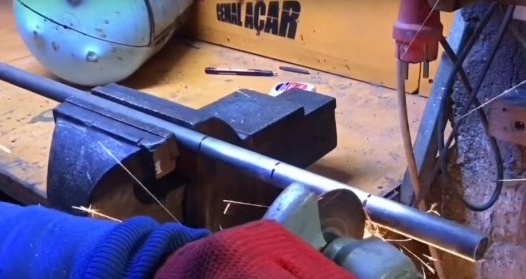
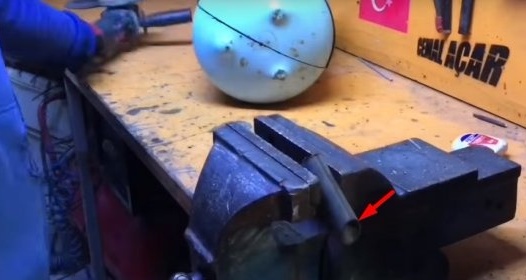
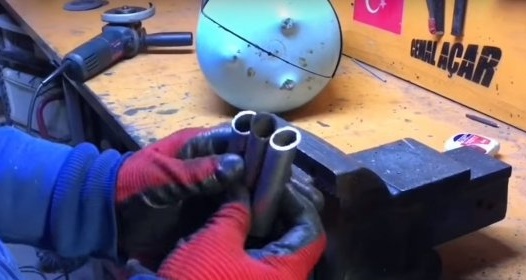
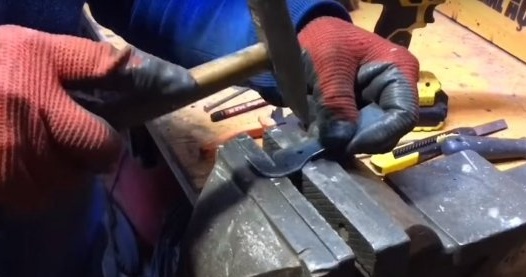
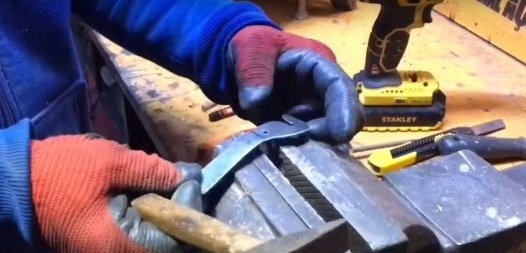
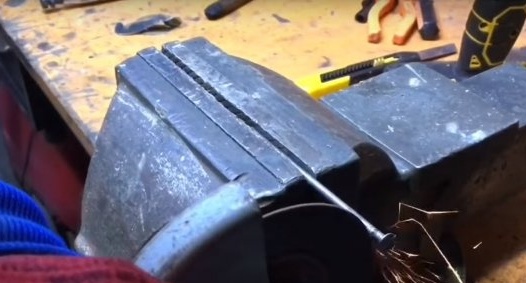
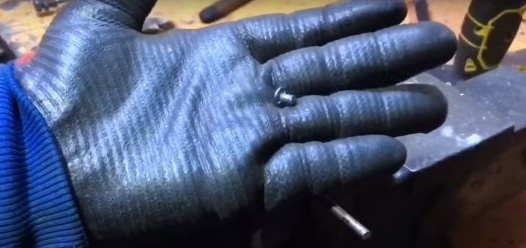
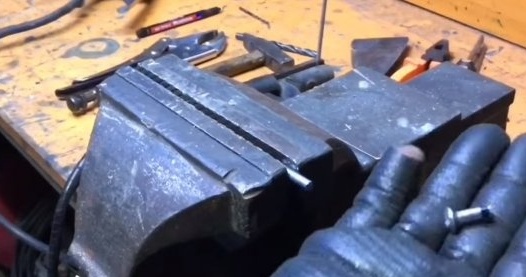
Then he took the bar and, holding it in a vice, made a hole in it.
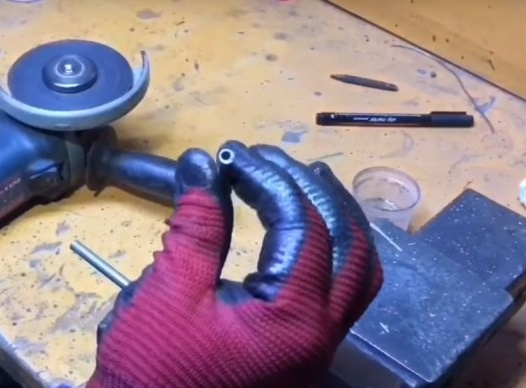
And cut off this piece with a hole.
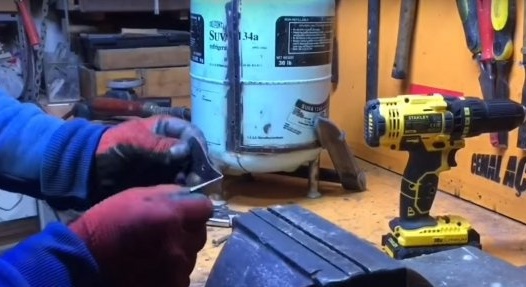
Such blanks, the master made six pieces.
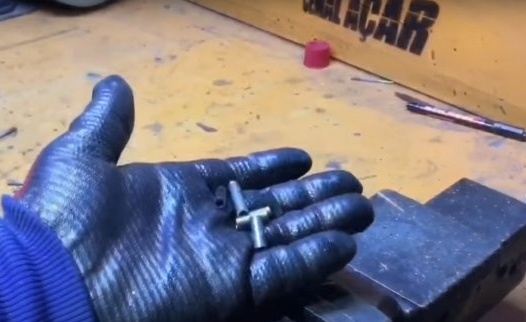
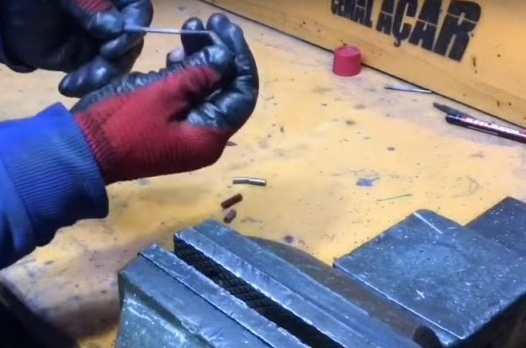
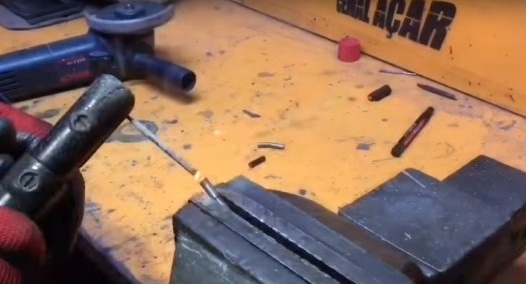
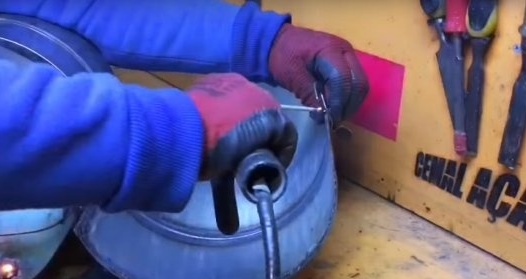
Then the author took a piece of electrode No. 2, and freeing the rod from the coating. I installed three previous blanks on it.
The master welded the extreme tubes to the rod. With the three remaining blanks, the author made a similar procedure. The result was a loop.
After connecting the body and door.
I fixed them with masking tape, temporarily of course.
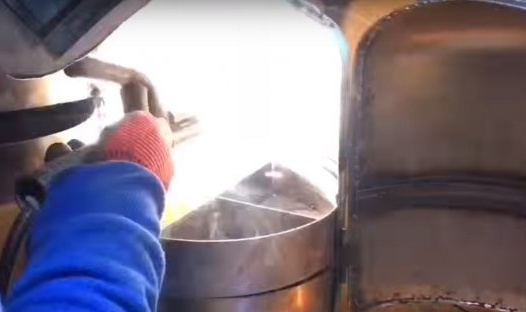
Then welded the loop, removed the tape.
And cleaned the seams.
It turned out somehow.
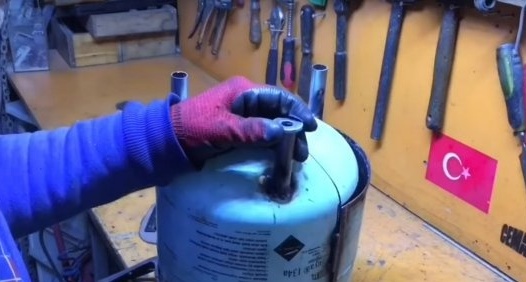
Further, the author cut three pieces of the same size from the pipe.
One edge of all the blanks was cut off at a small angle.
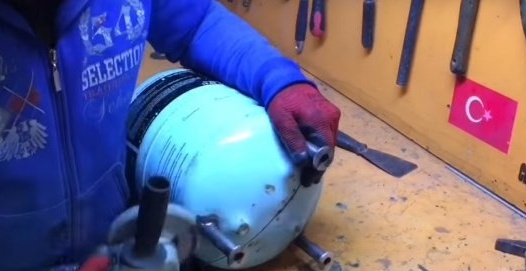
After that, these blanks were welded to the bottom of the body by an angular cut.
And to an even cut, washers were welded.
After processing the seams. Organizer case is ready.
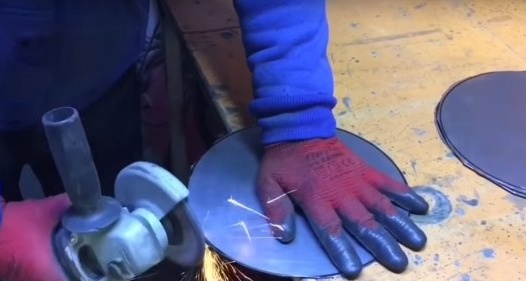
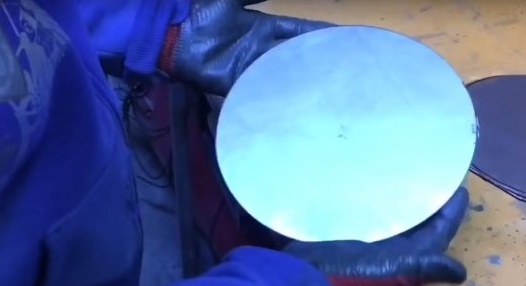
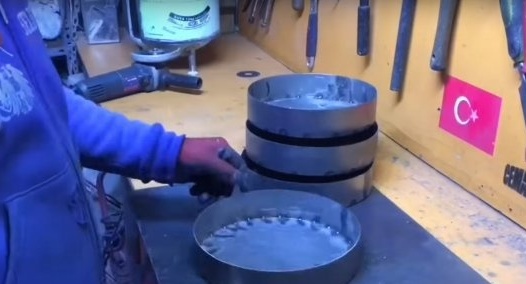
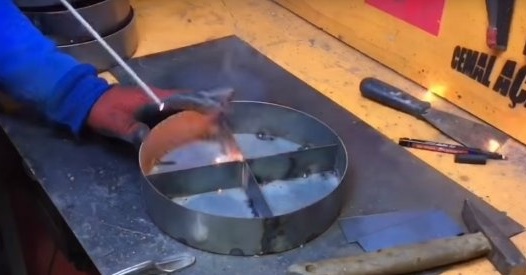
Now the author will make four drawers for him. To do this, he will cut four round blanks from sheet metal.
The diameter of the workpieces should be slightly less than the inner diameter of the body.
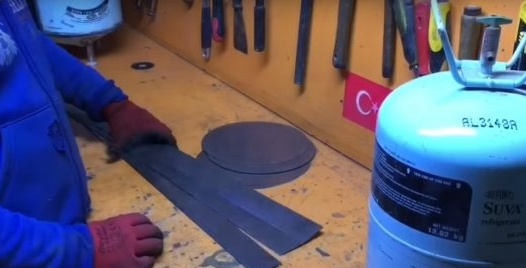
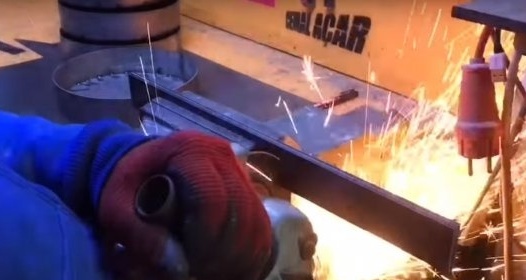
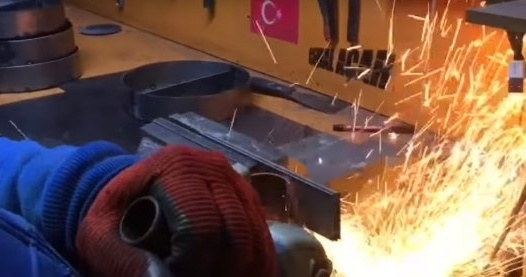
After will take a steel strip.
And giving it a round shape.
Welds it to previous workpieces.
Excess cut off.
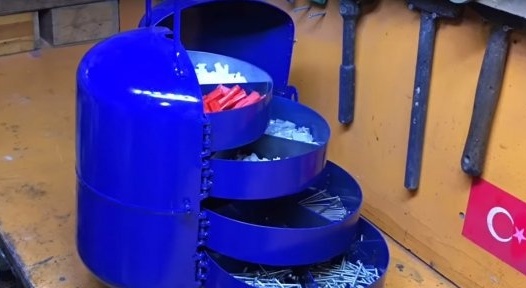
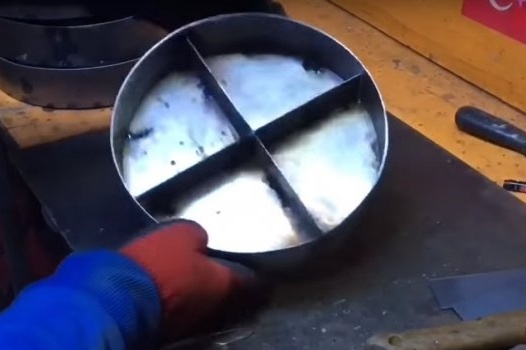
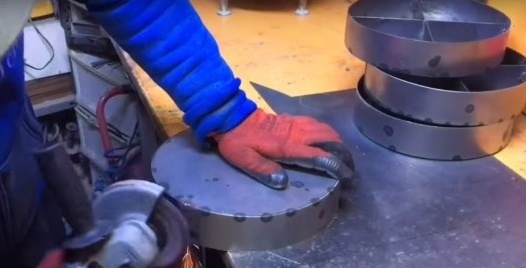
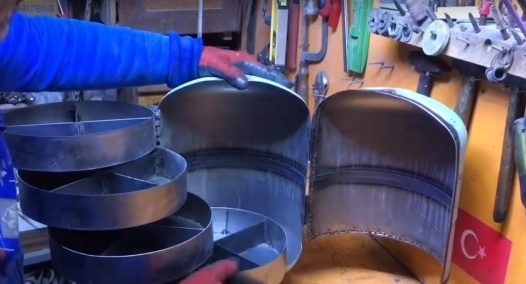
These are the drawers that came out of the author.
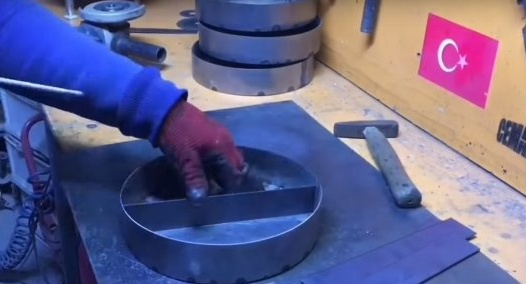
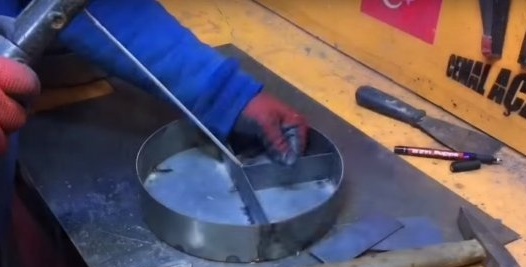
After that, with the help of the same strip, the author will make four sections in each box.
Like this.
Further processing of the seams.
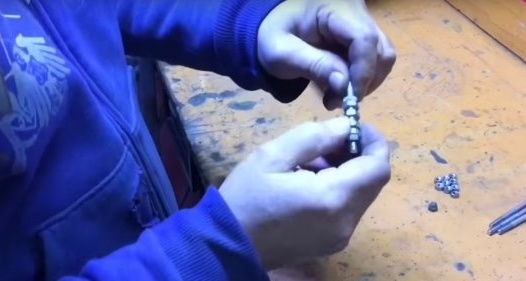
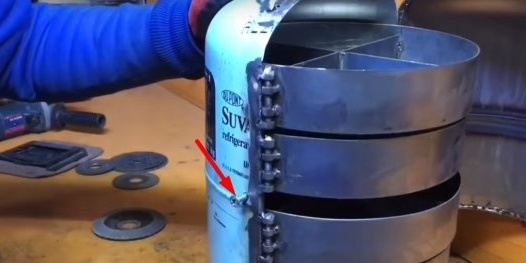
And the manufacture of canopies for boxes. Screw the nuts onto the bolt.
I turned the edges on them.
After installing the box, the master welded the finished hinges.
After cut off the protruding part of the bolt.
Verification
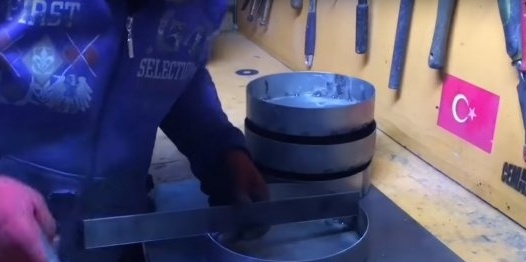
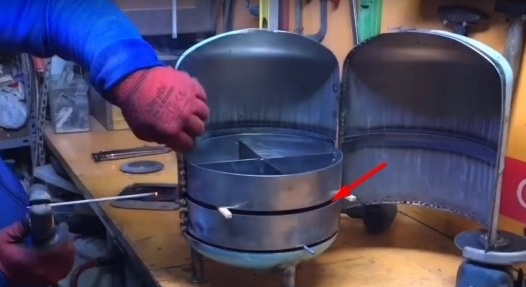
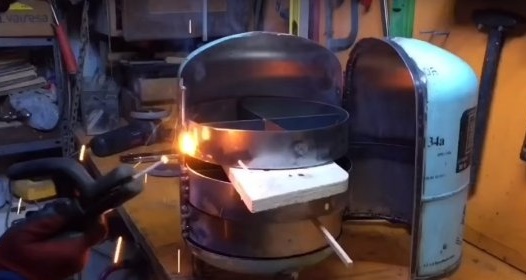
The author installed the second box with a small gap.
And the next box was installed with a gap of more.
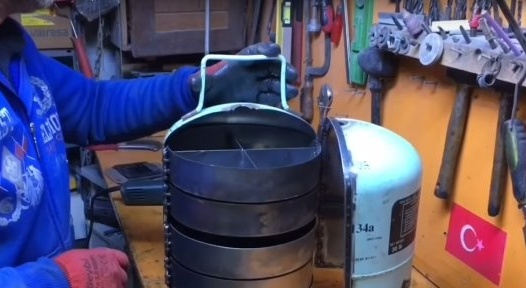
The topmost drawer was installed, again with a slight gap.
After processing the seams.
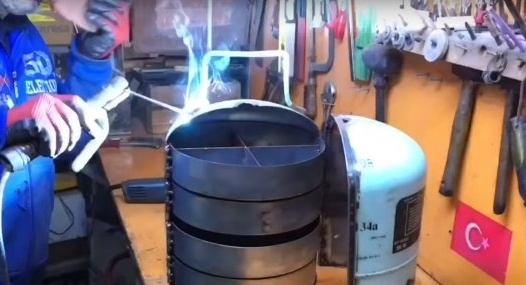
Installing the carry handle.
Then the author made a hook from a piece of steel strip to fix the door.
Made a hole for attaching the hook.
After he gave the hook the desired shape.
And cut off the excess.
After he cut off a small piece from the nail.
And with the help of it he fixed the hook on the door.
After made a hole on the case.
Then he took a screw and cut a piece from it, as in the photo.
Installed it in the hole.
And welded it to the body, from the inside.
Verification
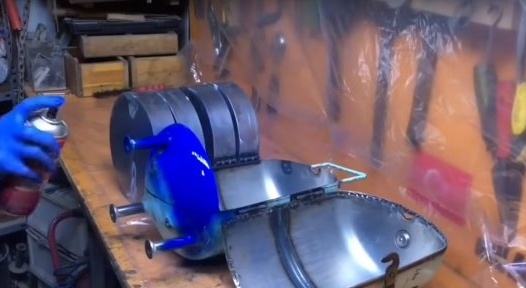
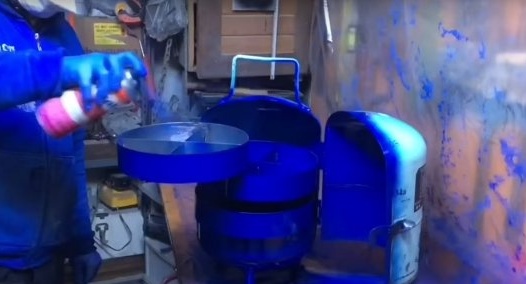
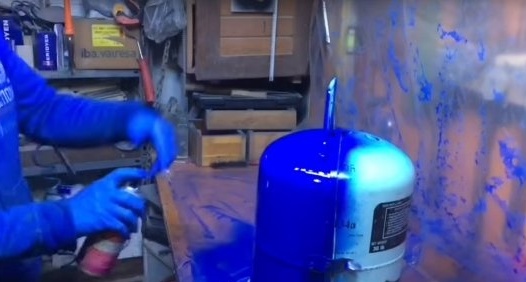
After painting the finished homemade.
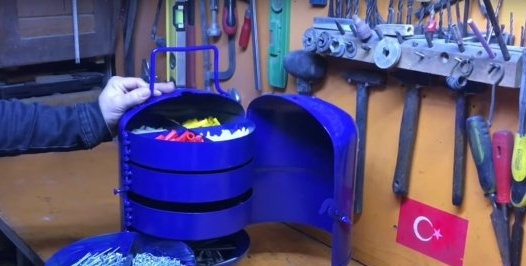
Such an organizer was obtained by the author today.
With such home-made work, the author will now always have such a trifle in its place as bolts, nuts, washers, screws and much more.
I would like to say to the author, many thanks for such a useful homemade product.
And that’s all for me. Thank you all and see you soon!

