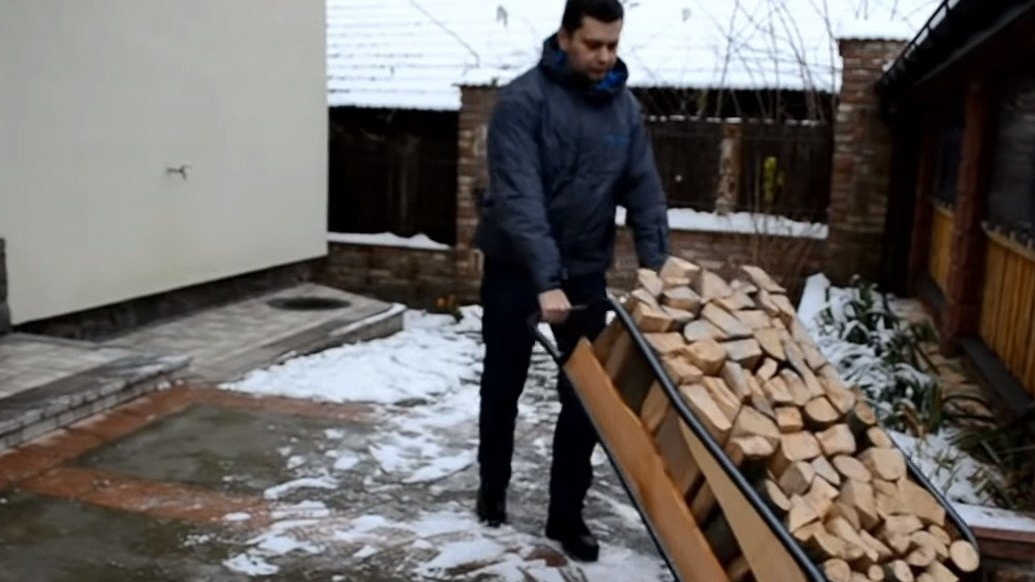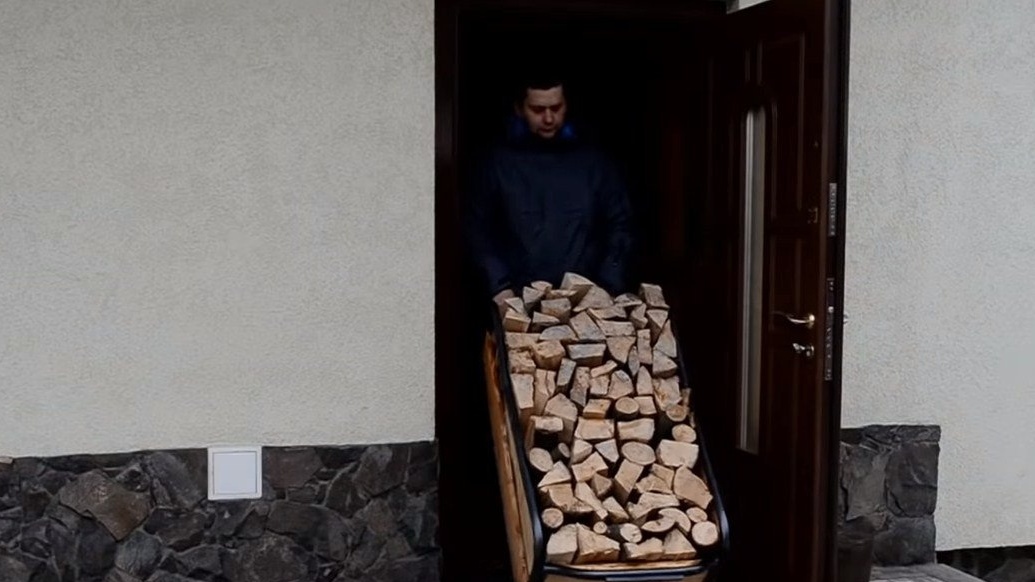
Hello to all those who live in a country house or are there at least occasionally, this homemade just for you. It will make life easier in terms of heating, namely - to bring firewood into the house will be much easier and faster. And you will have to do this not every day, but once every two or three days. The presented homemade product is a trolley, which, when delivered to the house, does not need to be unloaded, it neatly stands at the wall, takes up little space and the firewood is stored directly on it. Of course, to pull such a cart of firewood you need to make a lot of effort, but you do not need to do this often, and no one forces you to load an entire cart of firewood if it is difficult for you to carry it. Of course, the author approached the project very meticulously, but it also looks masterpiece. How to make such a cart for yourself, decide for yourself, in any case, I suggest that you familiarize yourself with this project for review!
Materials and tools used by the author:
Material List:
- pine boards;
- pipes;
- a round log for an axis;
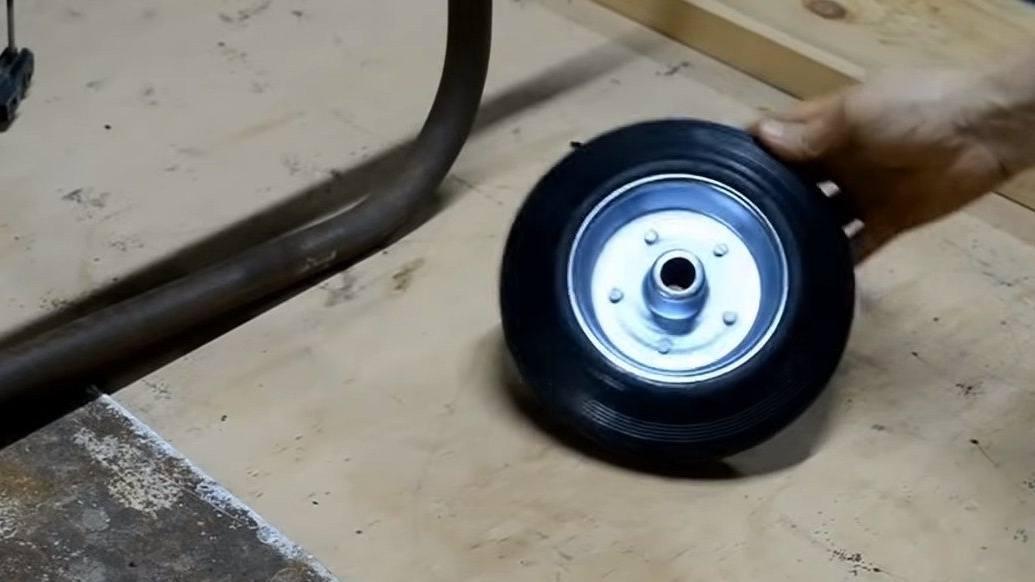
- castors for trolleys;
- steel plates;
- primer for metal or paint.
Tool List:
- sandpaper;
- ;
- ;
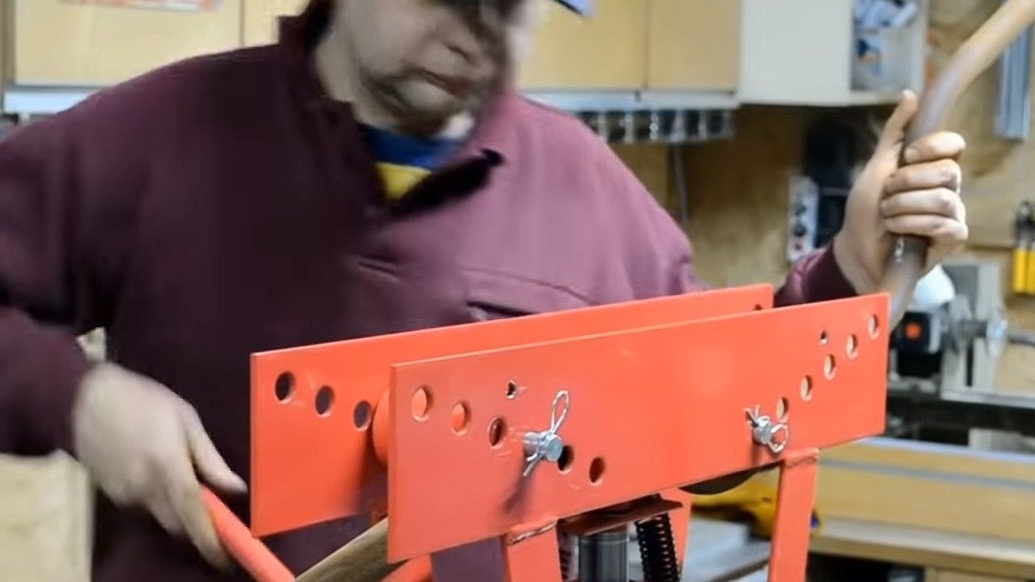
- pipe bending machine;
-;
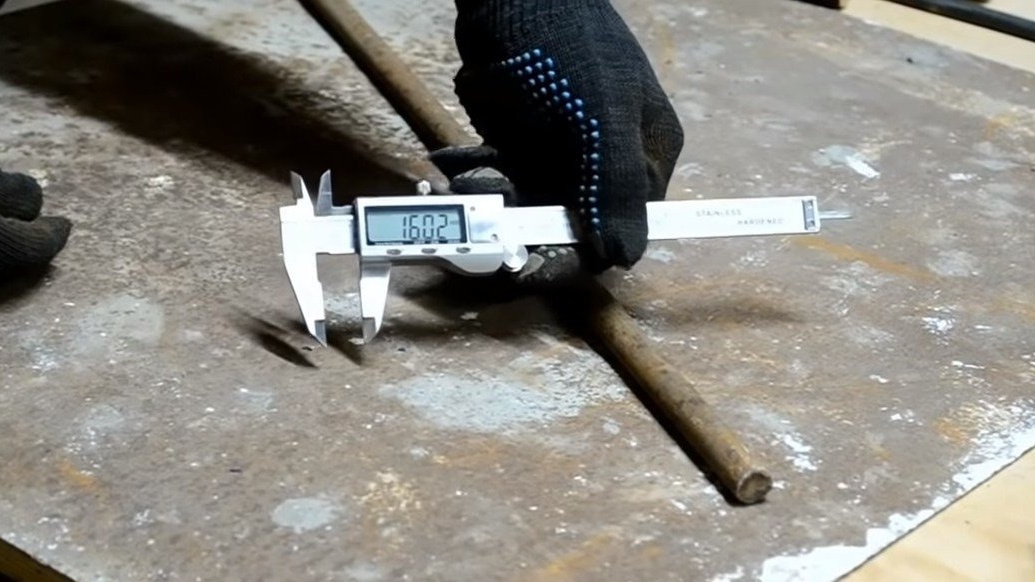
- vernier caliper, marker, tape measure;
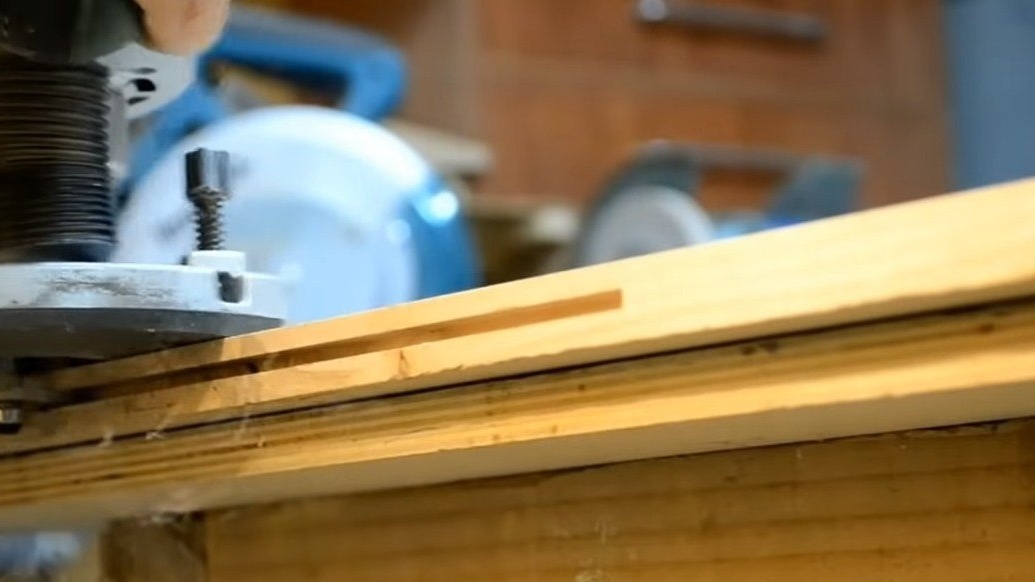
- Thicknesser, band saw, circular saw, jigsaw, milling machine, milling machine (all this equipment is necessary for making sophisticated wood sheathing).
Trolley manufacturing process:
Step one. Assemble the frame
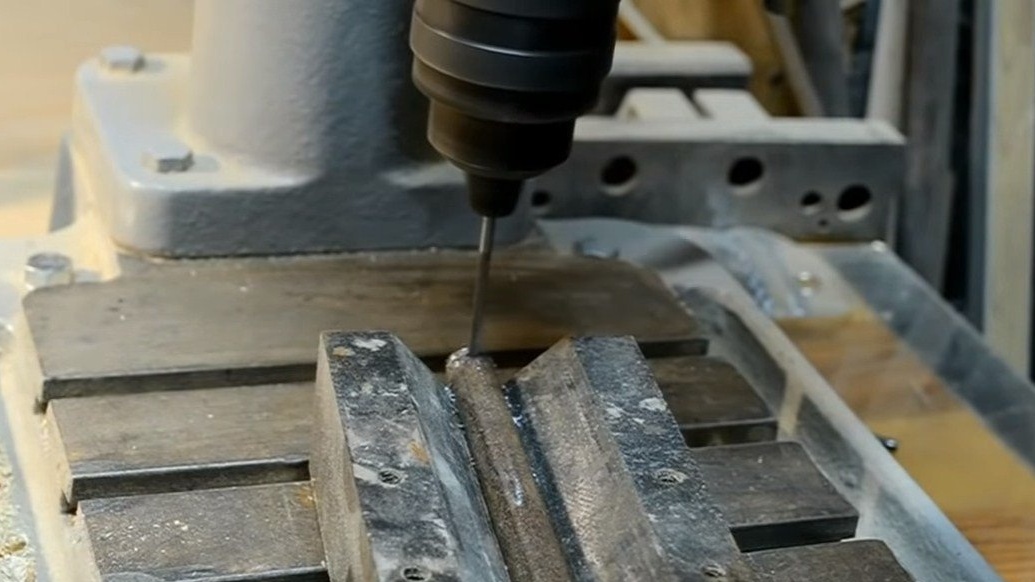
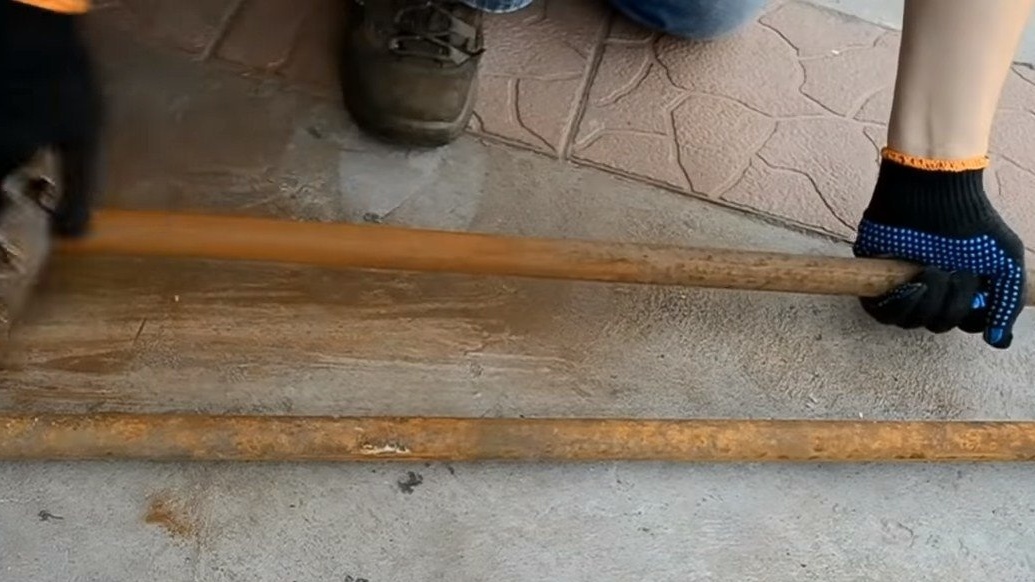
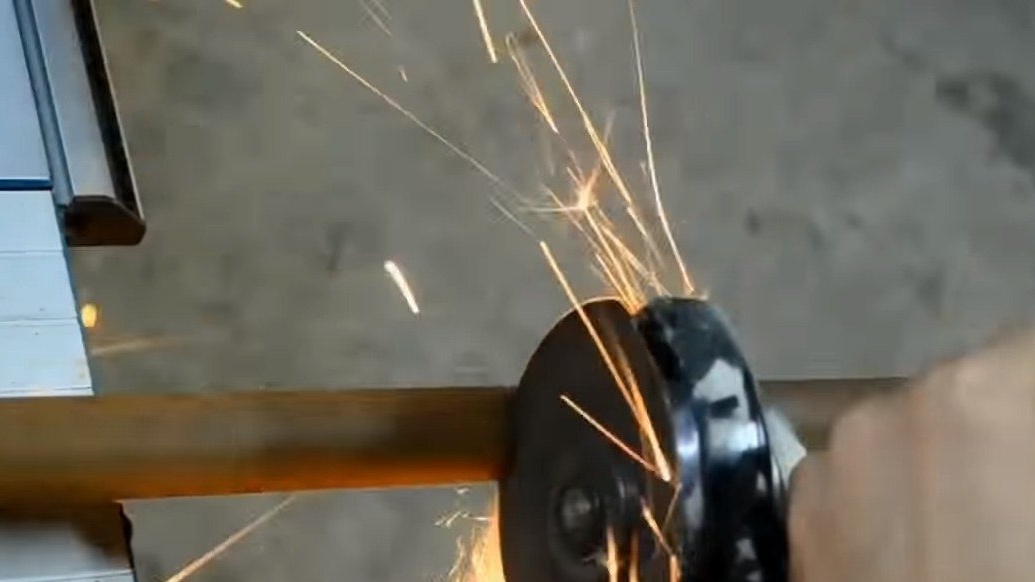
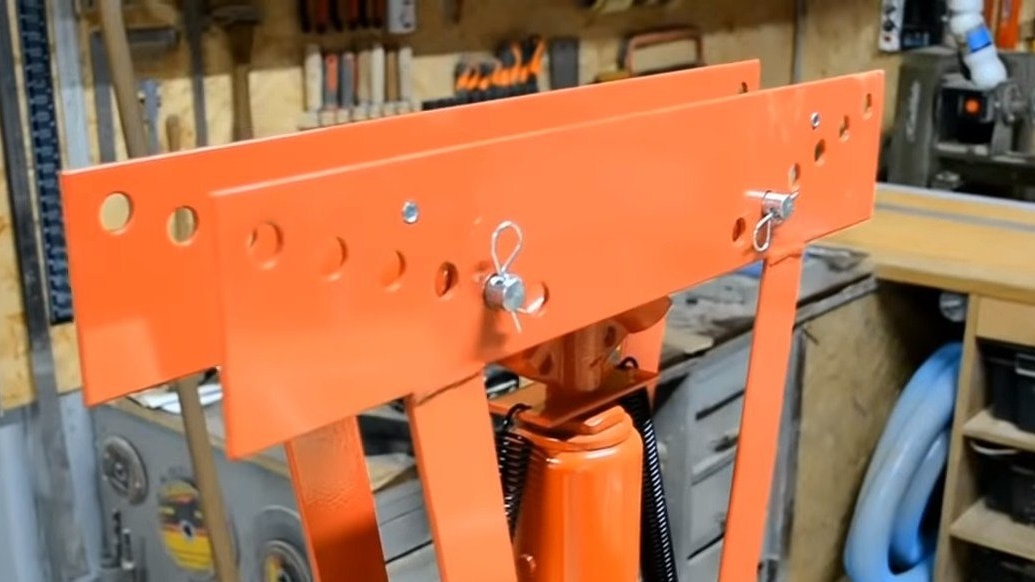
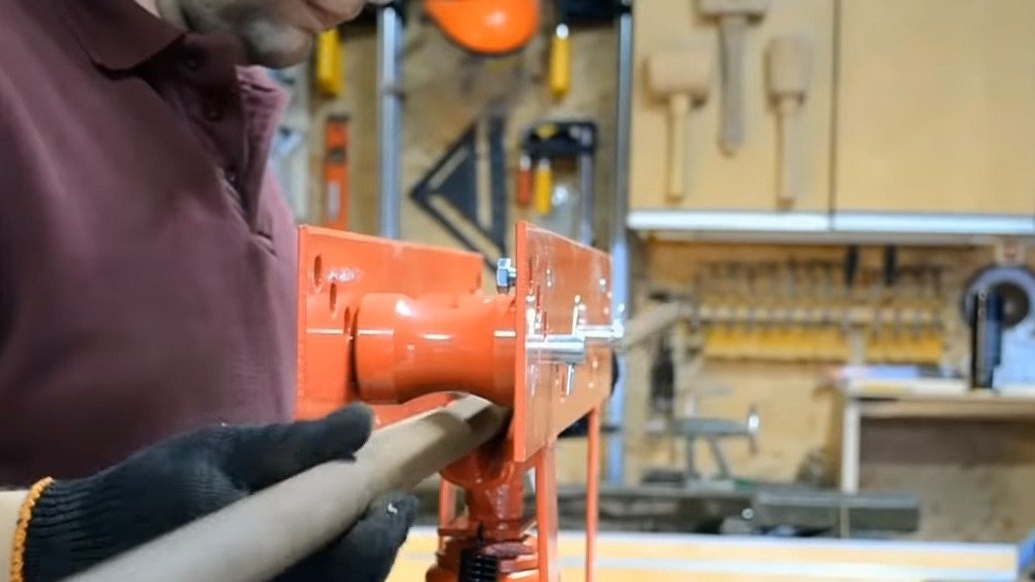
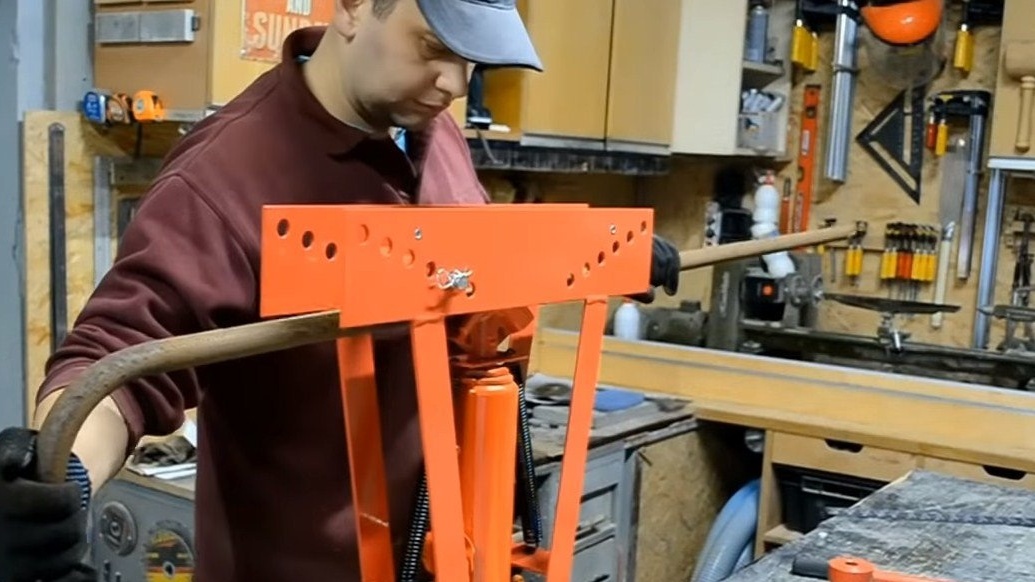
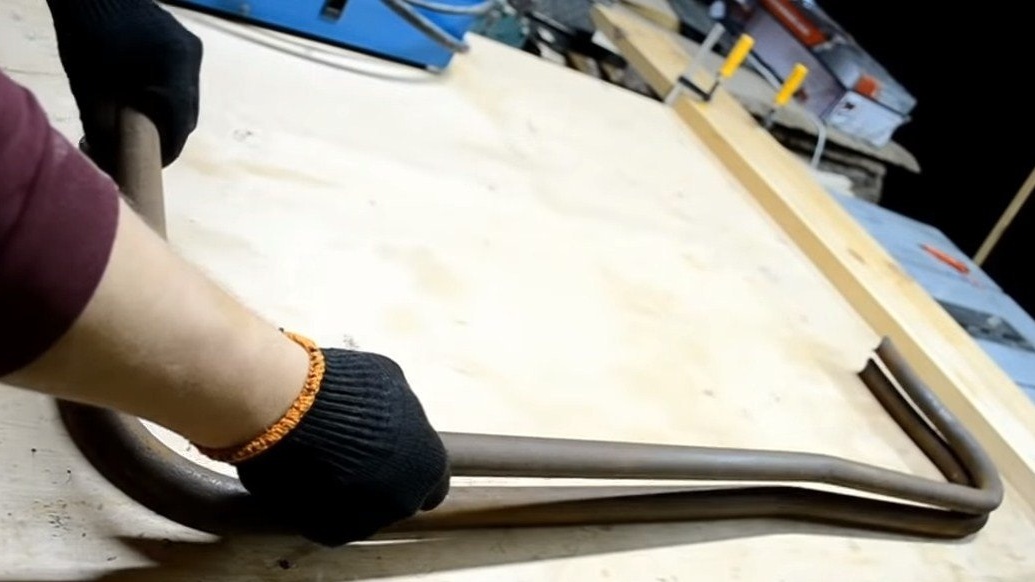
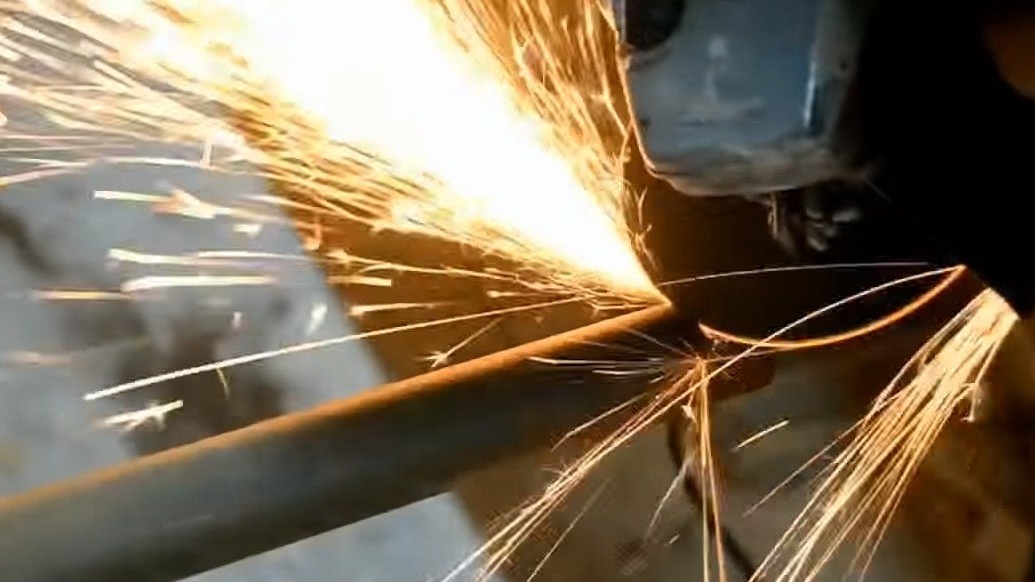
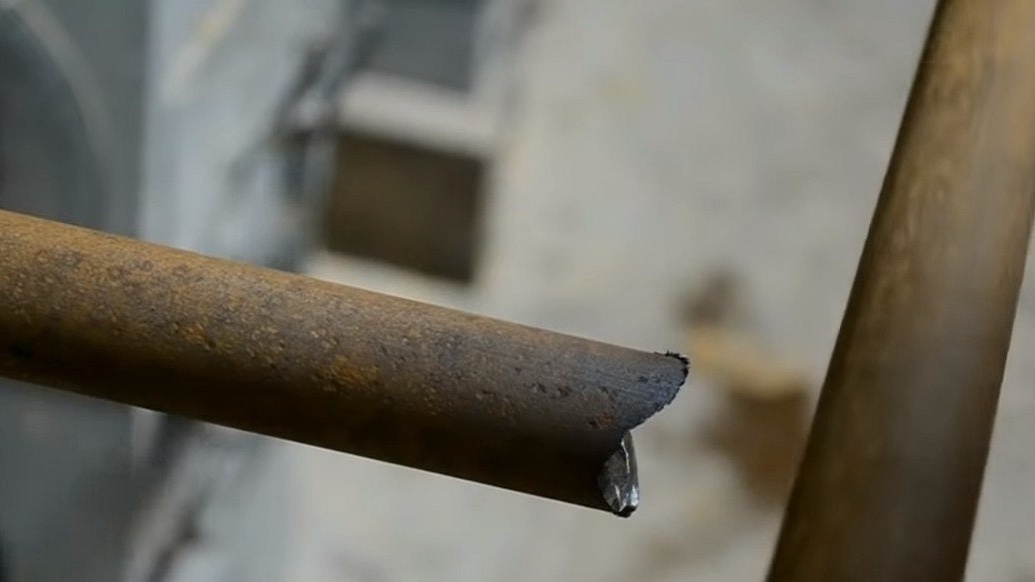
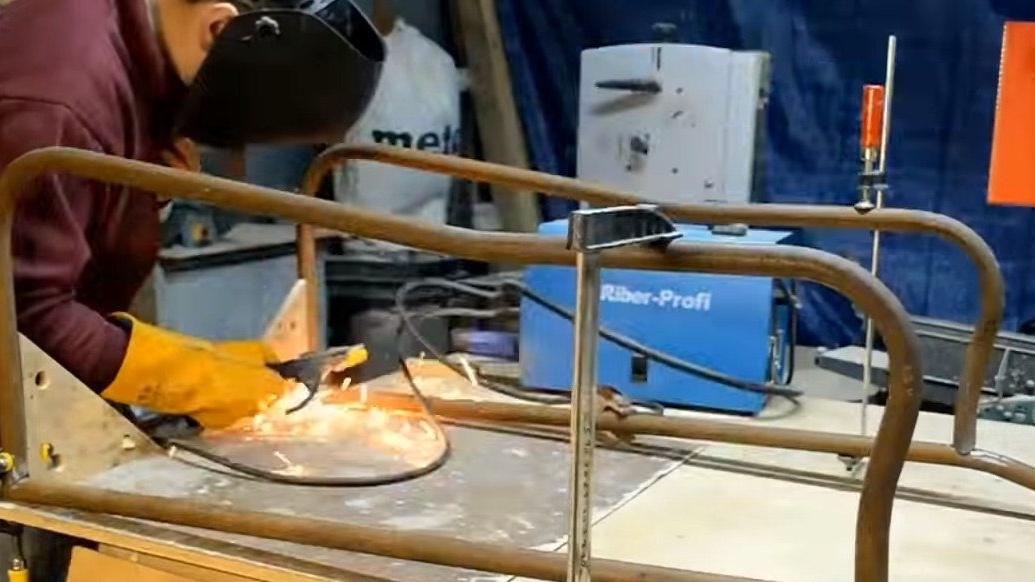
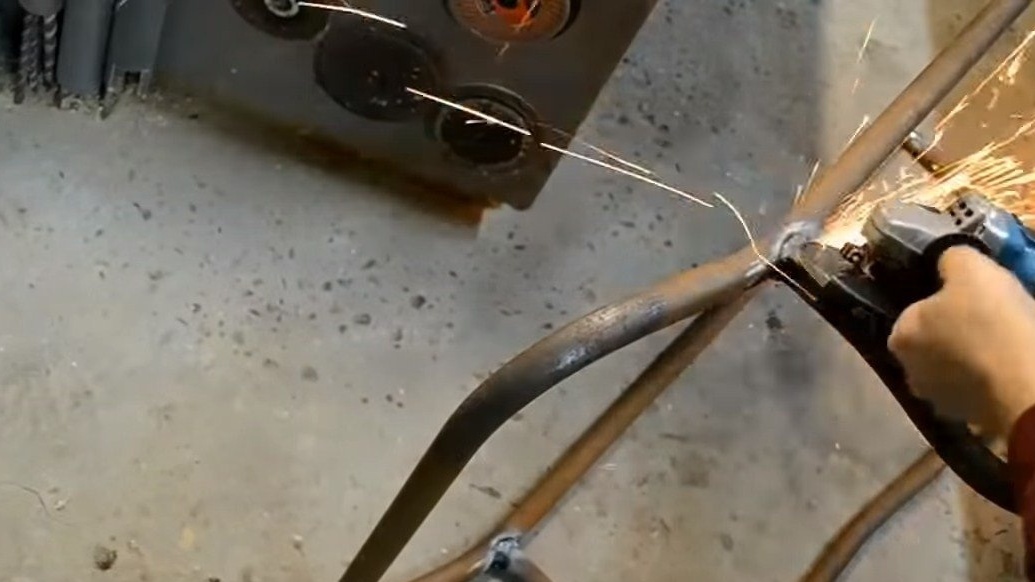
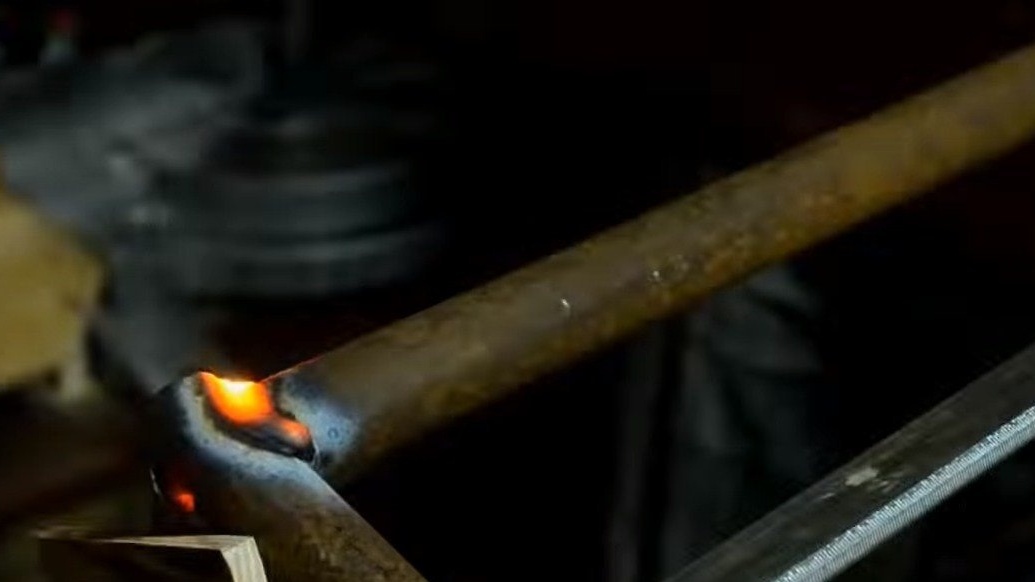
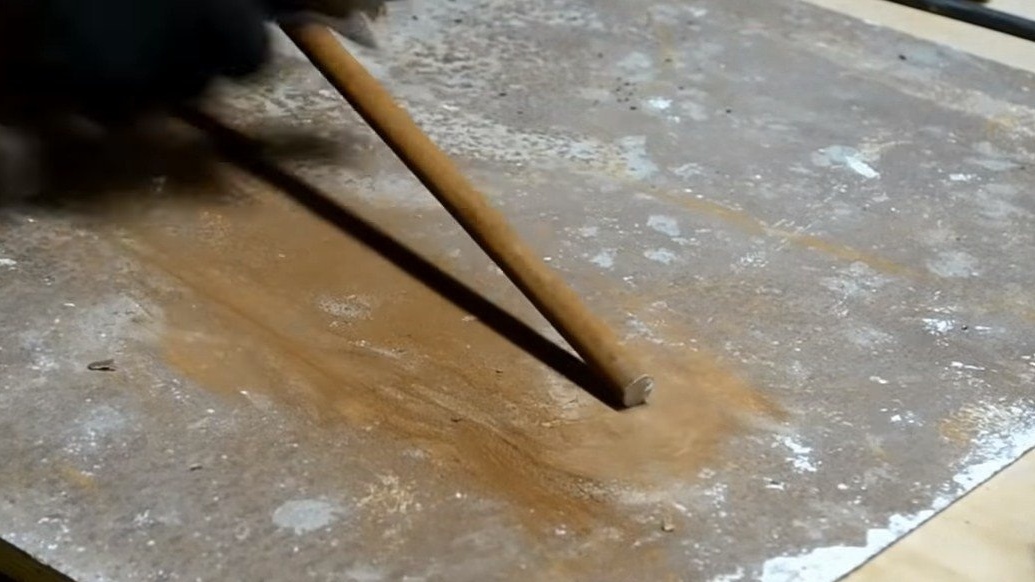
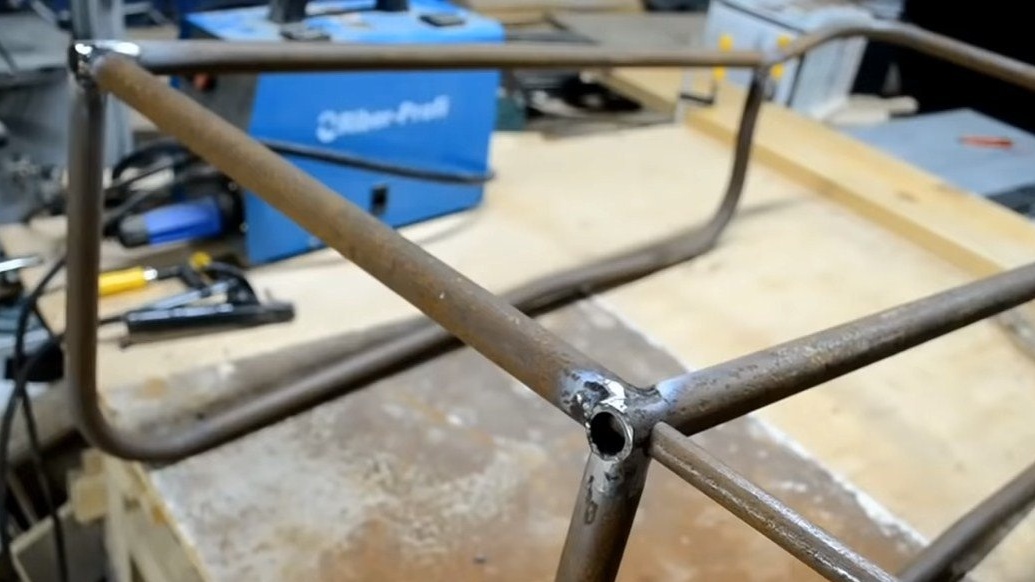
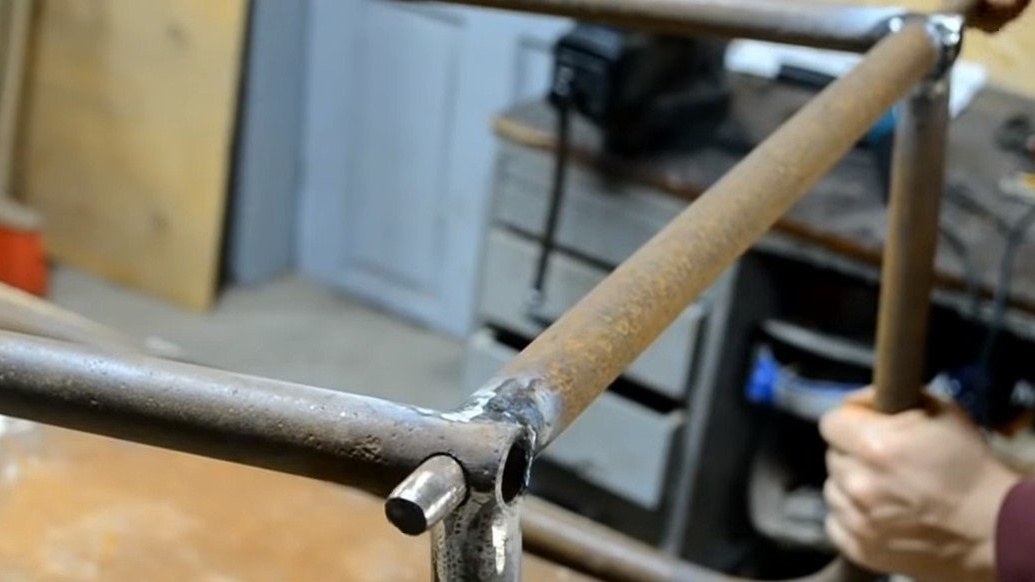
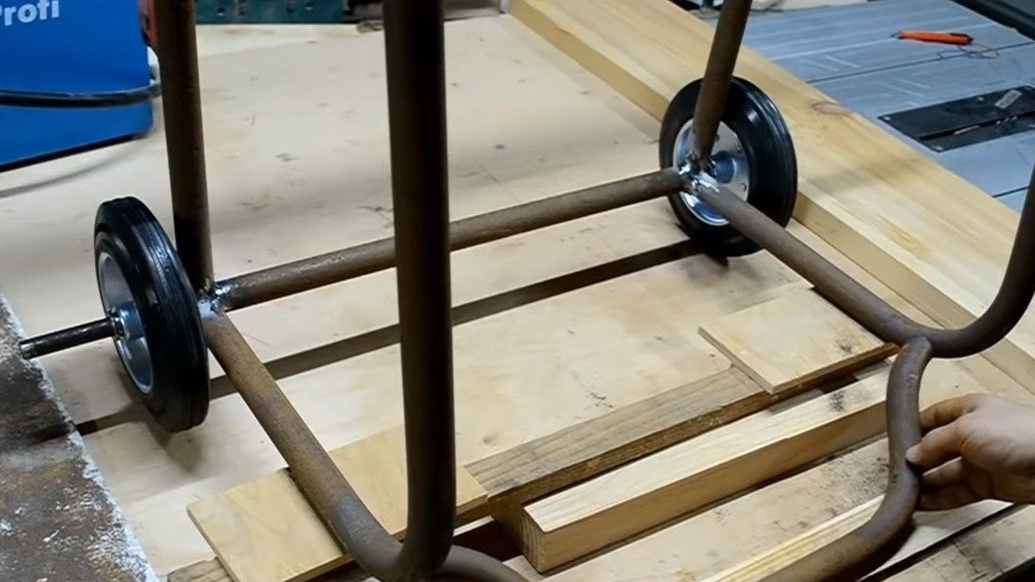
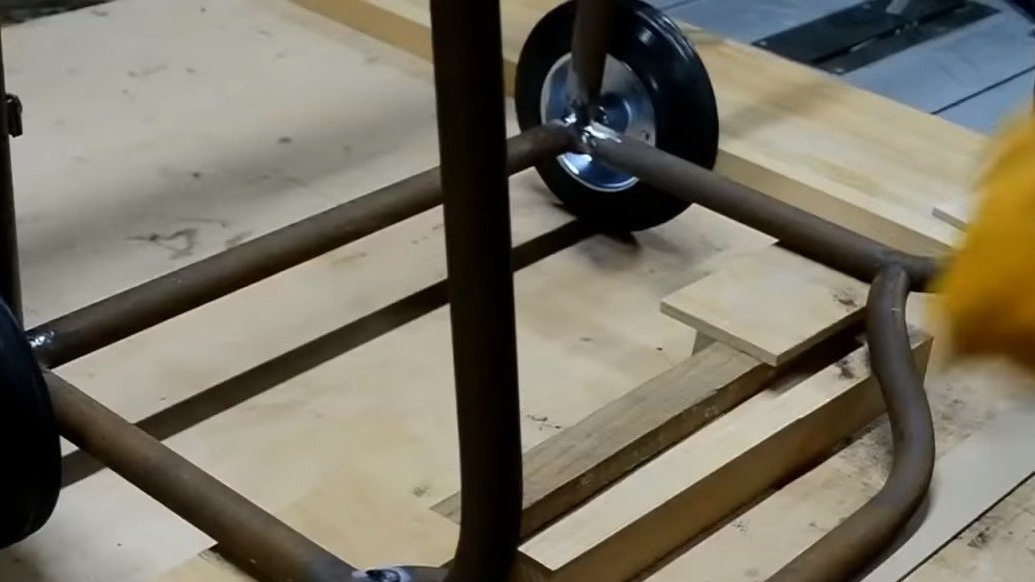
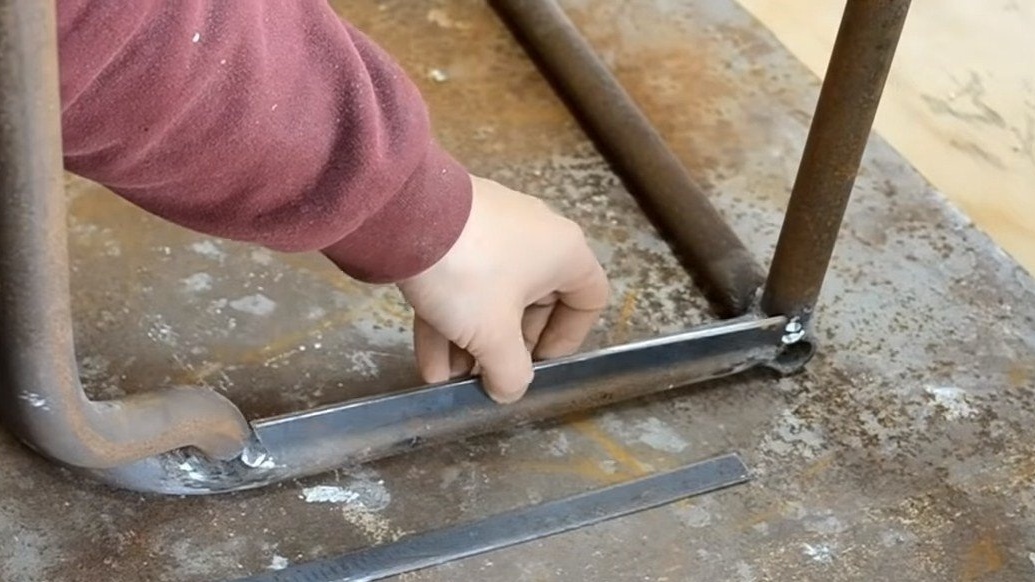
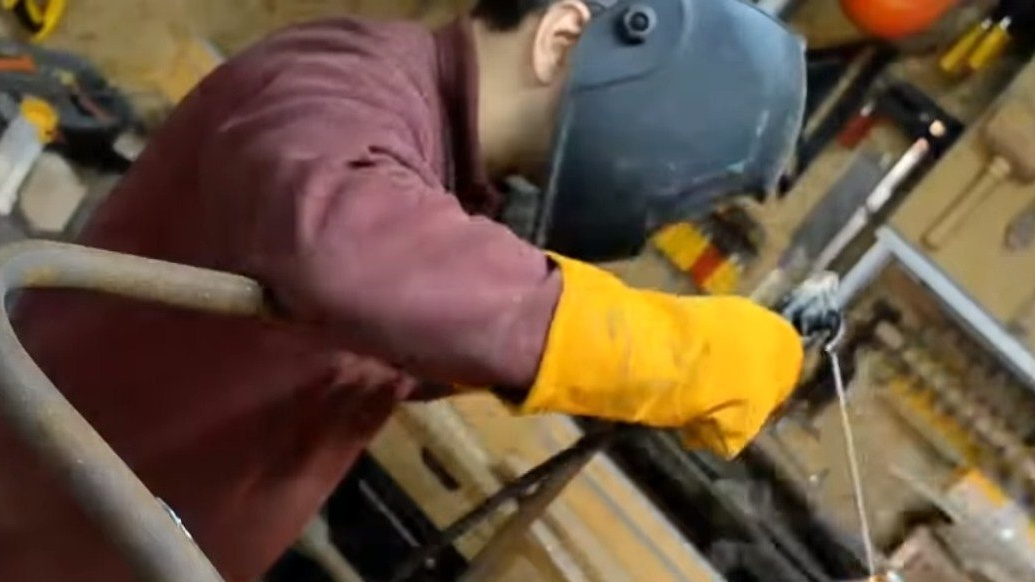
First of all, we will assemble the frame for the trolley, here we will need steel pipes, and it is better to choose a material thinner and lighter so that the trolley is not too heavy. We bend the pipes on a pipe bending machine, the author made it on the basis of a hydraulic jack. Well, then it remains to weld the structure. So that the parts fit well together, the author at the end of the pipes makes the recesses a grinder.
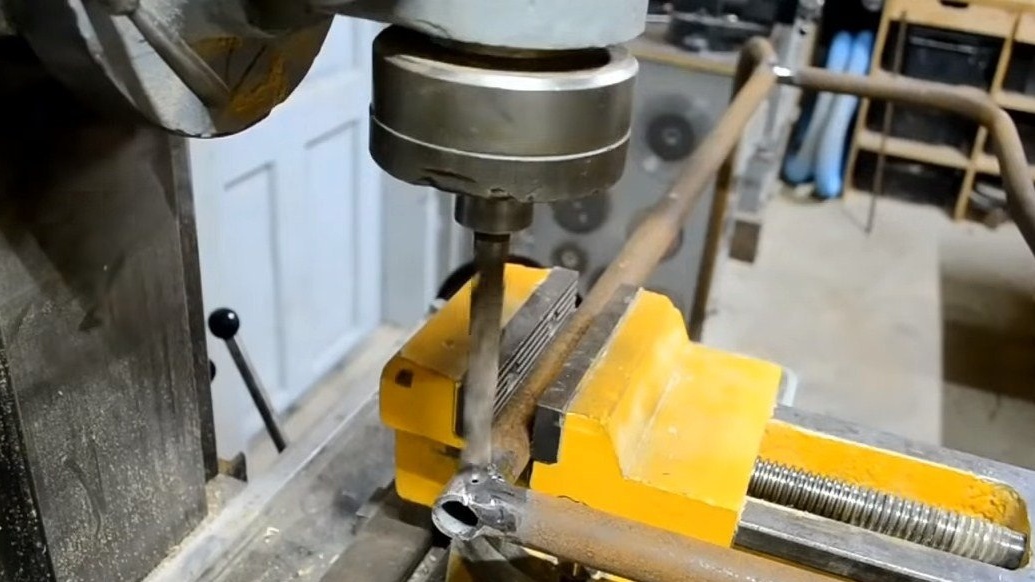
We clean the welds with a petal nozzle so that everything looks neat. At the end, drill a hole for the axle for the wheels.

Step Two Axis manufacturing
We make the axis on which we install the wheels. The author has it made of round timber, which is inserted into the tube of the frame.The axis is long and heavy, but strong.

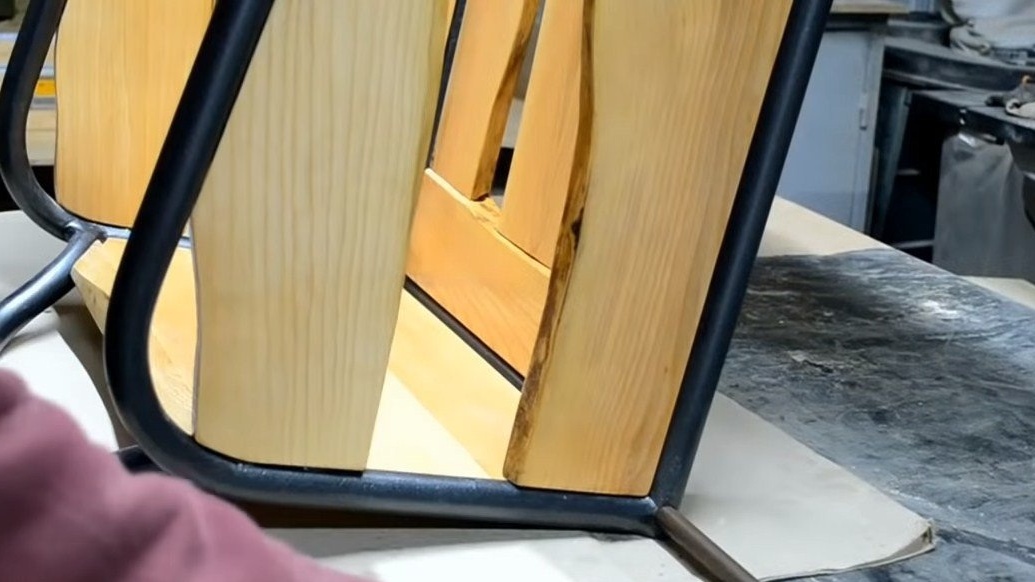
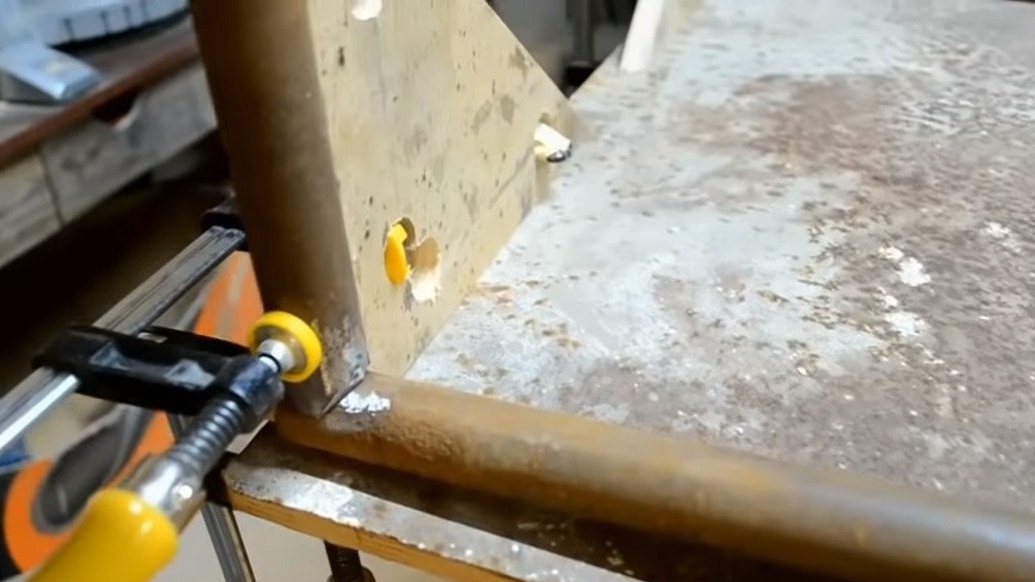
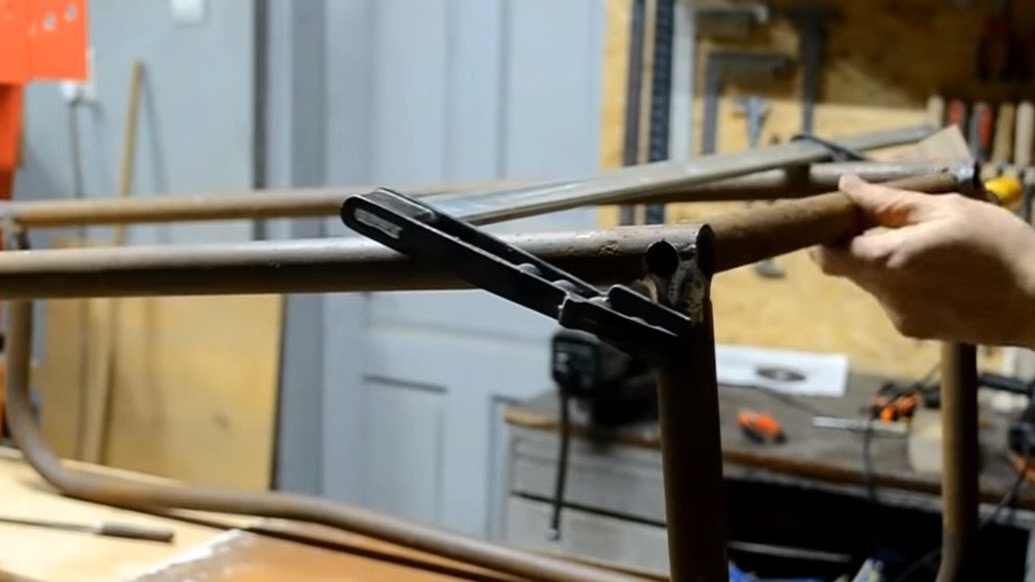
Step Three Leg and fasteners
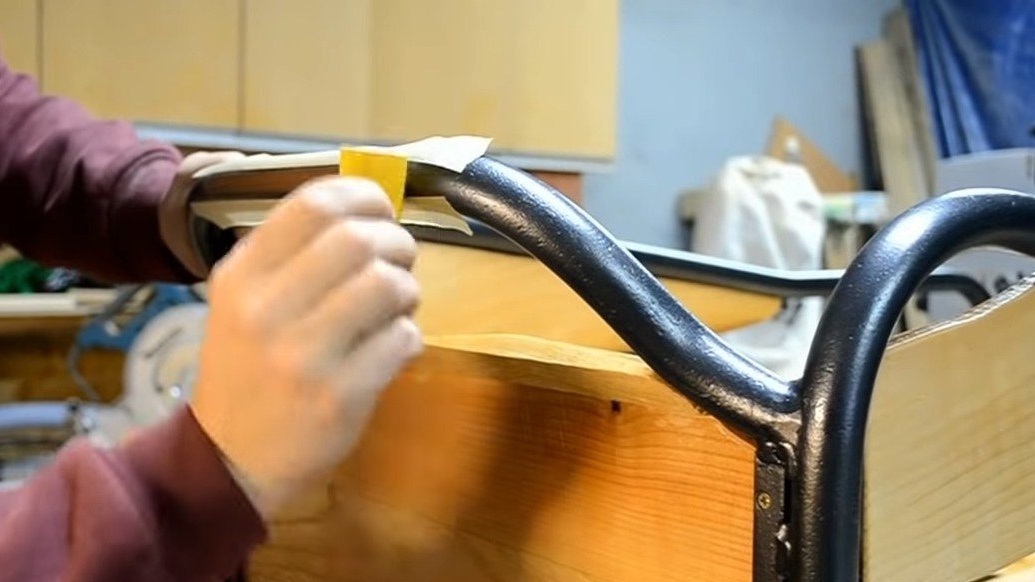
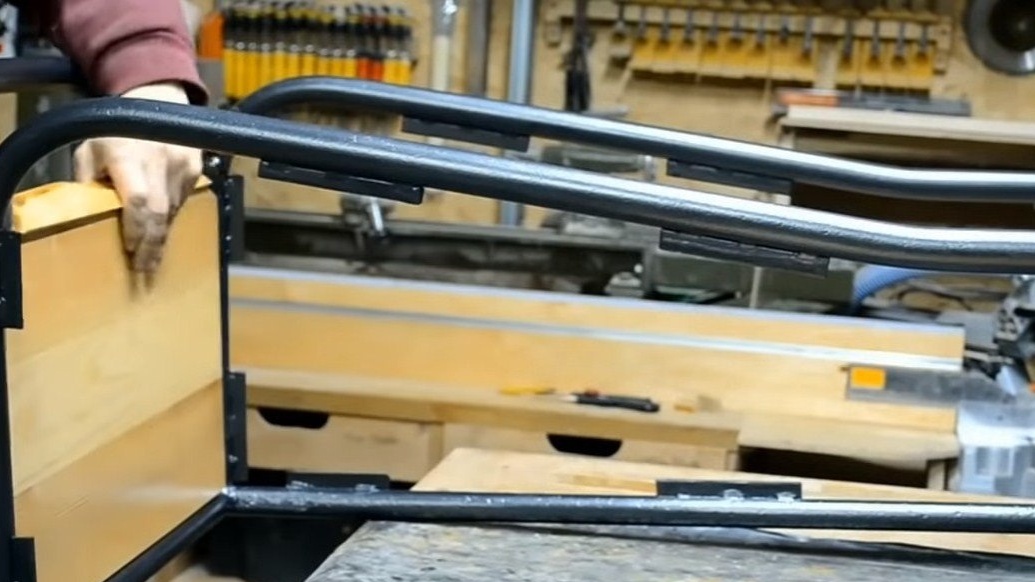
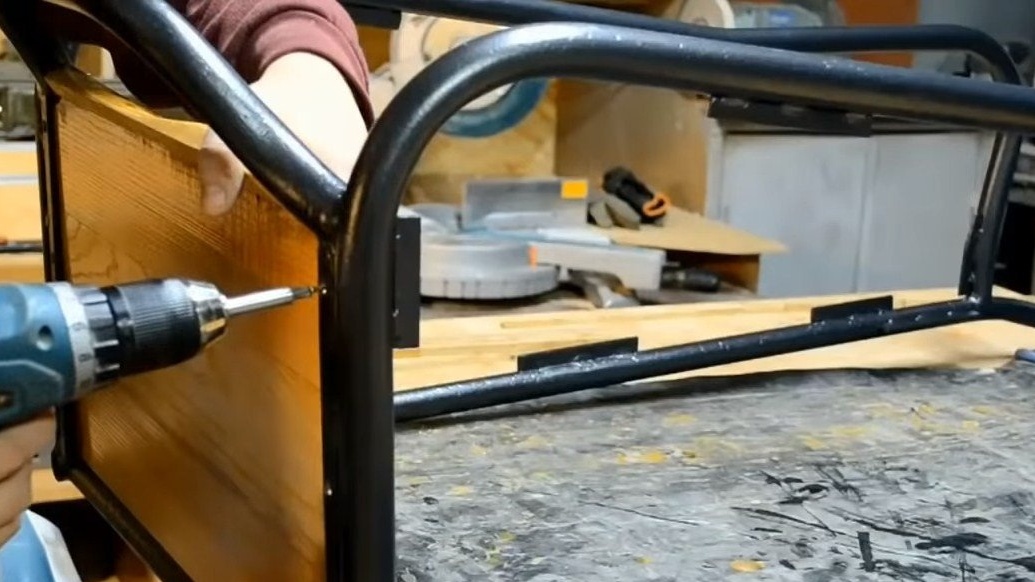
We bend from a piece of pipe and weld to the base a knife on which the trolley will stand. We also need to scald the frame with plates to which we will fasten the skin.
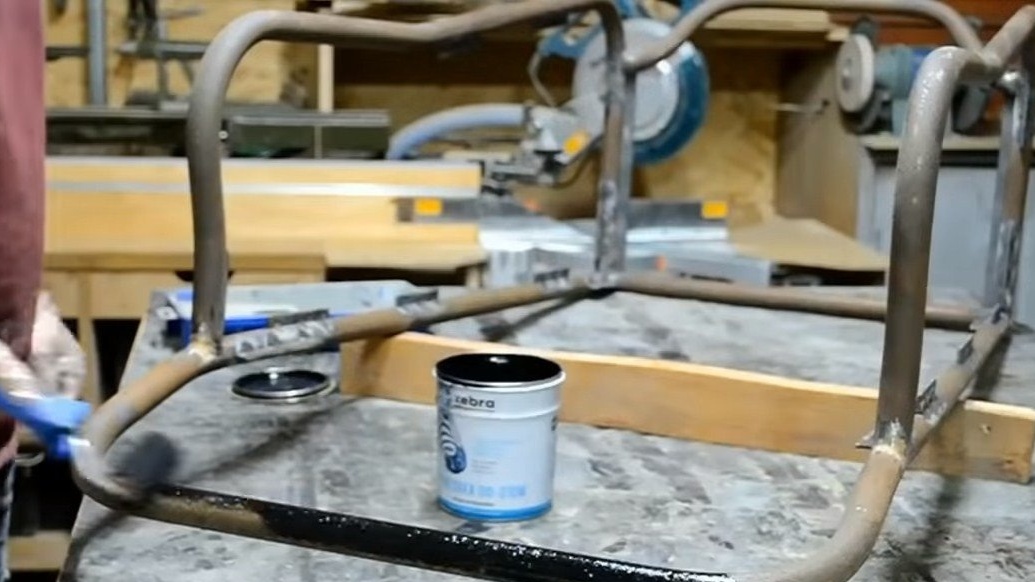
Step Four Primer
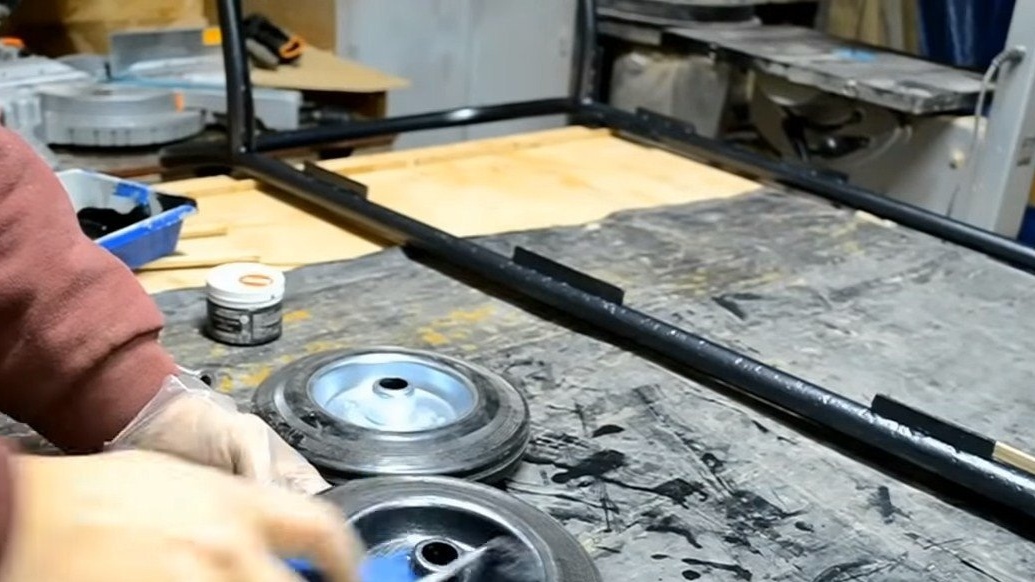
The author's pipes were quite rusty; he only slightly cleaned them with sandpaper. To solve this problem, a primer with a rust conversion function was used. Such a coating will adhere very well to metal and will not allow rusting, and primers can be applied directly through rusty pipes.
The author carefully lubricates with this primer almost all metal parts of the cart, including wheel disks and axles.


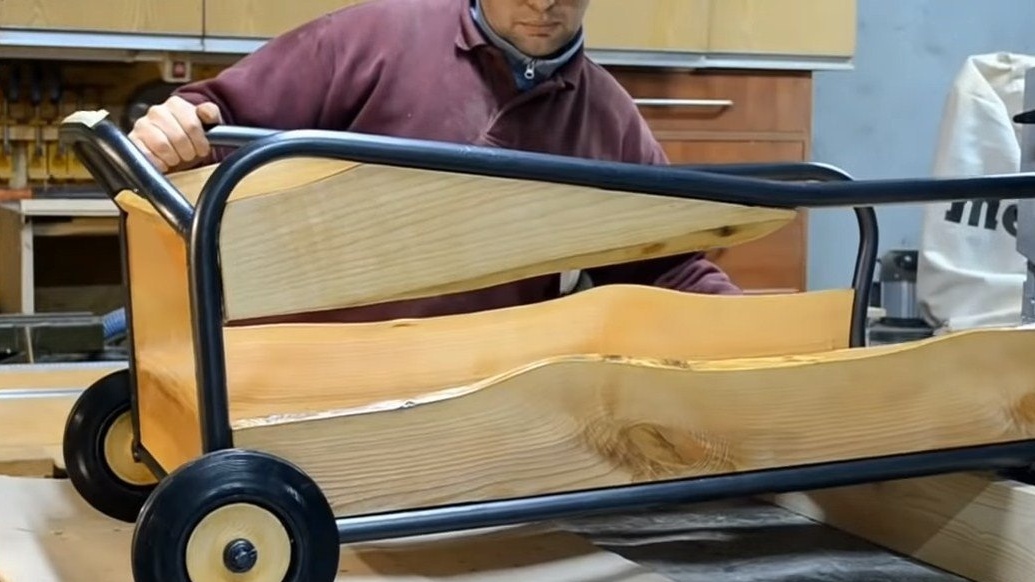
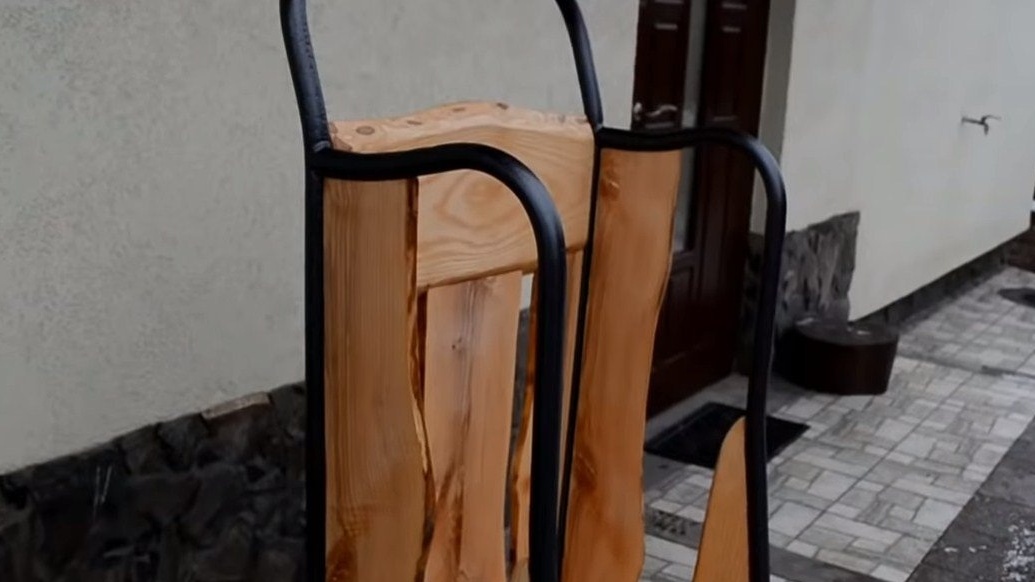
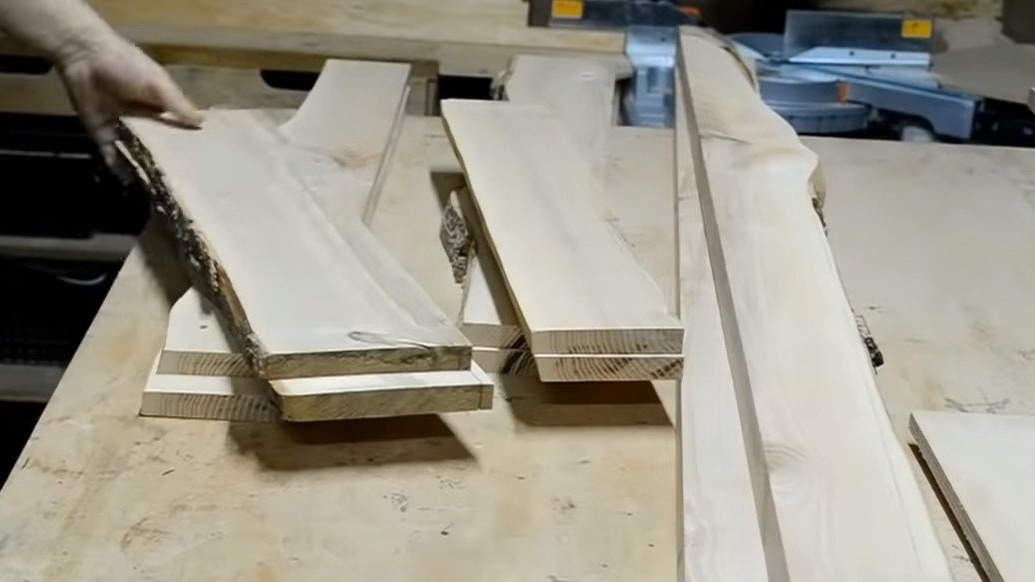
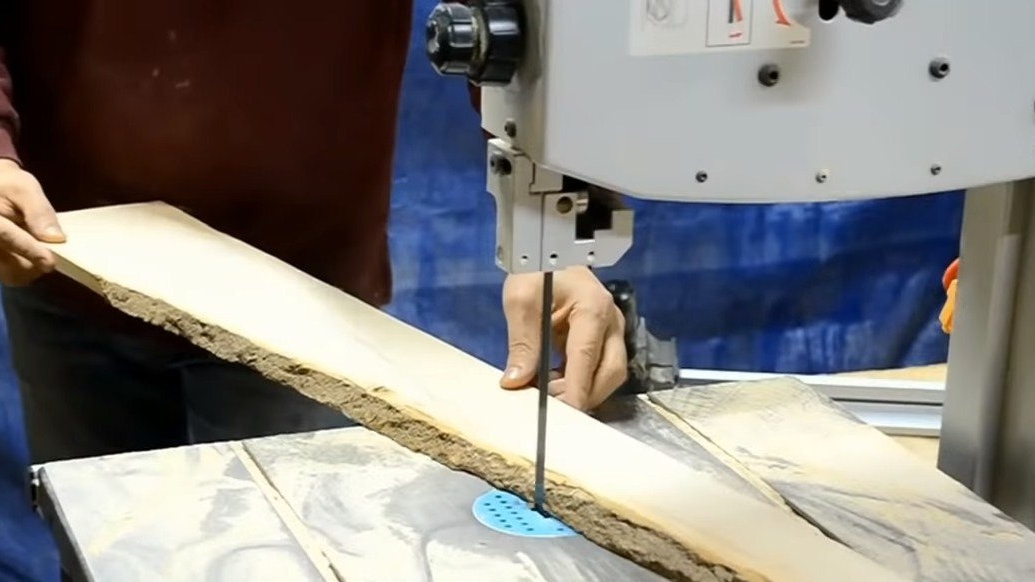
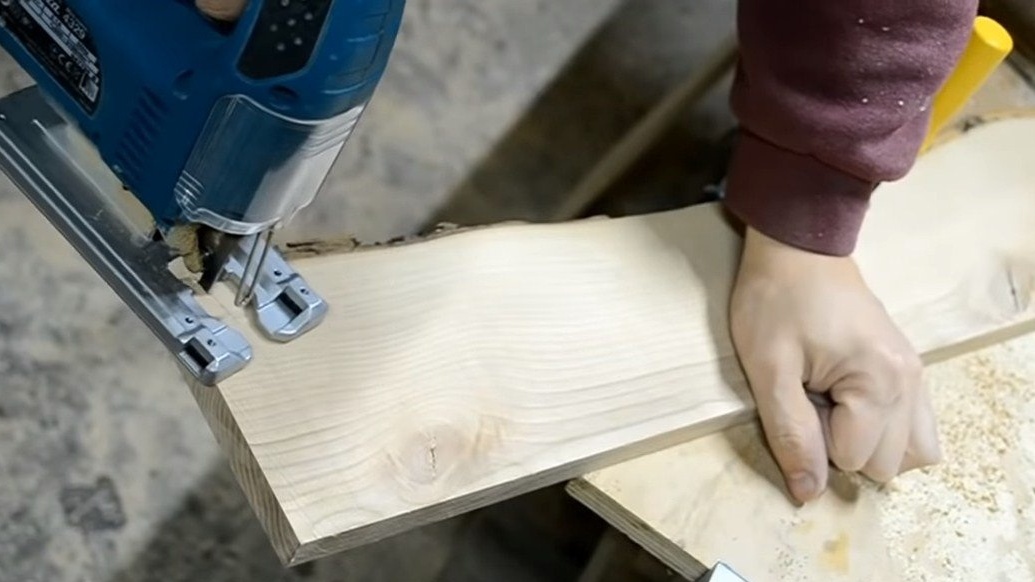
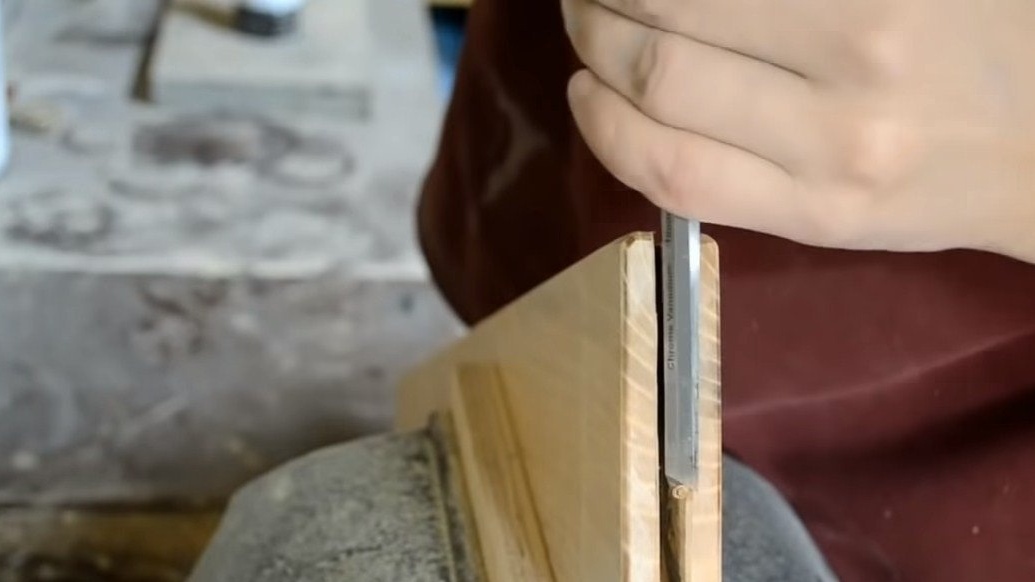
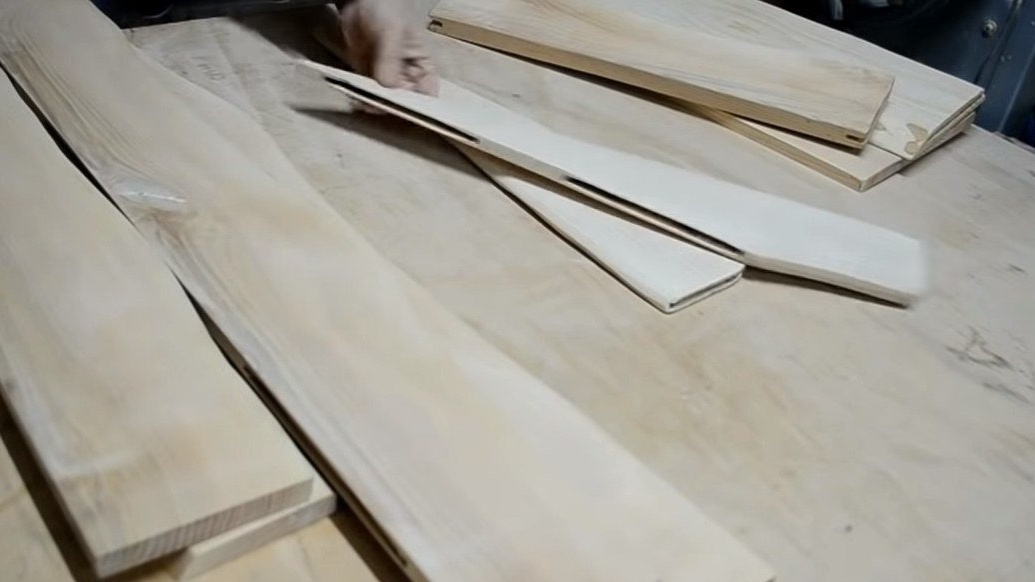
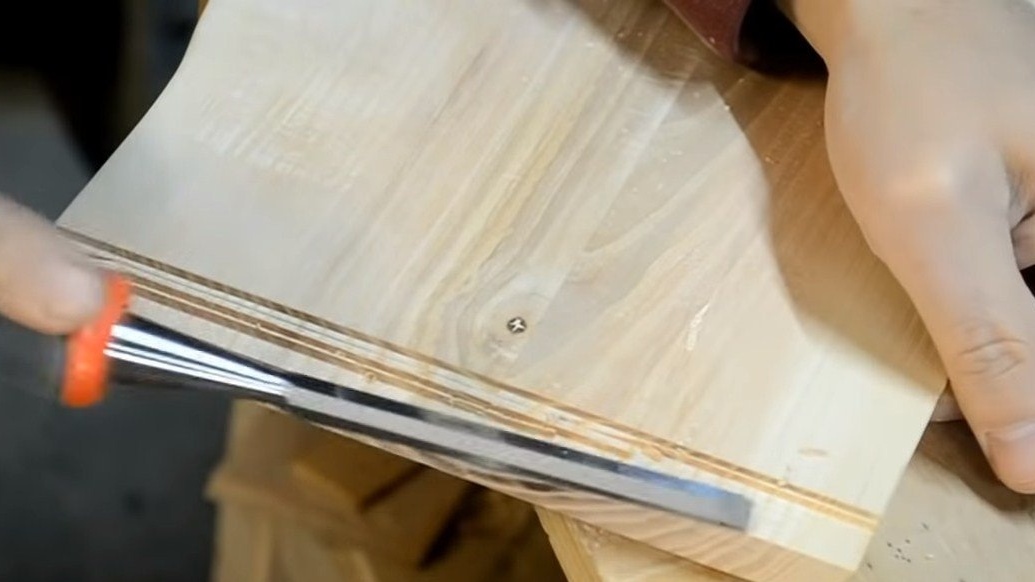
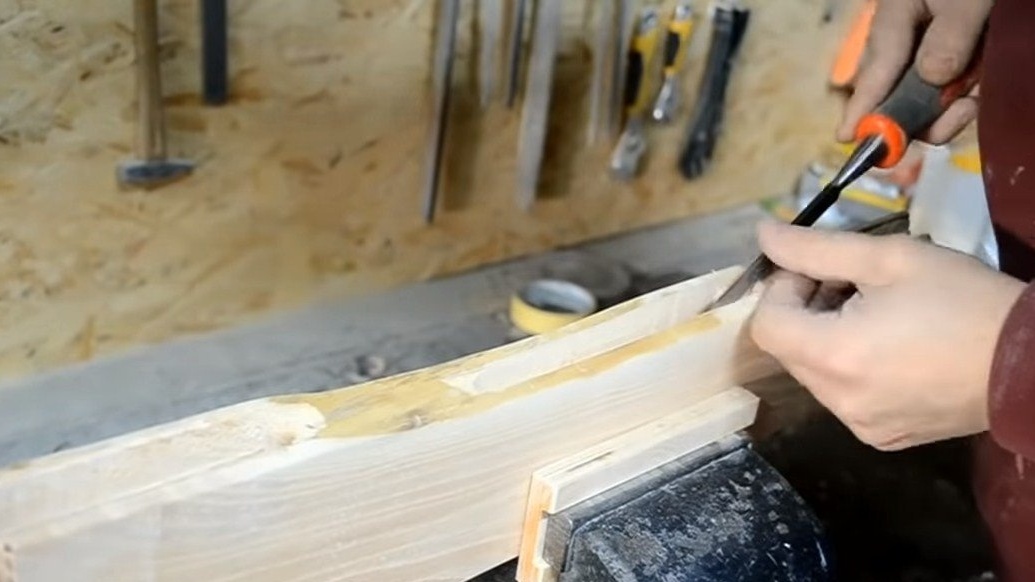
Step Five Sheathing
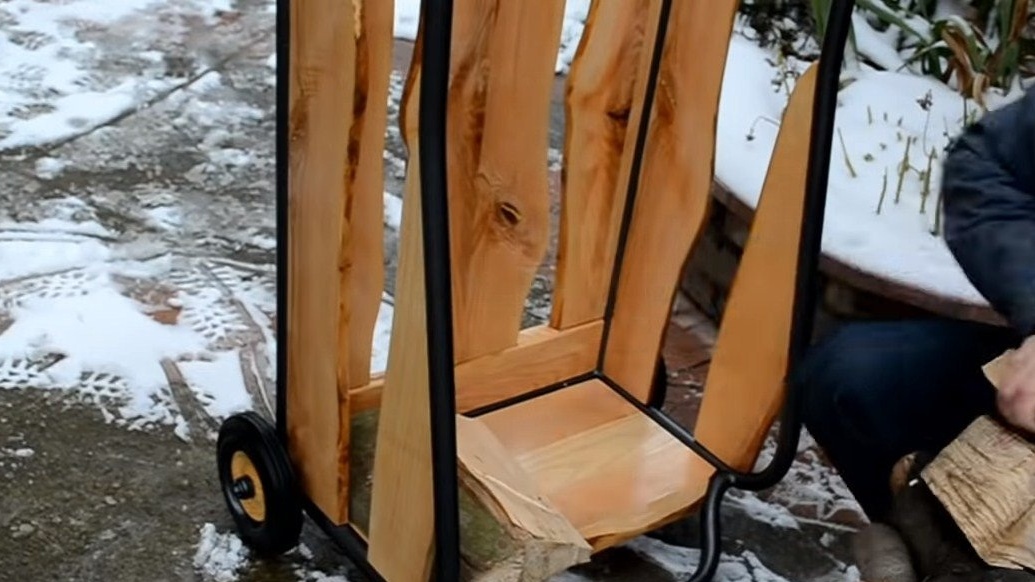
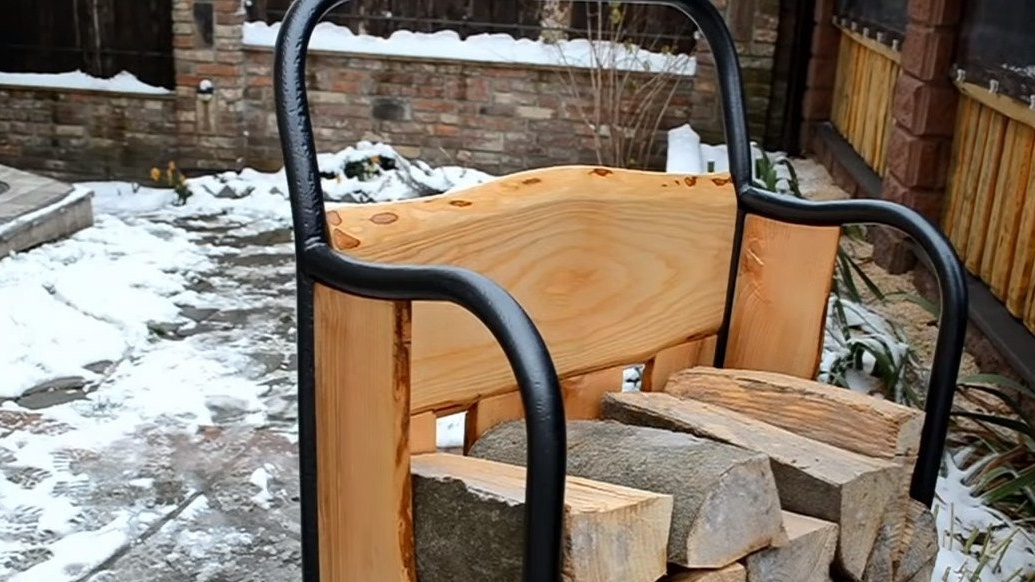
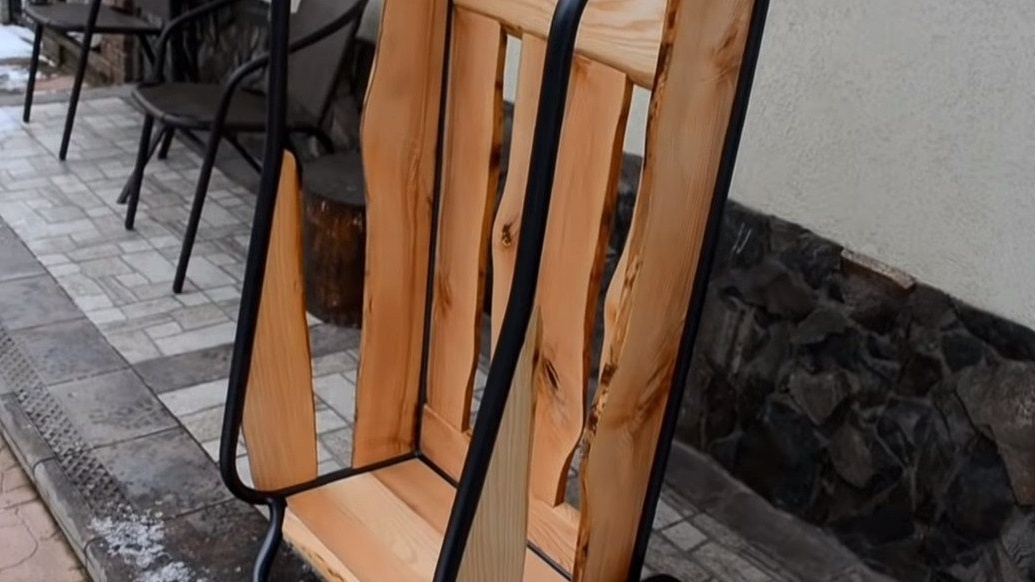
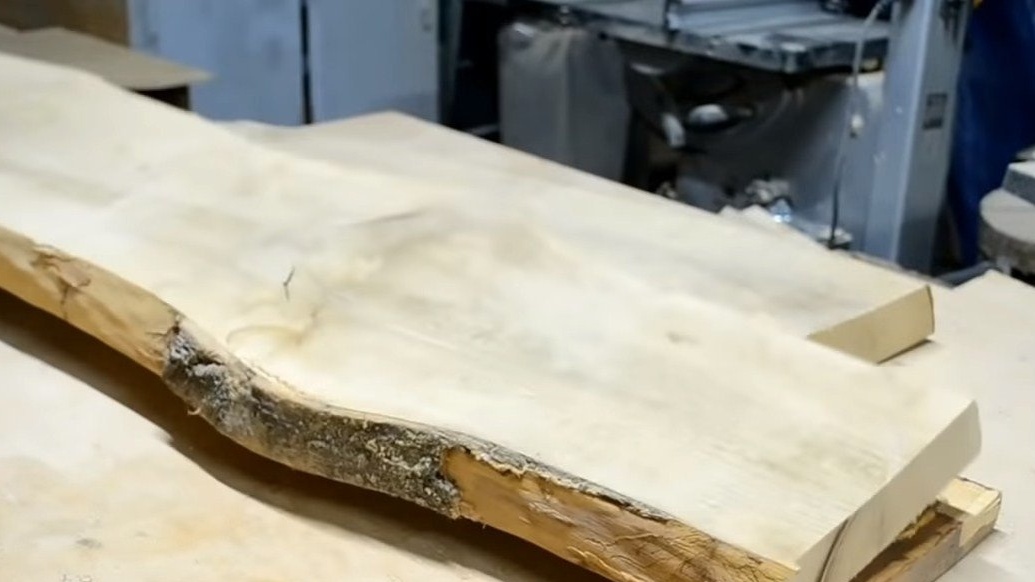
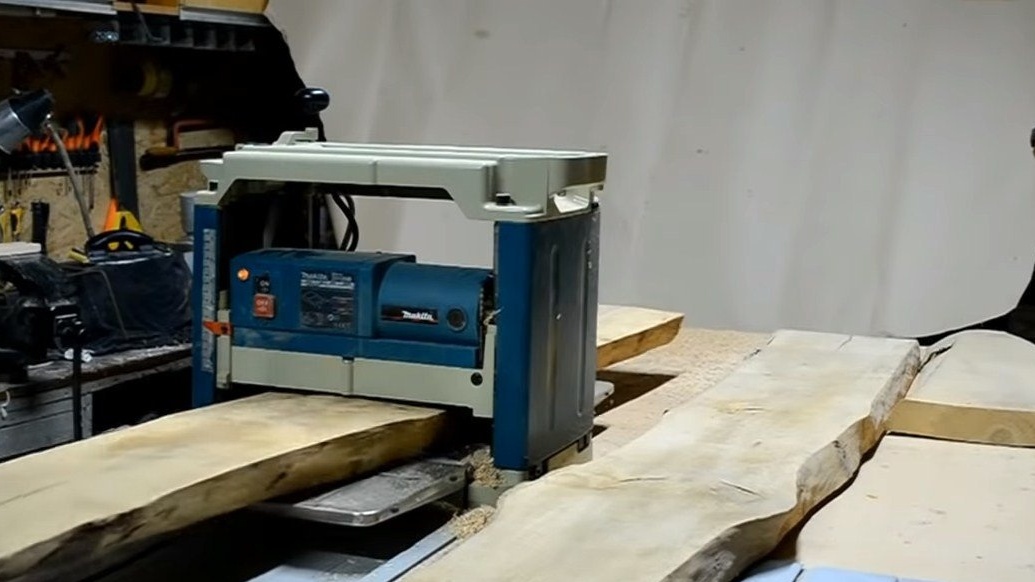
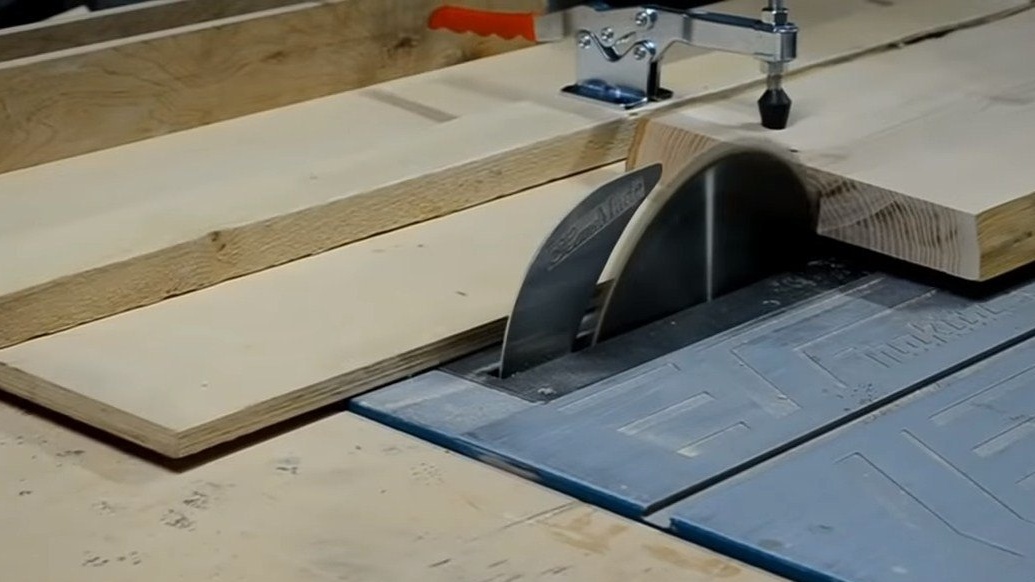
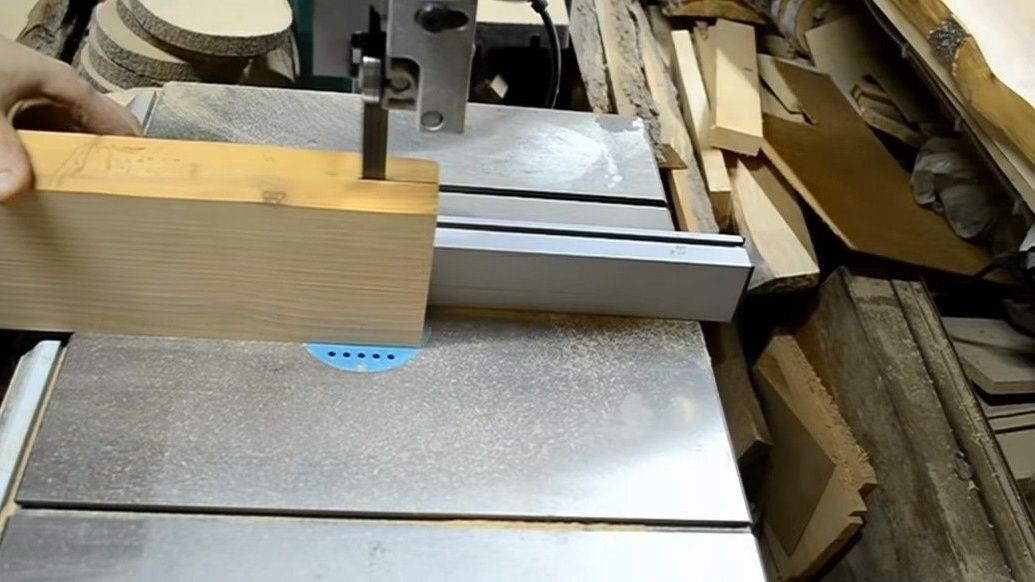
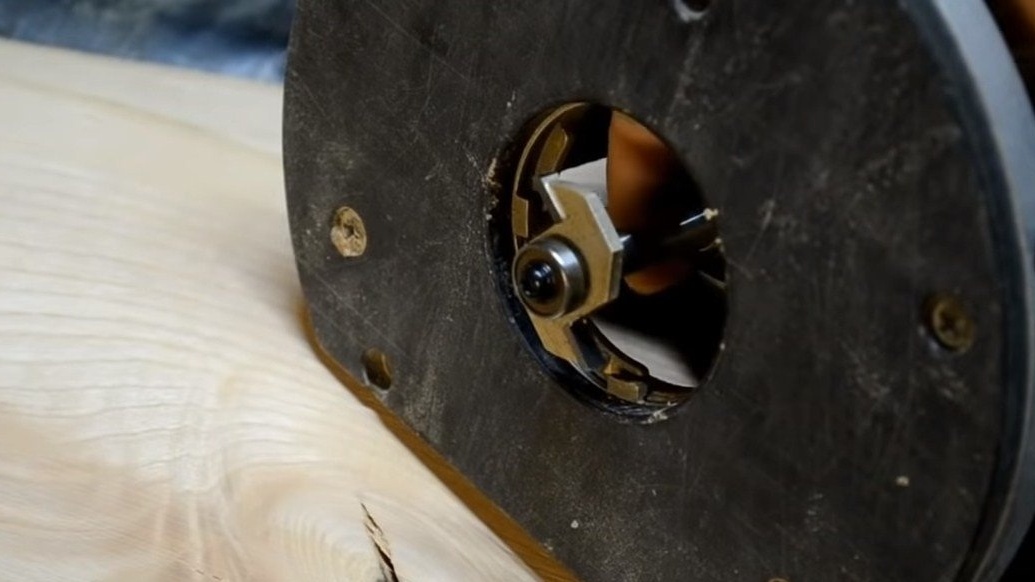
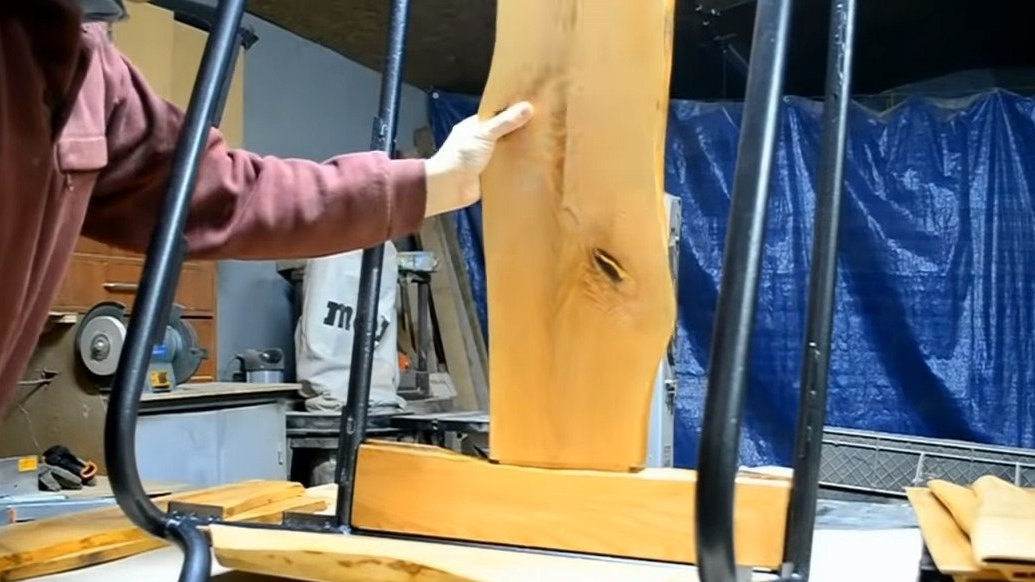
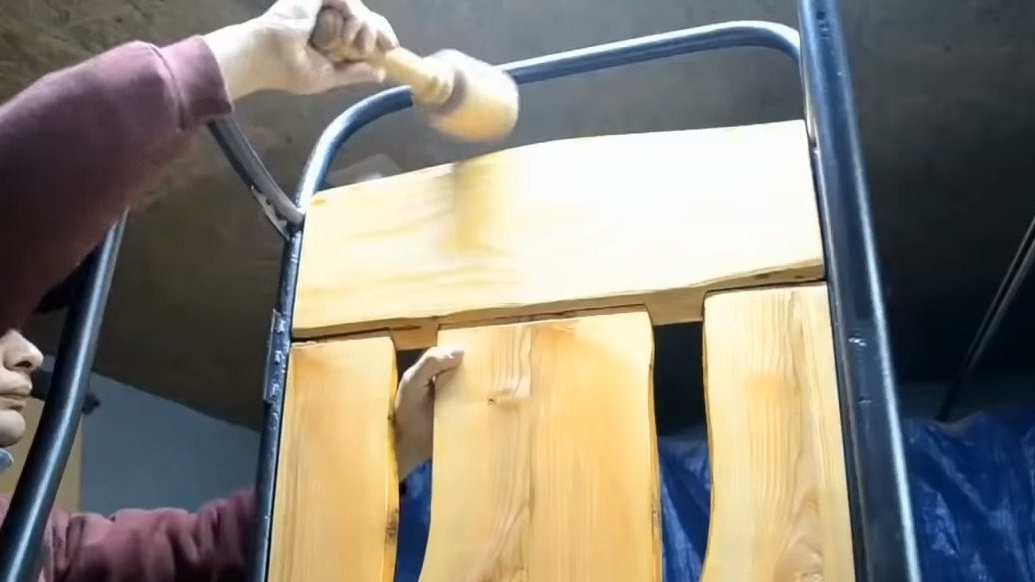
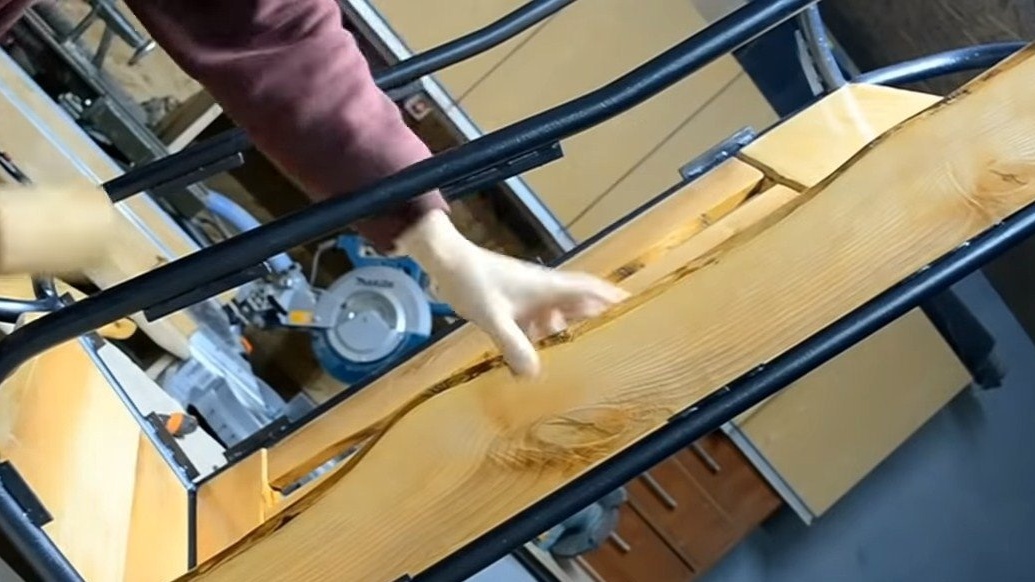
The most difficult task for this version of the trolley is to make the skin. Then the author decided to show all his professionalism and decided to show what equipment he has. Sheathing is assembled on a spike connection, it is certainly reliable, but difficult, everything can be done no less reliably, using simpler tools. The author here worked both as a milling cutter and a circular, aligned the boards on the surface gage and so on.
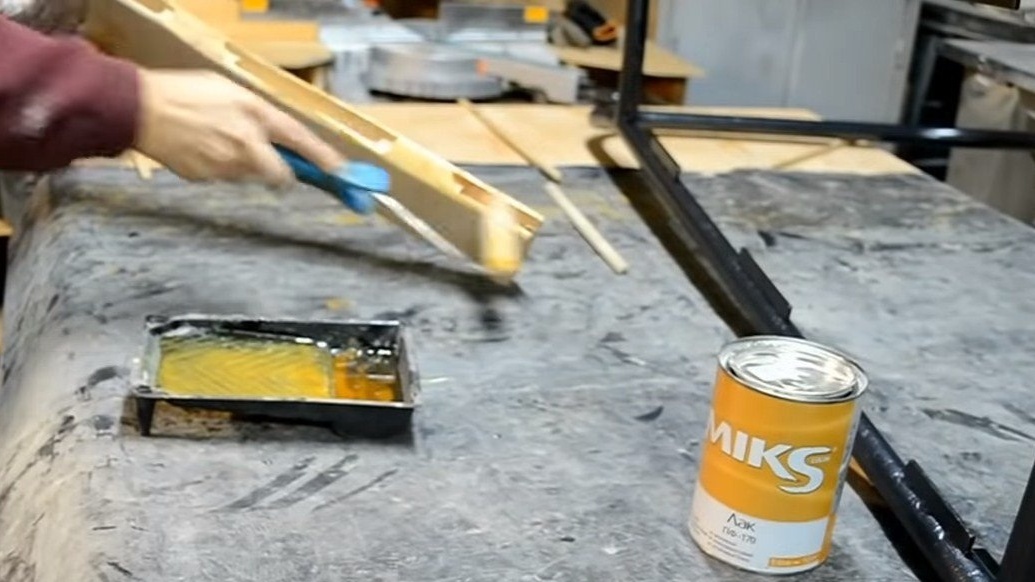
To make everything look interesting, the boards were cut to a bizarre curved shape. At the end, the lining was impregnated with varnish, so the tree will not be afraid of moisture, and will be easy to wash. Pine is good as wood, it is relatively light, and due to resin it is resistant to decay.


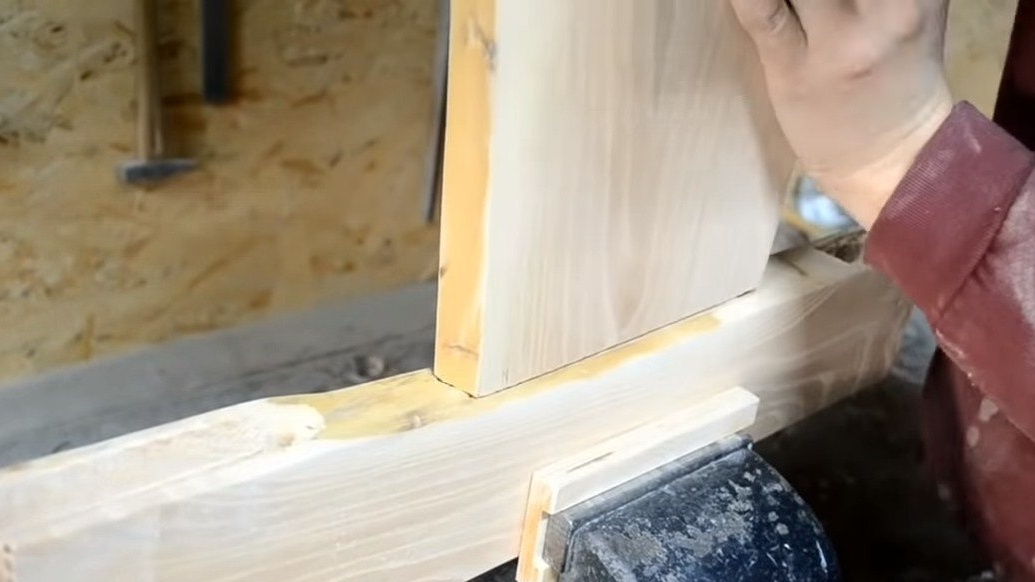
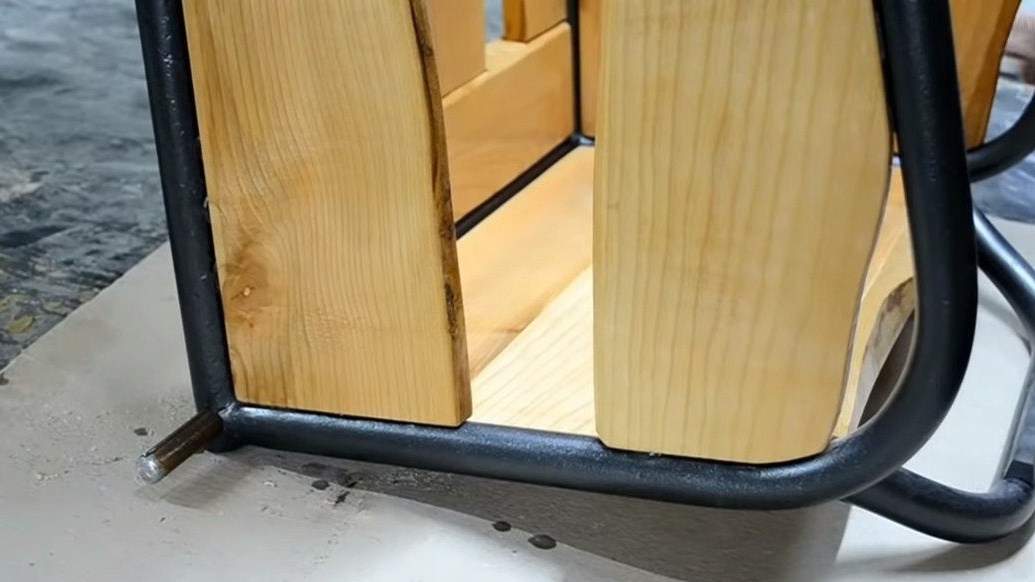
Step Six Assembly
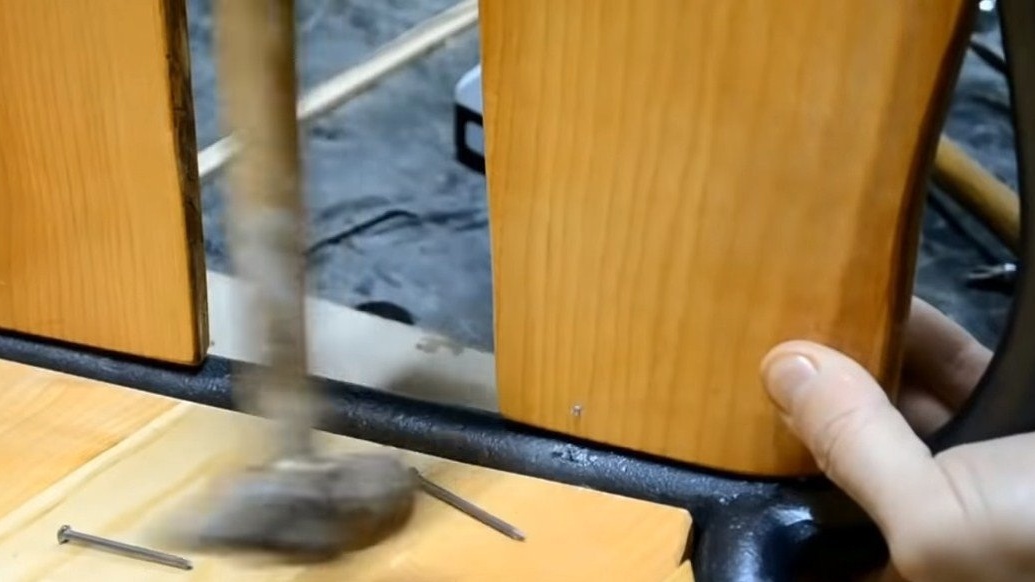
The cart can be assembled, we install the casing. First, the lower part is installed, only it is screwed on with screws. The remaining parts of the casing are assembled on a spike connection, and to keep everything very tight, the author additionally pins the pins into the spikes, which are used as pieces of nails.
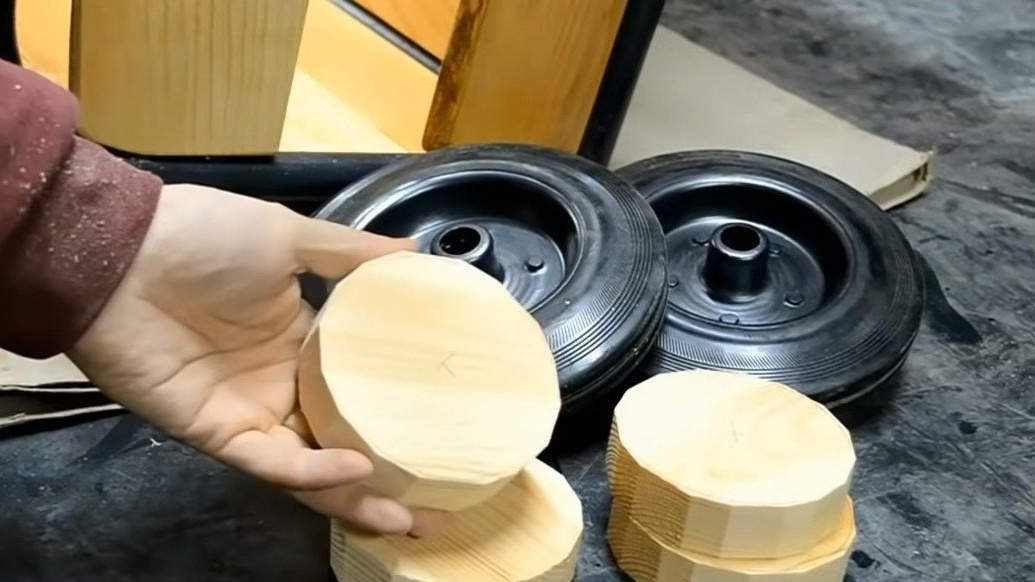
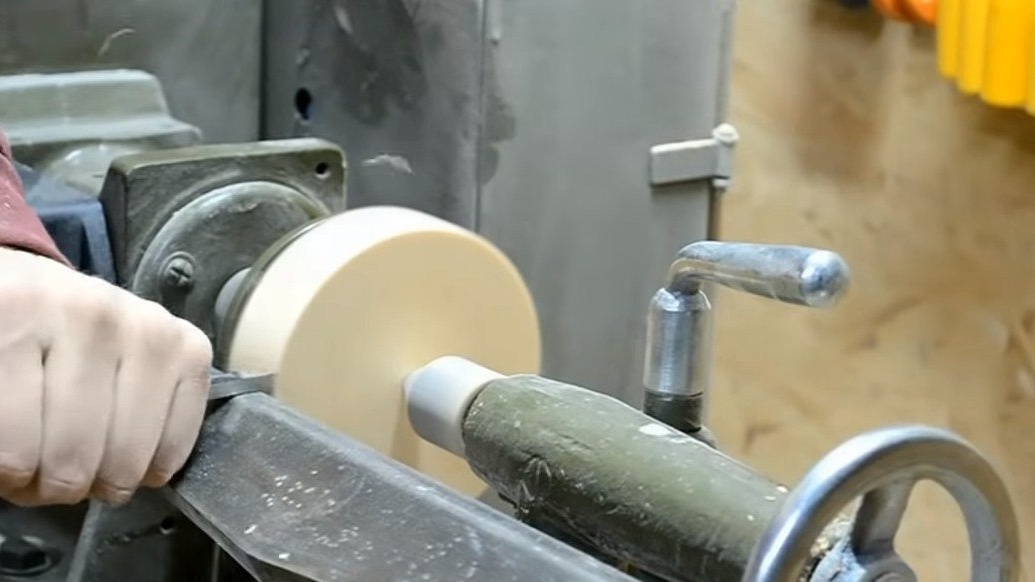
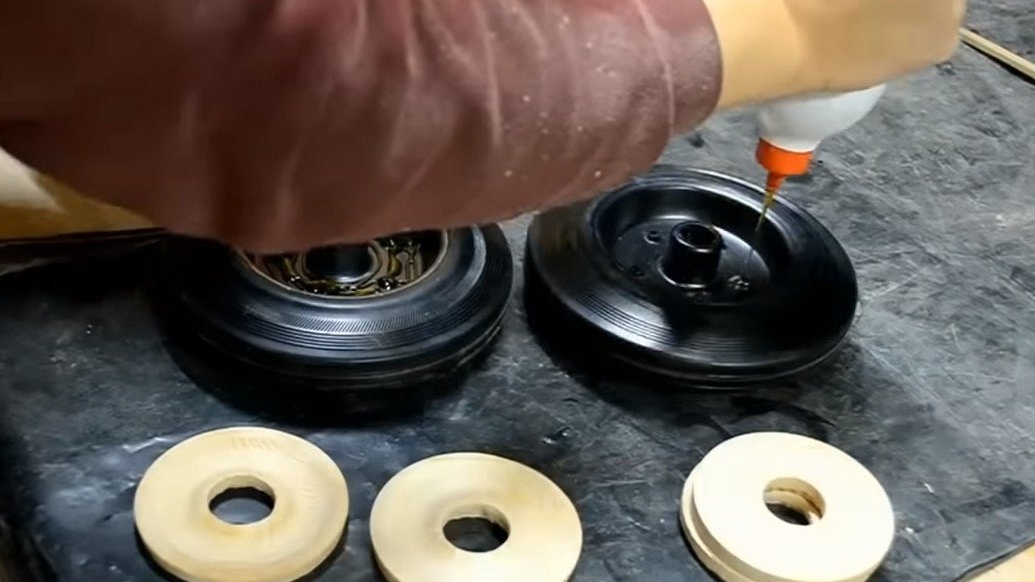
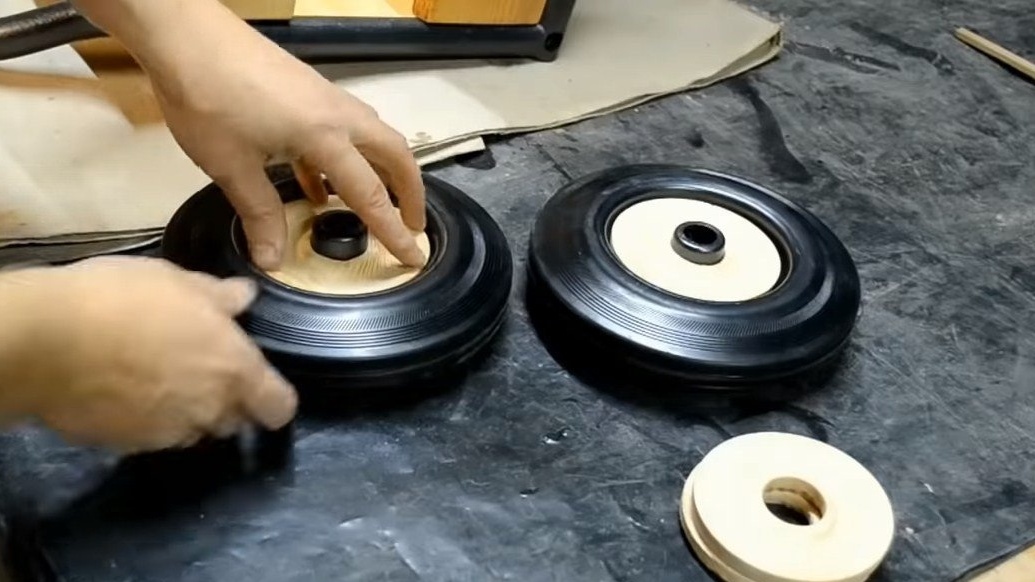
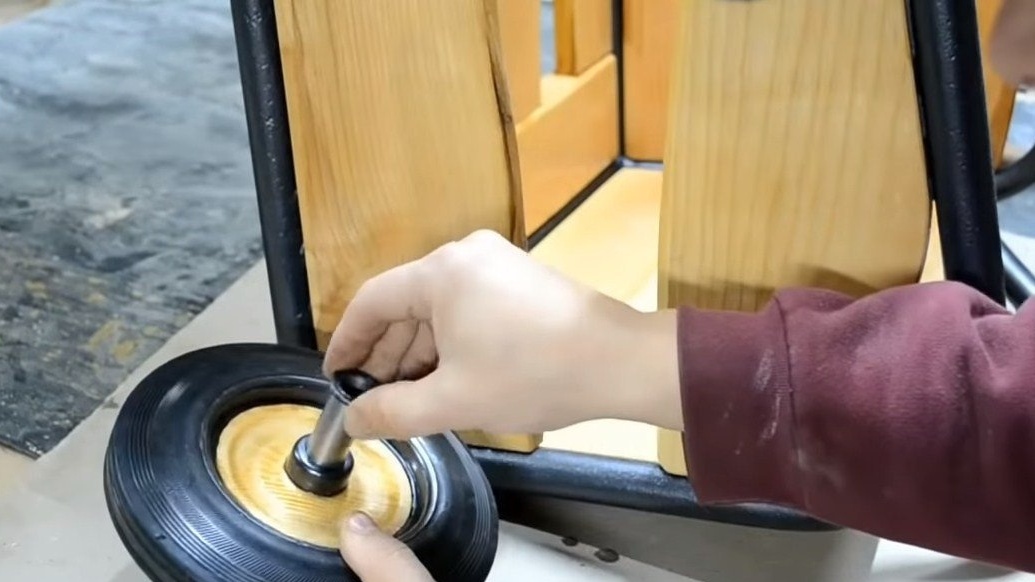
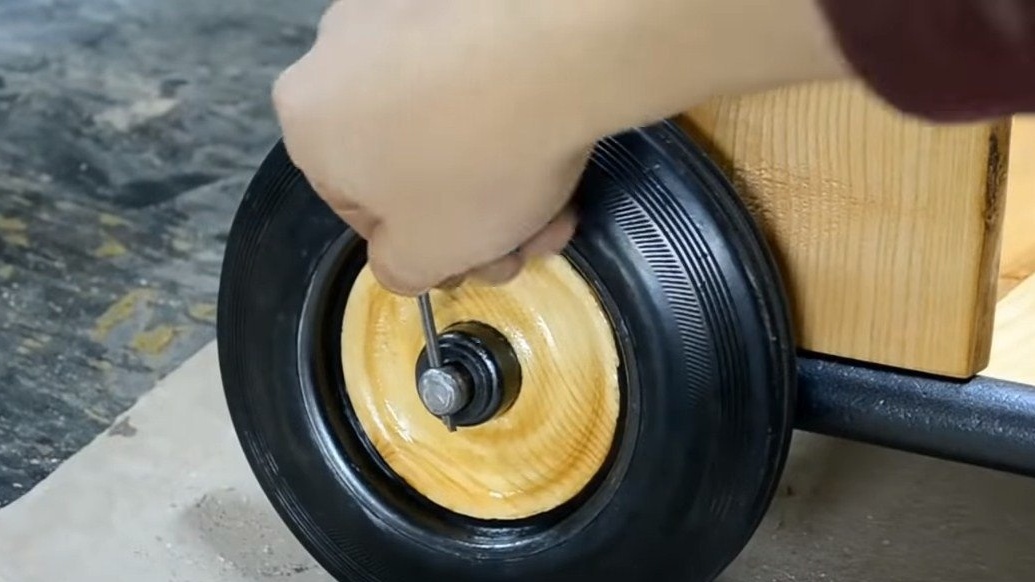
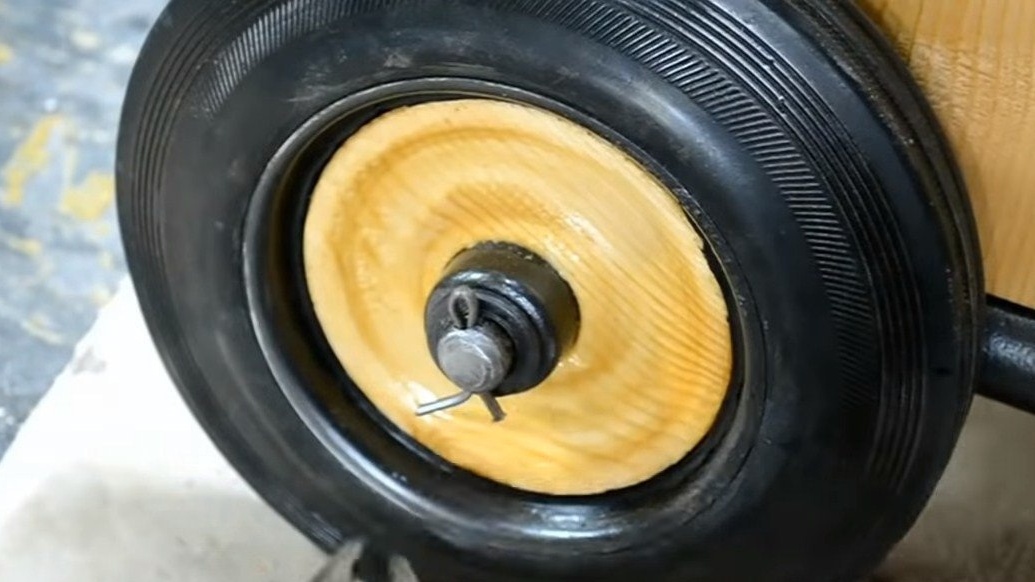
Seventh step. Wheel installation and testing
The wheels were decorated by the author with washers made of wood; as a result, it seems as if the wheels of a cart are made of wood. The washers were glued to the discs with glue. We install wheels, lubricate the axles well, and cotter pins are used for fixing.
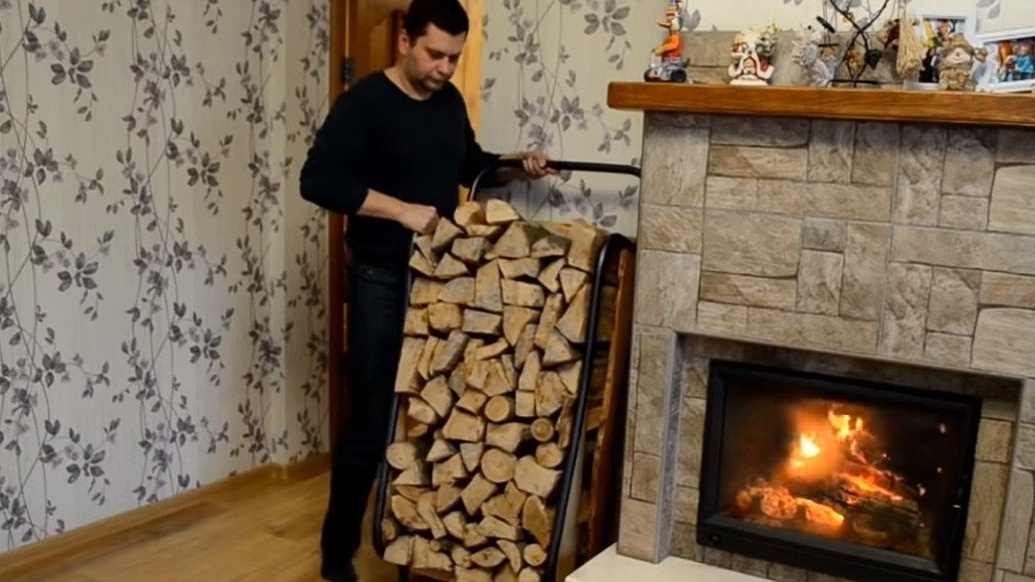
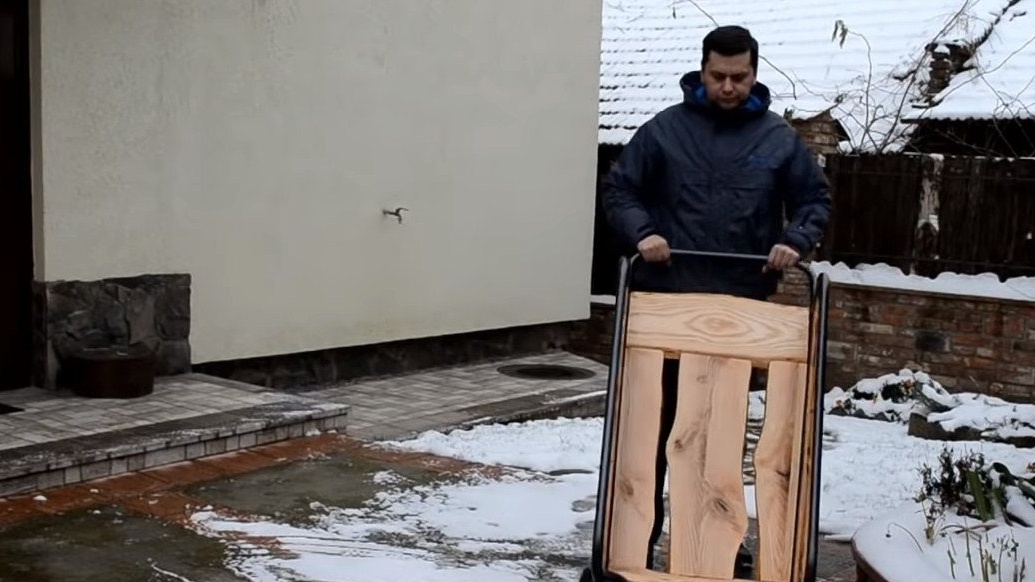
Homemade is ready, you can check! The author fills the cart with firewood to the top, and then brings this whole pile into the house and puts it by the fireplace. That's all, the wood in the house is neatly folded, you do not need to unload and stack anything, and there will be much less dirt.
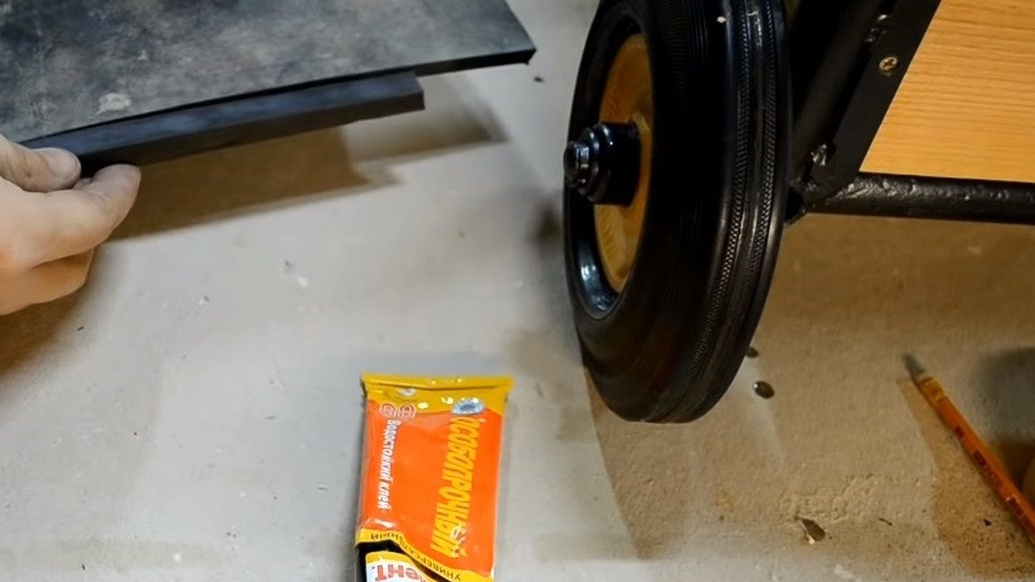
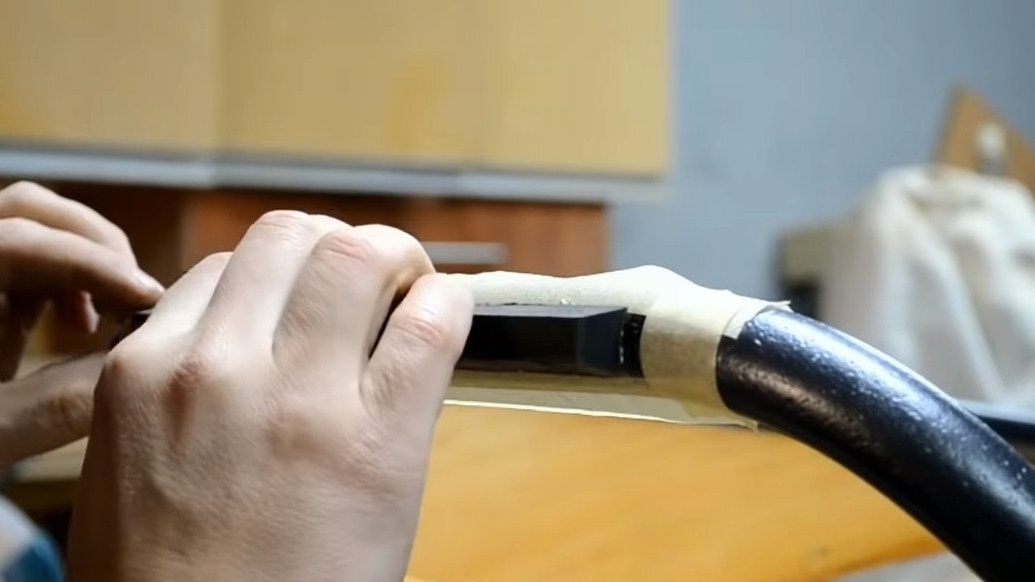
It remains to glue a piece of rubber to the leg so that it does not slip, scratch or spoil the floor.
I hope you enjoyed the project and found useful thoughts for yourself. Good luck and creative inspiration, if you decide to repeat this, do not forget to share with us your ideas and homemade products.