
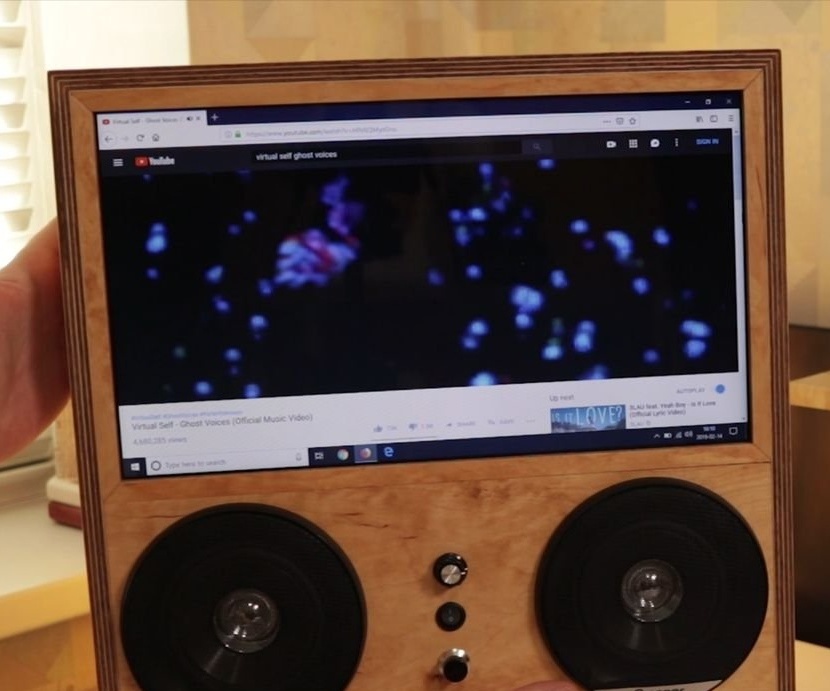
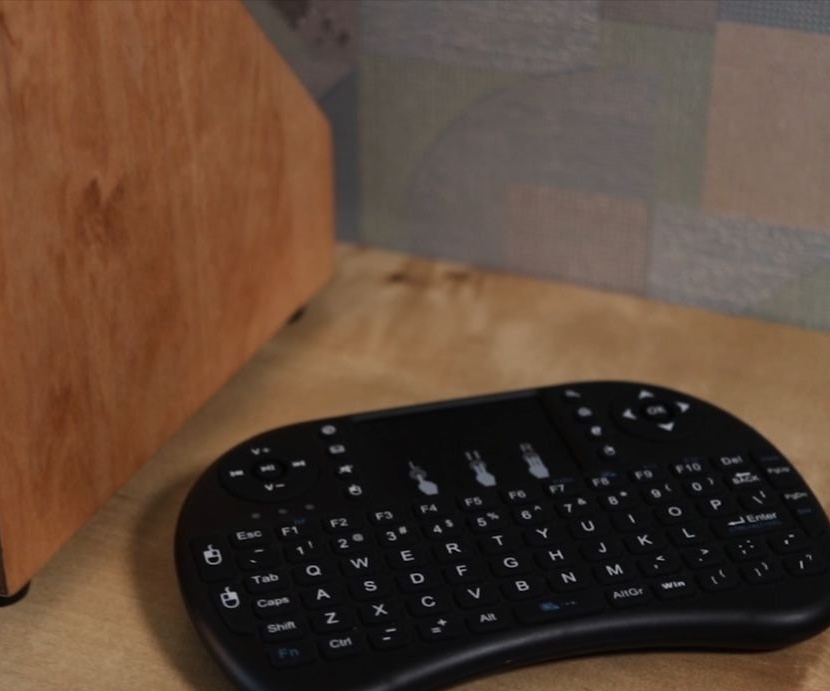
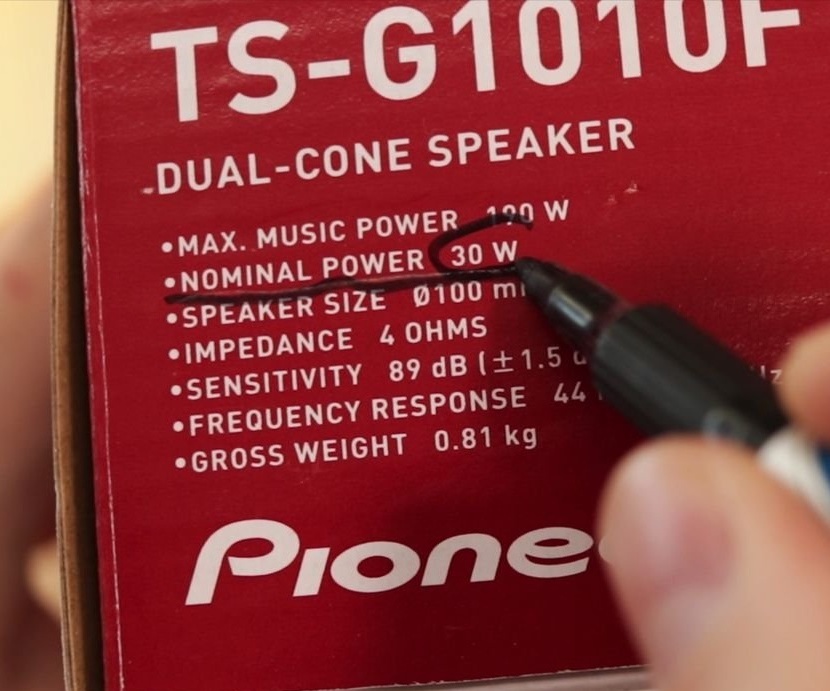
In this article, we will look at how the Master remade an old laptop into a multimedia center. The device turned out in a vintage style, has two 30 W speakers and control with a portable wireless keyboard.
Tools and materials:
Milling cutter;
-A screwdriver;
- Electric jigsaw;
- Clamps;
-Roulette;
-Gon;
-Glue gun;
-Multimeter;
-Soldering accessories;
-Nippers;
-Clamp "third hand";
-Charger;
-Old laptop;
-3.5 mm stereo audio cable;
-Potentiometer knob;
-Rubber legs;
- Plywood 12 mm;
-Screws;
-Metal corner;
- Joiner's glue;
-Linseed oil;
-Epoxy adhesive;
-Insulating tape;
- Radiator 60 x 60 mm;
-Fan 60 x 60 mm;
- Fan grill 60 x 60 mm;
- Aluminum tape;
- thermal paste;
- Thermo-glue;
-Lithium-ion batteries 18650;
- 18650 battery holder;
-Switch;
-Power button;
-Wire;
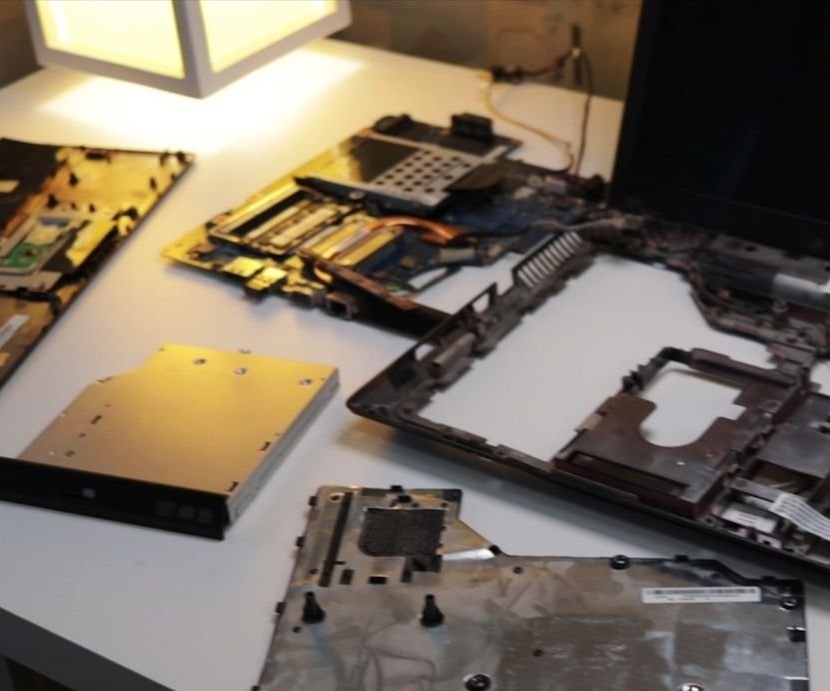
Step one: disassembling the laptop
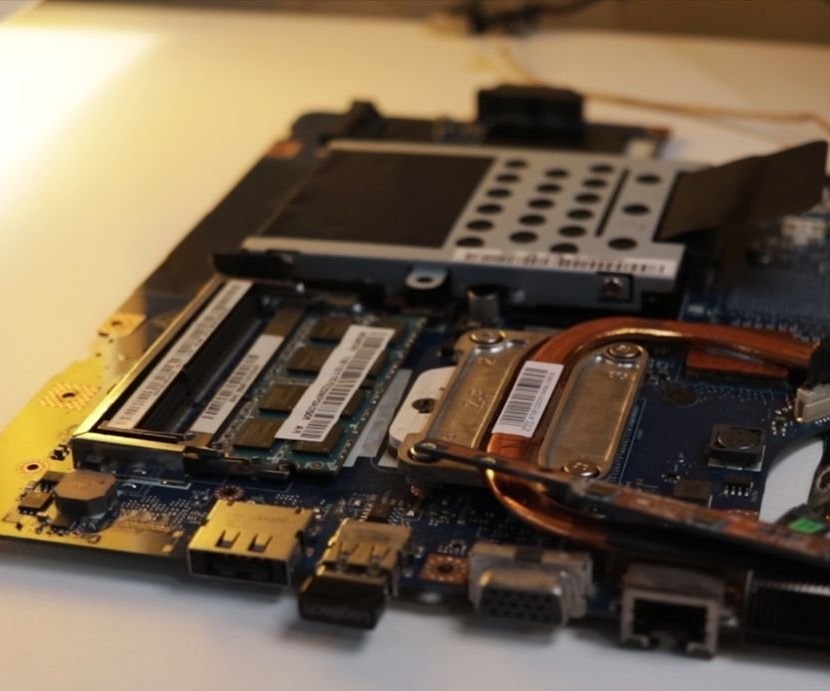
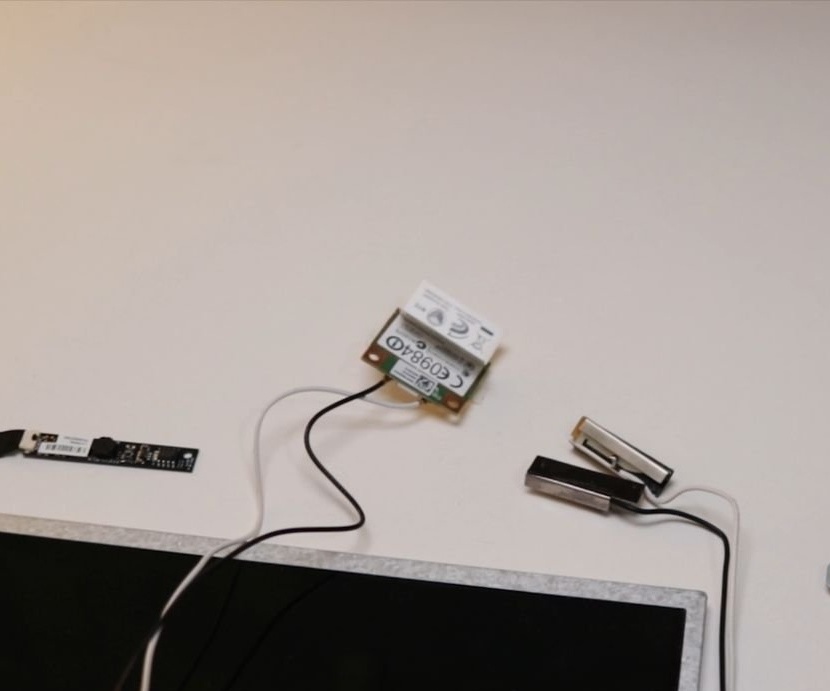
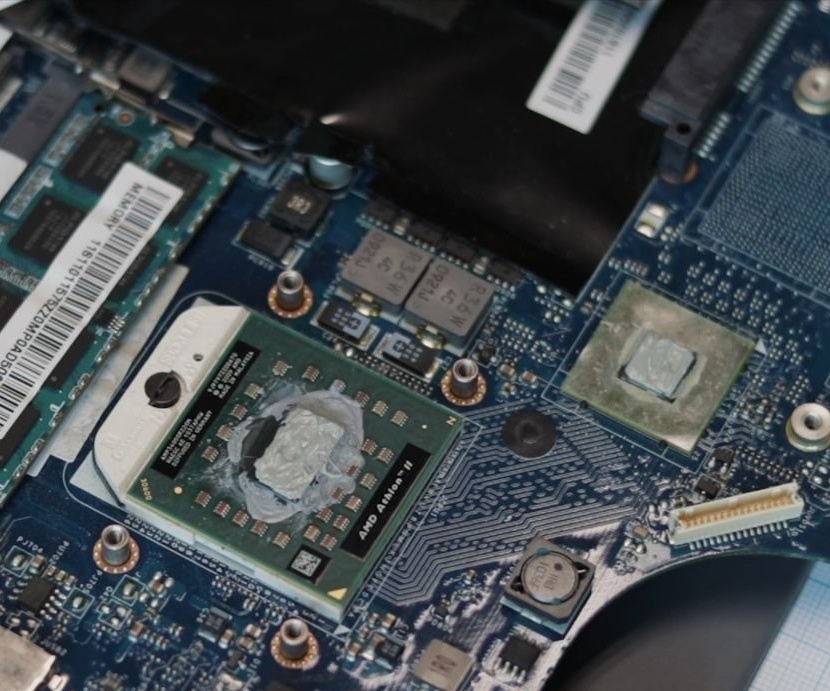
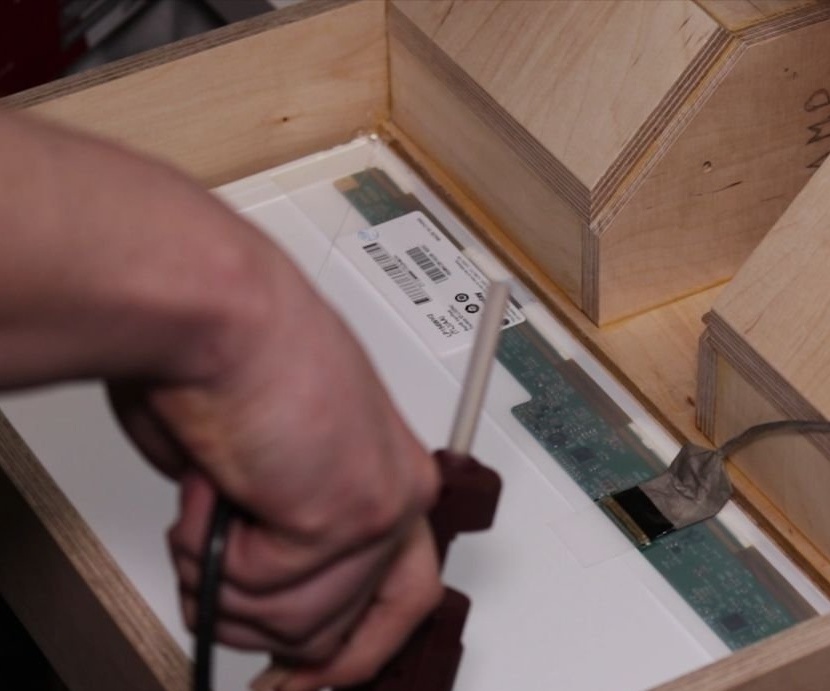
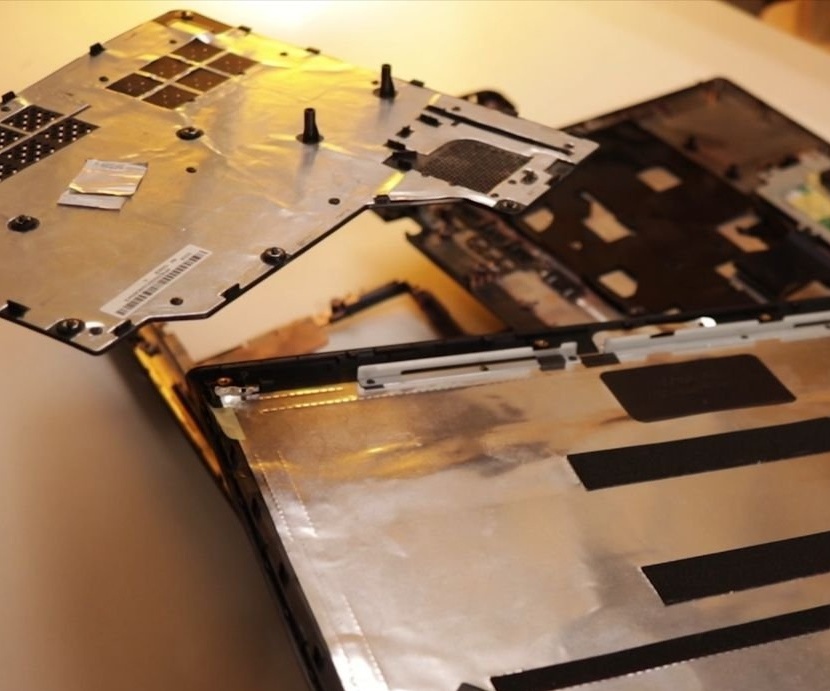
Parses an old laptop. For the device, you will need a main board with a power switch, a battery, a display, USB and charging ports, a fan and a sound card (if it is not built into the main board).
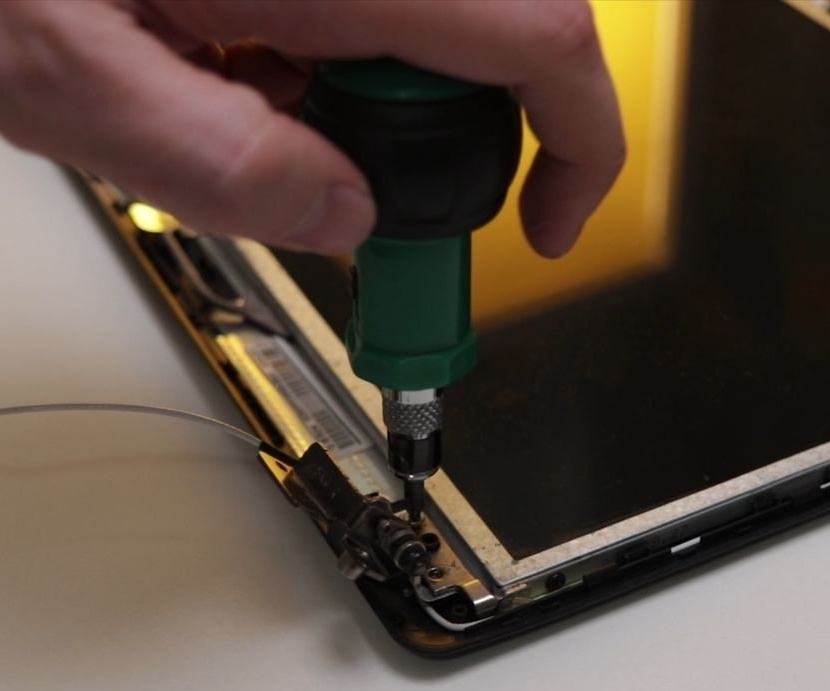
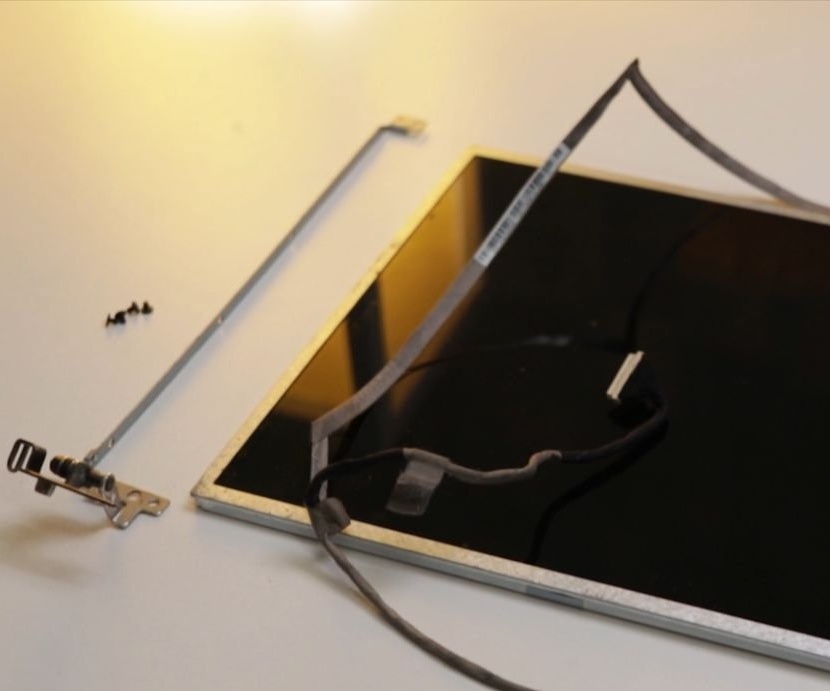
The display must be fully disassembled so that only the LCD panel, Wi-Fi antennas and webcam are available.
Step Two: Battery
If we want this multimedia PC to be portable, we must replace the old batteries with new ones.
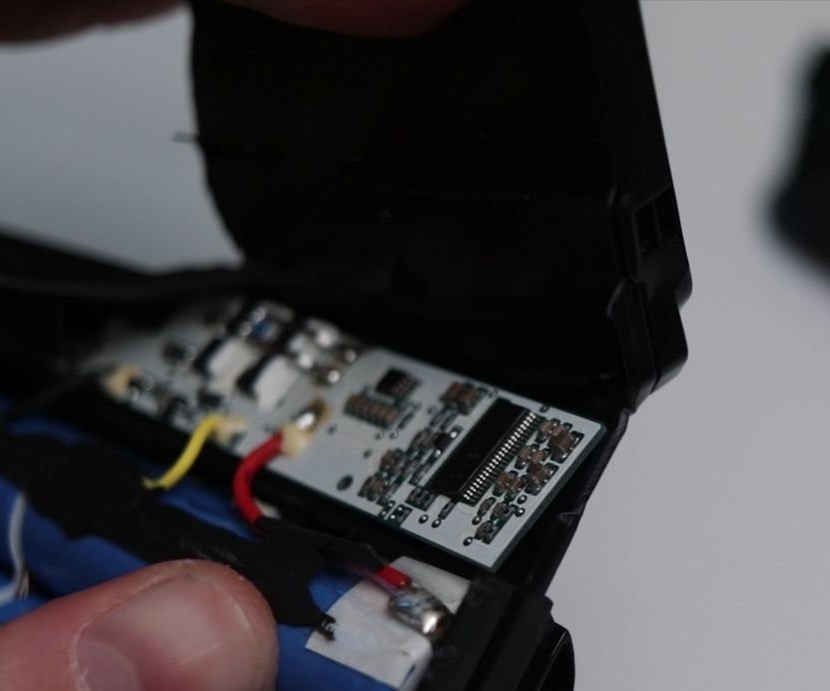
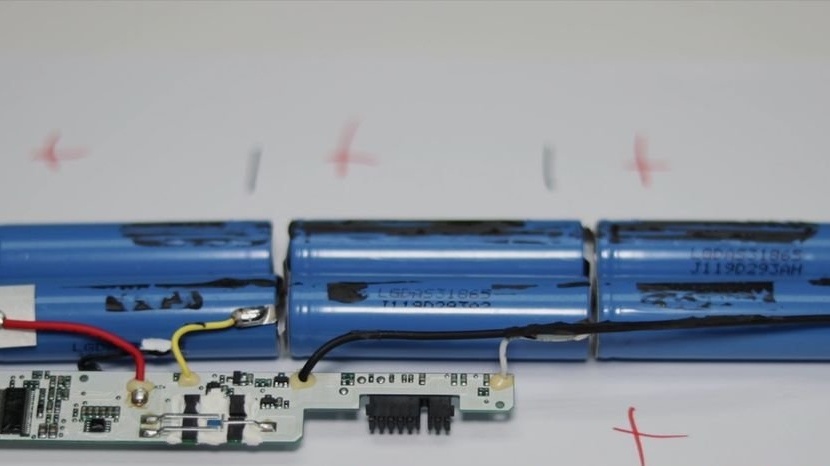
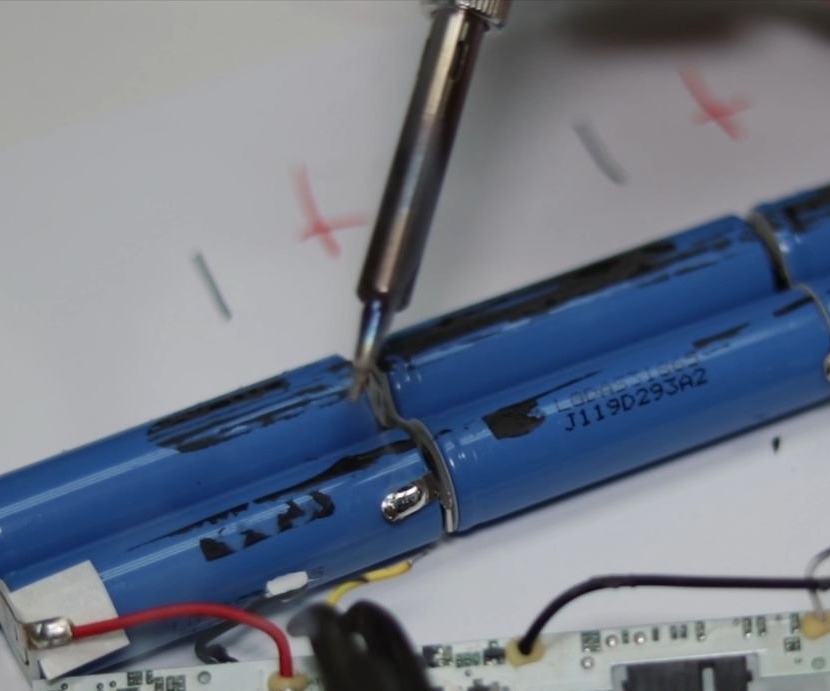
The battery is hard to open. The master just cracked the case. The main thing here is not to short the batteries and not damage the protective / charging circuit.
In older and cheaper laptops, there are usually 18650 lithium-ion cells inside. During the disassembly, the master takes pictures to install everything in the same way as it was.

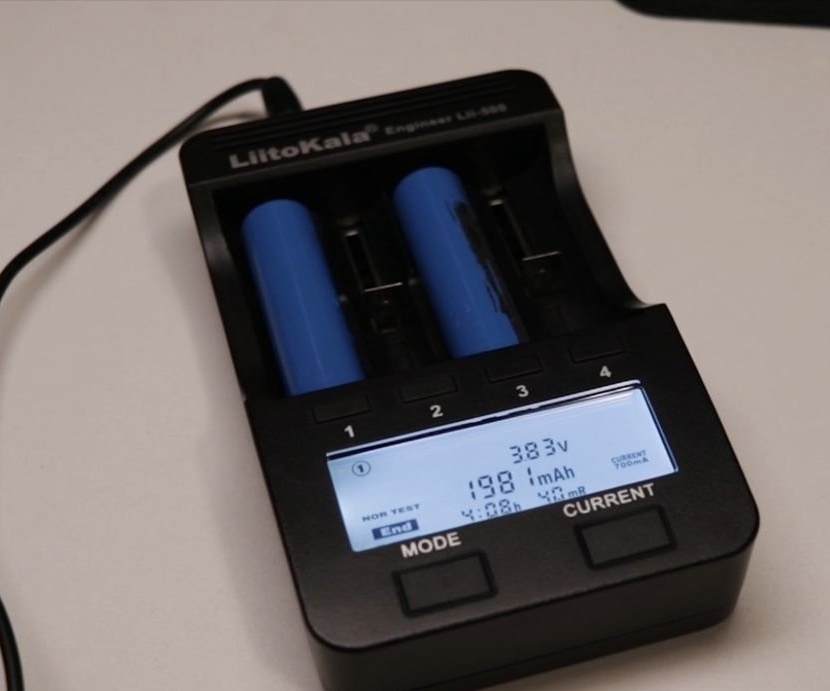
Checks and charges batteries.
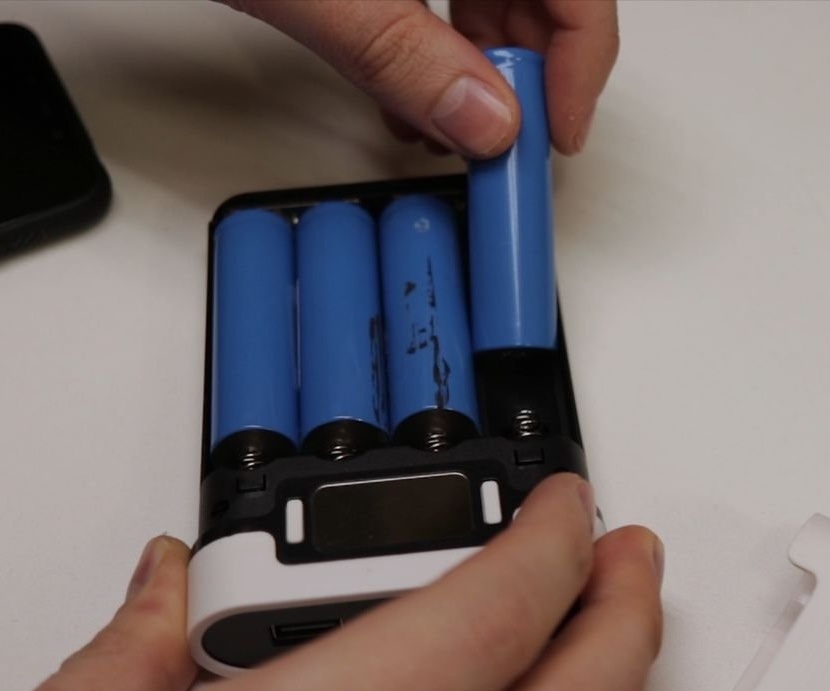
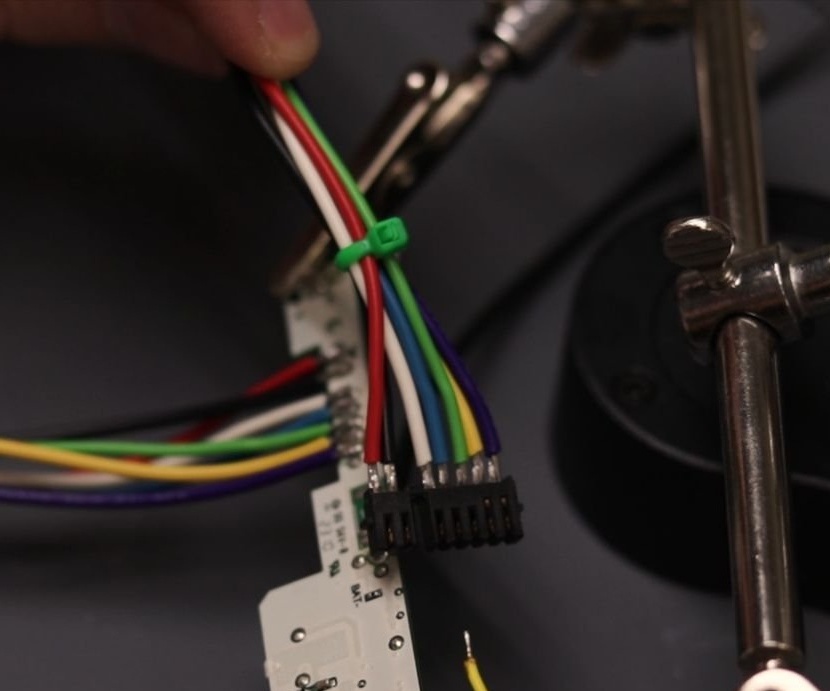
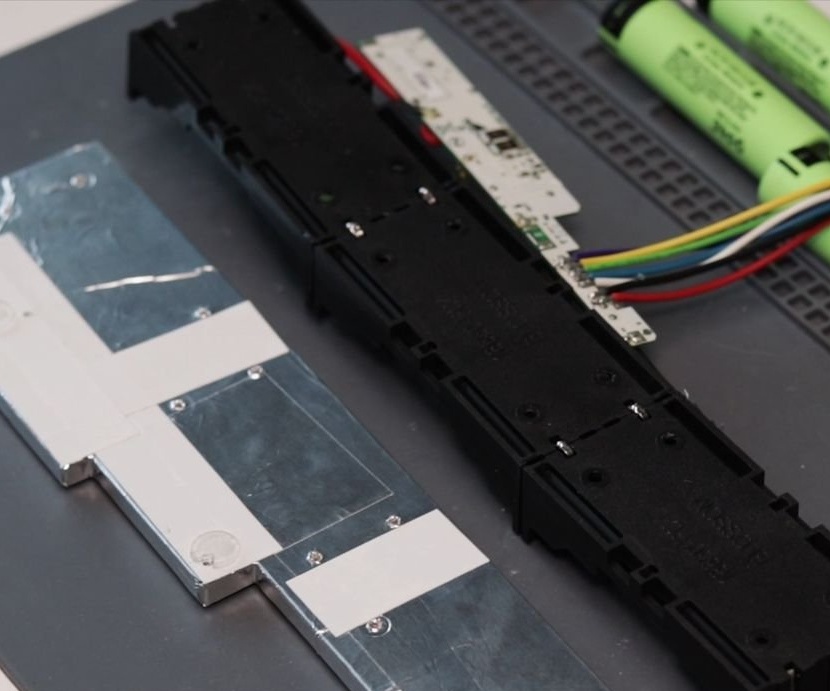
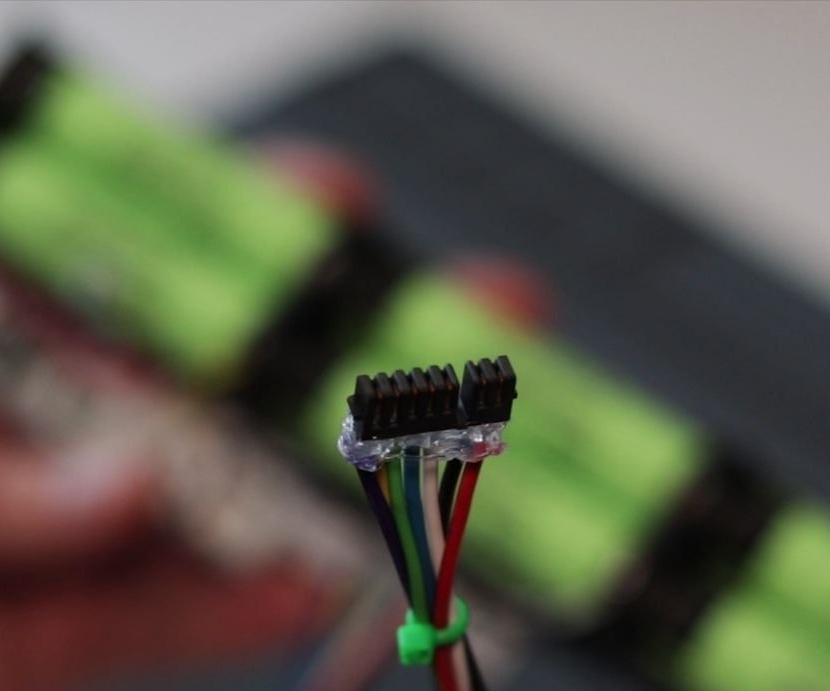
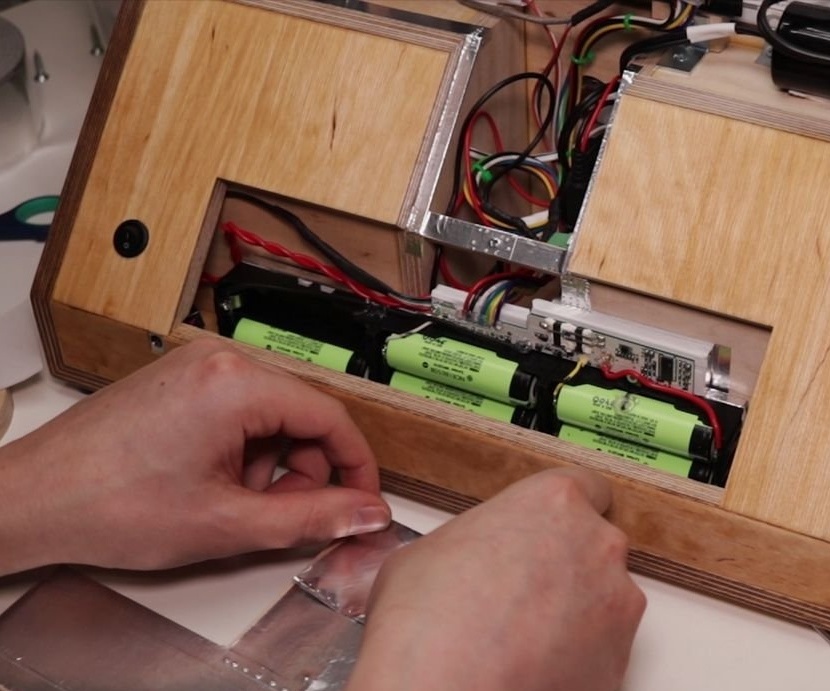
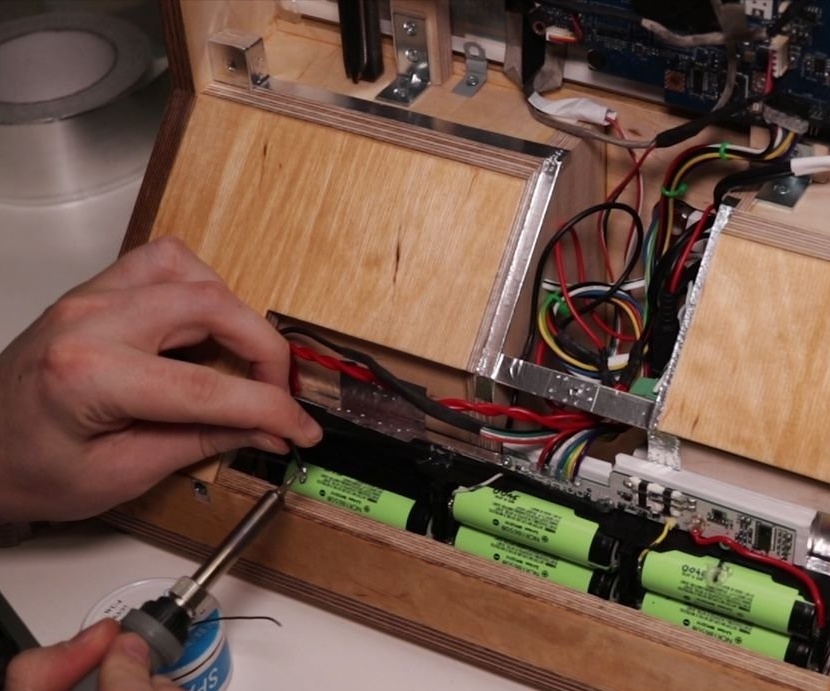
The new battery is mounted according to the 3s2p scheme. Connects battery holders.

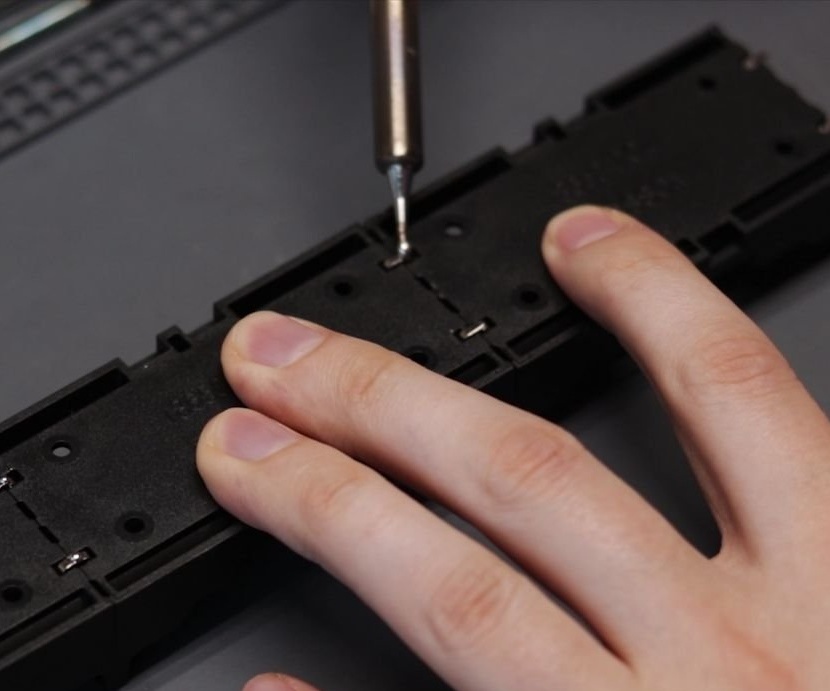
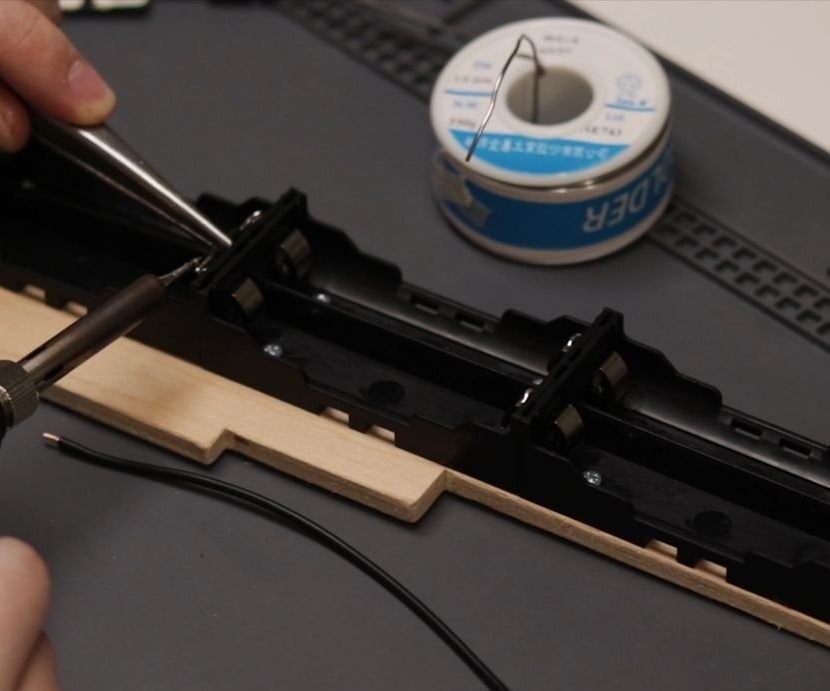
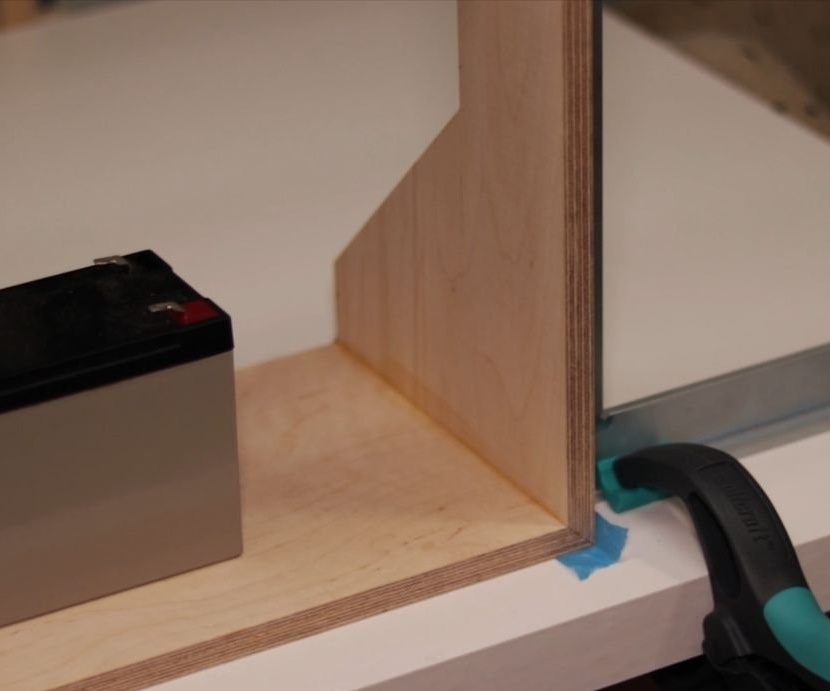
Installs a protection board. Secures the battery compartment to the plywood base.

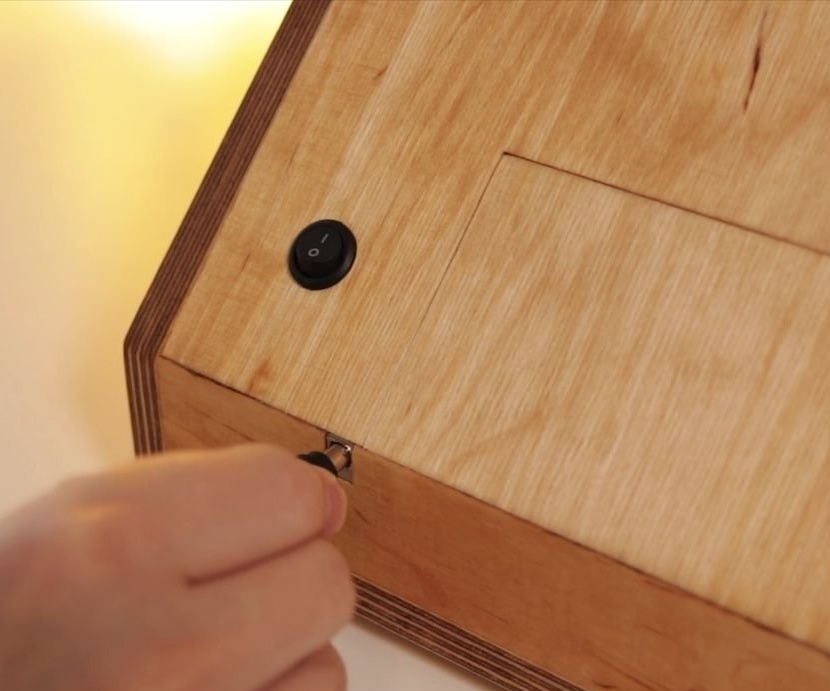
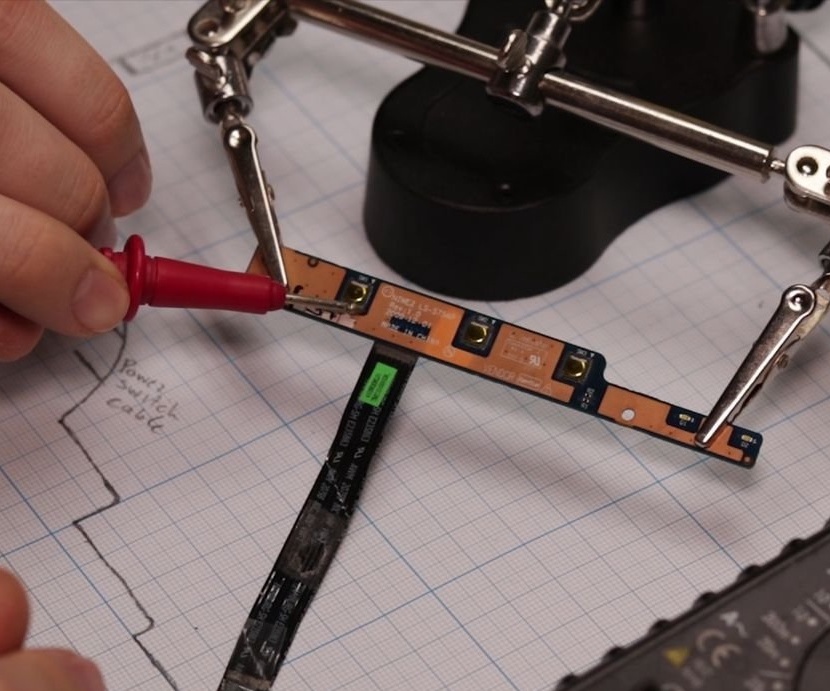
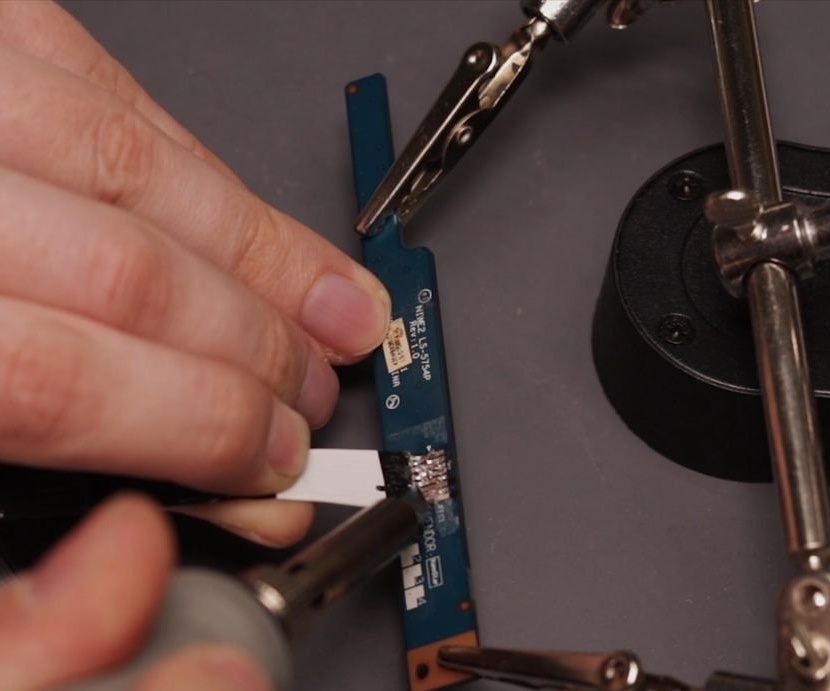
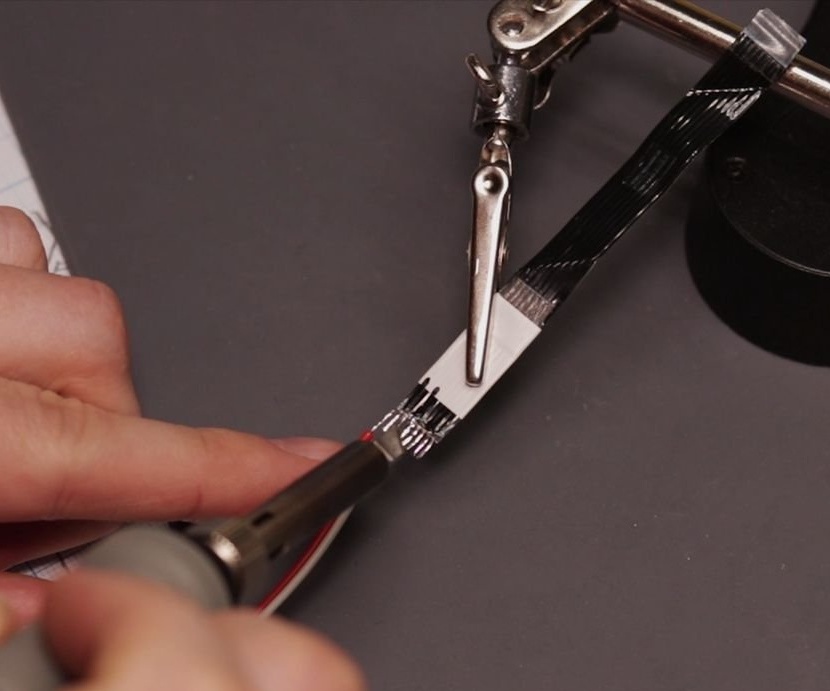
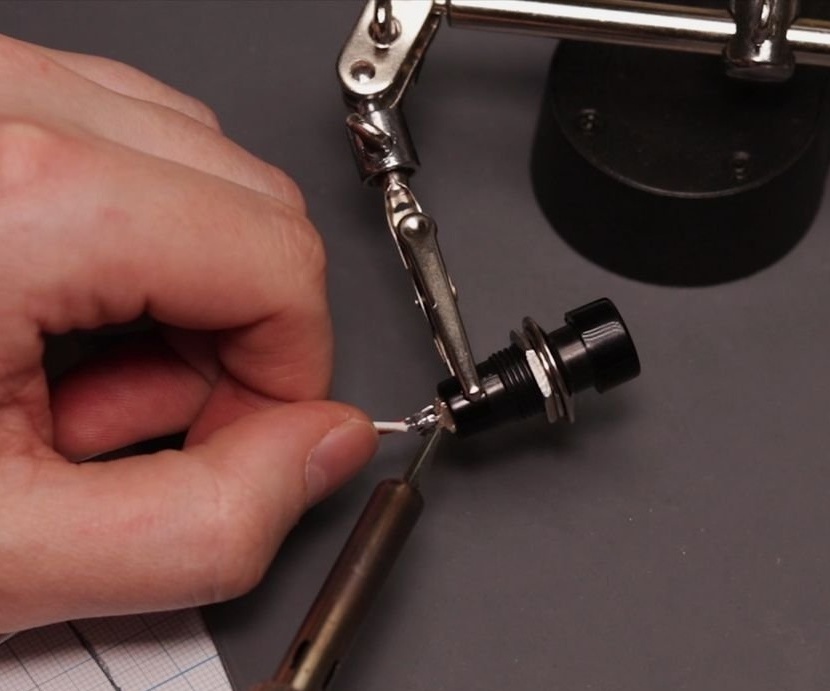
Step Three: Power Button
The master solders the button in place of the standard button.
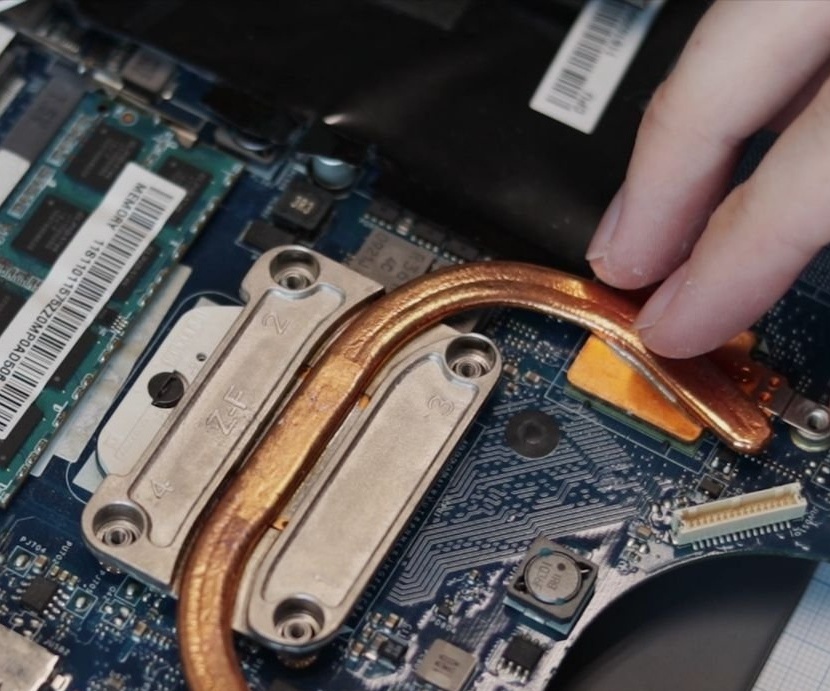
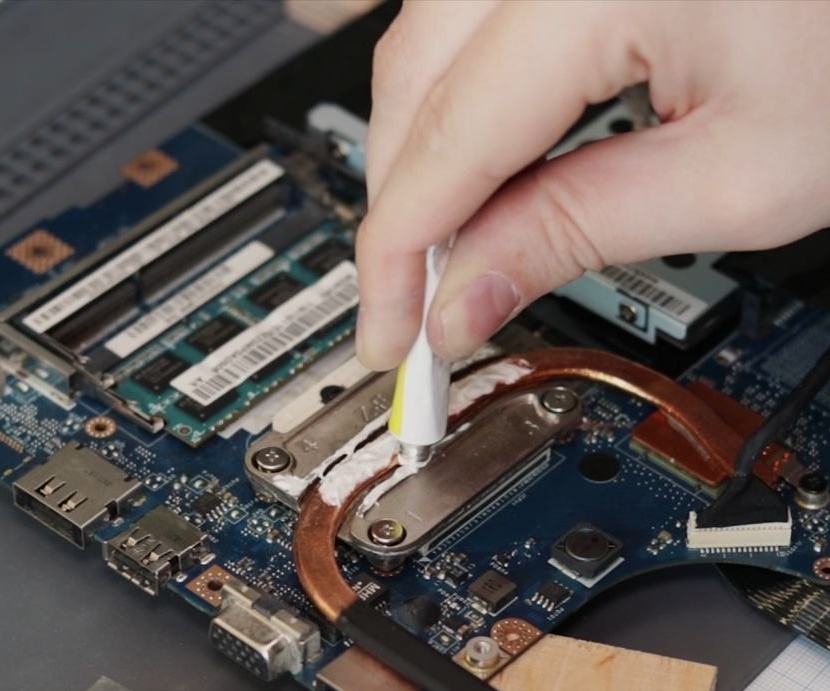
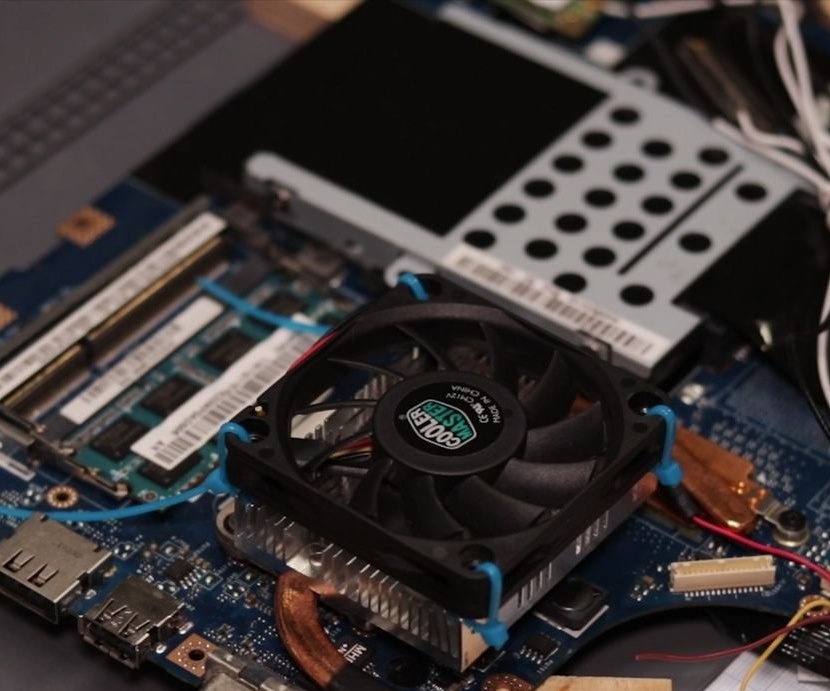
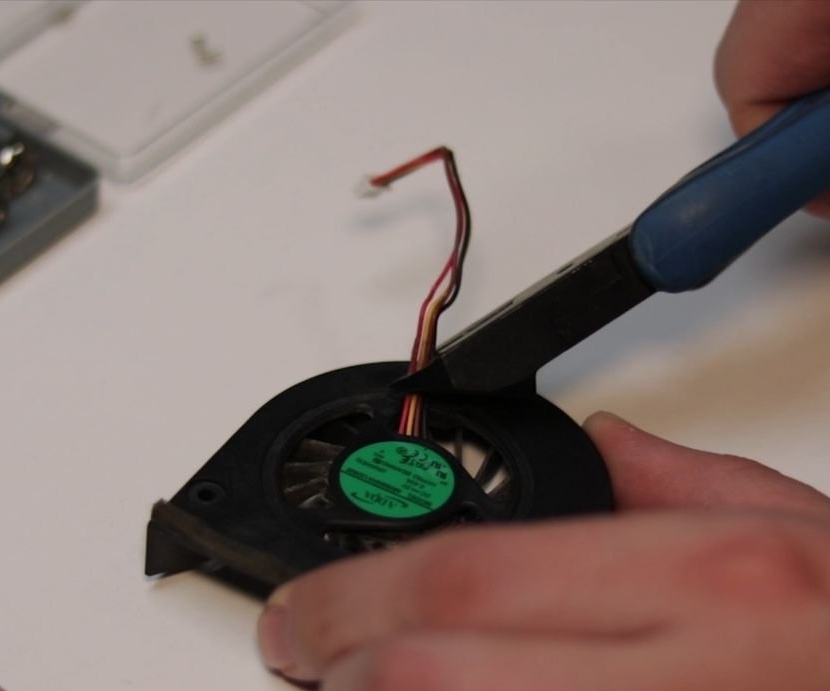
Step Four: Cooling
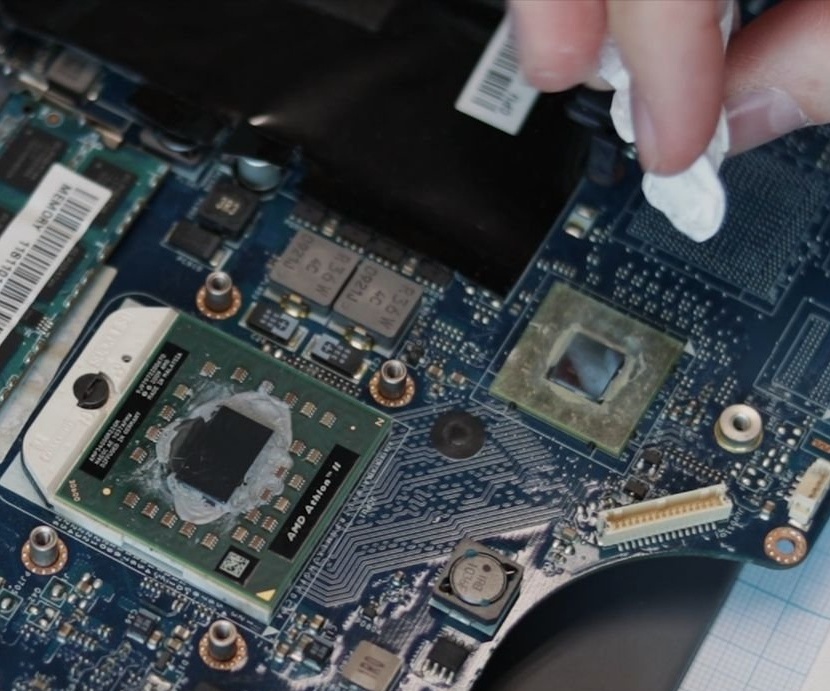
Before assembly, the master changes the thermal grease.
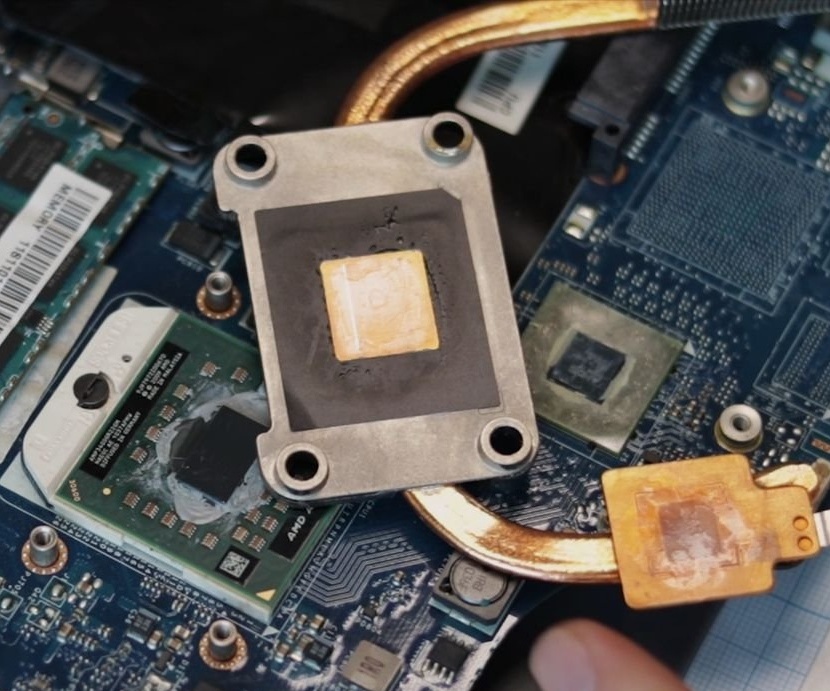
Installs a new fan and radiator.
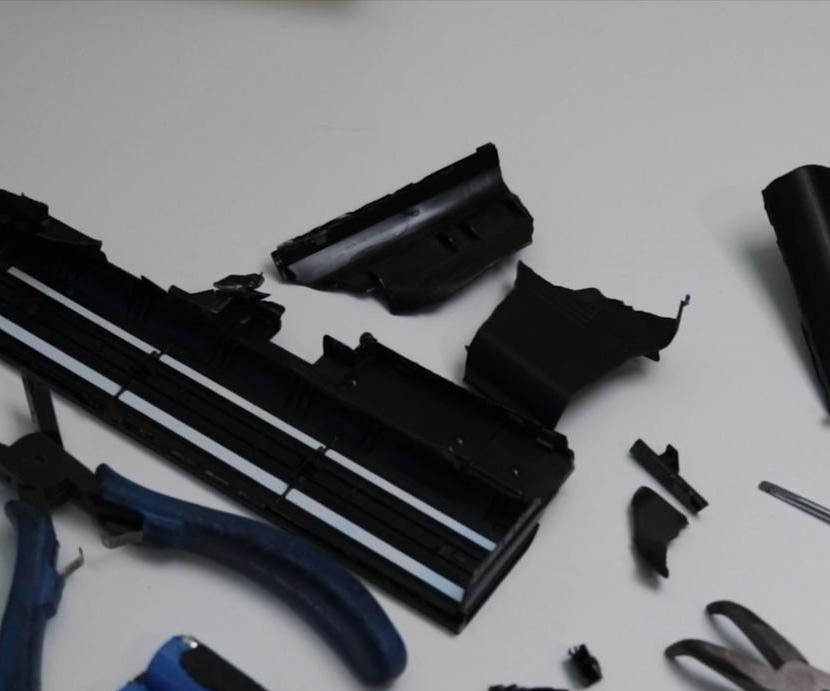
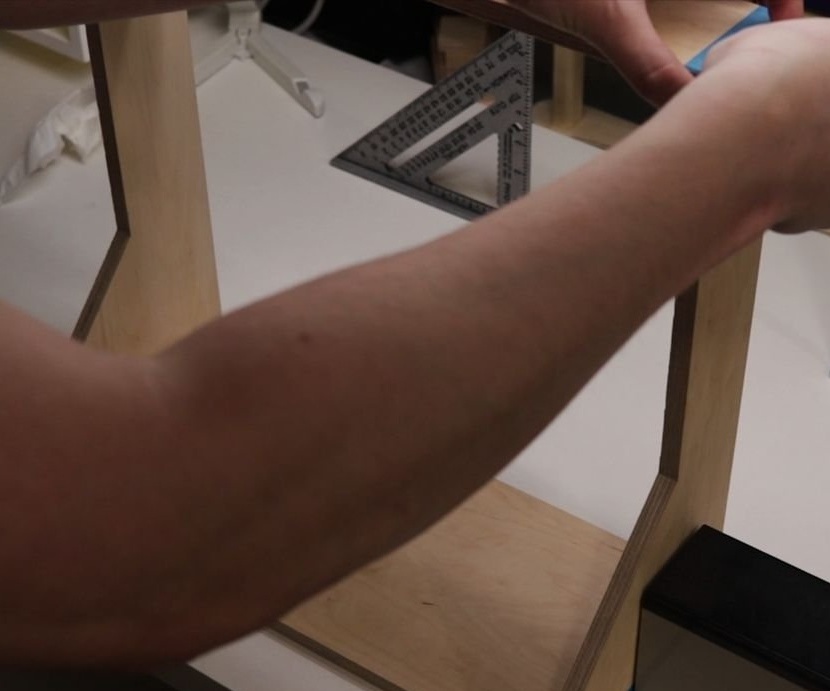
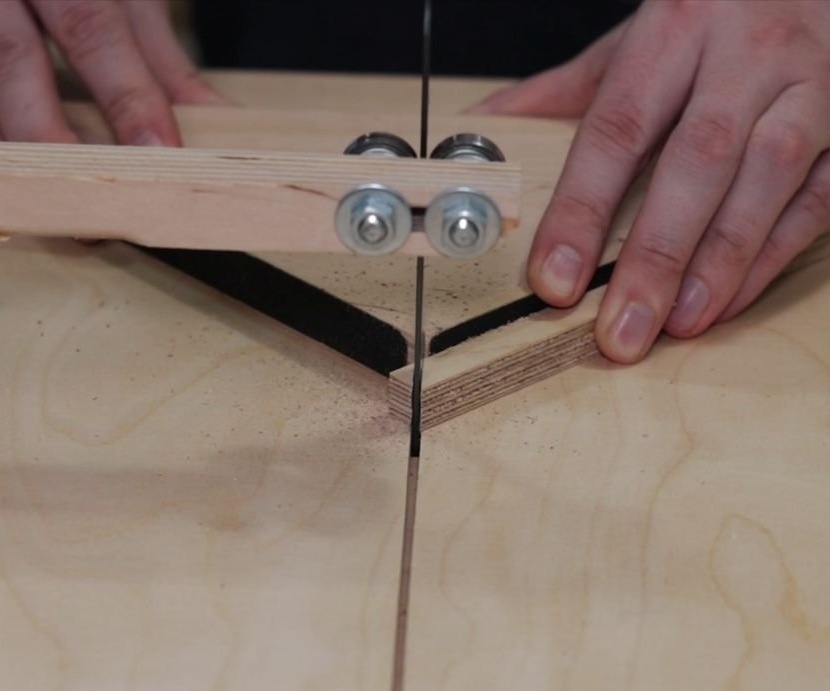
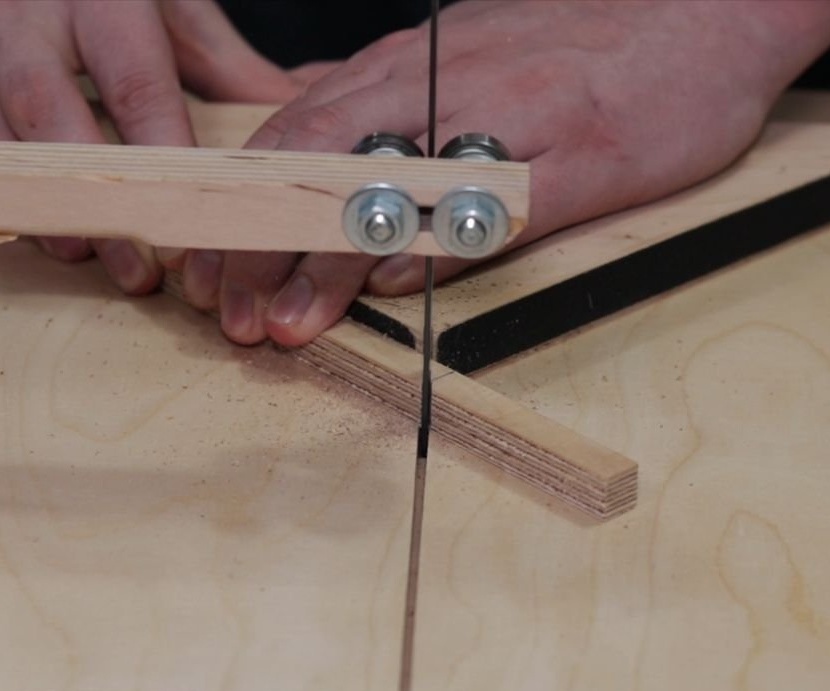
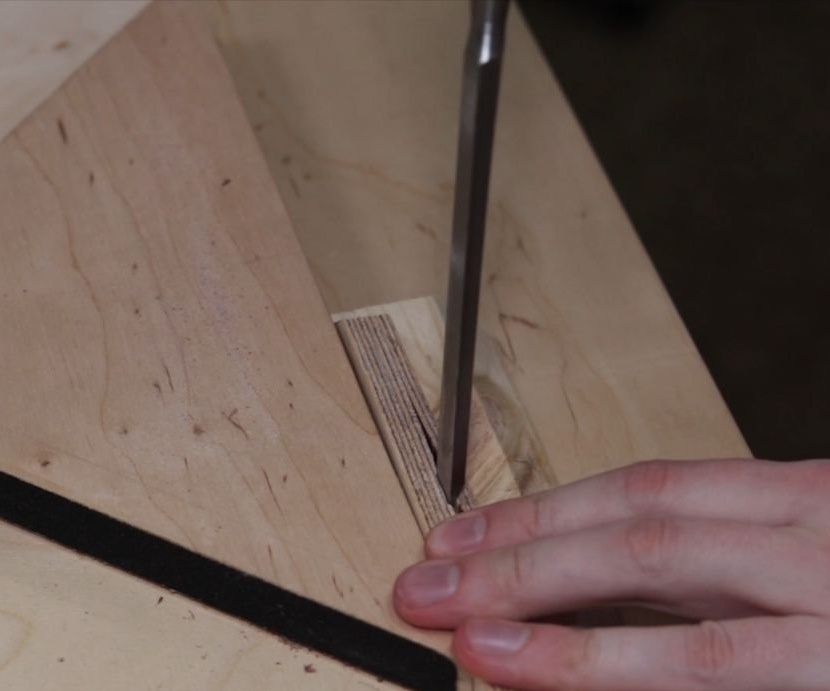
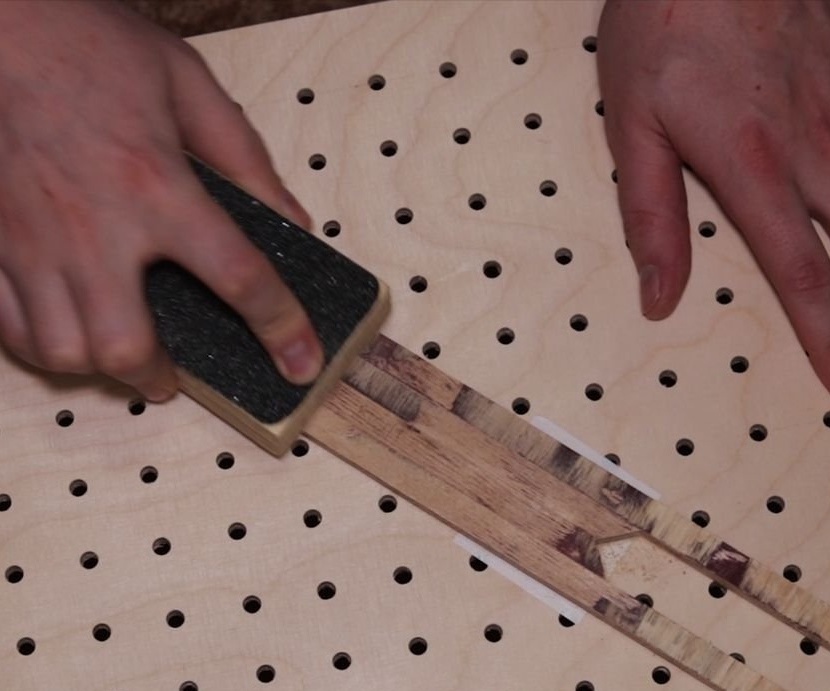
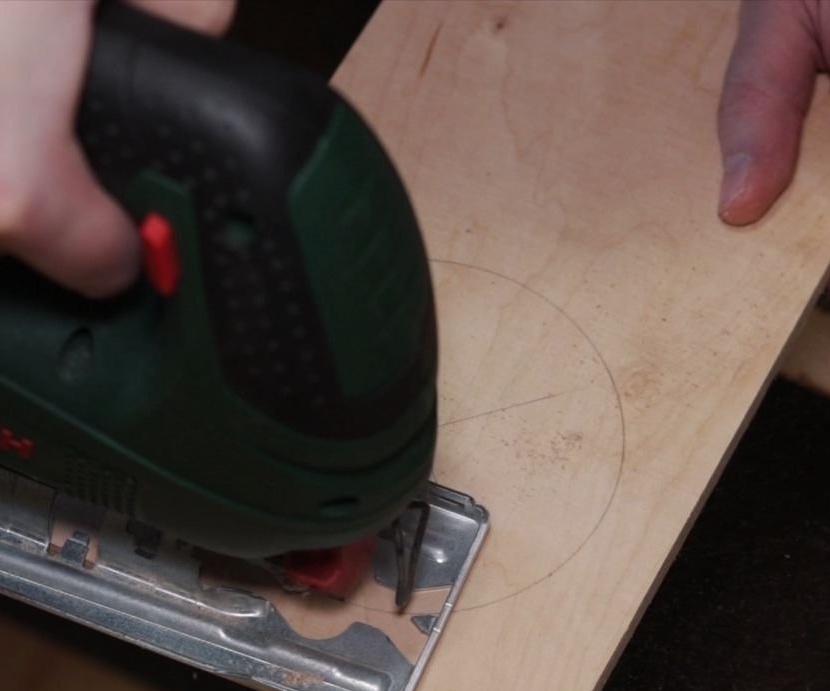
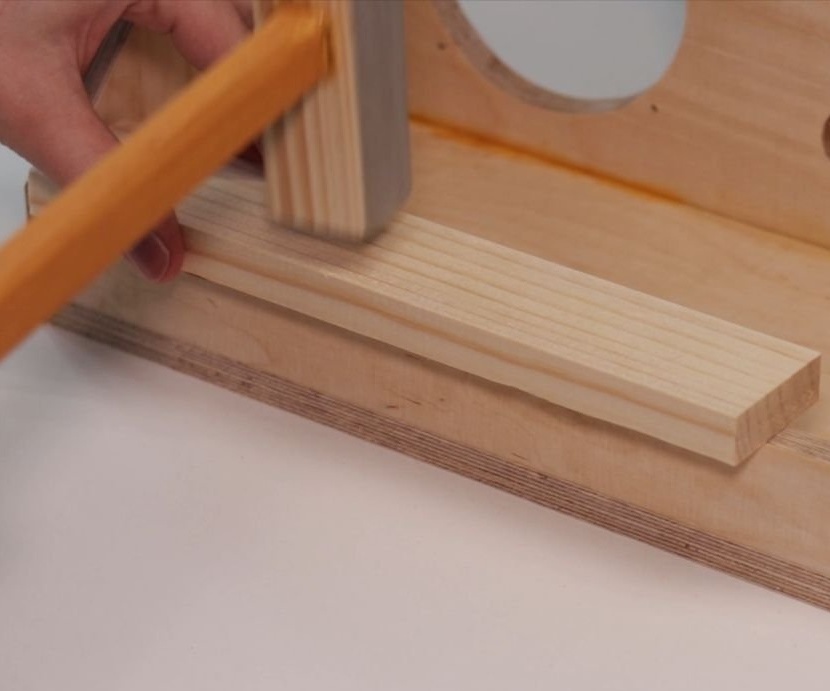
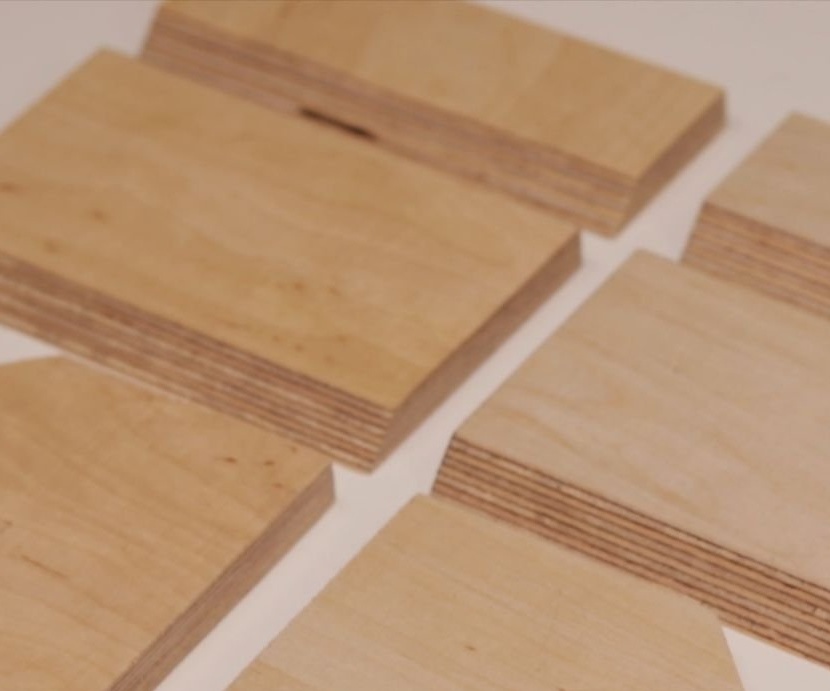
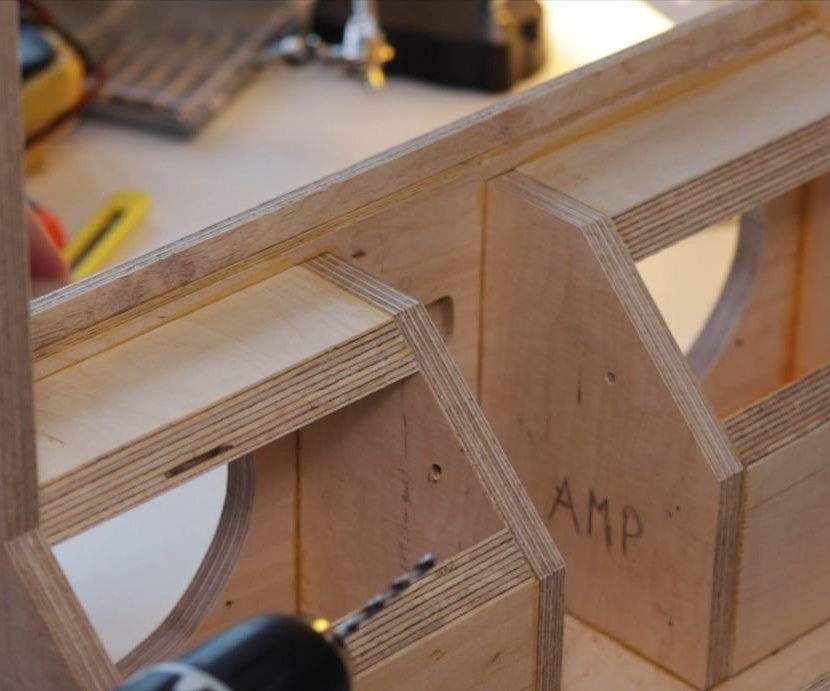
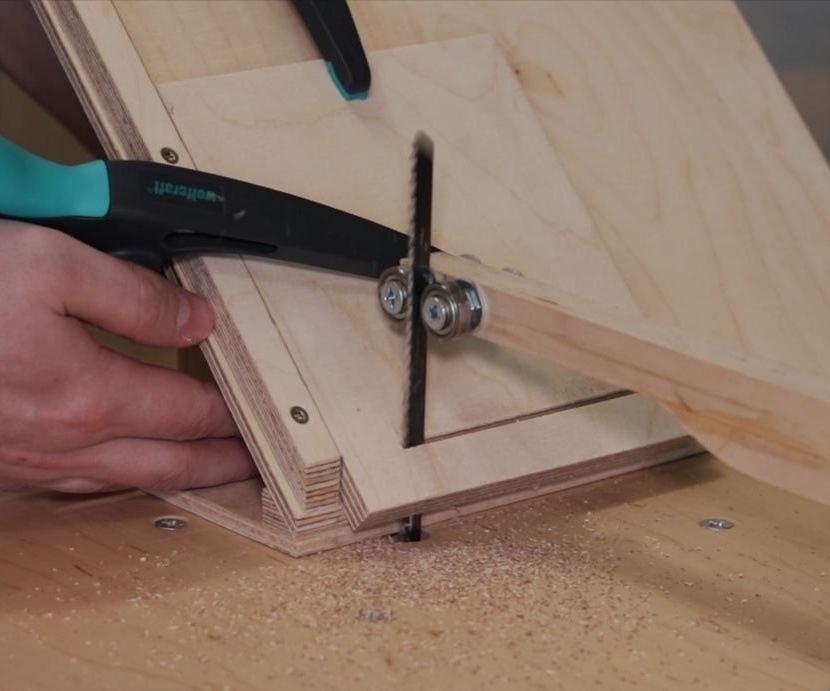
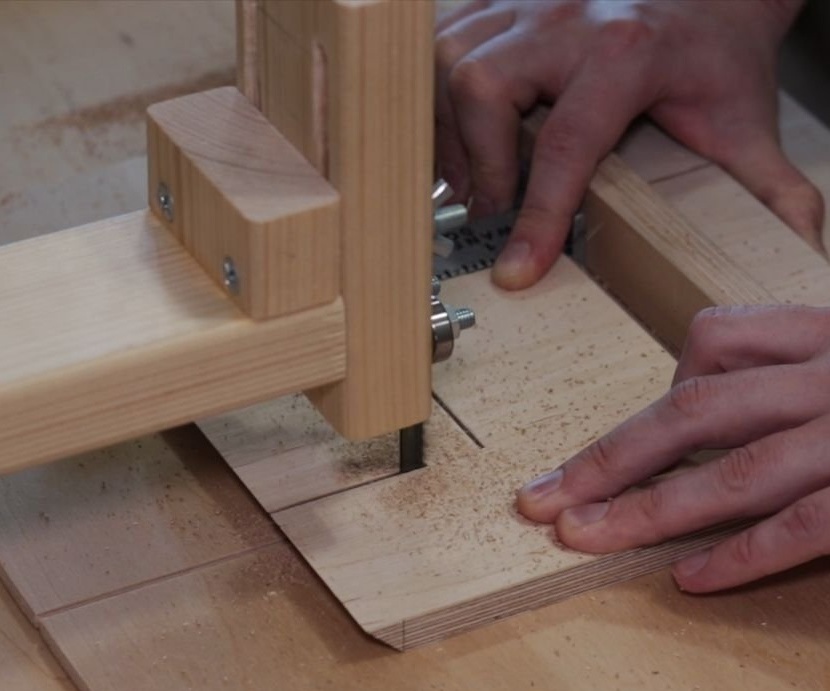
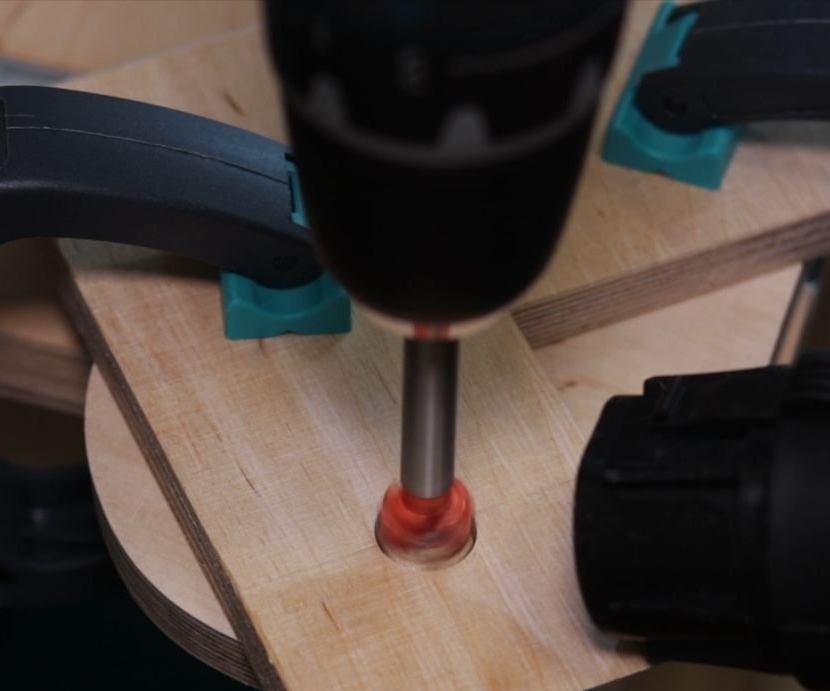
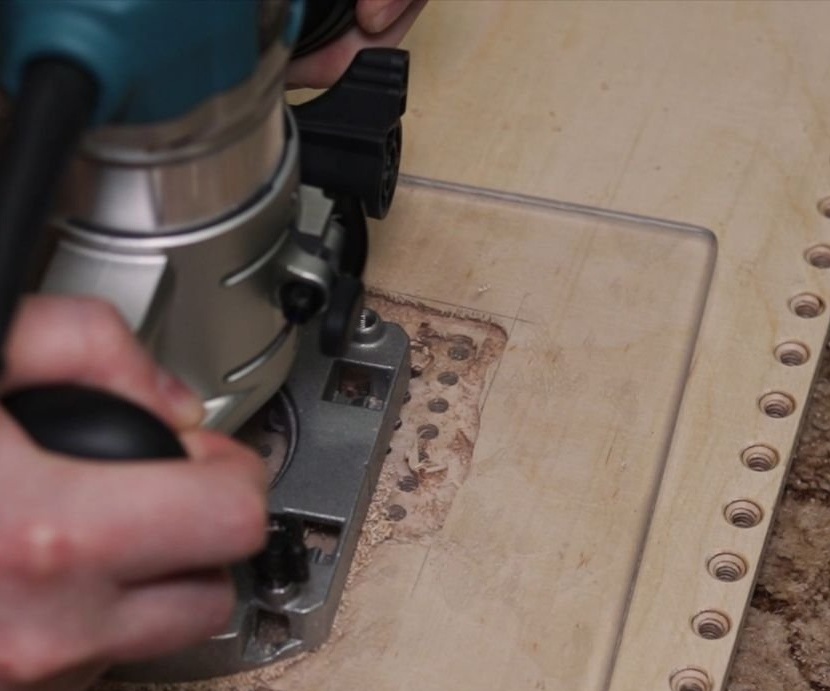
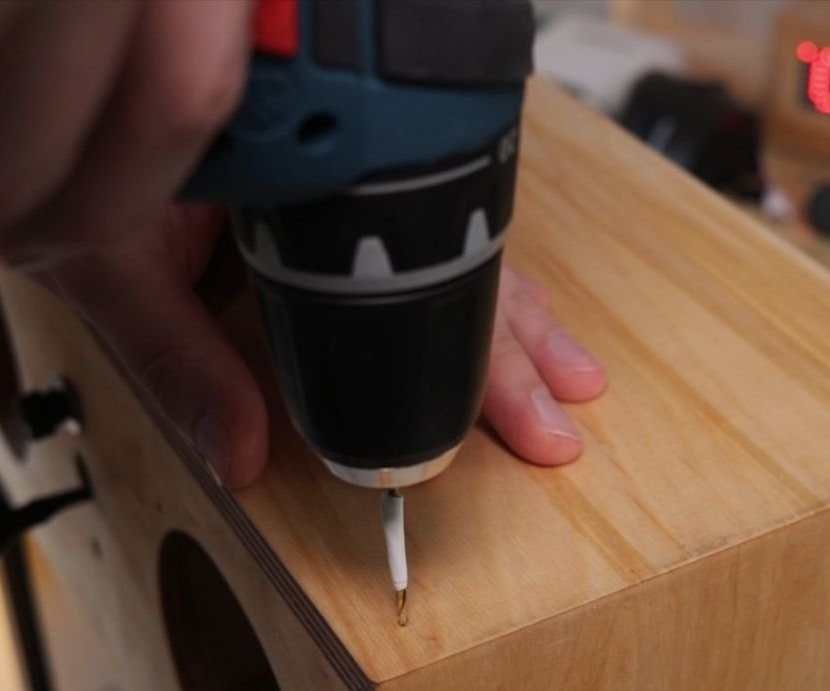
Step Four: Case
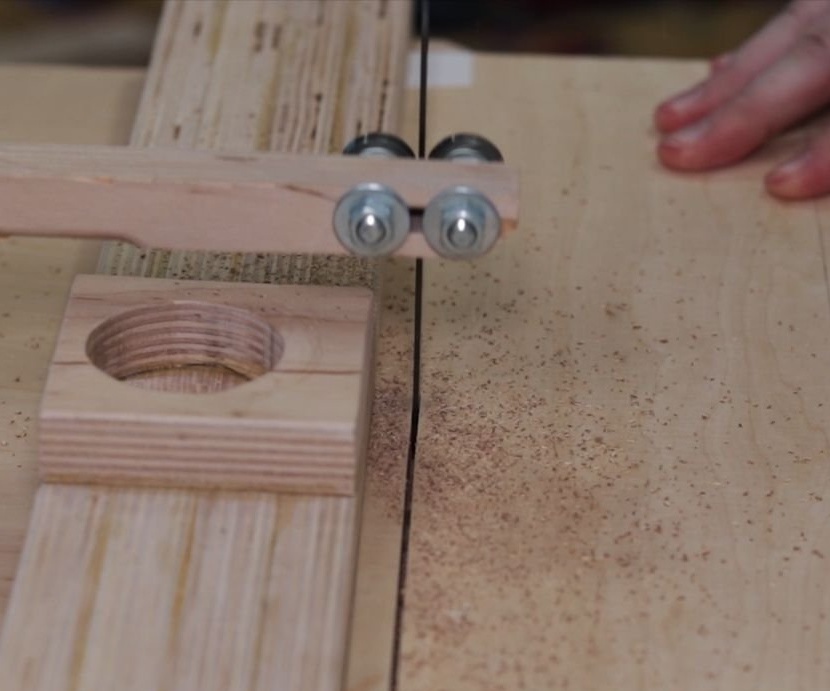
Further, the master of plywood makes the case of the device. Files with drawings can be downloaded below.
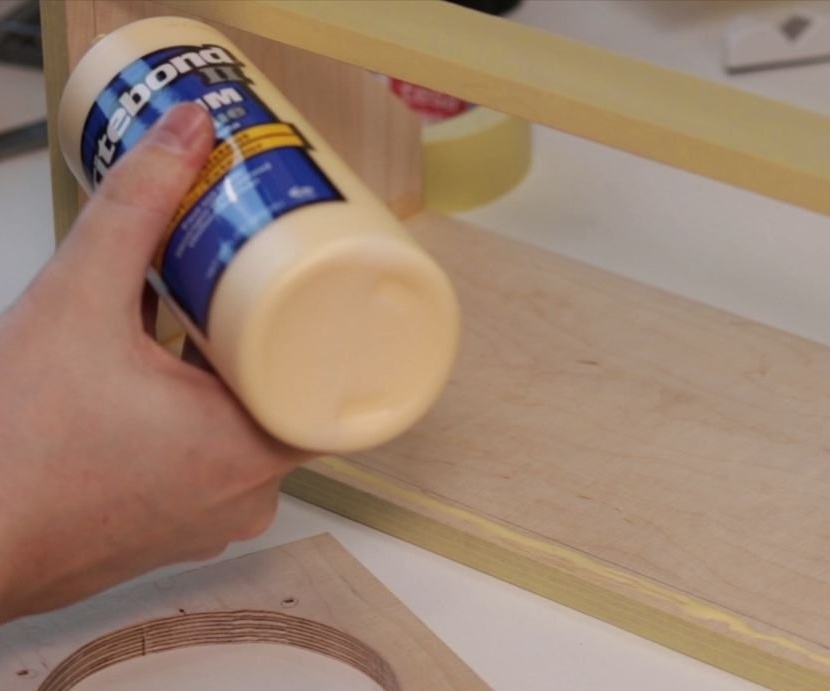
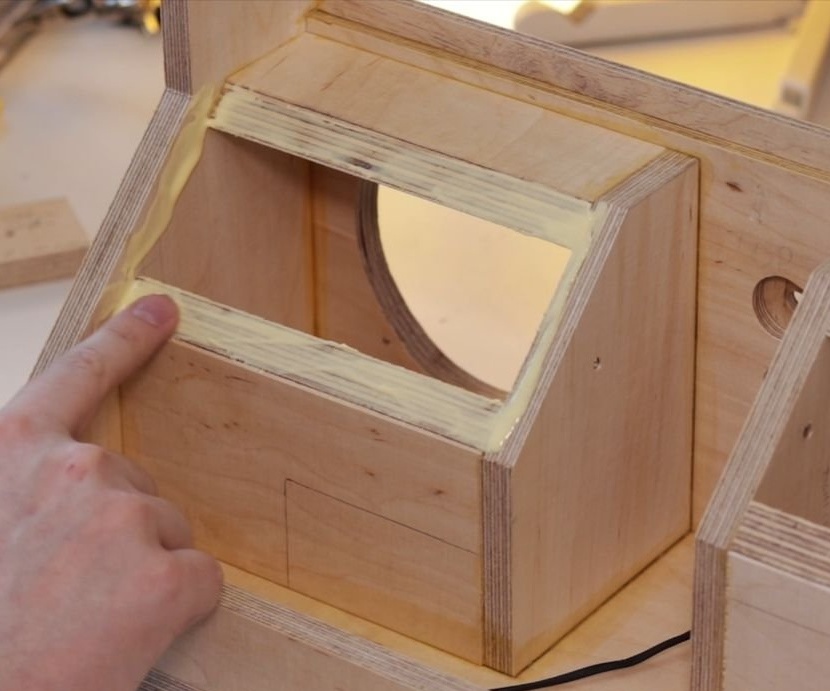
Makes a frame.
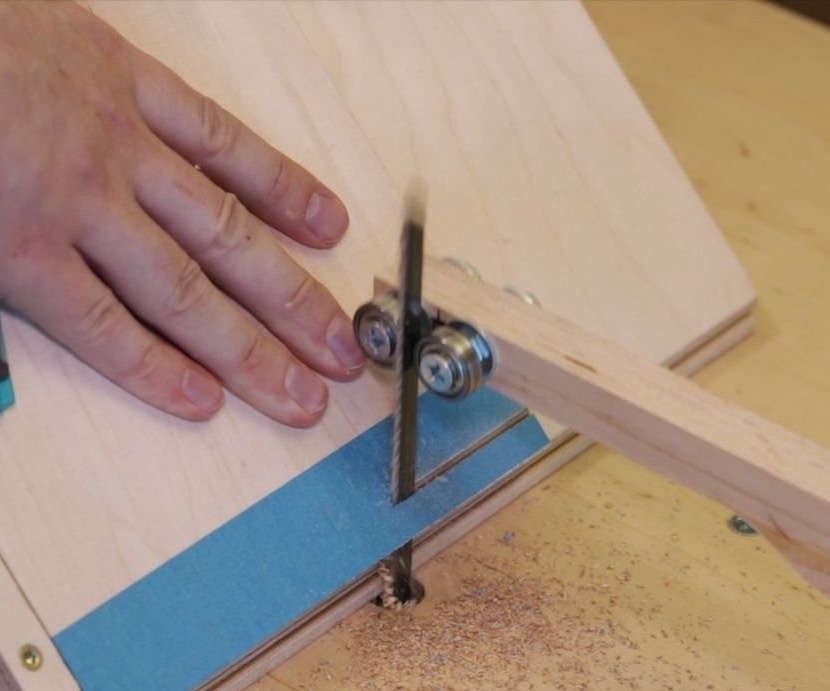
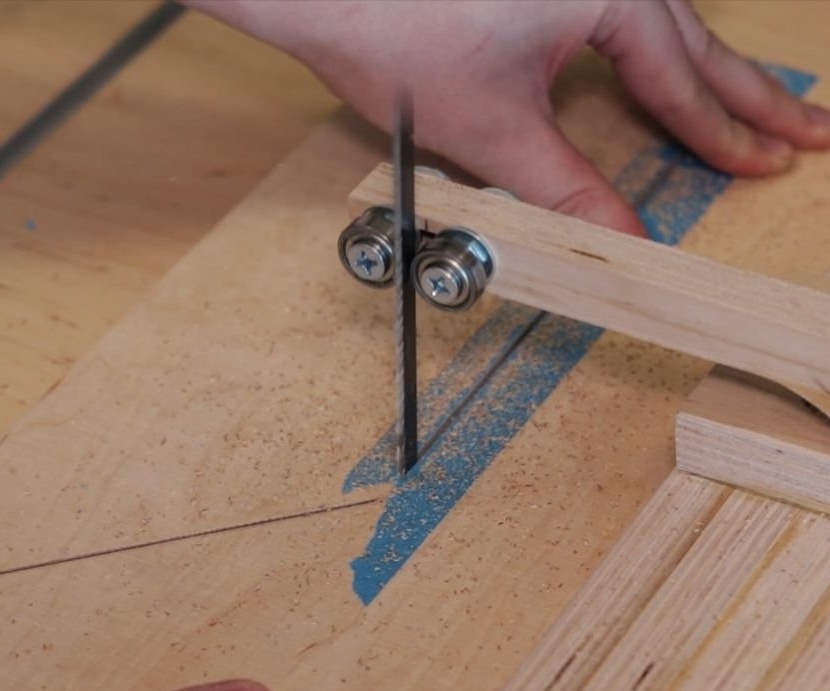
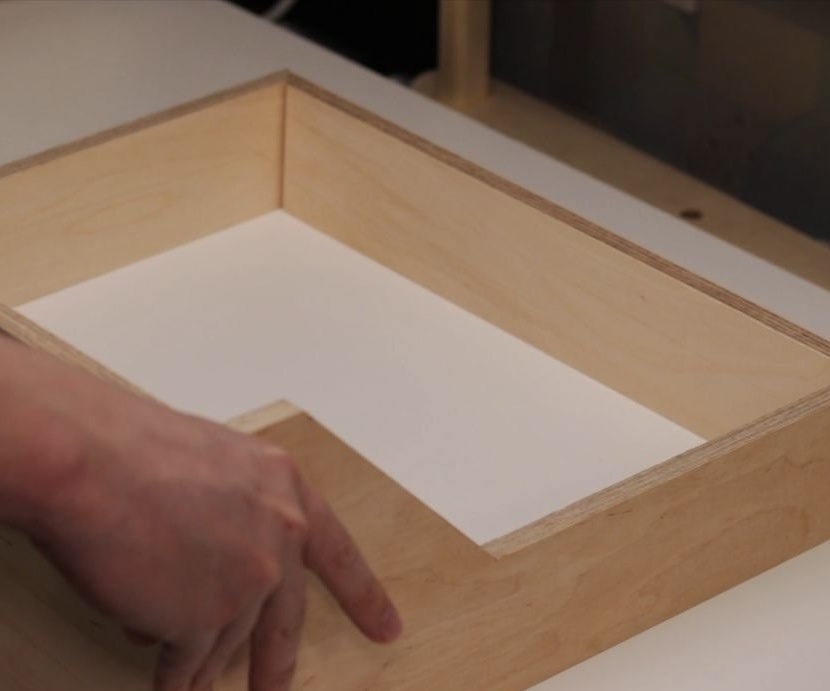
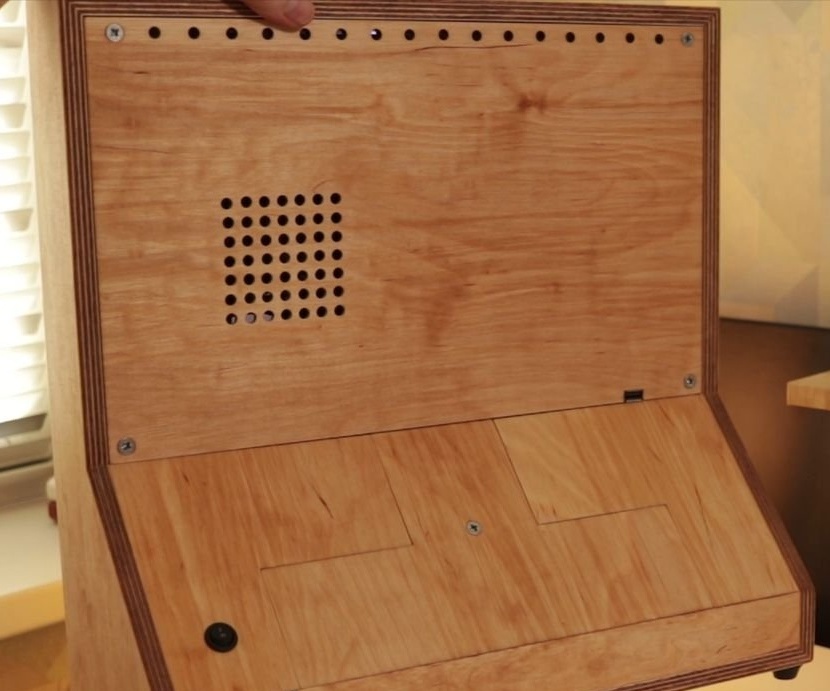
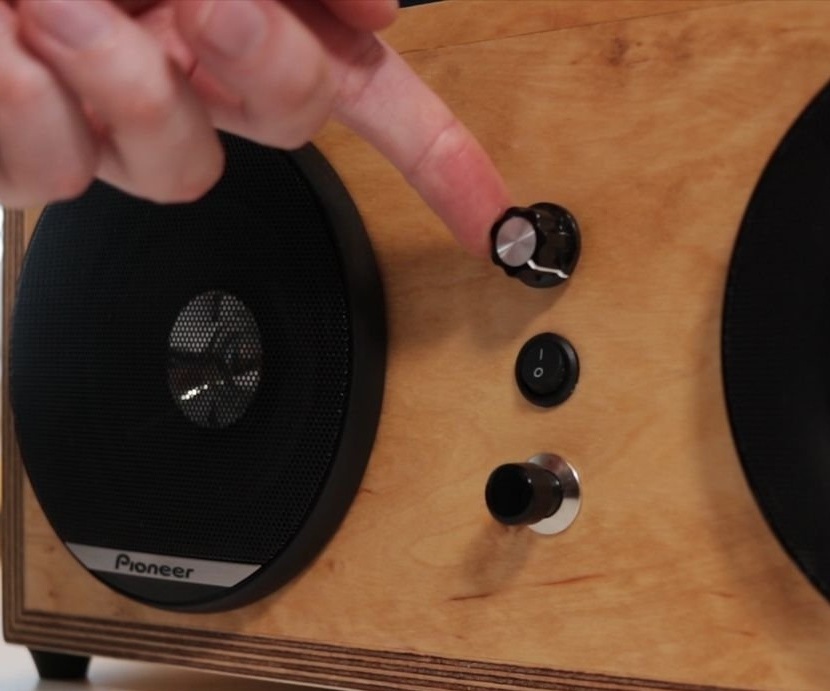
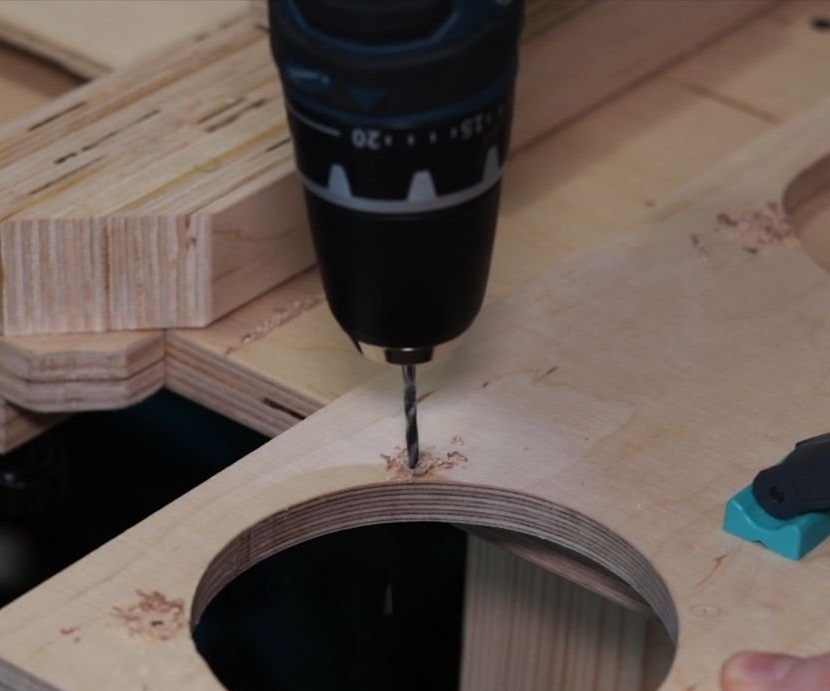
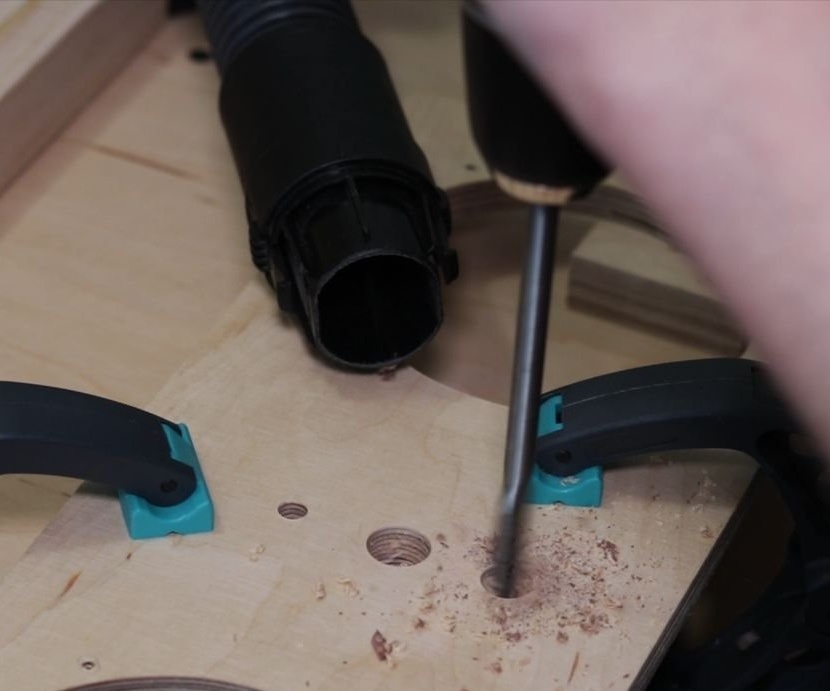
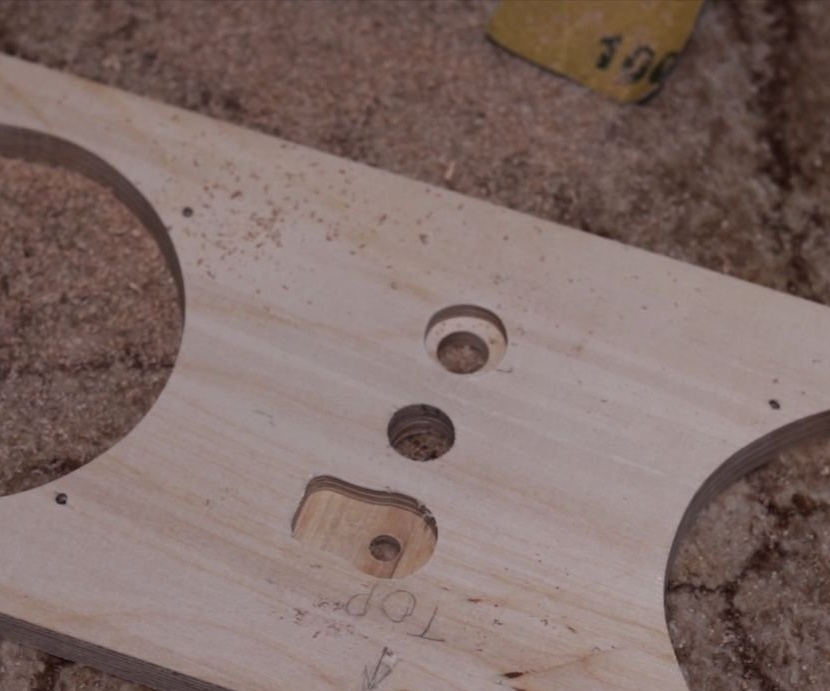
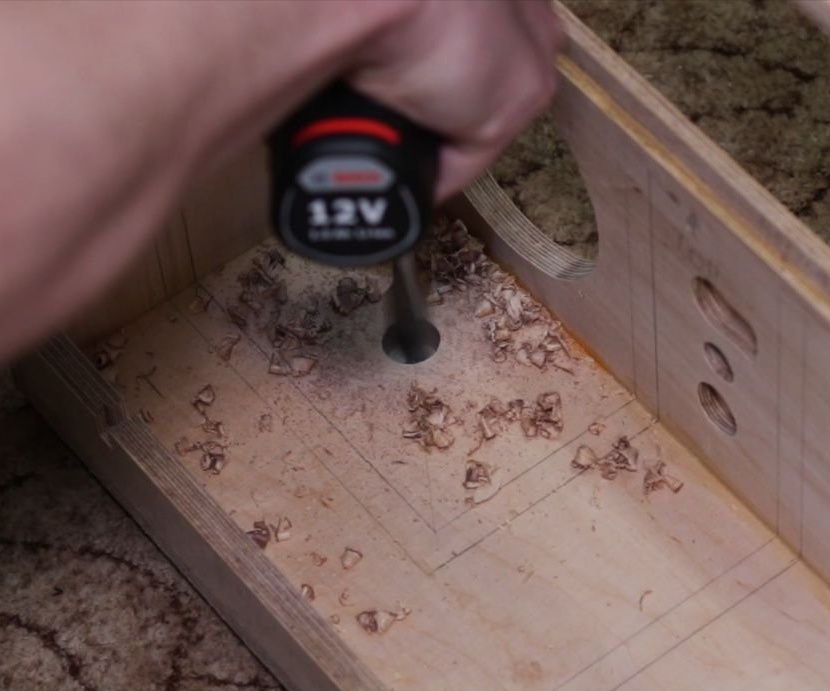
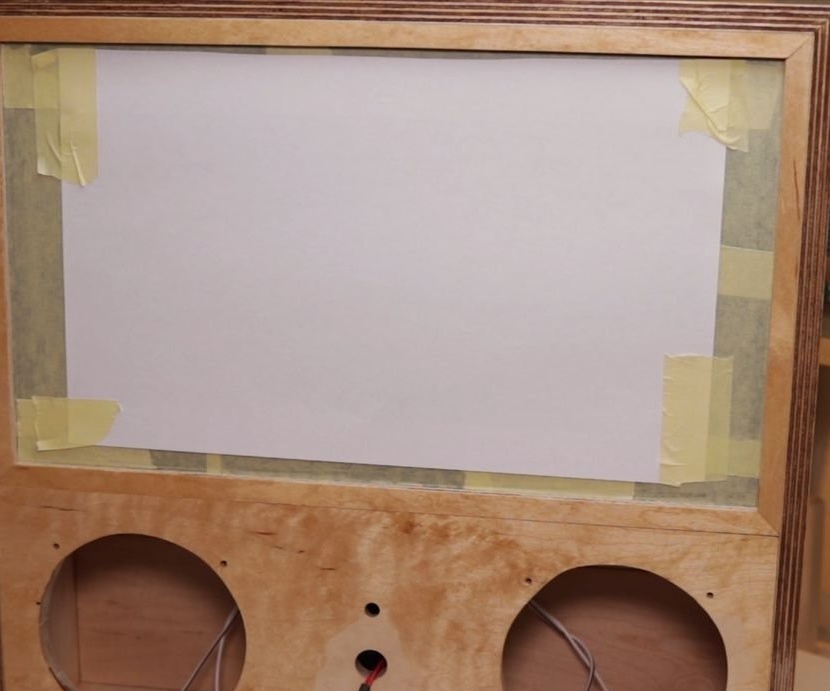
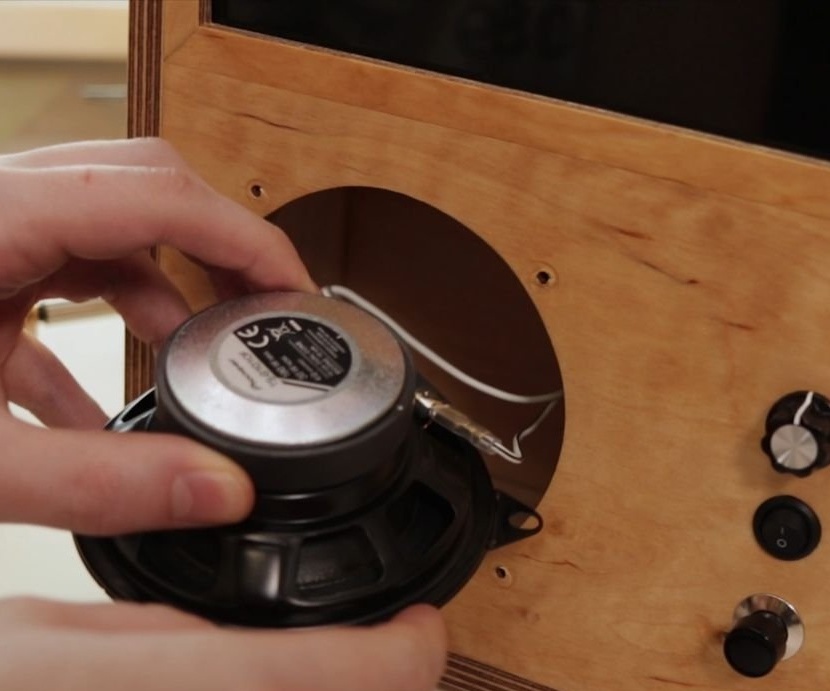
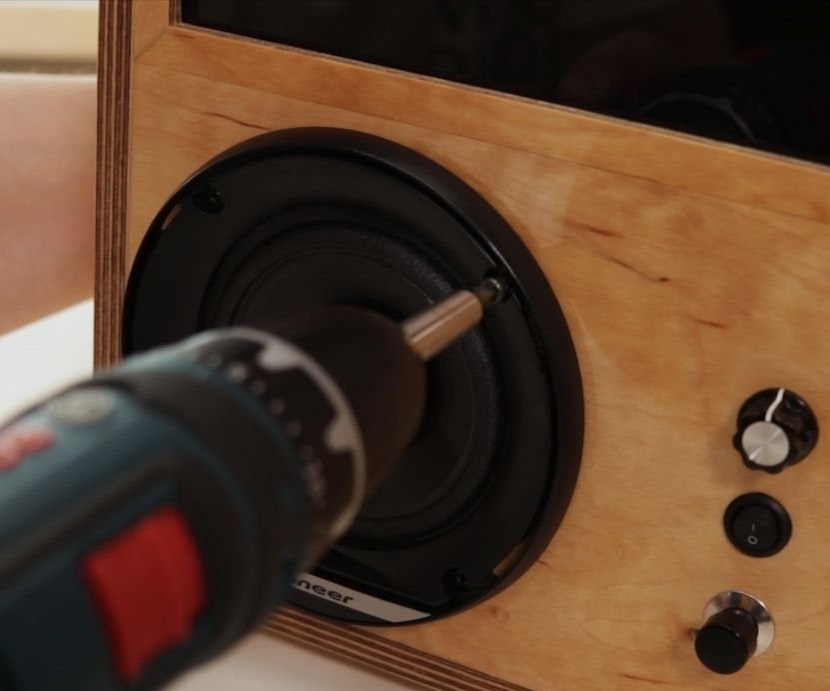
Cuts the front and back panels. The panel cuts out footprints for speakers, potentiometer, connectors.
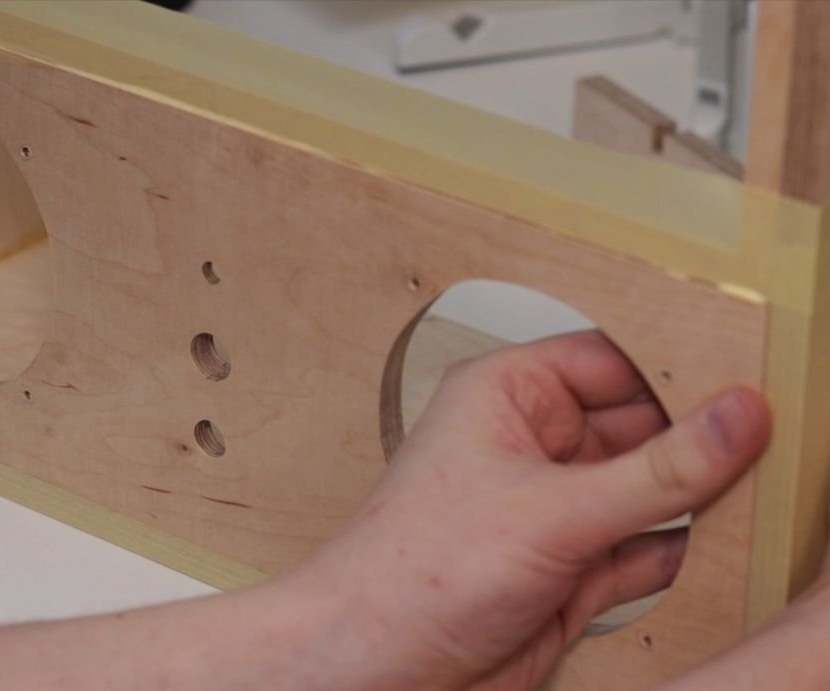
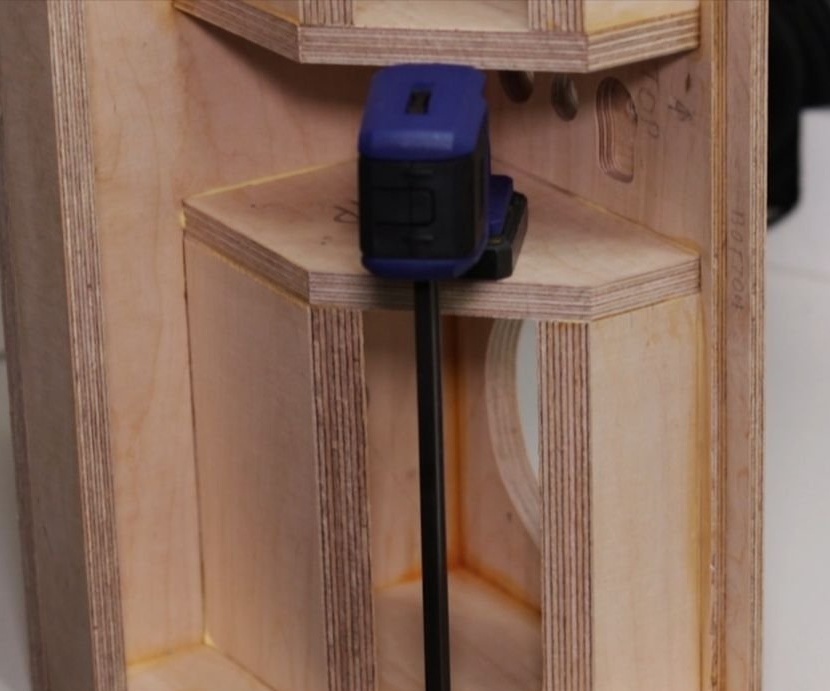
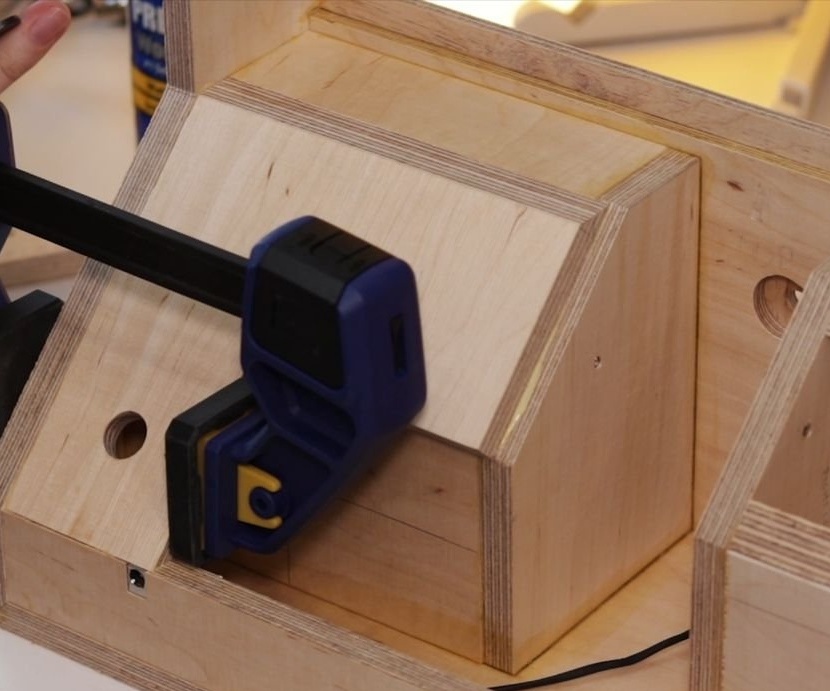
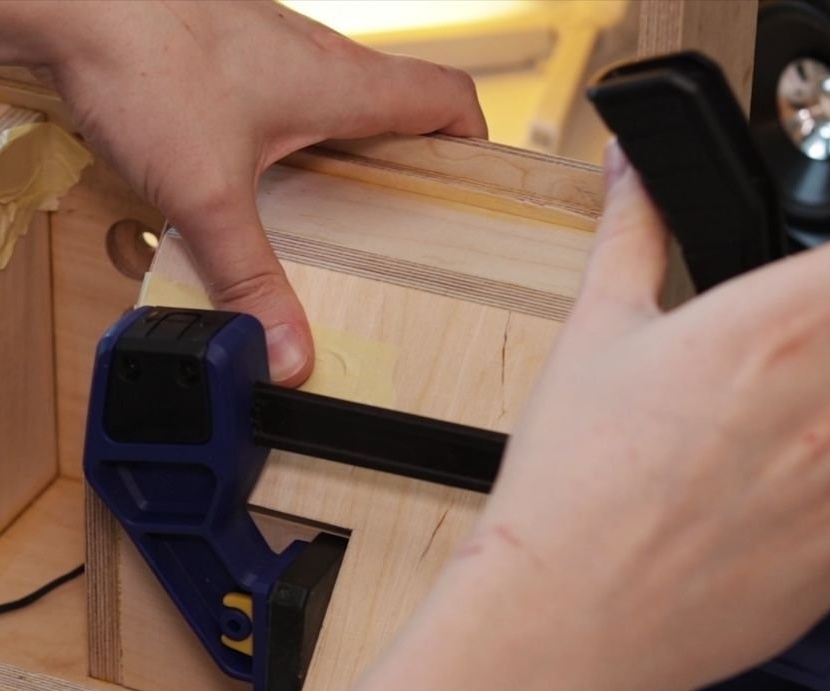
Assembles the body.

Step Five: Build
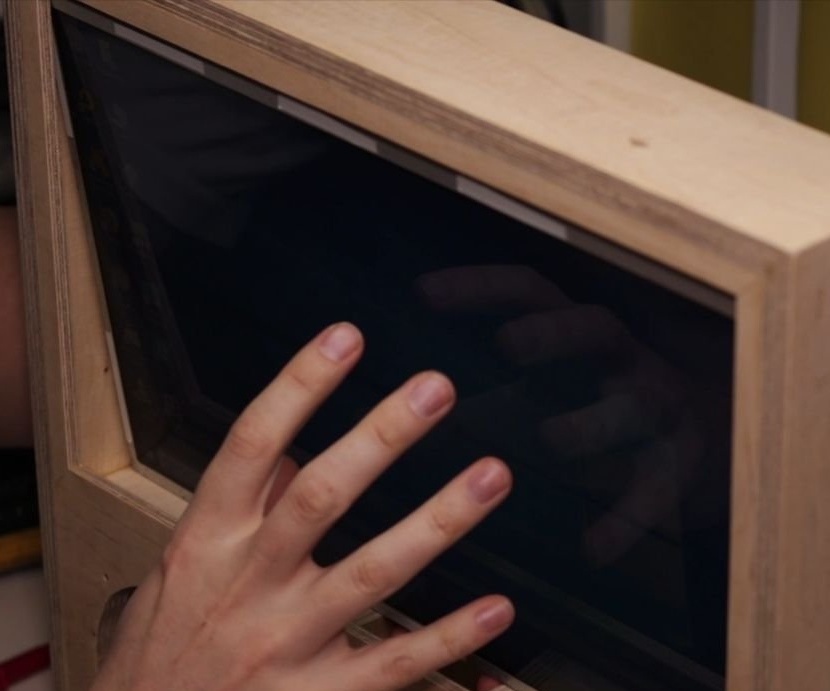
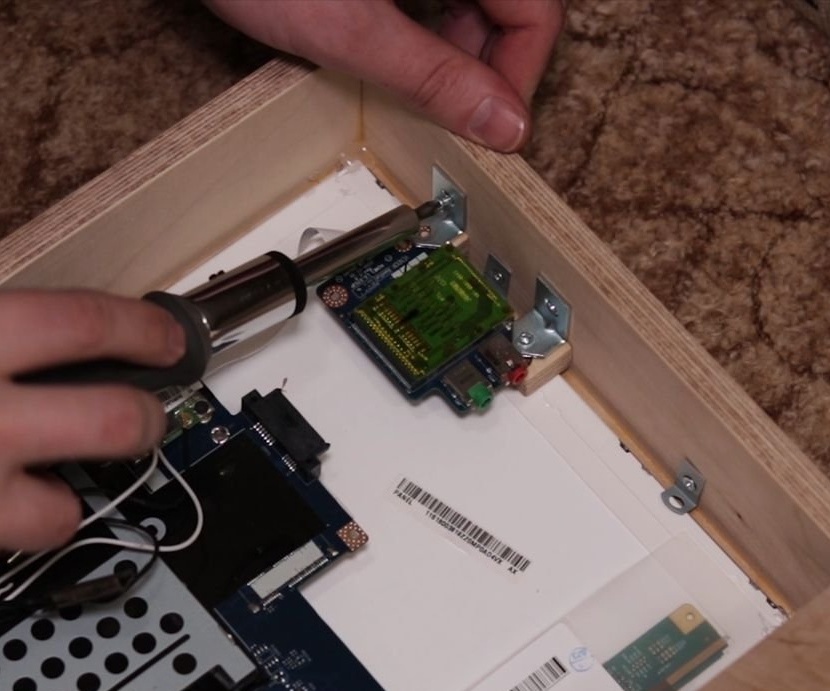
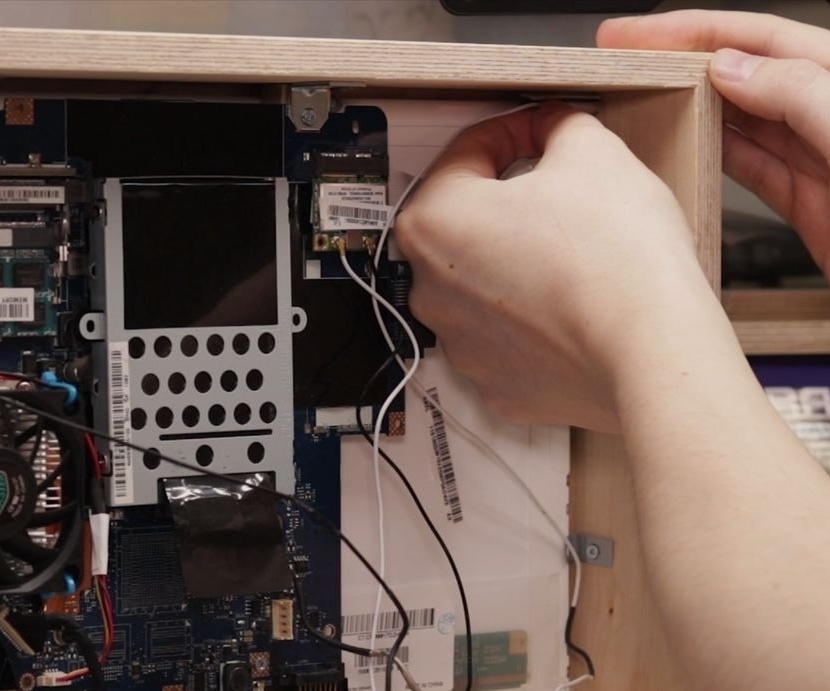
Sets the display.

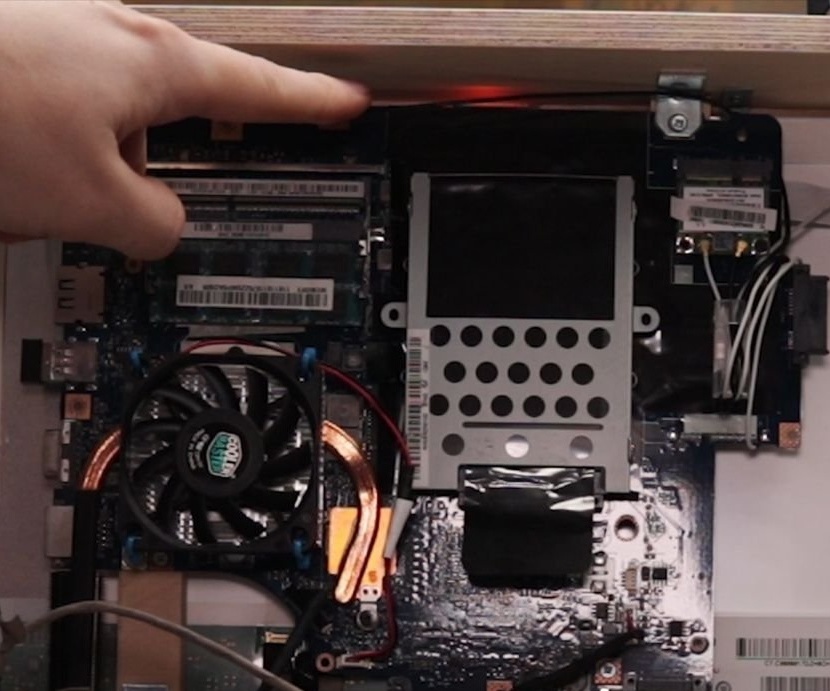
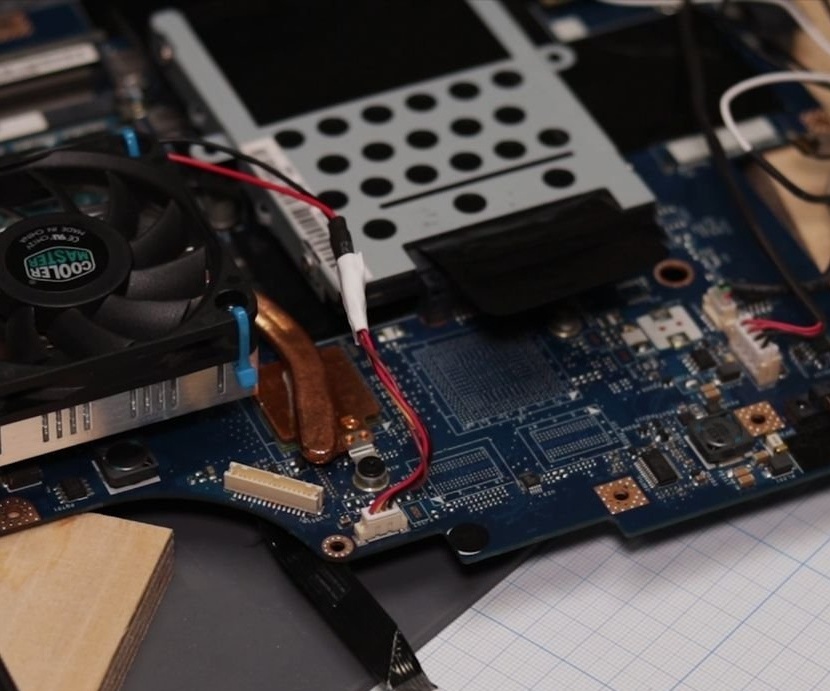
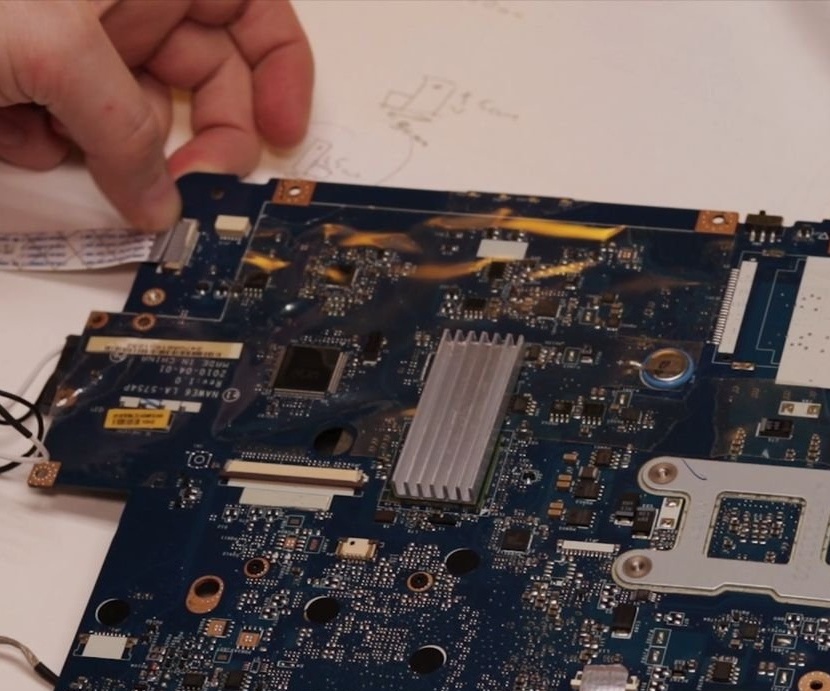
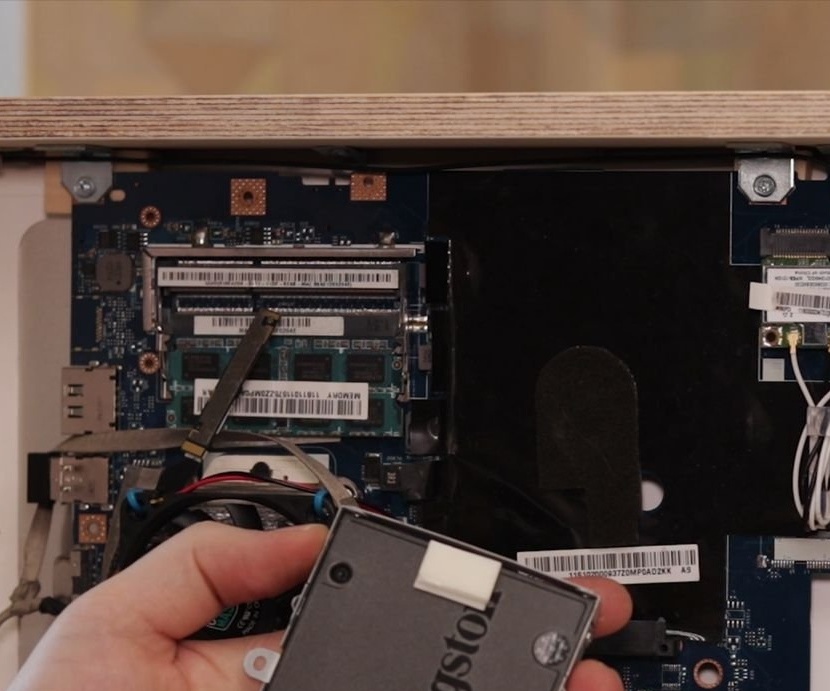
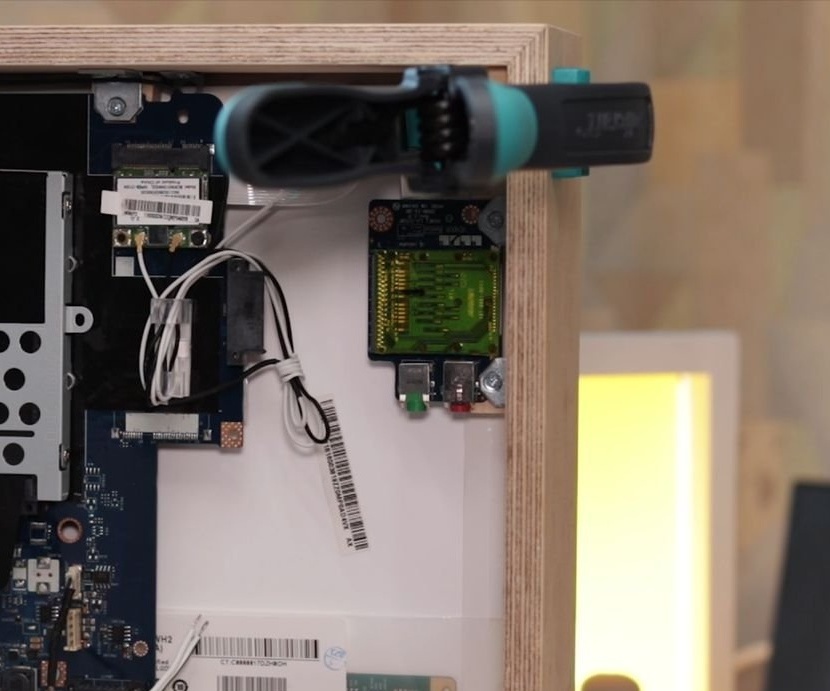
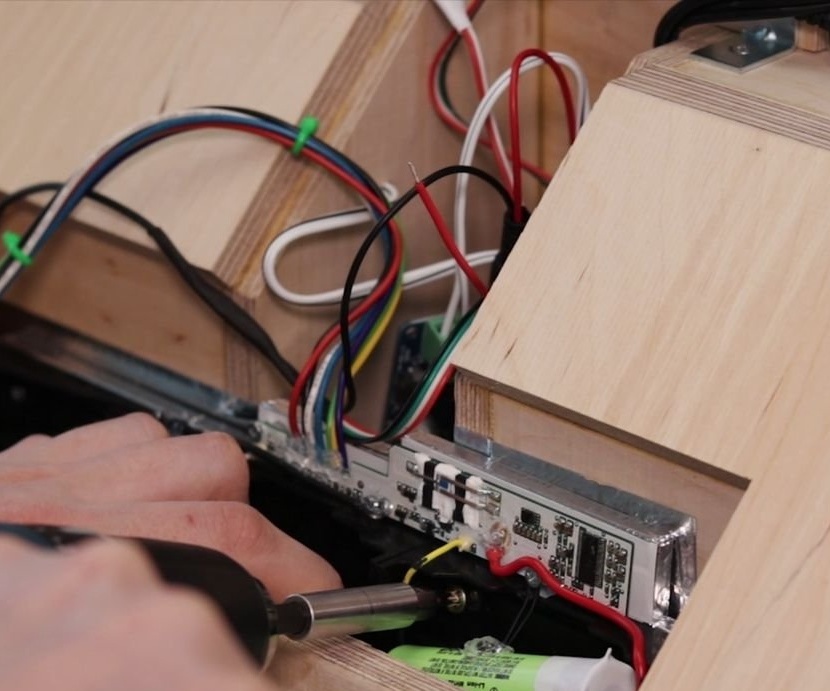
Fastens and connects the motherboard, SSD drive and WIFI module inside the case.
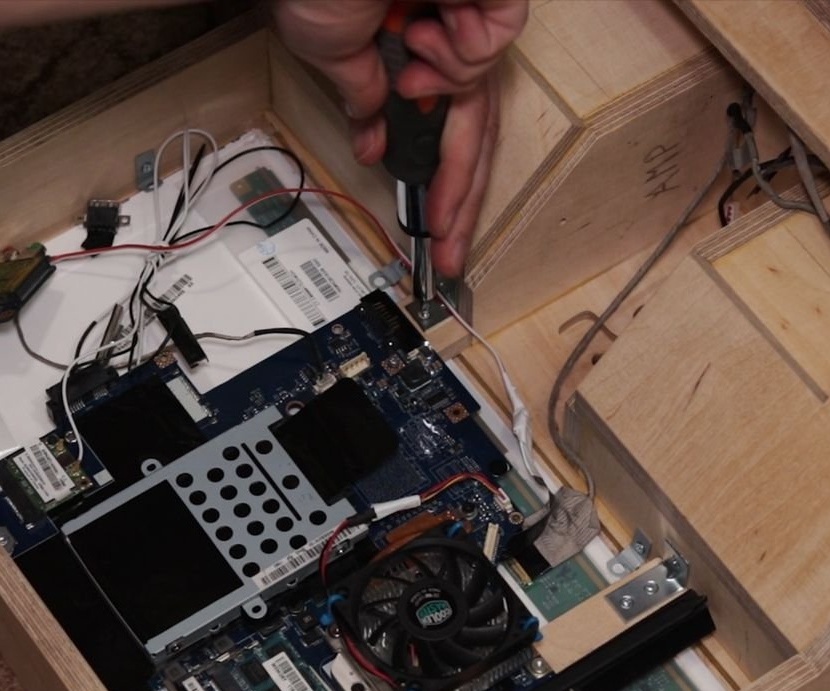
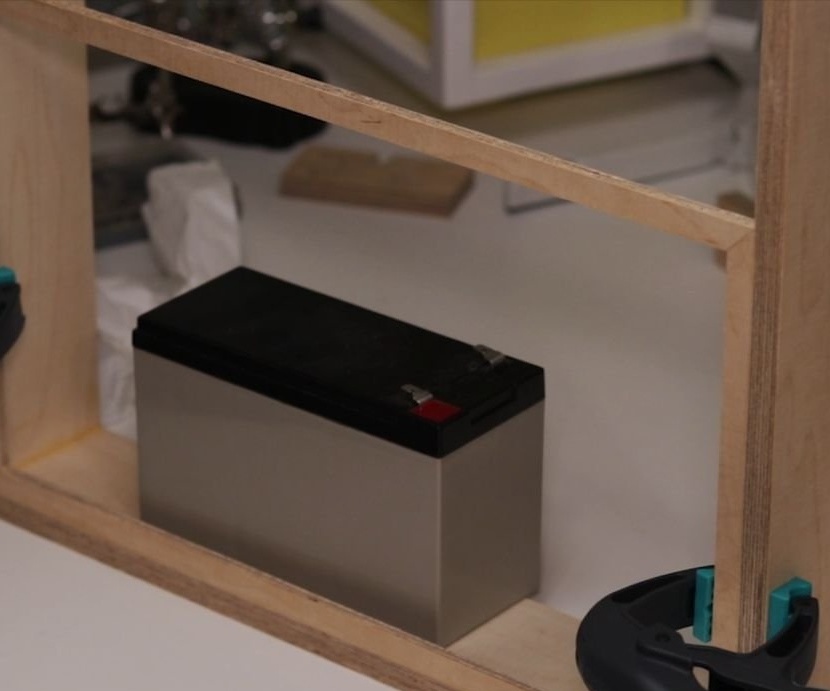
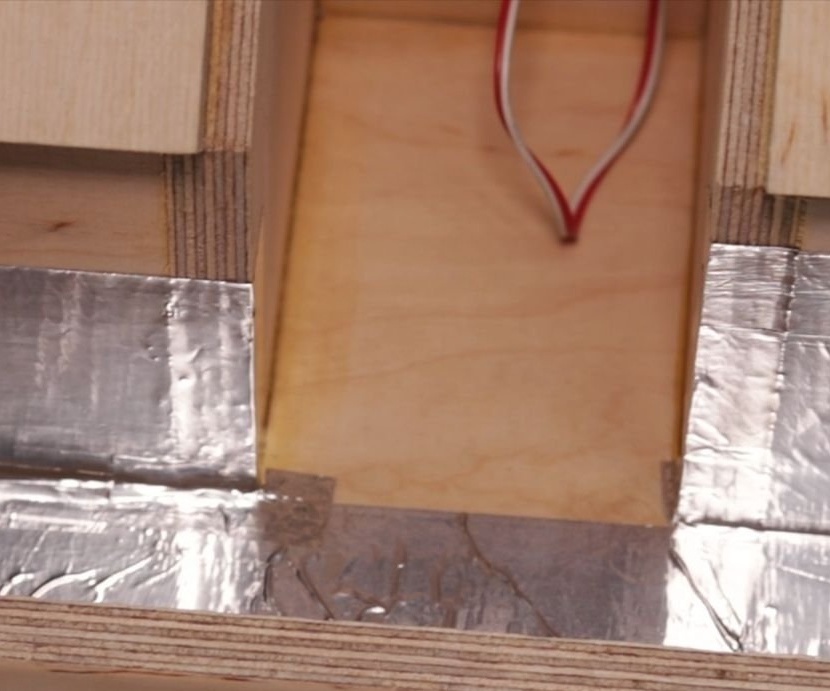
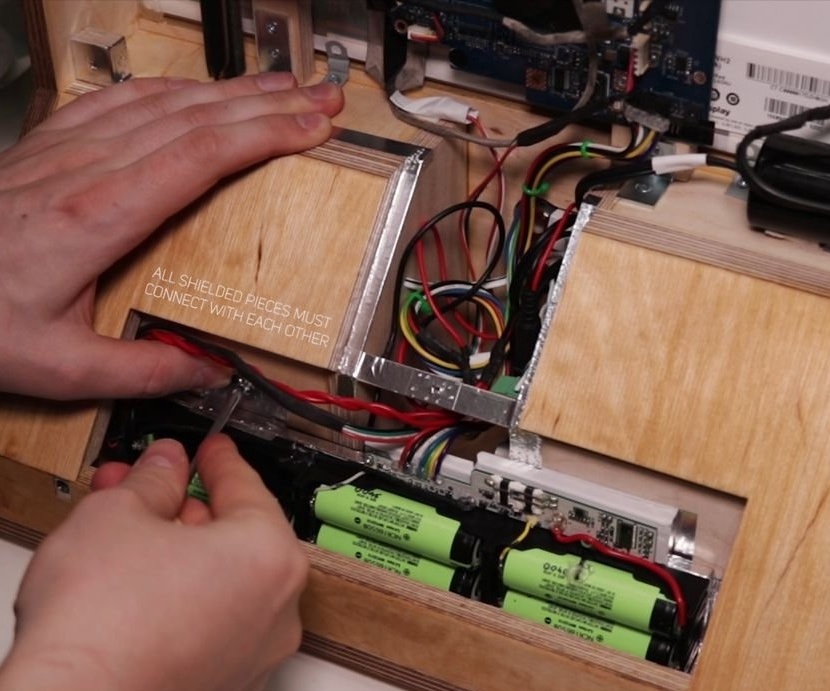
To protect the wooden part of the case, aluminum tape is glued at the place of installation of the battery.
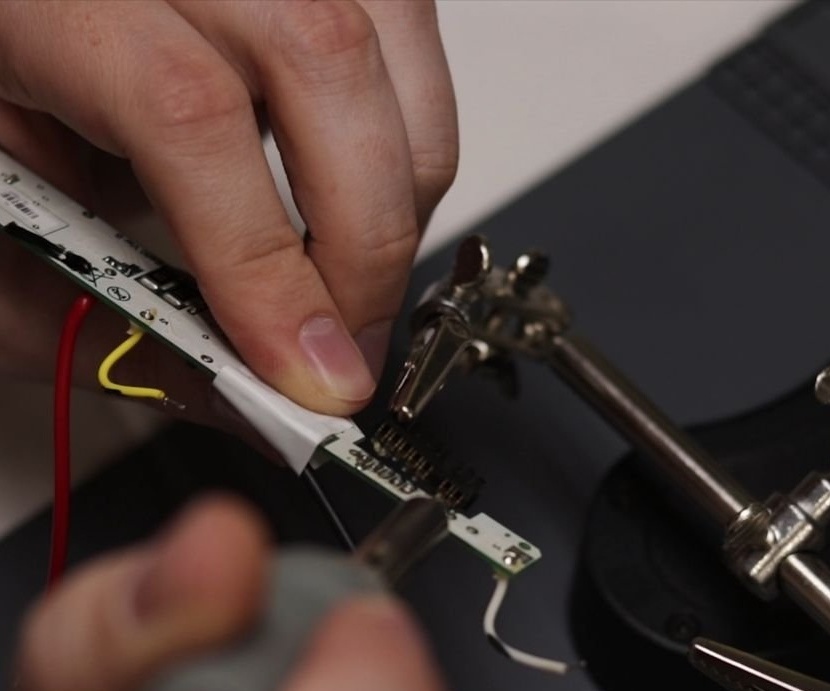
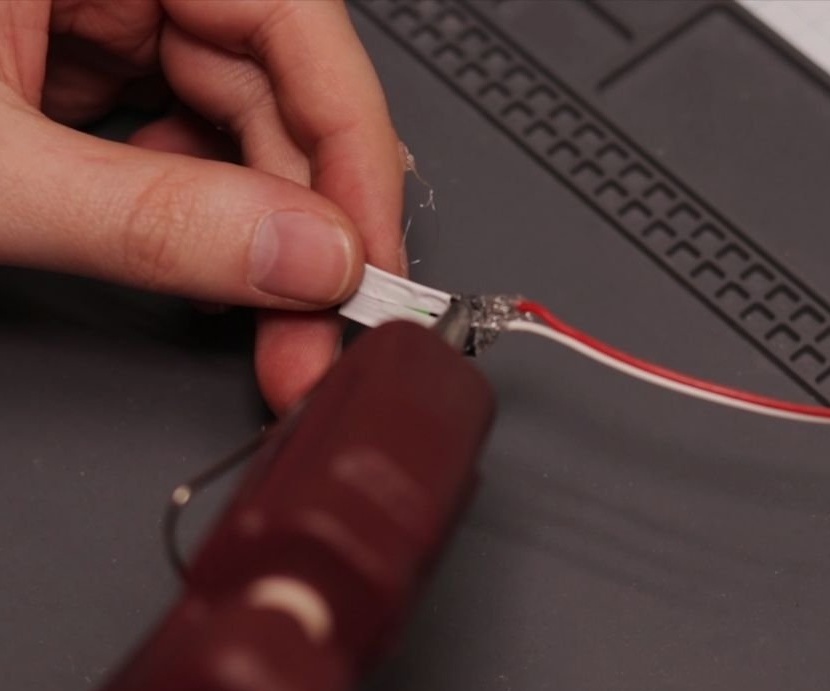
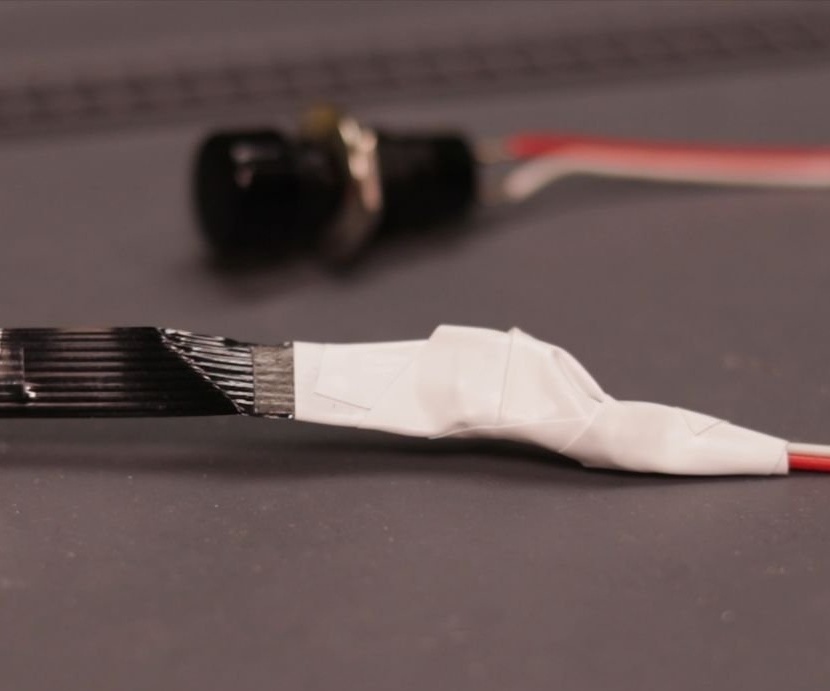
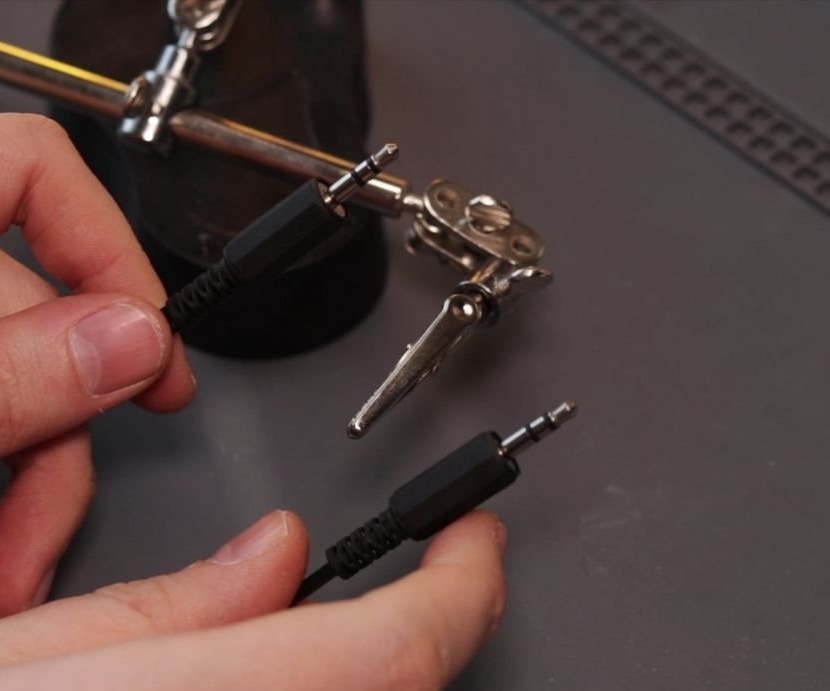
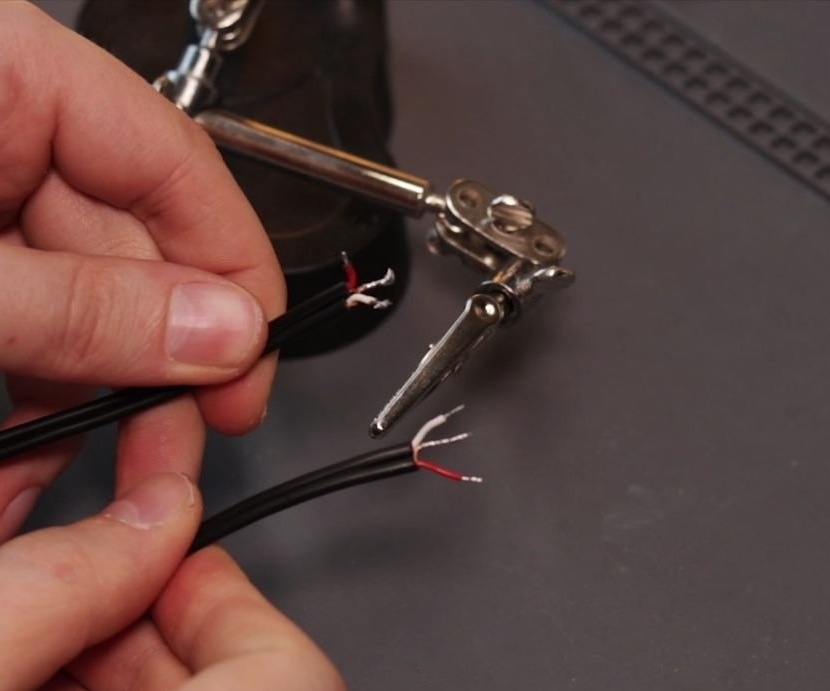
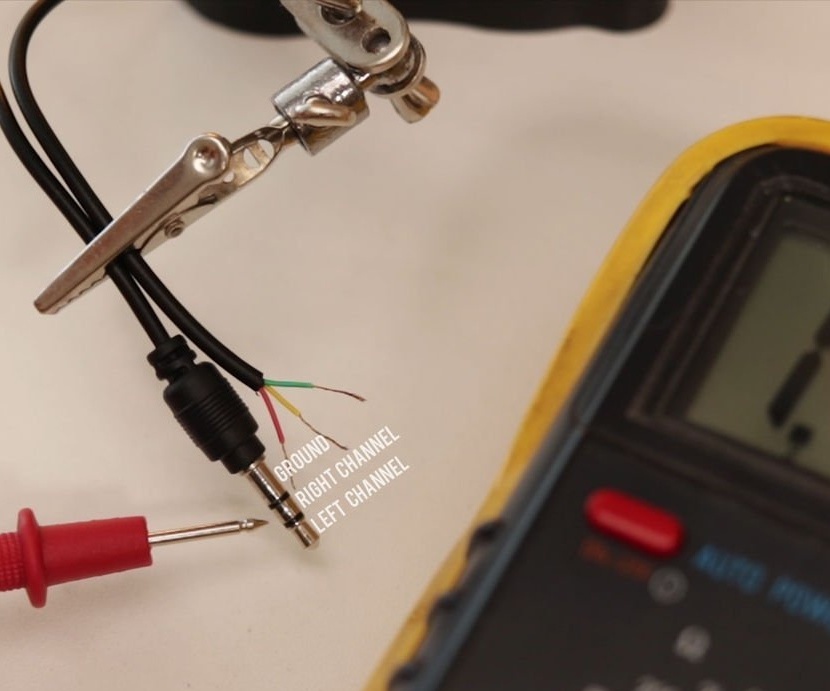
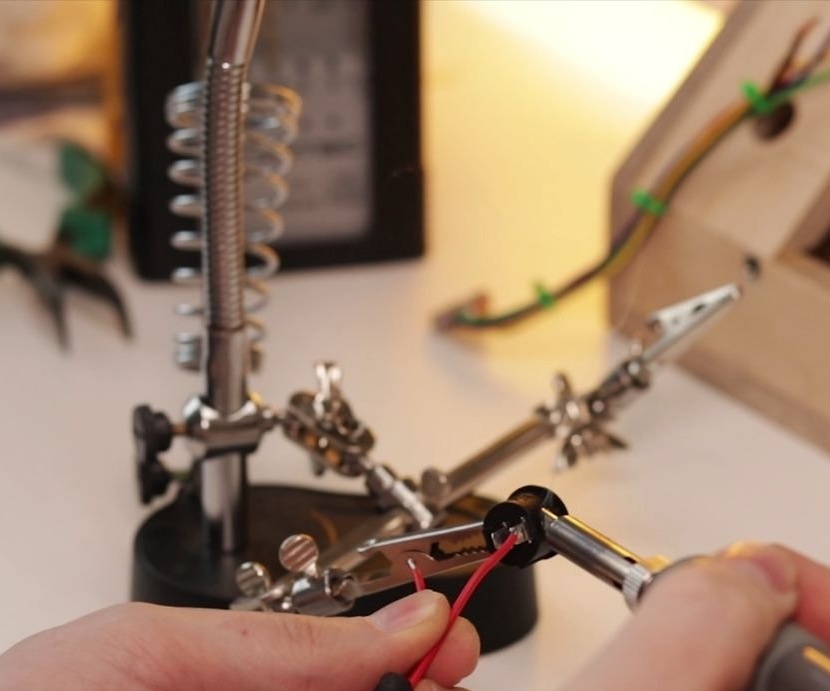
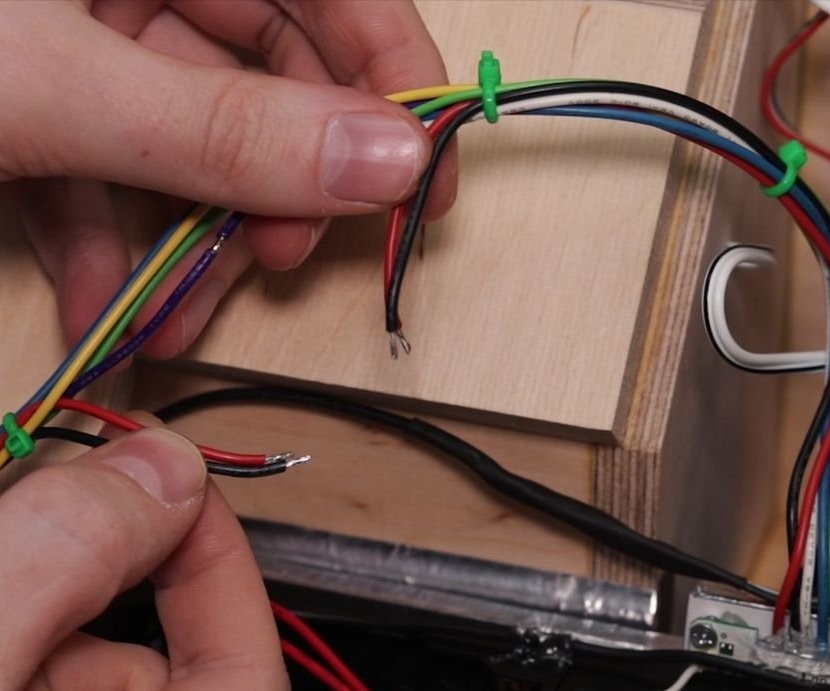
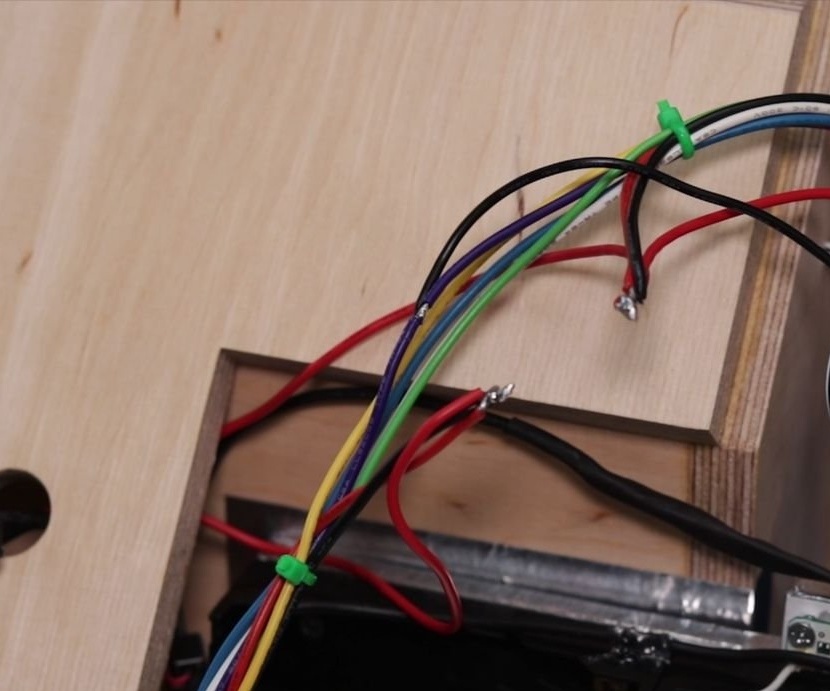
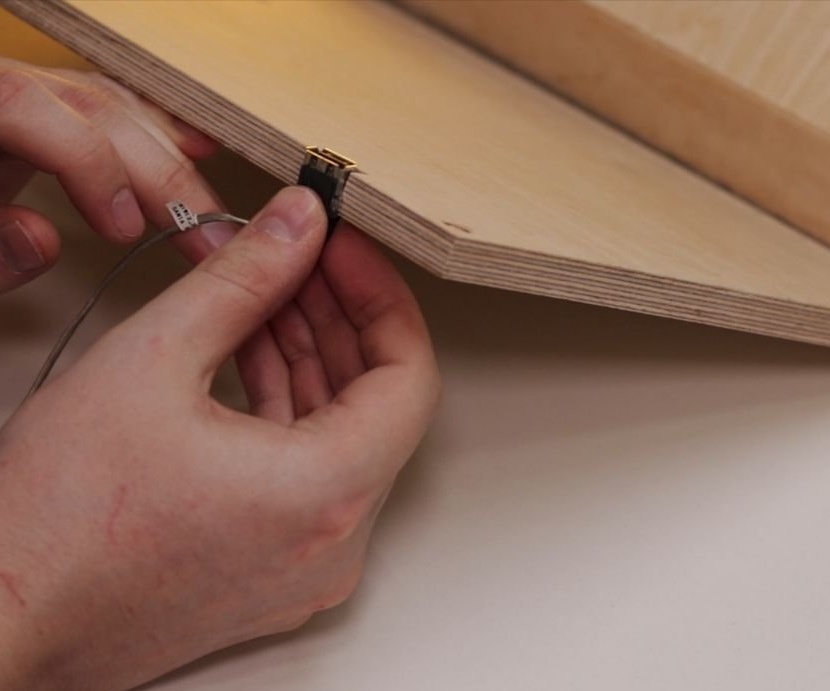
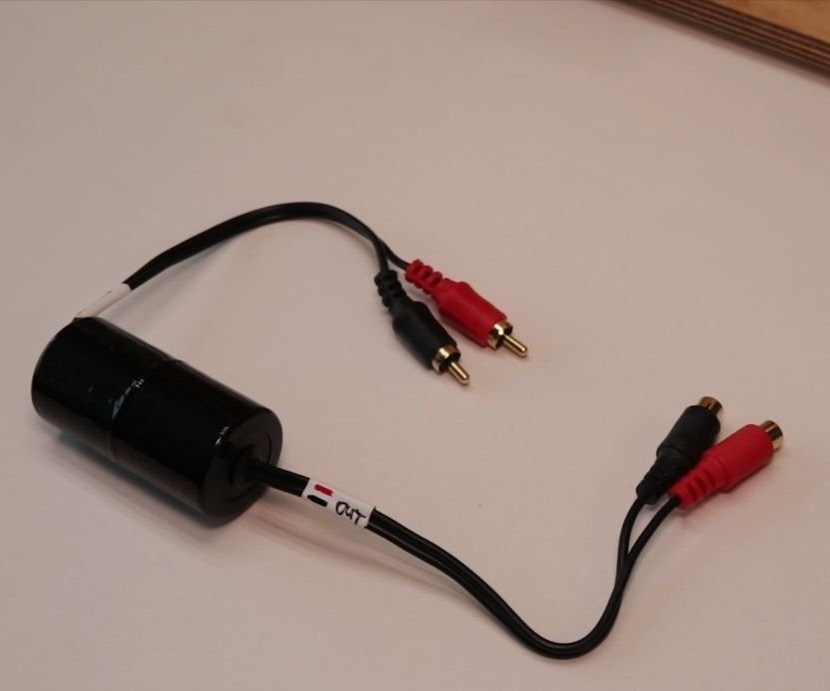
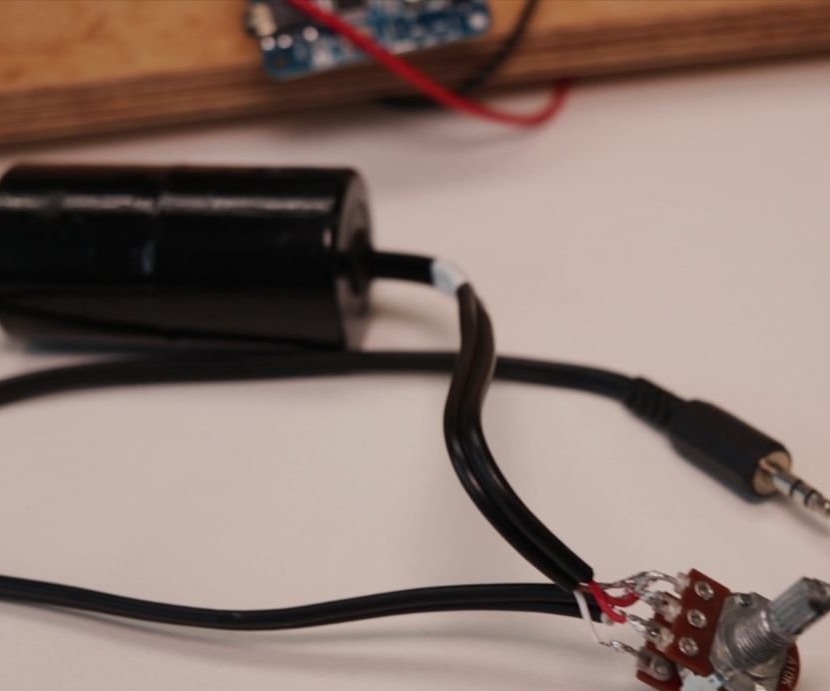
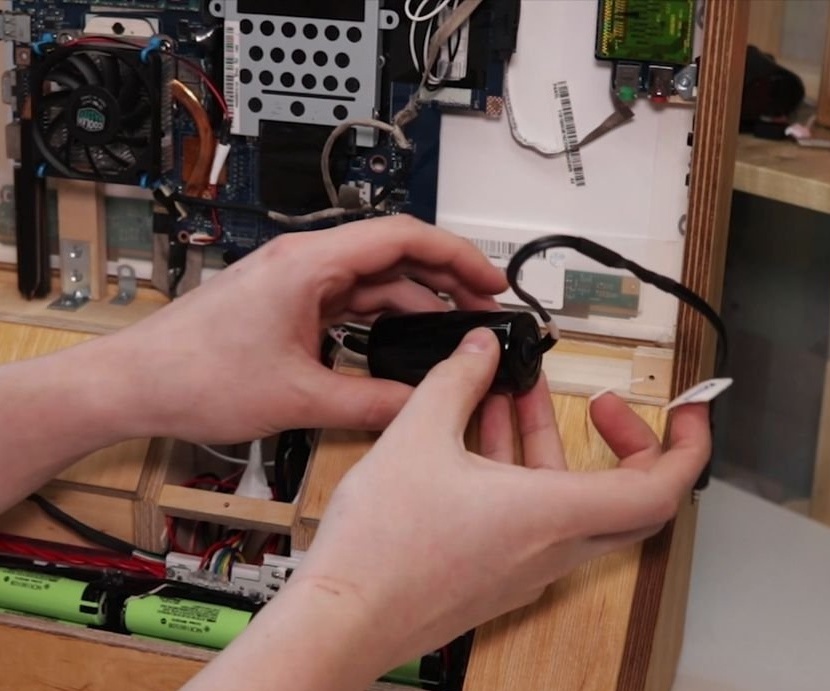
Cut the audio cable in half and solder as in the photo.

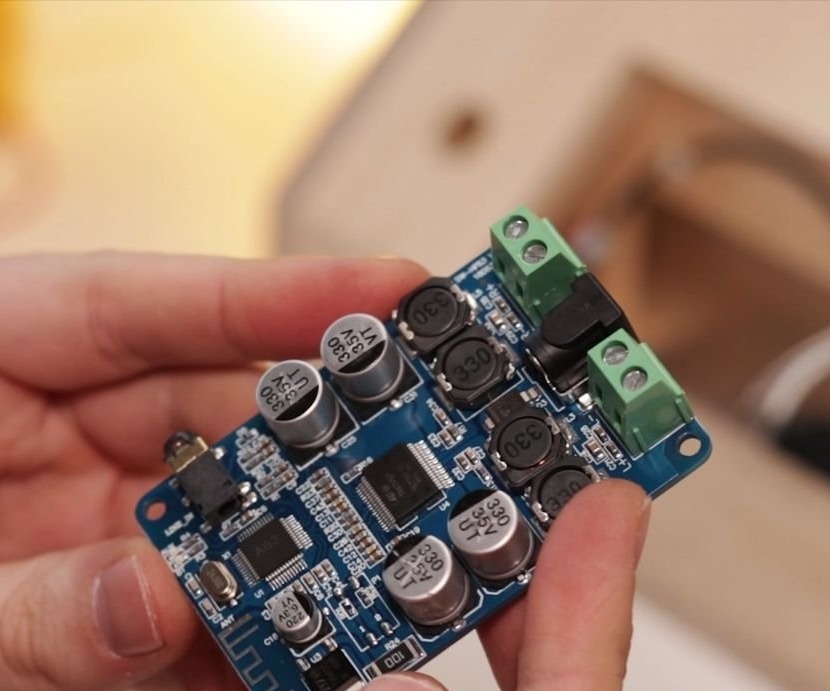
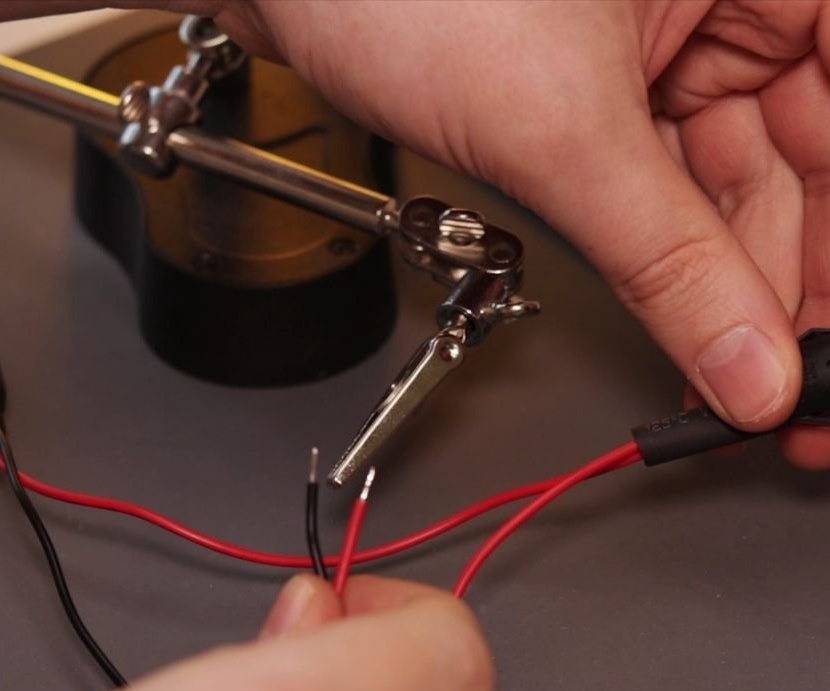
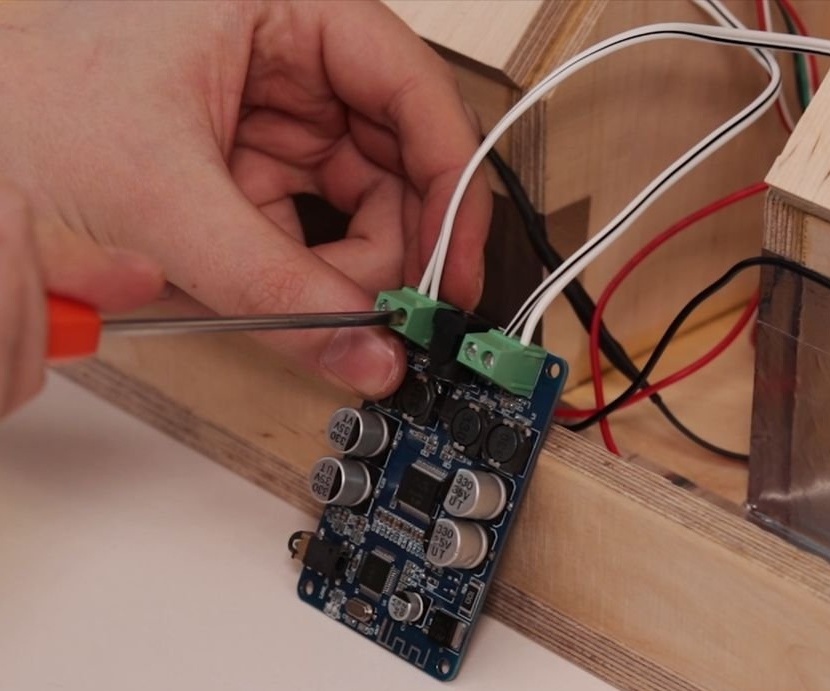
Connects TPA3118 amplifier board to speakers.
Installs a battery.
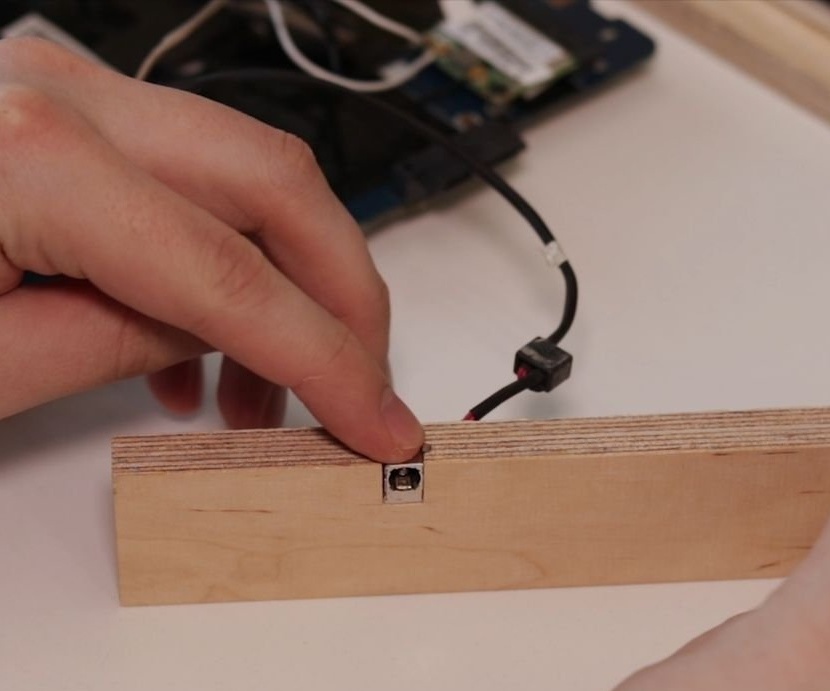
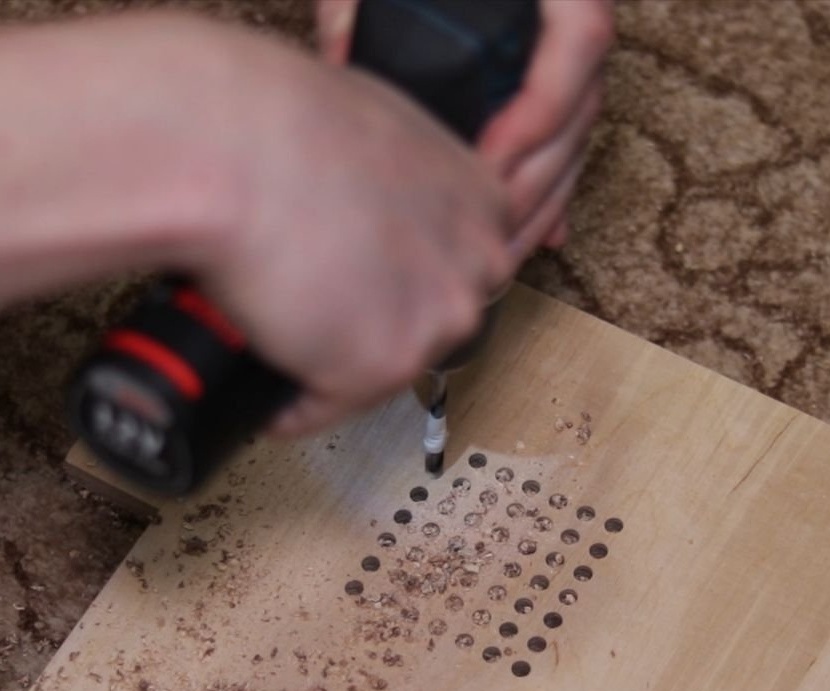
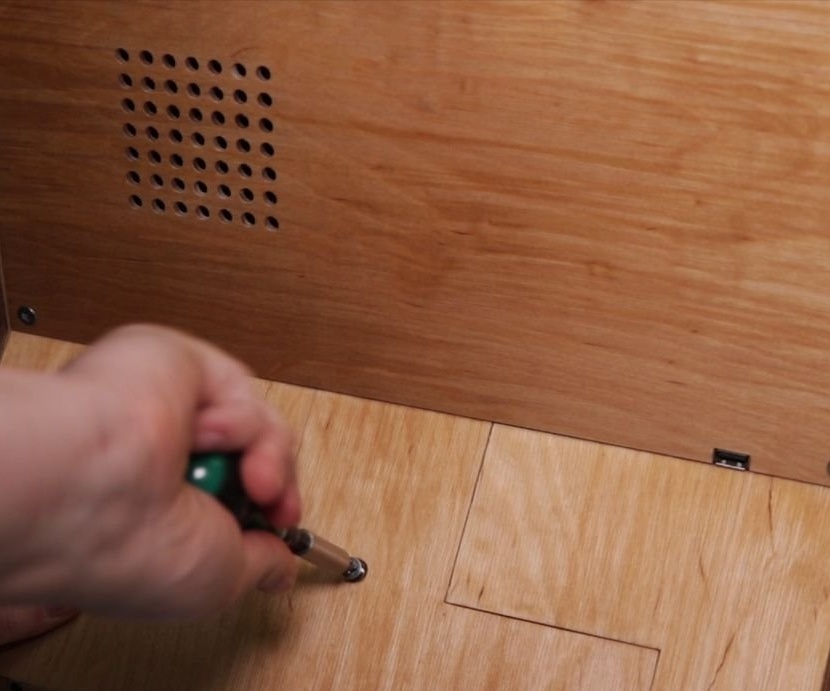
A series of holes are drilled in the back cover.
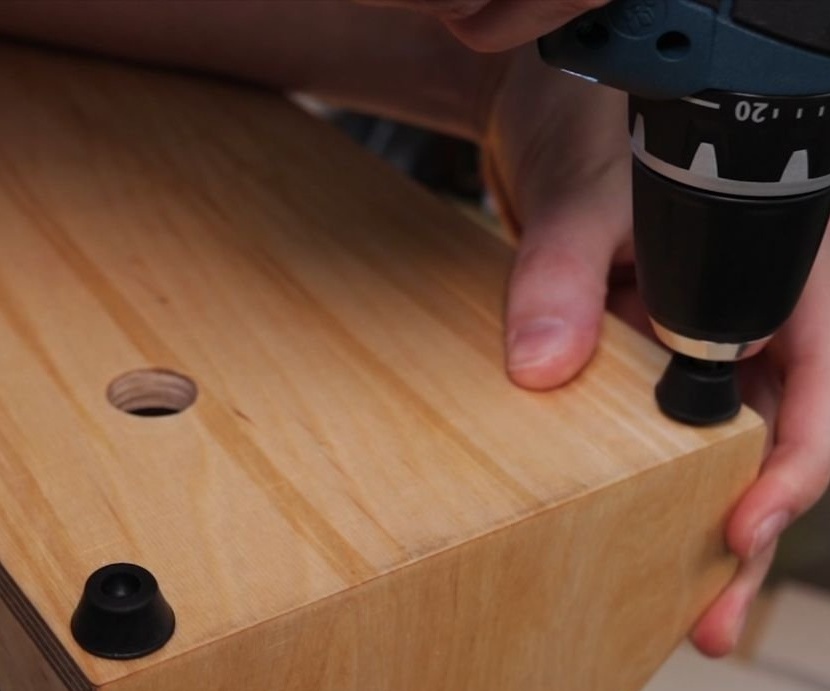
Covers the body with linseed oil and glues the rubber legs.
Sets the filter.
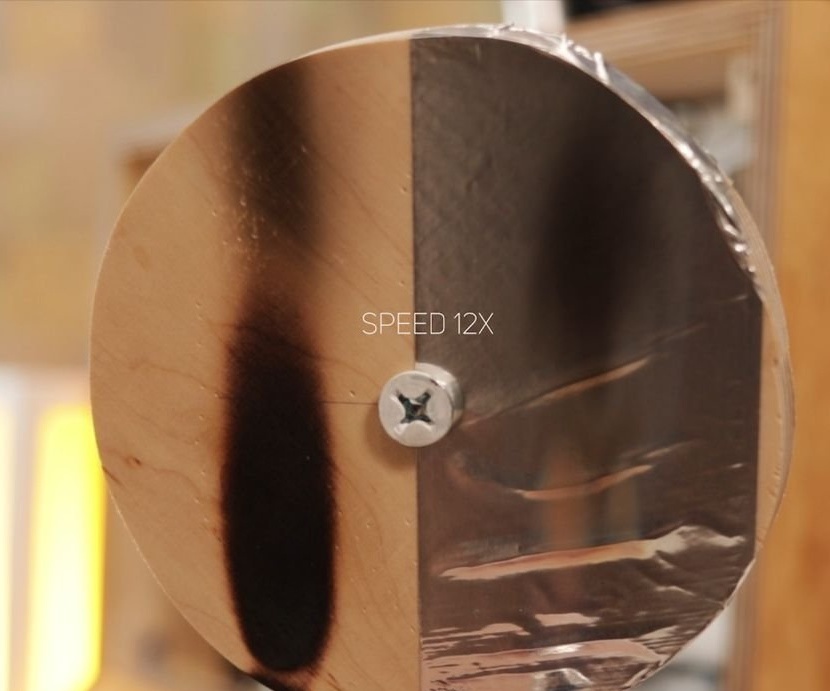
To protect against interference, the master screened the case with foil, like on a laptop.

Installs the back cover and speakers.
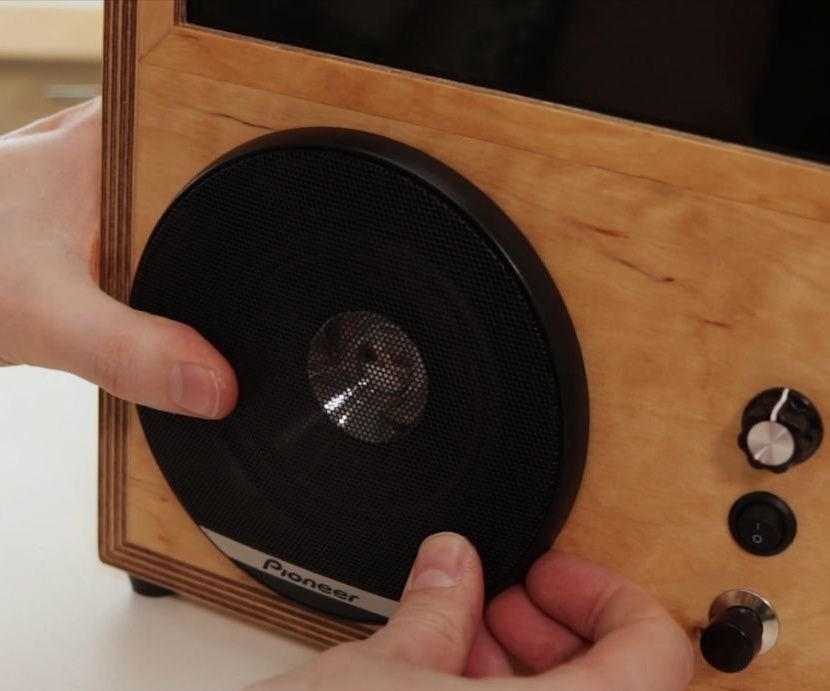
All is ready.

The entire process of manufacturing a multimedia center can be seen in the video.