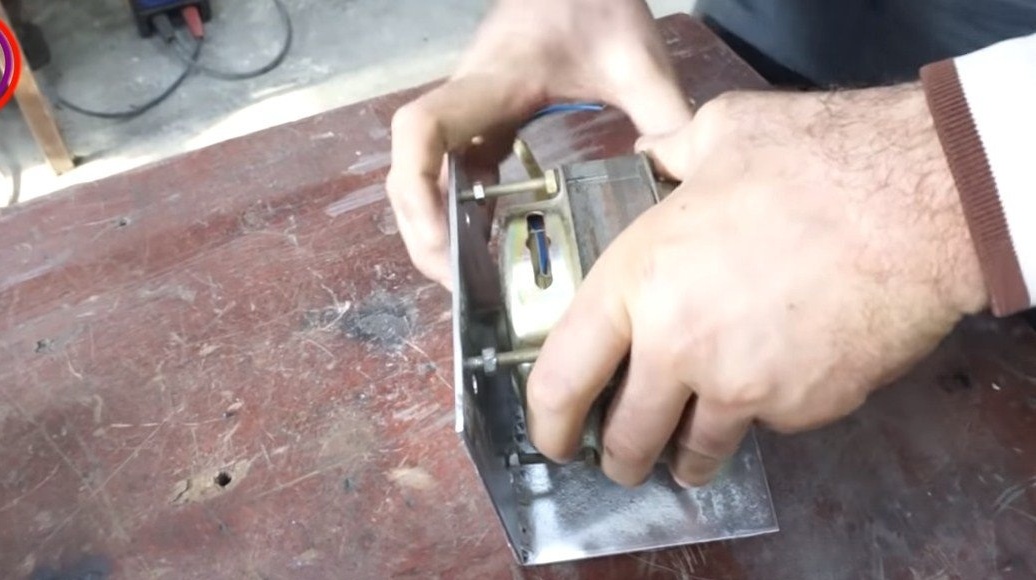
Hello fans to craft, this time we will consider how to make a hacksaw with an electric drive. It is possible to put canvases on the machine both on wood and on metal, so that it can cut a variety of materials. Of course, the productivity of the machine is not too high when compared with a tape cutting machine, but the machine is assembled very simply and from cheap materials. The advantage of such a machine is that the metal does not overheat when cutting, and also there is no such strong noise and burning smell as when working with a grinder. The main parts for the machine are spare parts from the washing machine, an engine is used here, as well as a belt drive.
The design is very simple, the rotational movements of the driven pulley are converted into reciprocating movements of the cutting blade. If homemade Interested in you, I propose to study it in more detail!
Materials and tools used by the author:
Material List:
- engine and belt drive from the washing machine;
- profile pipes;
- Sheet steel;
- bolts, nuts and washers;
- round timber;
- steel plates;
- channel for the base;
- drilling vice;
- paint.
Tool List:
- , drilling machine;
- ;
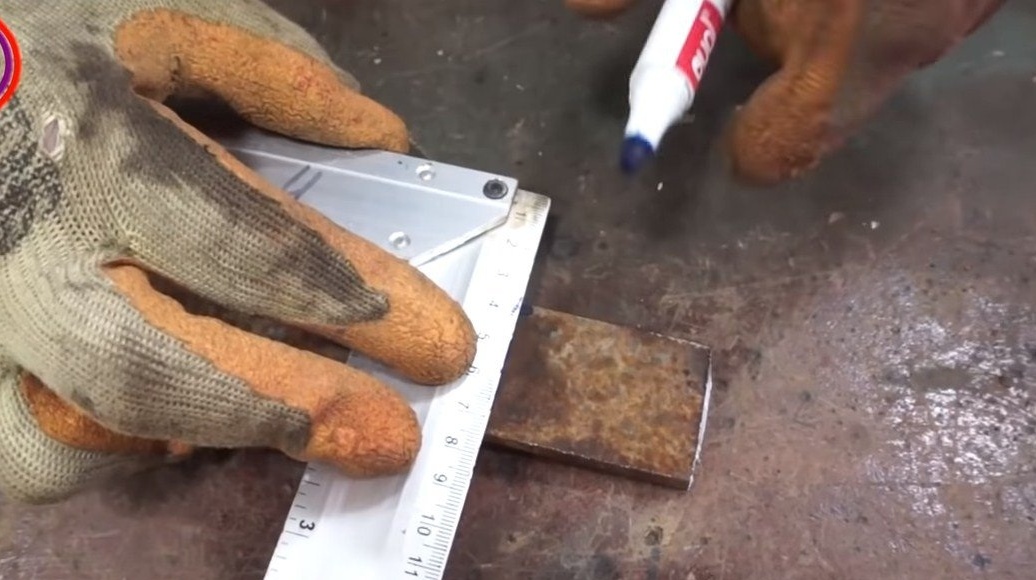
- tape measure, marker;
- ;
- spanners.
Homemade manufacturing process:
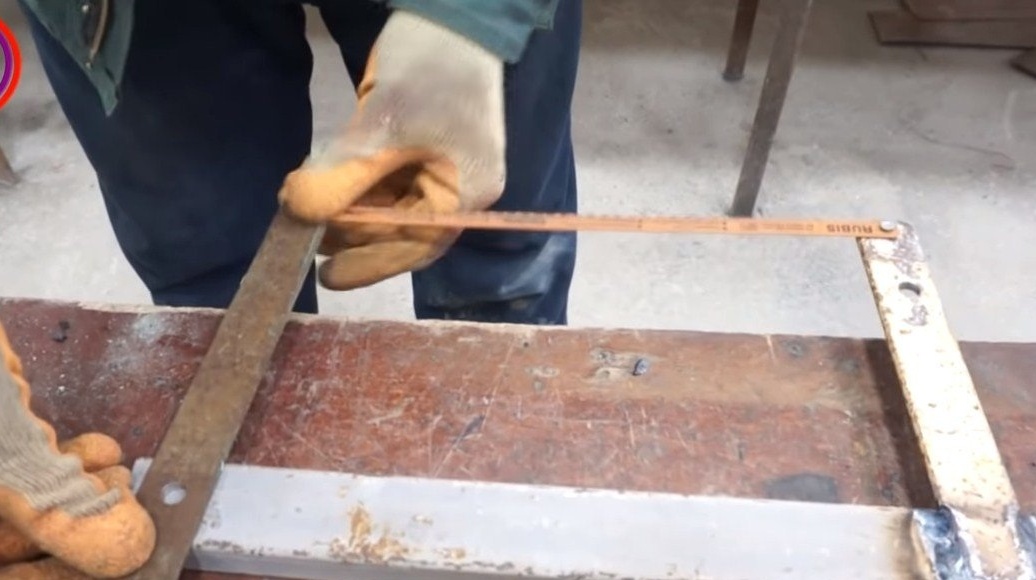
Step one. The foundation
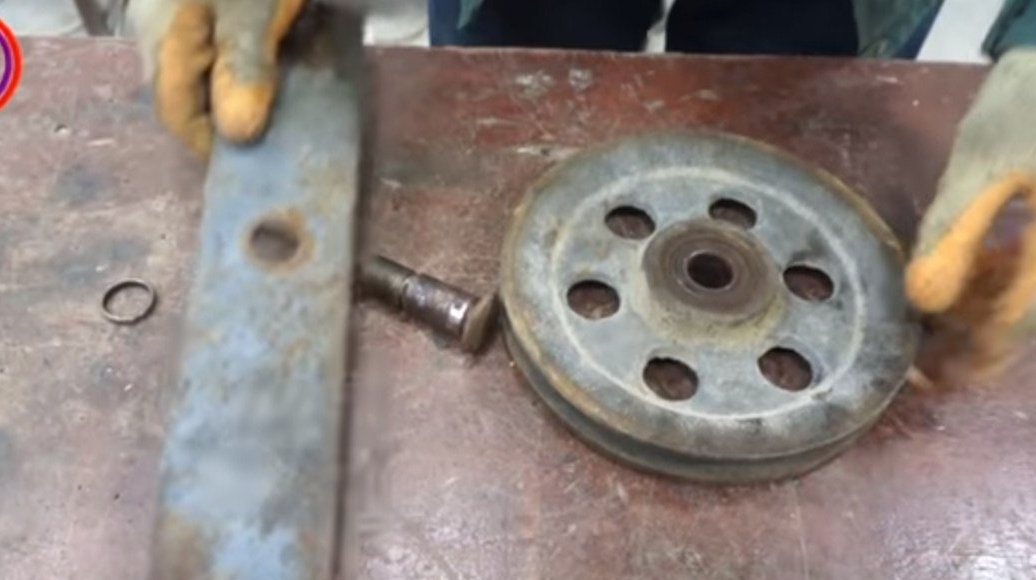
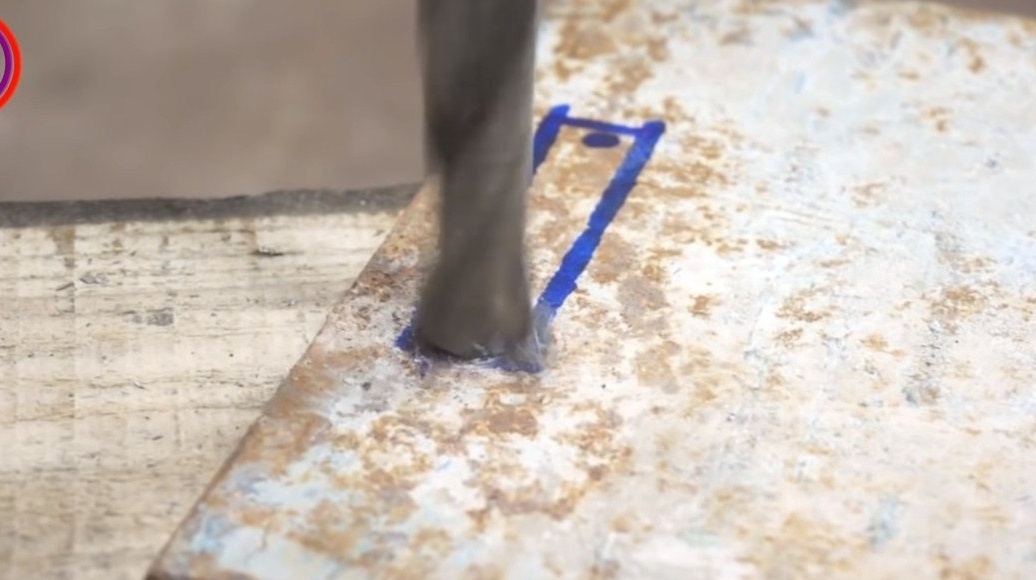
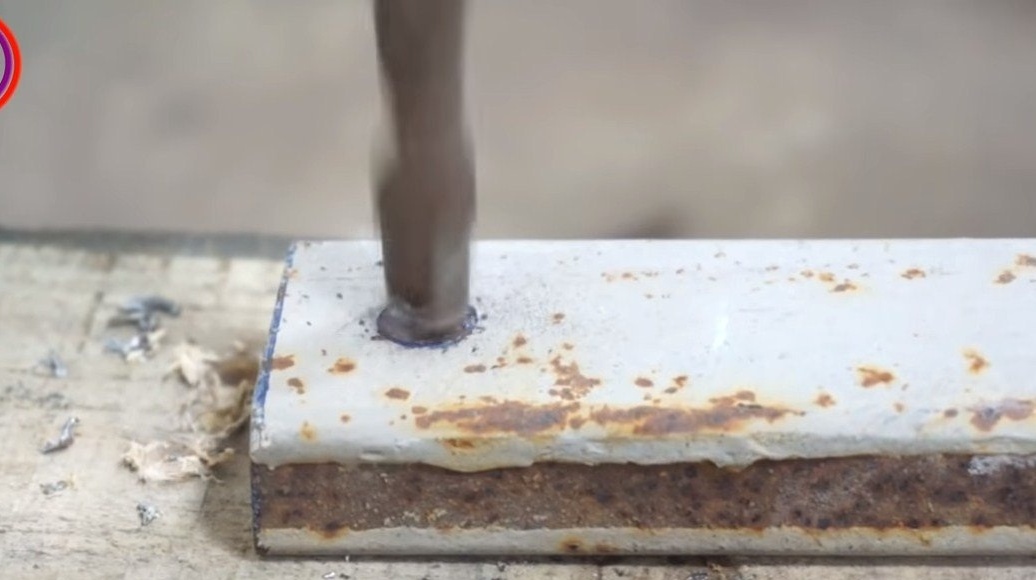
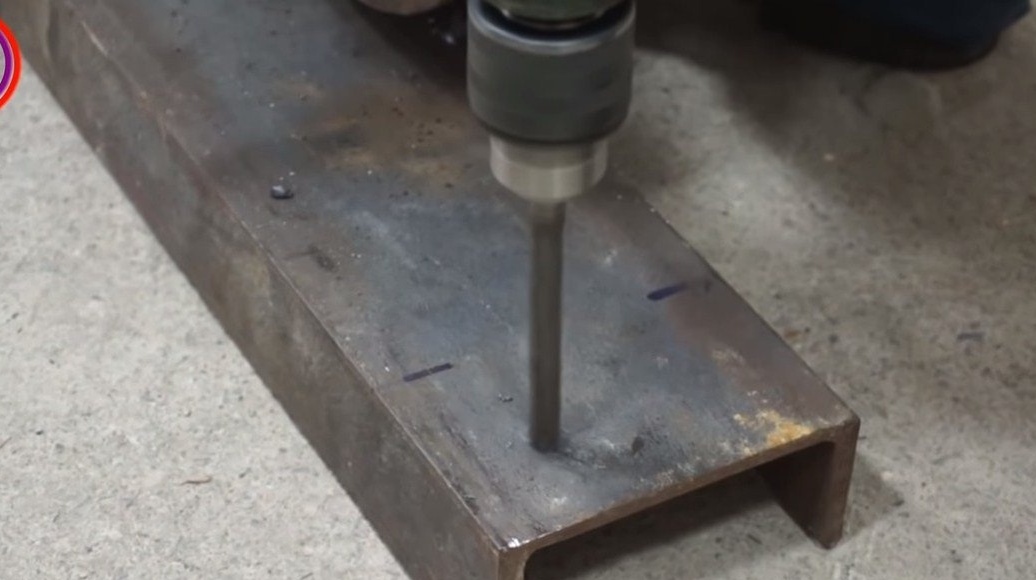
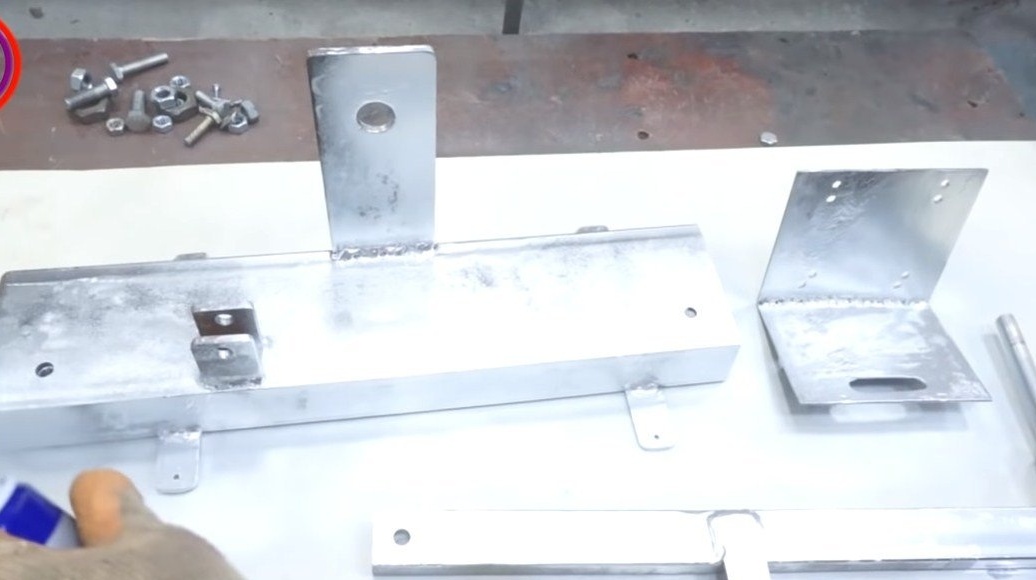
First of all, we will prepare the basis, the author uses a piece of the channel for such purposes. Immediately we weld to the base a vertical stand for the driven pulley, here a piece of the profile pipe, corner or just a strip of thick steel will do. We drill holes in the strut under the axis of the driven pulley.
Step Two Engine bracket
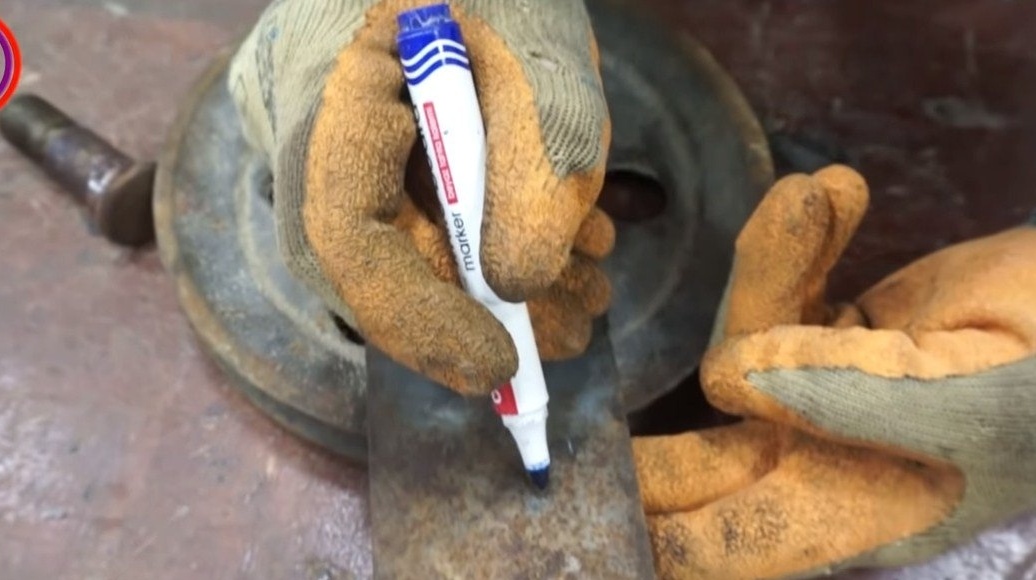
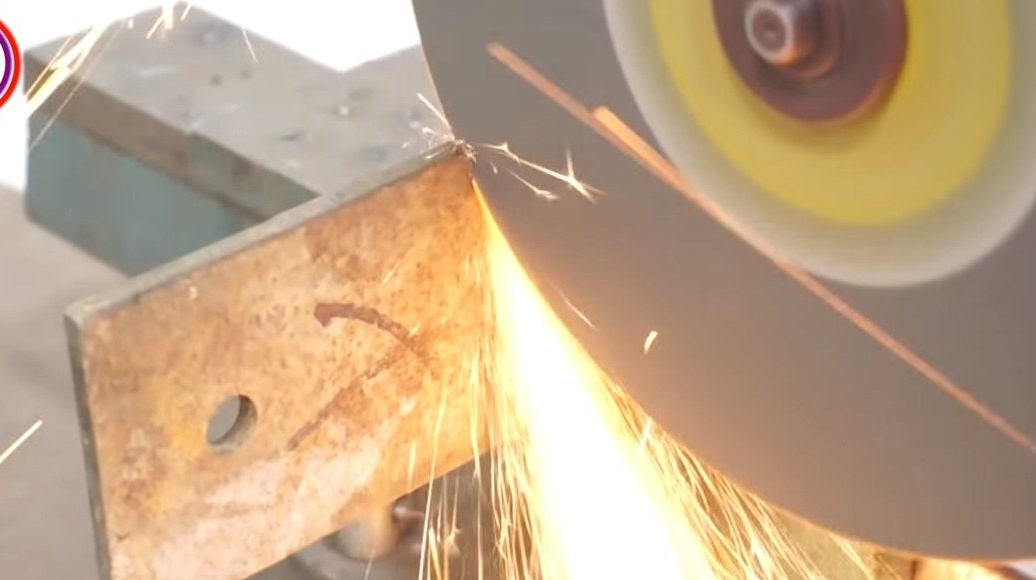
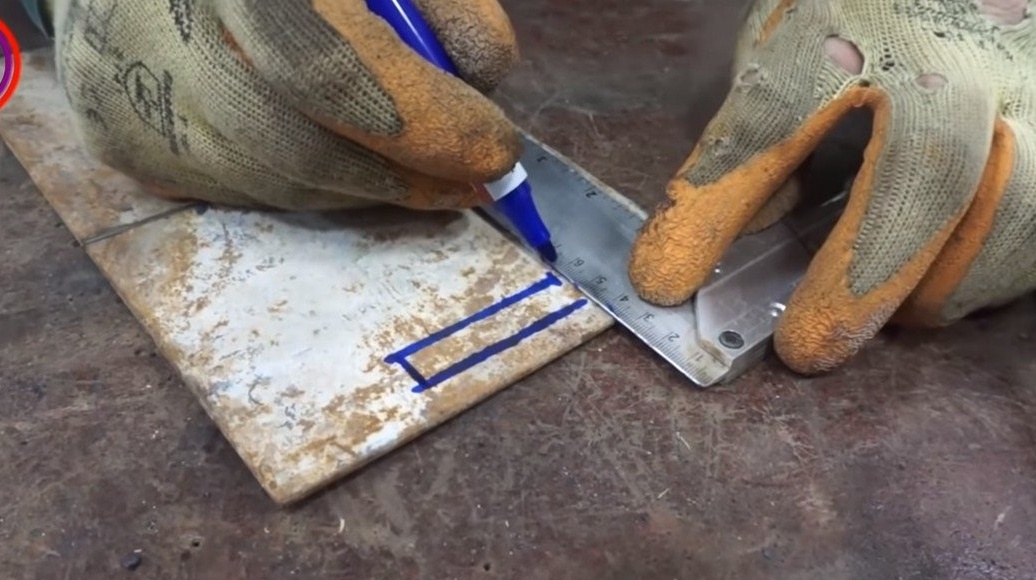
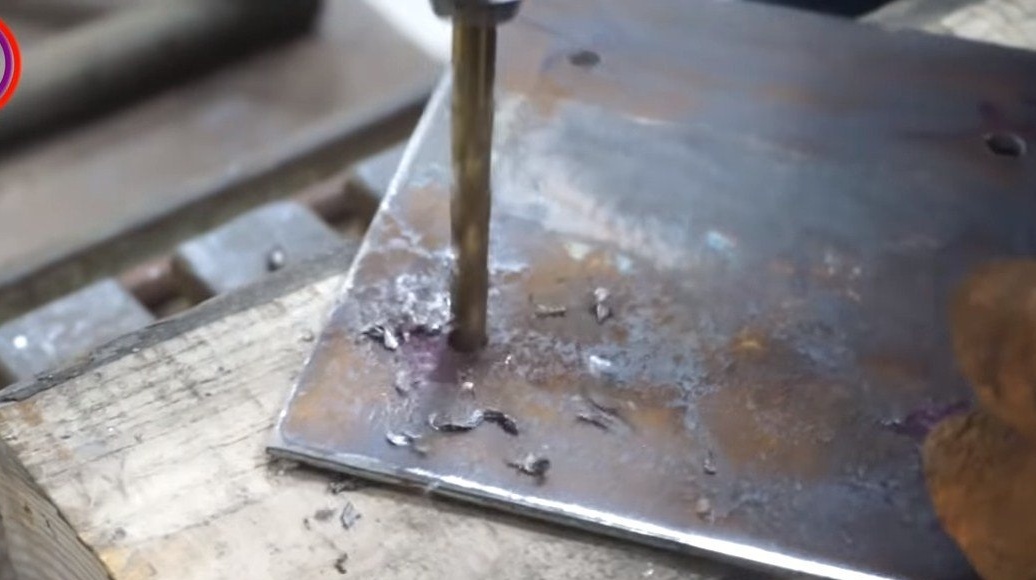
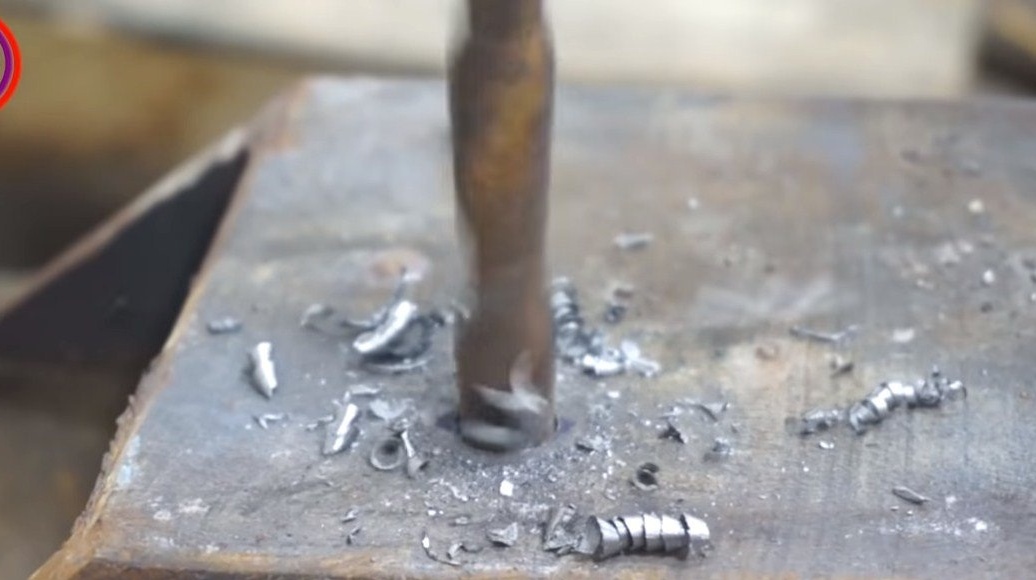
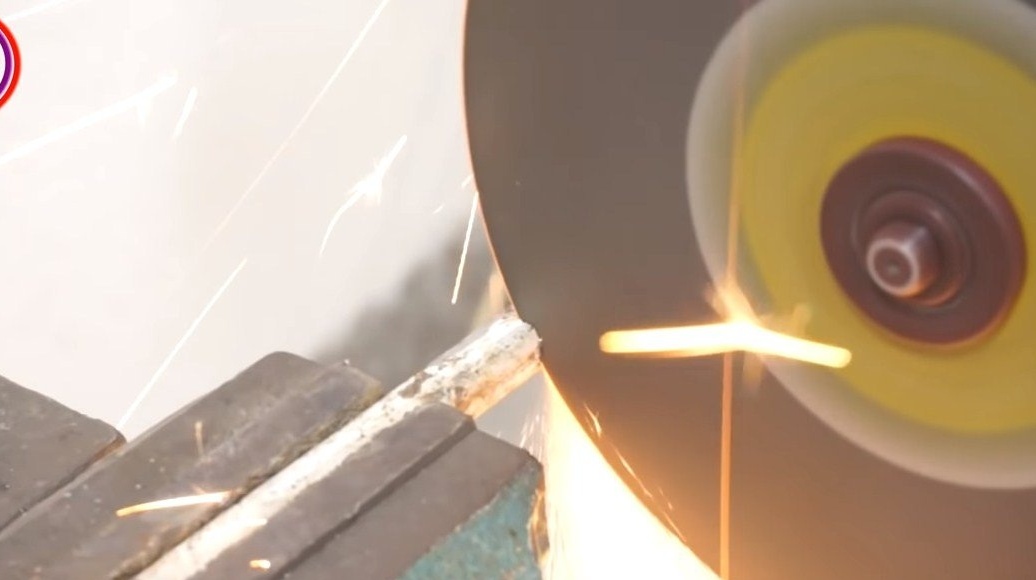
Let's make a bracket for the engine, here we need sheet steel. First, cut a slotted hole, it will be necessary so that the engine can be moved around the frame. Thus tightening the belt. We drill two holes, and then we cut a slot with a grinder.
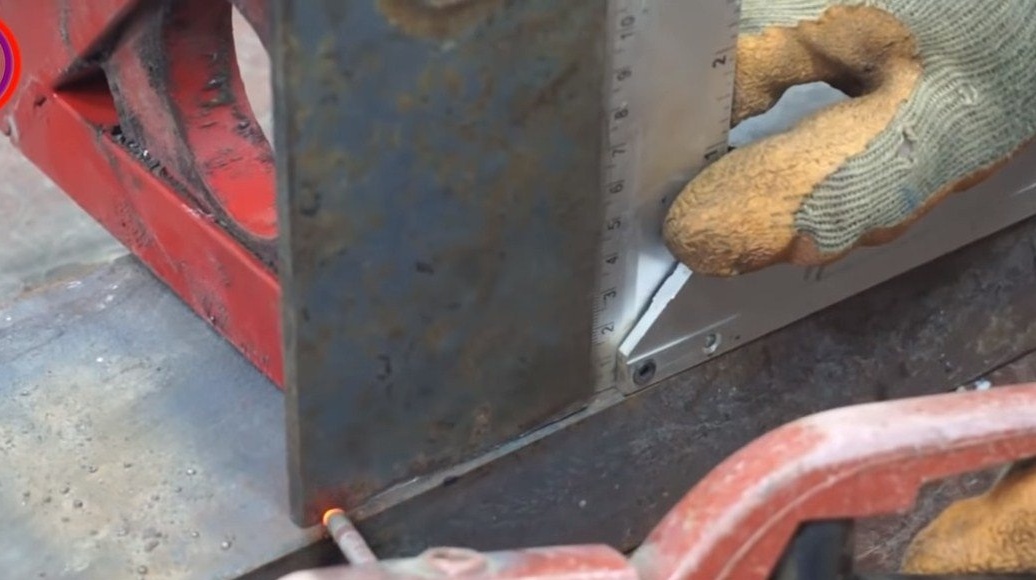
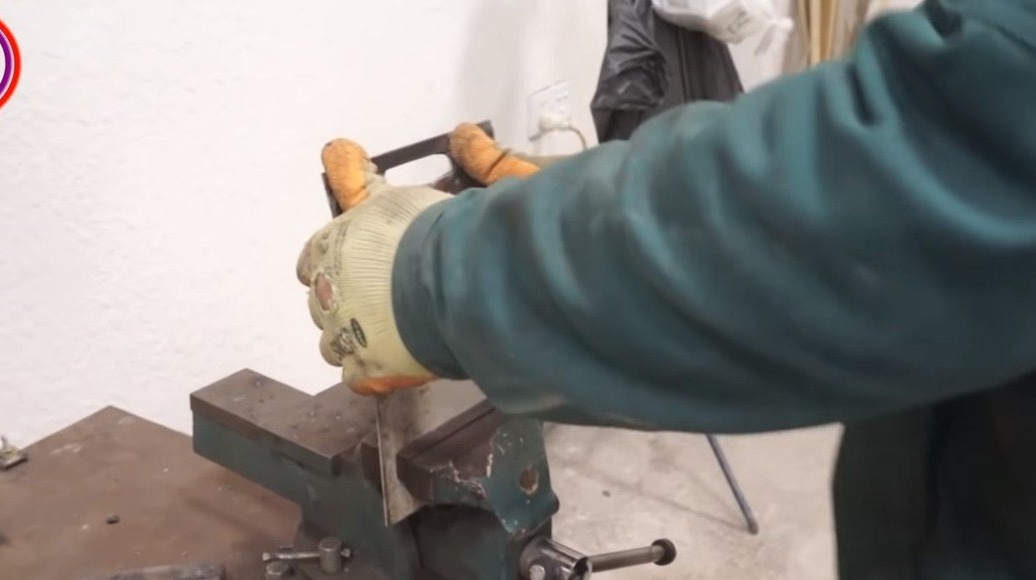
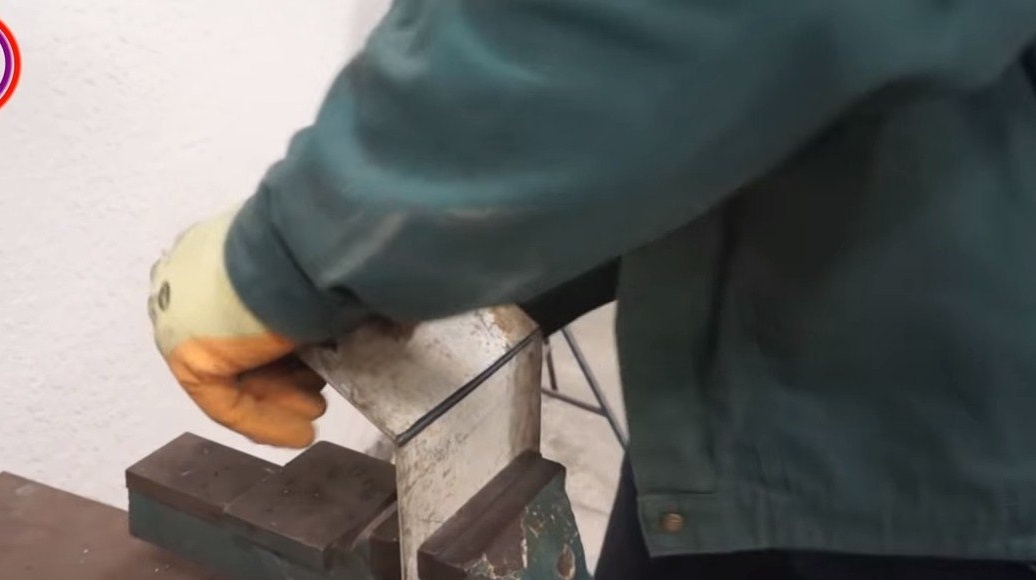
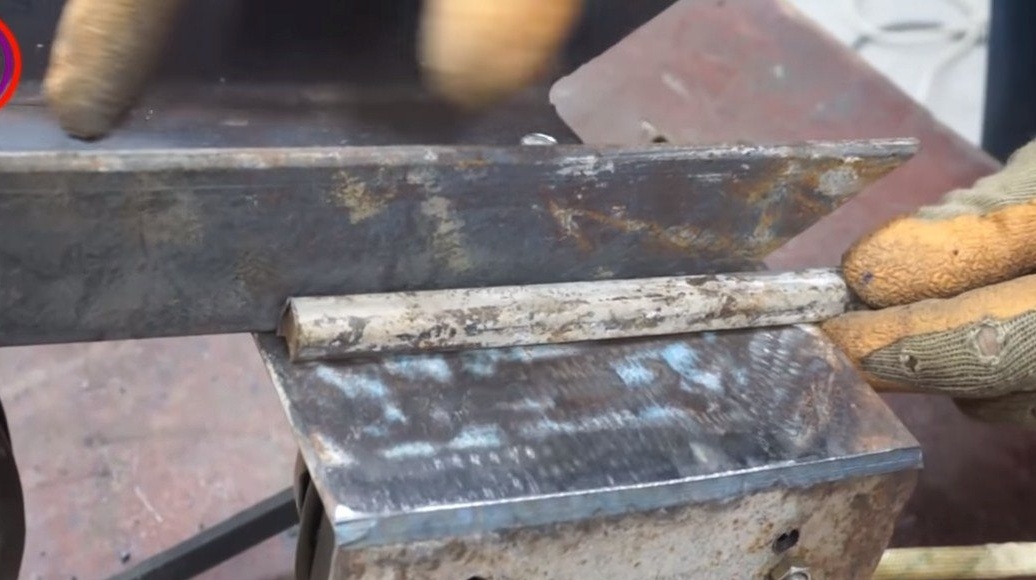
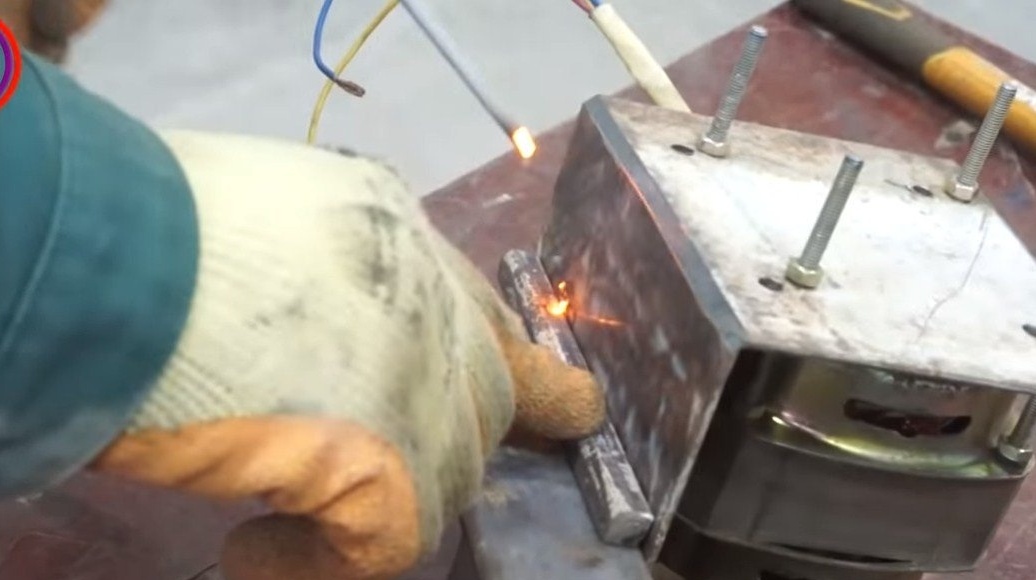
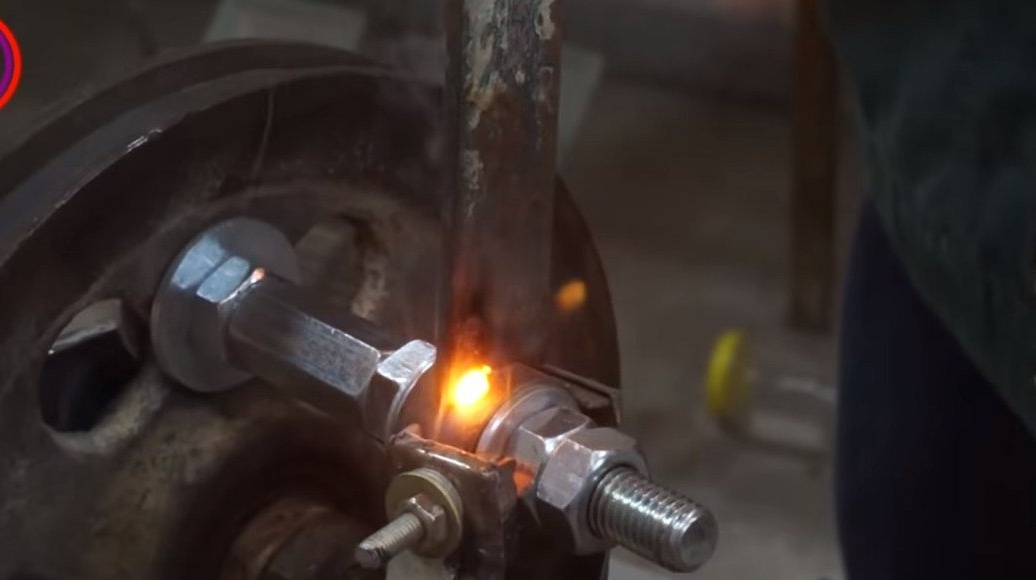
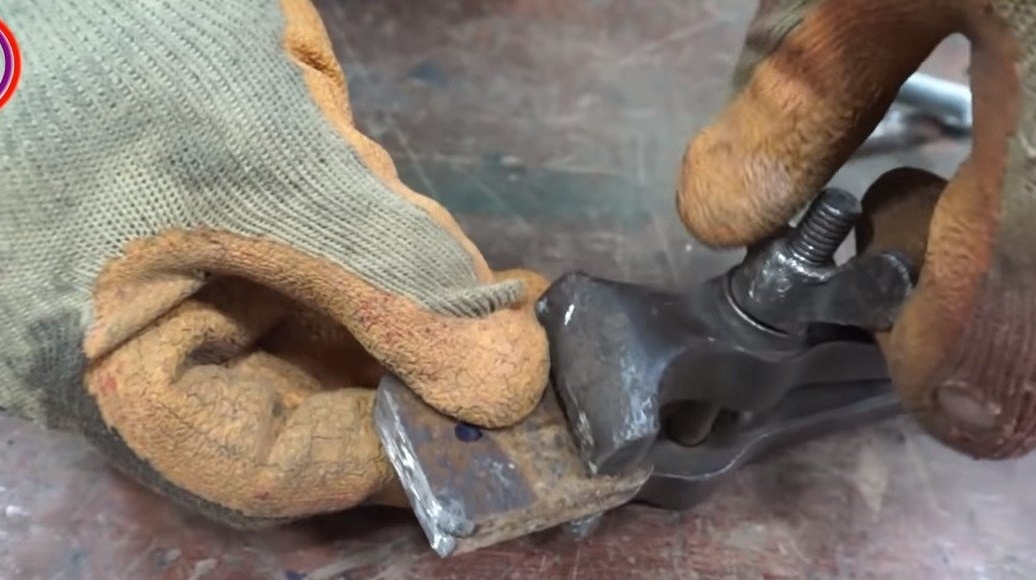
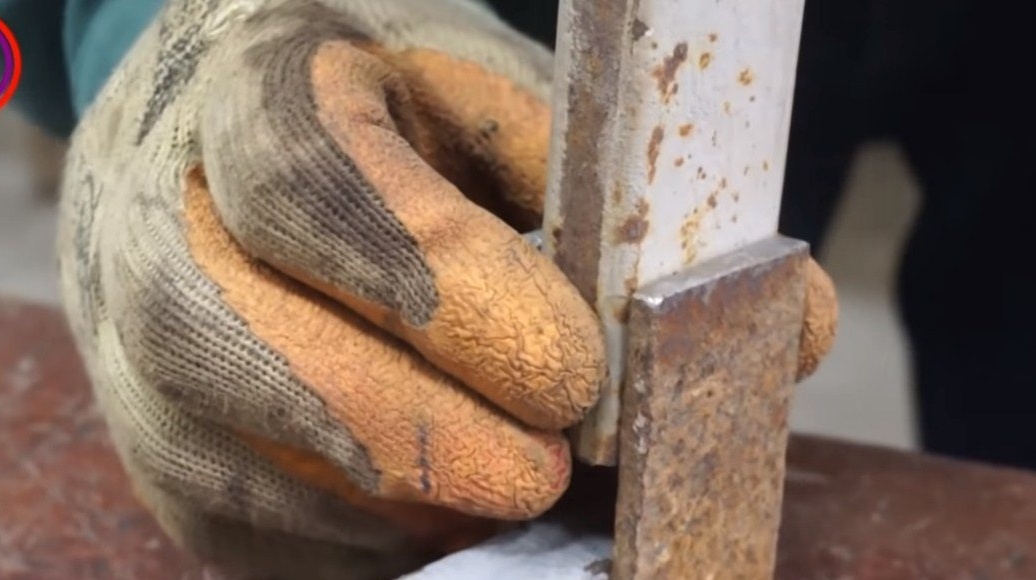
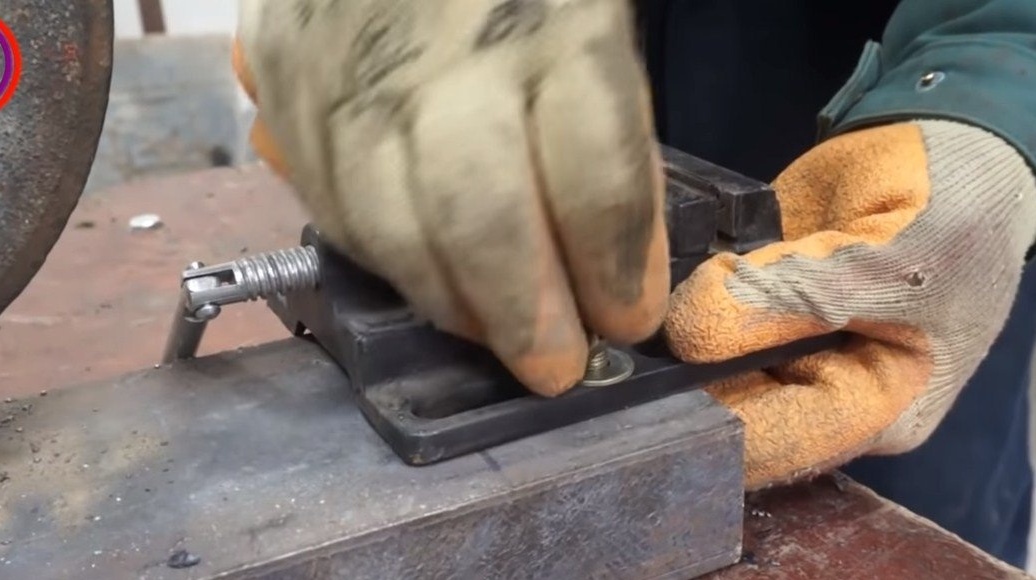
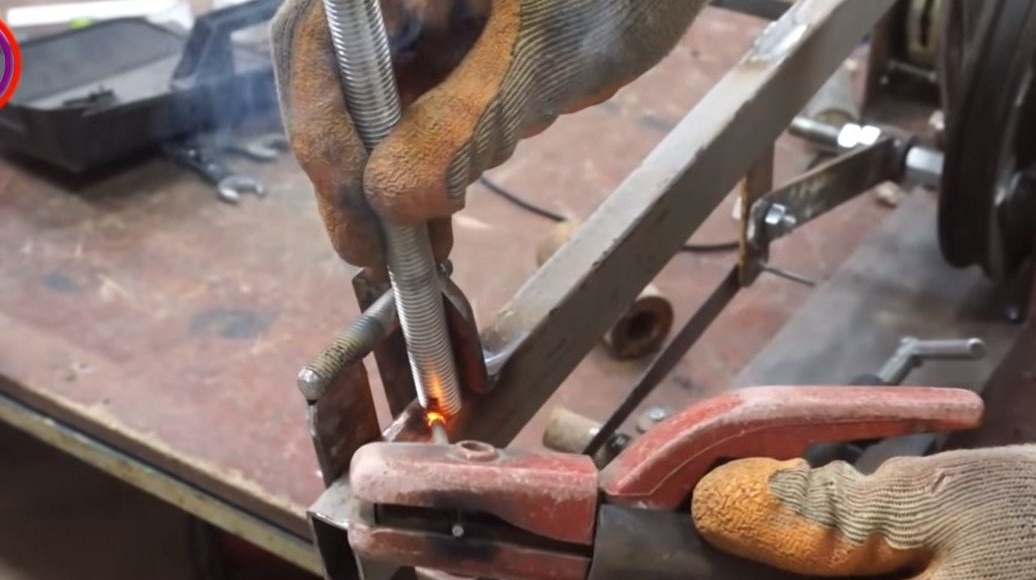
The engine is mounted using four studs located in the rear, for this we need to bend the plate to make a corner. For simple and quick bending, we make a cut with a grinder in the right place and, inserting the plate into a vice, bend. Then you need to boil the bend place well.
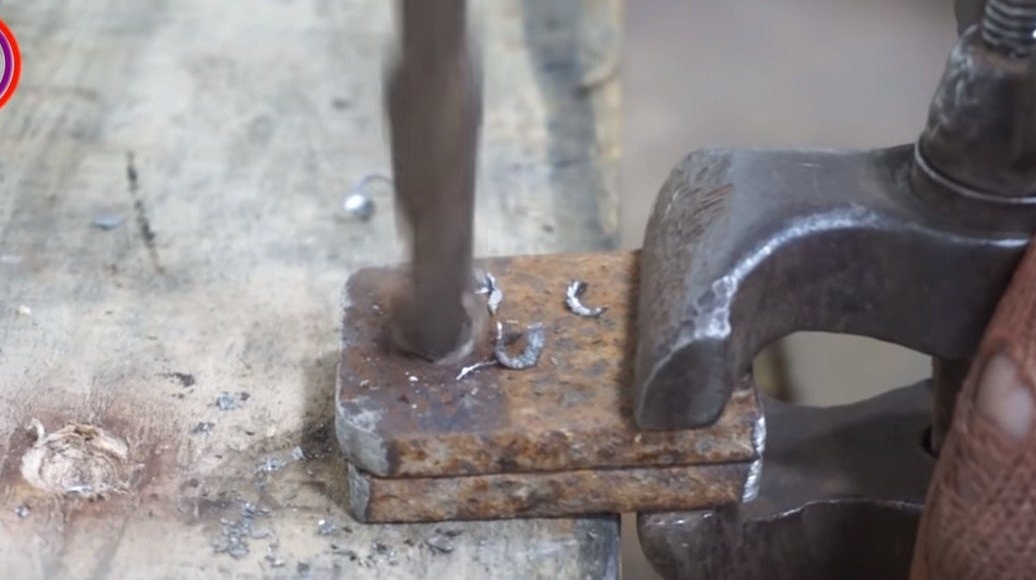
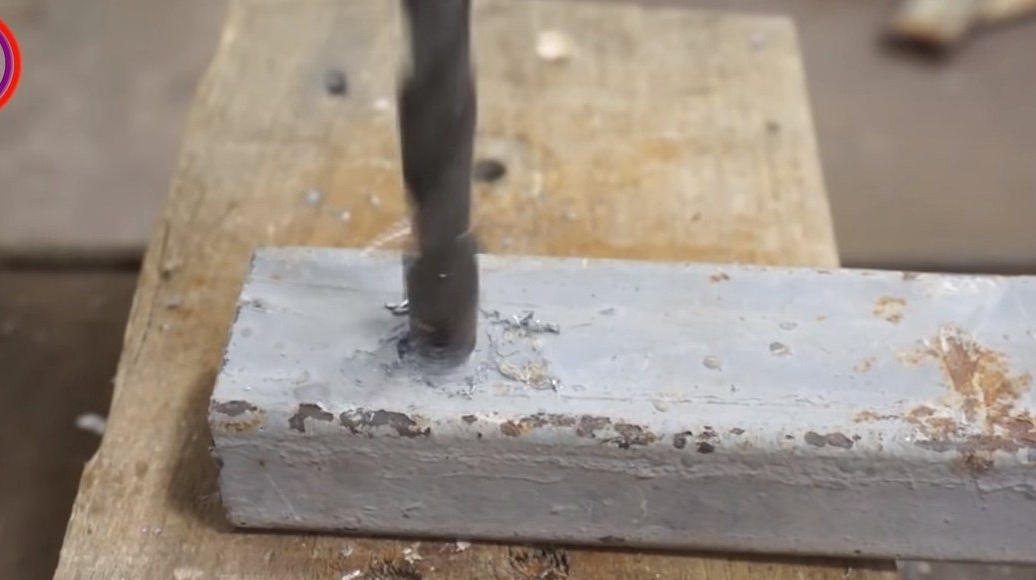
As a result, it remains to drill holes for the engine studs.
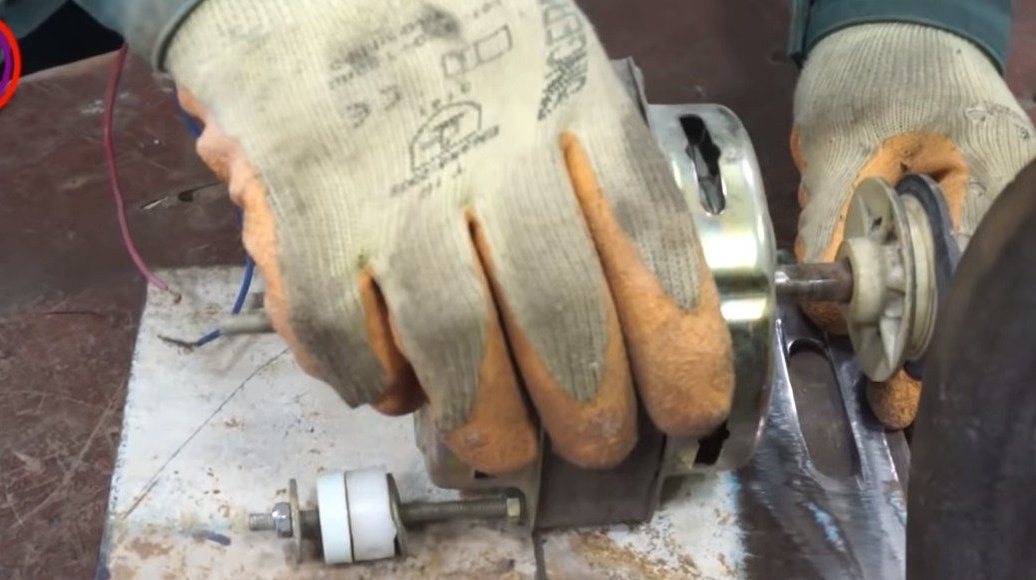


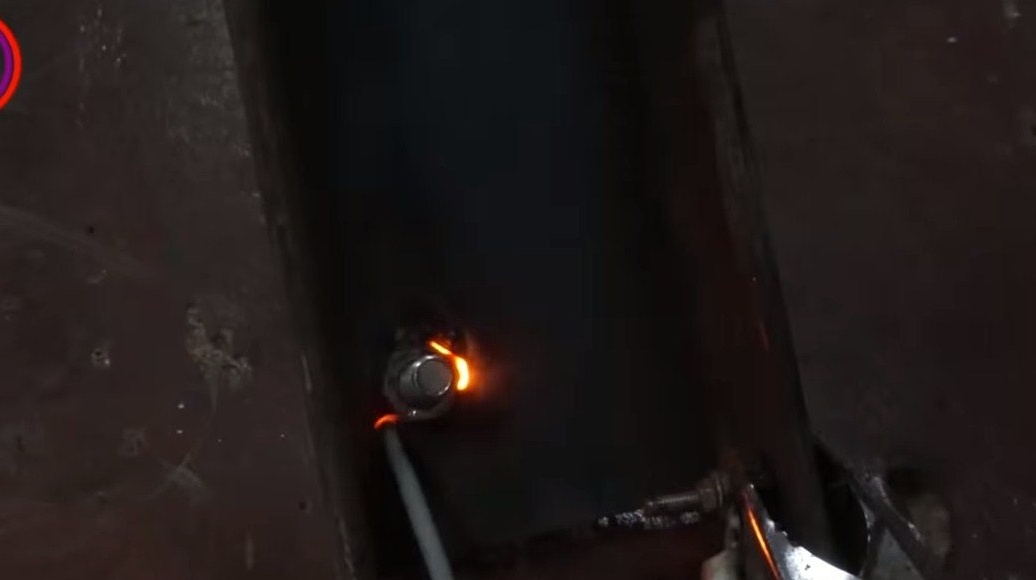
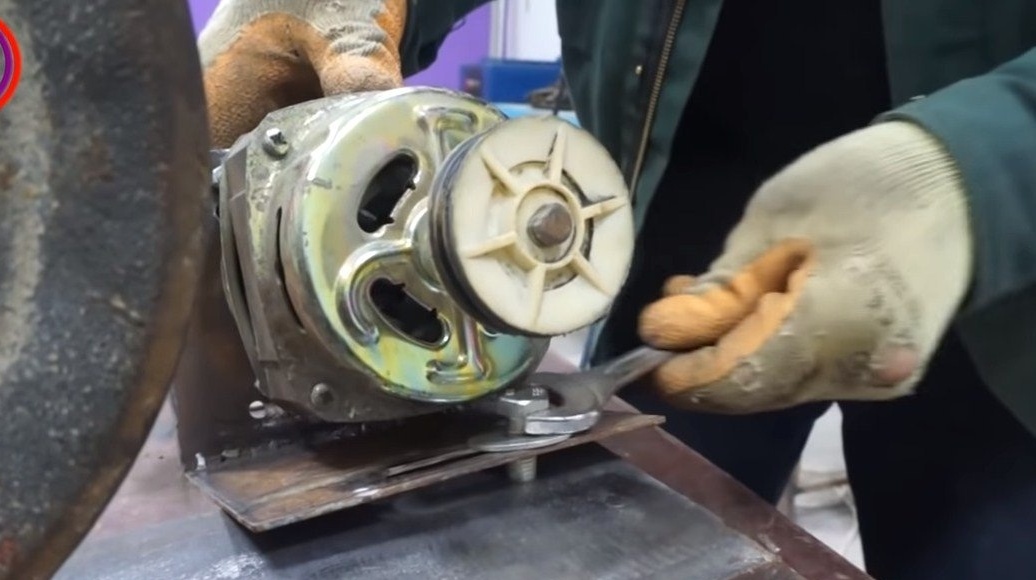

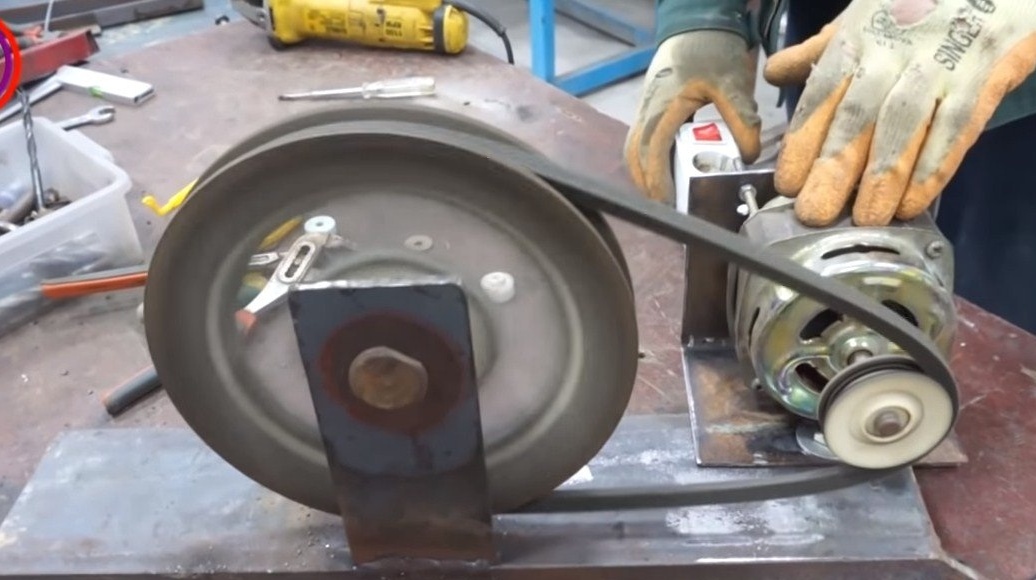

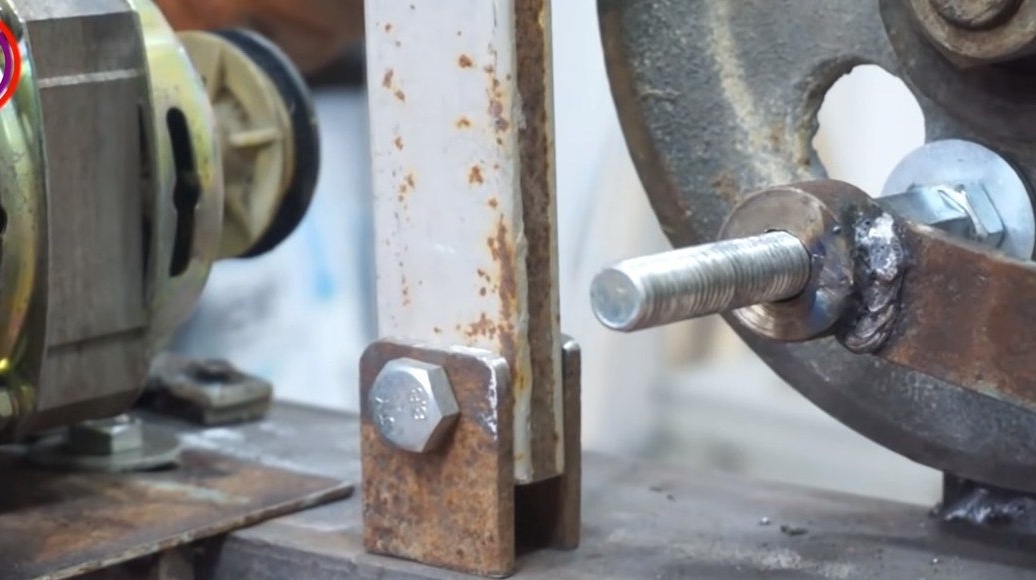
The engine and belt drive can be installed on the base.We drill a hole for the bolt at the base and, on the other hand, weld a nut, now we fasten the engine bracket with a bolt. To prevent the bracket from spinning around its axis, on the other hand we weld an emphasis to it in the form of a round log that will abut against the frame.
We install the driven pulley, pull the belt and try to turn it on, the wheels are spinning, which means everything is fine. Too long studs shorten the grinder.
Step Three Crank and connecting rod
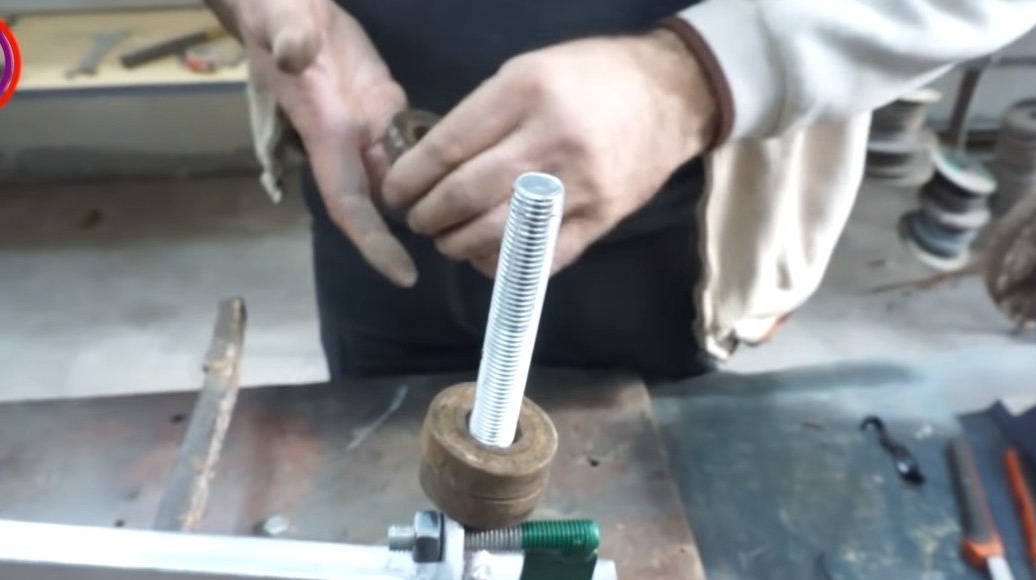
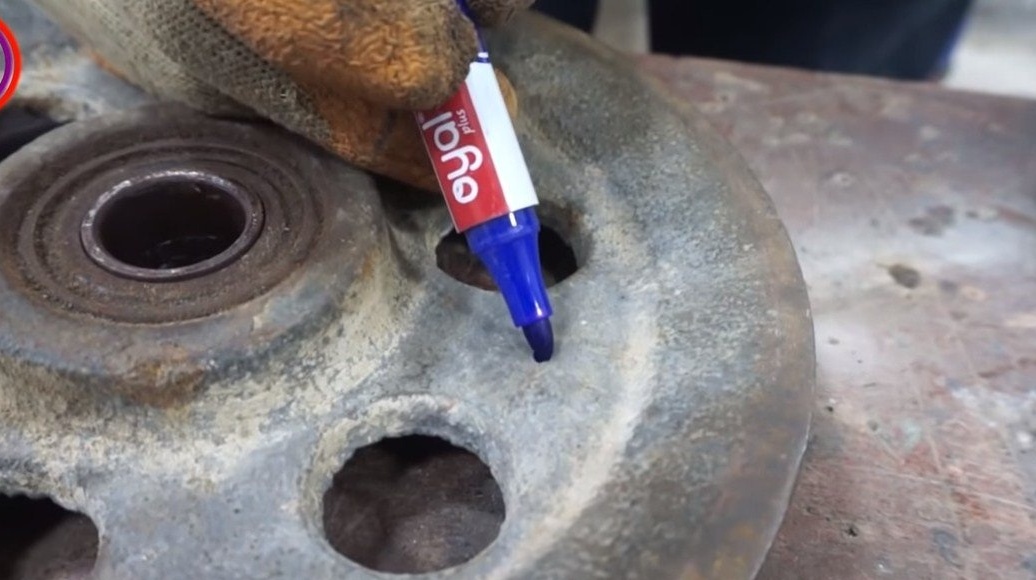
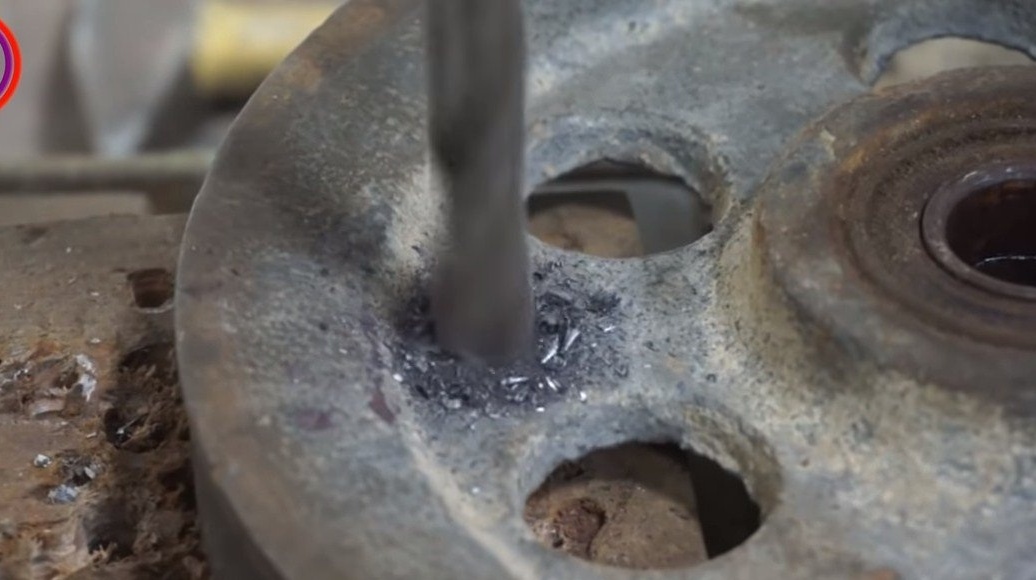
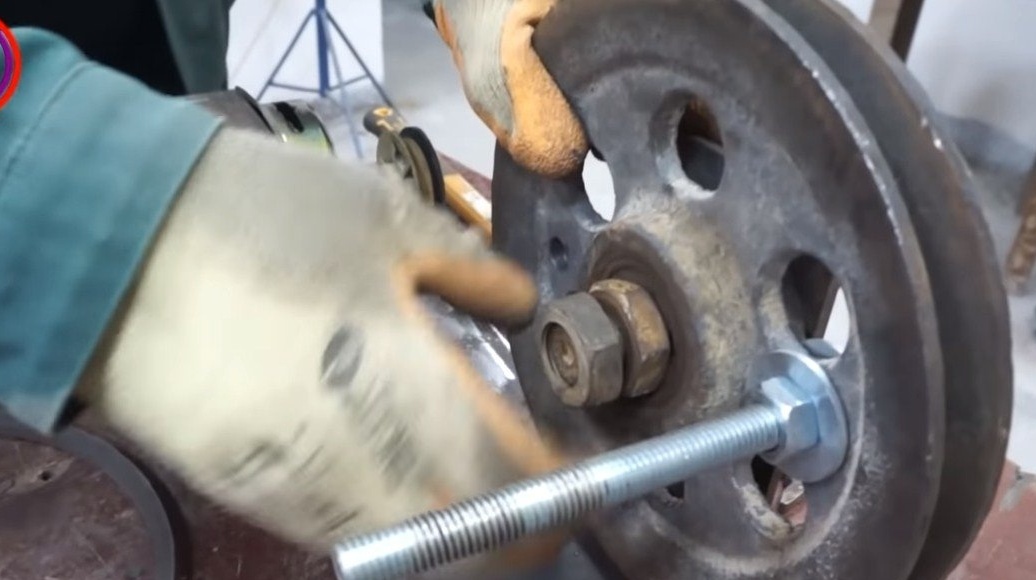
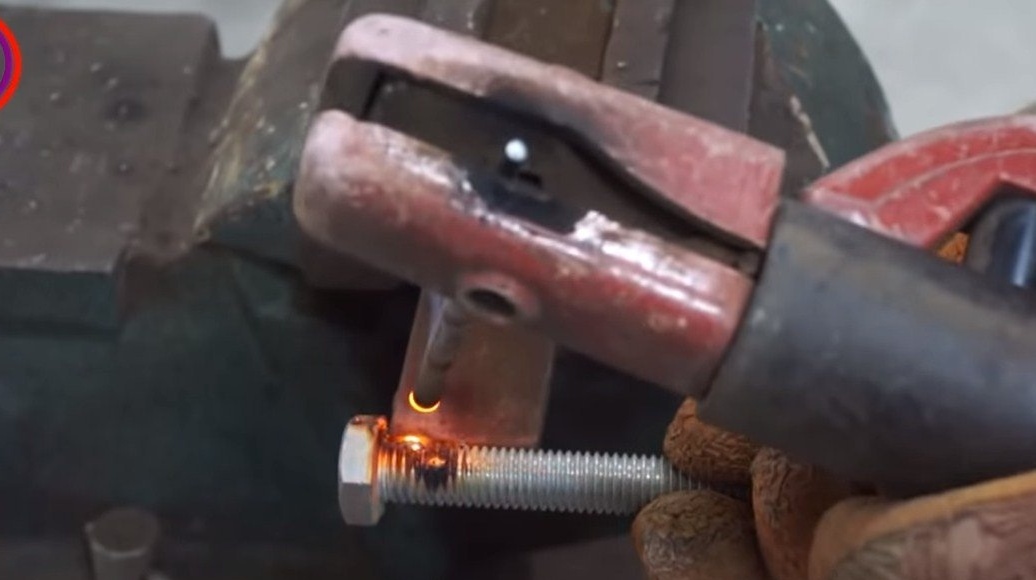
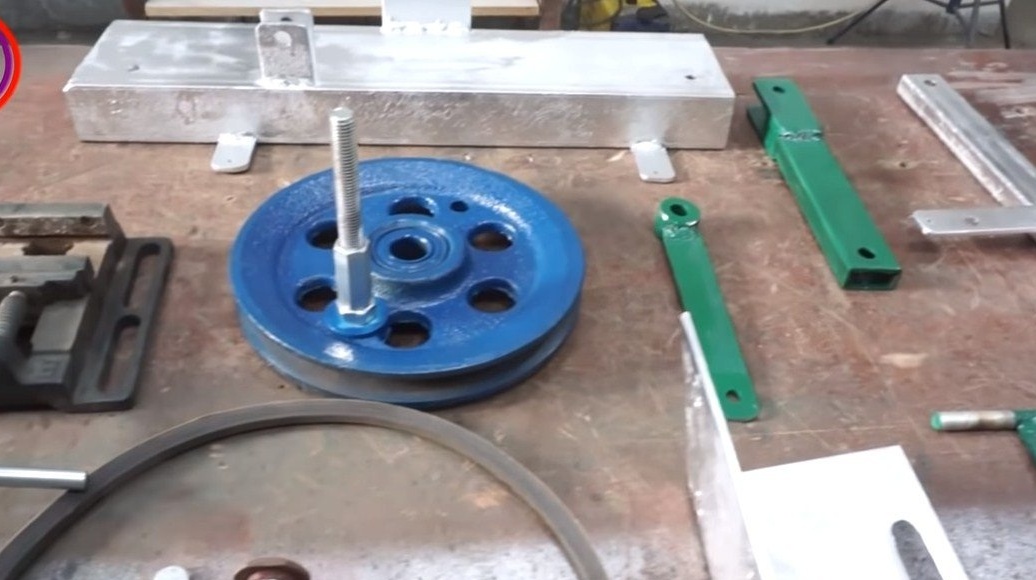
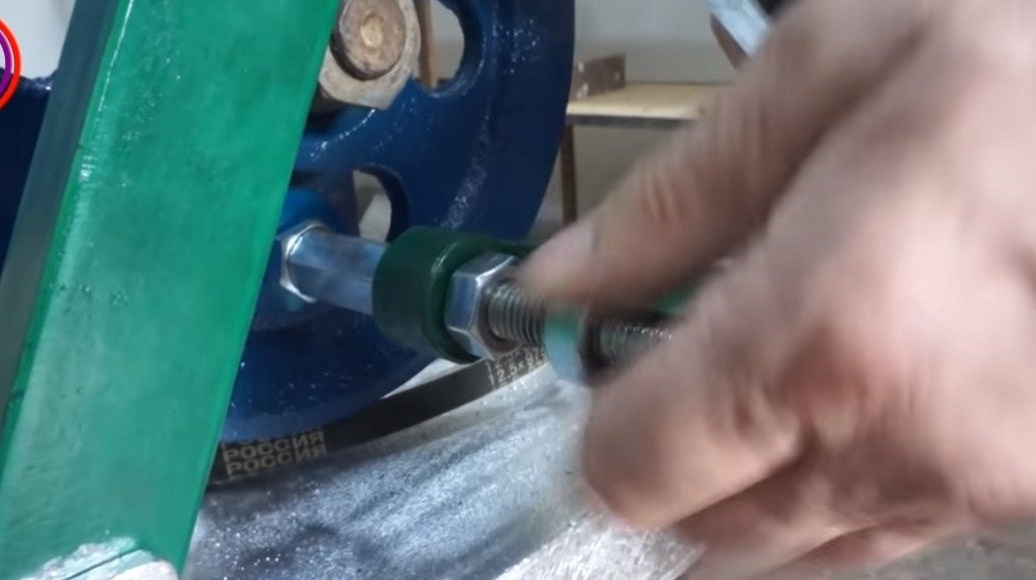
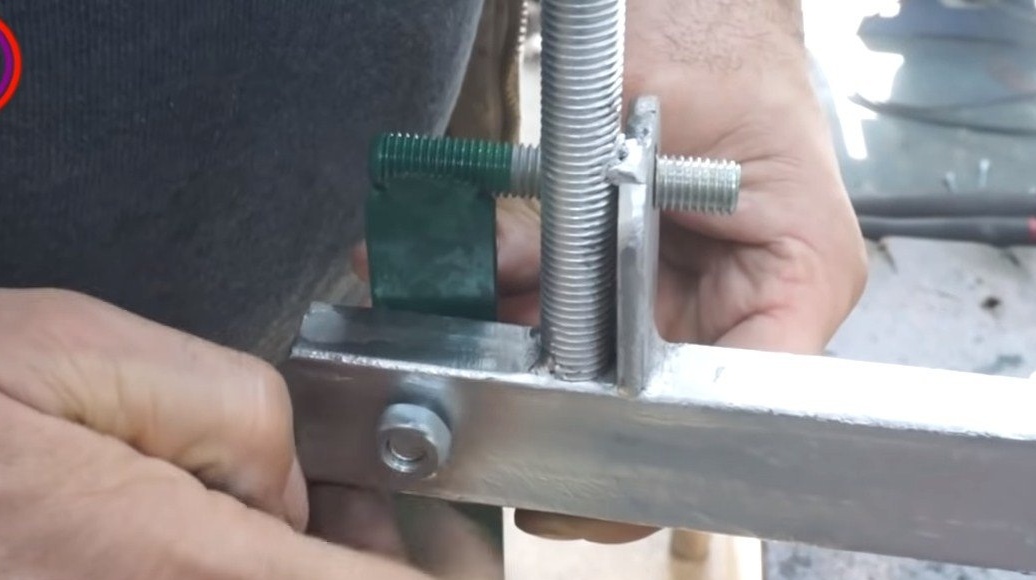
We make a crank, for this we find a suitable place on the driven pulley and drill a hole. Keep in mind that the farther the axis is from the center, the greater the stroke of the hacksaw blade. We install the axis, which can be used as a long bolt or threaded rod.
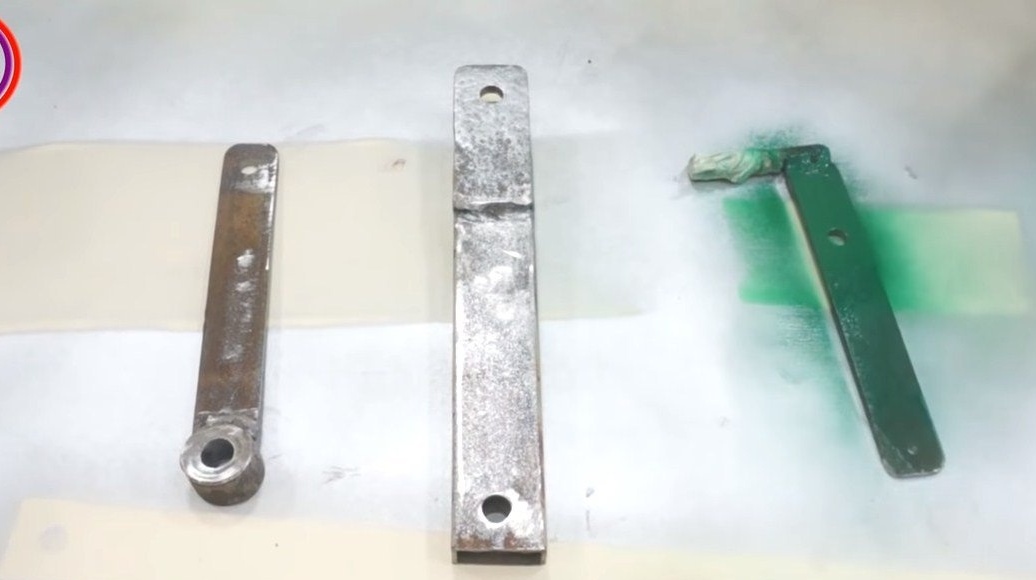
As for the connecting rod, we make it from a steel plate to which we weld the round timber. In the round drill, drill a hole for the installed axis. Well, then everything is fixed with nuts and washers.

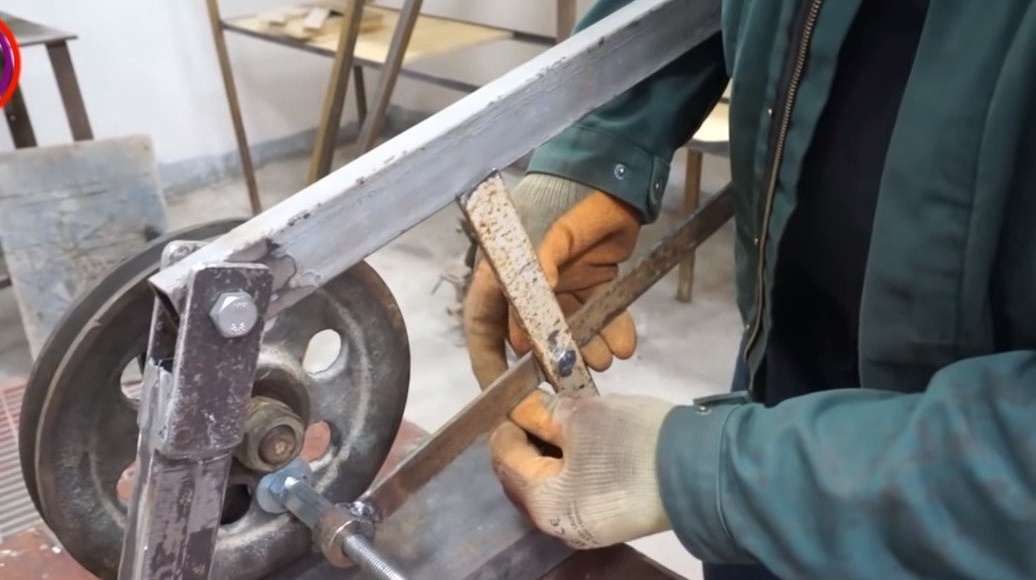
Step Four Leverage
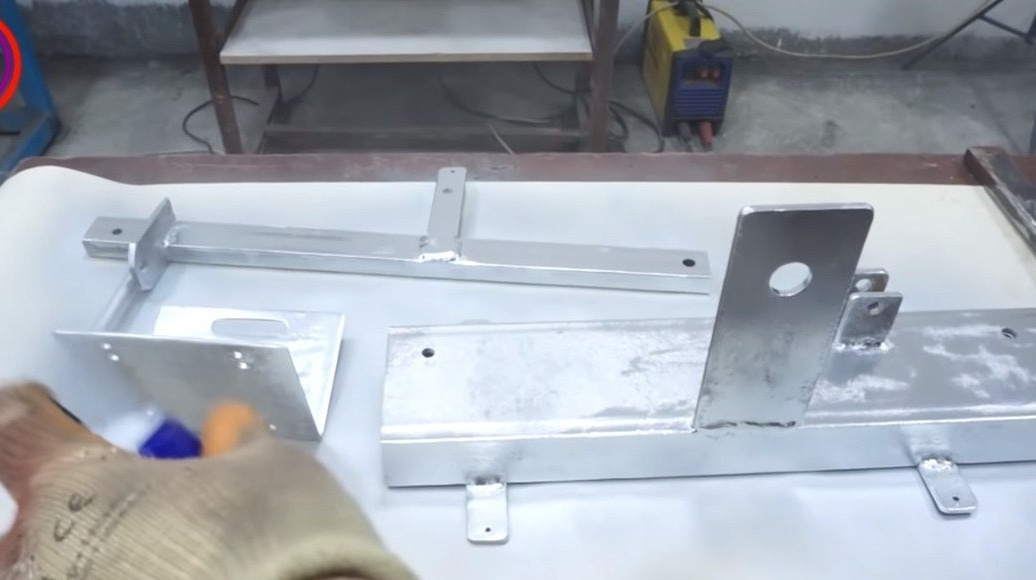
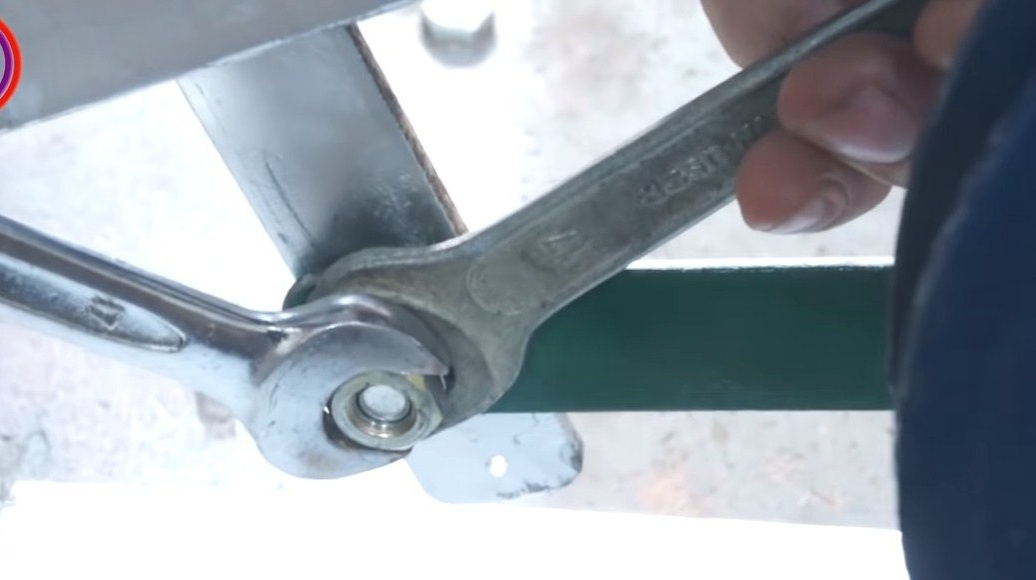
We have already received reciprocating movements, now they need to be transferred by the connecting rod to the lever to which the hacksaw blade is attached. The lever consists of two pivotally connected parts, one of which is pivotally attached to the base. To fix the lever to the base, the author welded two sheet metal ears and used an axle from a bolt with nuts.
We attach a horizontal lever to a vertically mounted lever and we also connect a connecting rod to it pivotally. Levers are made of profile pipes and sheet steel.


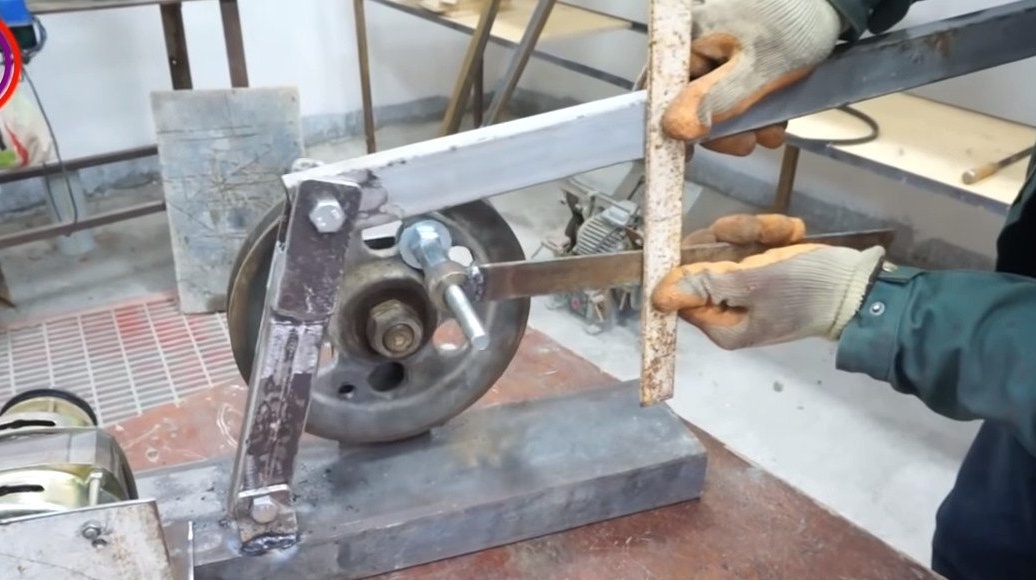
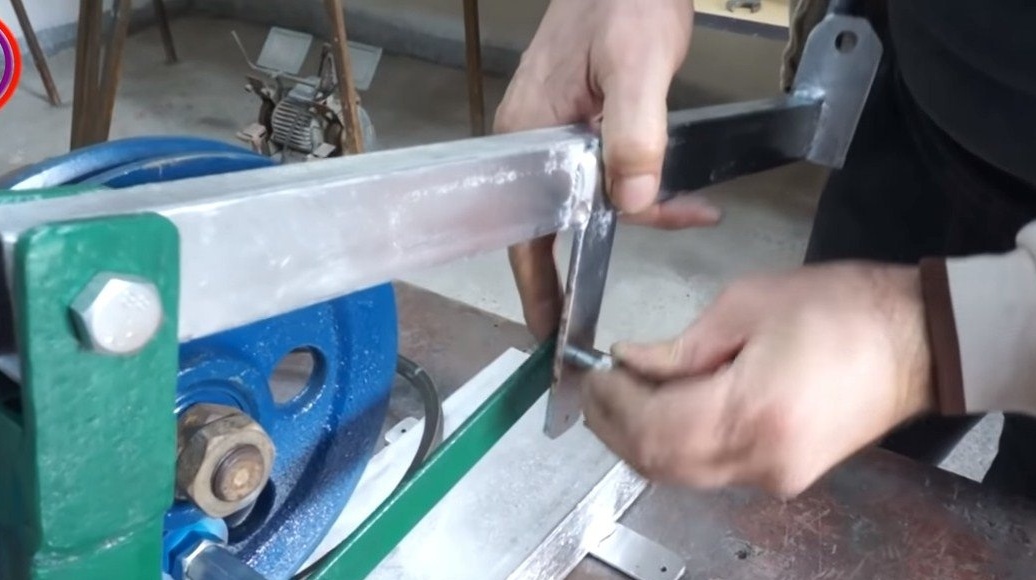
Step Five Hacksaw blade installation
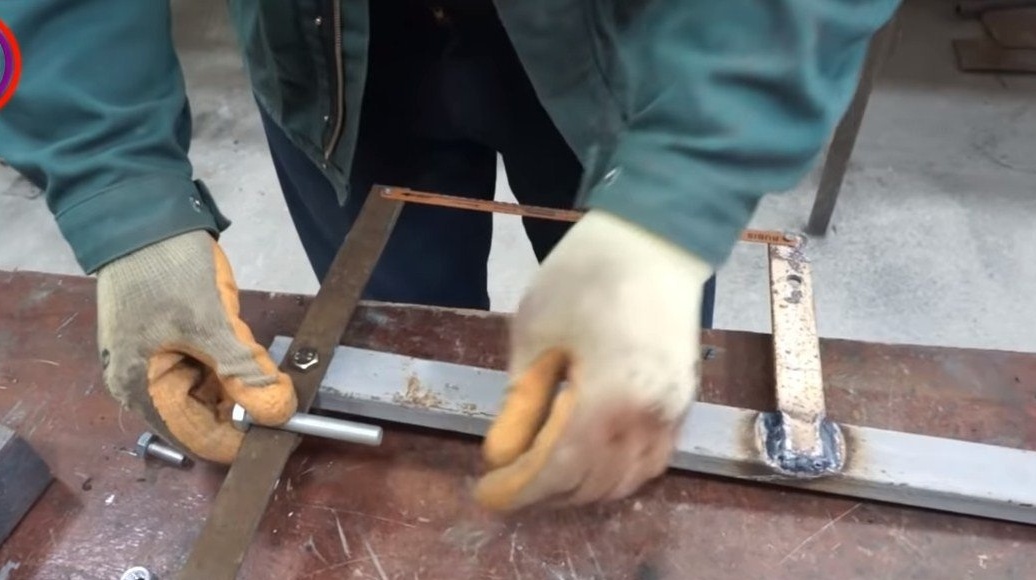
A metal plate is pivotally mounted at the end of the horizontal lever, a bolt is welded to it as a tensioner, and a stop made of sheet metal is welded to the lever. As a result, having installed a hacksaw blade, it can then be pulled by tightening the nut.


Step Six Vise
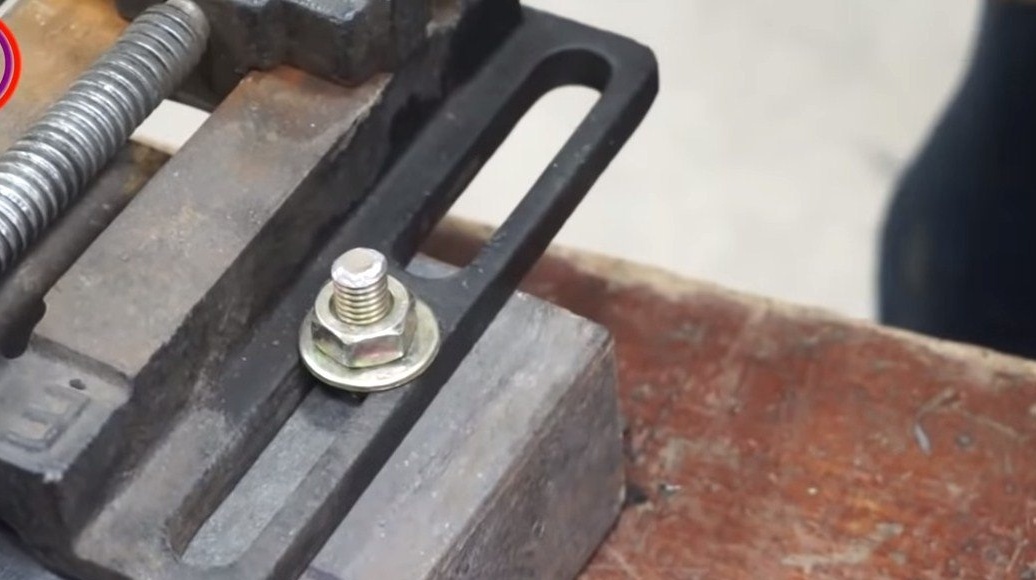
On the basis of the set vise, which will clamp different objects for sawing. The vise is suitable for drilling, we drill holes at the base and fasten them with bolts and nuts.
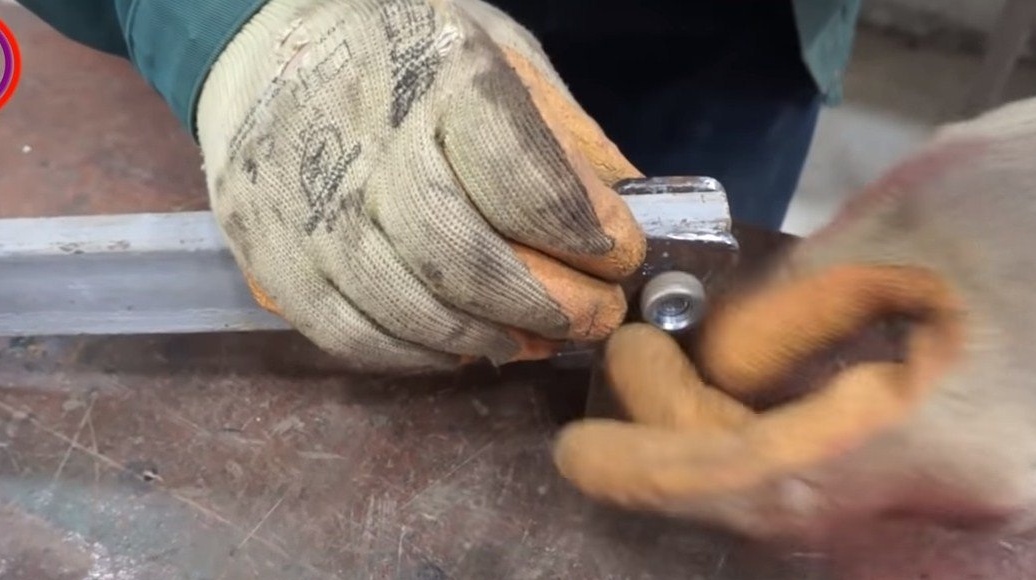
The author also welded a pin to the working lever, it is needed in order to put on additional weights if necessary, as a result, the canvas will put more pressure on the material being cut. As weights, the author uses old bearings.
Seventh step. Painting and testing
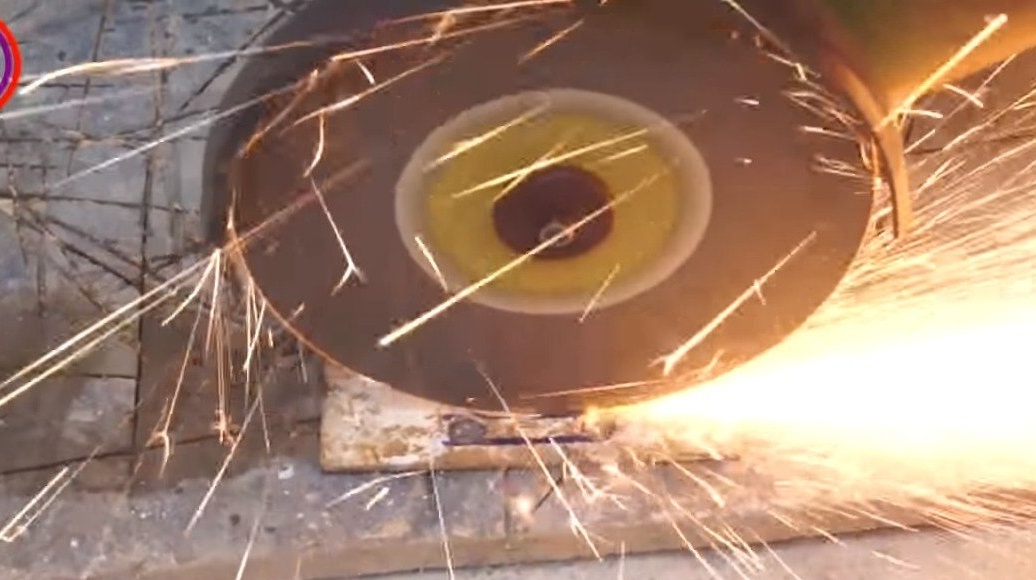
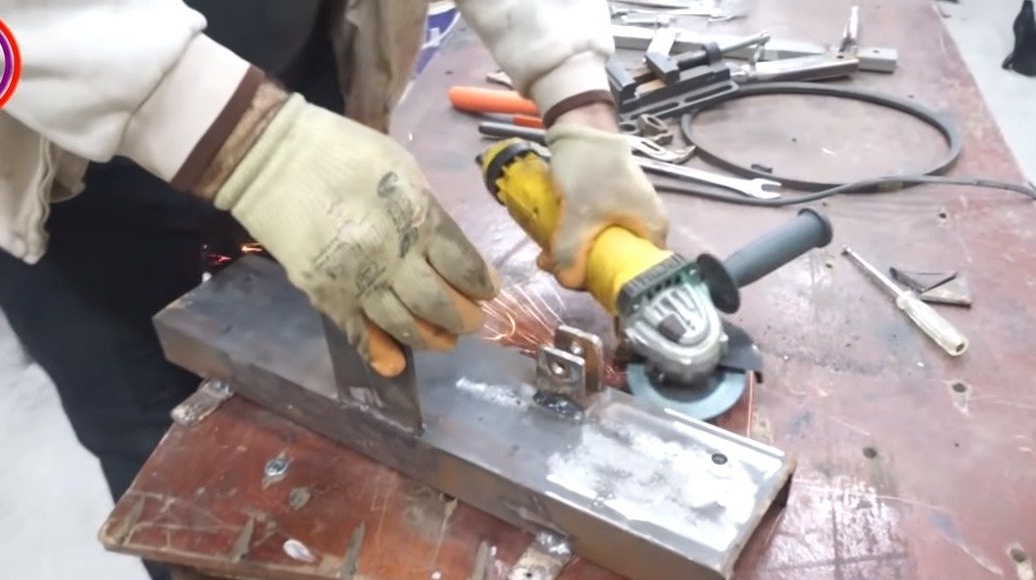
We disassemble and paint everything, now the car will not rust, and will be pleasing to the eye. Putting it all back so that the nuts do not loosen, put them in two at once. Before painting, we carefully clean everything with a grinder with a petal nozzle.


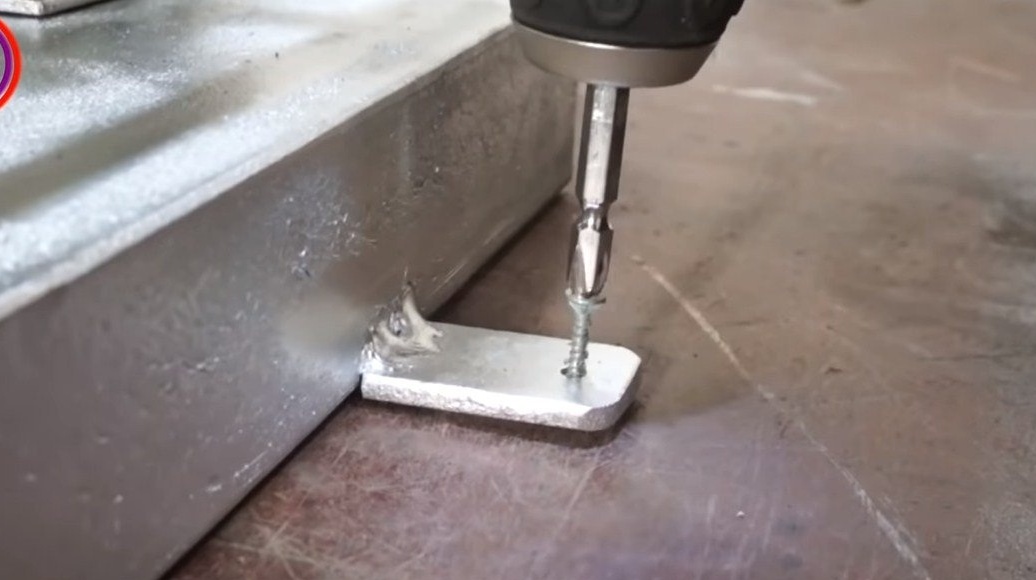
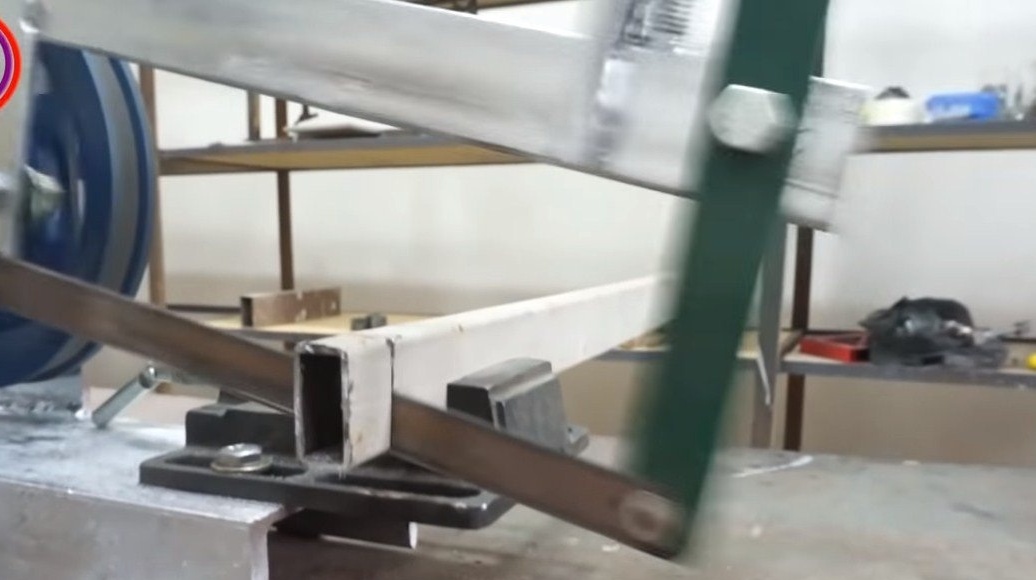
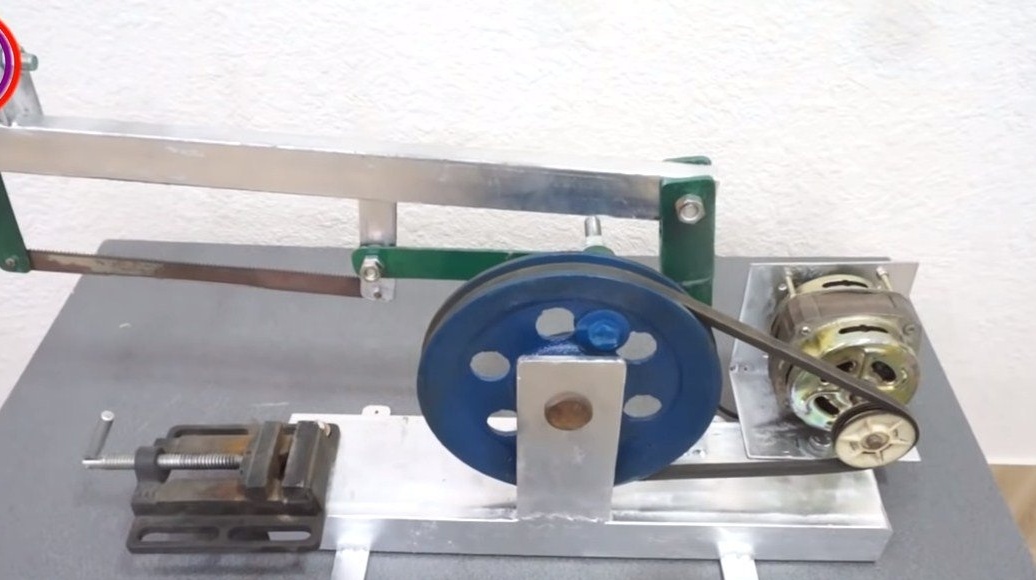
The machine is ready, the author screws it to the table with screws, using ears welded to the base. As a demonstration of the machine, the author cuts metal profile pipes, the machine copes with the task. This is the end of the project, I hope you liked the homemade work, and you found useful information for yourself. Good luck and creative inspiration, if you decide to repeat this. Do not forget to share your ideas and homemade things with us!