
This time we will consider a rather complicated project for the manufacture of a bench made of wood using epoxy resin. The project is complicated in that there are quite massive details that need to be processed. The author used a rather serious workshop, in which there was a surface gage, and a tape cutting machine, a miter saw, a circular saw and other machines.
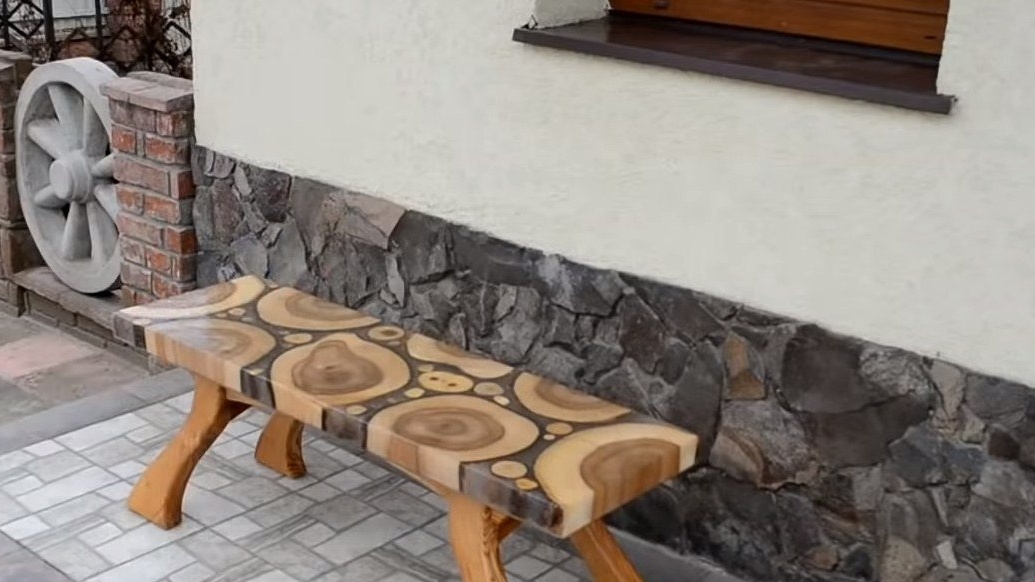
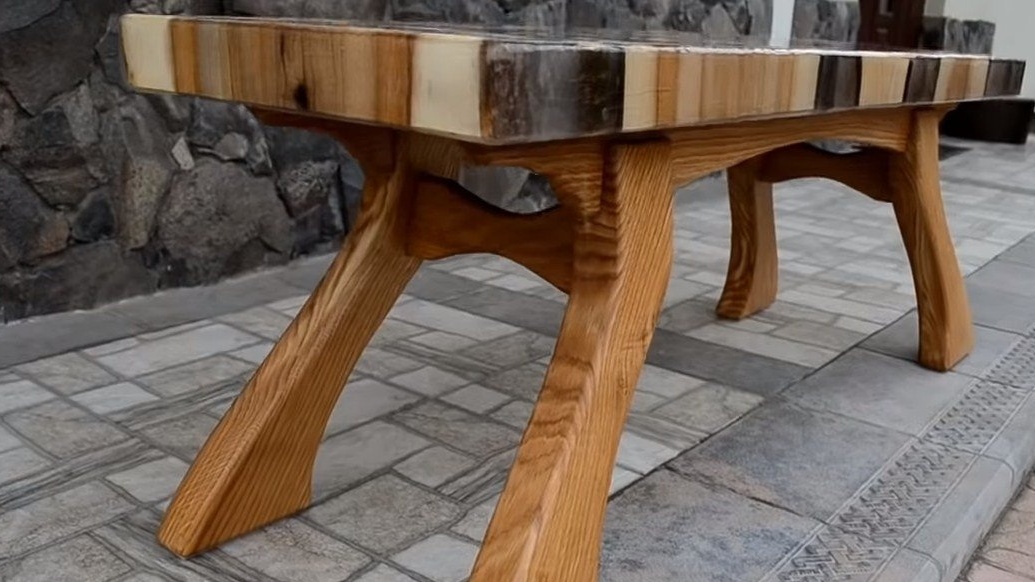
The product is assembled without a single nail, there is only wood, carpentry glue and epoxy. Everything turned out very firmly, but the bench looks masterpiece, thanks to the beautiful shape and angle of the legs, it seems as if the bench will take and run like a living one. If it became interesting to you how this masterpiece was made, I suggest studying the project in more detail!
Materials and tools used by the author:
Material List:
- wood cuts;
- thick boards or bars for legs;
- epoxy resin for pouring;
- furniture dowels;
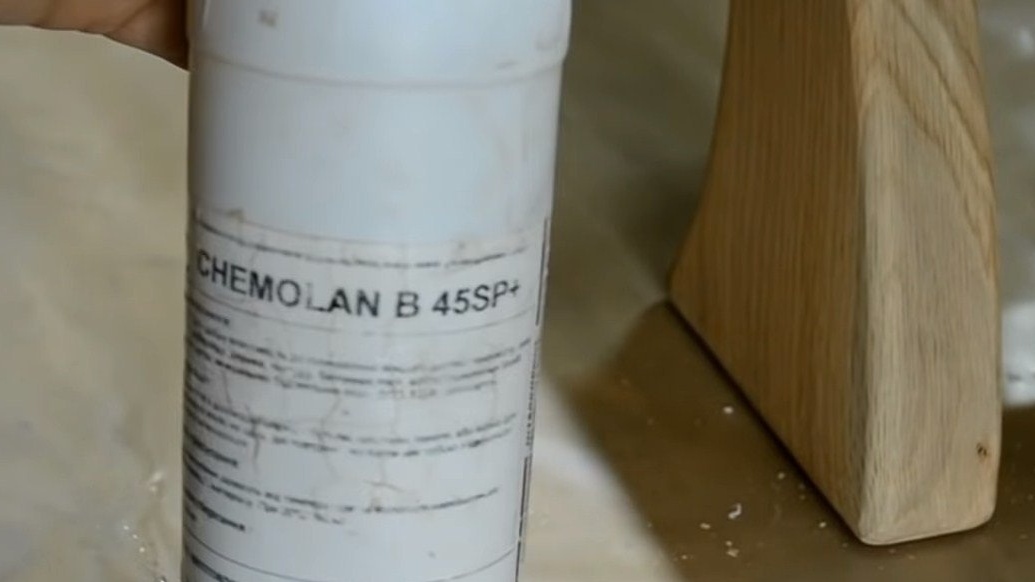
- carpentry glue;
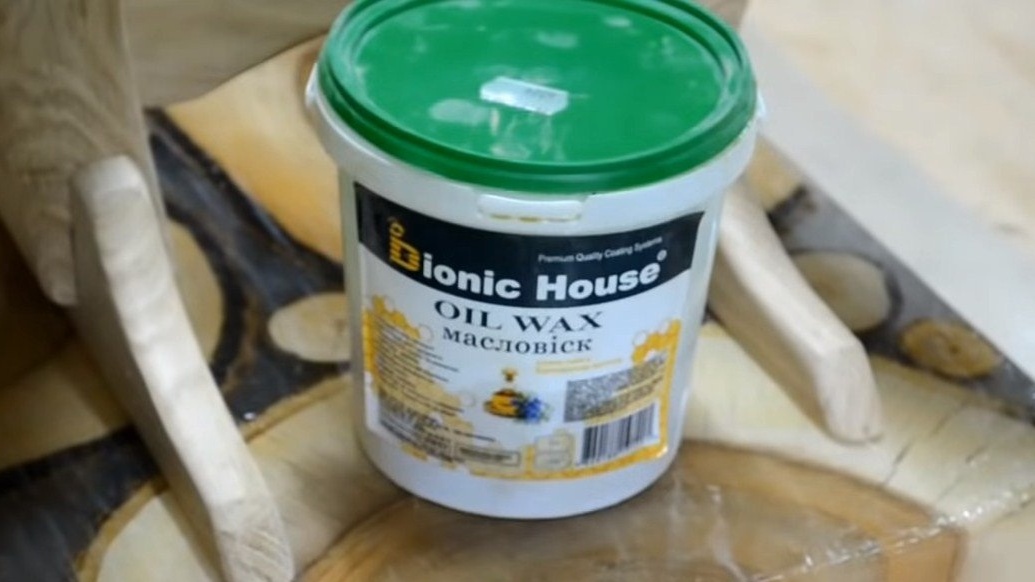
- oil or wax for wood impregnation;
- epoxy varnish.
Tool List:
- milling machine;
- ;
- ;
- surface gage;
- tape cutting machine;
- a circular saw;
- Miter saw;
- building hair dryer;
- silicone sealant, film, boards or particleboard for formwork;
- self-tapping screws;
- clamps, hammers, chisels and so on.
Manufacturing process homemade:
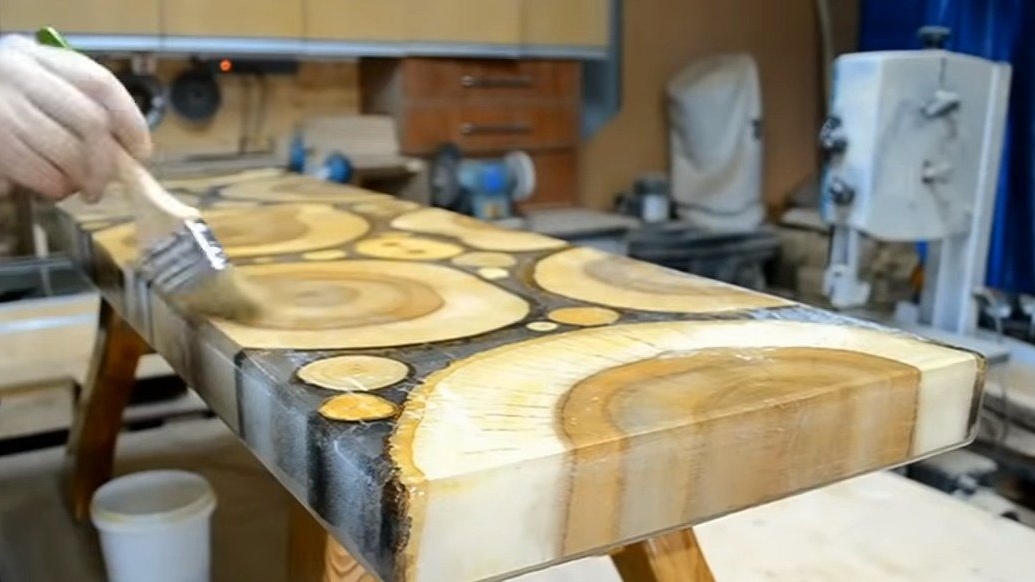
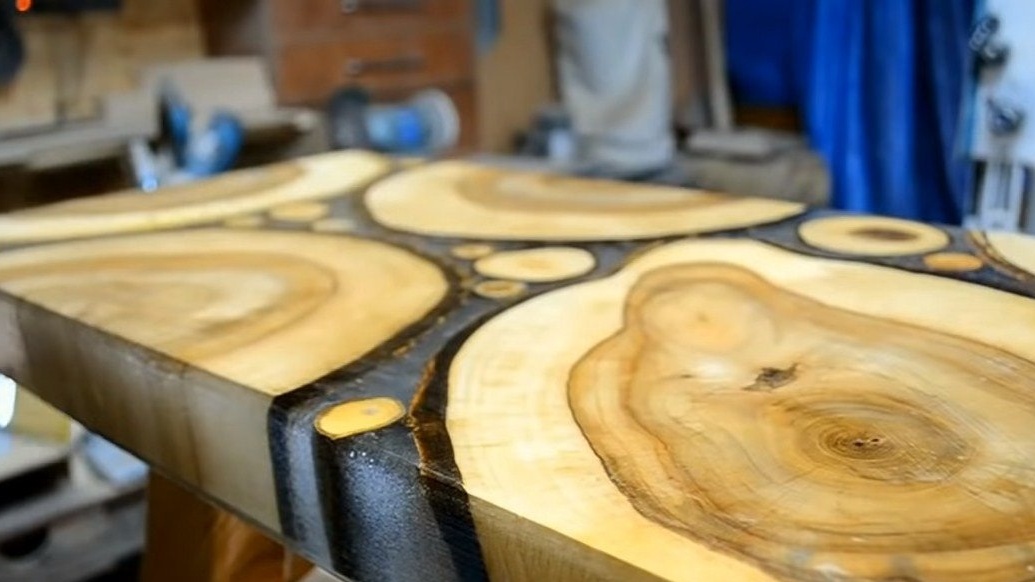
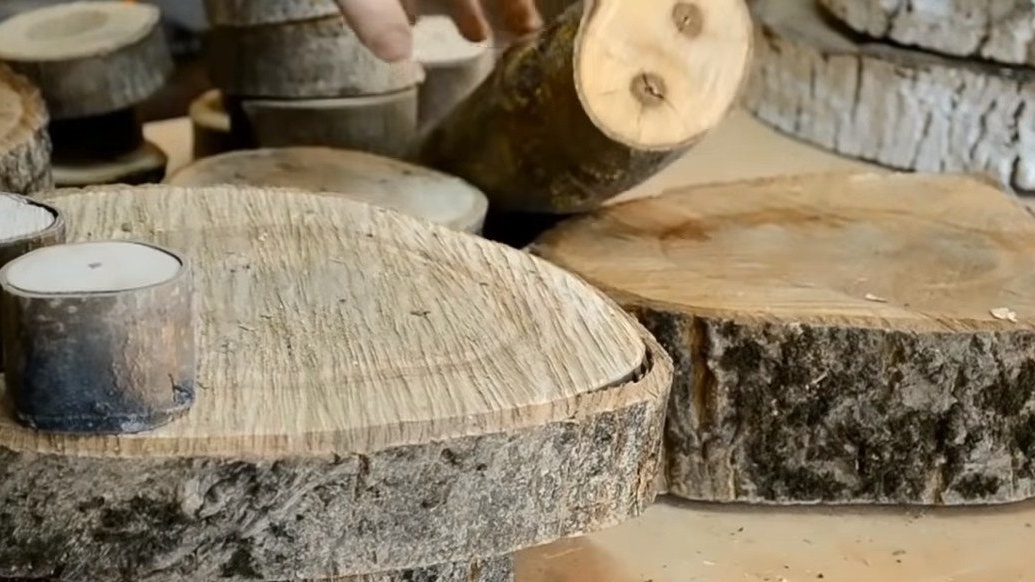
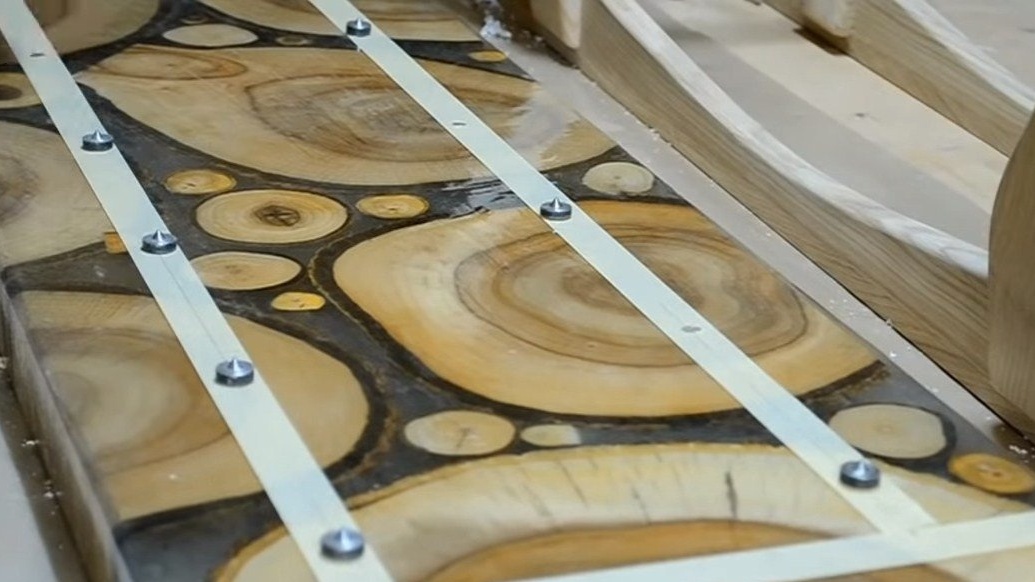
Step one. Material for filling
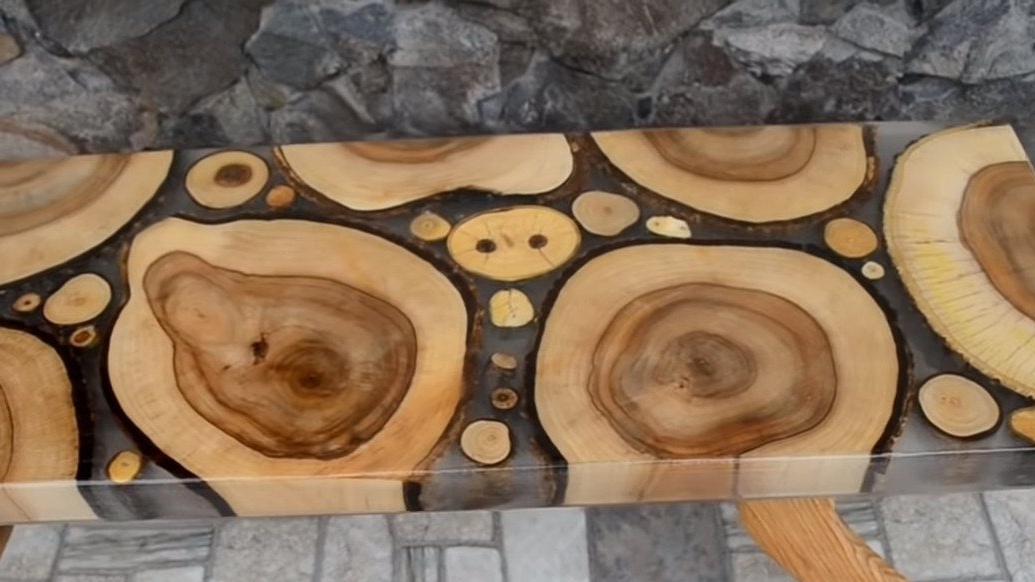
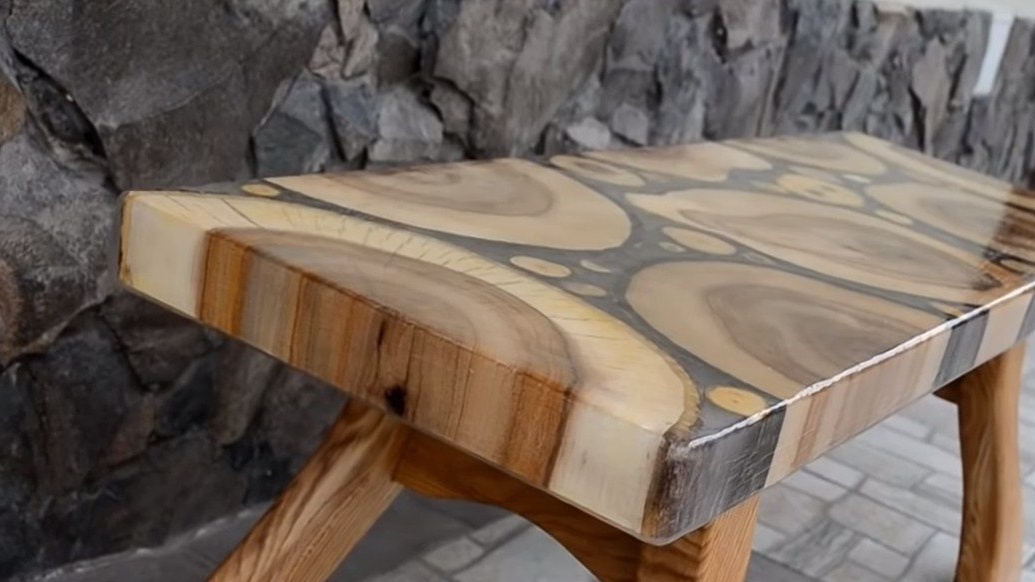
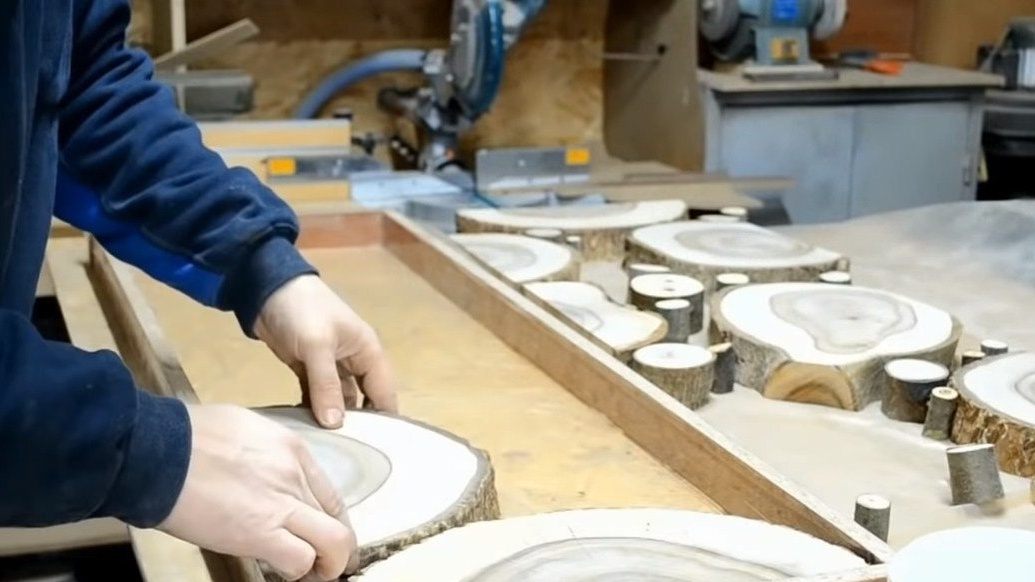
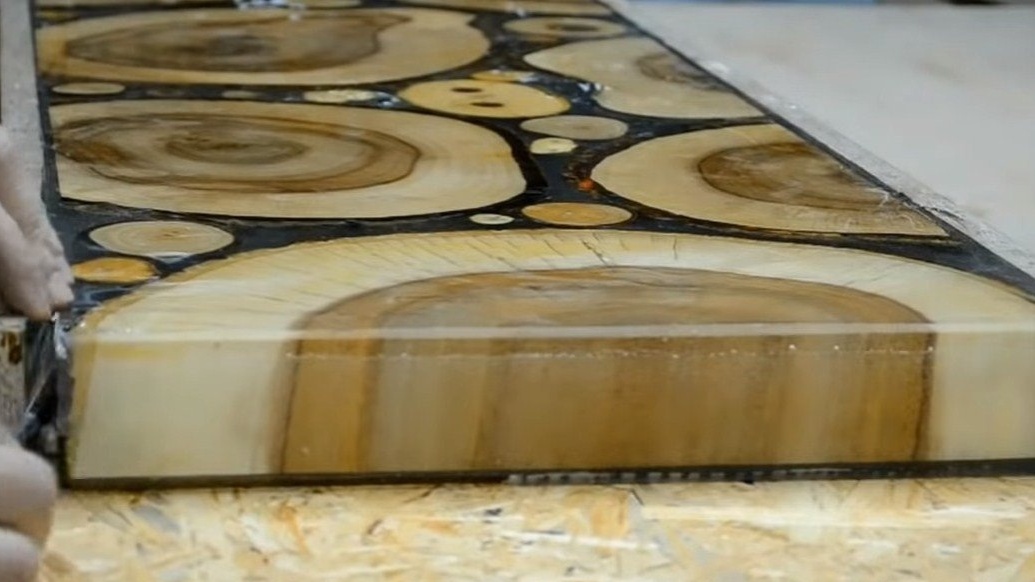
Directly sitting is a plate cast from epoxy resin, and saw cuts of trees act as filler. The material must be well dried, otherwise the entire epoxy board may crack in the process.
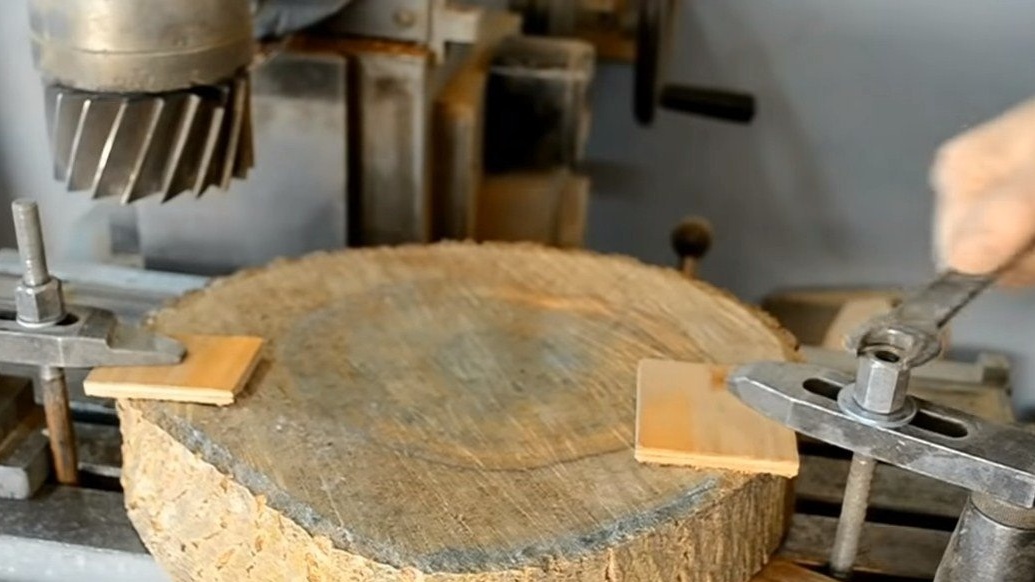
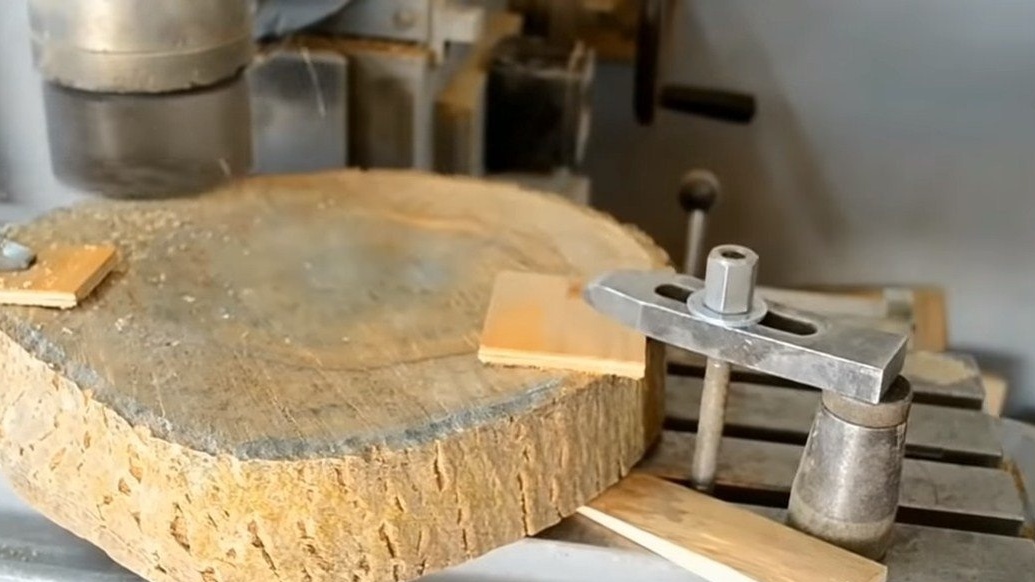
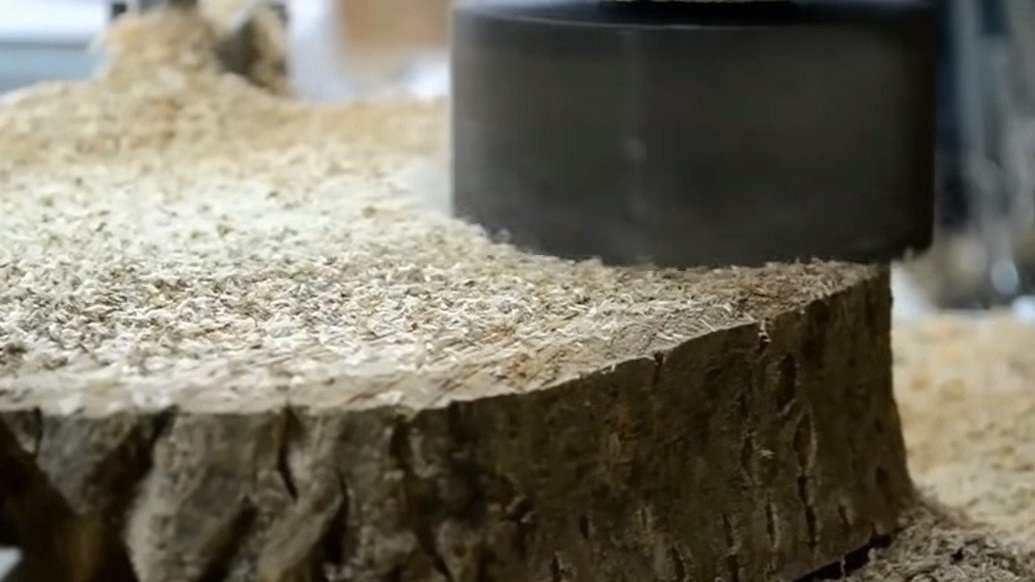
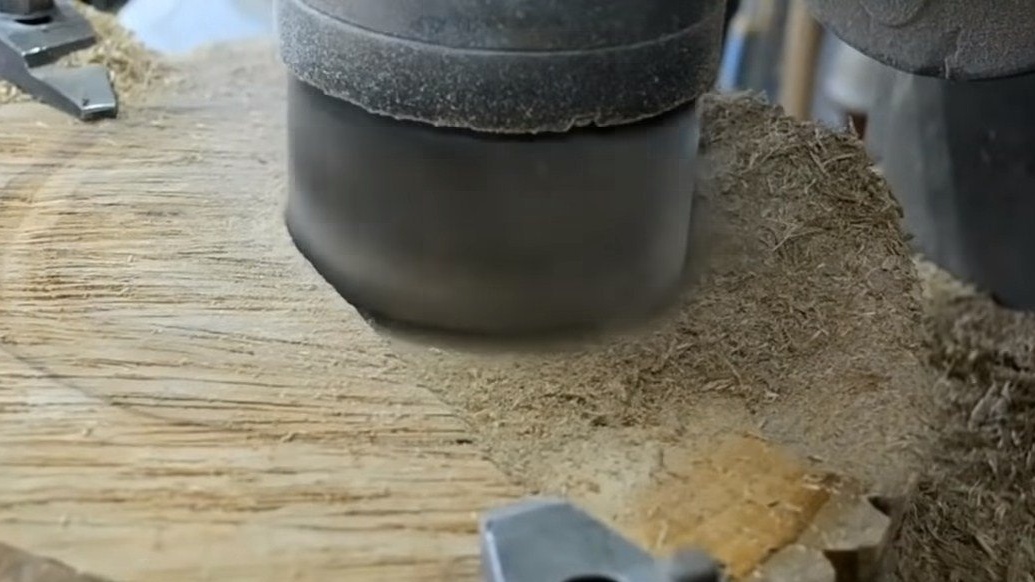
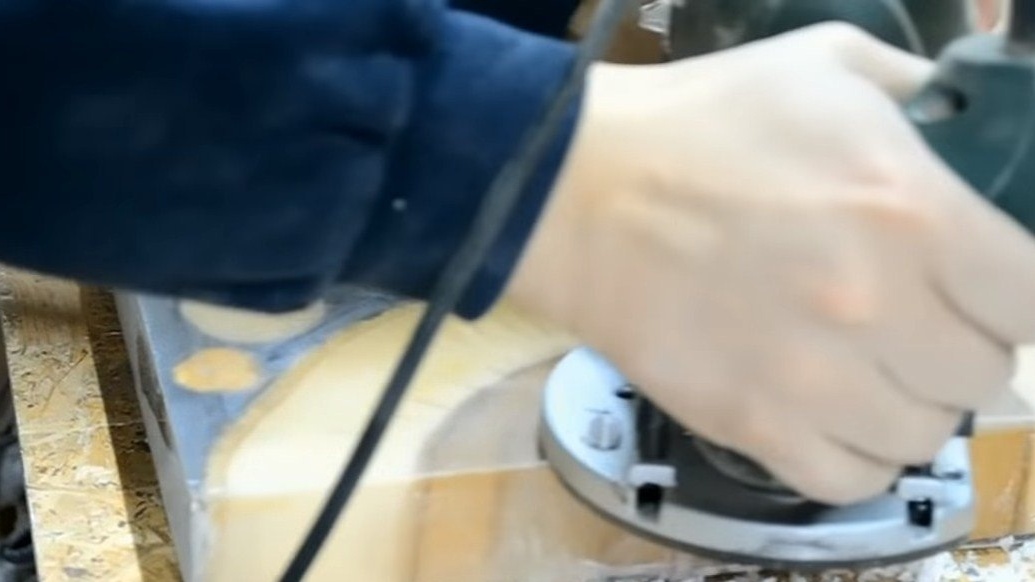
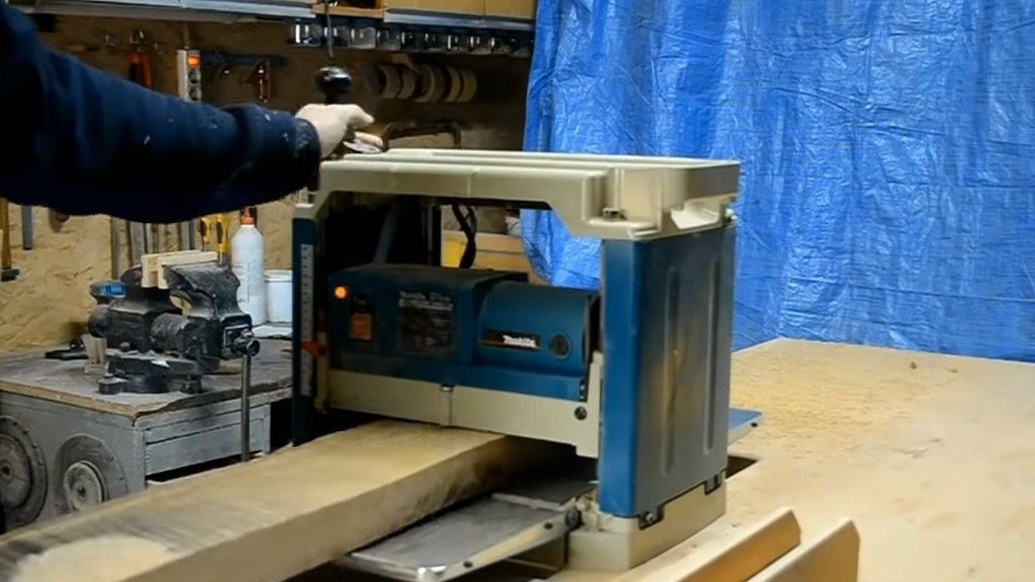
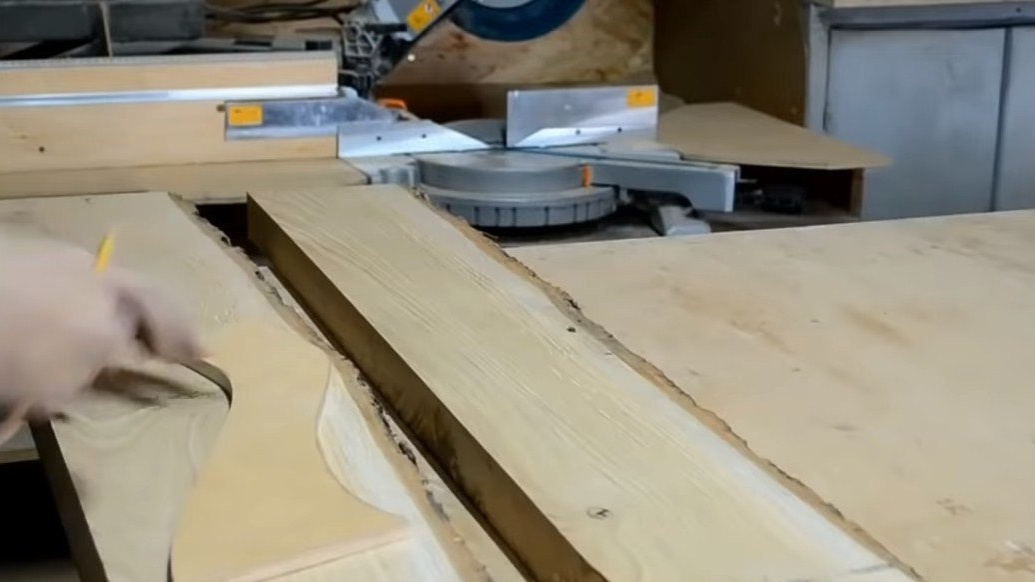
Next, we need to align all the saw cuts so that they become the same thickness, here a milling machine comes to the aid of the author.
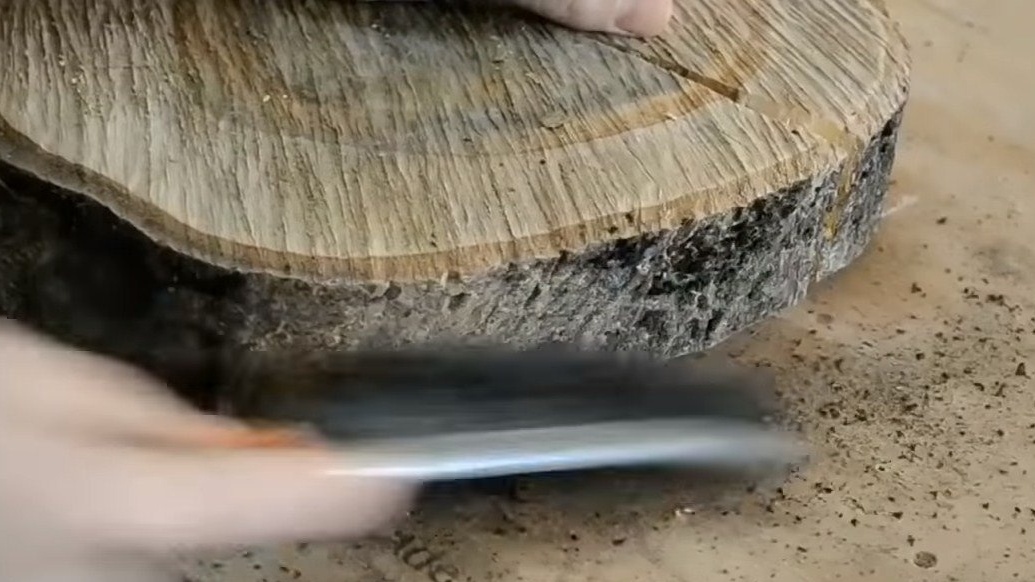
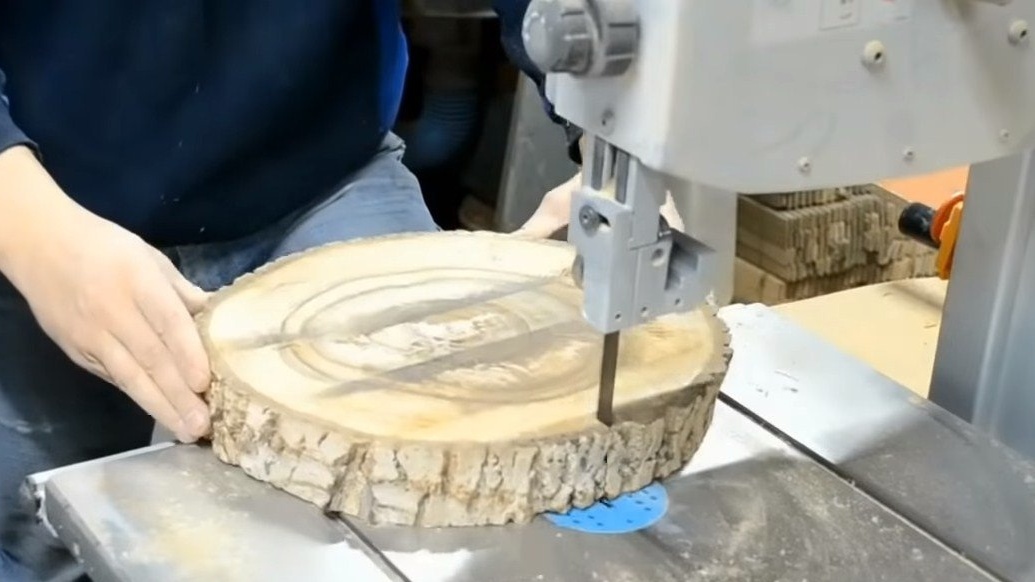
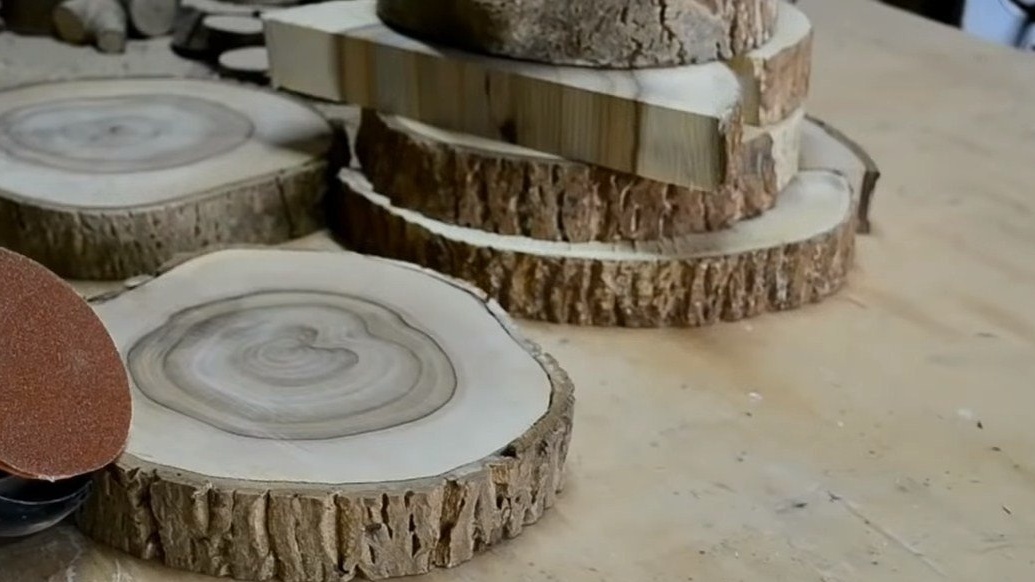
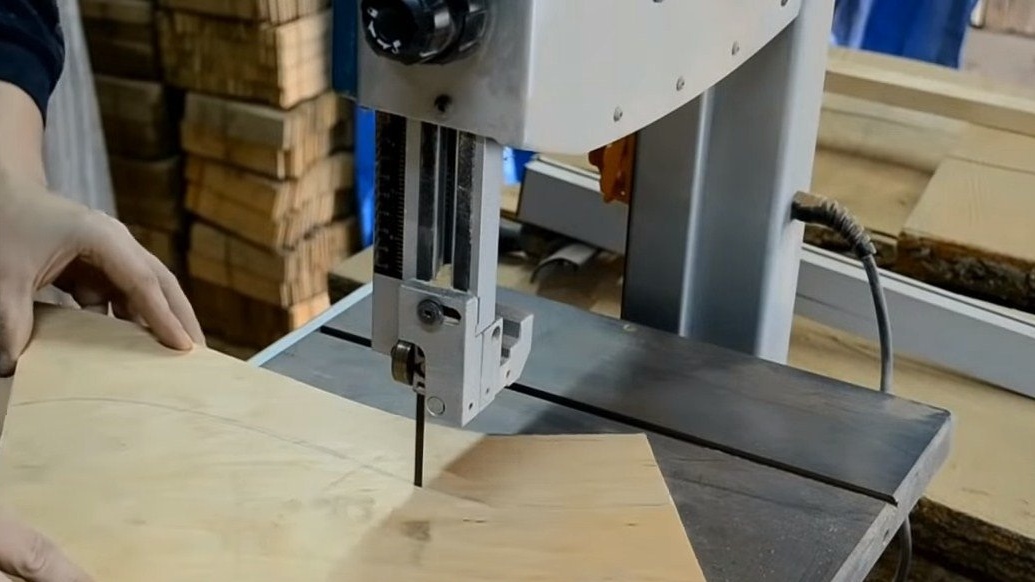
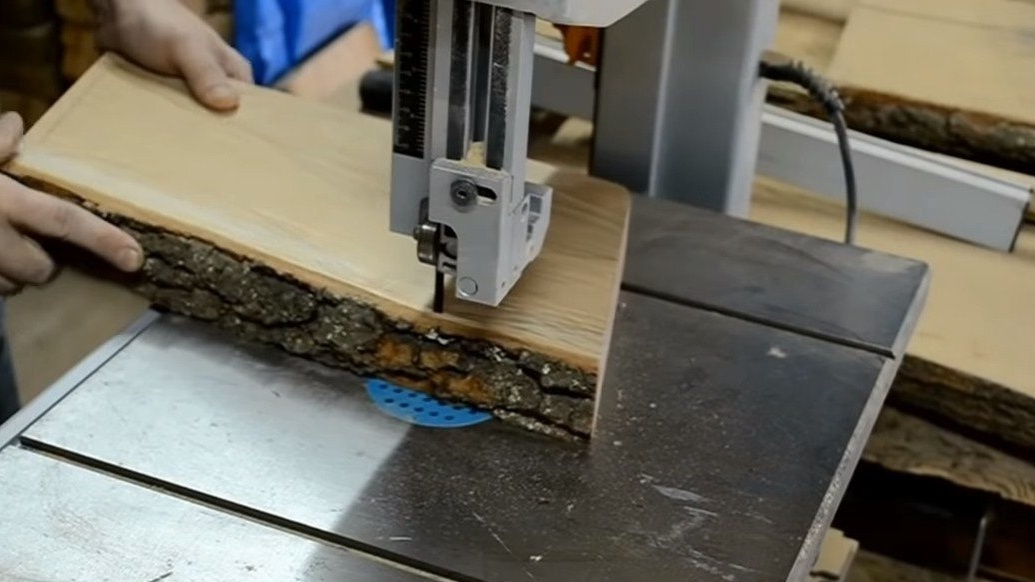
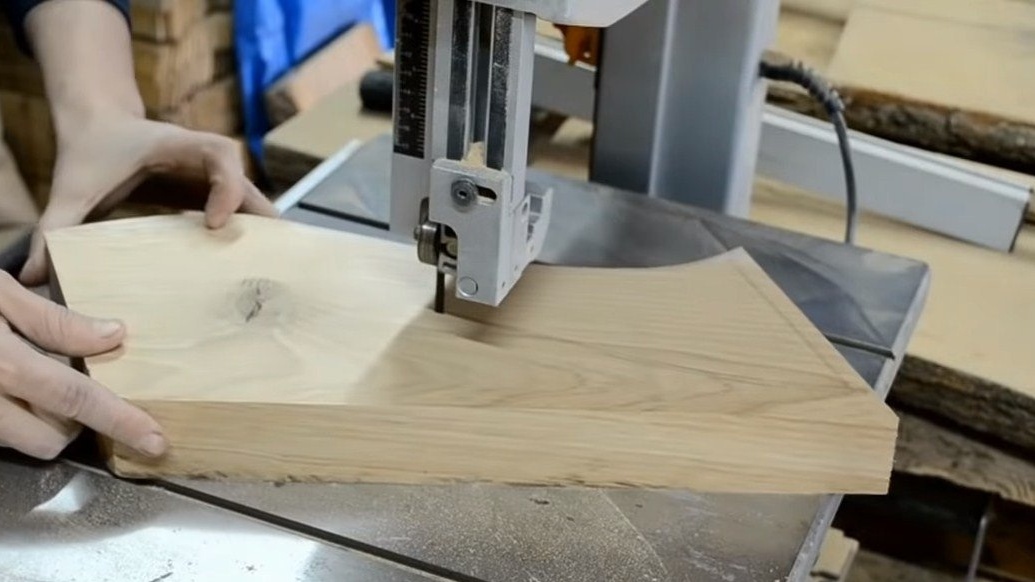
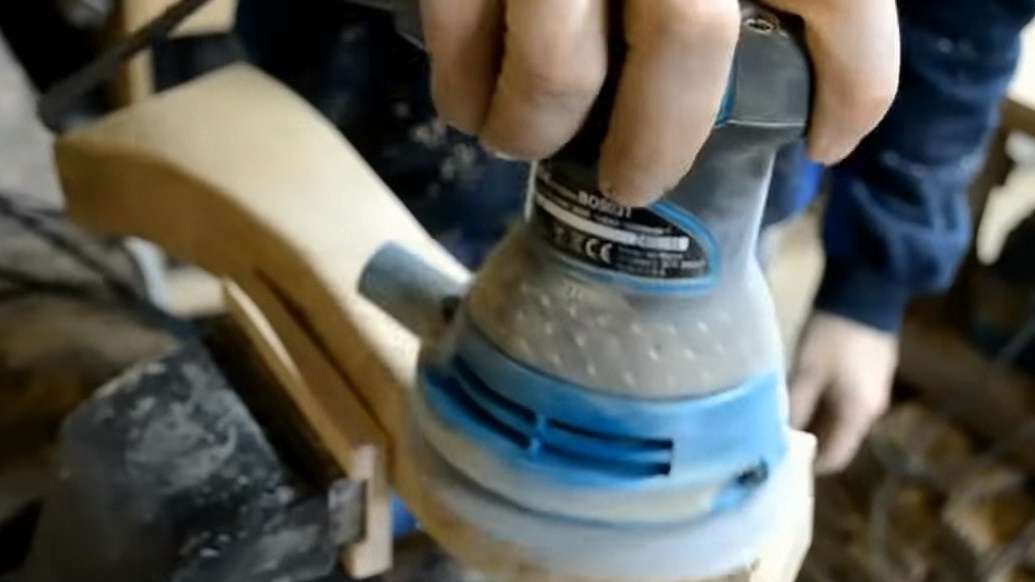
After milling, the workpiece must be cut, this applies to large diameter saw cuts. The author cuts them on a band saw, the machine cuts wood like meat. Well, in the end, we thoroughly grind the workpieces, the better they are polished, the more beautiful the drawing on the tree will be. Here the author uses an orbital sander.
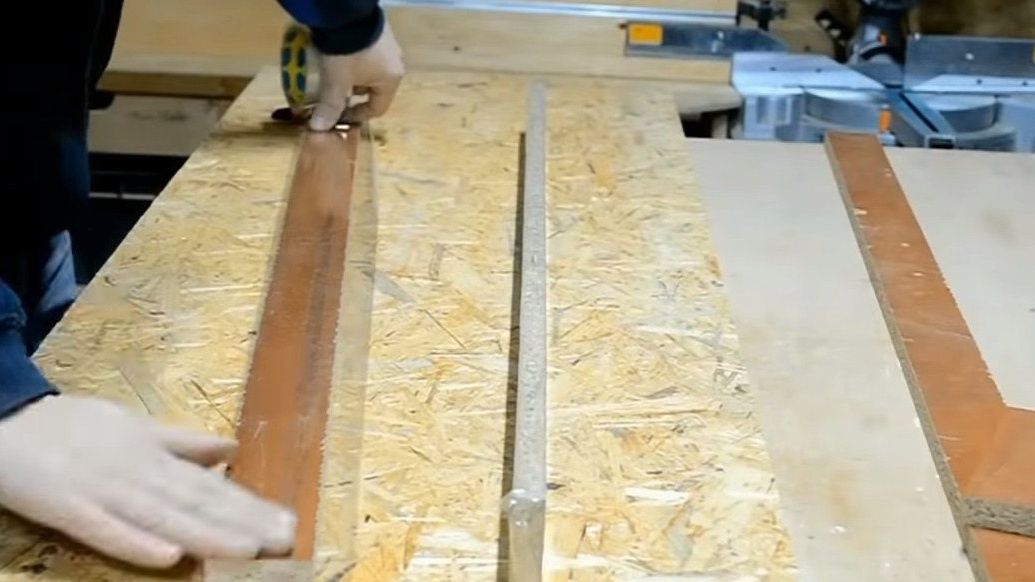
Step TwoWe assemble the formwork and cast the slab
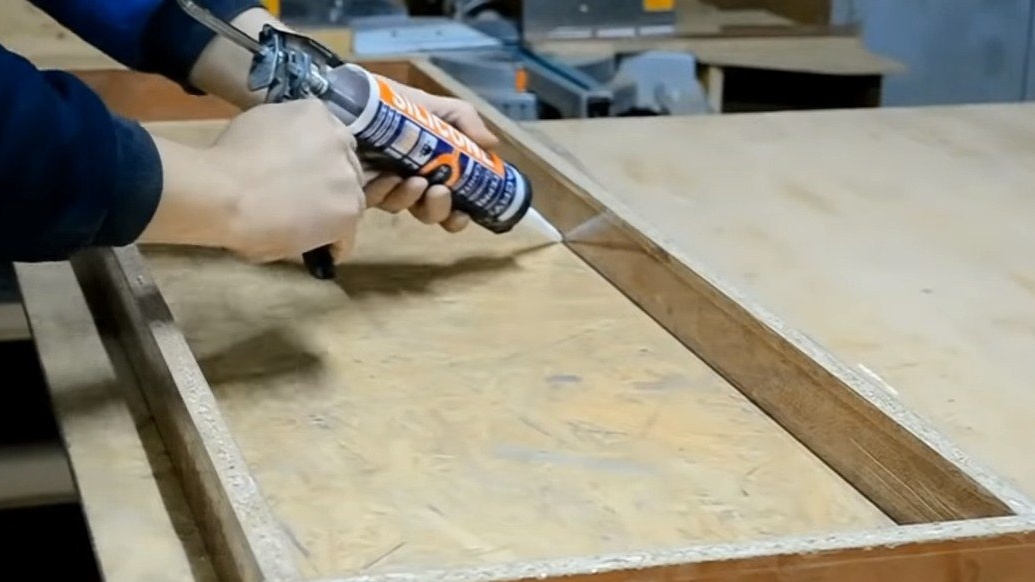
For the manufacture of formwork, boards, chipboard from an old bed and so on are suitable. It is important that the adjacent plane is even so that there are no large gaps. We collect the rectangle on the screws, and as the bottom we use the film, which is previously laid on the table. As a result, it remains to seal our formwork, glue it to the film using silicone or other sealant. Sealing should be very good, since the resin is very fluid, it is more fluid than water, so it can leak out through the smallest hole.

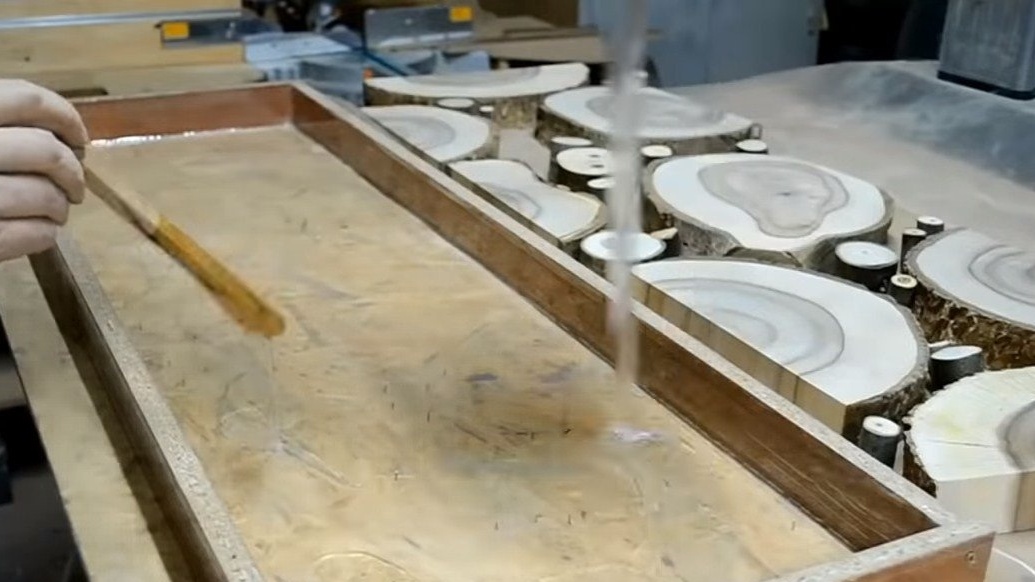

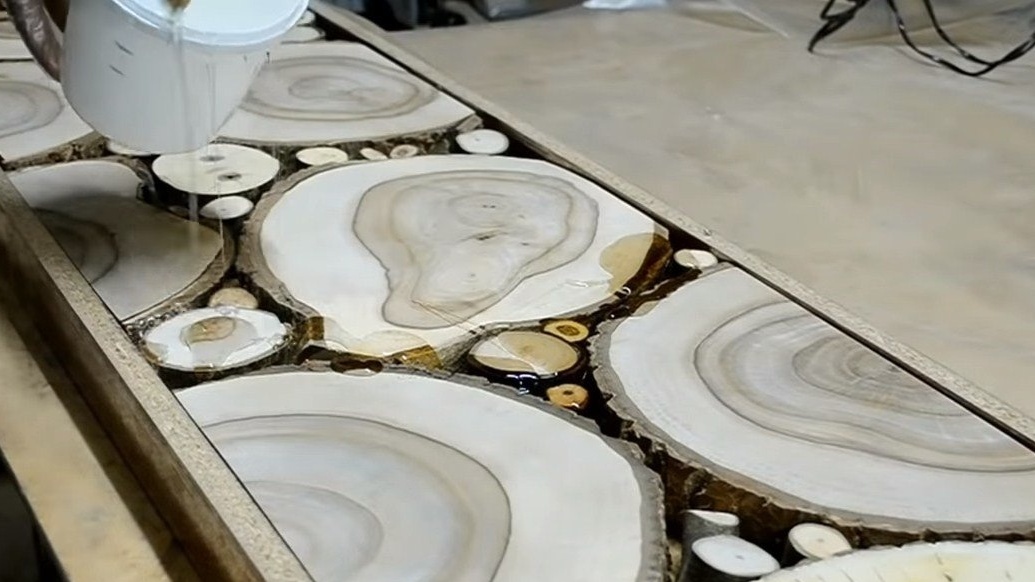

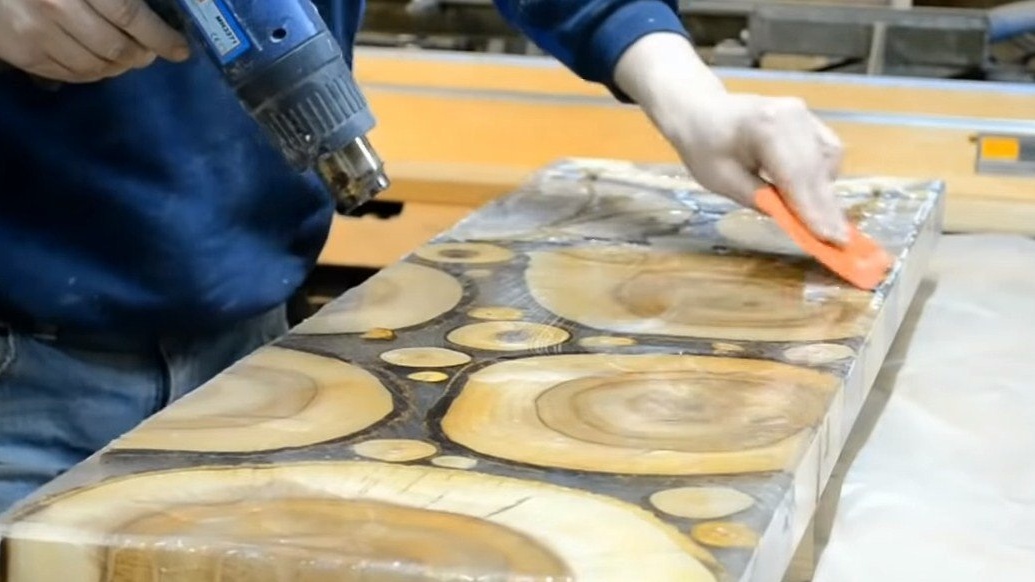
That's all, you can lay the material and pour the resin. After pouring, we work with a construction hairdryer, heating the resin, we quickly expel air bubbles from it. Such a volume of resin can dry for a long time, so we are not in a hurry and wait until it hardens so as not to spoil everything.
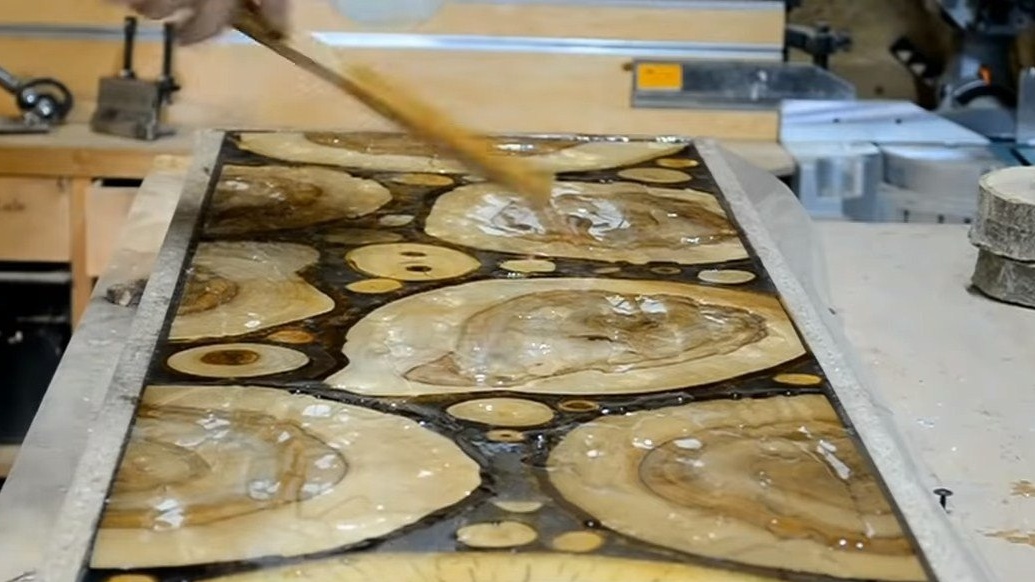
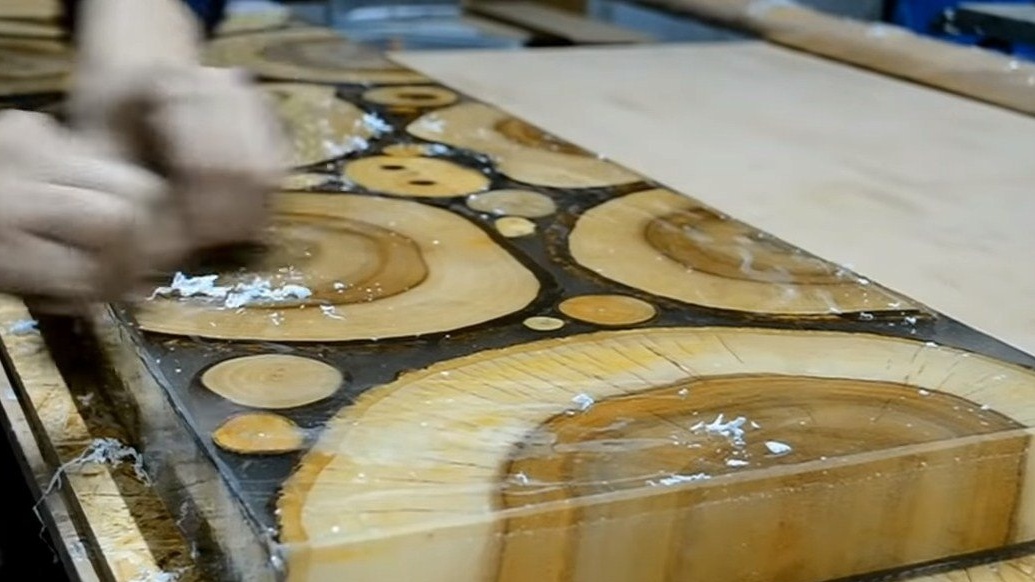
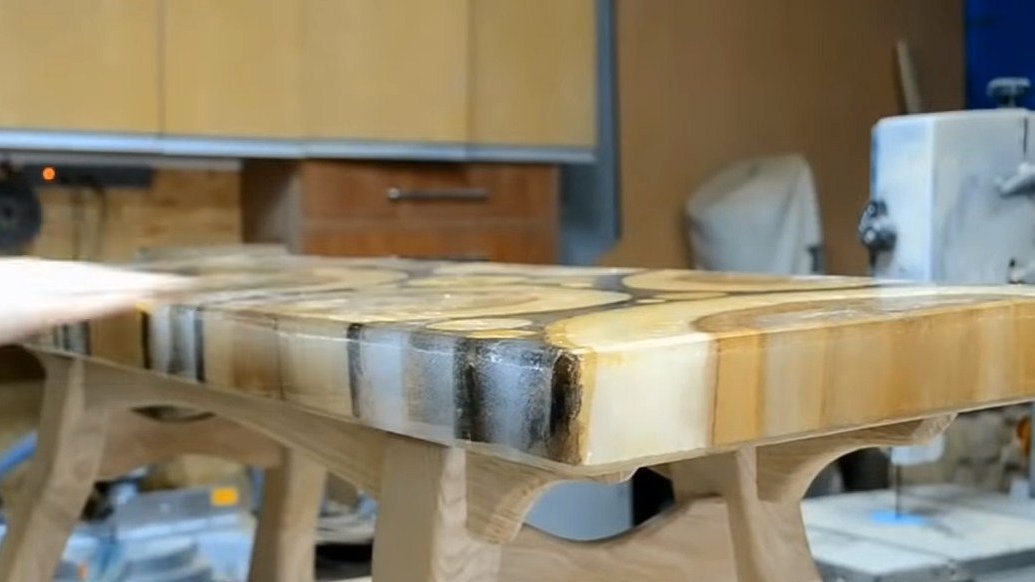
When the plate dries, we perform grinding, milling and other manipulations in order to remove the casting sins. As a result, the countertop is again covered with a thin layer of epoxy, which allows it to return to its previous transparency.

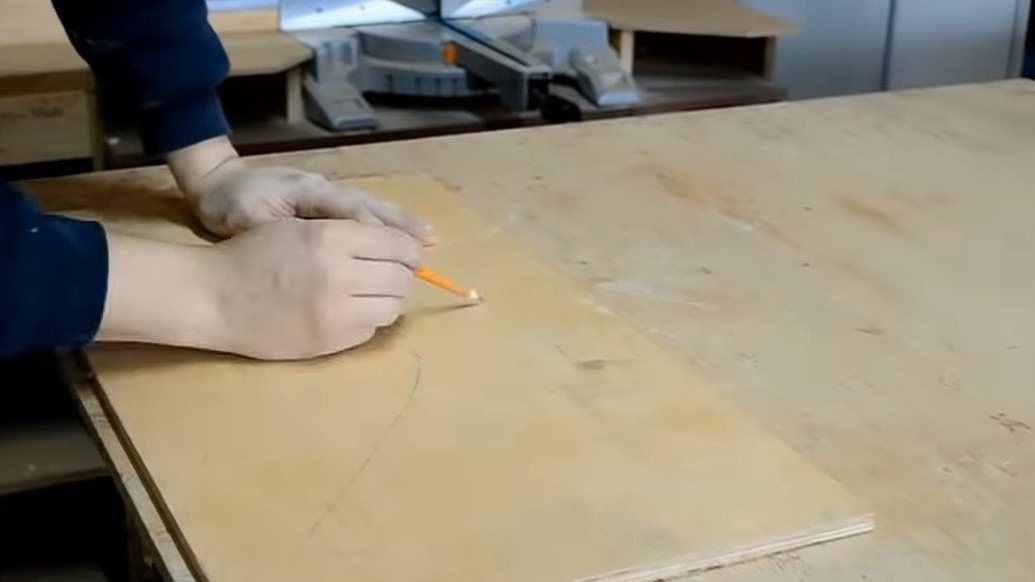
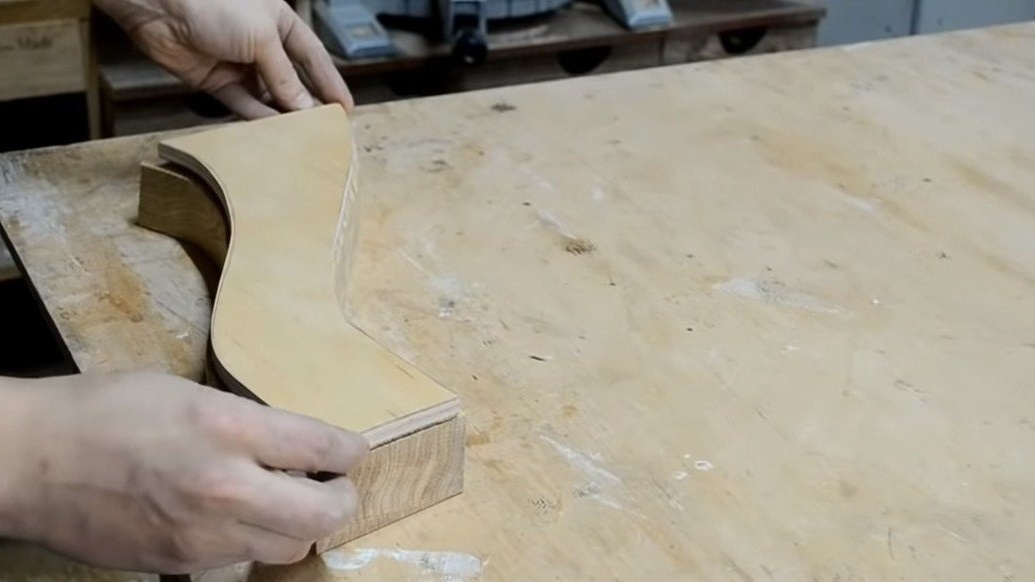
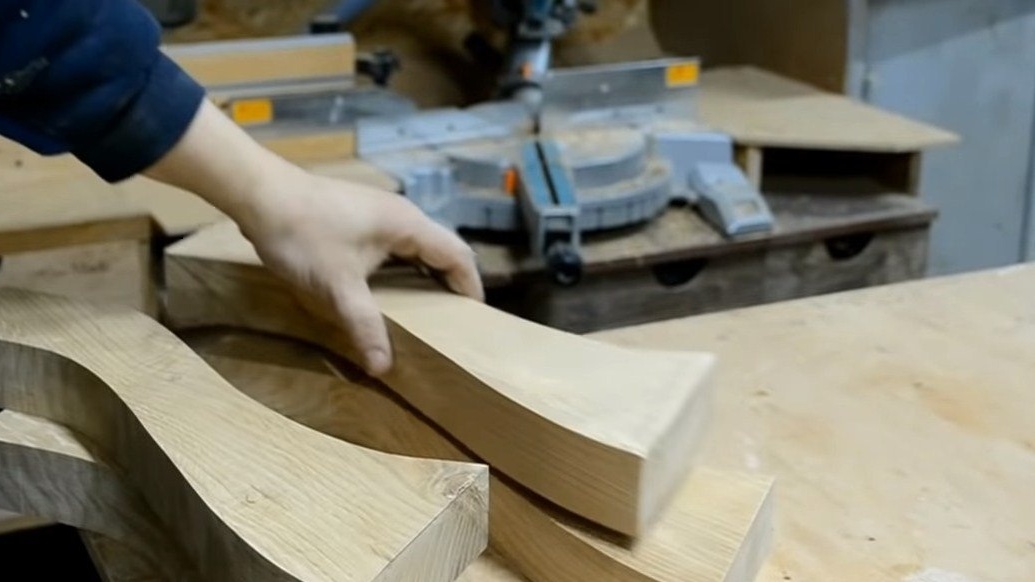
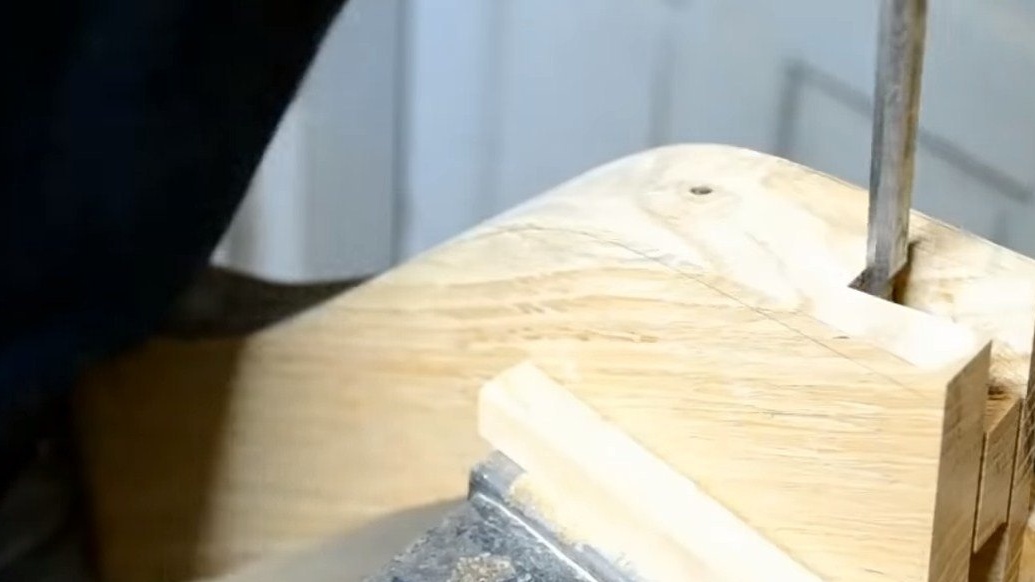
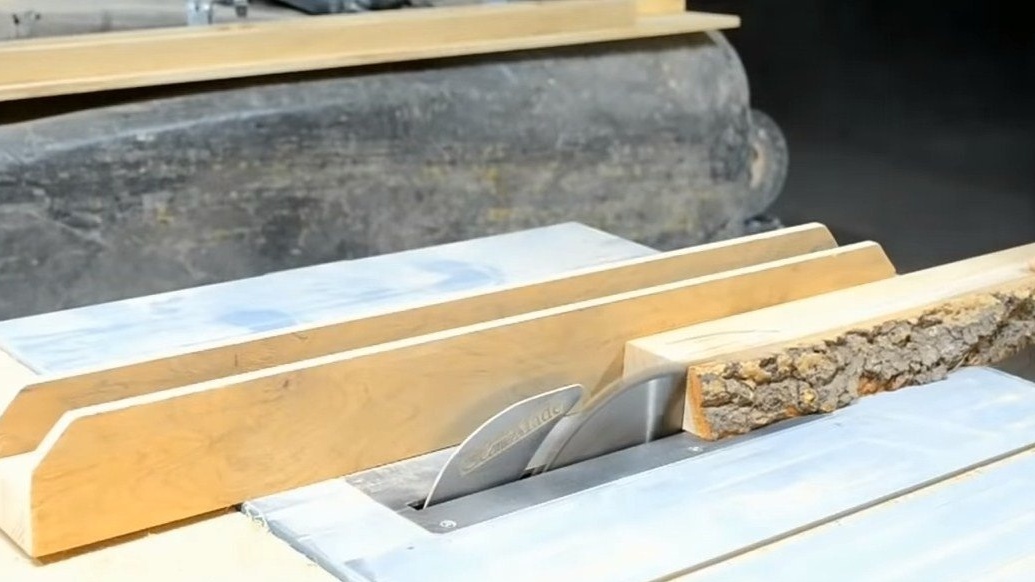
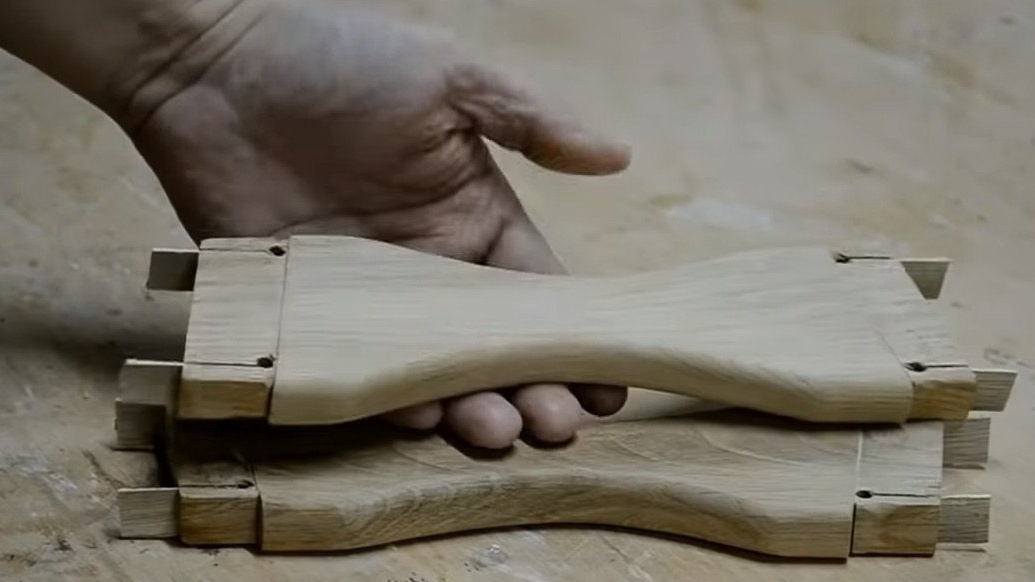
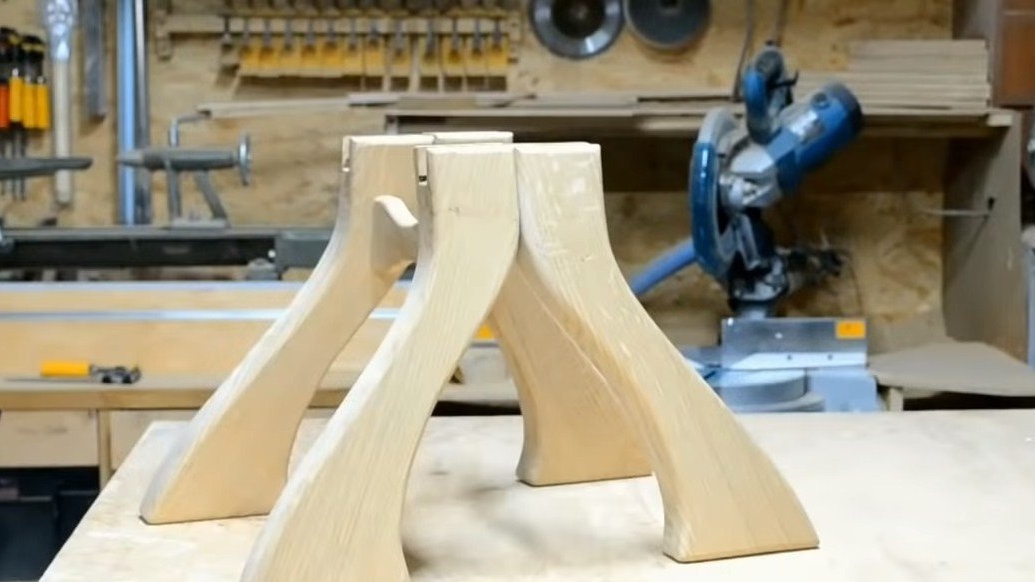
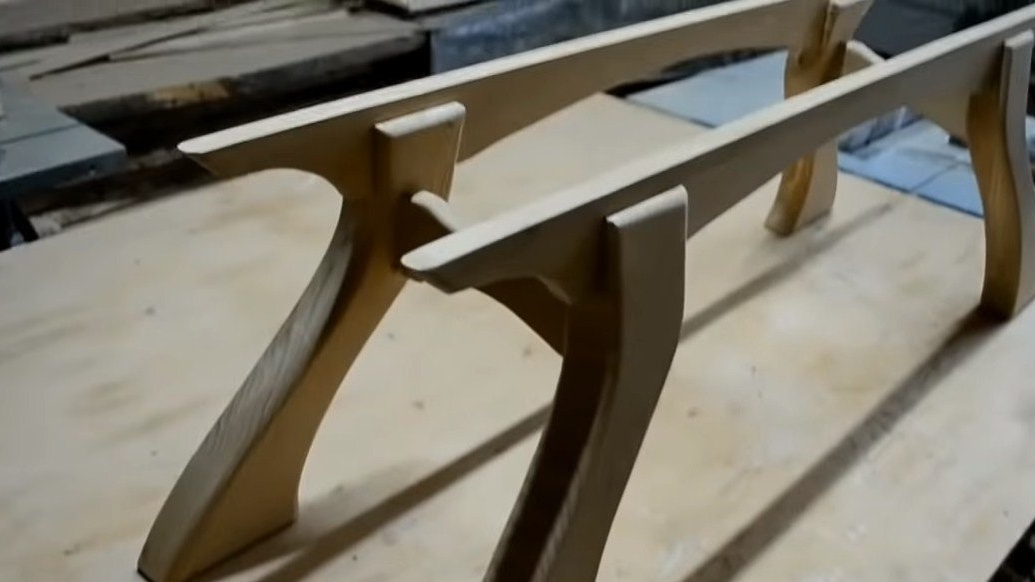
Step Three Make the legs
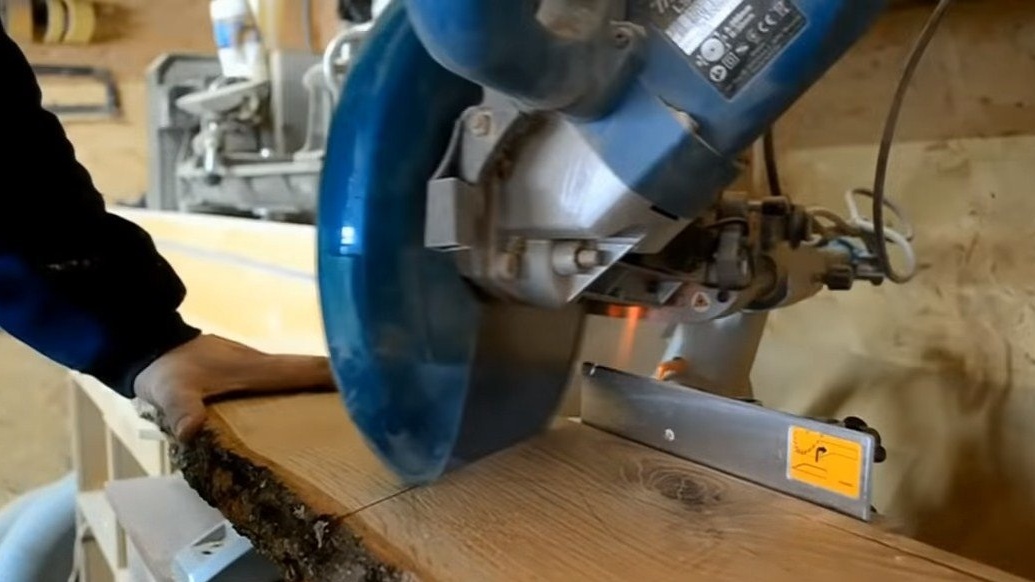
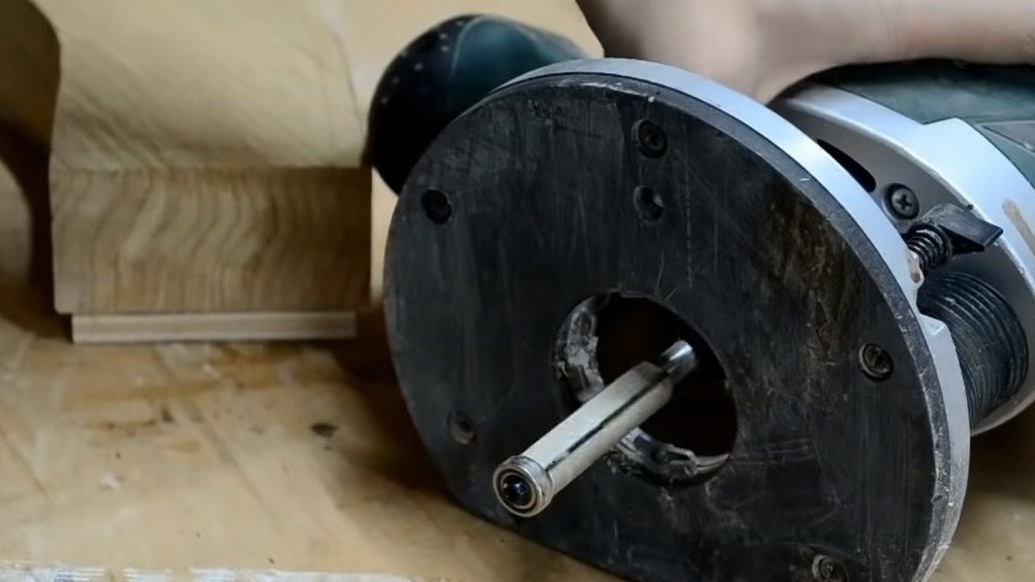
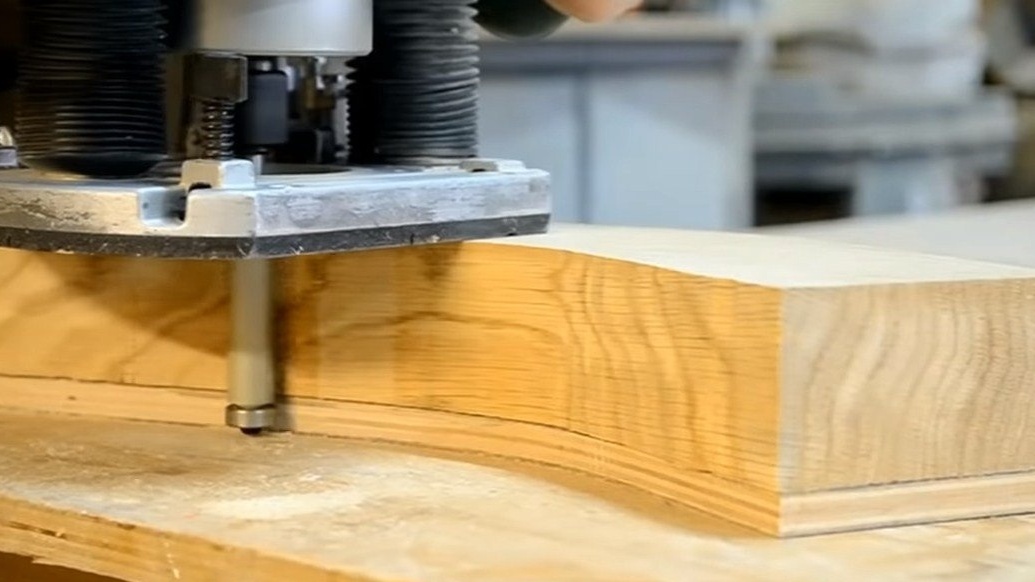
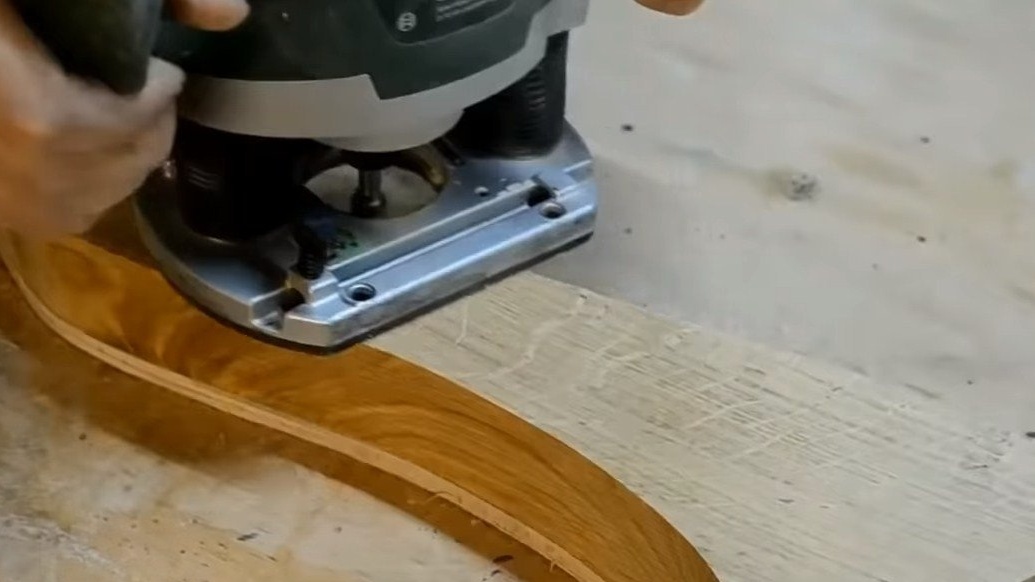
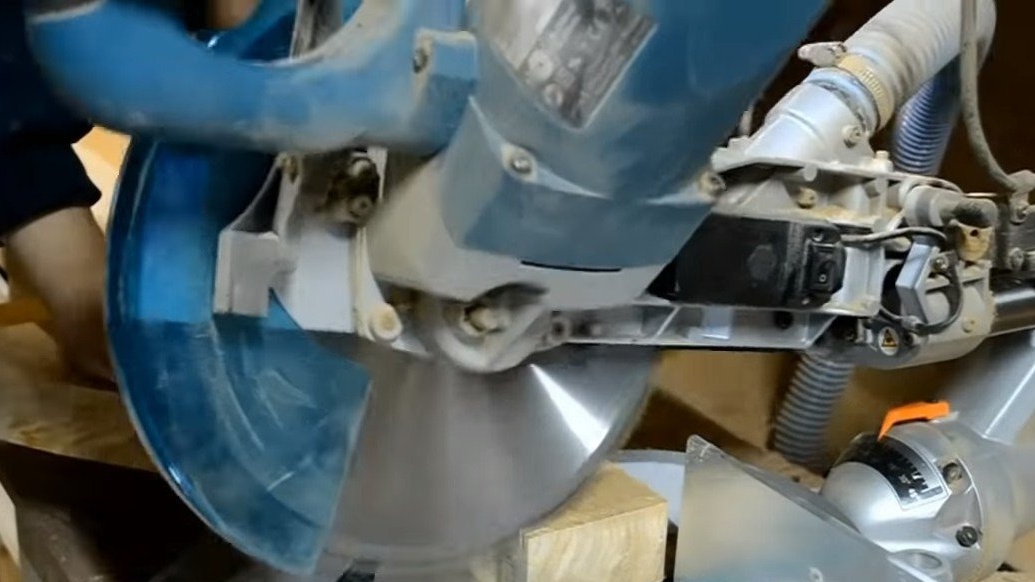
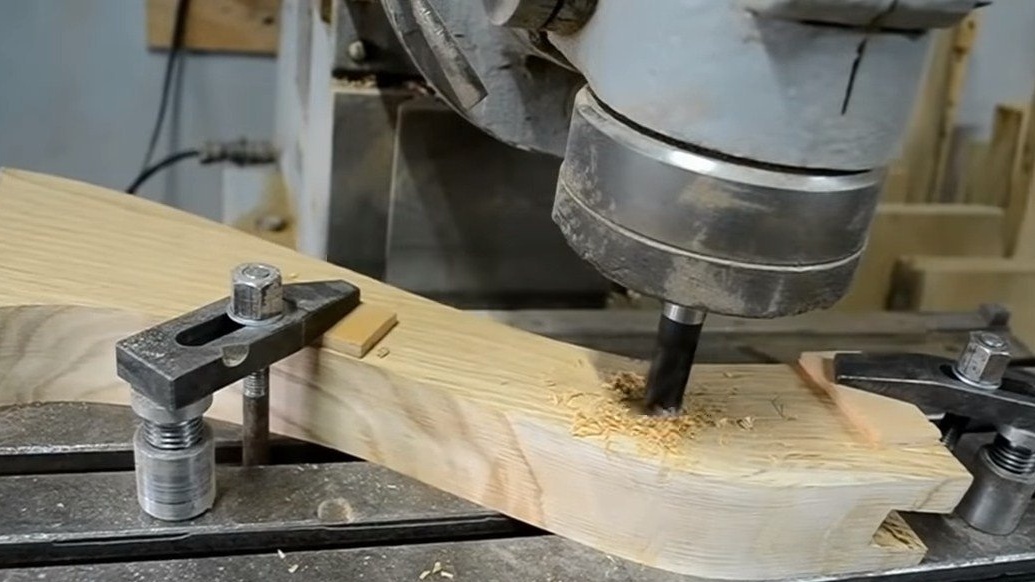
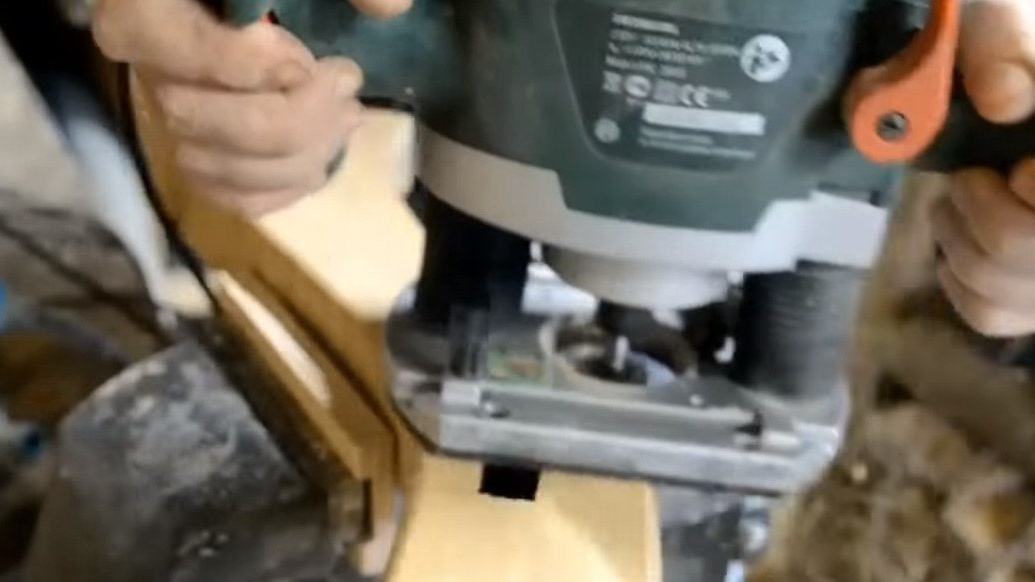
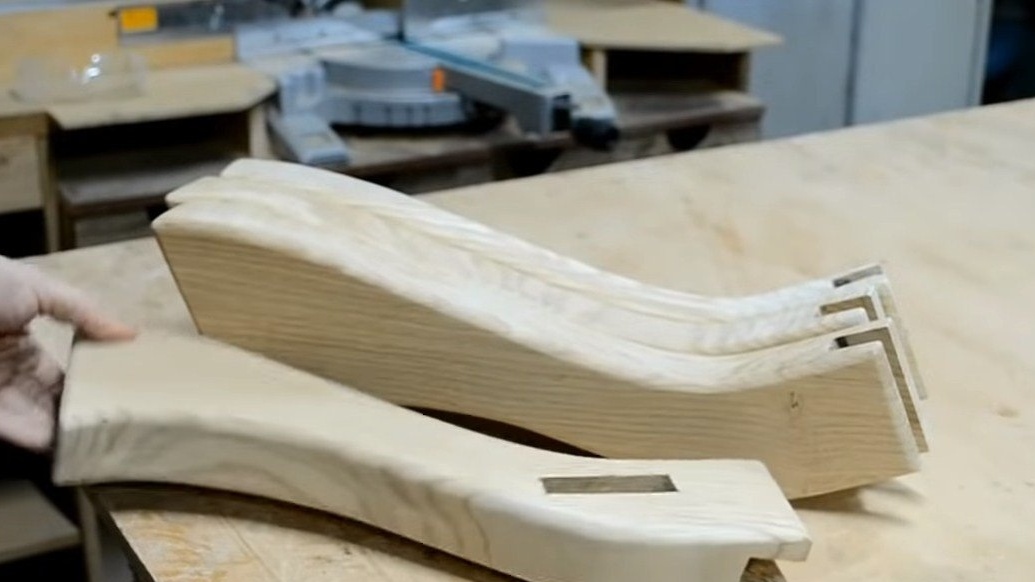
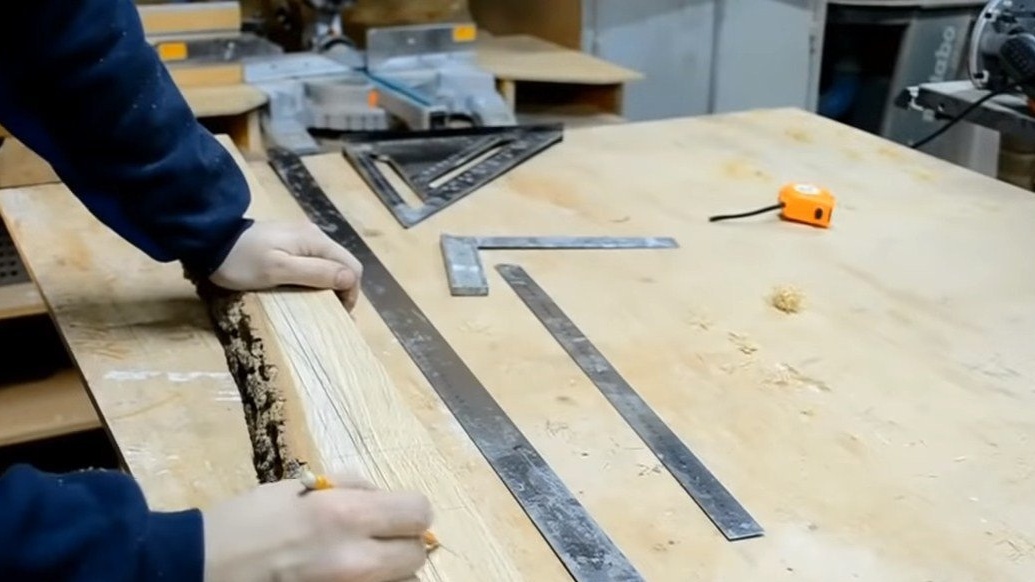
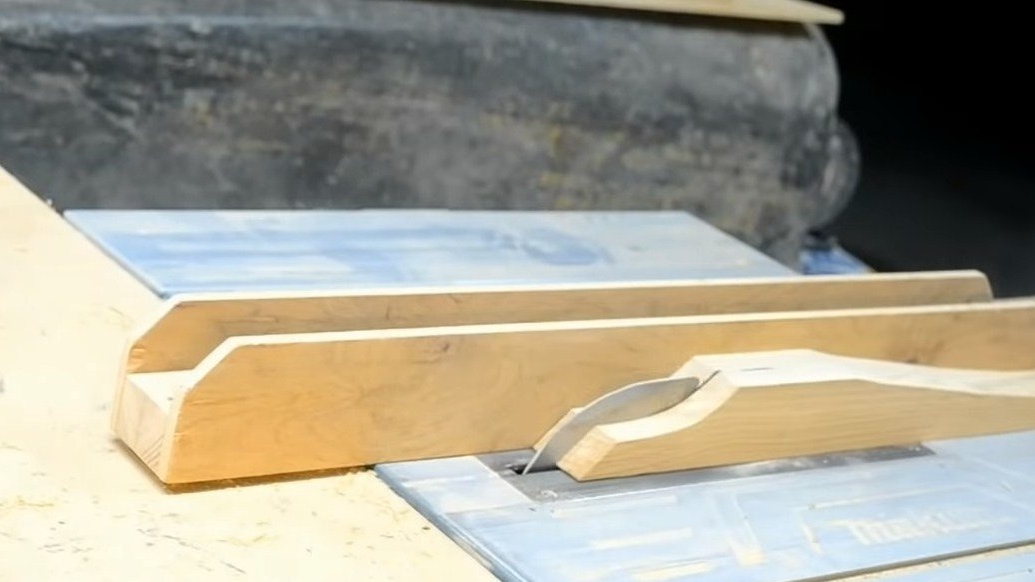
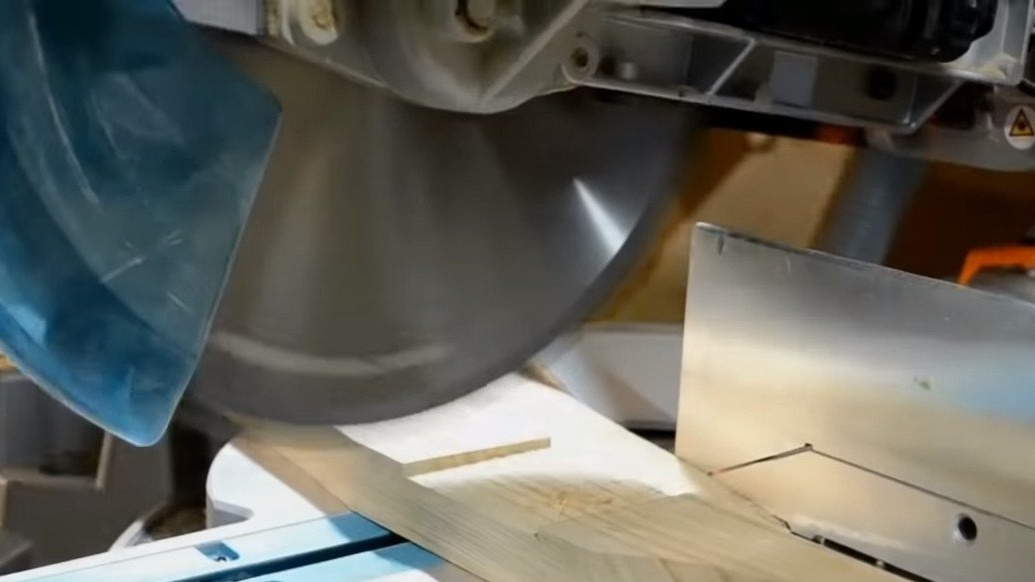
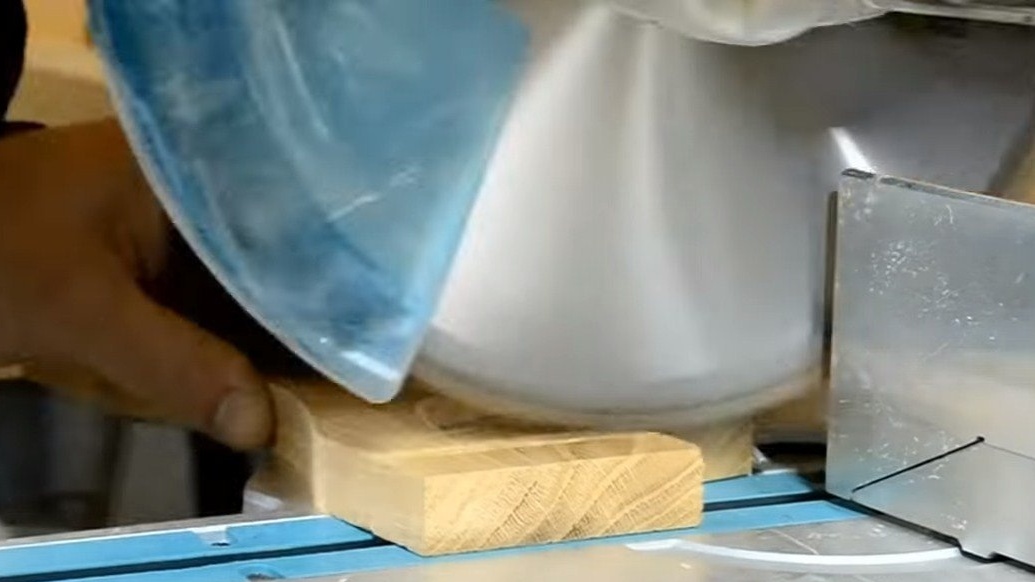
For legs, we need boards of beautiful and strong wood, oak, beech and so on are well suited. We make a foot template from plywood, it will be convenient to work with a milling cutter on it. Well, then the author leveled the thickness of the boards with a thickness gauge and proceeded to cutting. The main profile of the legs was cut on a tape cutting machine. The final shape of the legs was obtained by machining with a milling machine, as well as with a grinding machine.
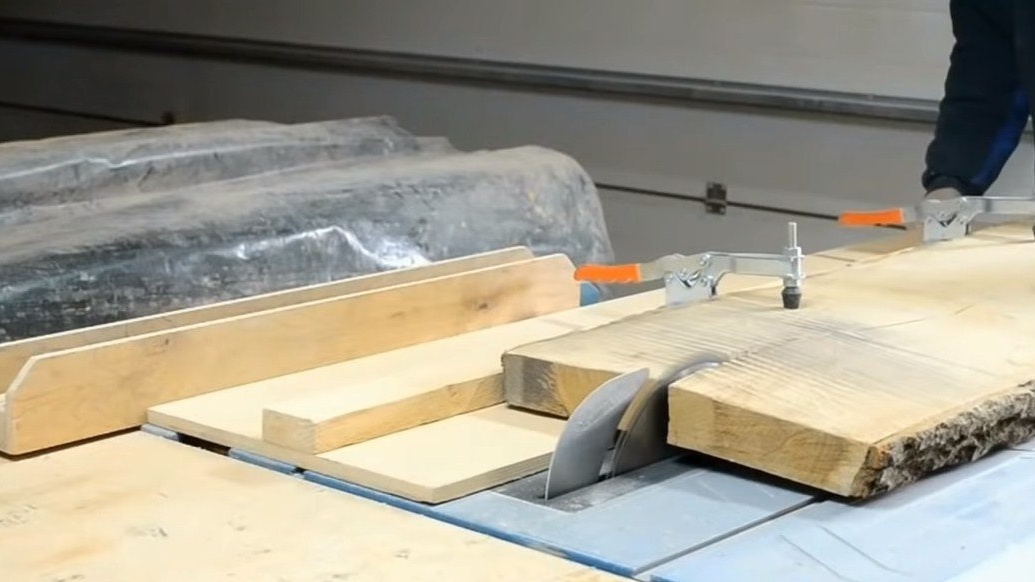
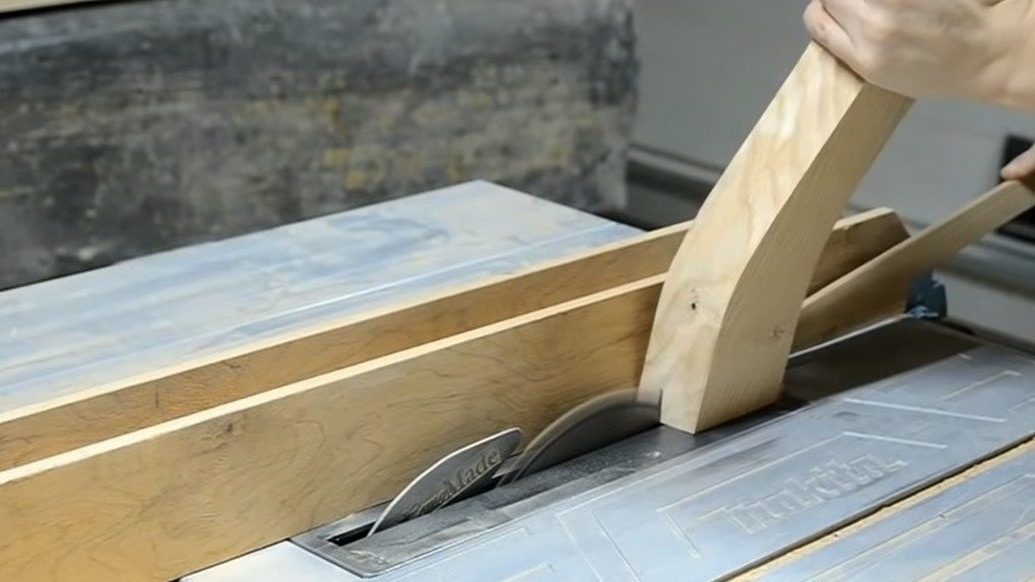
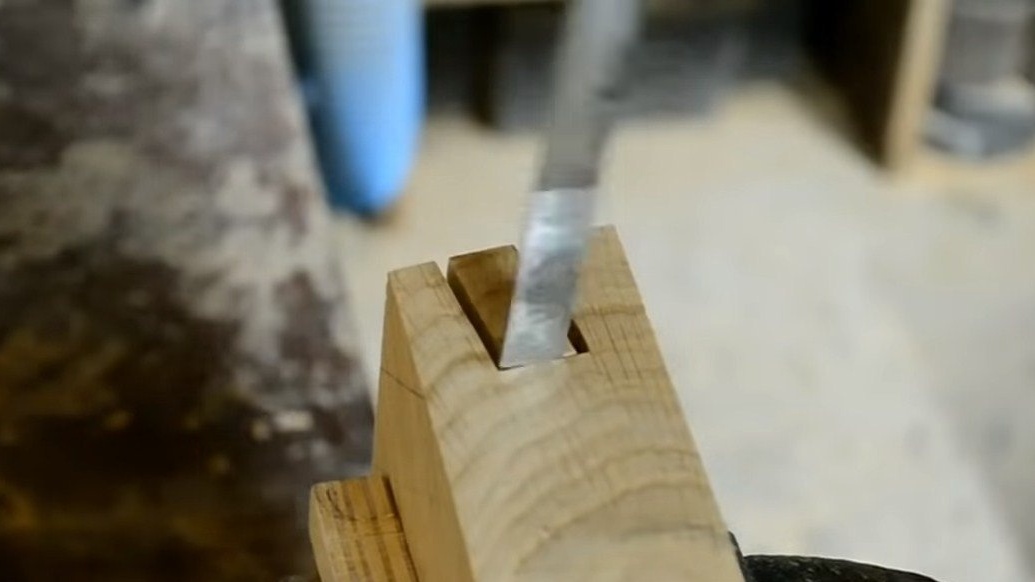
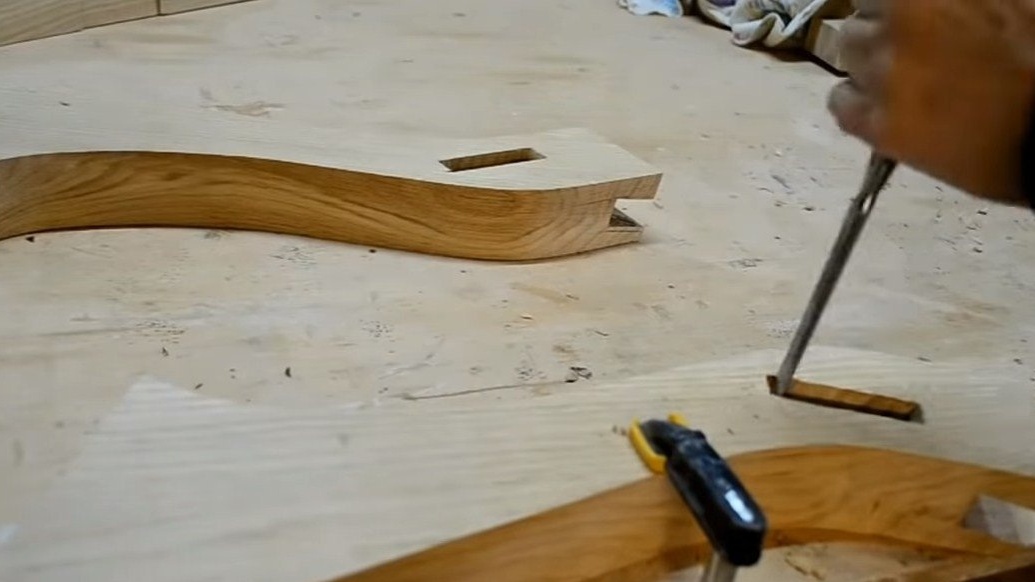
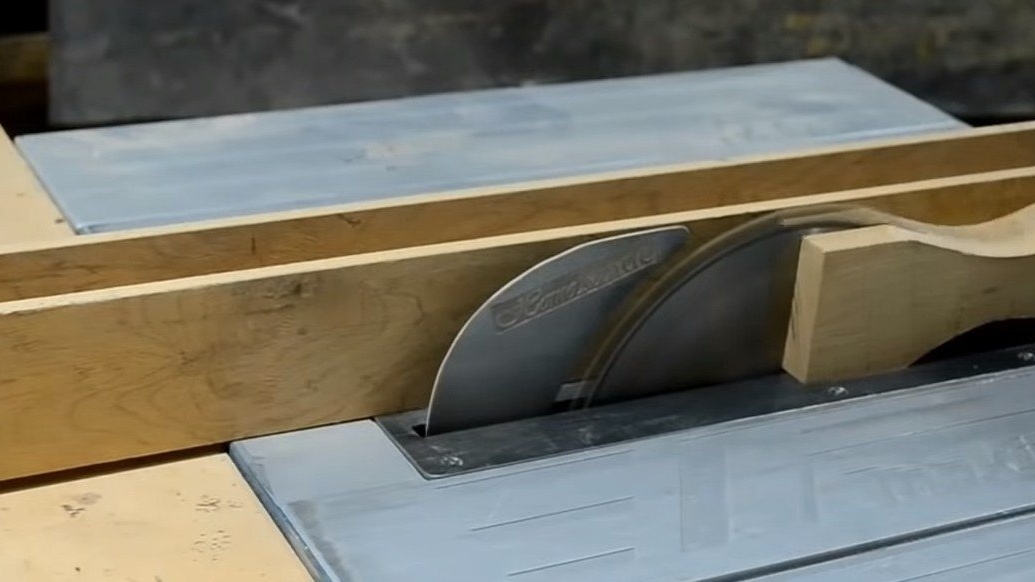
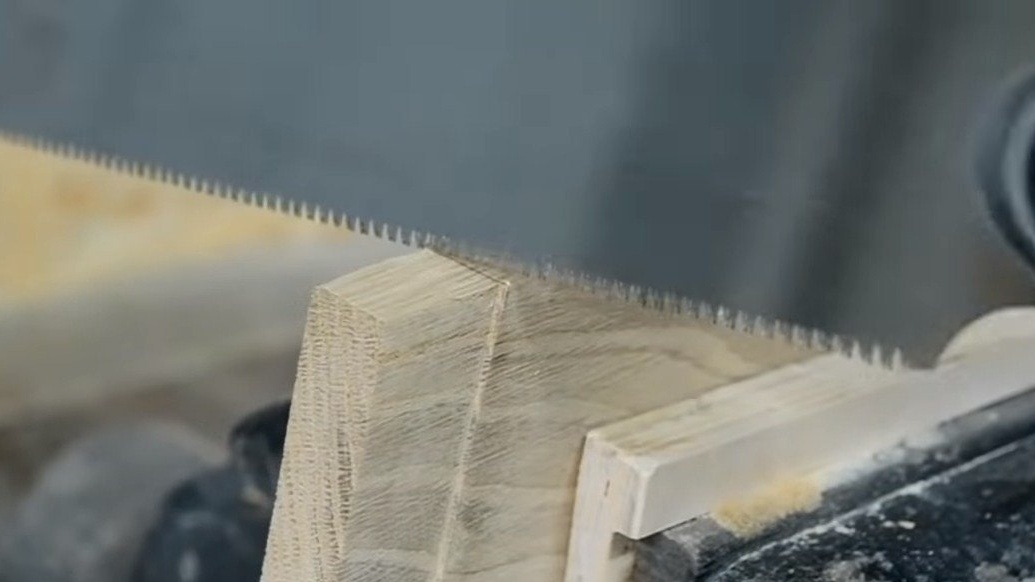
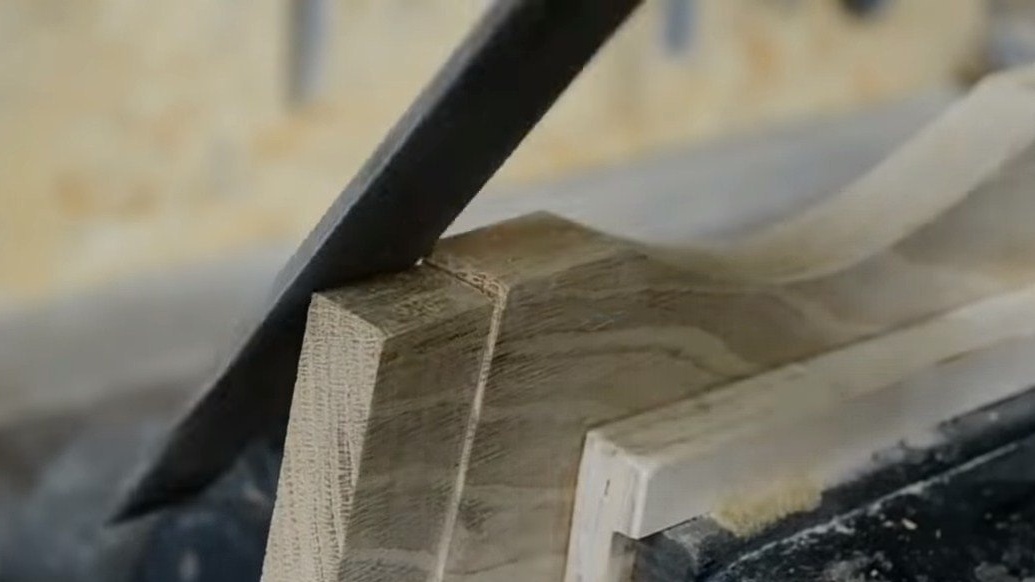
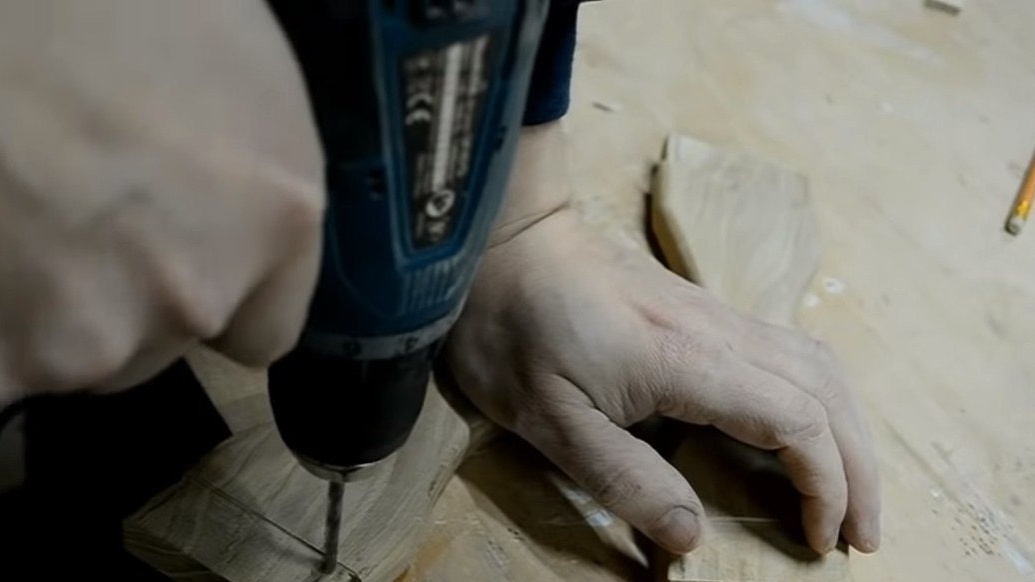
In the end, you need to make grooves in the legs, the side ones are made with a milling cutter, and the end ones are made using a circular saw and a chisel.
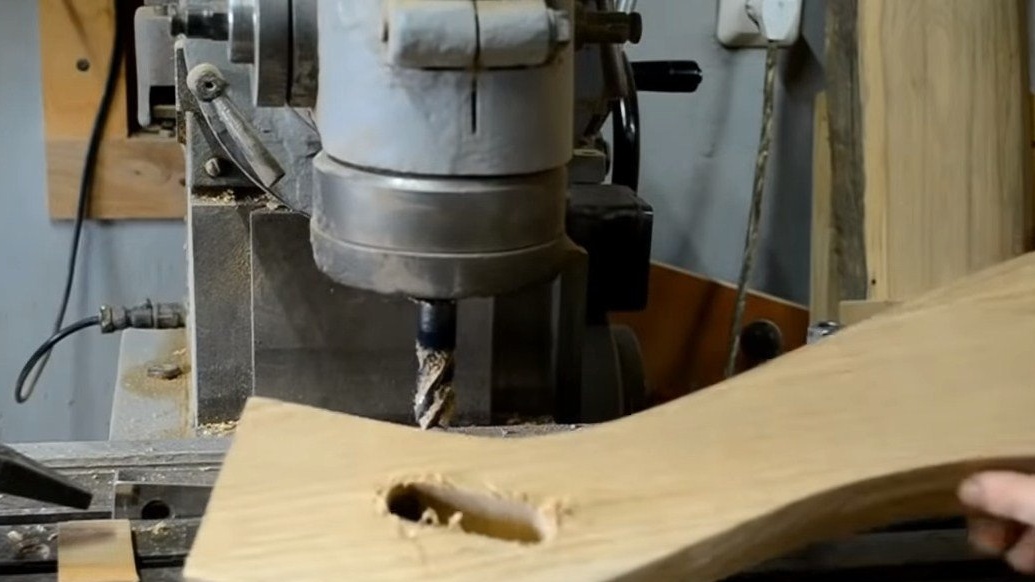
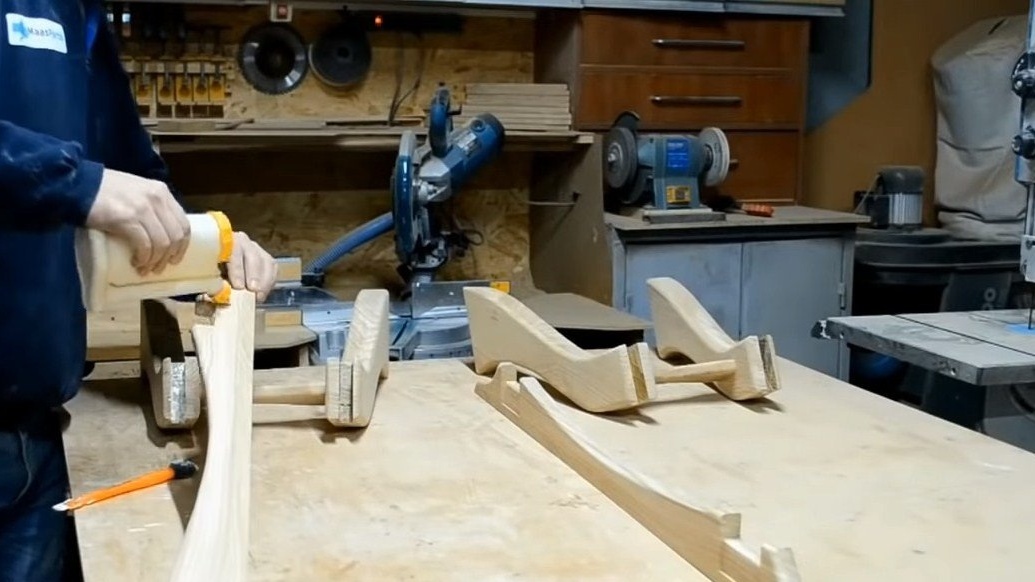
Step Four Crossbars
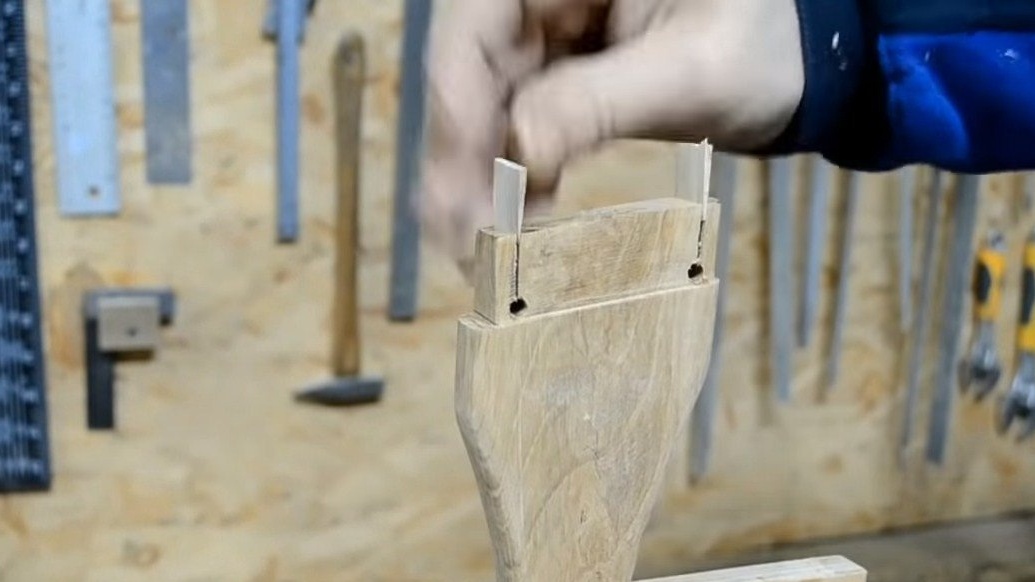
Between the legs there are crossbars, we also cut them from the boards, cut out the desired shape, and also make grooves for attaching the legs. As for the short crossbars, spikes are made at their ends so that the parts can go into the niches of the legs.


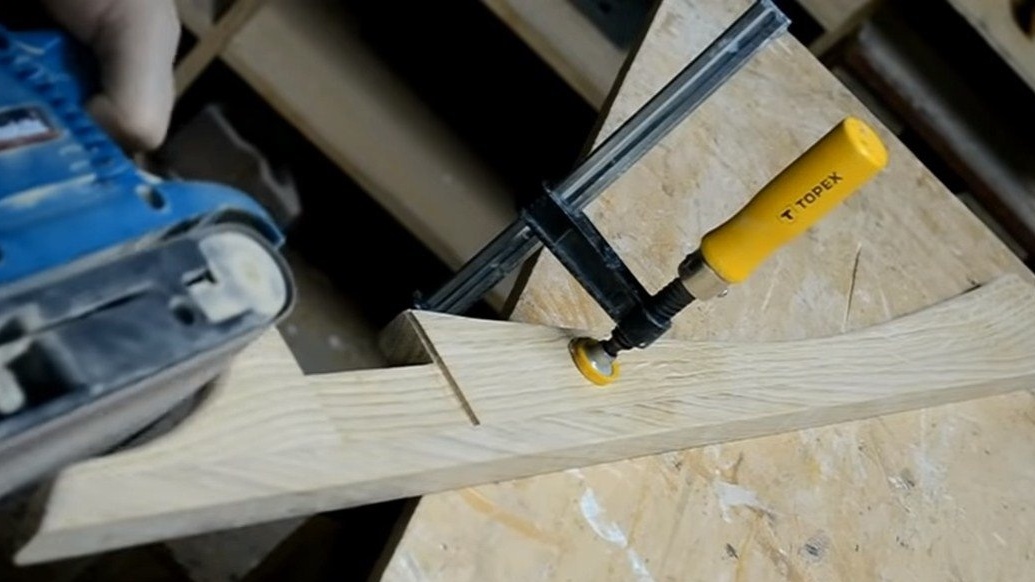
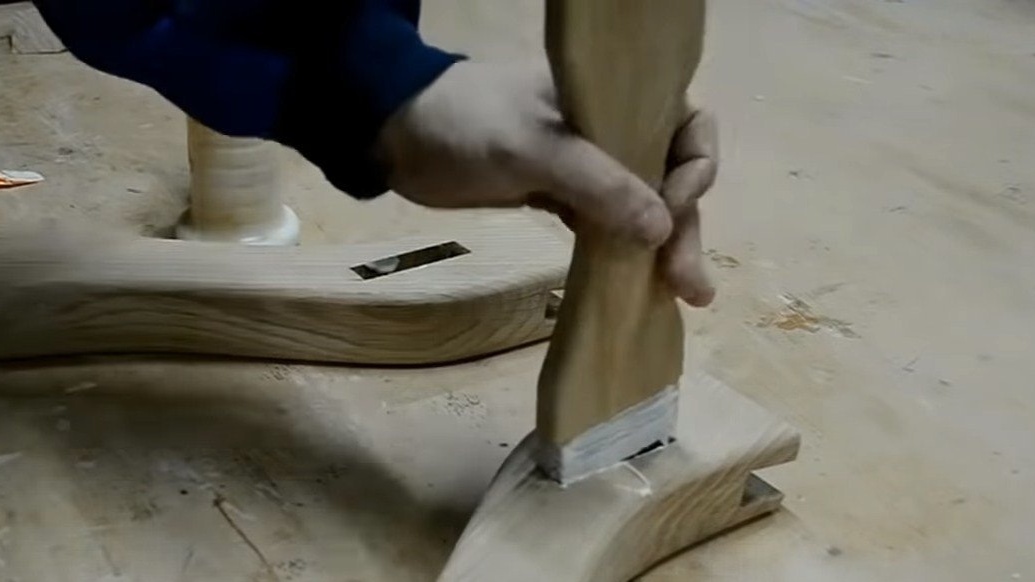
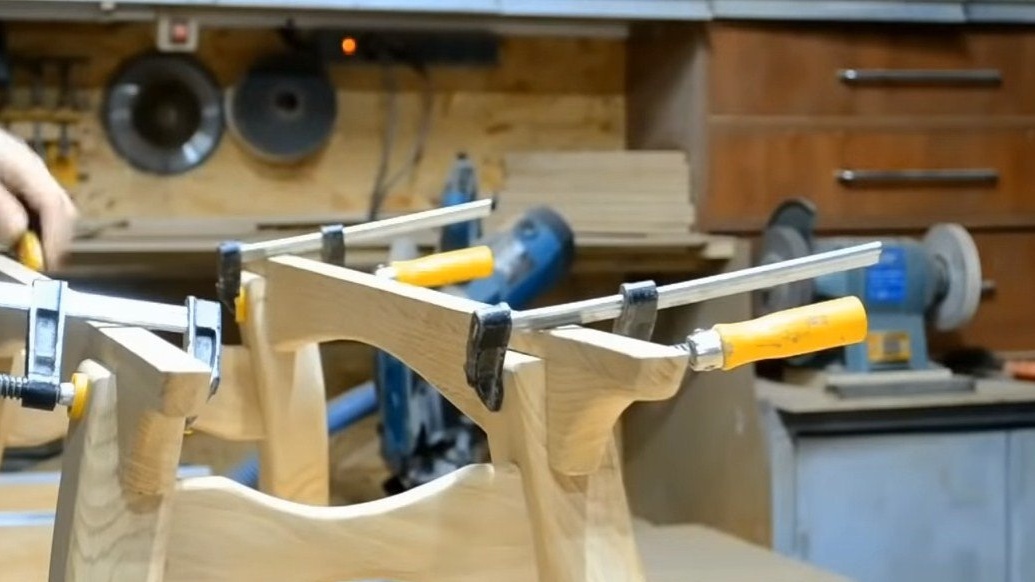
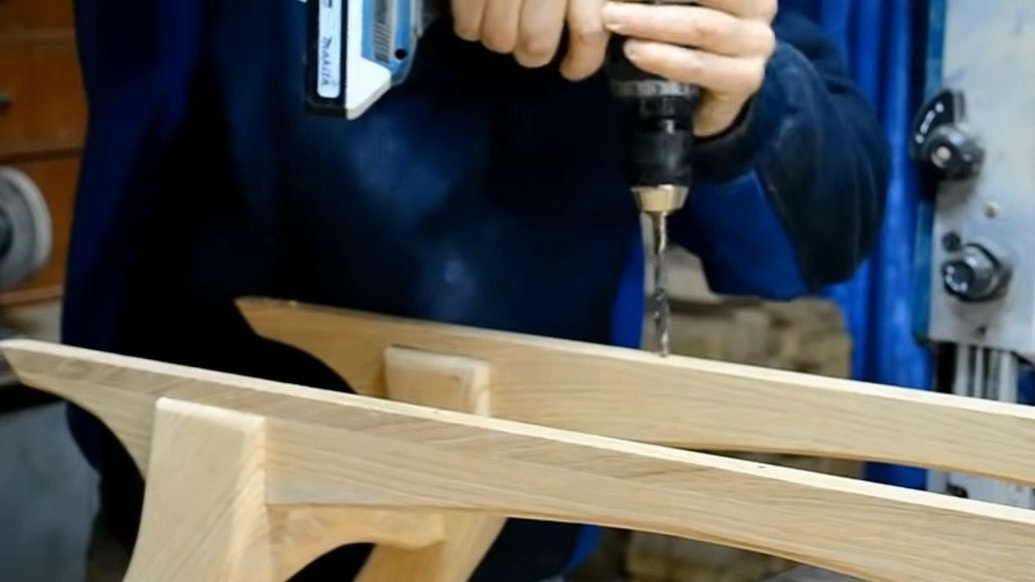
Step Five Base assembly
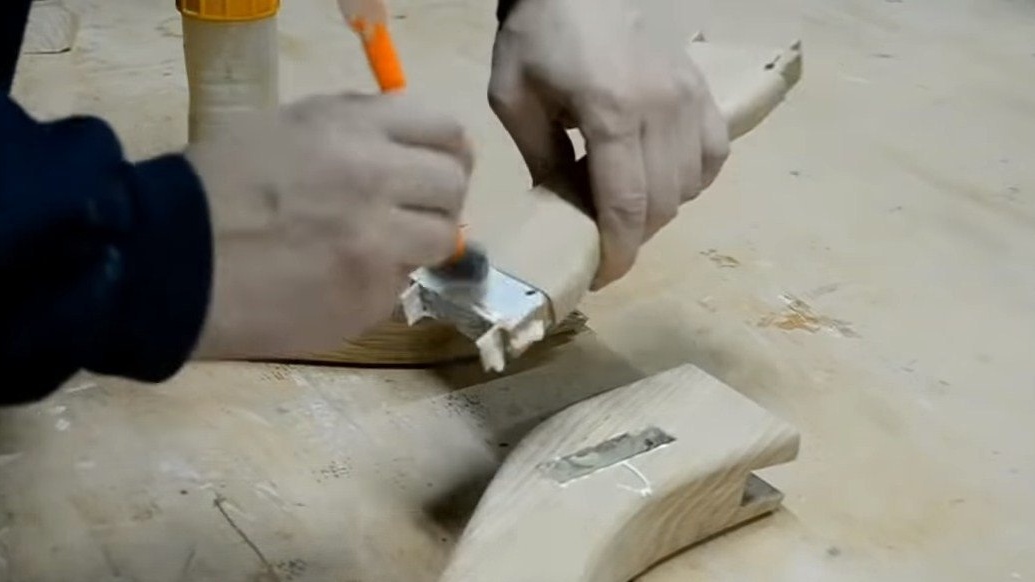
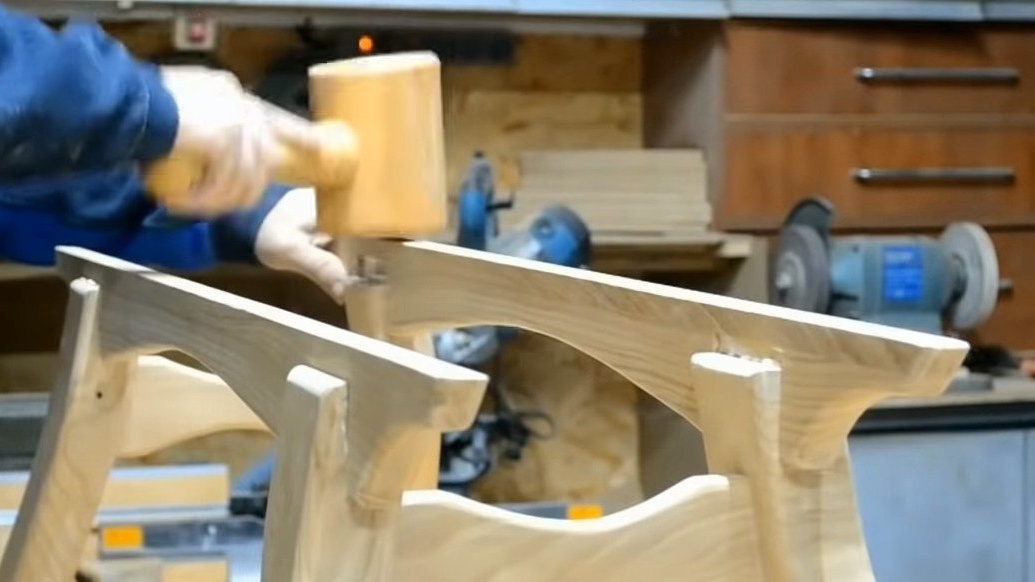
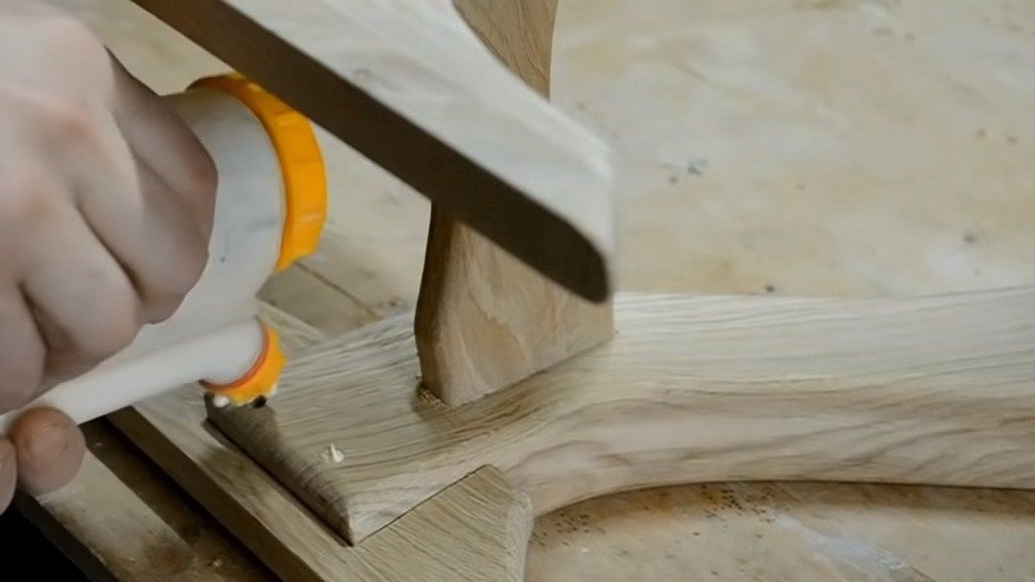
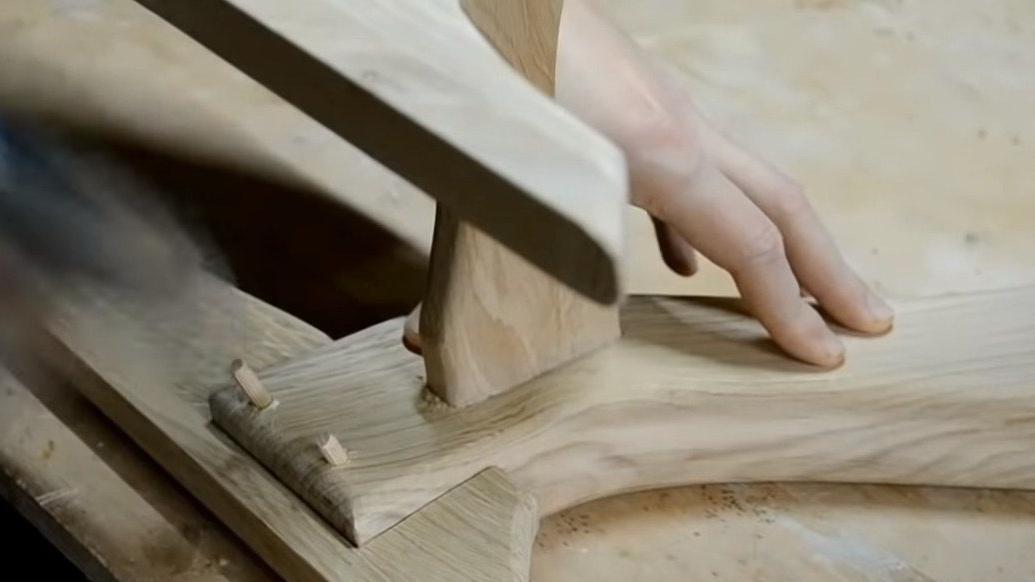
Putting the foundation together, we need to install the cross members on the legs. Let's start with short crossbars, in them the author drilled holes and cut through the cracks into which he inserted wedges. We smear the spikes with glue, hammer the crossbars into the legs, as a result, the spikes wedge themselves, and in combination with glue, the connection is very strong.
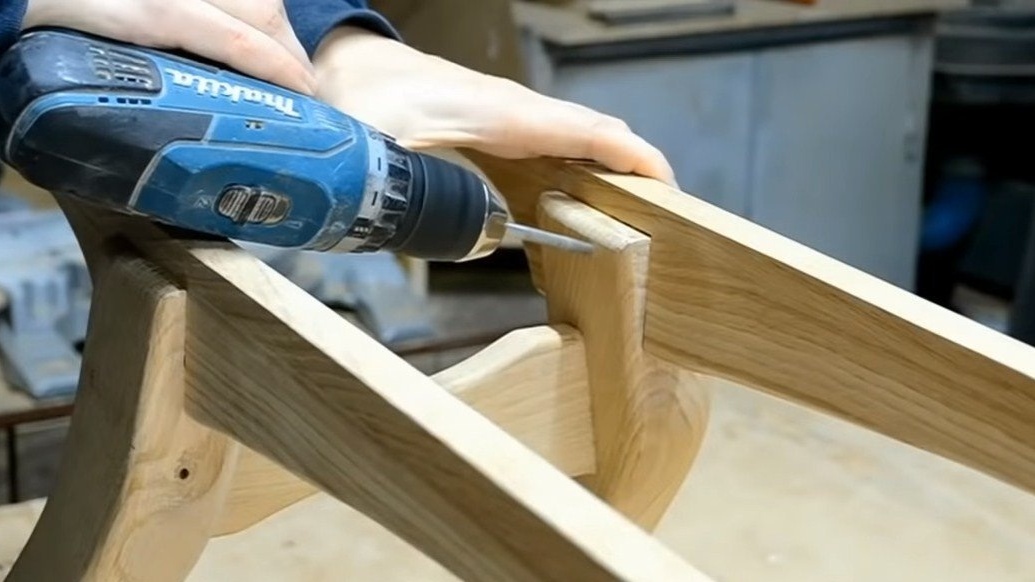
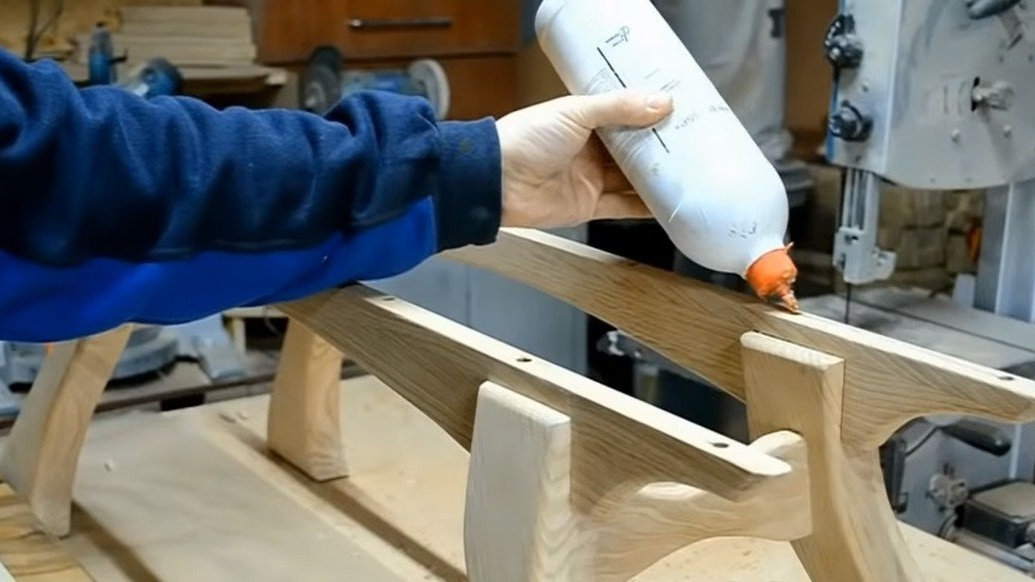
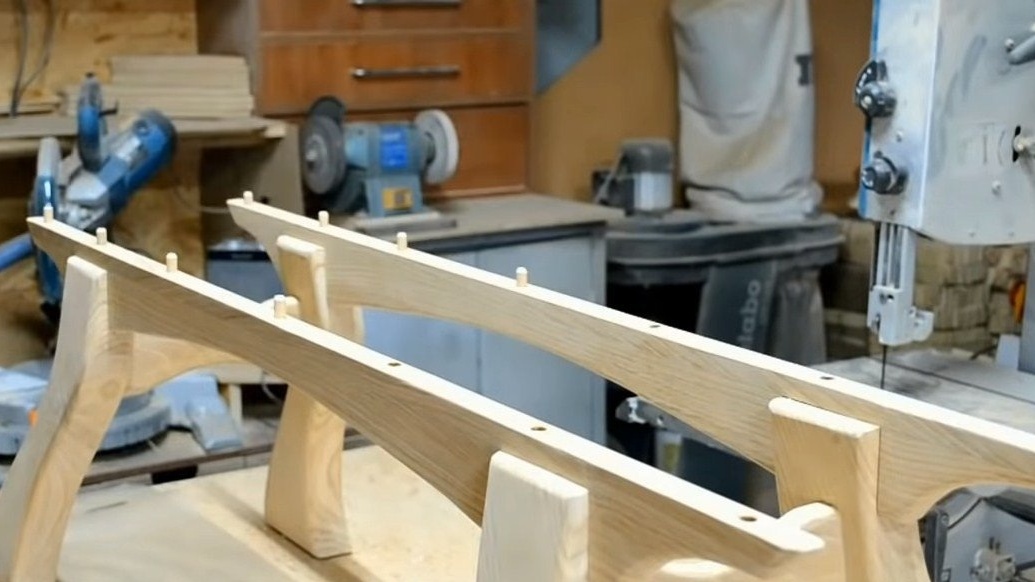
Then you can install long crossbars, here dowels are used for fastening, as well as solar glue. That's all, the bench base is ready.


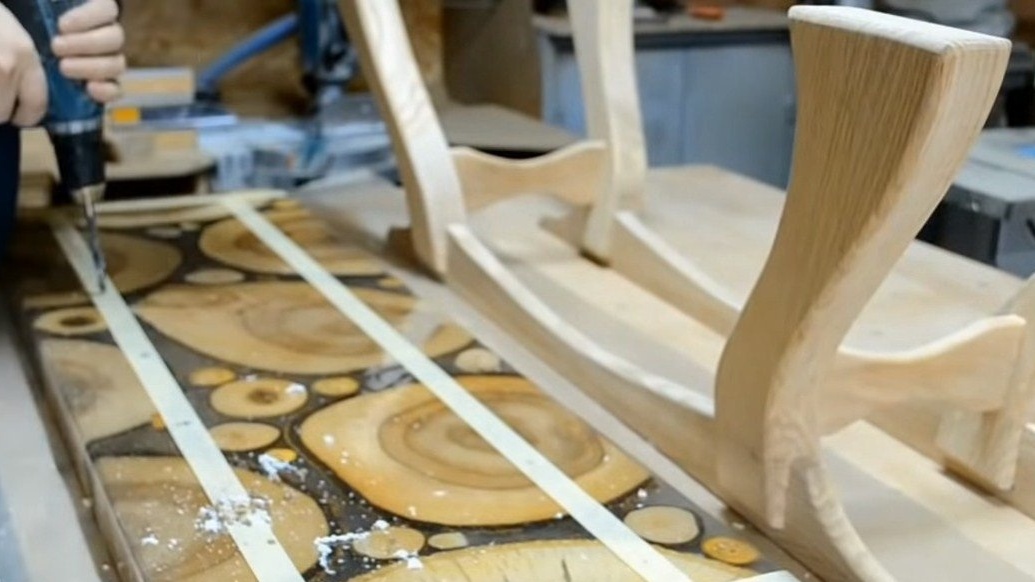
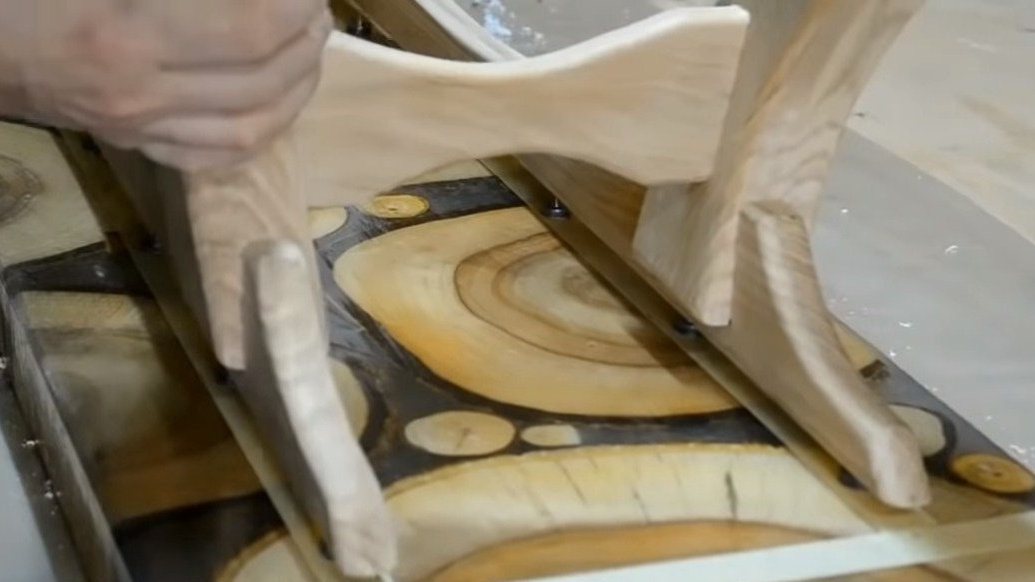
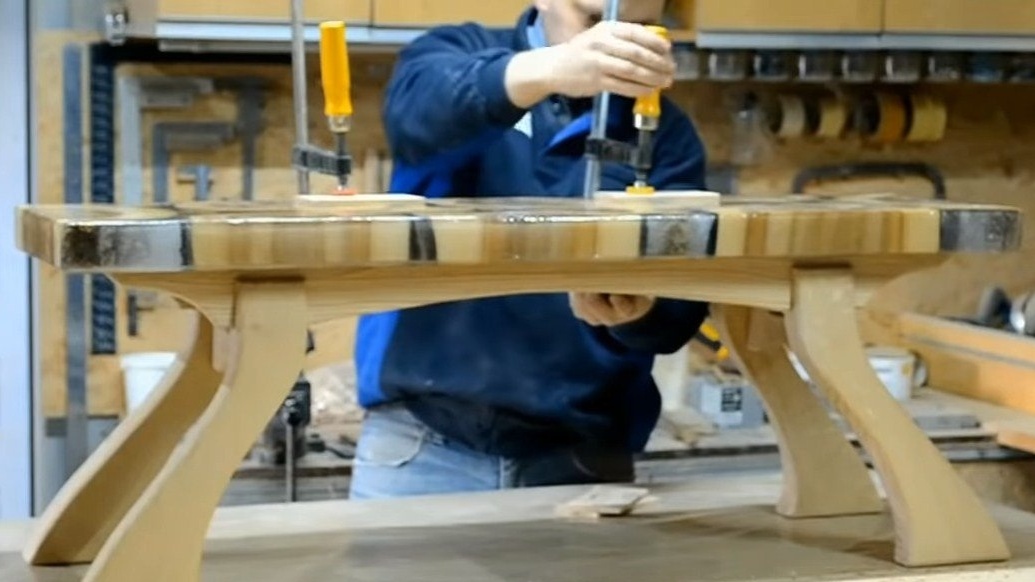
Step Six Seat installation
We install our plate on the base, it is installed on dowels and glue. To understand where to drill holes in the base, the holes are first drilled in the plate and special spikes are installed in them. Thanks to these spikes, we get marks on the base and then you can drill holes. We hammer the dowels on the glue and set the plate.


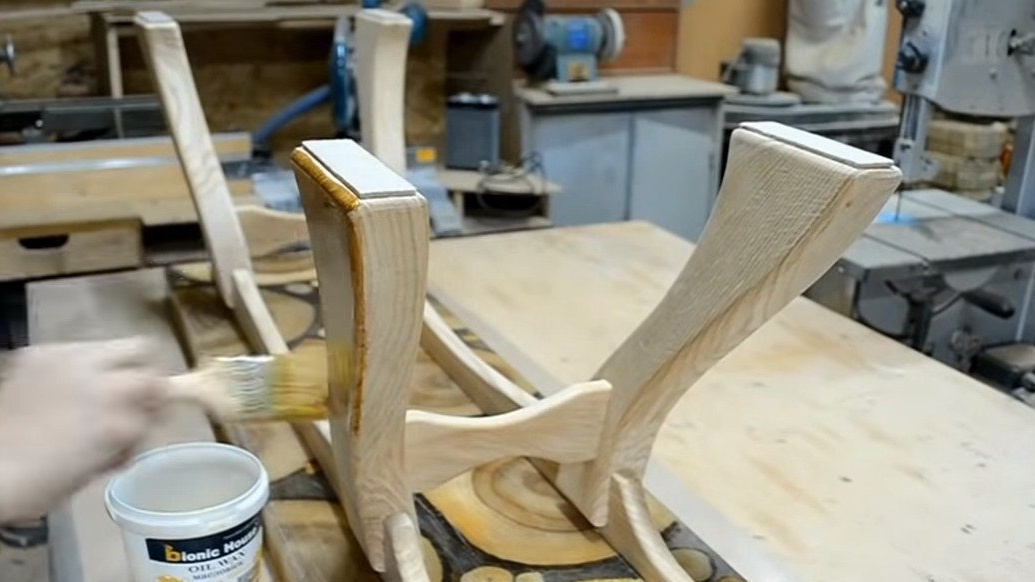
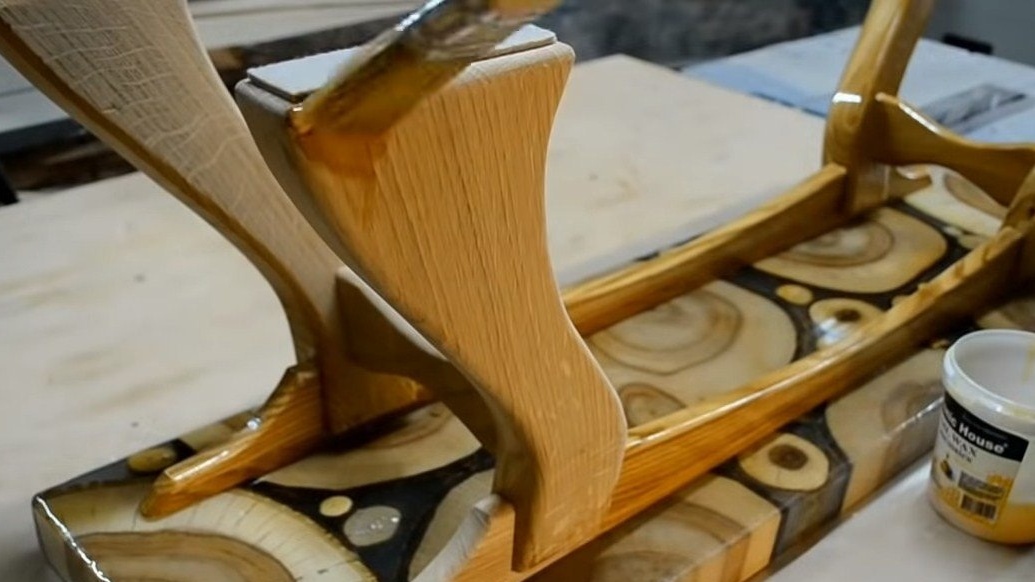
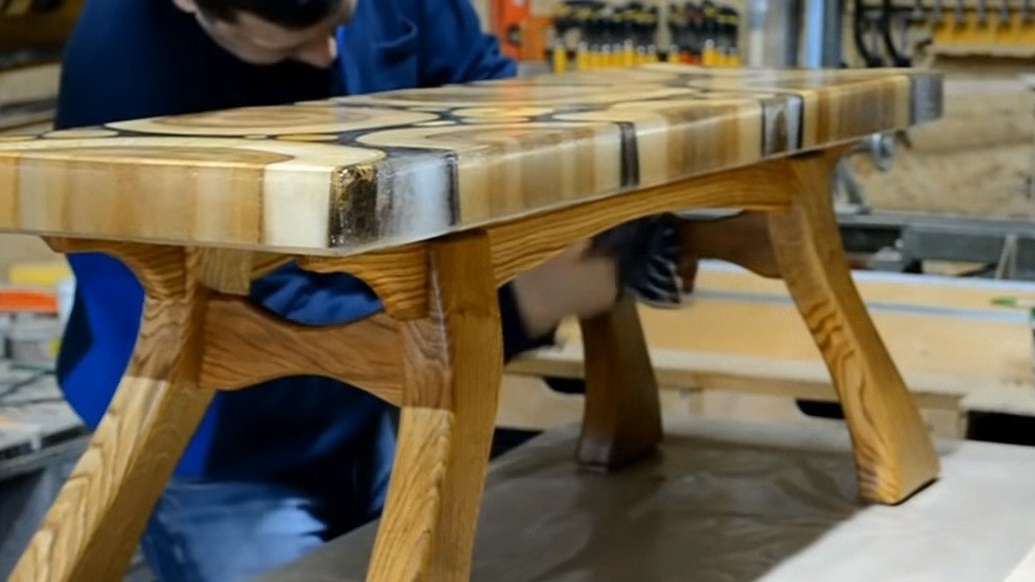
Seventh step. Finishing touches
The bench is almost ready, glue on the legs of the elastic so that it does not slip on the floor. Then we saturate the legs with oil or wax, the tree immediately begins to look delicious. As for the plate, it is useful to cover it with a special varnish to protect the resin from ultraviolet exposure. And thanks to the varnish, the resin will become crystal clear.
The homemade product is ready, everything turned out amazingly. Good luck and creative inspiration!