

Hello to all fans of craftsmen, today we will look at how to make a wonderful car from old car parts and epoxy garage chair. The author used a shock absorber with a spring from the car as a leg, and the seat was cast in epoxy. Everything looks pretty interesting, it's nice to sit on a chair, it depreciates a little. Castors are installed on the legs of the chair, so that the chair can be conveniently moved. Everything is going to be quite simple, but you will need the services of a lathe. If you are interested in the project, I propose to study it in more detail!
Materials and tools used by the author:
Material List:
- nuts;
- epoxy resin for pouring;
- dye for epoxy;
- shock absorber and spring from auto;
- profile pipes;
- wheels;
- sheet metal;
- paint.
Tool List:
- polycarbonate, chipboard (for formwork);
- self-tapping screws;
- glue gun;
- lathe;
- separating wax;
- welding machine;
- grinder;
- hand circular saw;
- drill;
- ;
- electronic Libra;
- drill;
- milling cutter;
- marker, tape measure.
Manufacturing process homemade:
Step one. Component preparation
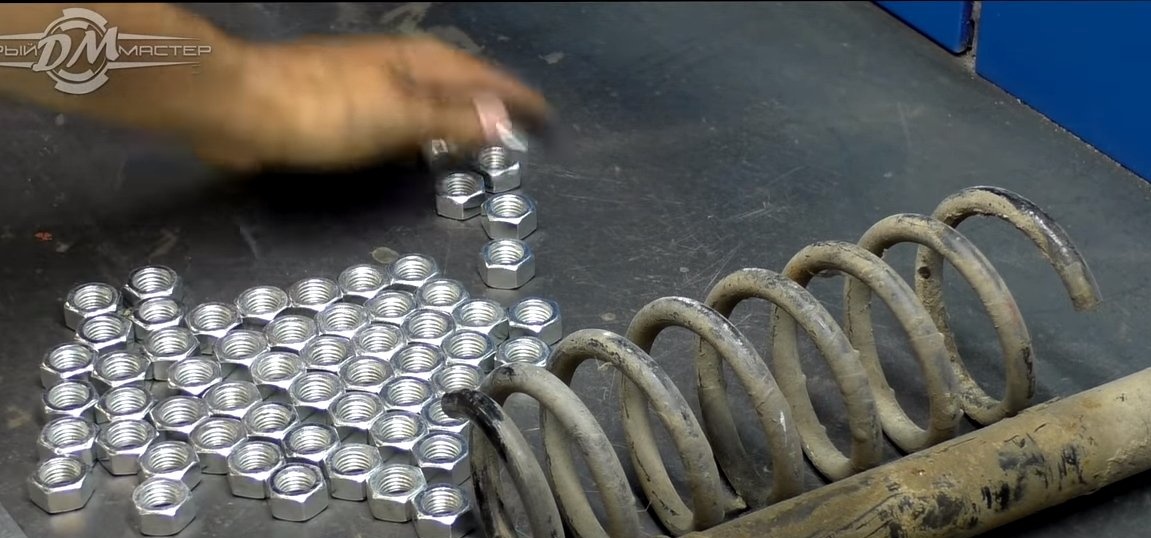
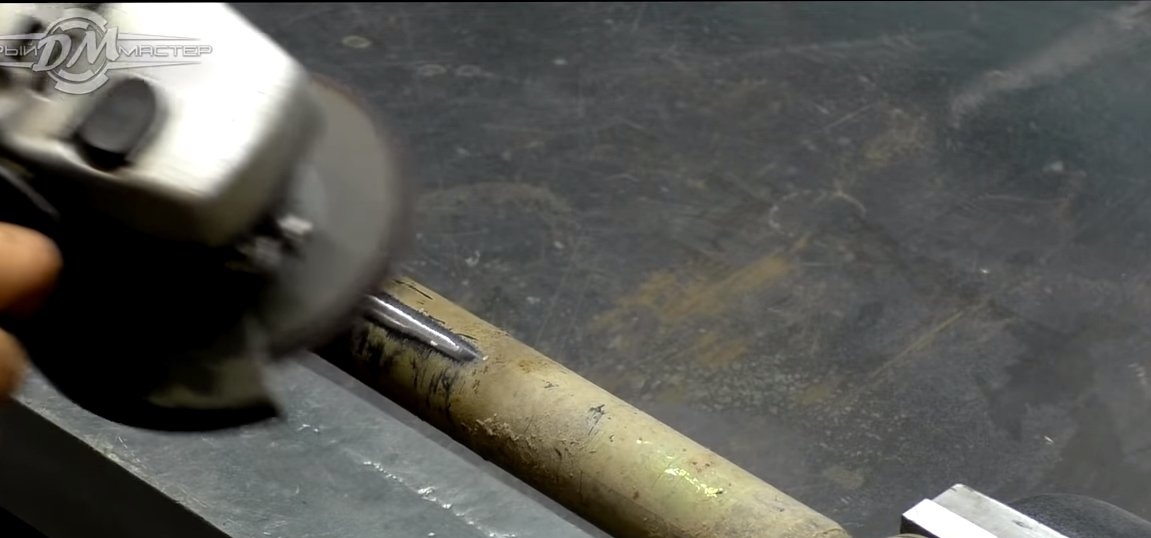
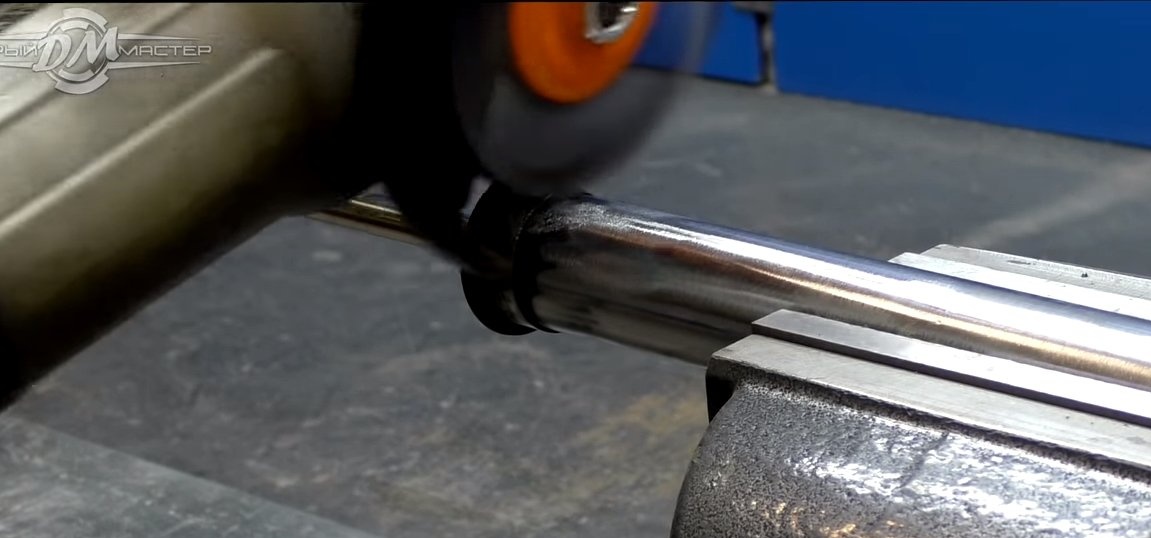
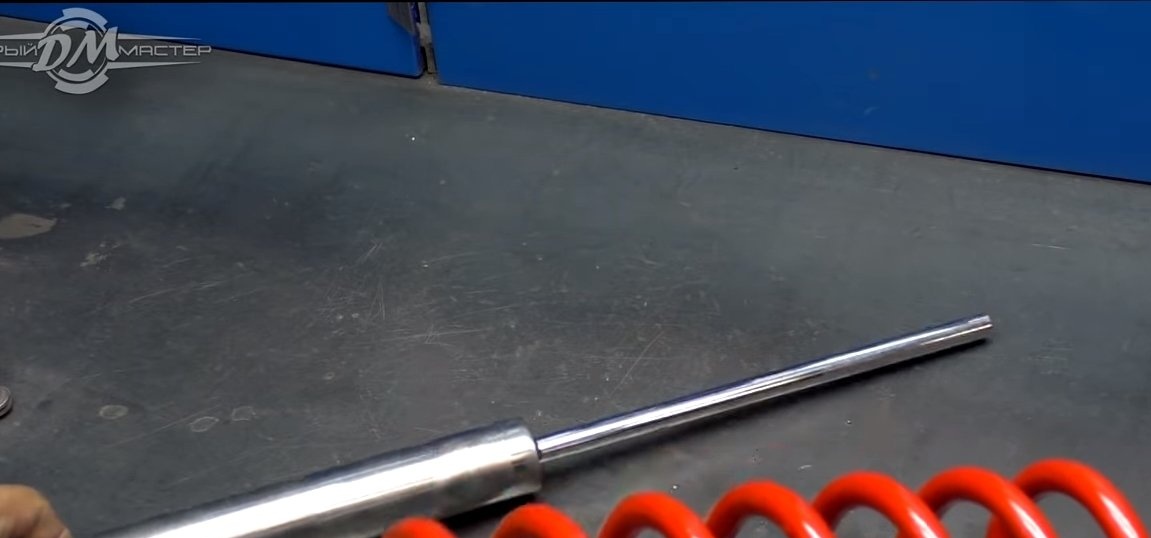
For the leg, the author used an old shock absorber, as well as a suspension spring. All these parts will probably be dirty and rusty, we need to clean them to a shine. We install a brush nozzle on the grinder and get to work. After that, the details can be painted with a spray can.
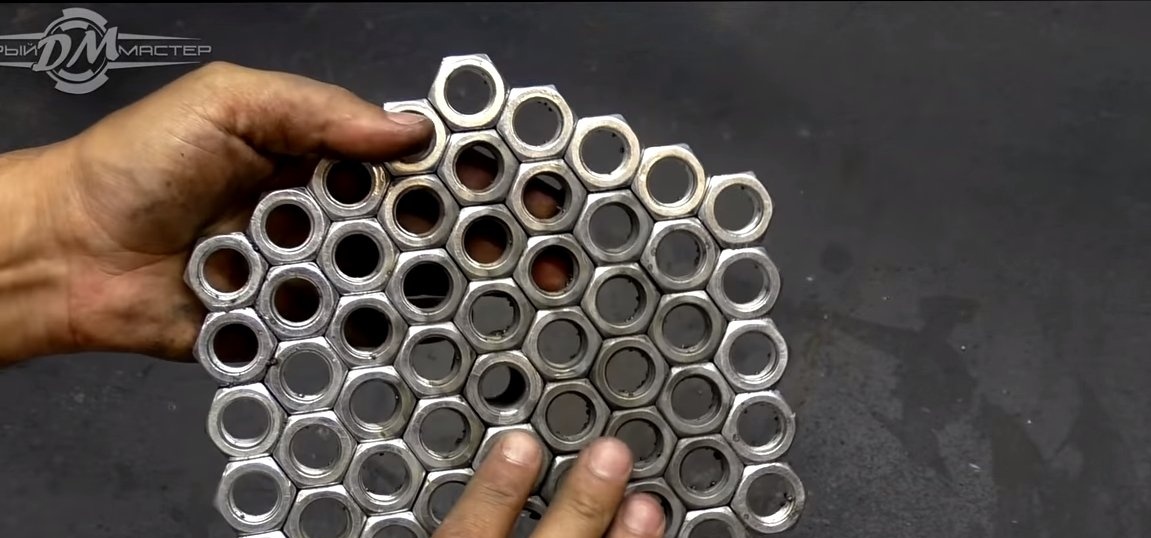
We also need nuts, we will weld them together later and get a “skeleton” of the seat.
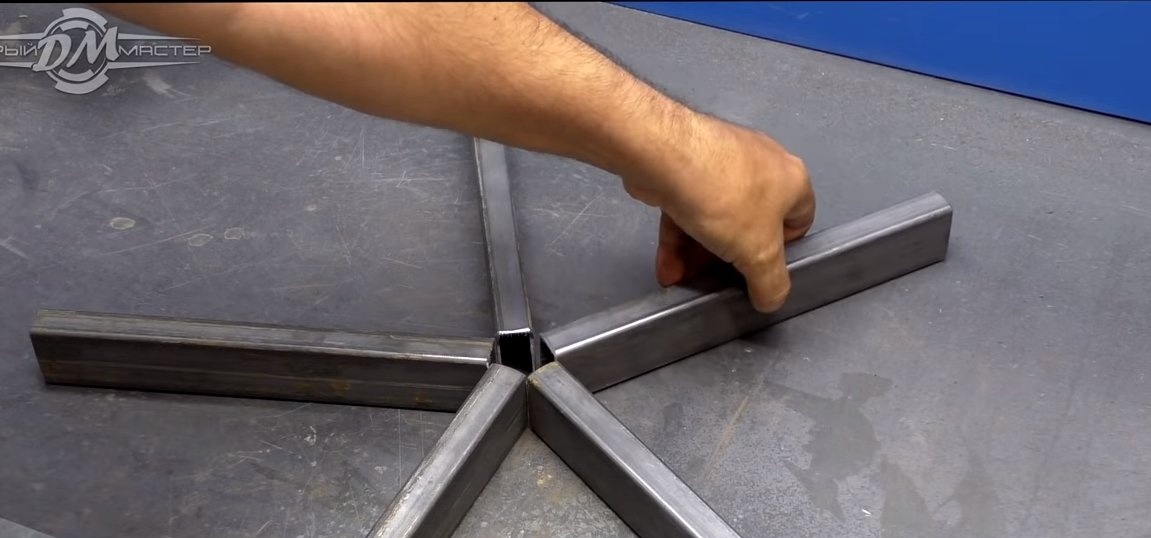
Step Two The foundation
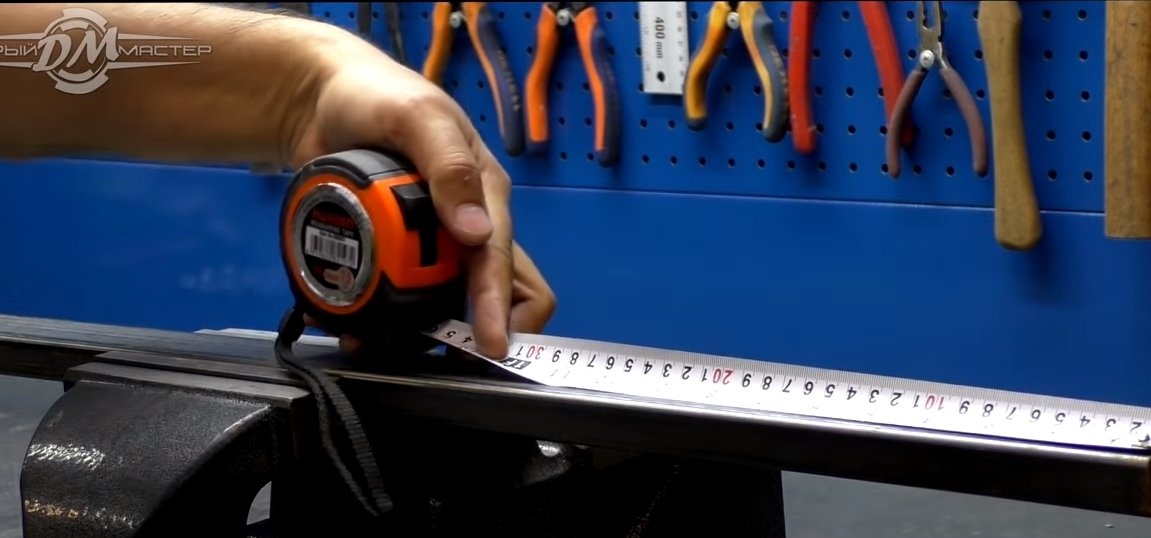
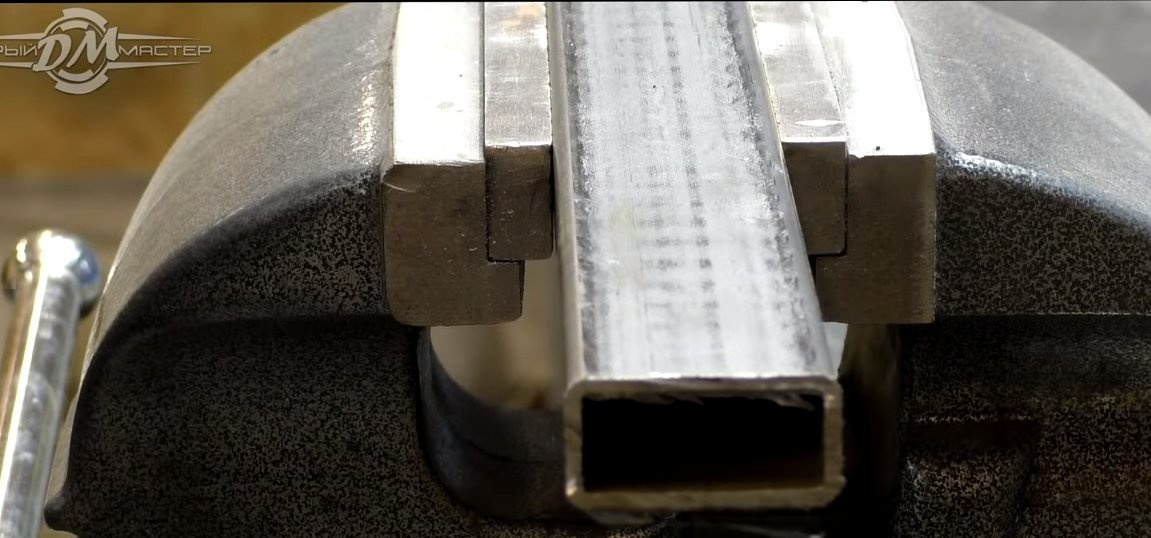
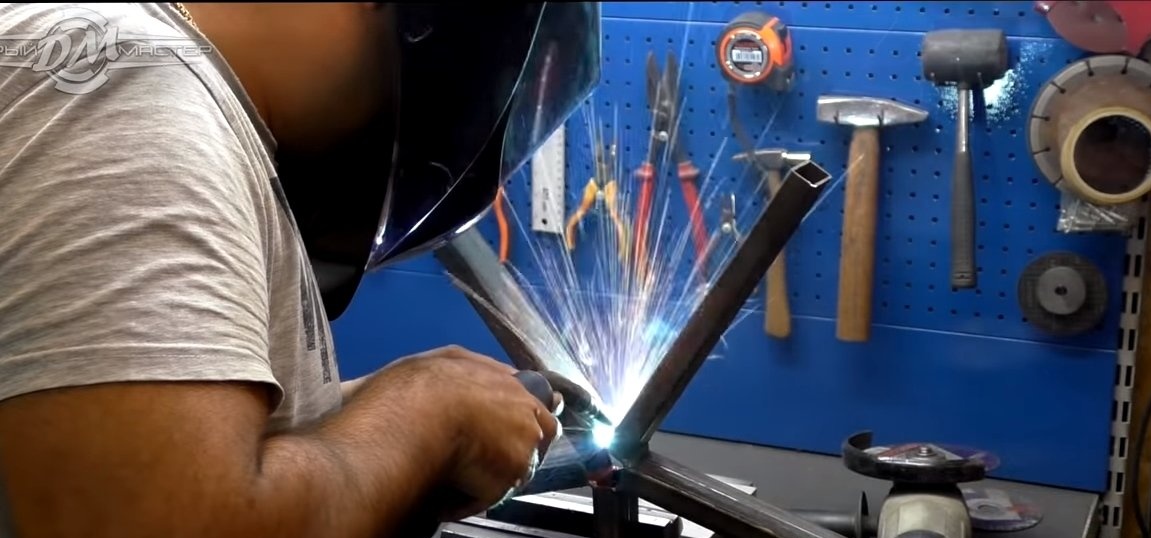
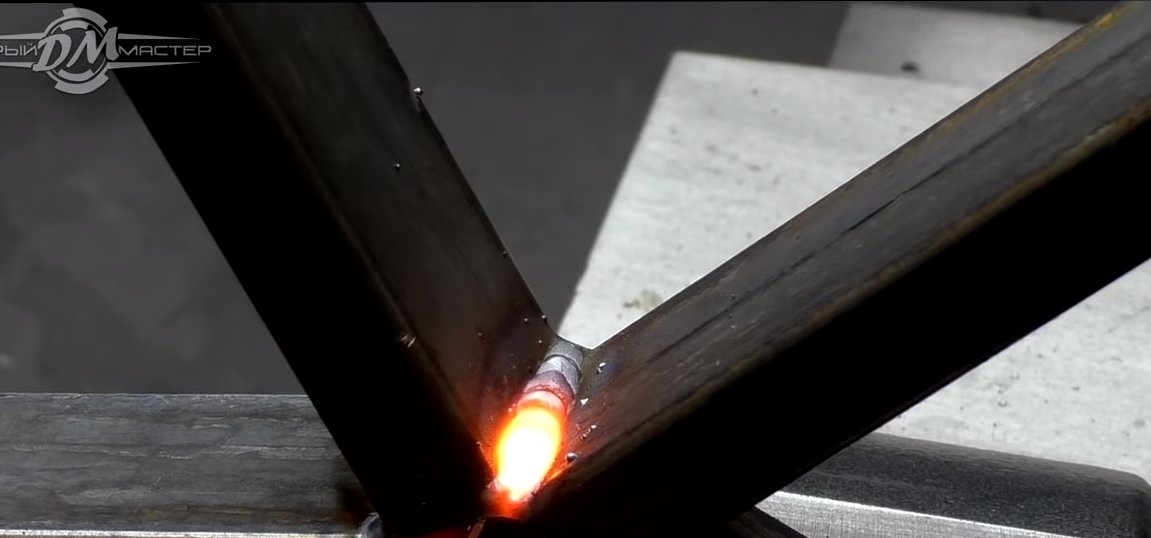
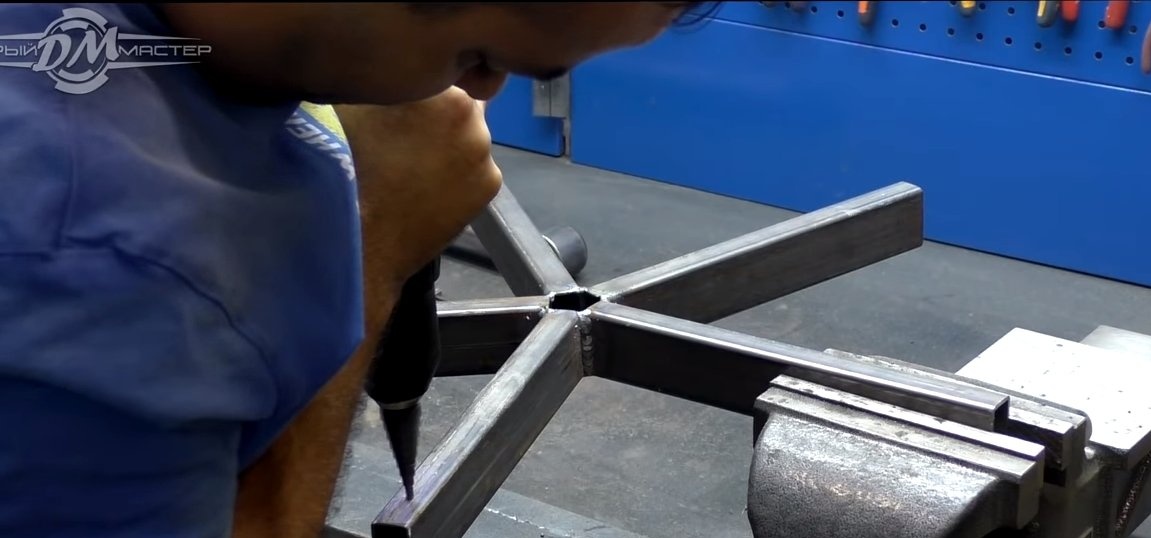
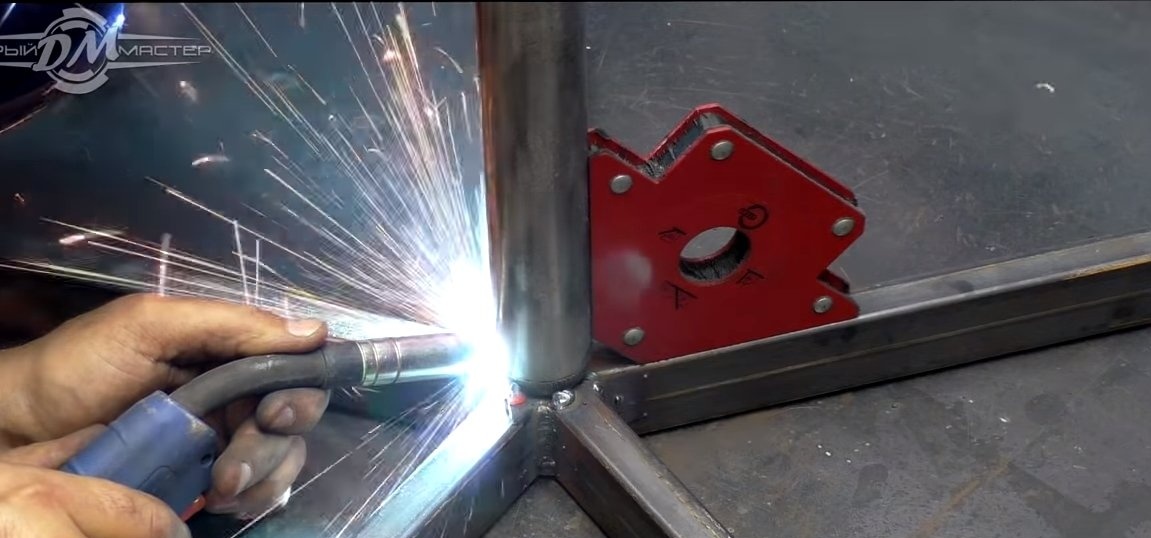
Let's make the base, the author has it made in the form of a five-pointed star. We use profile pipes as the material, cut them and weld well. Welds are well cleaned.
Step Three Seat fabrication
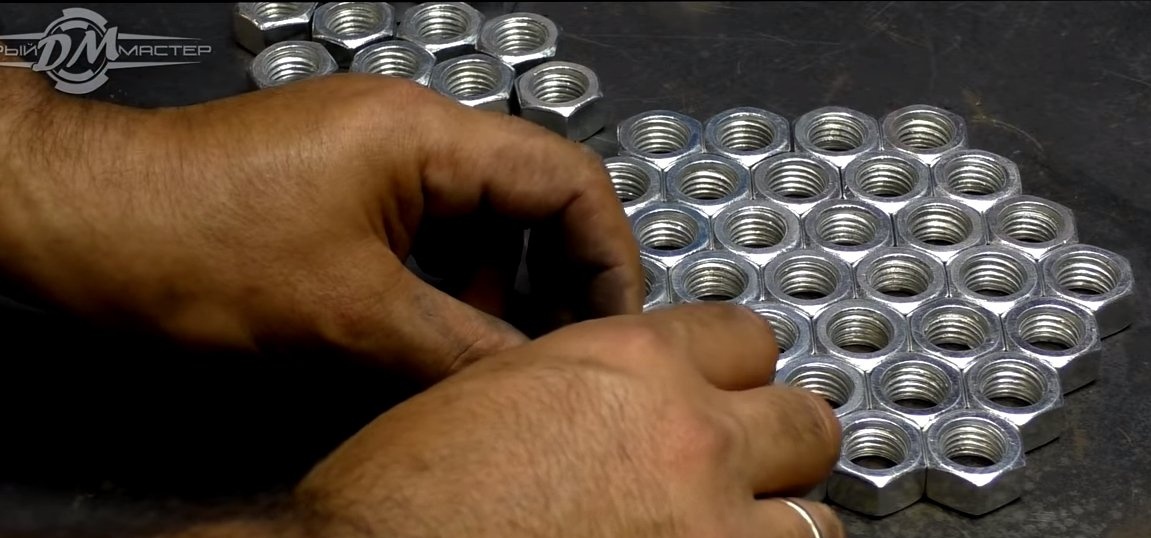
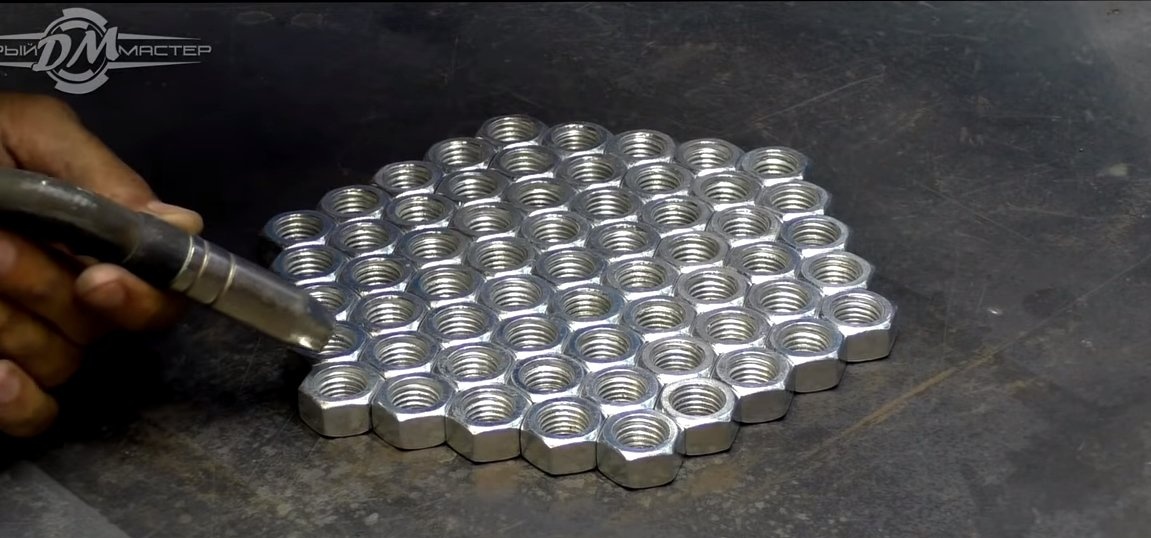
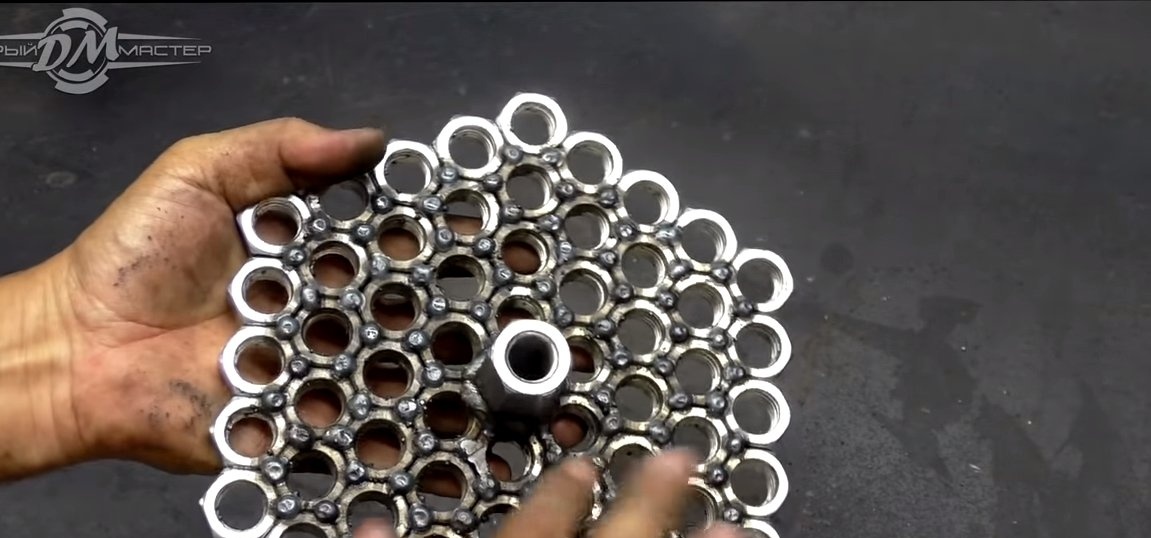
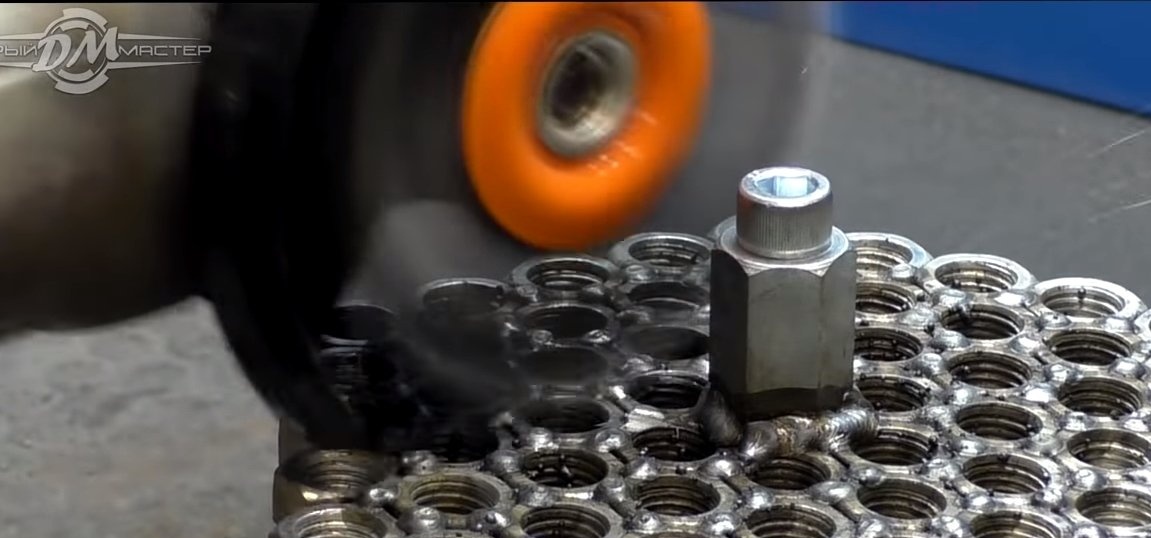
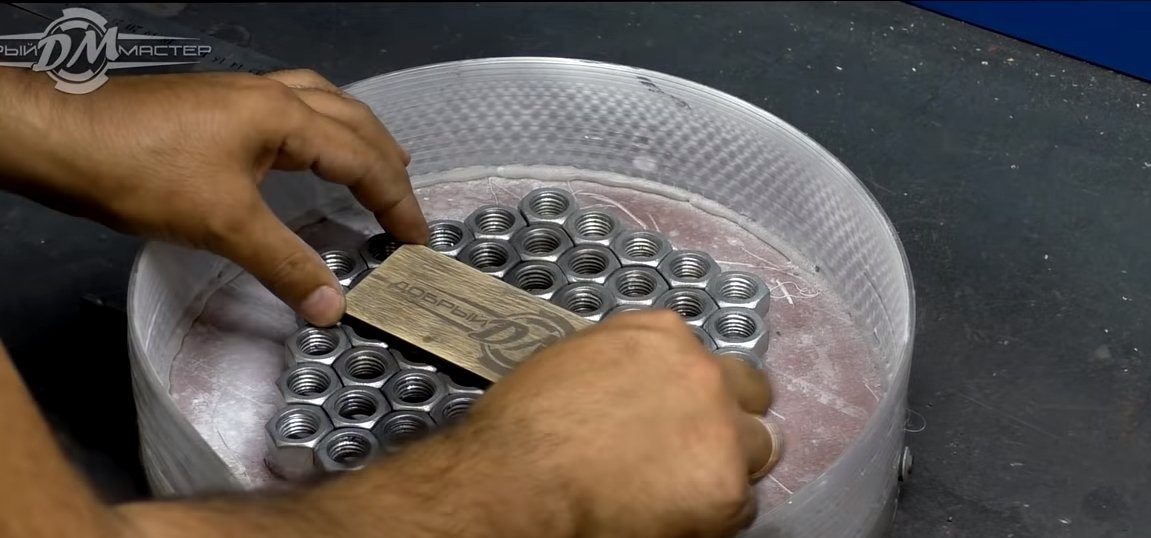
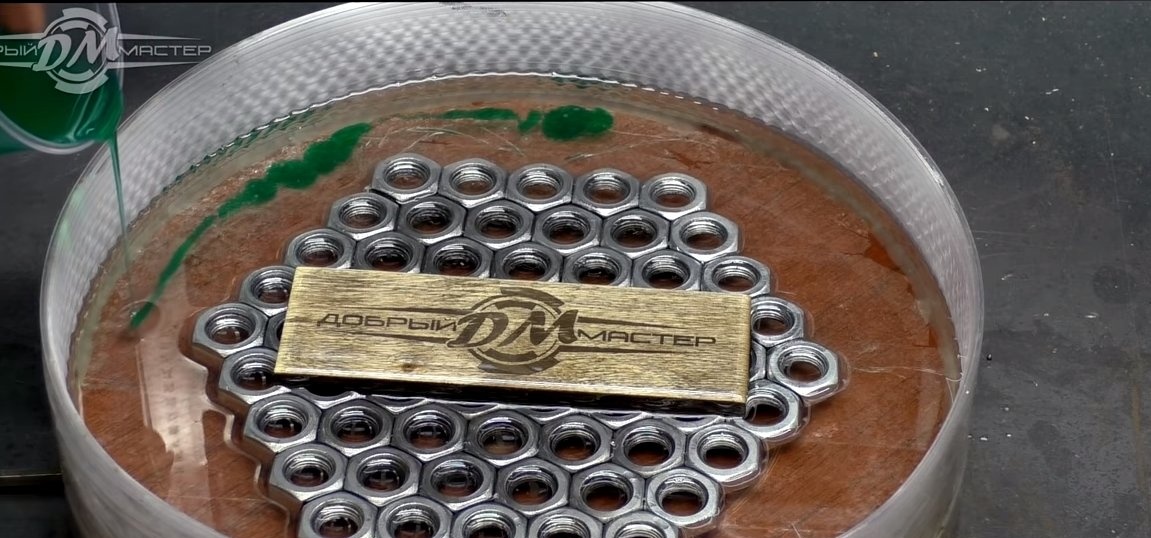
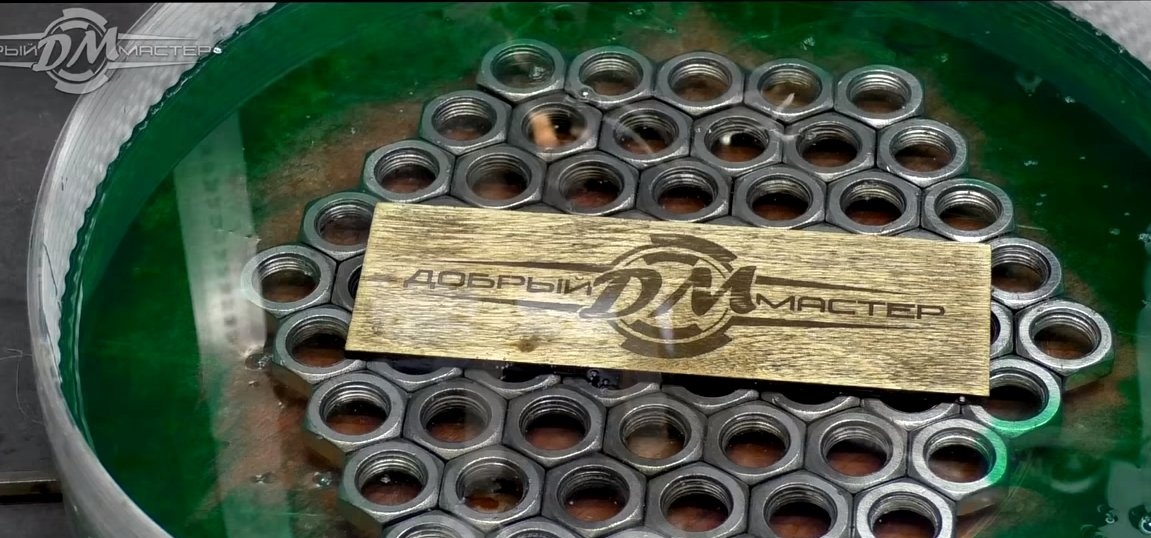
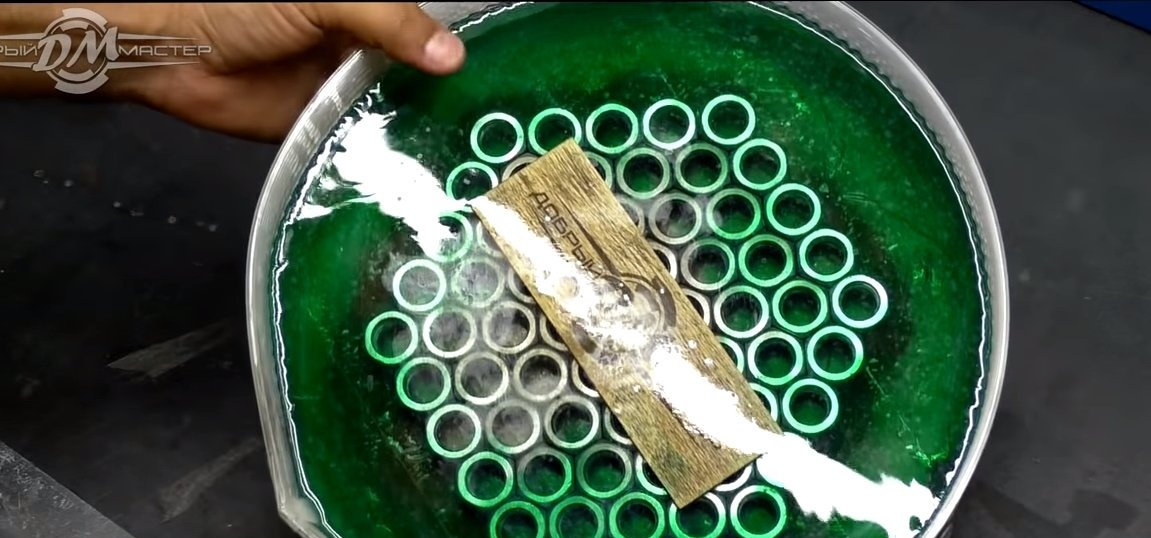
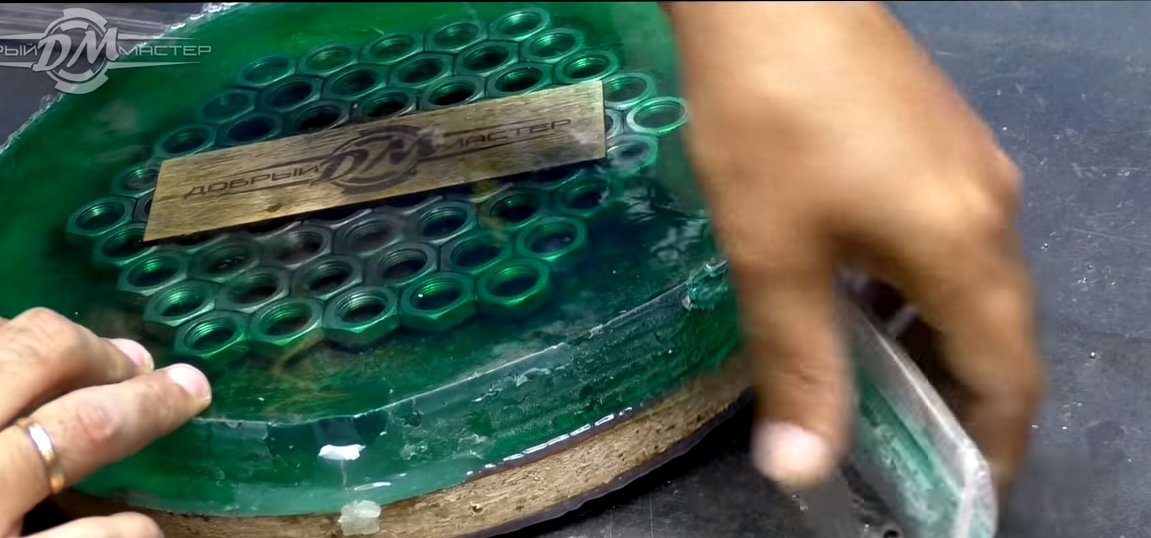
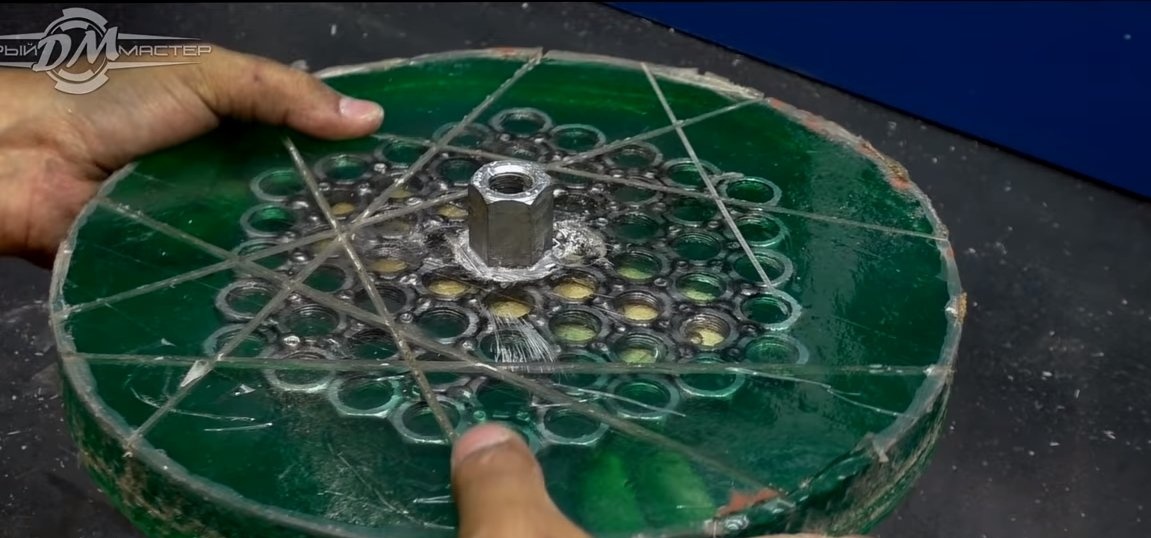
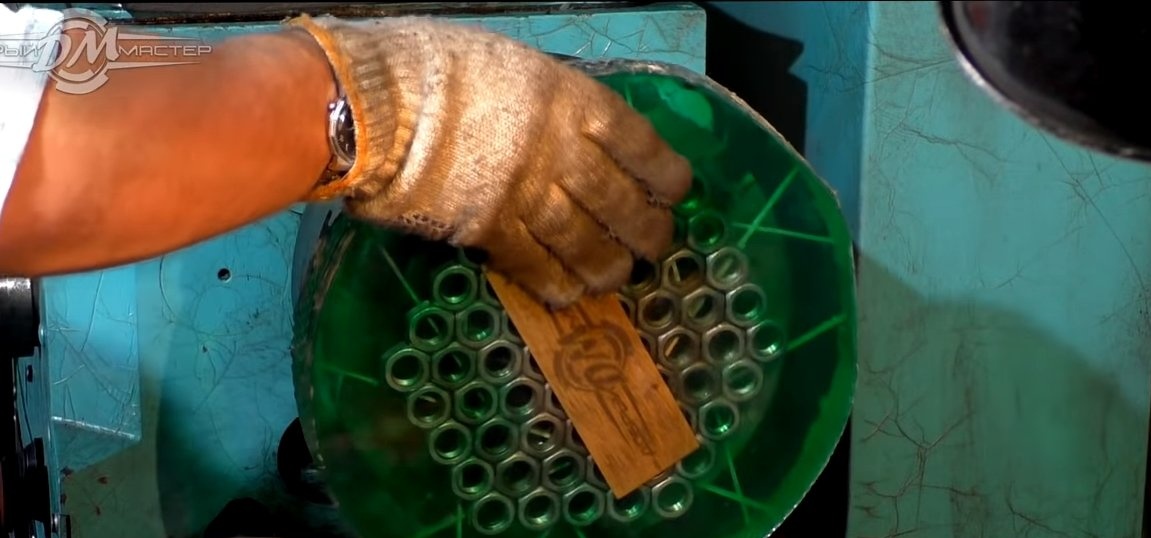
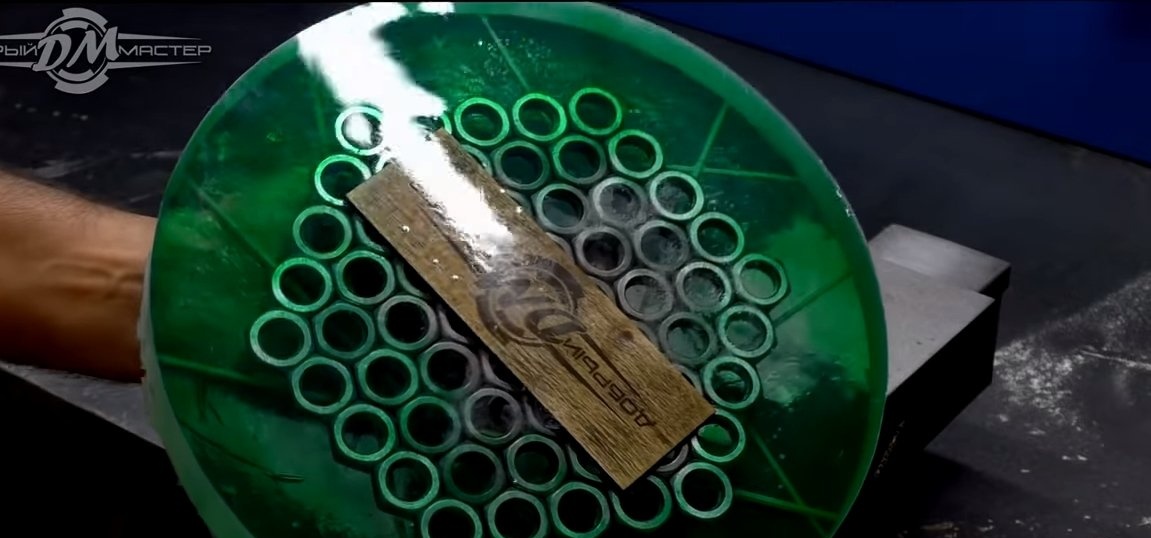
Next, we will make a seat, it consists of two parts, first we make a “power” part, it also appears as a decor. We take the nuts, put them in the shape of a circle and weld, in the center of the resulting structure we weld a long nut for fastening to the shock absorber. We clean the resulting part well to shine with a grinder with a wire brush.
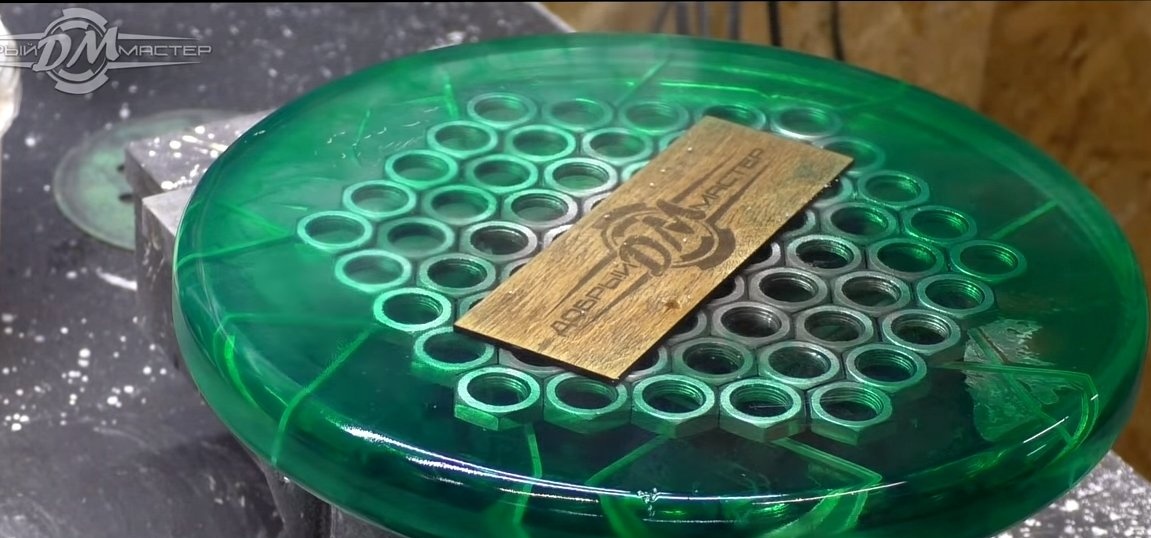
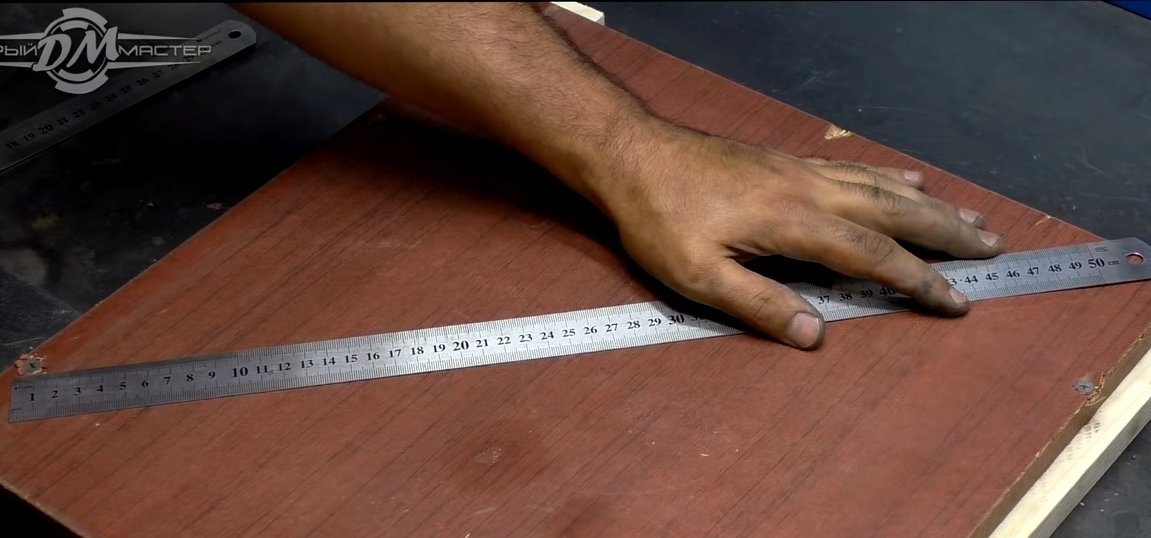
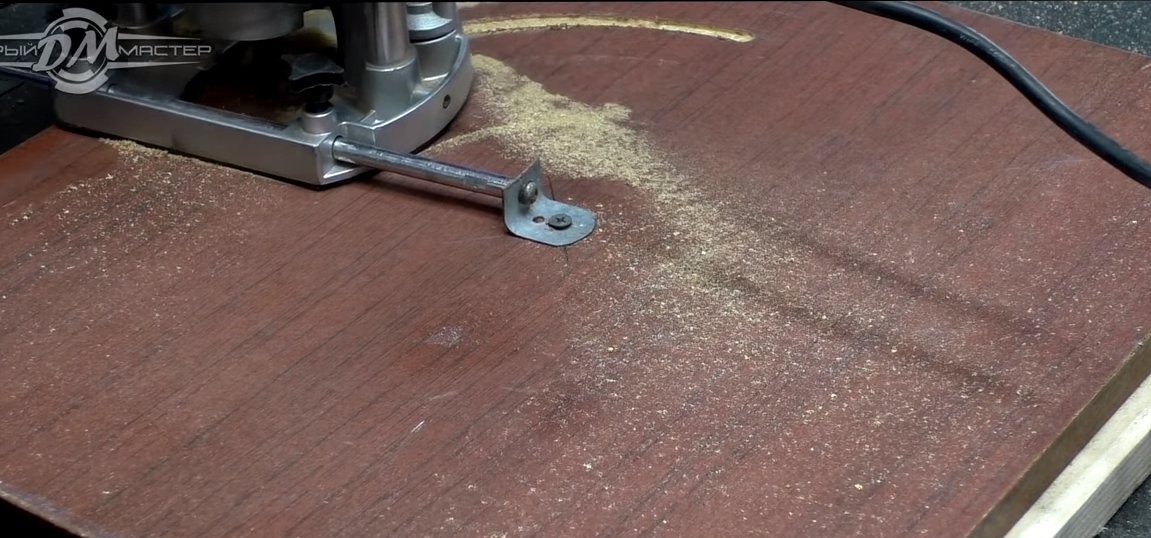
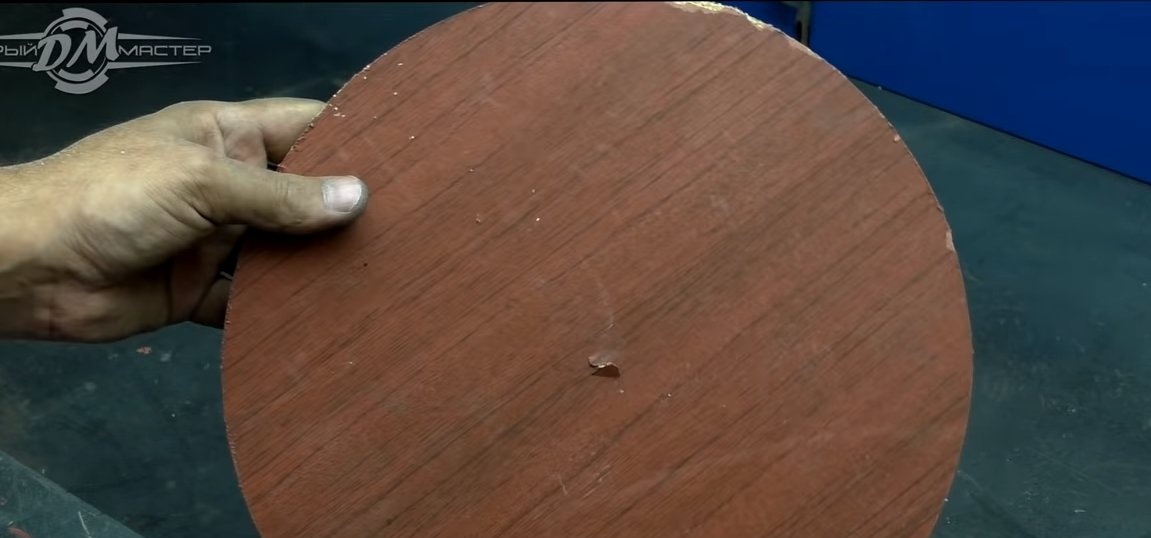
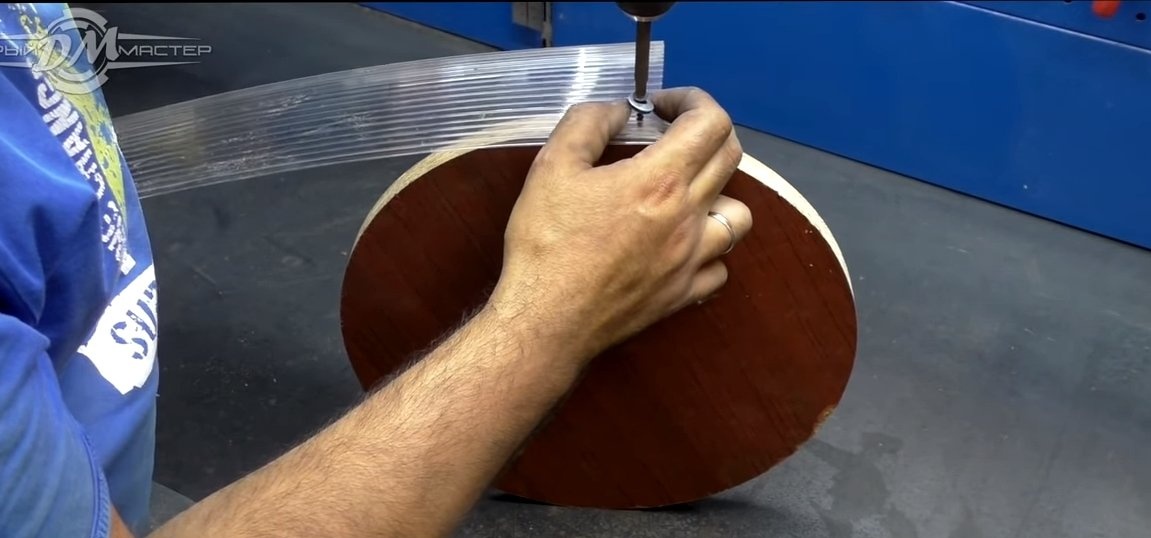
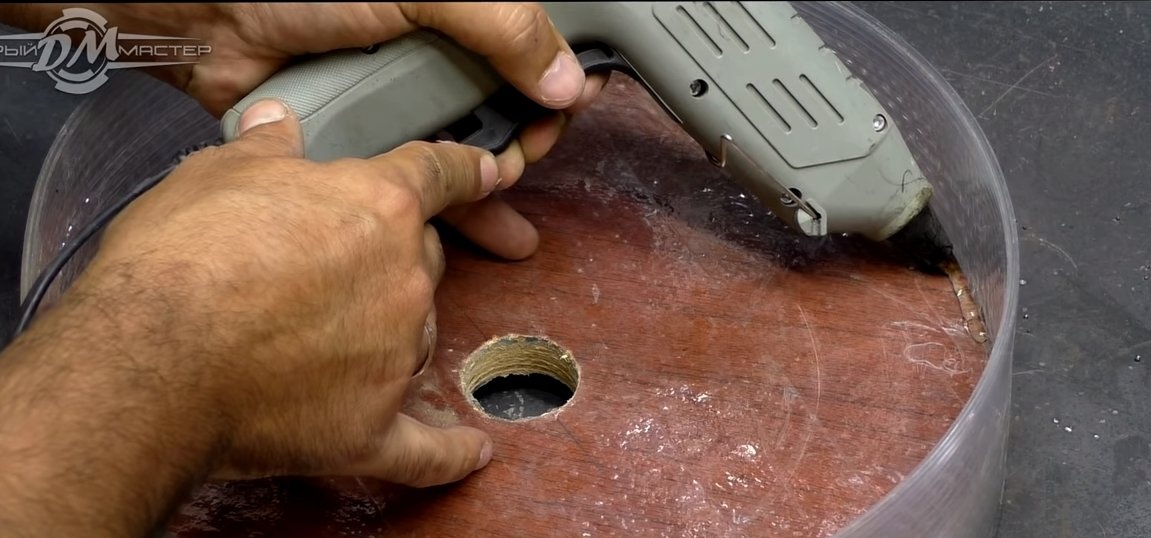
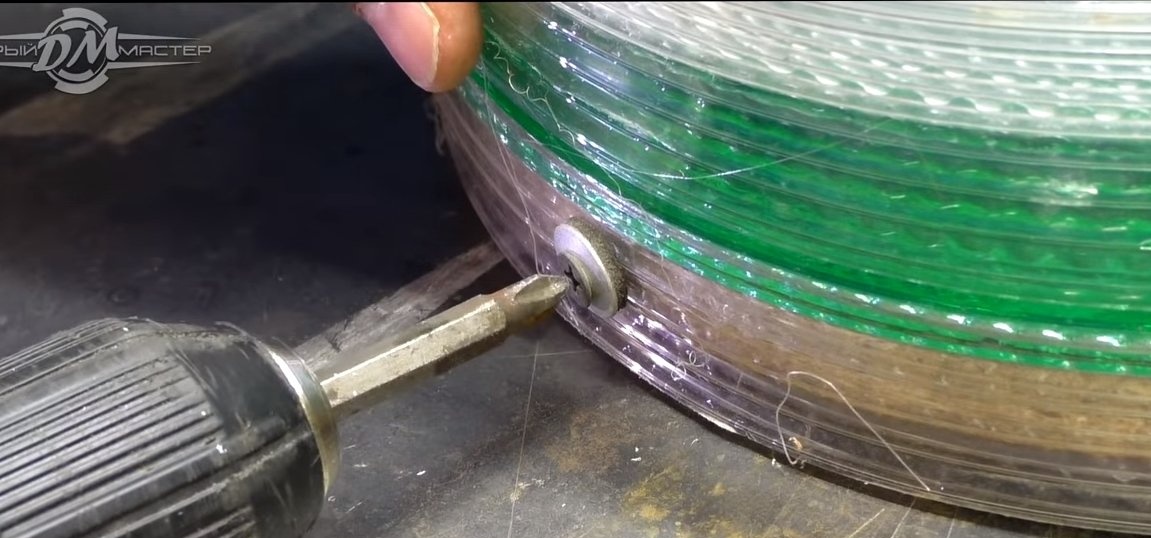
The second half of the seat is cast from epoxy, for this we need to make the formwork. It is important to know that epoxy is very fluid, so the formwork should be as tight as possible.We arm ourselves with a milling cutter and cut out a circle from chipboard, then we need polycarbonate, acrylic or other sheet material. We fasten the polycarbonate to the base to formwork. Now we need a glue gun or silicone, we tightly seal the joints so that there is no leakage anywhere.
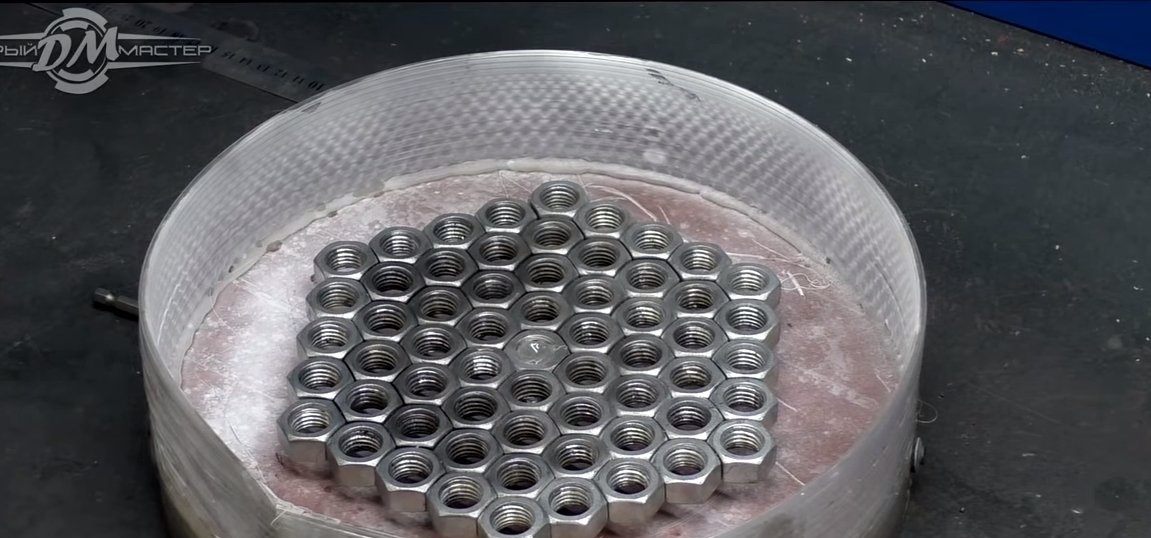
That's all, now we put our nut structure in the formwork and you can knead the epoxy.
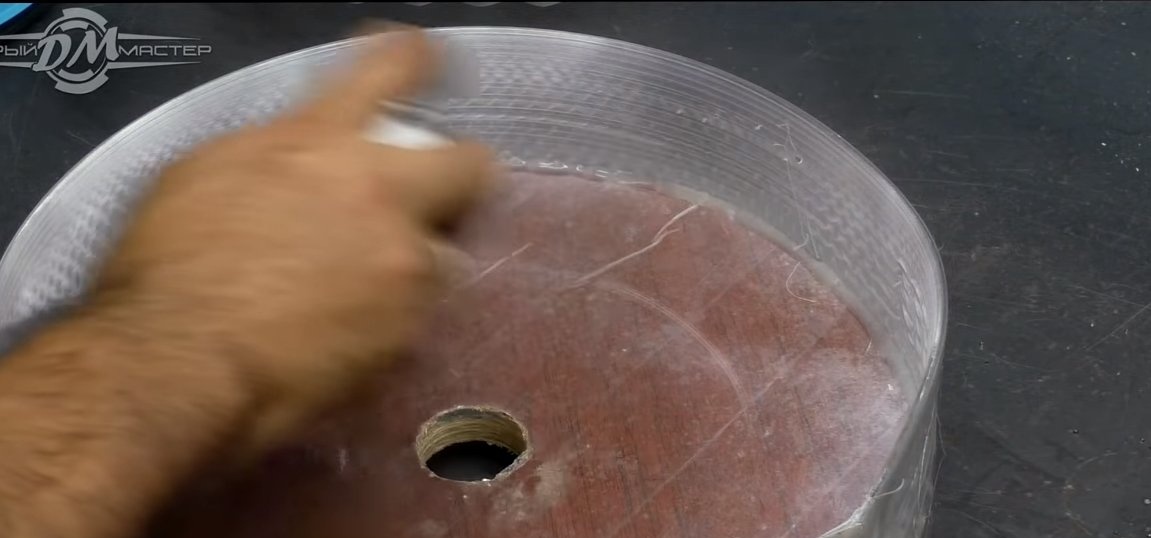
So that the resin does not adhere to the formwork, it is well treated with a separation wax.
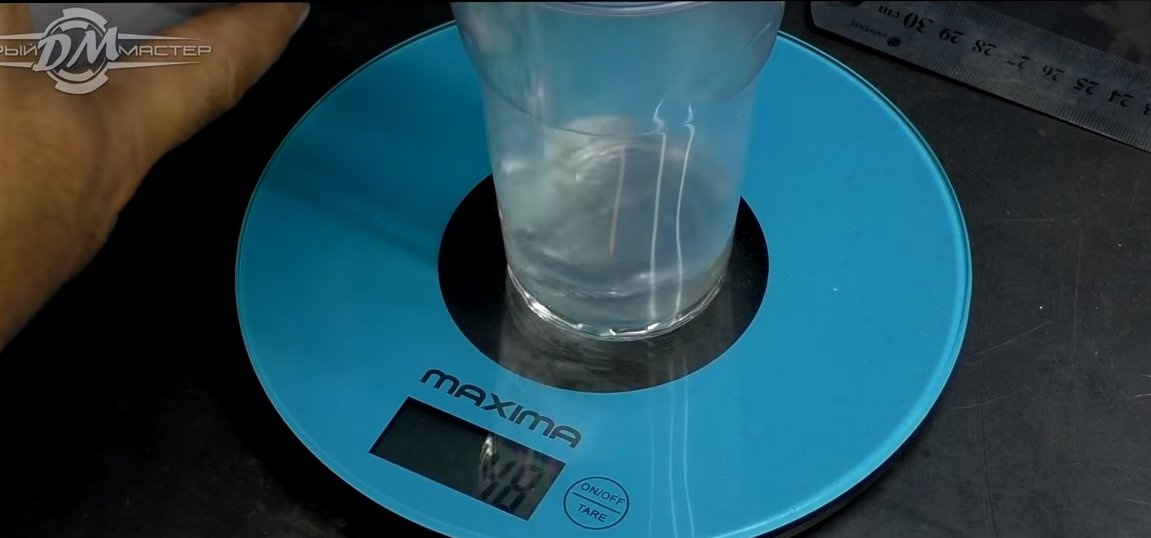
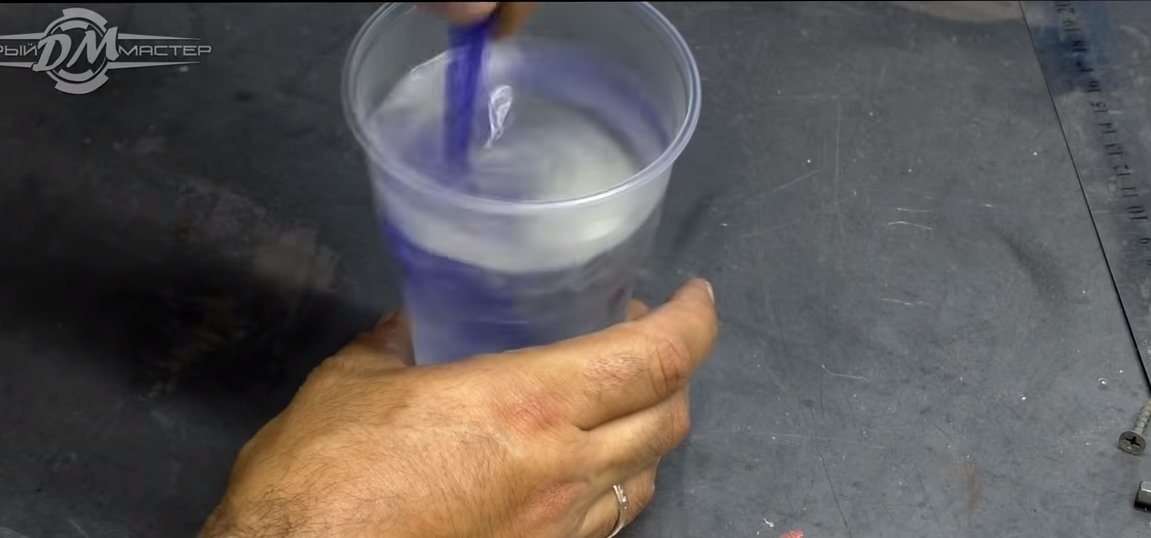
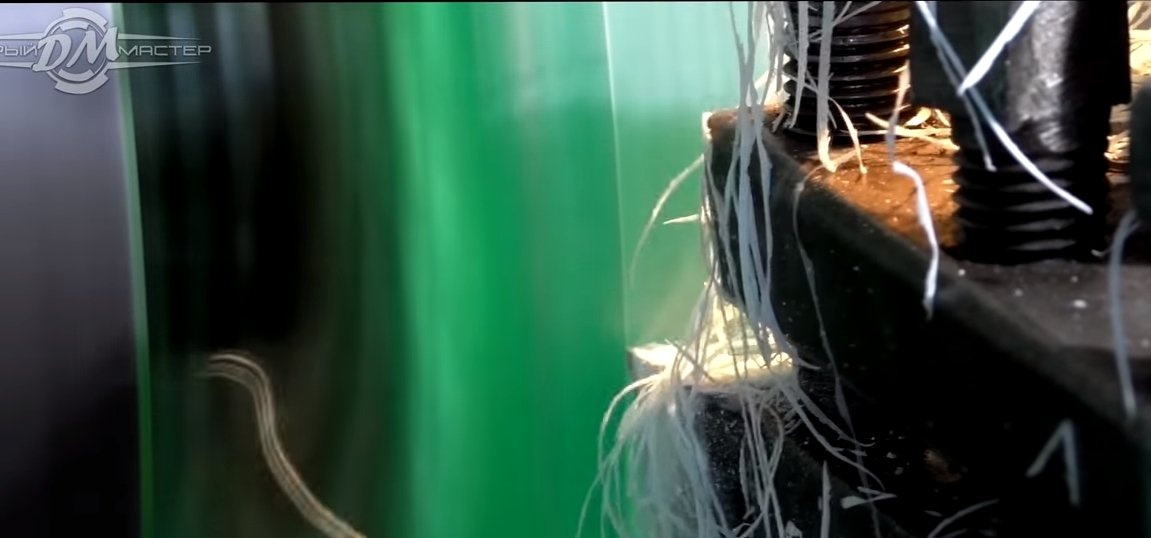
The resin is kneaded by weight, so we use electronic scales for this. The main part of the resin is transparent with the author, but then he adds in a circle a little resin with a green dye. As a dye, ink from an inkjet printer or an ampoule from a pen is suitable. You can use a hairdryer to drive air bubbles out of the epoxy. We leave this whole thing to dry until completely hardened.
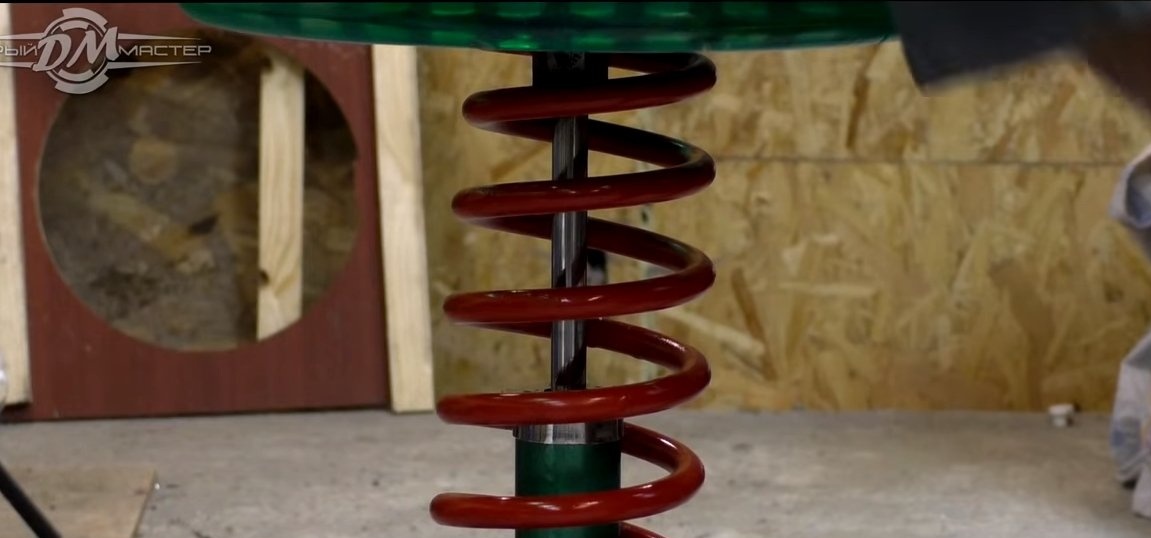
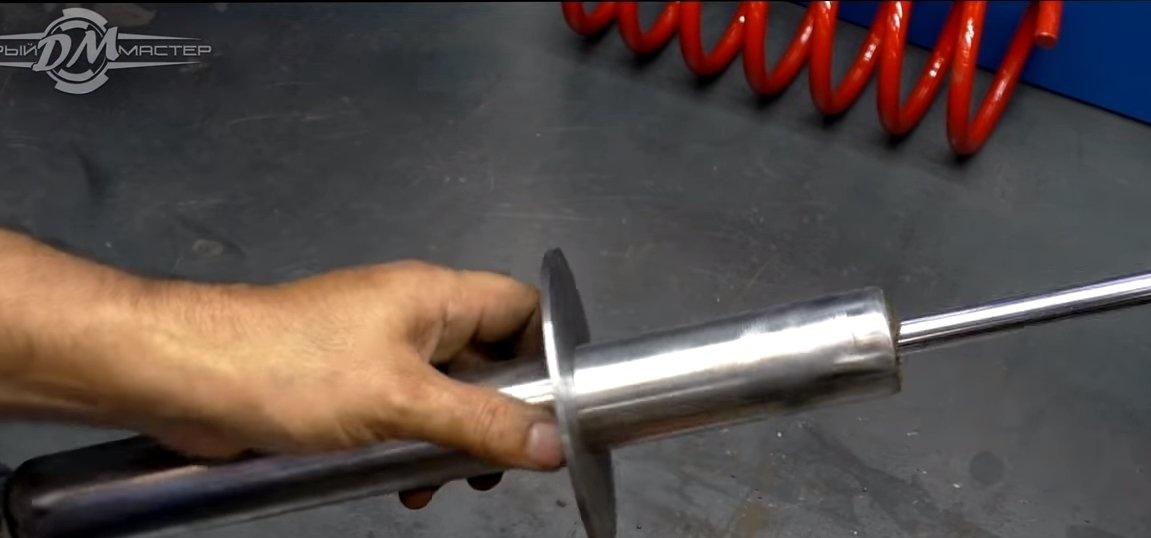
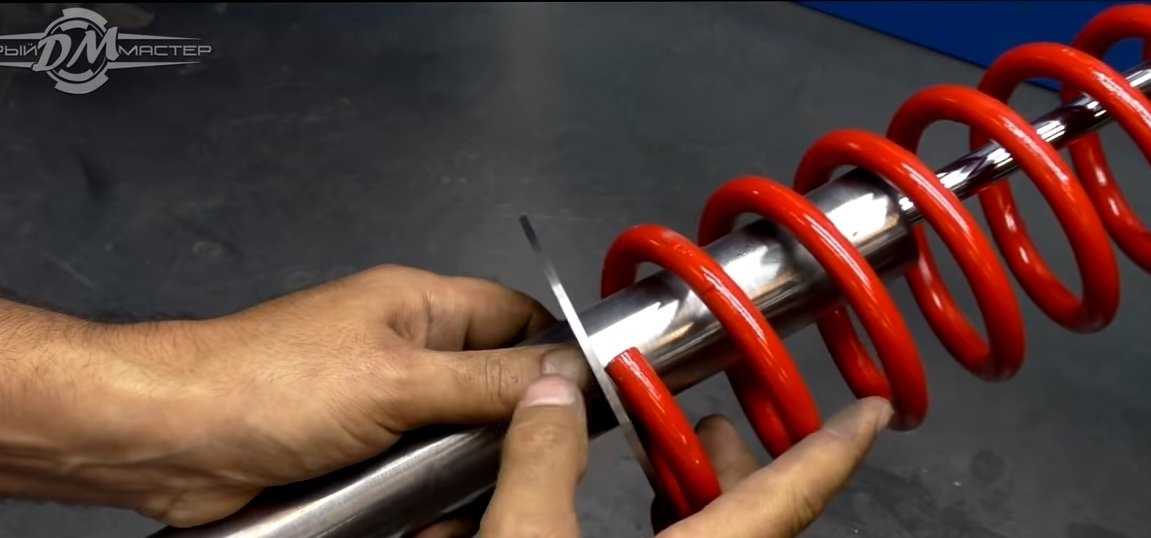
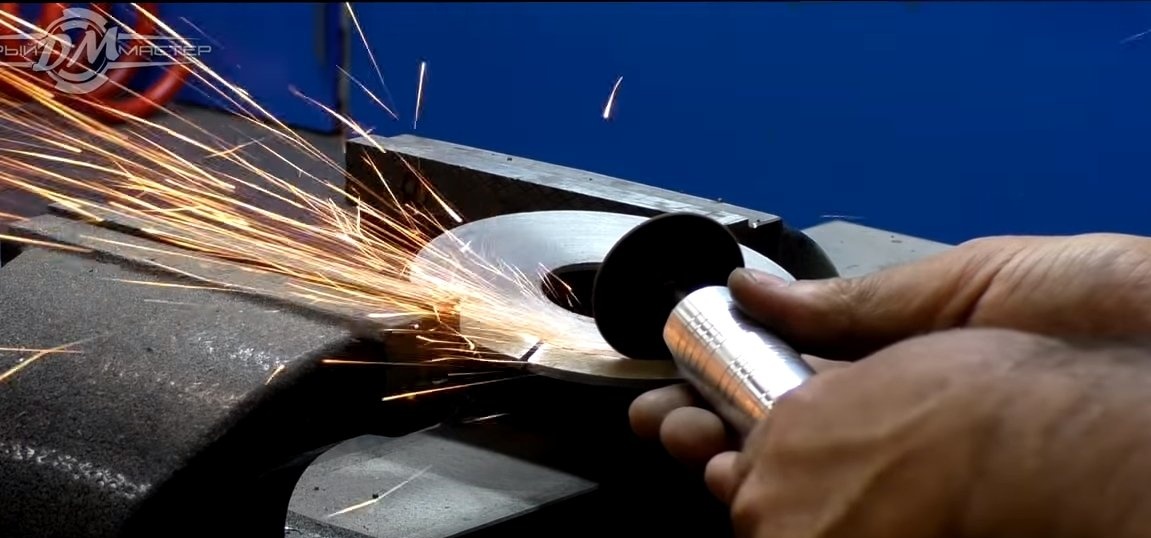
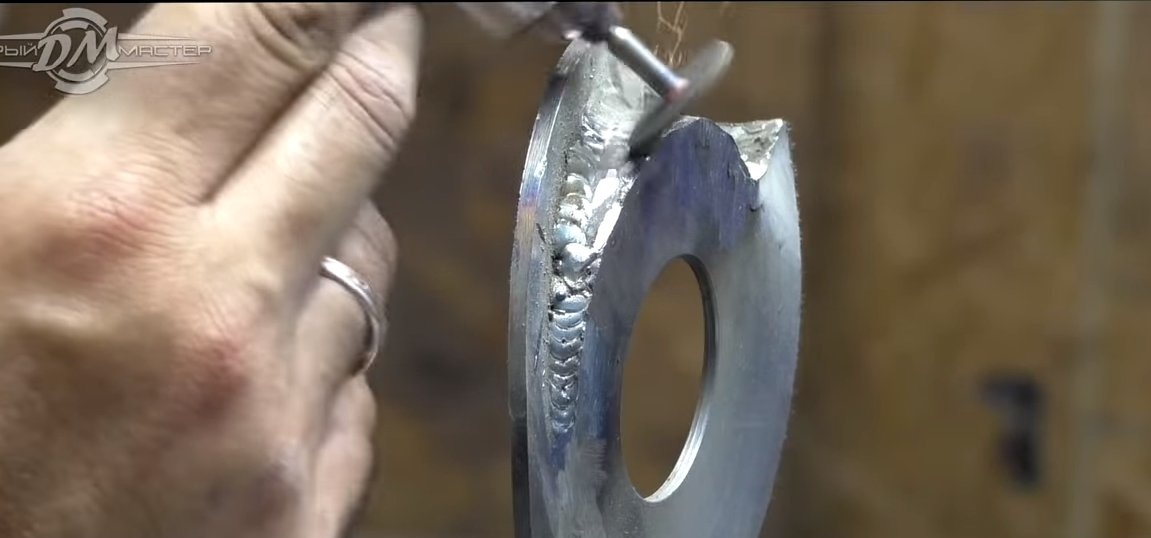
Step Four Spring stop
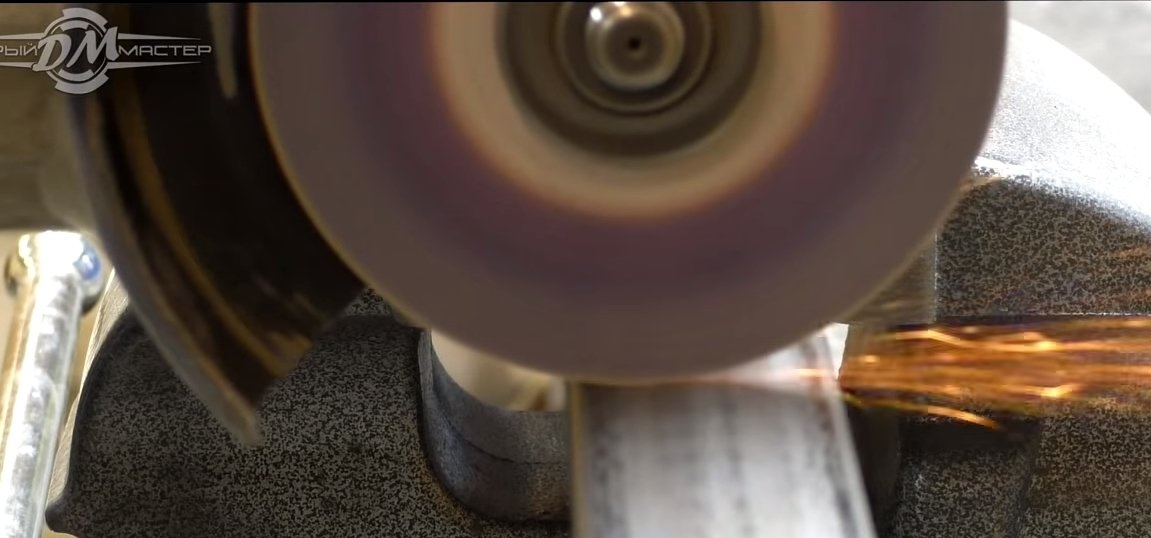
While the resin hardens, you can focus on the spring, for this we turn the washer of such a diameter on the lathe so that it can be put on the shock absorber. Then the washer is cut, bent and boiled so that the spring coils abut the received stop. That's all, the emphasis remains to be welded to the shock absorber.
Step Five Base assembly
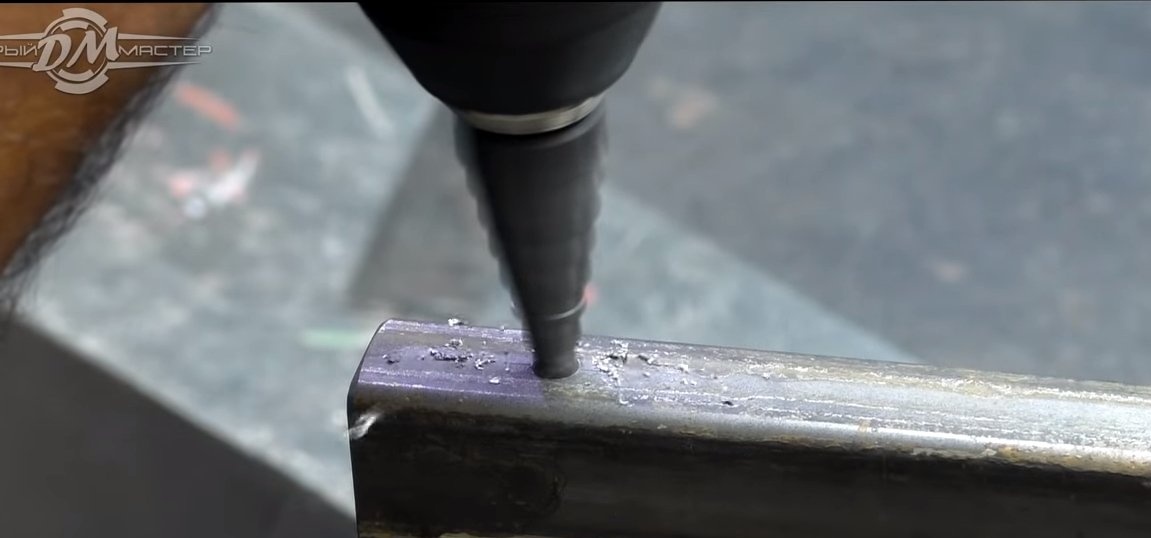
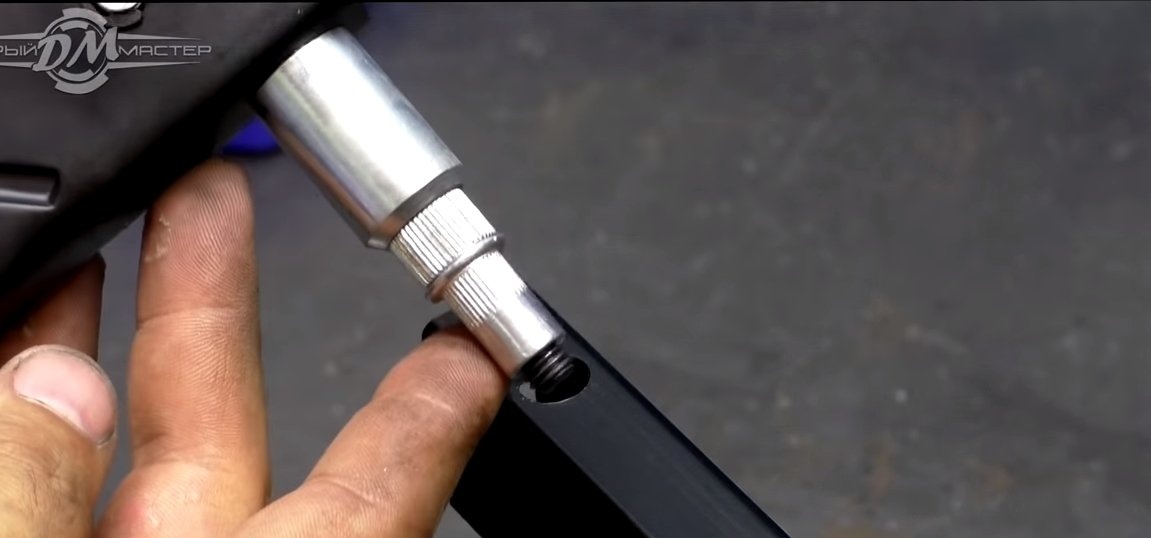
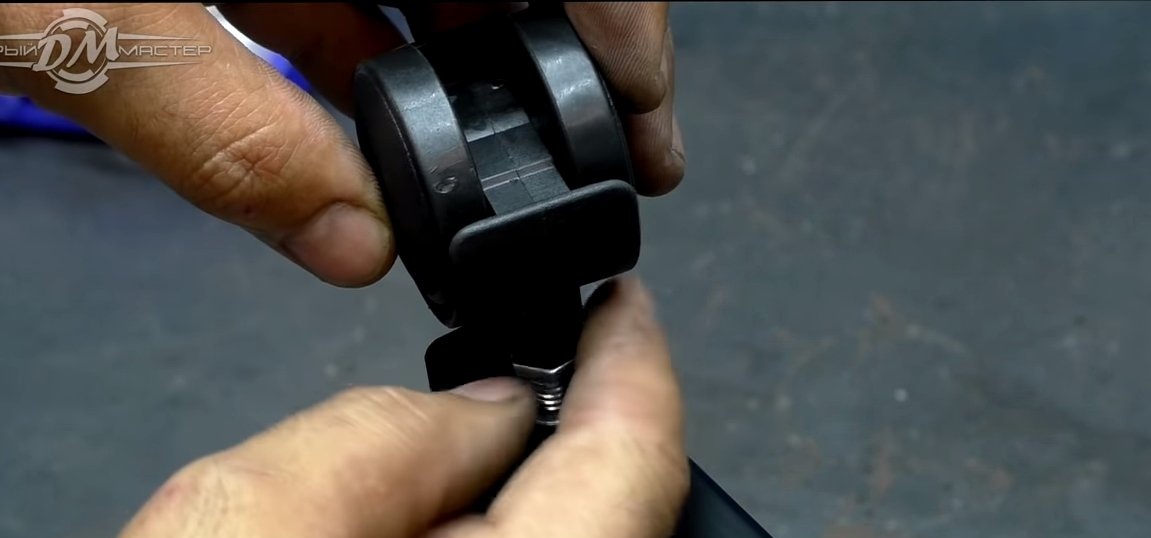
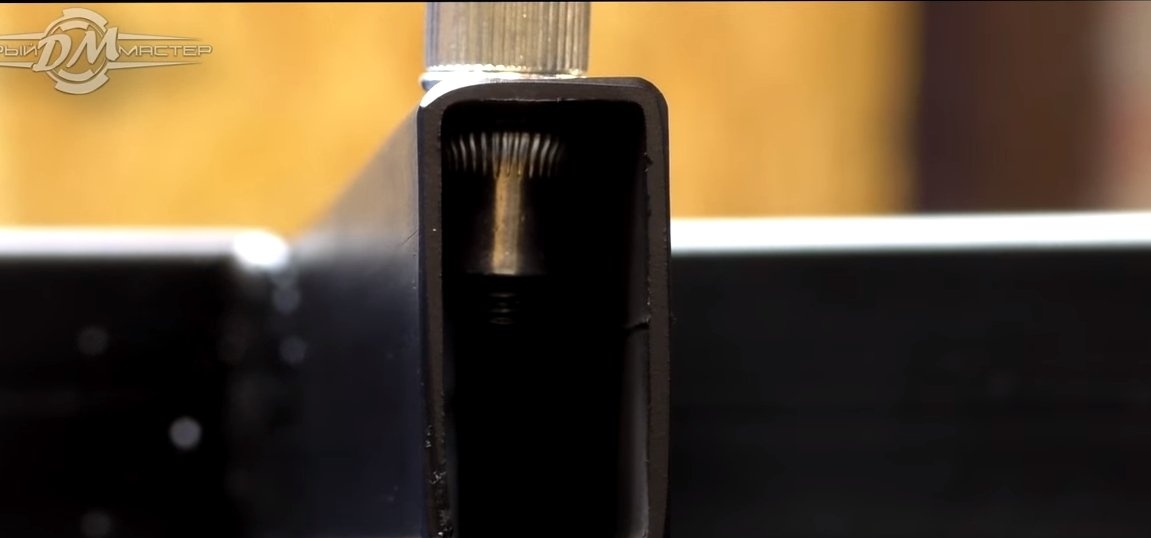
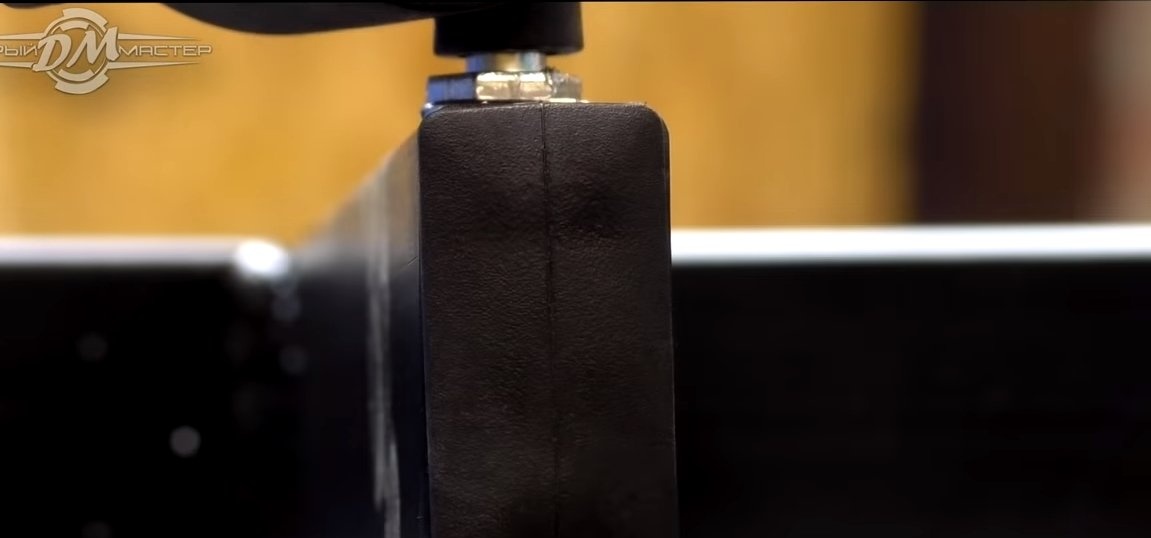
We assemble the base, we need to weld a shock absorber to it at a right angle. We also drill holes along the edges of the base and install countersunk nuts. As a result, we set the wheels on the basis, and now the chair is almost ready, it remains to finalize the seat.
Step Six Modify the seat
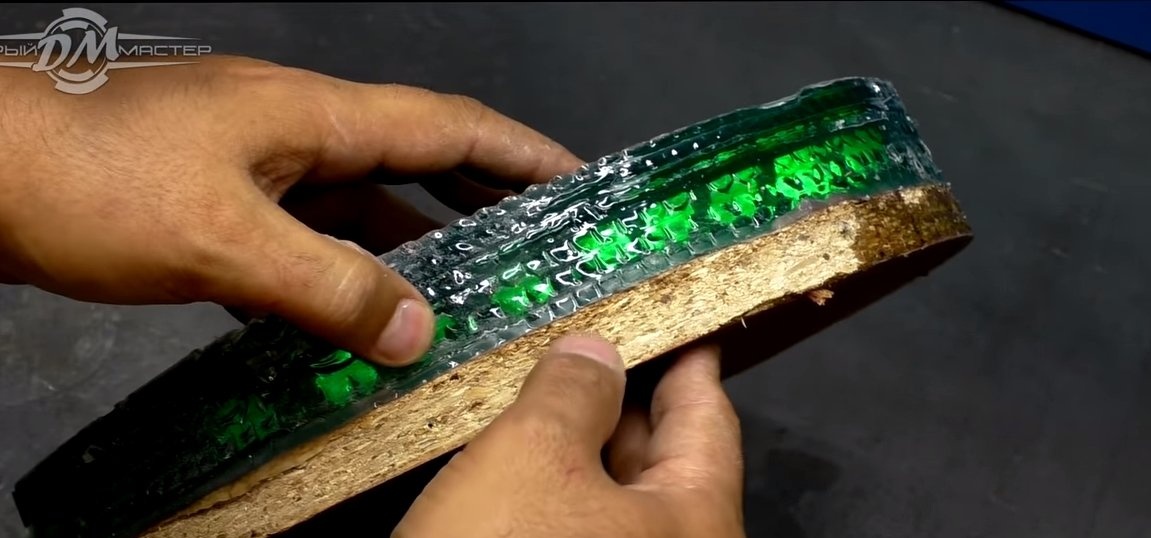
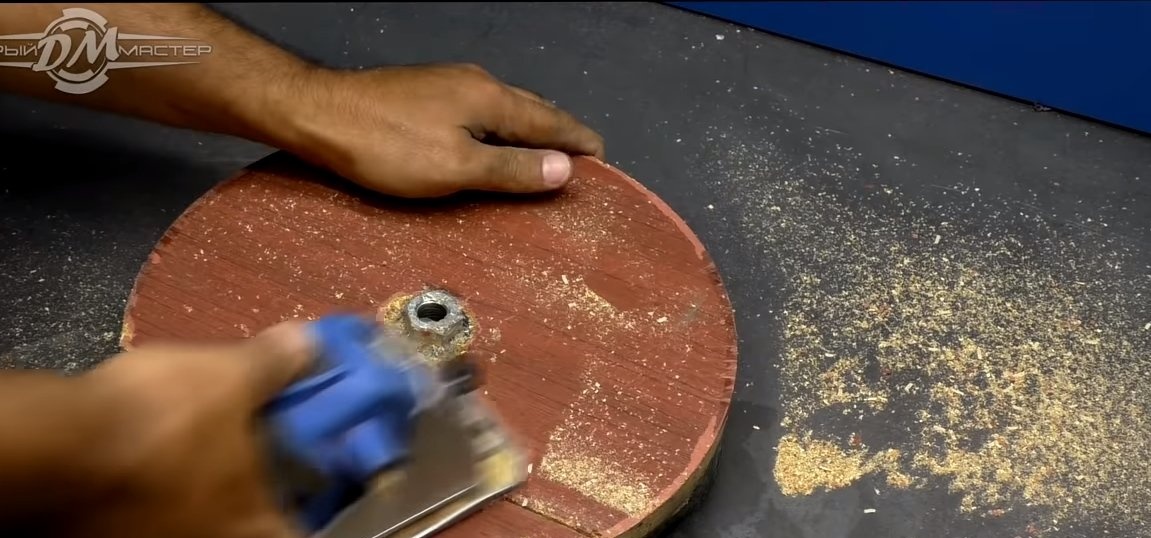
We disassemble the formwork, the author managed to remove the polycarbonate without problems, but the resin adhered to the chipboard quite strongly. To solve the problem, the author armed himself with a hand-held circular saw and cut the chipboard. Well, then pieces of chipboard were removed with pieces using a chisel.
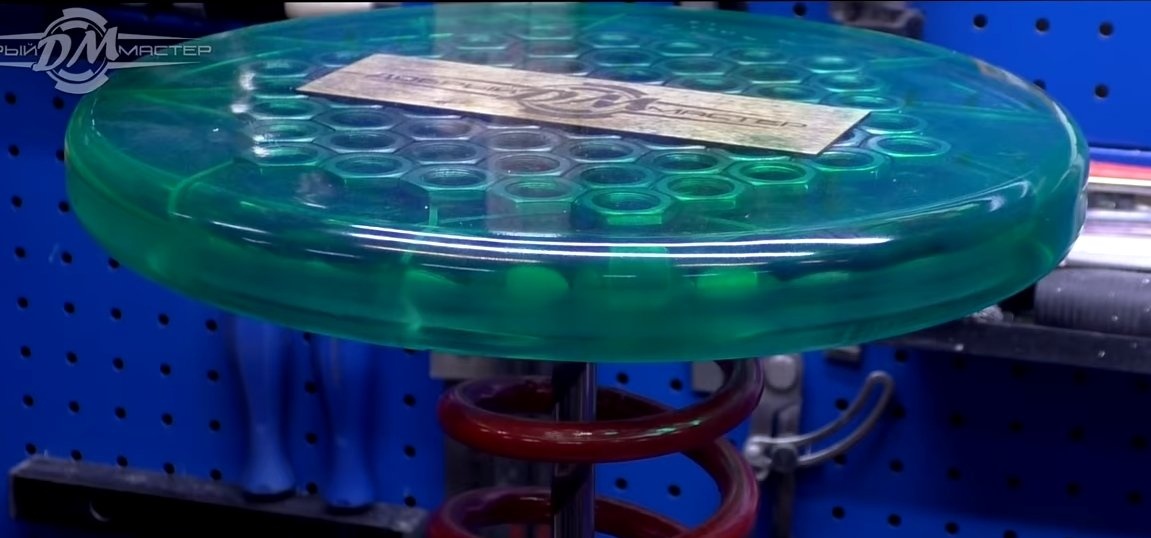
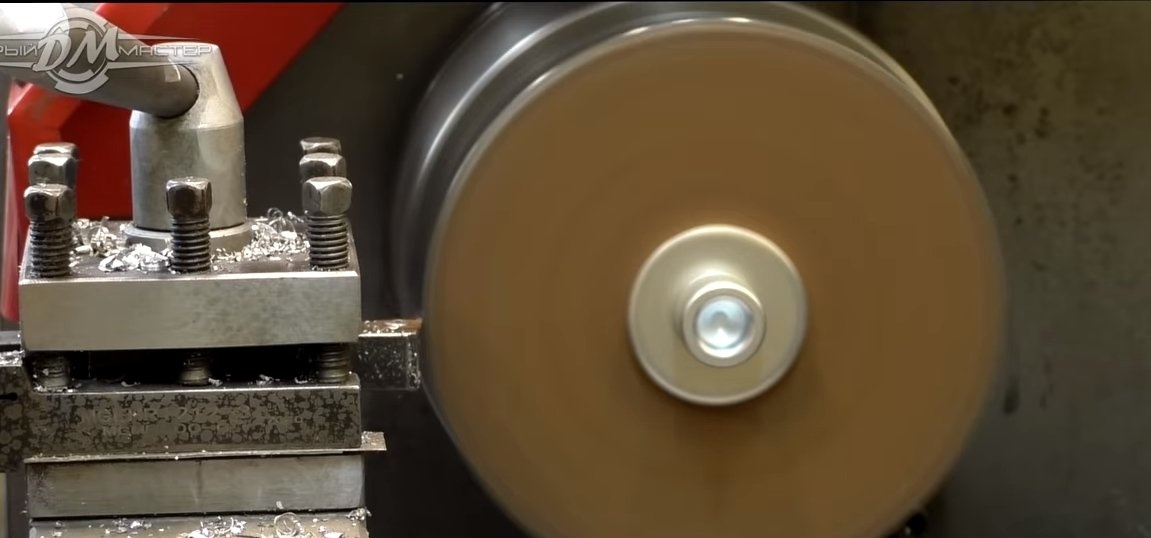
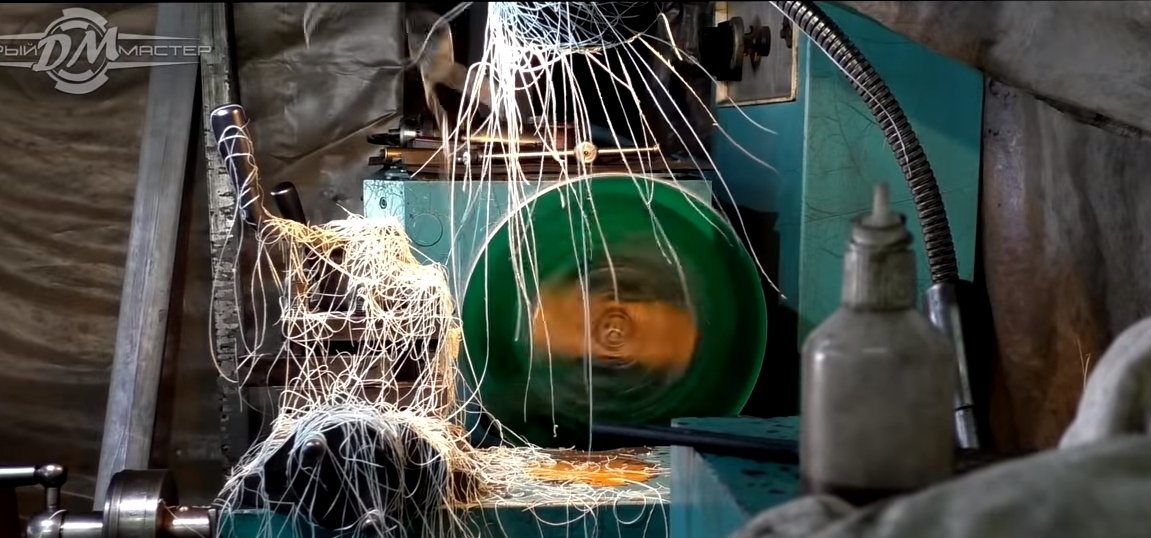
The product was removed, now it needs to be processed on a lathe. We fasten the seat for the nut in the machine chuck and grind the seat in a circle. When working with the author, the whole machine was thrown with “pasta” made of epoxy resin, and the lamp was decorated quite interestingly. So be prepared for this phenomenon when processing epoxy.
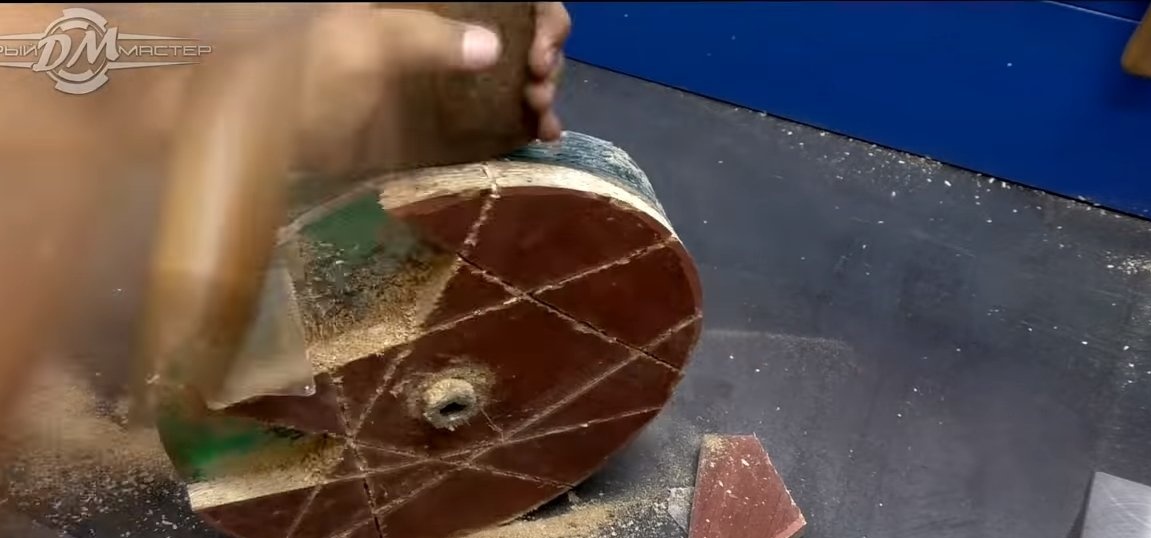

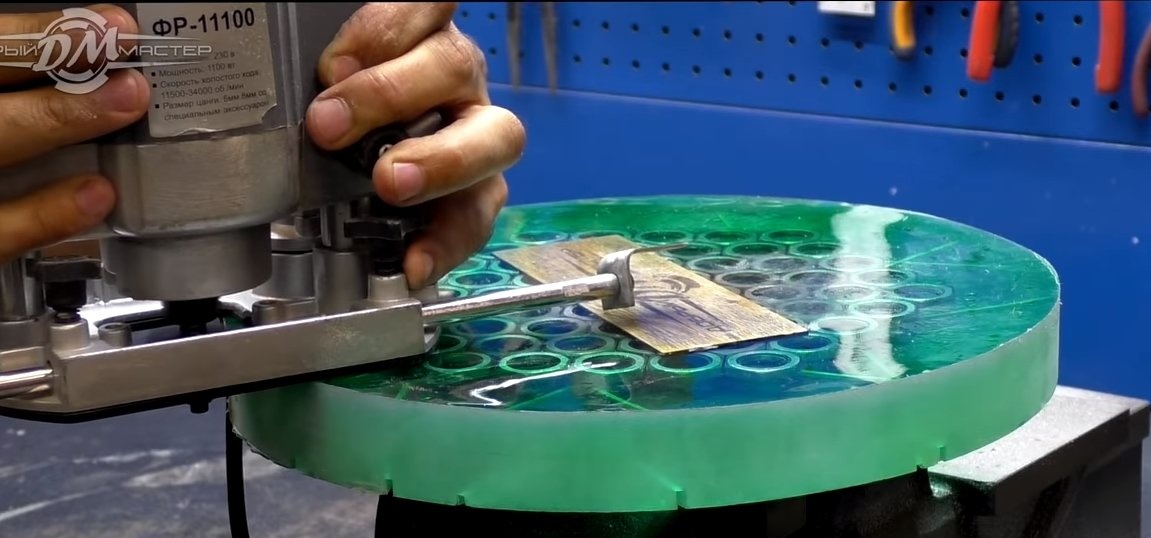
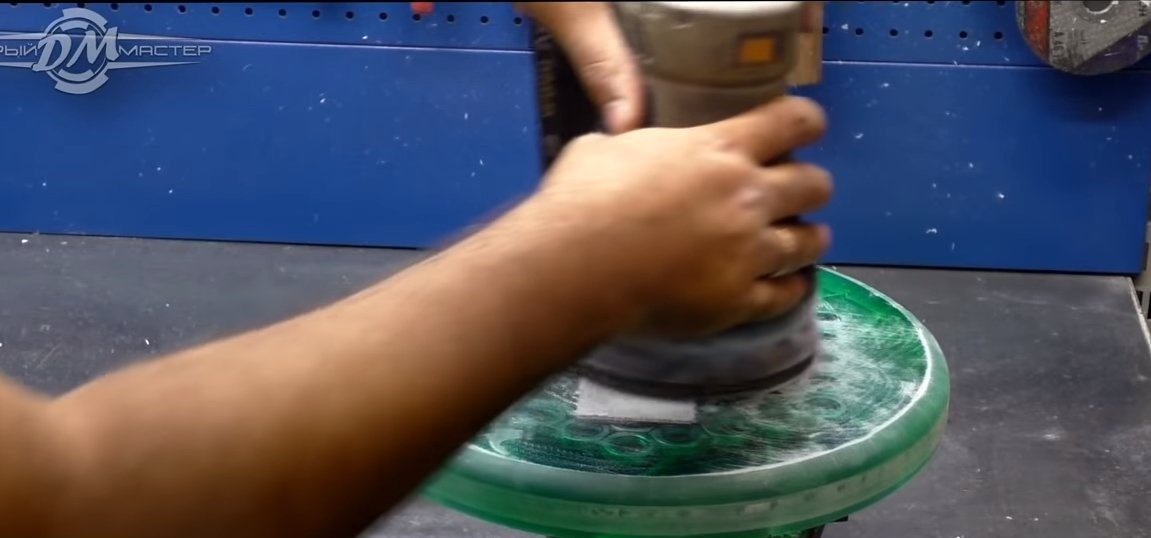
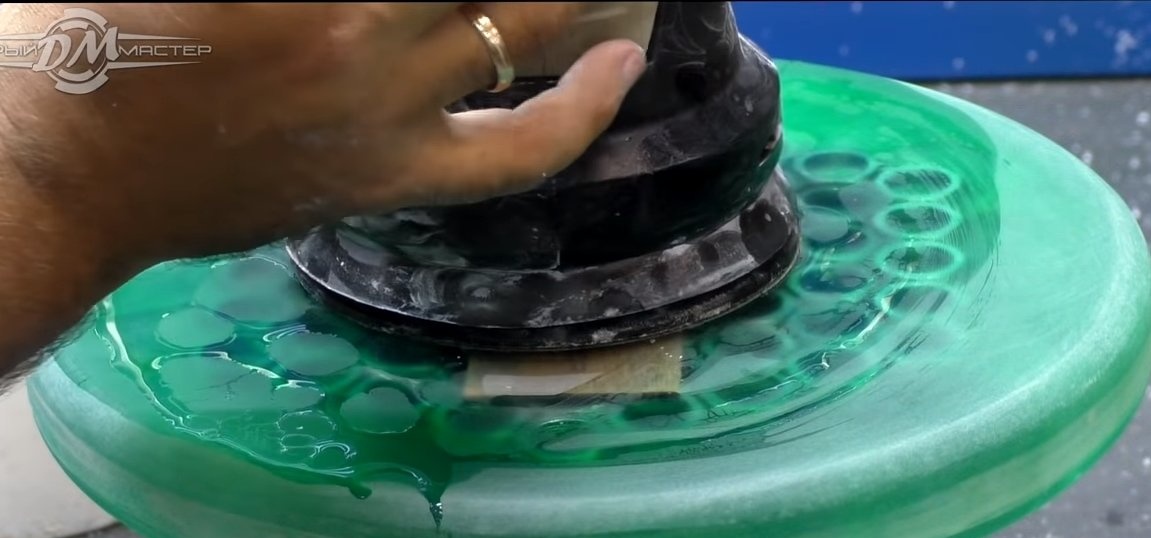
As a result, we get a perfect circle with sharp edges, these edges need to be rounded, the milling cutter will help us with this. Well, then we proceed to the polishing of epoxy resin, the author used a cordless orbital sander for this. At the end, the resin must be coated with a protective varnish, so it will become crystal clear and will be protected from the harmful rays of the sun.
That's all, the chair is ready, we fasten the seat to the shock absorber and you can experience it. The author liked the homemade work, everything looks interesting, and sitting on a chair is quite convenient. On this project is over, I hope you liked the homemade. Good luck and creative inspiration, if you decide to repeat this. Do not forget to share your ideas and homemade things with us!