In modern times, LED lamps are used everywhere. Searchlights, tapes, rulers, household lamps. For example, at my place, almost all the lamps on LEDs of size 2835. Lamps, of course, break down.
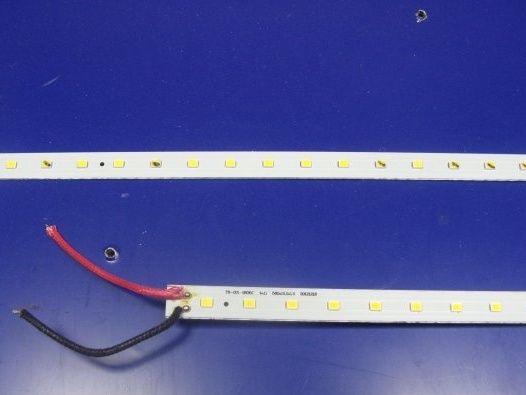
They brought me a line of 44 LEDs. On the line there are 4 segments of 11 series-connected LEDs. The segments are interconnected in parallel.
To find out which LEDs are blown, you can use the simplest multimeter. Need a measurement limit of diodes, I have it combined with a limit of 2000 Ohms. We touch the probes to the conclusions of the LED. Determine the polarity, you can change the probes between themselves.
A working LED is highlighted. Seen in the dark.
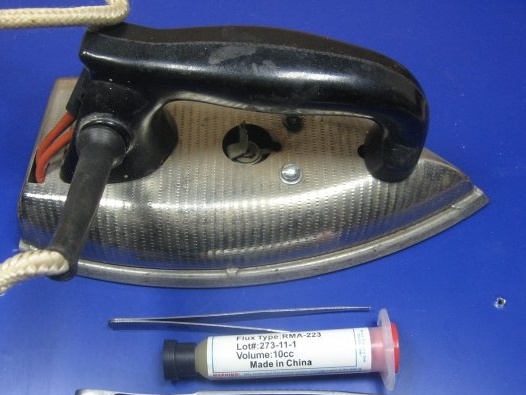
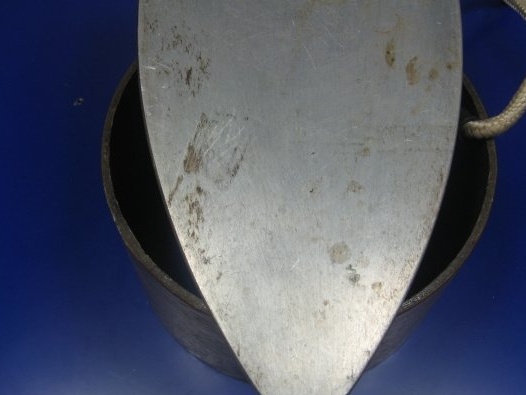
A few words about a special soldering iron. I will solder with an ordinary household iron. I have this old man of the Soviet era. I also make them boards using LUT technology. You will also need two tweezers. For convenience, soldering is needed, the Chinese version. You can use ordinary spitro-rosin. She's got more dirt.
We install the iron on a support so that it does not fall. Turn on and set to heat.
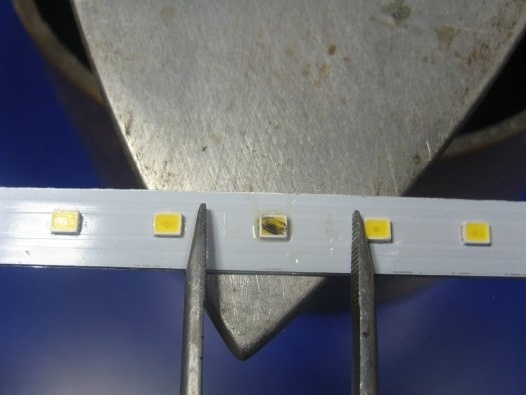
When the iron has warmed up, we take up the soldering of the burnt LED. We flux the LED leads and put on a heated iron. Press with forceps to improve heating.
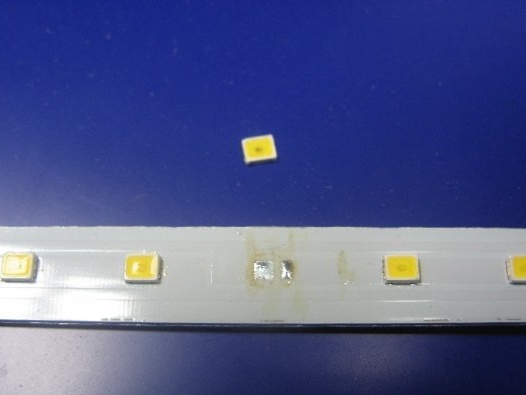
The LED is sealed off very quickly.
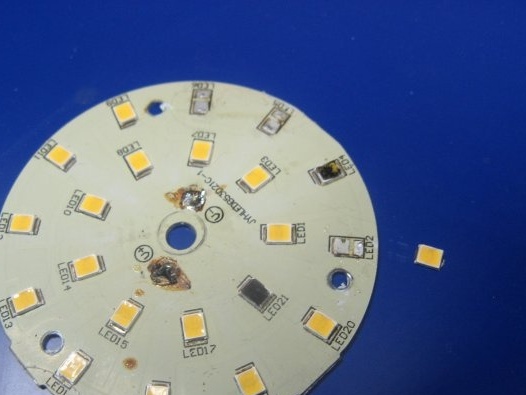
For repair, I applied an LED from the donor. My donor is a burned out lamp. There are the same LEDs. Just in case, check the polarity. You can, but you have to wait a long time. We solder off the LED.
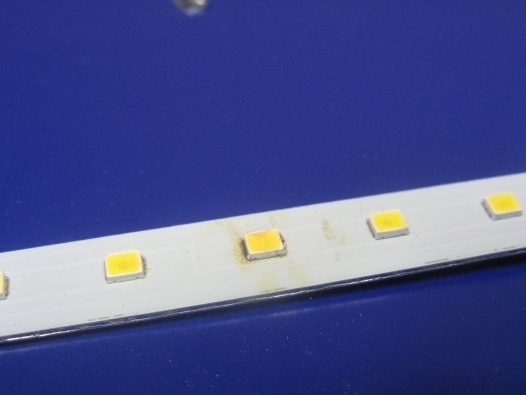
We apply the LED, having previously missed with flux. Everything is sealed.
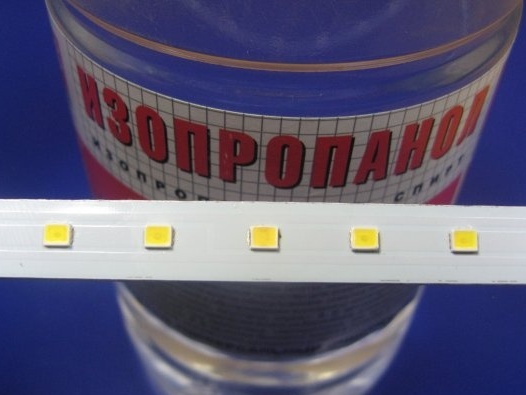
The residual flux is washed off with alcohol. I wash off with isopropane alcohol. The soldering point is practically not visible.
It remains the case for small. We connect the power supply and check. Everything works great. With this “special soldering iron” you can solder LEDs on an aluminum base.
Detailed video instruction:


