Hello to the craftsmen, I present for consideration such a useful machine as a profile bending machine. With it, you can easily turn profile and other pipes into a masterpiece of art. If you need to accurately and accurately bend the pipe, then this machine can easily cope with the task. The project proposed by the author is driven by an electric motor, however, she has not yet managed to install it and promised to publish the work of her car in the future. As for the pressure device, then these functions are assigned to the hydraulic cylinder. You can control such a cylinder using a manual hydraulic pump or using an electric pump. If you are interested in the project, I propose to study it in more detail.
Materials and tools used by the author:
Material List:
- channel;
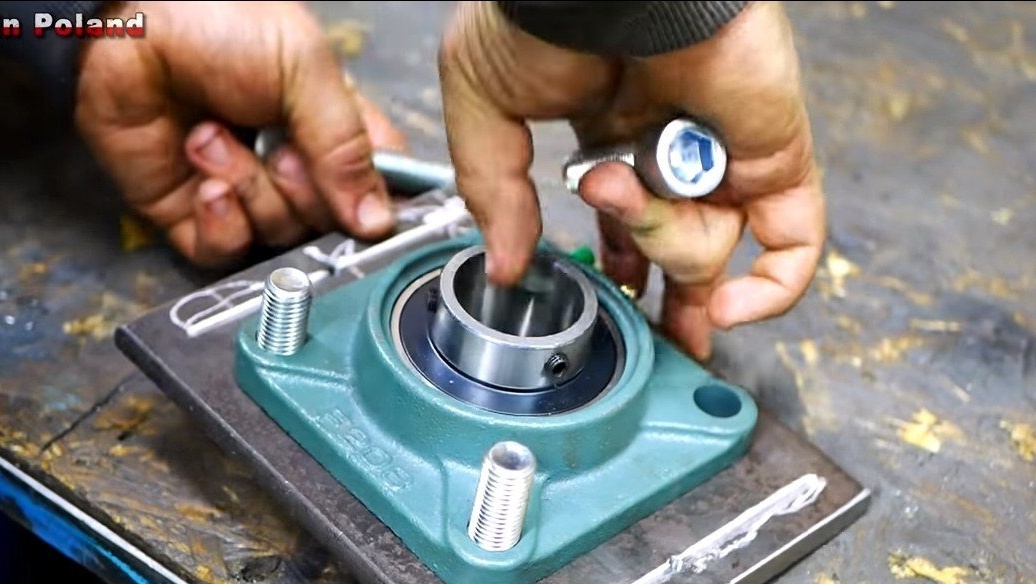
- bearings with housings;
- sheet metal;
- a round log for manufacturing axles;
- channel;
- bolts with nuts;
- iron plates;
- hydraulic cylinder.
Tool List:
- tape cutting machine;
- lathe;
- drilling machine;
- vise;
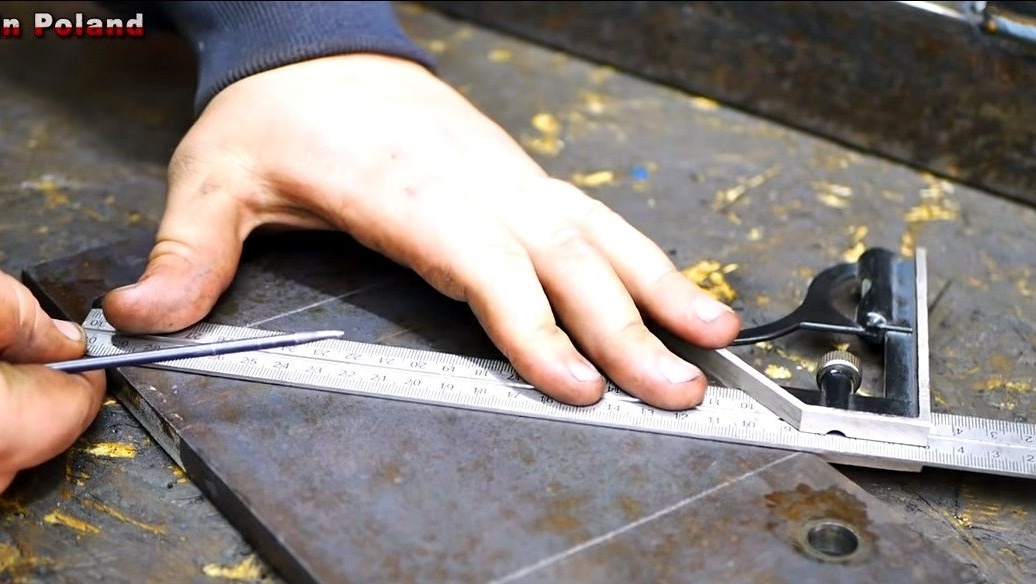
- tape measure and marker;
- ;
- ;
- .
Manufacturing process homemade:
Step one. Frame
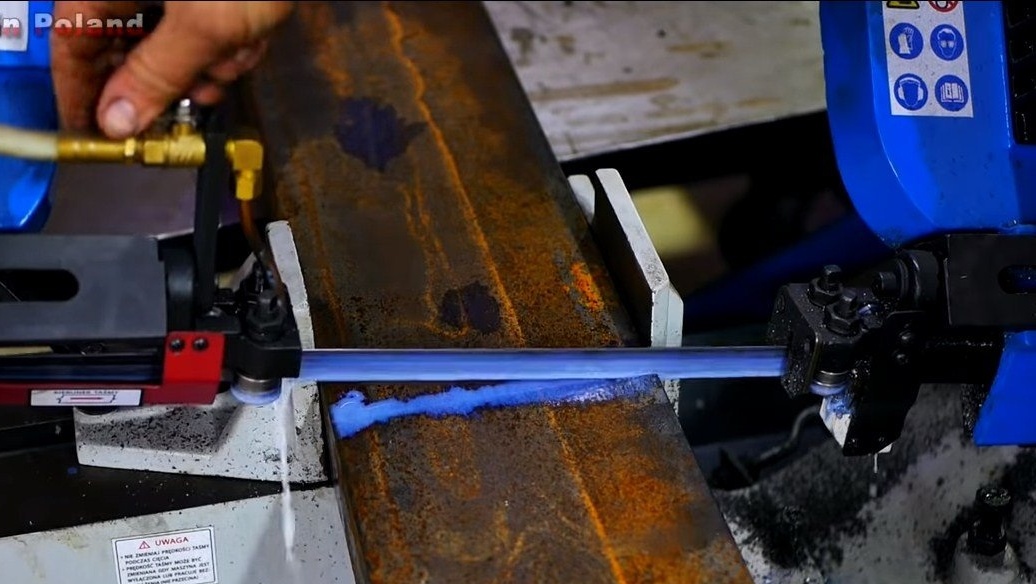
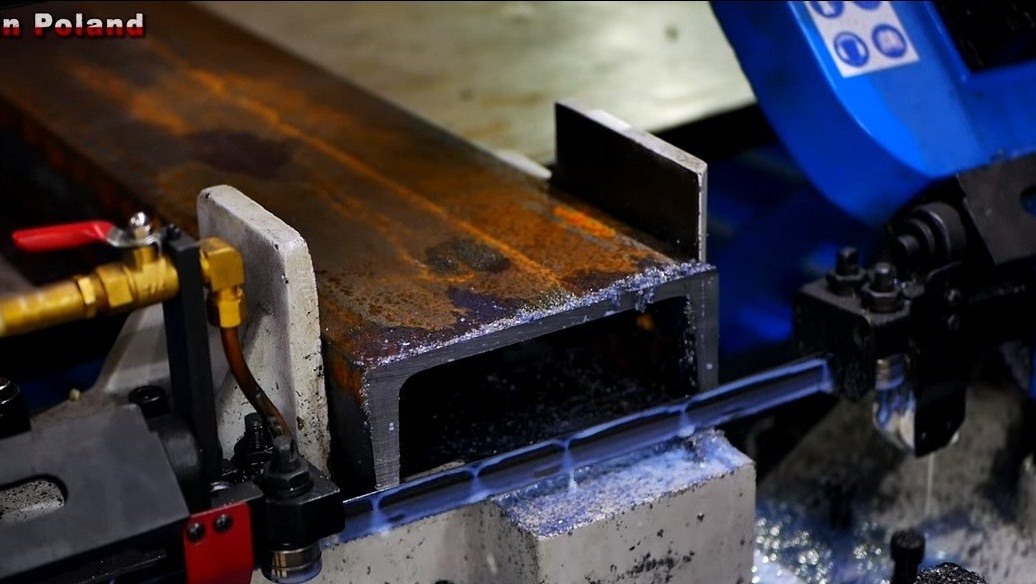
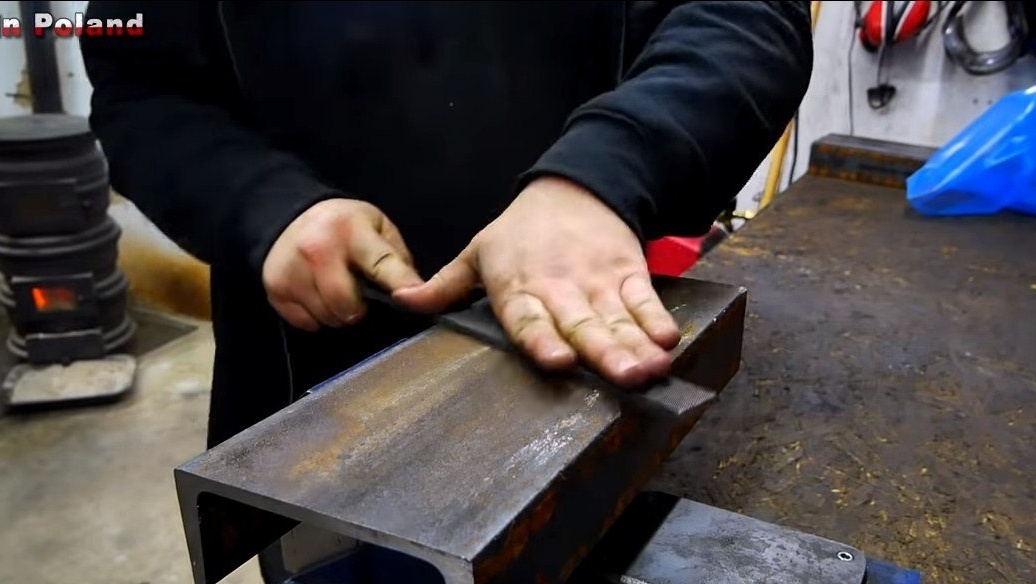
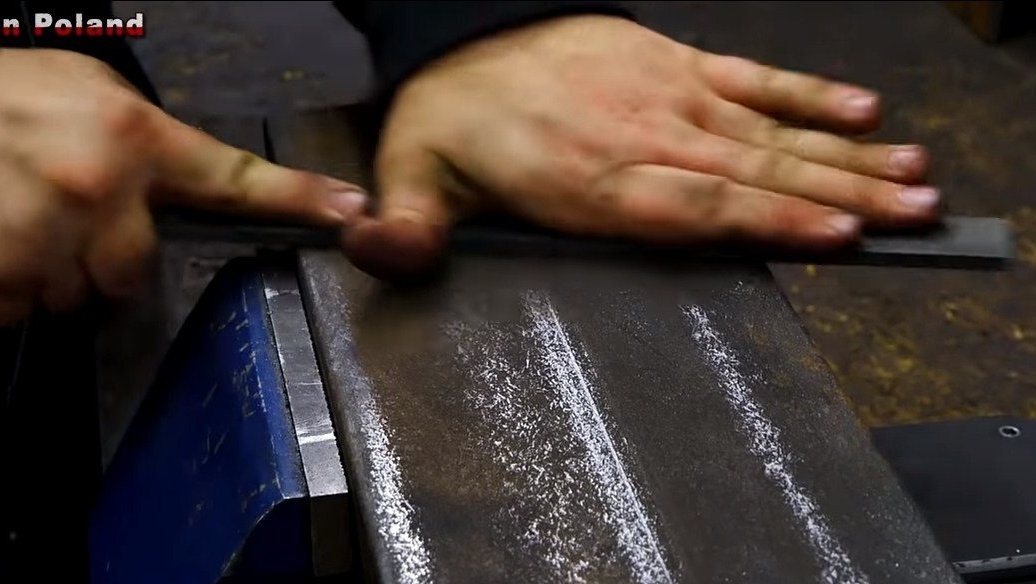
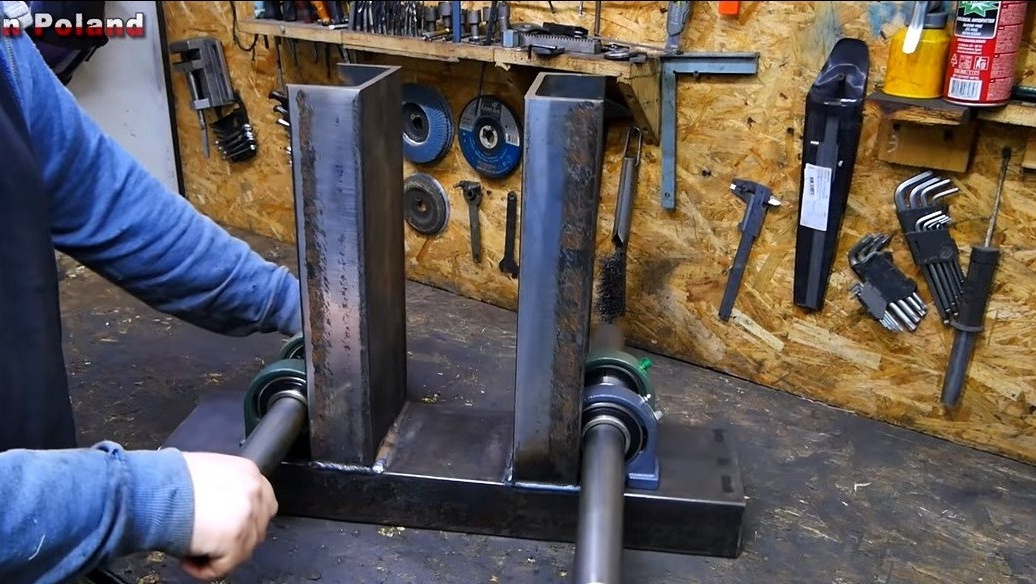
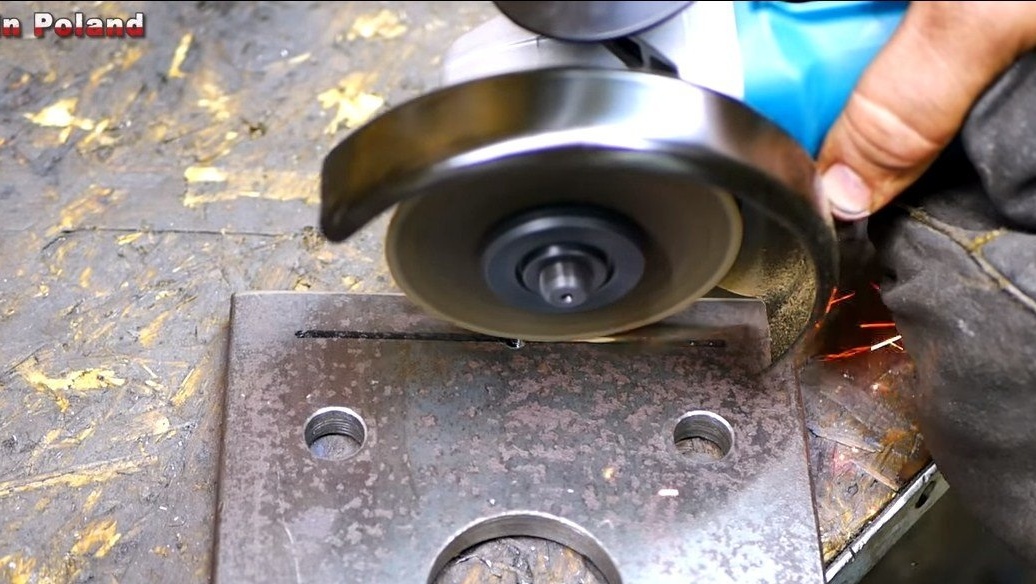
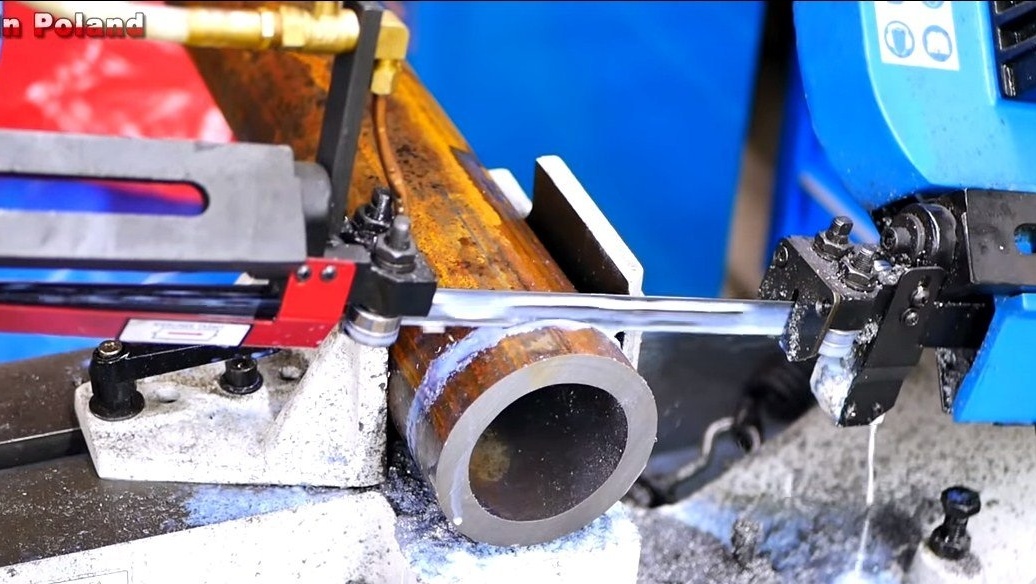
First of all, we will make the frame for the machine, it must be very strong. The author uses the channel as a source material, this material is the best suited for such purposes. To begin with, we cut the base, for cutting such massive metal, the author uses a tape cutting machine.
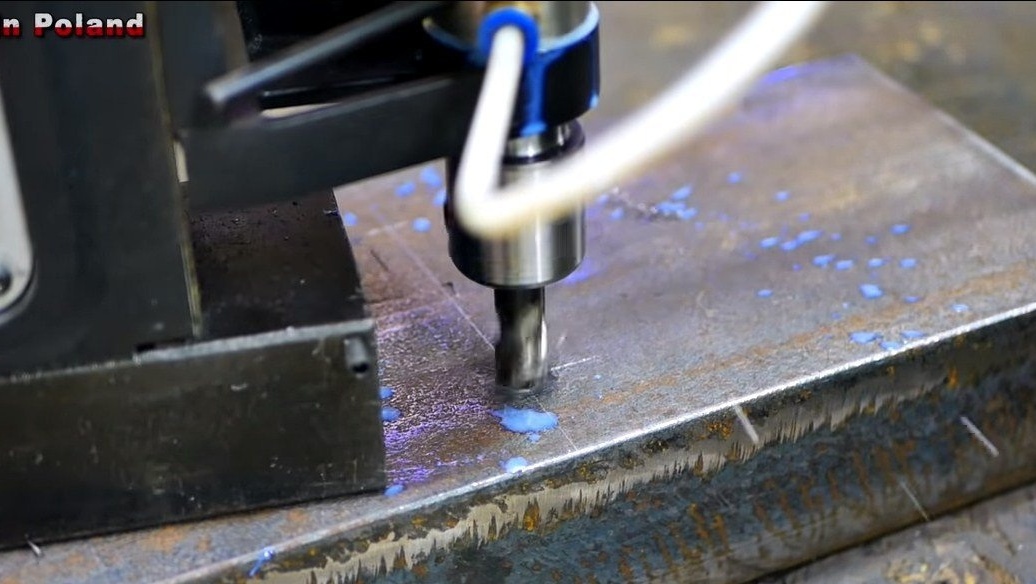
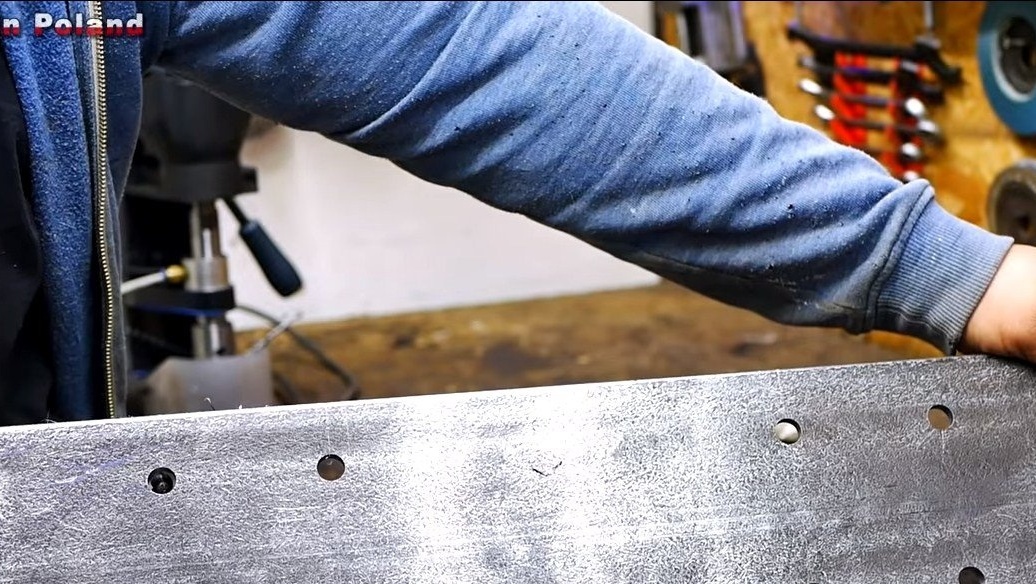
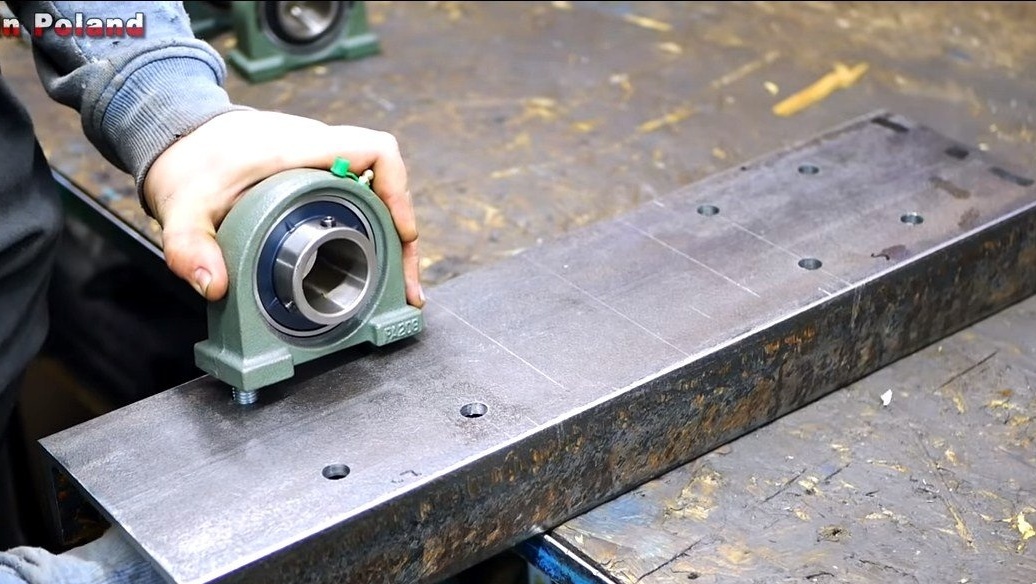
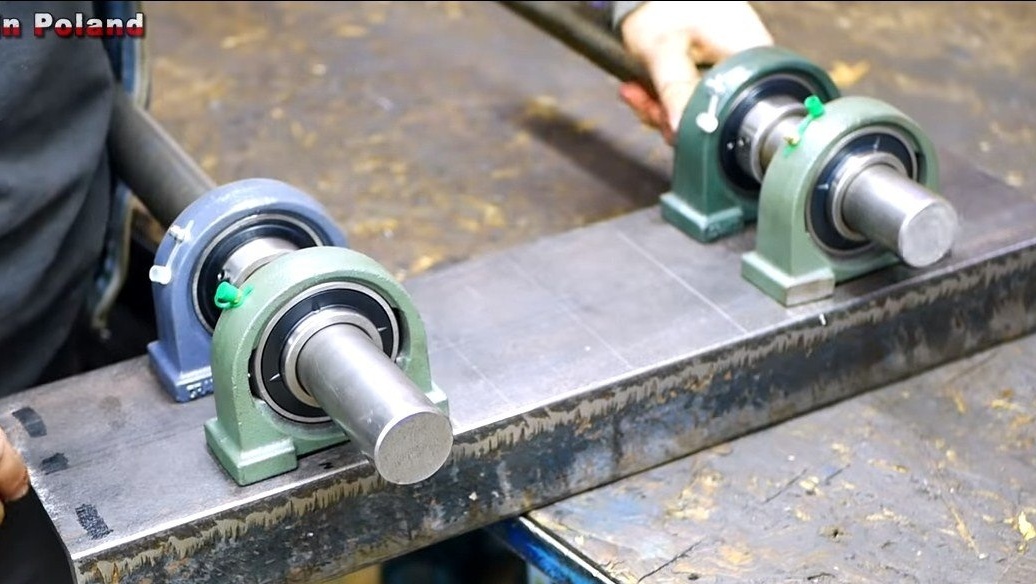
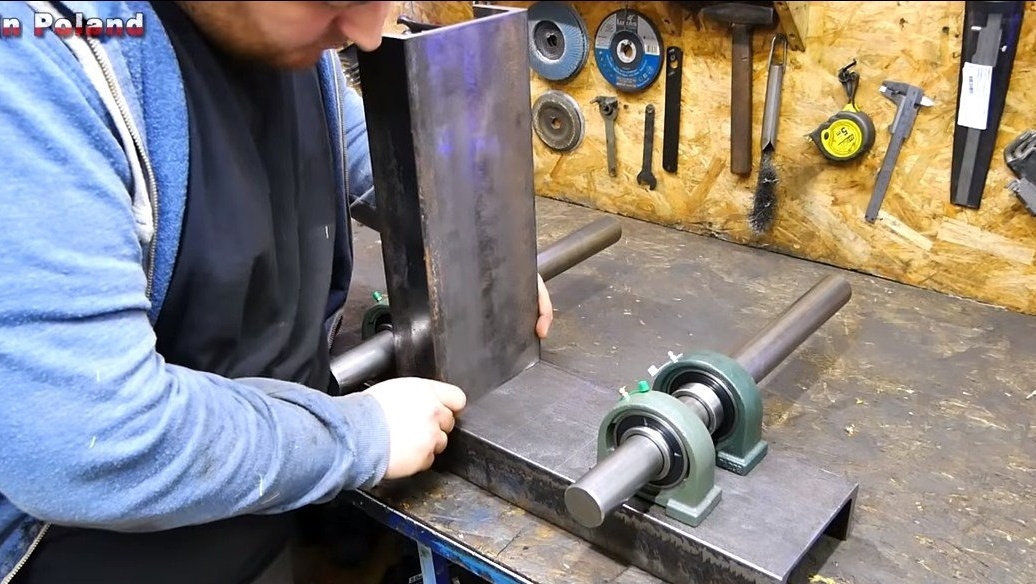
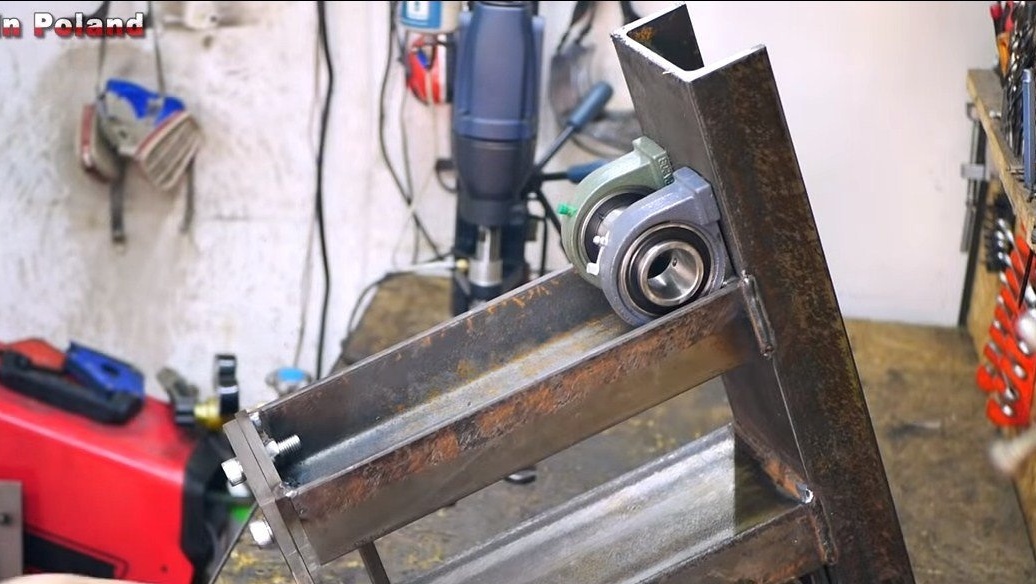
In the base, you can immediately drill holes for the bolts, with which we will screw the bearings. In total, 4 pieces are used, 2 for each axis.
Next, cut off two more pieces of the channel, these will be the racks, we weld them vertically to the base.

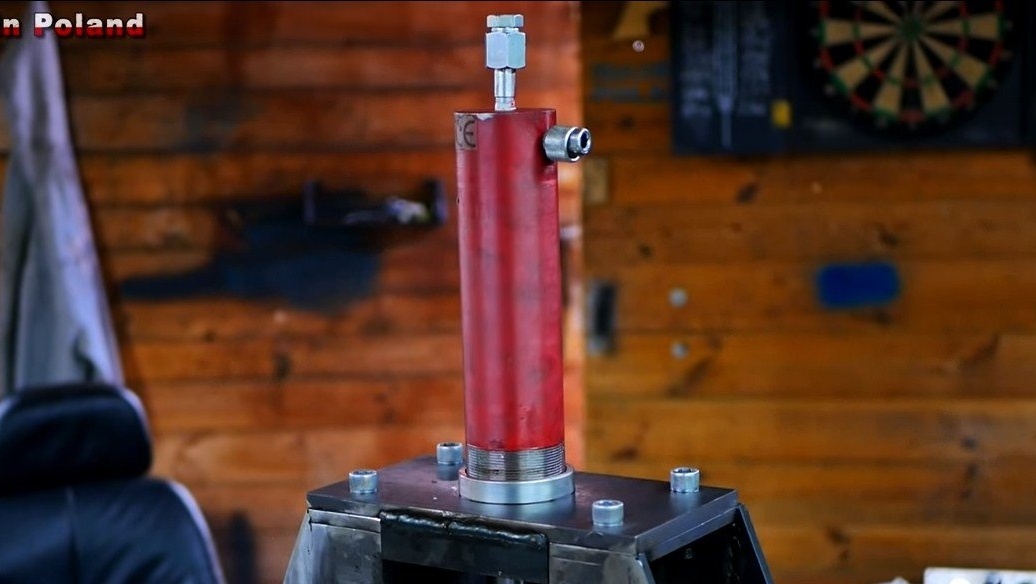
Step Two Hydraulic Cylinder Installation
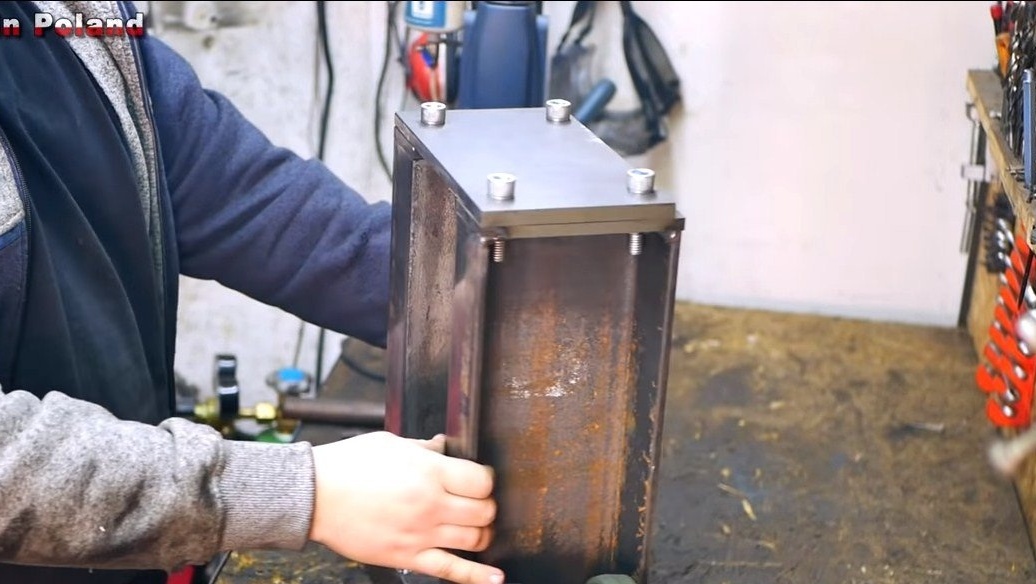
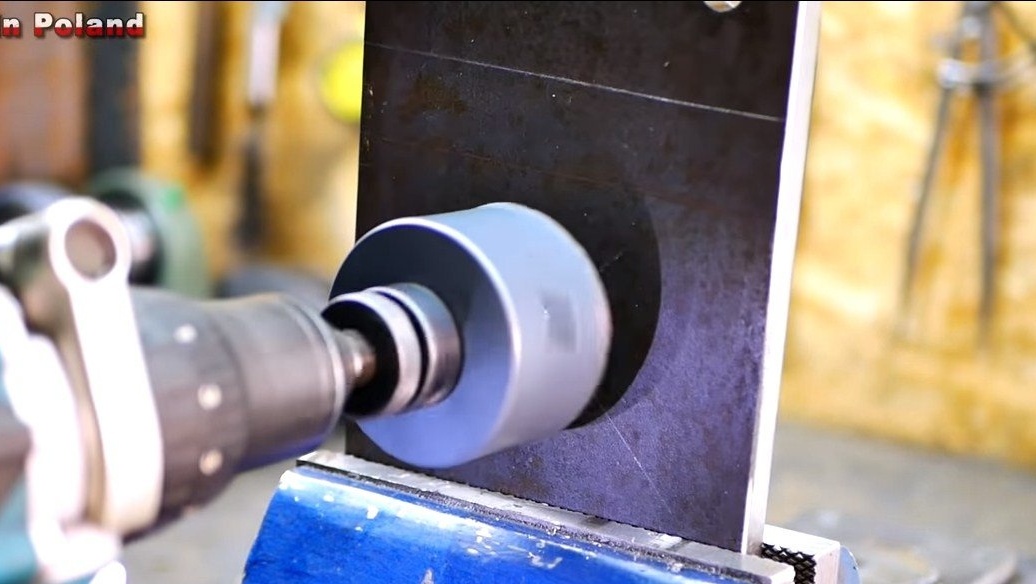
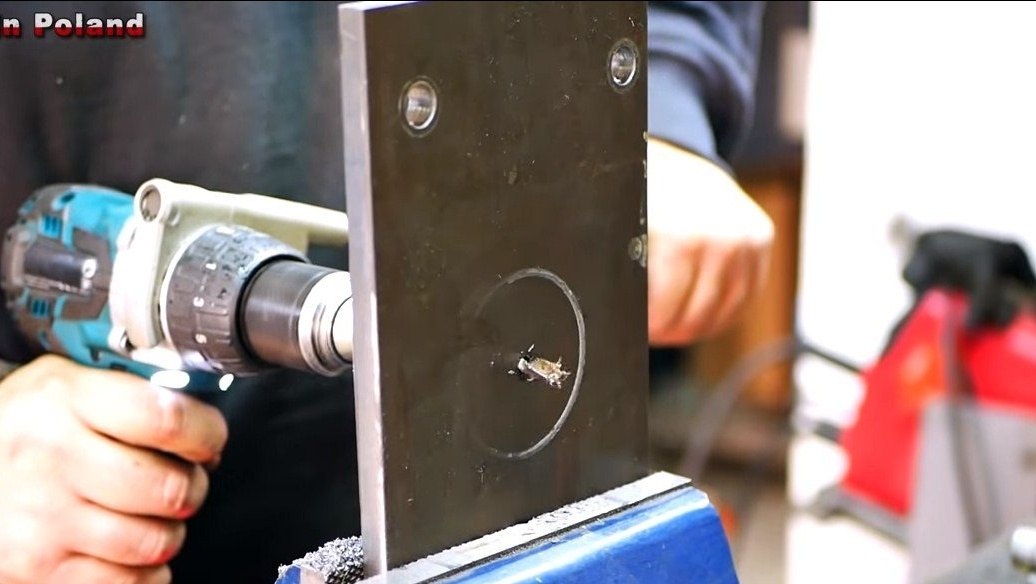
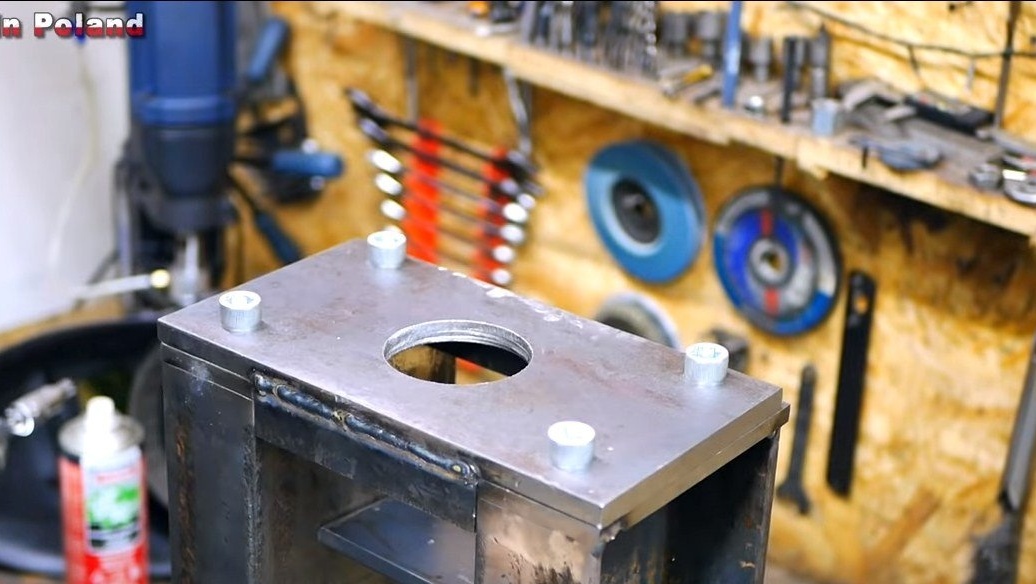
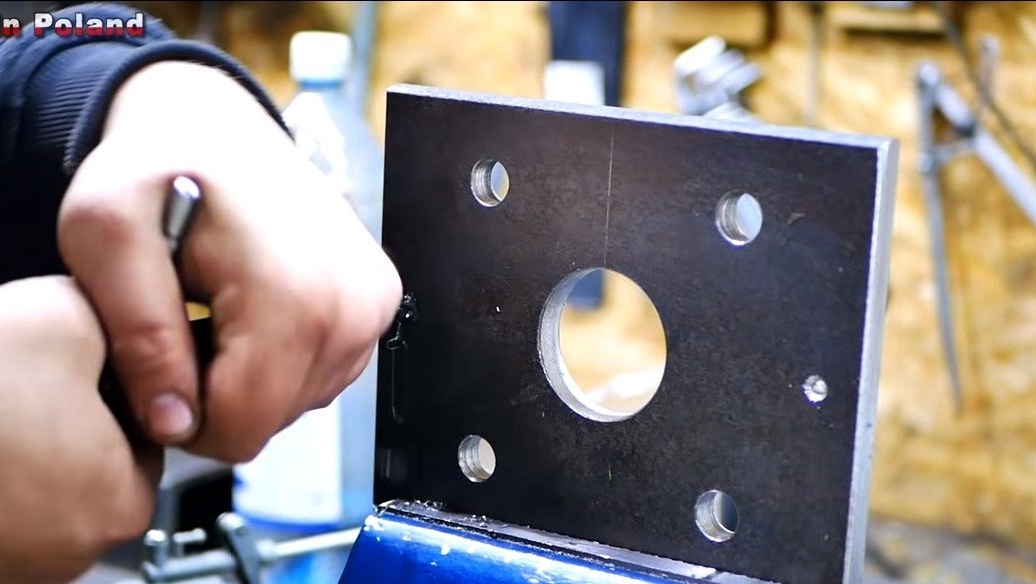
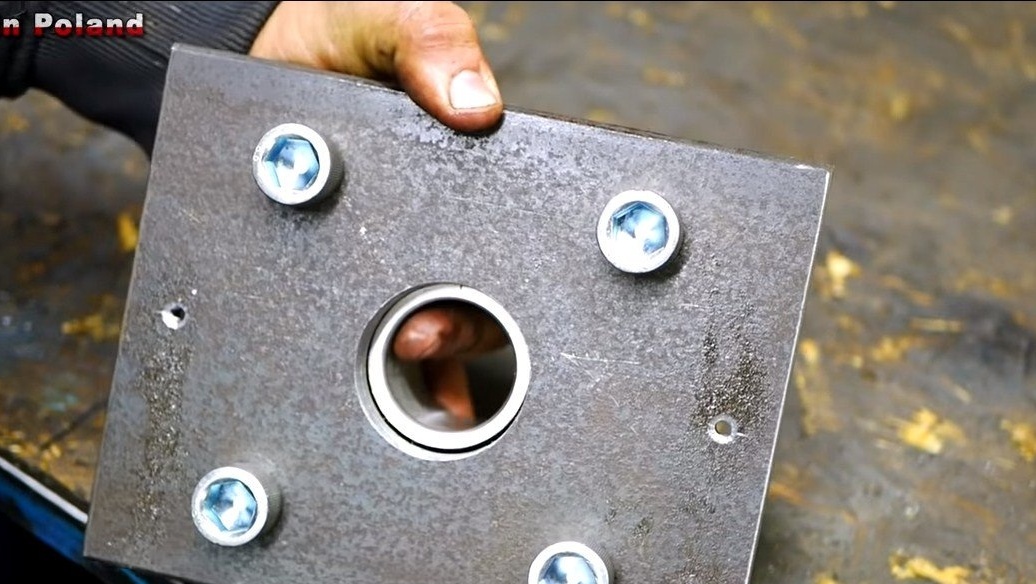
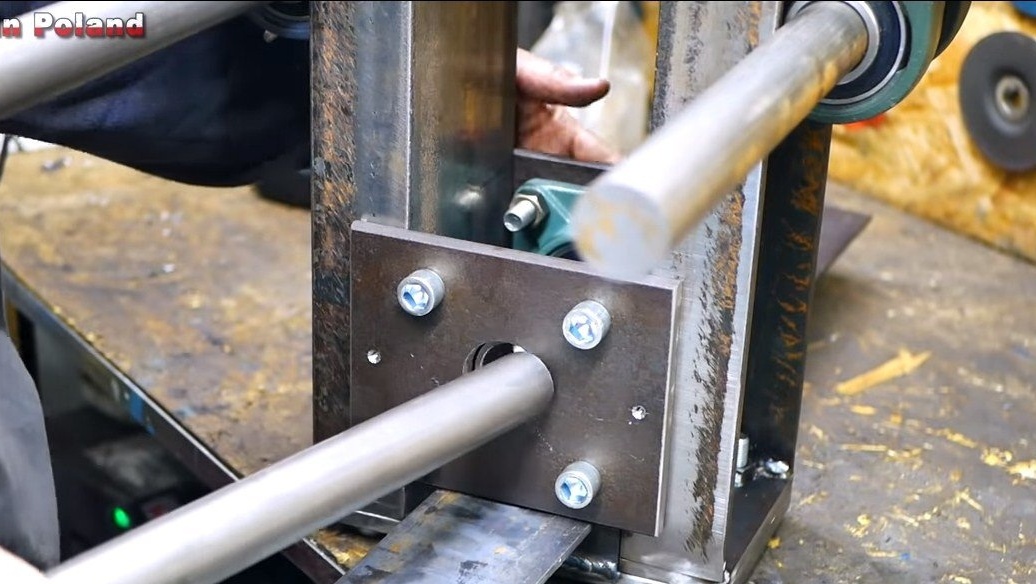
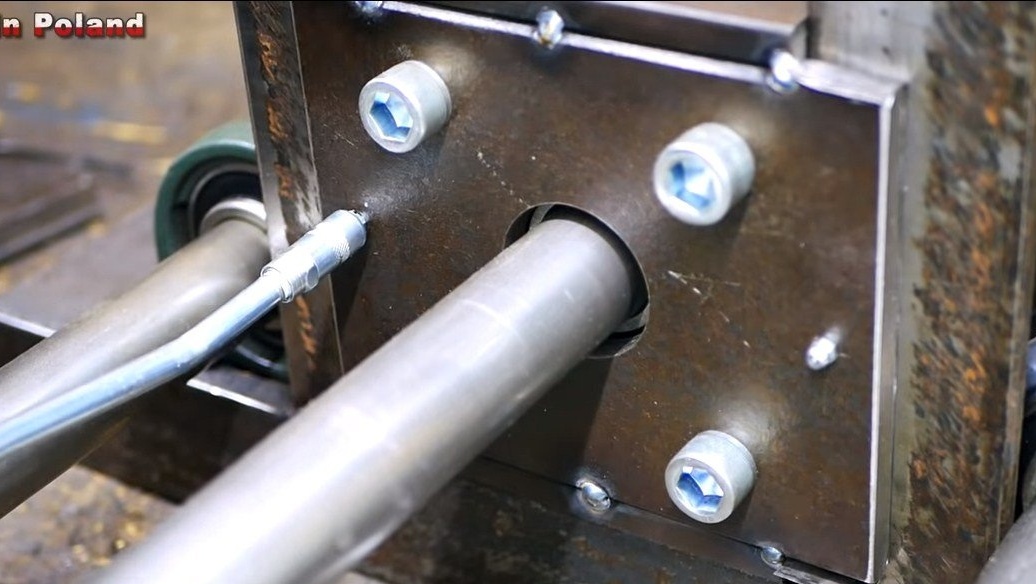
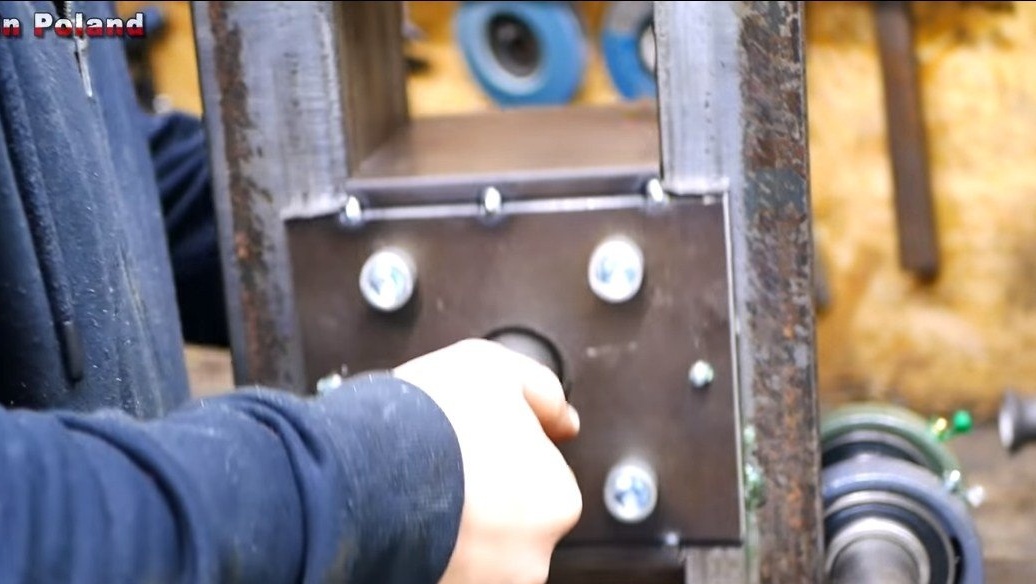
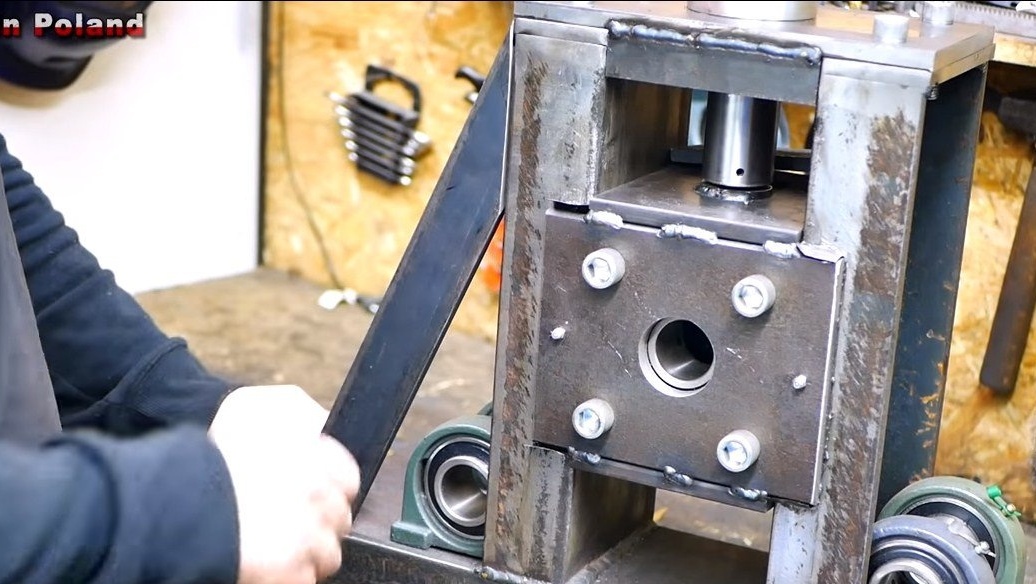
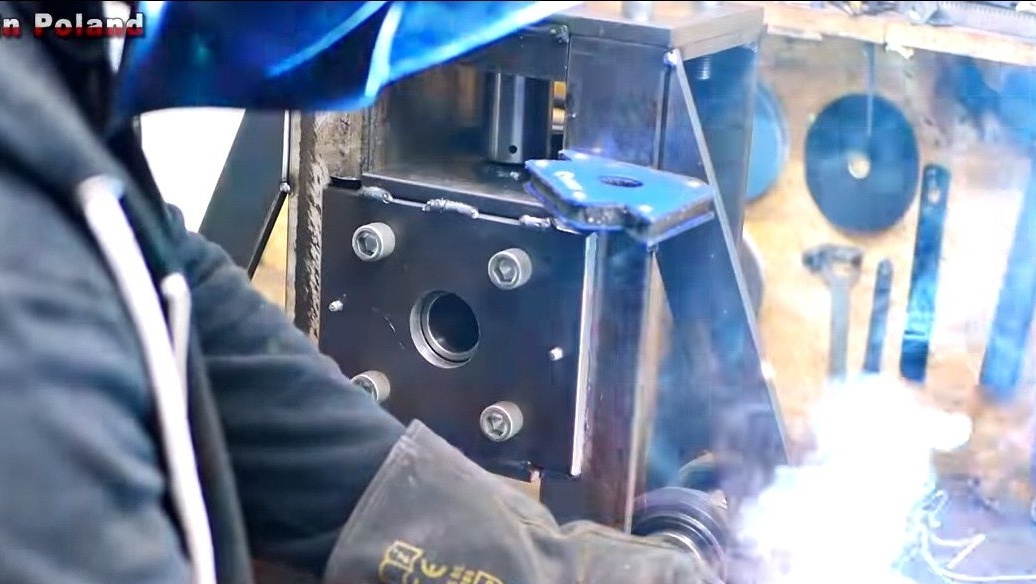
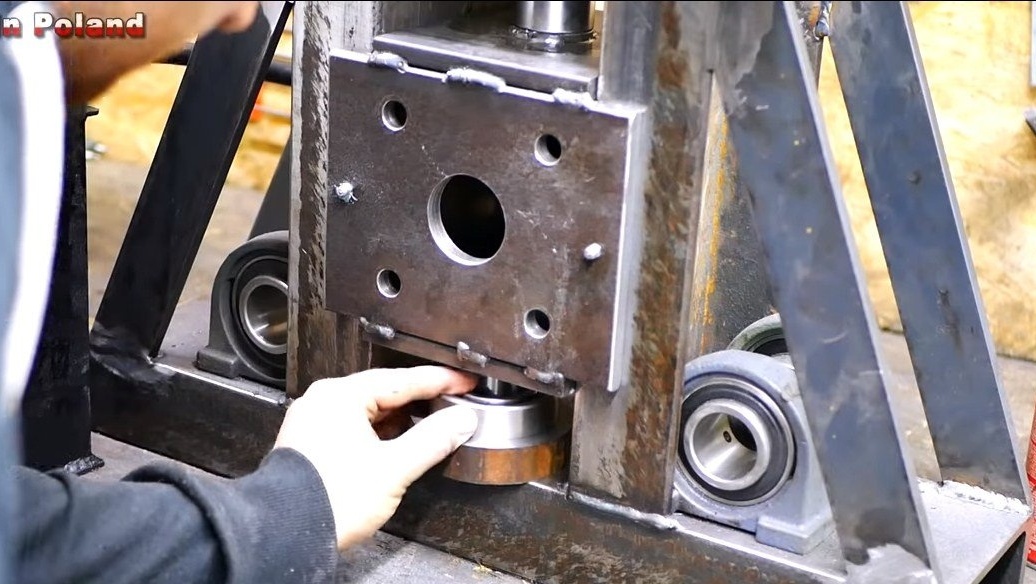
We install a hydraulic cylinder, it needs to be fixed securely, since it is this device that will set the necessary force for bending the pipe. We cut a rectangle from thick sheet metal and use a crown to drill a hole for attaching the cylinder.We drill holes along the edges, they are needed for fastening the plate to vertical posts. At the top of each rack are plates with holes and screw threads. We turn the screws and fasten the hydraulic cylinder.


Step Three Third axis
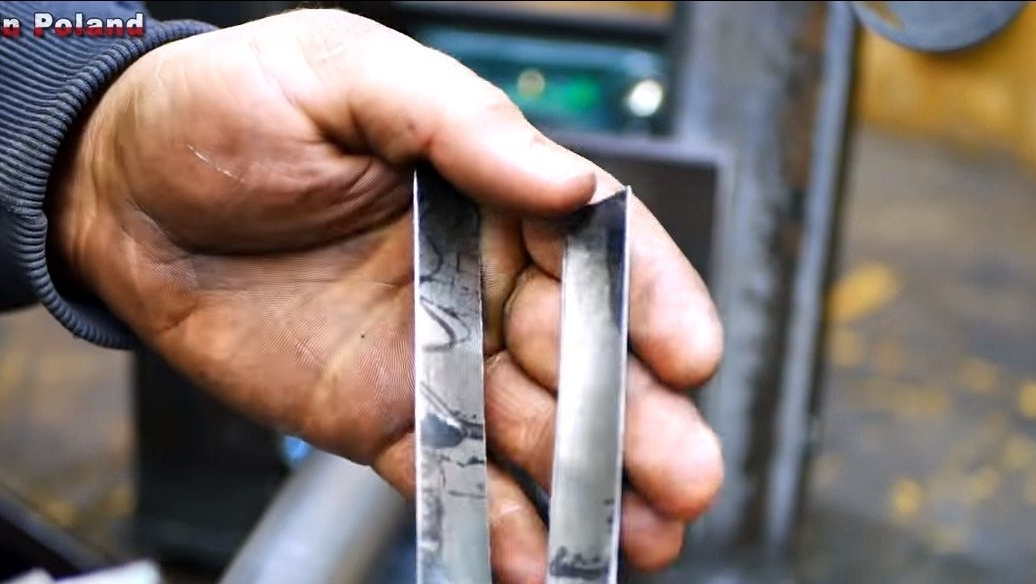
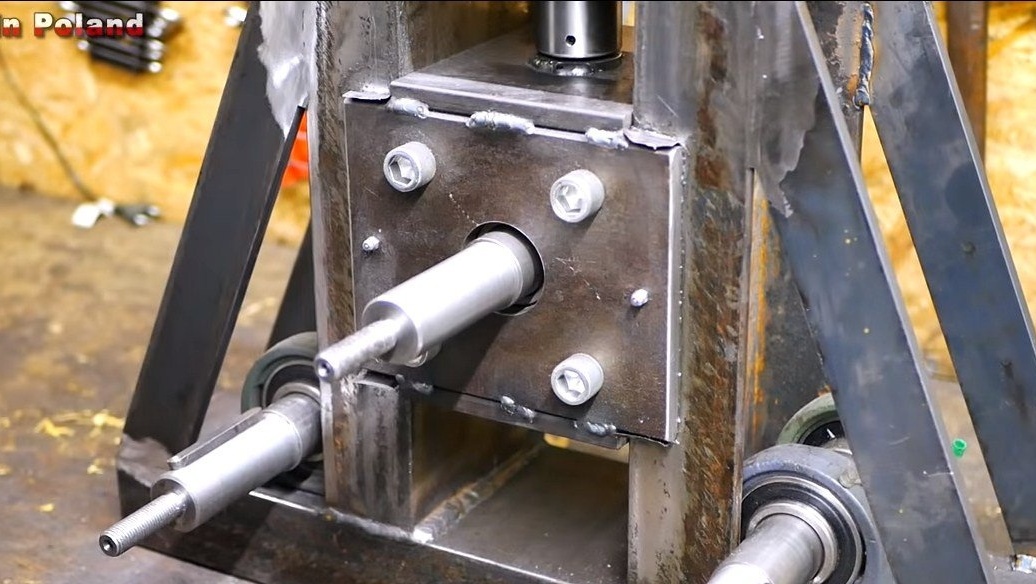
The third axis is located in the movable block, it is to her that we will press on the pipe. We assemble the movable block, cut out two square plates of sheet metal, drill holes and fix the bearings. Further, these plates need to be welded together on racks, but keep in mind that the block will have to ride on vertical racks, so you need to maintain the necessary gaps. To do this, we put thin plates from a tin can and weld the block. In the upper part, do not forget to focus on the hydraulic cylinder rod.
Among other things, the author drilled holes, cut the threads and wrapped grease fittings to lubricate the moving block. However, this is not necessary, you can also lubricate the racks themselves.


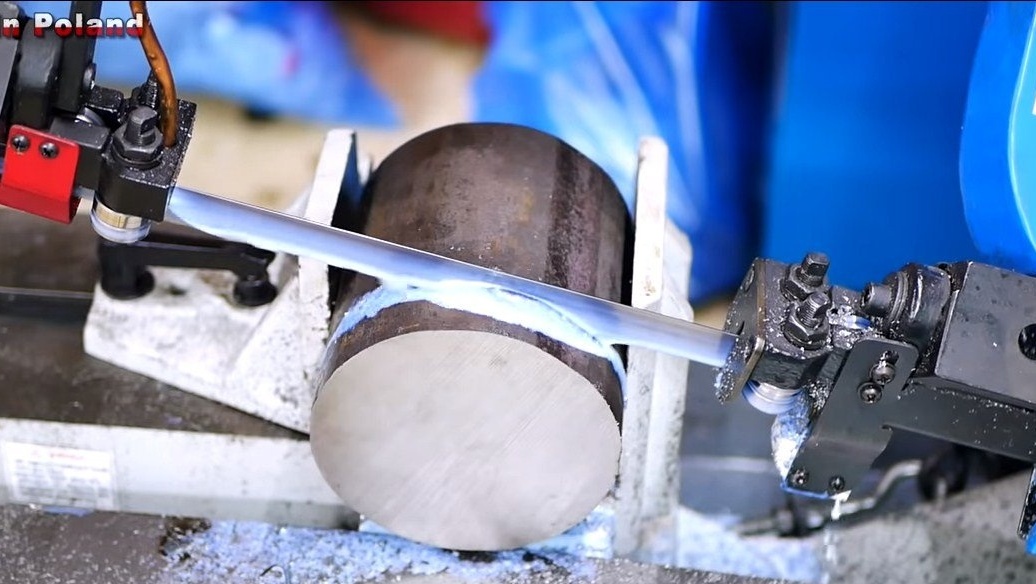
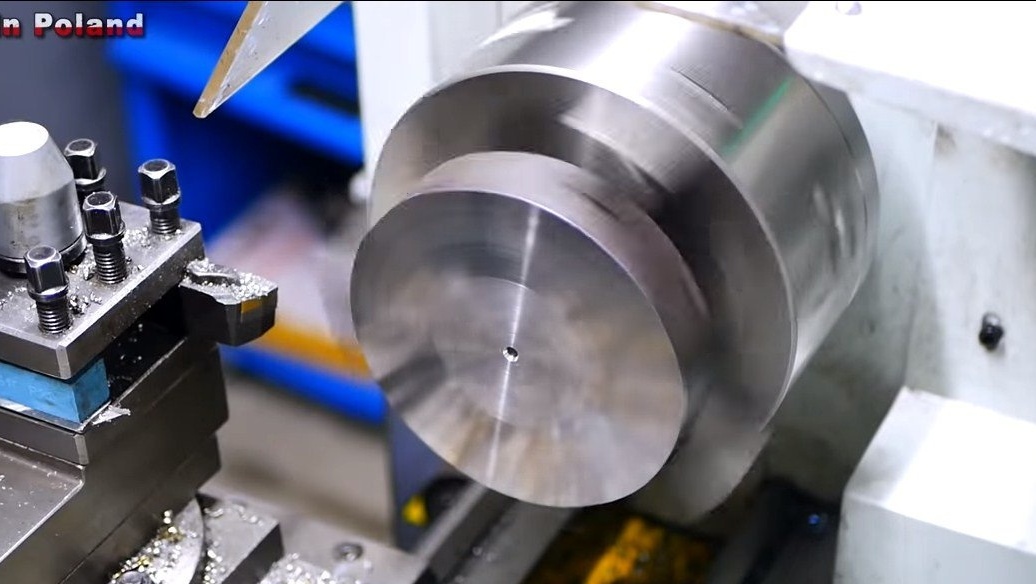
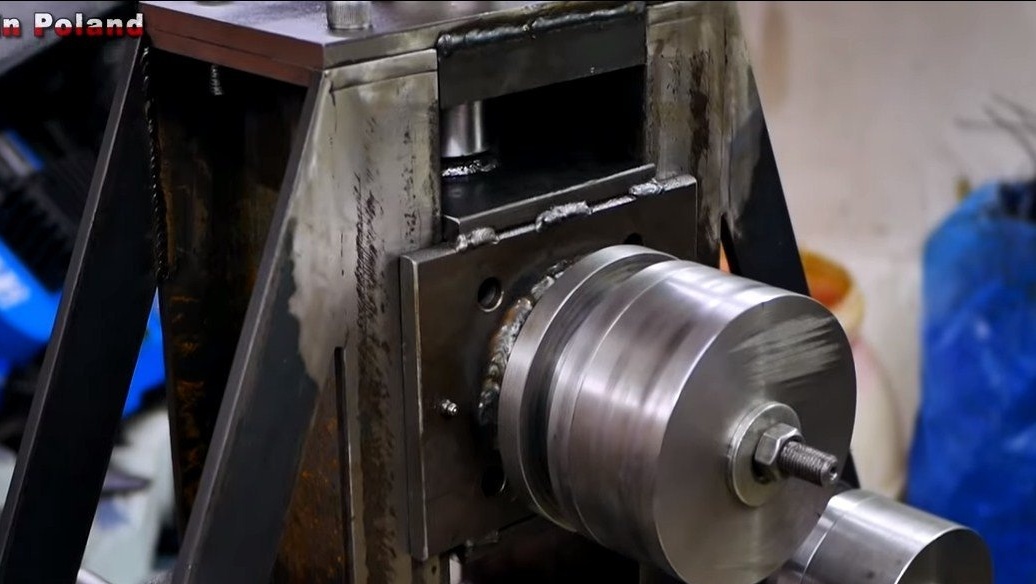
Step Four Axes
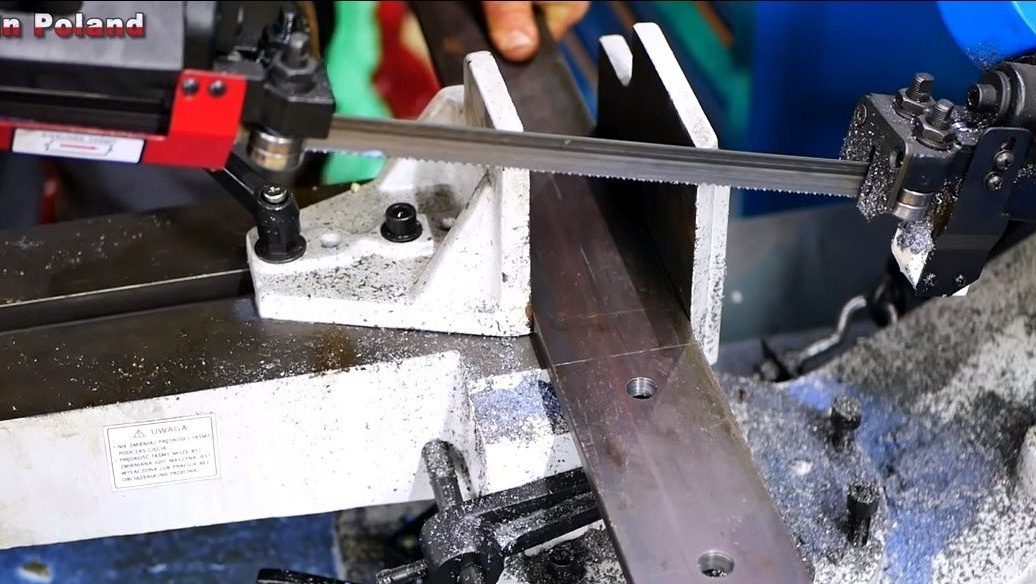
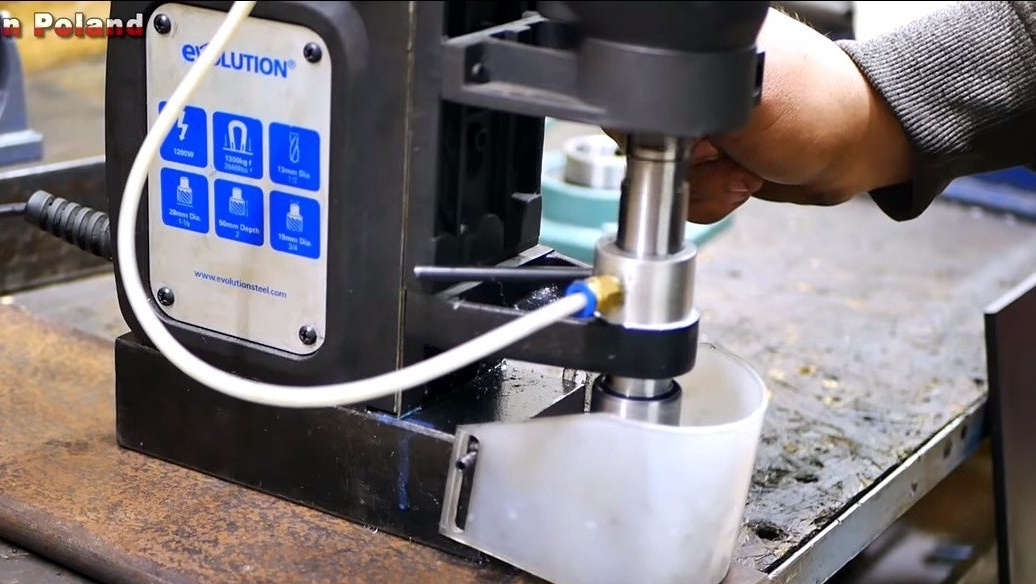
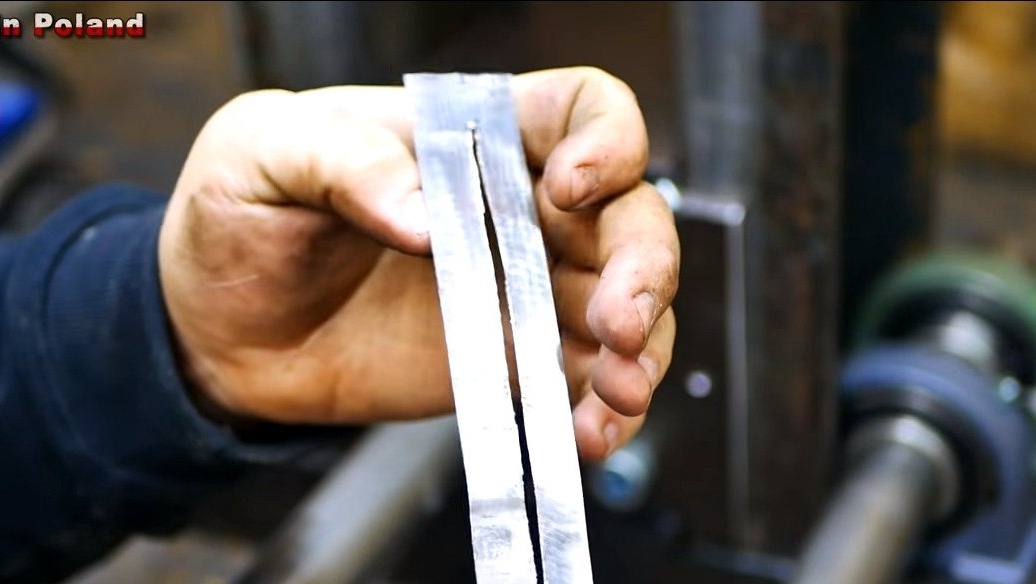
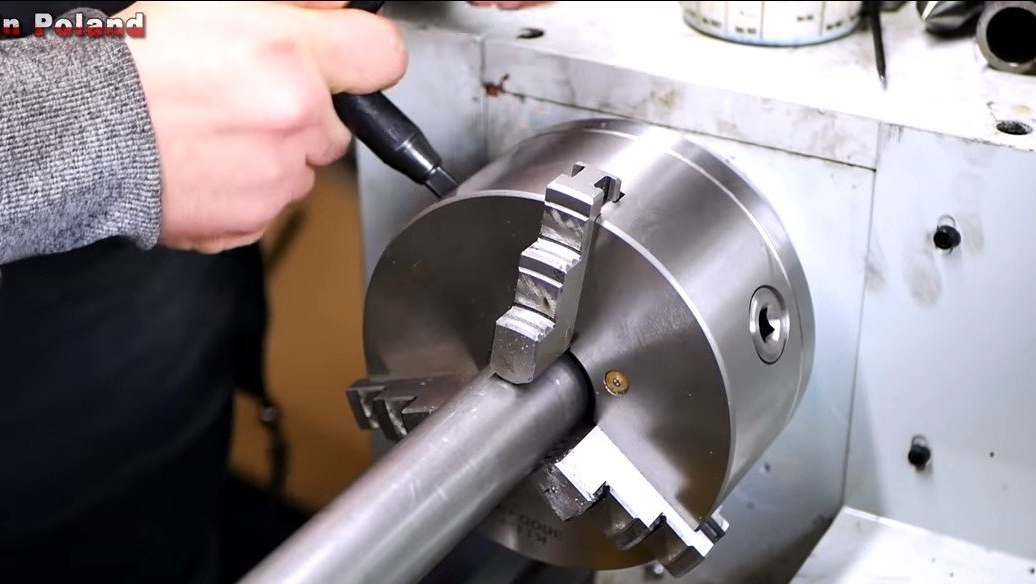
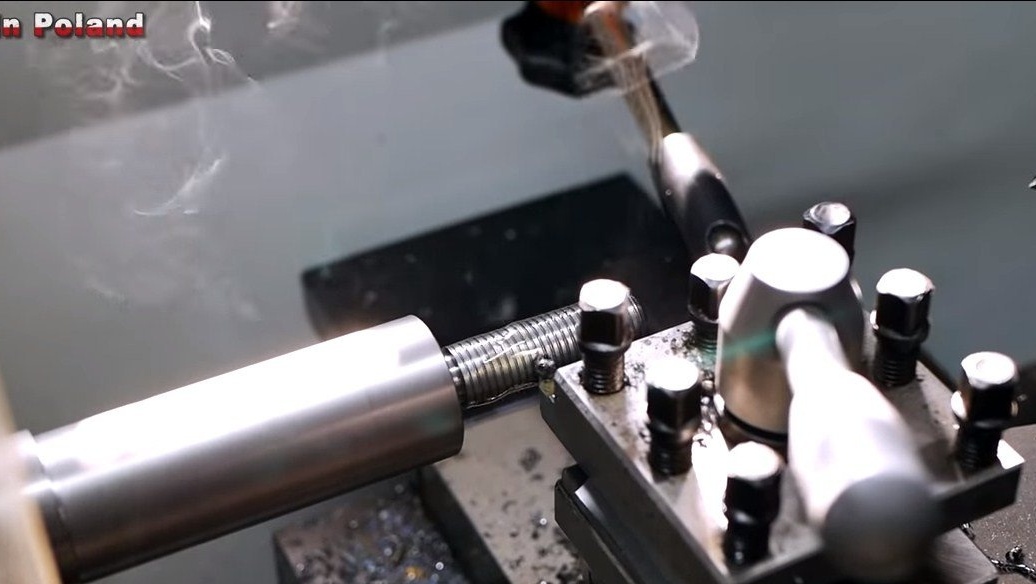
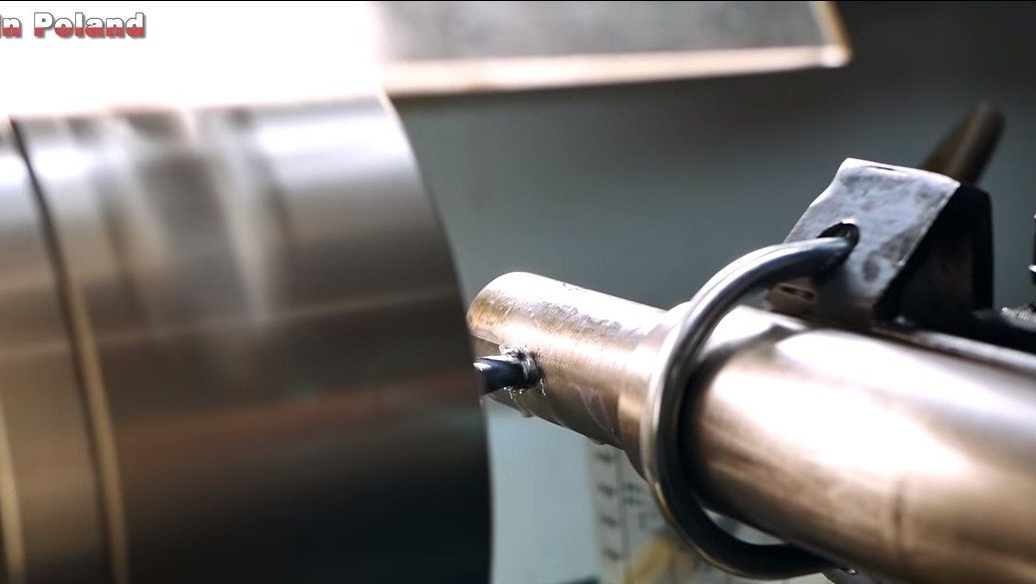
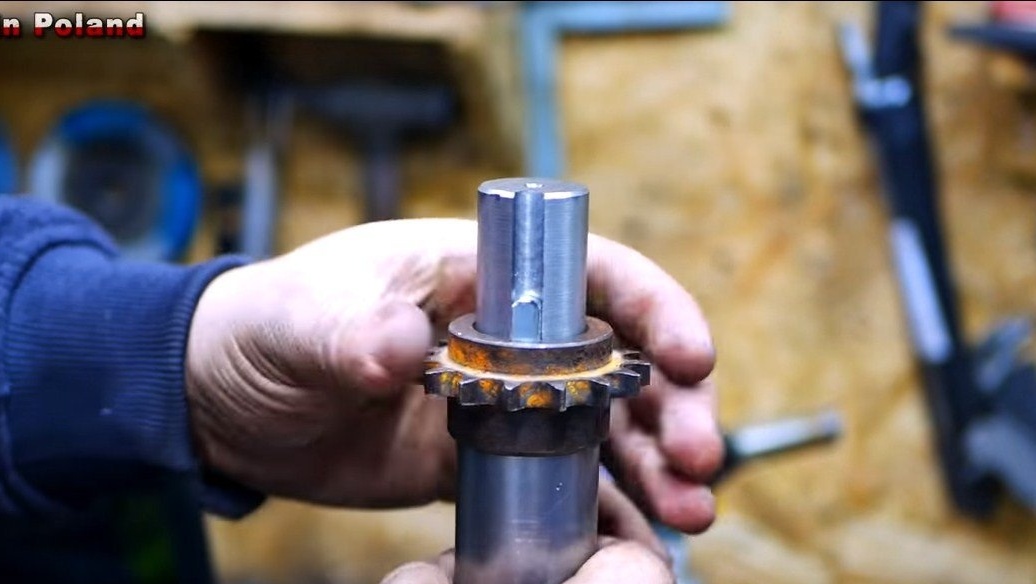
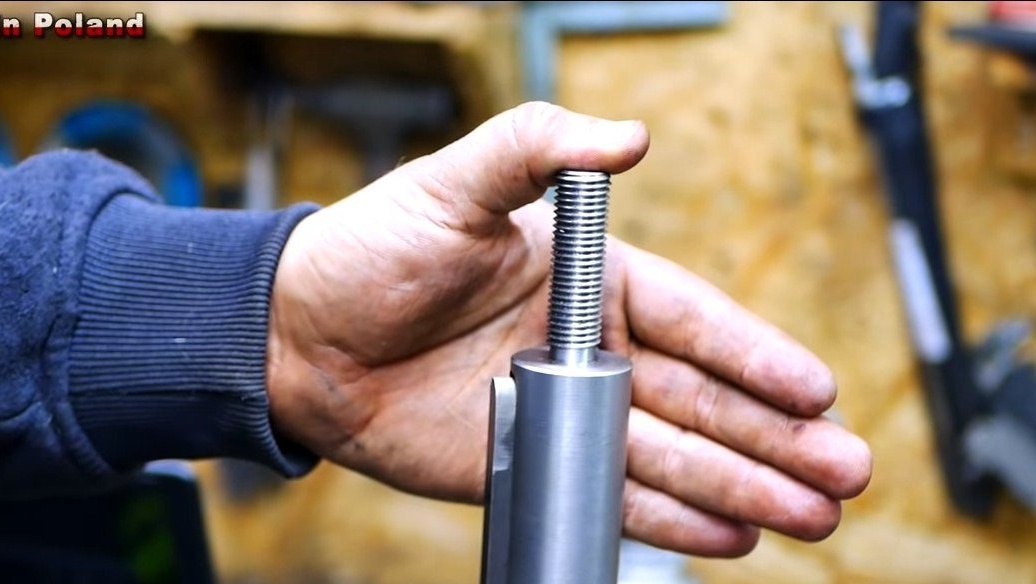
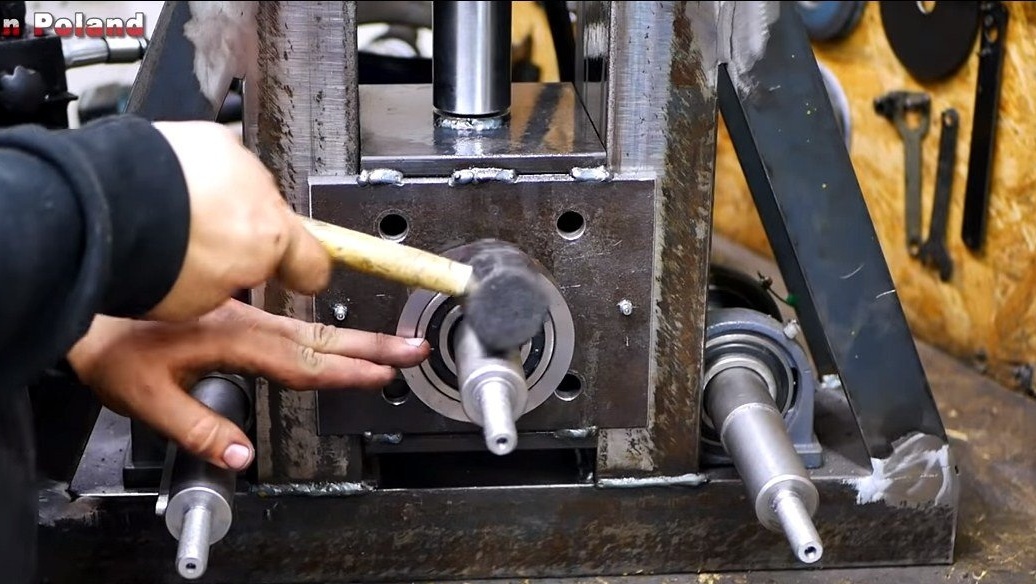
We make axles for the car, in total three pieces are needed. The author works on a lathe. At both ends of each shaft there is a key connection, for the fastening of the rollers that clamp the pipes, the author made threaded rods. At the rear of the axles where the engine is to be connected, the internal thread.


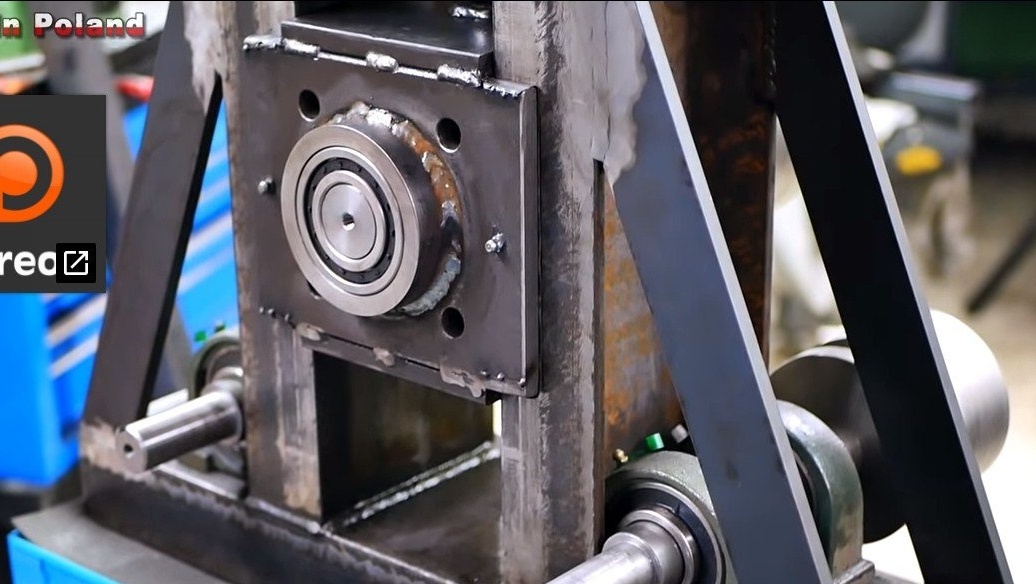
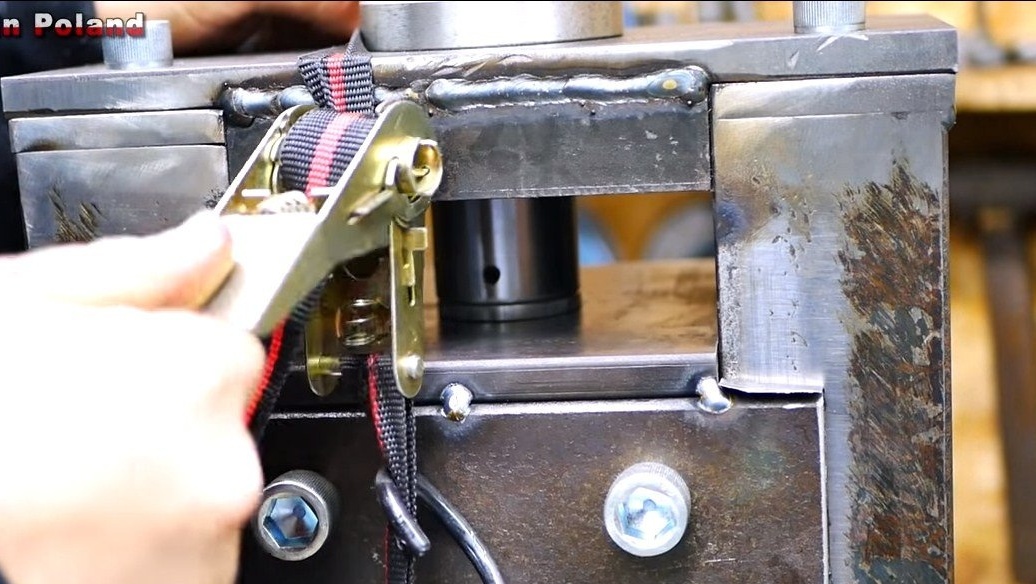
After manufacturing the axes, the author conducted tests, in the end it turned out that the upper axis does not withstand the load, it warps when the pipe is pressed, and as a result, it was decided to strengthen the upper axis.
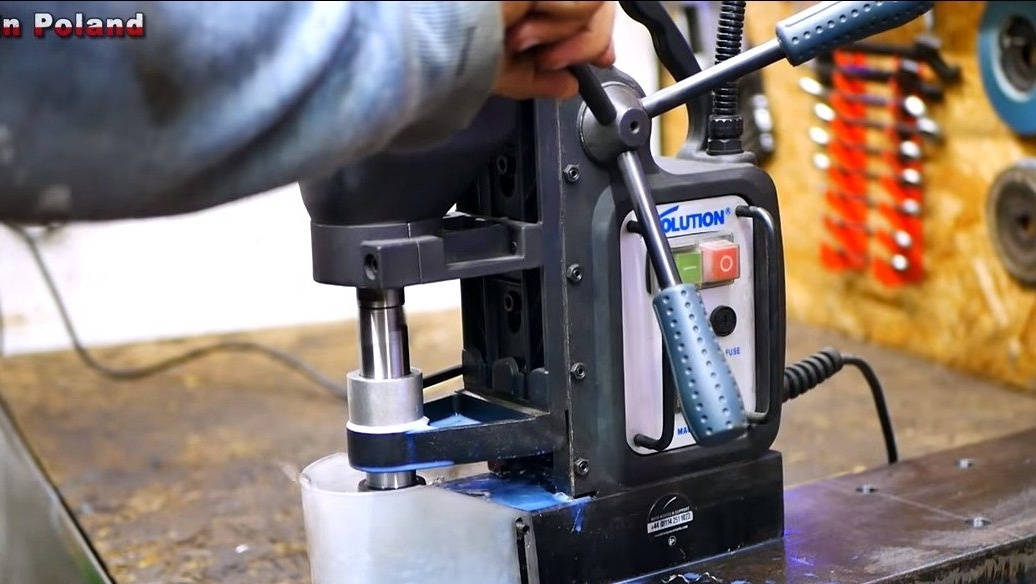
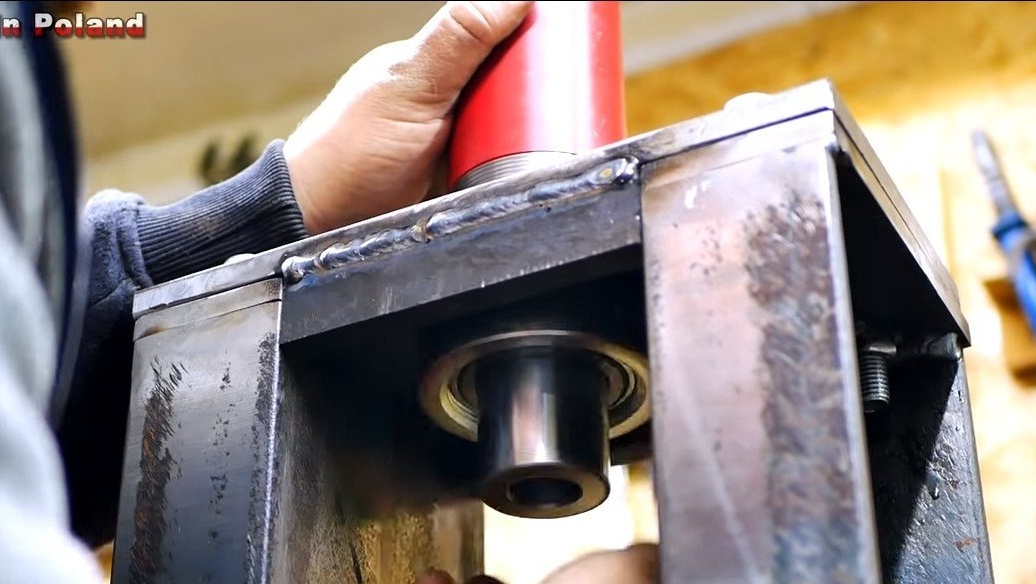
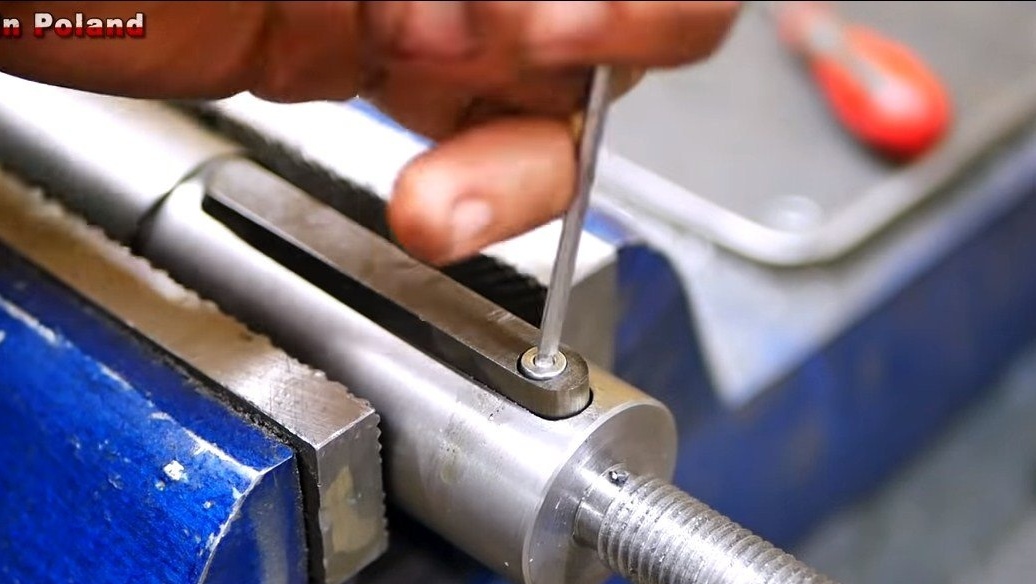
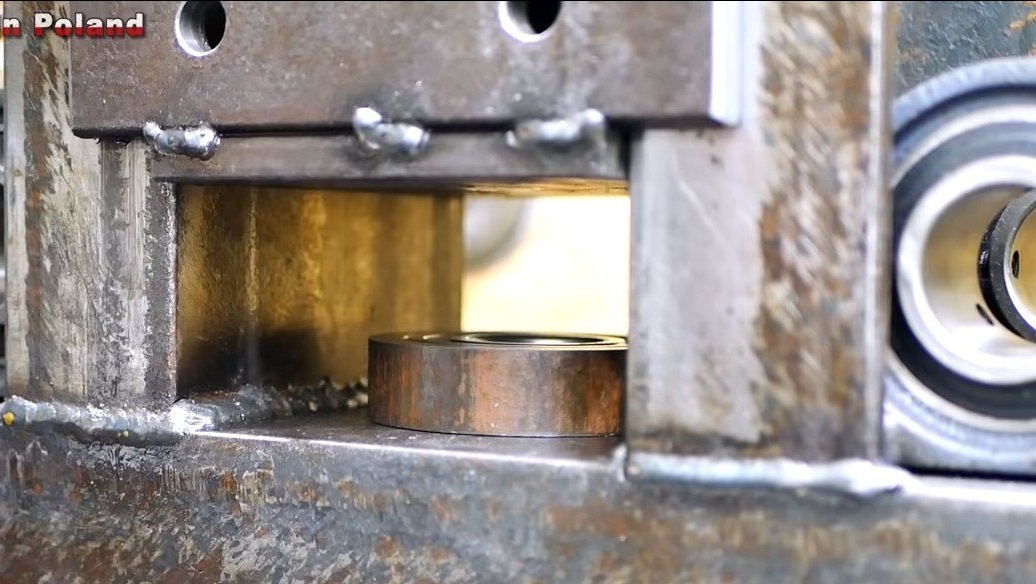
To strengthen the upper axis, the author installed additional roller bearings that can withstand heavy loads. Holders for them can be cut out of the pipe, and the author pressed the bearings with an already manufactured hydraulic press.

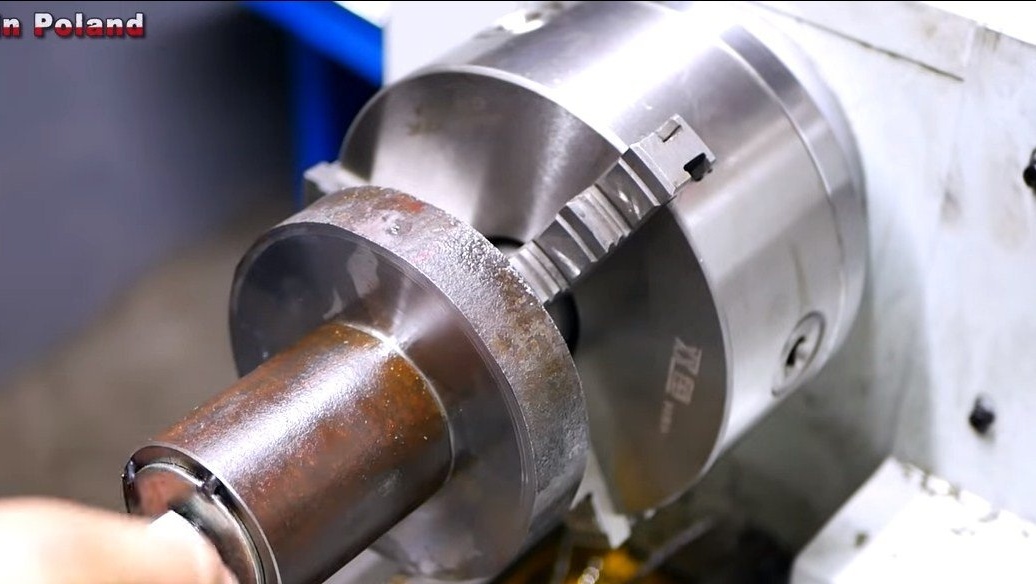
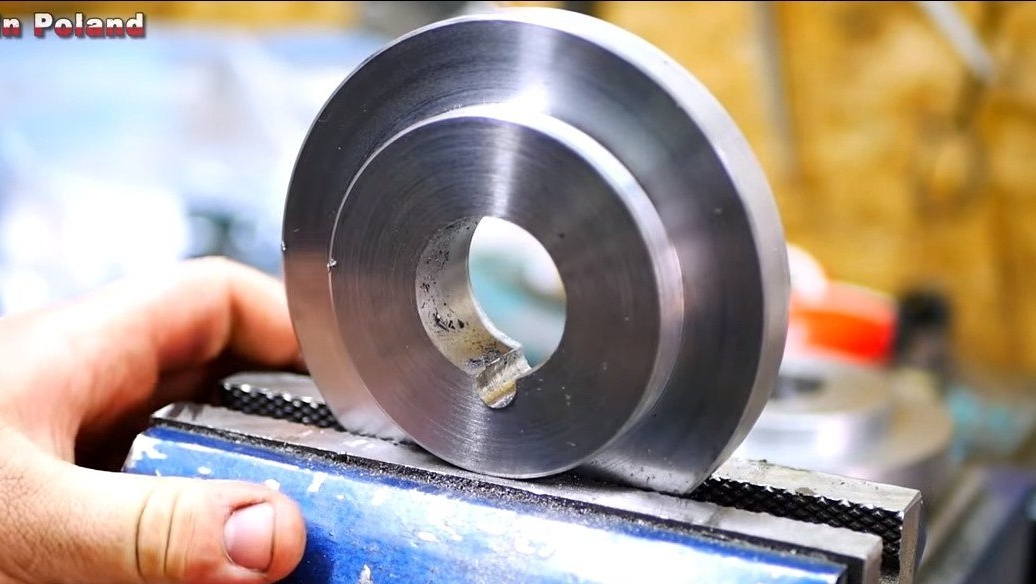
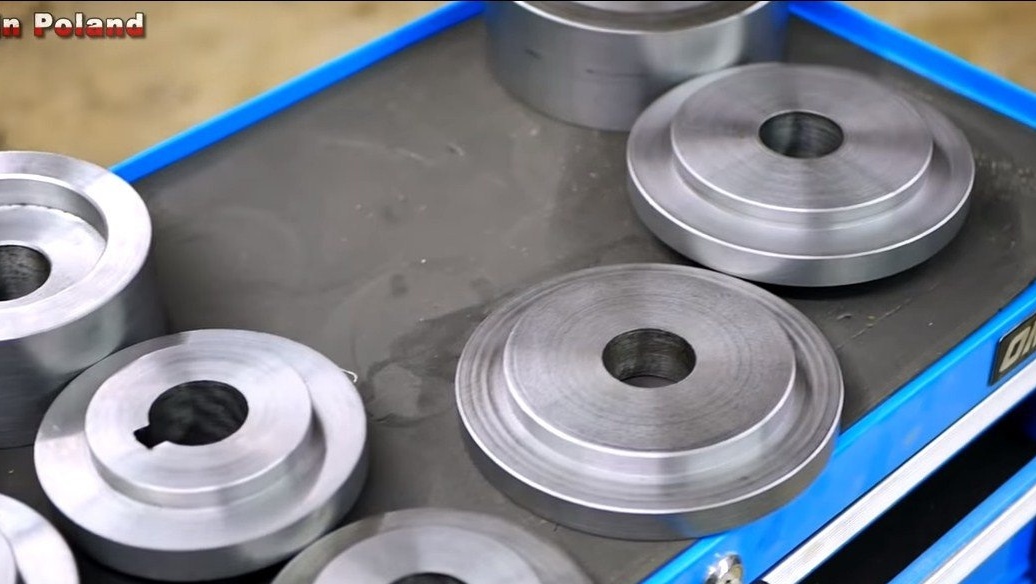
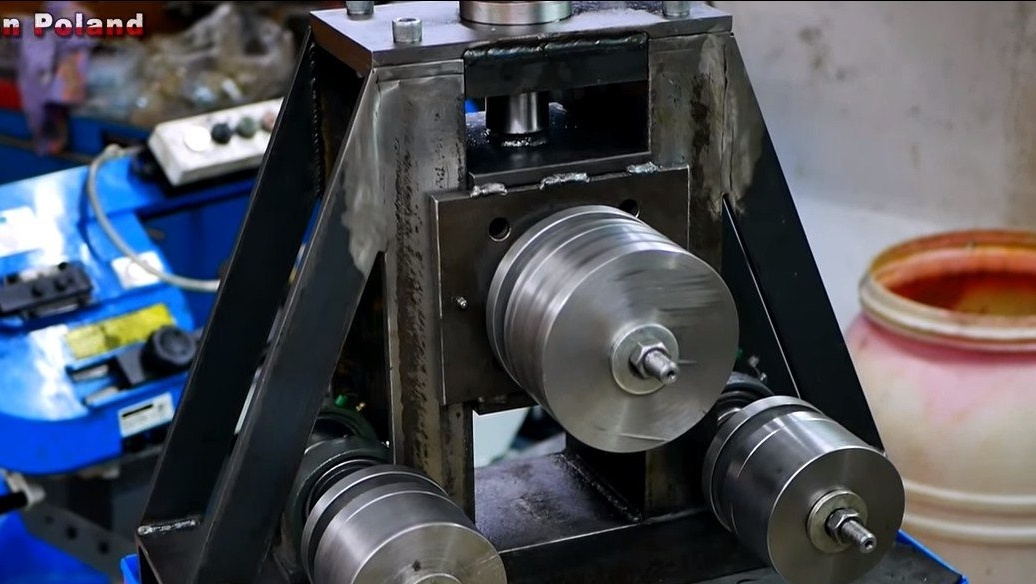
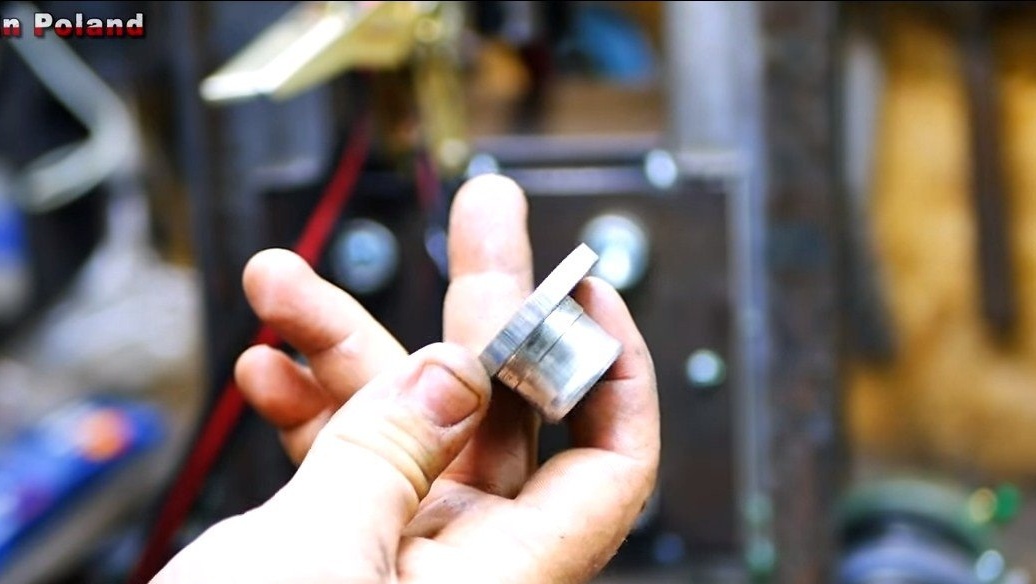
Step Five Rollers
For the machine you need to make rollers that will clamp the pipes. The author grinds them on a lathe. We install the rollers on the machine, now it only remains to connect the engine, which will drive the pipe forward / backward between the rollers. The author plans to make a drive on two lower axes. How everything will work, the author promised to show soon. I hope the project was useful to you, and you found useful thoughts for yourself. Good luck and creative inspiration, if you decide to repeat this, do not forget to share your homemade products with us!