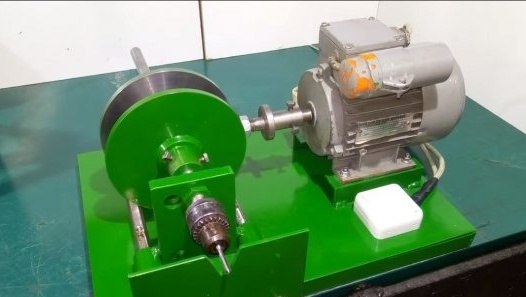
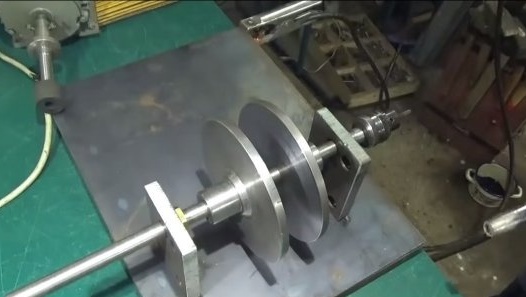
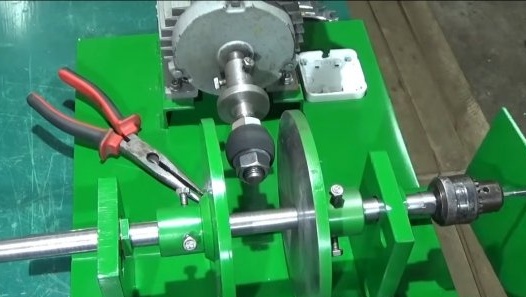
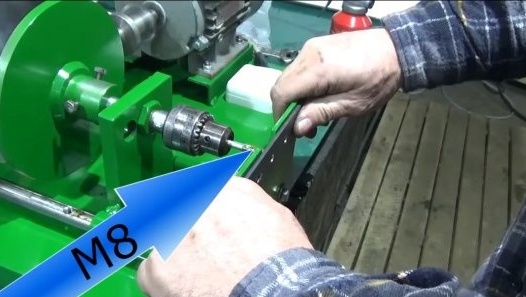
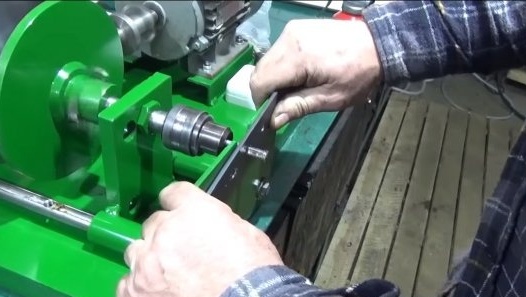
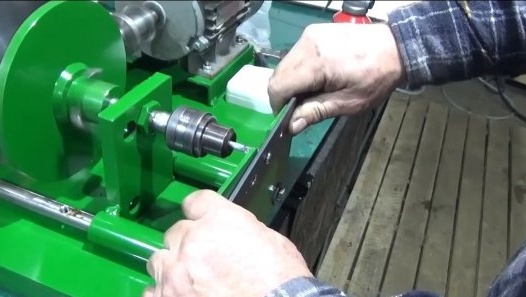
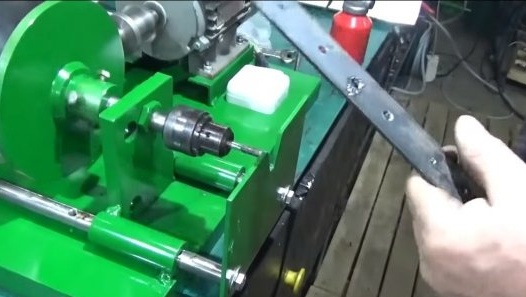
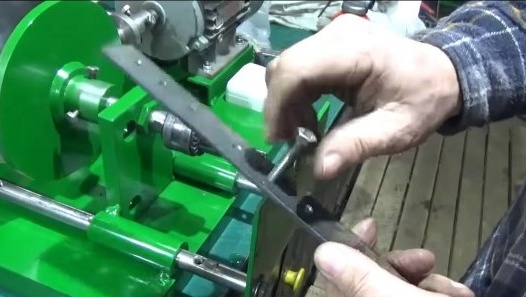
Hello everyone, I propose to consider a very interesting machine, it can cut threads almost by itself. Such homemade It will be useful for those who like to craft something, especially made of metal. Theoretically, such a machine can also work as a drilling one. The design of the machine is very simple and at the same time interesting. To thread, reverse is needed, that is, the tap must be able to rotate both clockwise and counterclockwise. This can be done by interfering with the electrics, but it will not work so fast, there will be power surges in the network, and that’s all uncomfortable. The author's reverse is very simple and reliable, it is mechanical. If you are interested in how everything works, I suggest studying the project in more detail!
Materials and tools used by the author:
Material List:
- engine (characteristics unknown);
- sheet metal and corners for the base;
- a cartridge from a drill;
- a round log for manufacturing an axis;
- two metal disks (can be ordered from a turner);
- brass plumbing fittings (for bushings on which the axis rotates);
- thick sheet metal;
- bolts and nuts;
- a special rubber roller on the engine shaft;
- cable, switch (for engine);
- pipes, round timber or the like (for making a slider);
- paint.
Tool List:
- lathe;
- ;
- tape cutting machine;
- ;
-;
- a vise.
Machine manufacturing process:
Step one. Installing bushings in racks
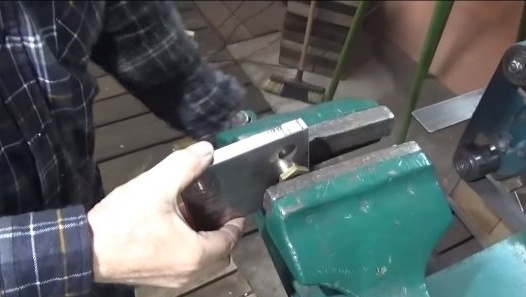
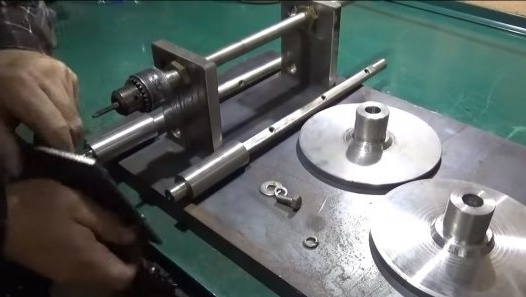
First, install the bushings in the racks, the working axis of the machine with disks will rotate on them. The racks of the author were made in advance from thick sheet metal. Since our axis should move in the horizontal direction, there is no special sense in using bearings, here we will need bushings. The author makes them himself, so changing them yourself will not be a problem.
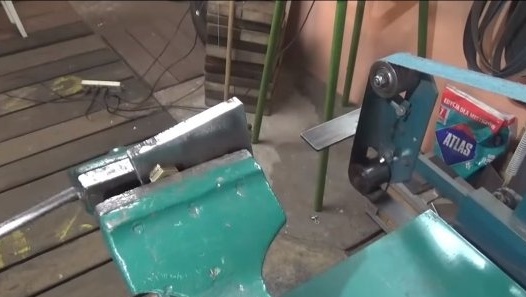
Brass futors are used as the source material, their author is pressed into a rack with a vise.
Step Two Working shaft
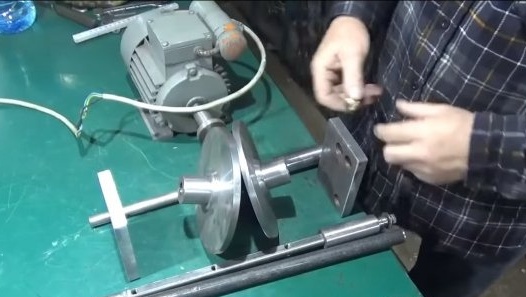
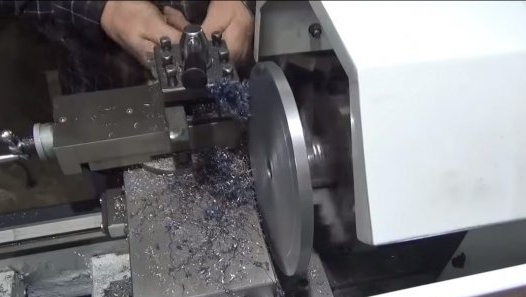
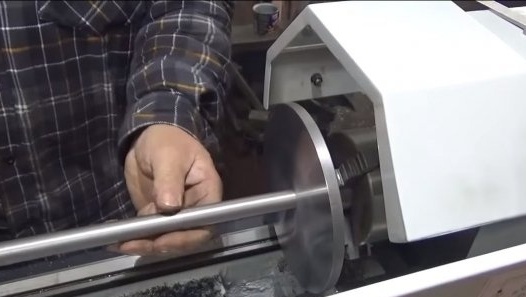
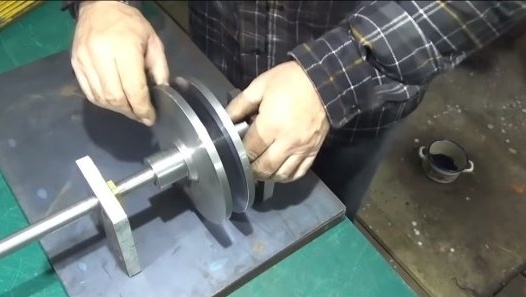
We make the working shaft of the machine, here we need a round saw and a lathe. We grind the shaft to the desired diameter, it is important for us that the shaft fits tightly into the sleeve (futorok). And so that the gap is close to ideal, the author puts the sleeve, mounted on a rack, on a rotating shaft and thereby lapping products to each other.
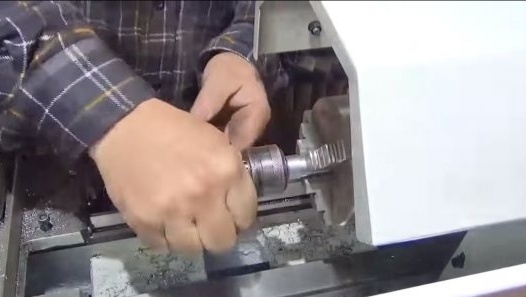
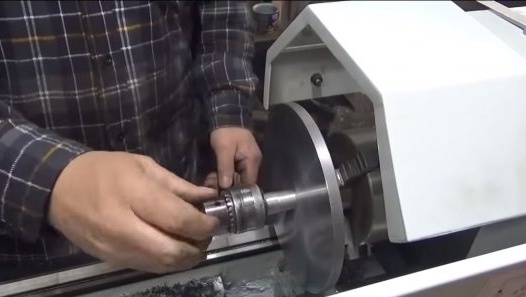
Among other things, the end of the shaft must be machined so that it can be installed on the cartridge from the drill.
Step Three Base and shaft
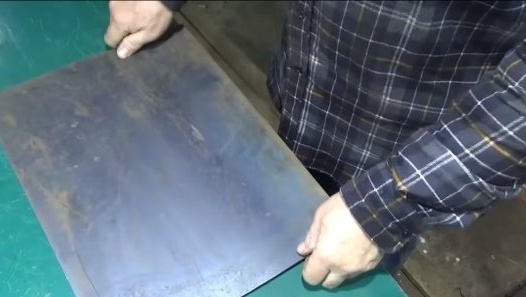
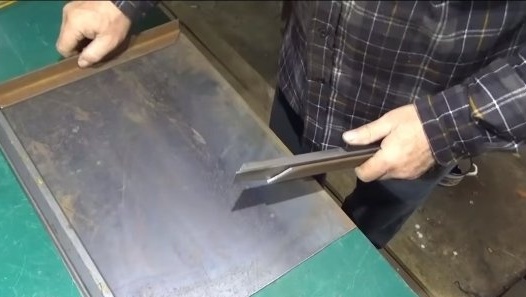
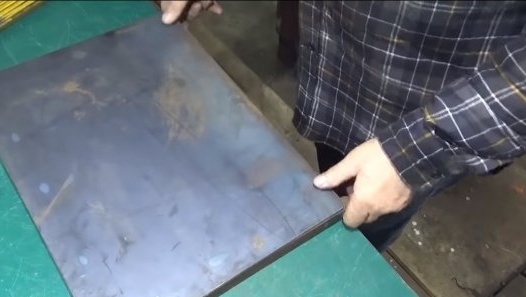
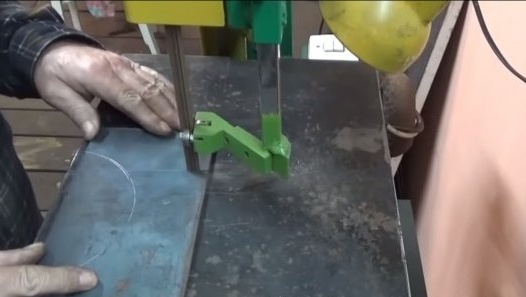
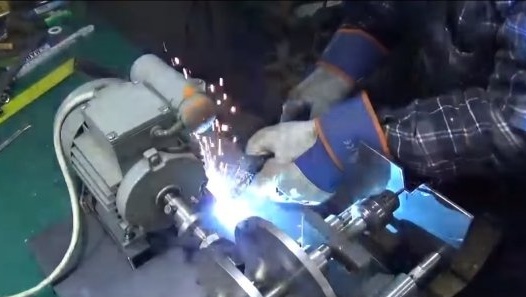
We collect the basis for the machine, here we need sheet metal, cut off the desired piece and scald it with a corner. We weld racks with a mounted shaft to the base well.
Step Four Slider
The machine has a slider to which the work plane is welded. This plane moves in horizontal directions, on it we fix the product in which you need to cut the thread. The site itself can be made of sheet iron, and as for the slider, it can be made of pipes or similar material.
Step Five Machine assembly and testing
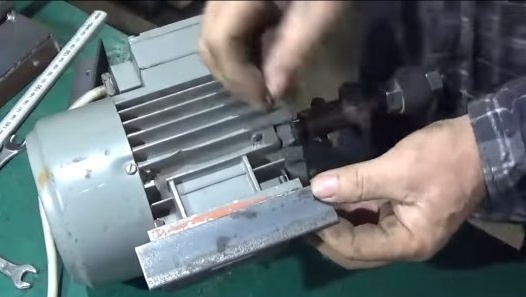
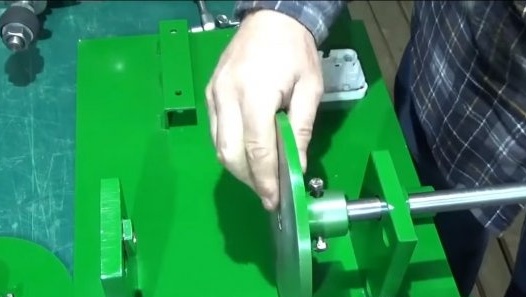
We assemble the machine, install the engine on the base. First we fasten the corners to it, and then we weld the corners to the base. We paint all the rusting parts of the machine, now everything looks amazing.
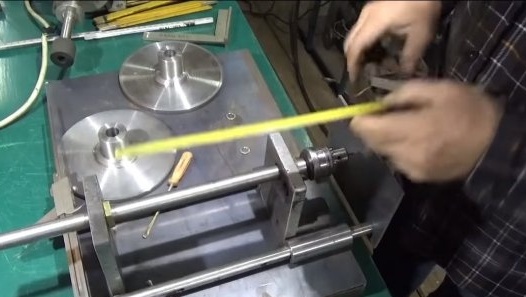
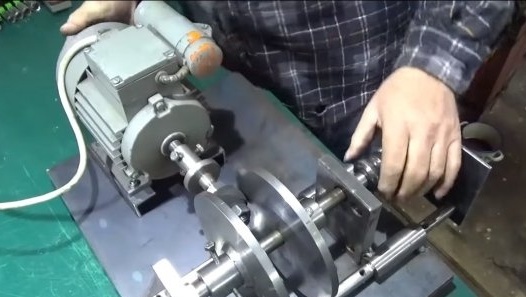
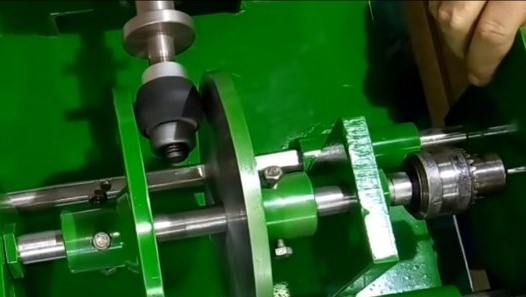
The machine can only be adjusted, for this we set the disks on the shaft so that the clearance between the rubber roller located on the motor shaft is small.
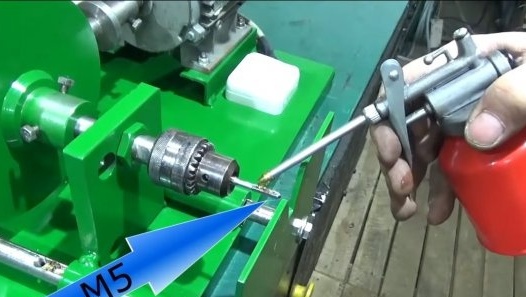
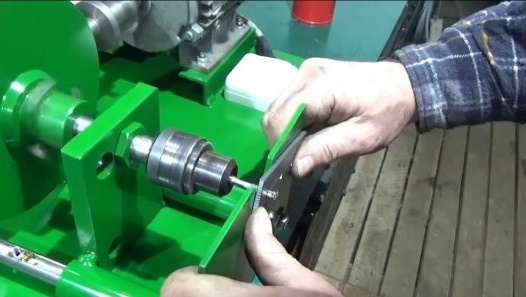
The machine is ready, get to work. We press the product with the hole to the working platform and press on the tap. As a result, one of the discs begins to swing the rubber roller mounted on the motor shaft, and the tap rotates clockwise, cutting the thread. When we pull the product towards ourselves, another disk is activated, and the previous one is turned off, while the machine shaft starts to rotate in the other direction. This machine works in such an interesting way.
I hope you liked the homemade product, and you found useful thoughts for yourself. Good luck and creative inspiration, if you decide to repeat this. Do not forget to share your ideas and homemade things with us!

