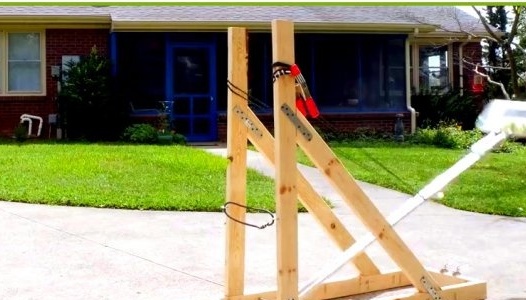
In this article, Bob, the author of YouTube channel "I Like To Make Stuff" will tell you about his rather bold and unusual project to create a catapult.
Materials
- Pine board 50X100 mm
- Silicone hose
- Plastic ties
- Perforated steel strip
- Aluminum profile
- Steel stud, nuts
- Wood screws.
Instruments, used by the author.
- clamps
-
-
- Miter saw
-
- Square, pencil, tape measure
Manufacturing process.
First of all, the author cuts the material, the bars are 50X100 mm in size, and proceeds to the construction of the frame.
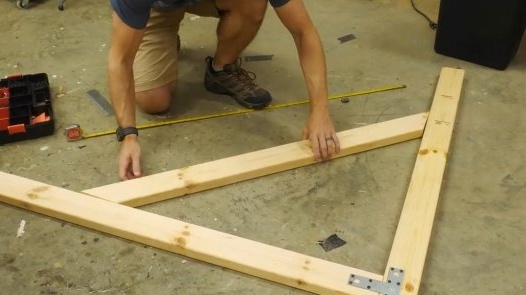
Several bars are cut in half in order to make them racks and several diagonals.
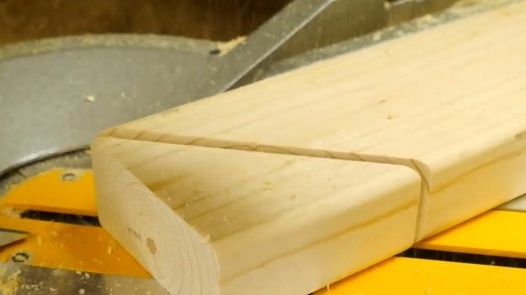
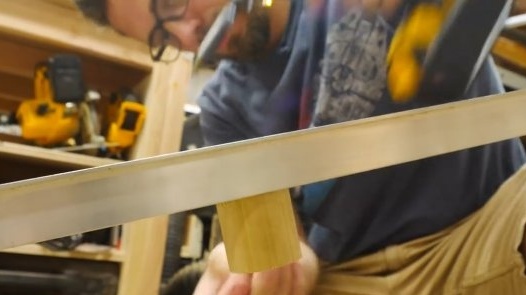
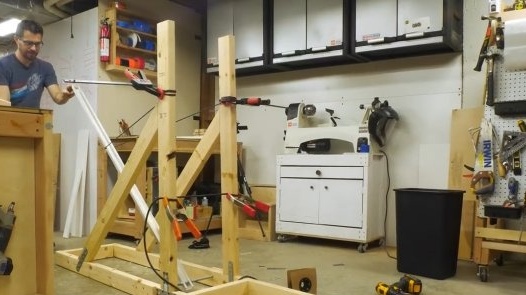
Since considerable effort will be exerted on the upright from moving back and forth, the author attaches a diagonal bar to strengthen the connection. It uses clamps to hold the structure in a consistent state. The master sets the disc at an angle of 45 degrees and cuts the beam on both sides. Now he should be perfect here.
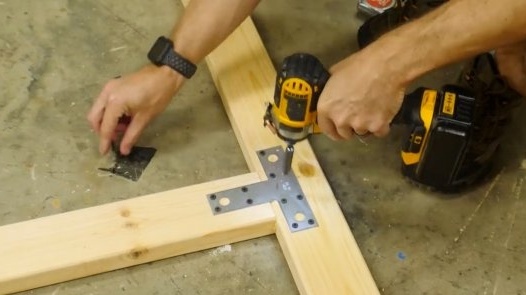
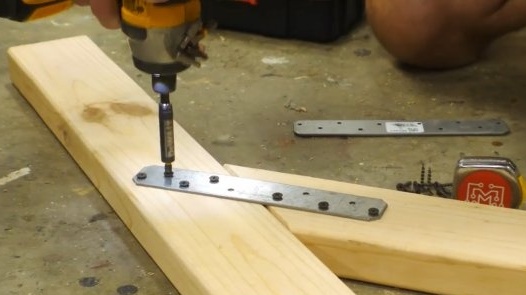
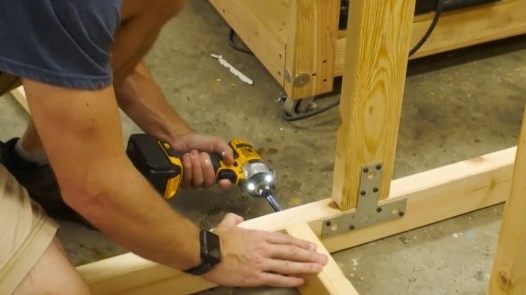
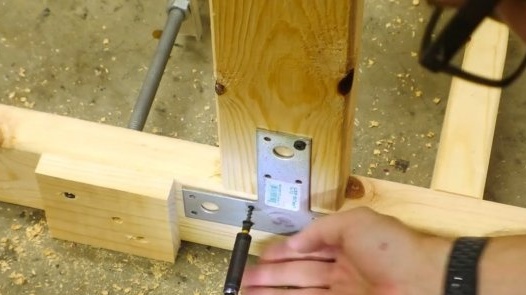
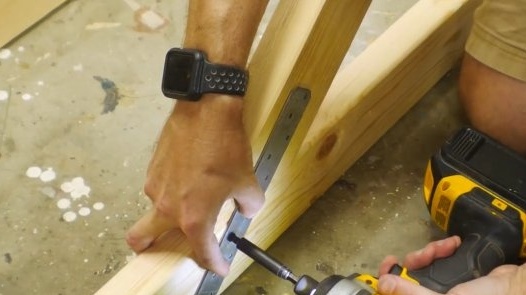
On reflection, the author came to the conclusion that the simplest way to fasten this entire structure without bothering with joints and pocket holes would be to use steel strips. They are strong enough, and can withstand the load. True, their strength is not functional in all directions, but for this particular “machine” they are the best solution.
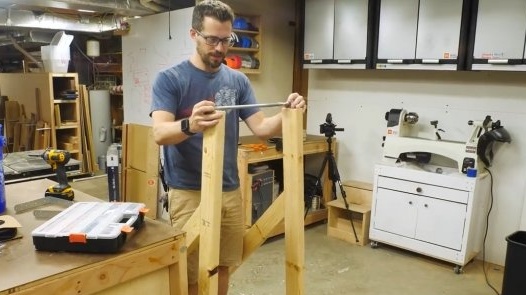
Then the author makes the same second half and temporarily fastens them with a metal stud.
In addition, he wants to use a similar rod as a support for the shoulder of the arrow. This is the maximum distance at which these elements can be removed from each other.
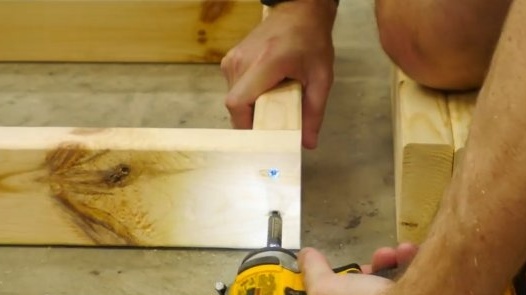
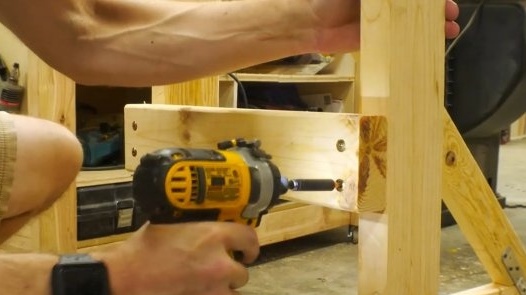
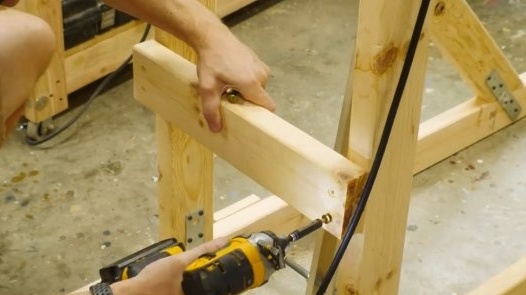
He cuts out a few more bars to hold the base together. And again, the author resorts to the technique of “joining hastily”: he uses long wood screws and drives them from the outside of the frame into the very middle so that they go deep into the fibers.
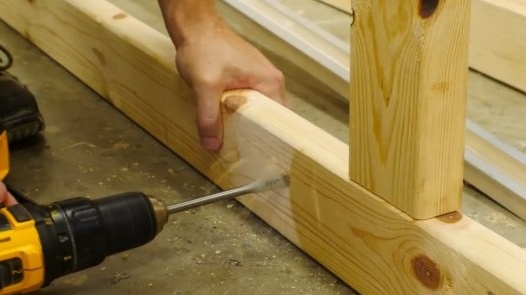
The master decides where to drill holes in order to let a metal rod pass through them. This will be the central axis of the structure, so that the entire arm of the lever will have a fulcrum in this place.
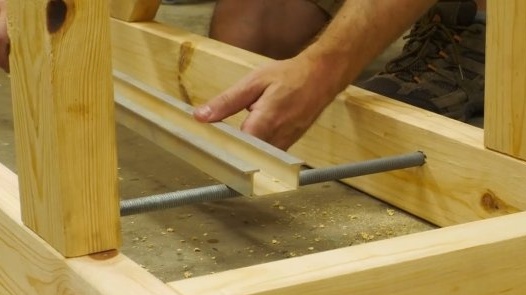
He puts the arrow on top of the rod and lifts it vertically to understand where the fulcrum should be.
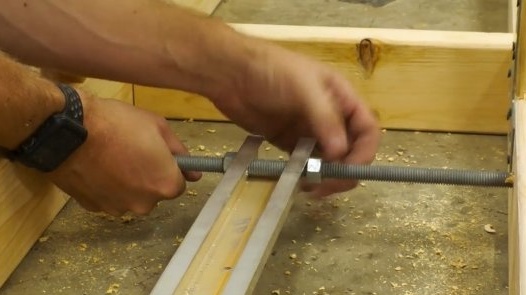
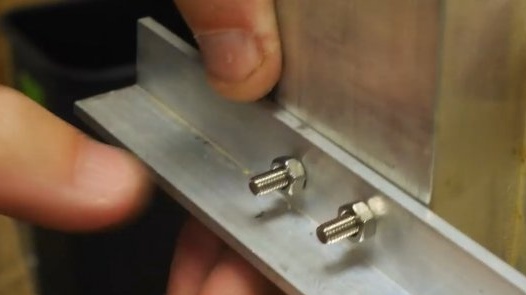
The master marks it and drills a through hole. The lever arm is nothing more than an aluminum profile.It is extremely lightweight, but at the same time quite strong.
Well, now the core will pass here.
Excess studs are cut off by a grinder. Now the rod is fixed in both parts with nuts.
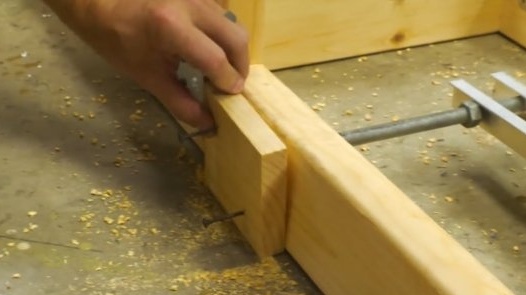
From both external sides, the author fastens the board trim so that the rod does not slide back and forth.
The base of the frame is fastened enough, but the top is somewhat shaky. So the author fastens some more additional struts.
The time has come for testing. The craftsman screws the wooden rounds to the arrow. It will act as a hook for which the rubber hose will hook.
The hose is temporarily fixed on racks by clamps. This is an ordinary medical hose. It is very elastic. And the attempt failed. Small objects fly far, and with decent acceleration.
The transverse partition had to be removed, it interferes with the full course of the arrow.
The negative point was that at start-up the support posts slightly bent and “extinguished” part of the kinetic energy. The author is going to strengthen them by screwing such plates here also to the outside of the bars. In this case, the structure will not roll.
Instead of the cross member, the master pulled on an elastic band - an arrow trap. Another test ... the arrow does not touch the frame - this is what you need!
In his project, the master will use these locks to hold the arrow.
Thanks to them, this whole thing will be kept cocked. If the latch is moved back, it releases the boom of the catapult.
The screws in this place should be long enough to withstand the force that the lever will create.
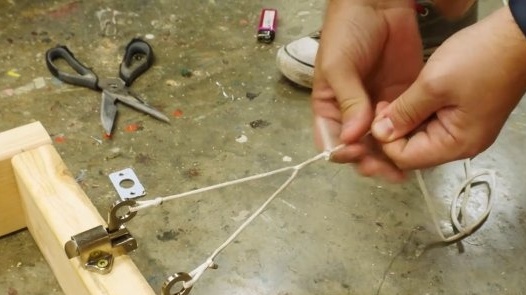
To start the catapult, you need to simultaneously open both valves. And it is advisable to do this from a safe distance. The author will connect both latches with a short rope, quite freely, and tie a long one to it.
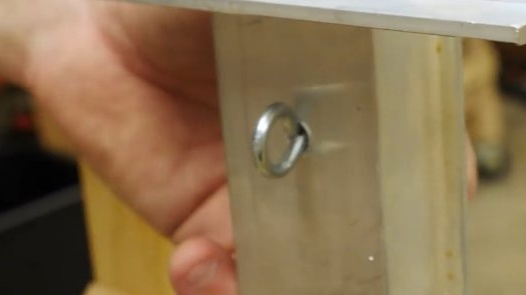
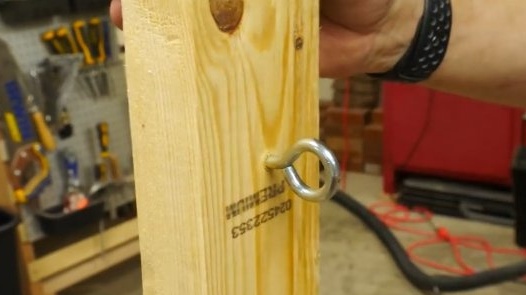
Now you need to make room for the hose, which would be twisted around the hook from the back of the lever. For this, self-tapping screws with an eye will be used. It is fixed to the profile with a wooden block.
Now you can skip the hose. The author does not yet know how long it should be.
Everything will be verified experimentally.
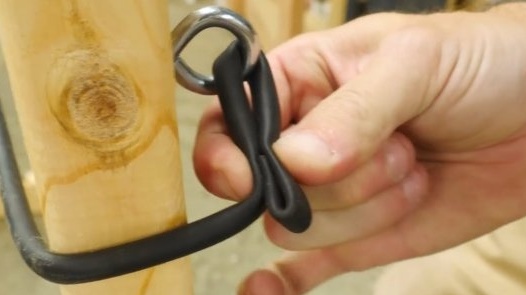
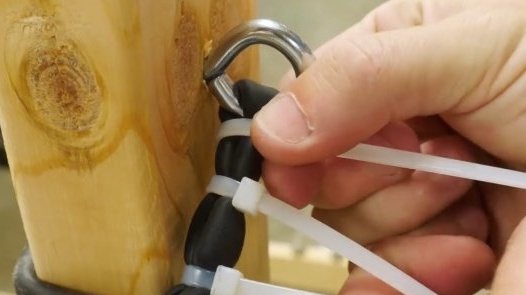
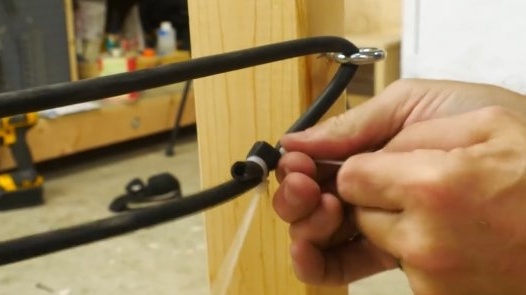
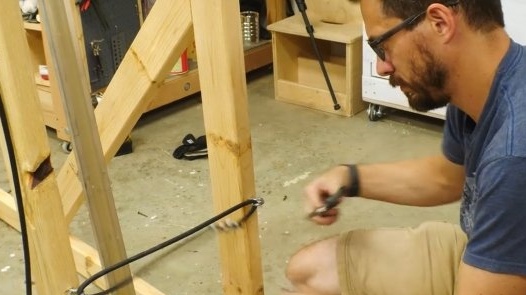
The ends of the hose are wrapped in this way, this will create additional friction and will not allow the hose to come loose. In addition, you will need a few more screeds. Tails screeds trimmed with scissors.
In the same way fastens an elastic band - a damper.
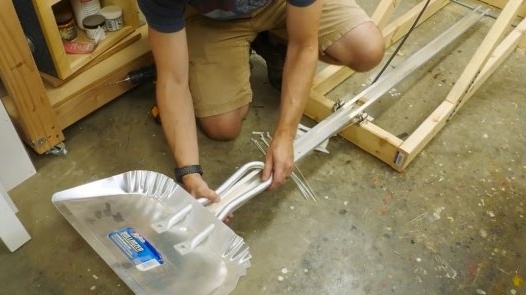
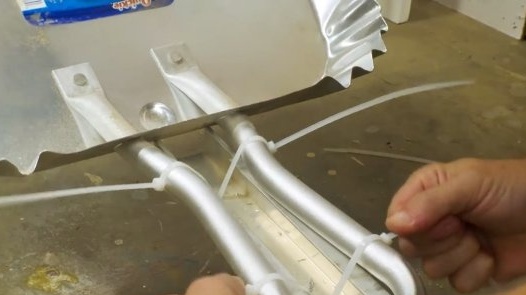
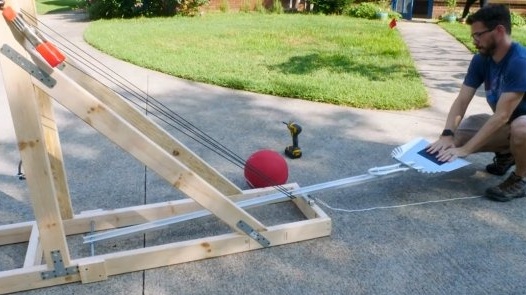
For the very “spoon” where the projectile should be charged, the author will use this spatula bought at a hardware store. He will fix it on the profile again with ties. If they are not enough, the insulating tape will be used.
Of course, this car is quite dangerous. There is always a chance that the structure may fall apart, the latch weaken, the hose break ... But the game is worth the candle! Just follow safety precautions!
The first tests were not very successful. The ball flew very close.
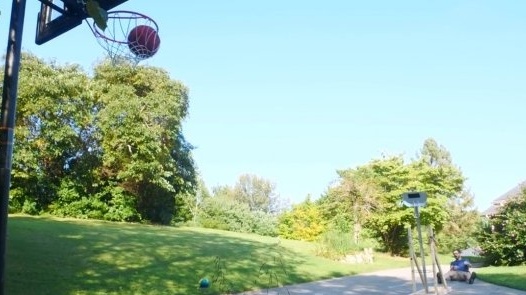
But by increasing the number of elastic bands, you can play basketball.
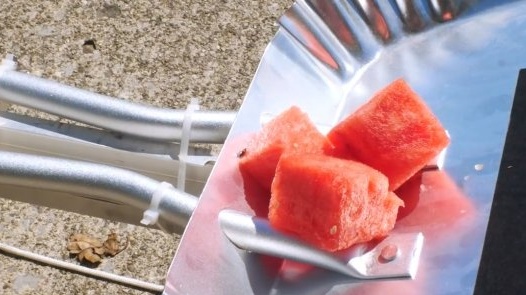
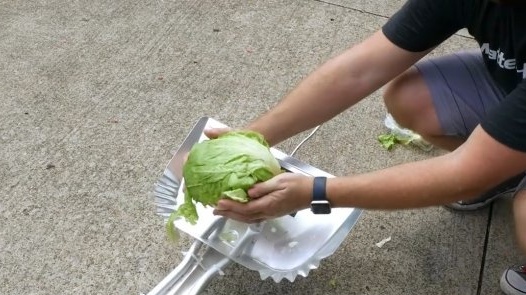
If desired, you can use neutral shells in the form of tomatoes or pulp of watermelon.
You can even throw children with marshmallows. A test with a heavy ball proves the viability of this project.
Thanks to the author for a simple but interesting toy for children and adults!
All good mood, good luck, and interesting ideas!

