Greetings to fans of craftsmen, I propose to consider a useful machine that can be assembled from scrap metal. This sled is designed for rough cutting of sheet material, the machine will be convenient in the country, in the garage or workshop. The bonds of the machine are strong, there is almost nothing to break in such a machine, and it is practically assembled for nothing. The machine is driven by a drill, and a knife from a jigsaw is used as a cutting blade. If you are interested in the project, I propose to study homemade in more detail!
Materials and tools used by the author:
Material List:
- round timber;
- profile pipes;
- iron plates;
- plywood or similar material for countertops;
- bolts, nuts, washers, screws.
Tool List:
- grinder;
- welding machine;
- taps for threading;
- drill;
- drilling machine;
- lathe;
- marker;
- roulette.
Homemade manufacturing process:
Step one. Work unit
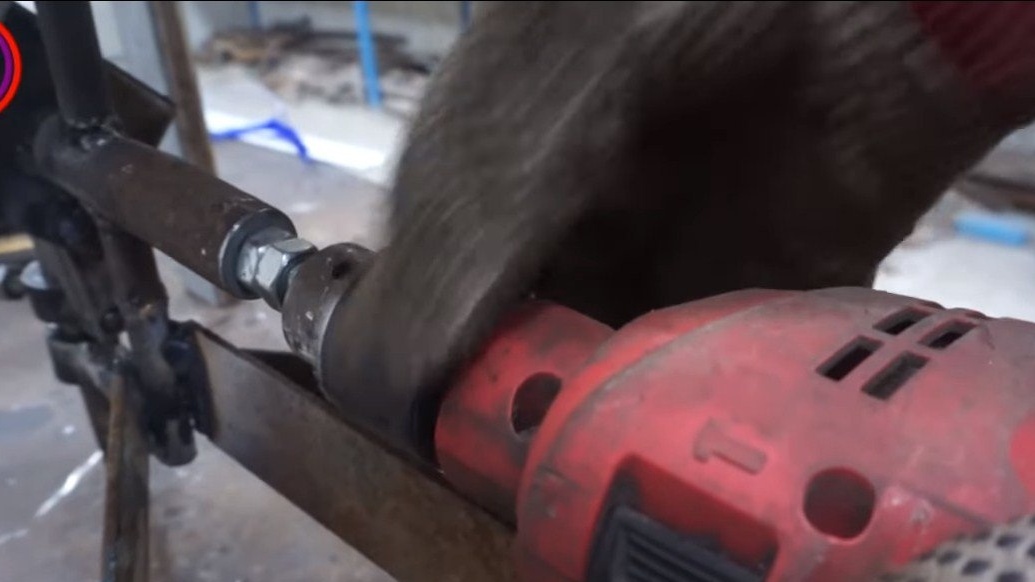
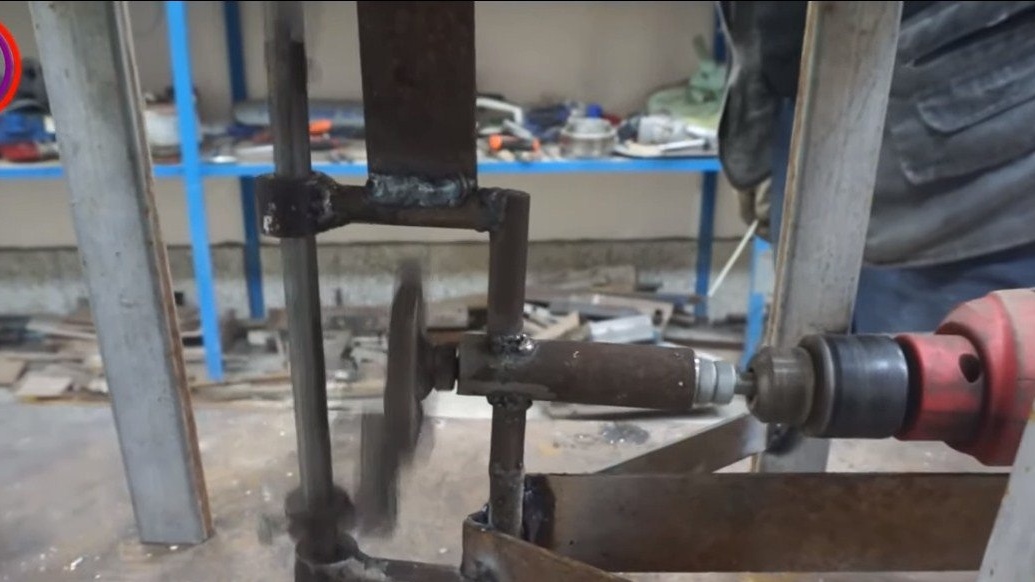
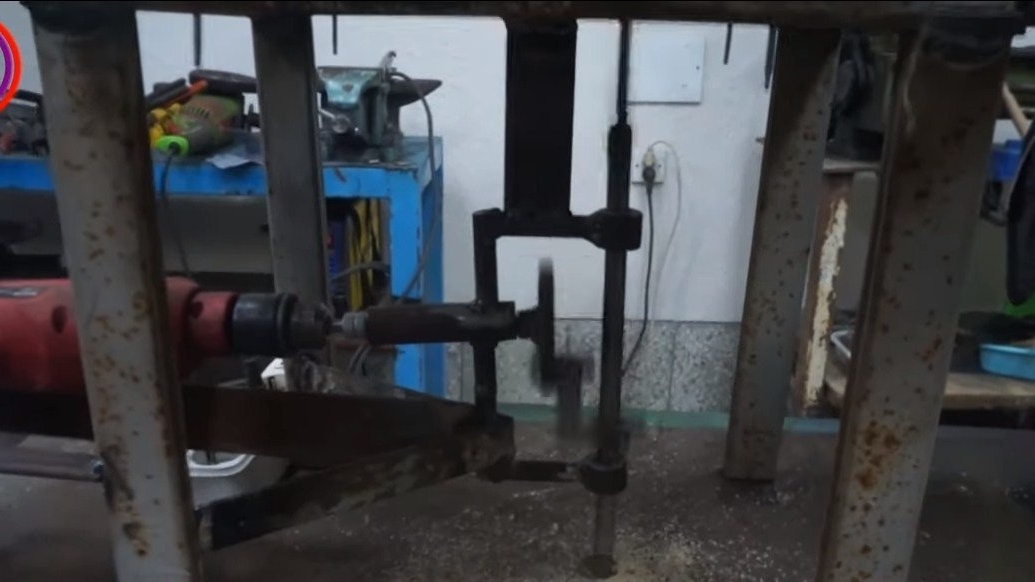
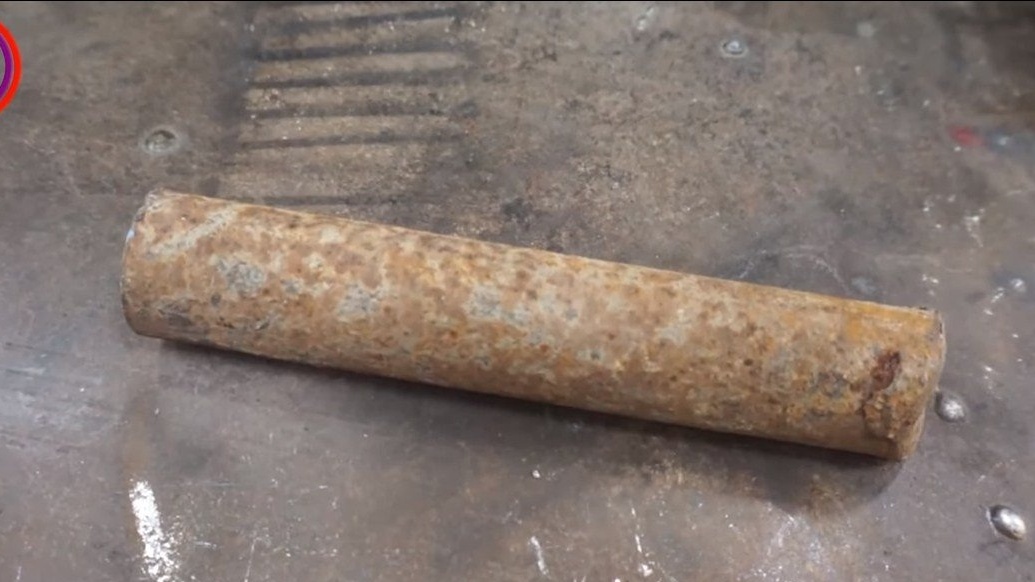
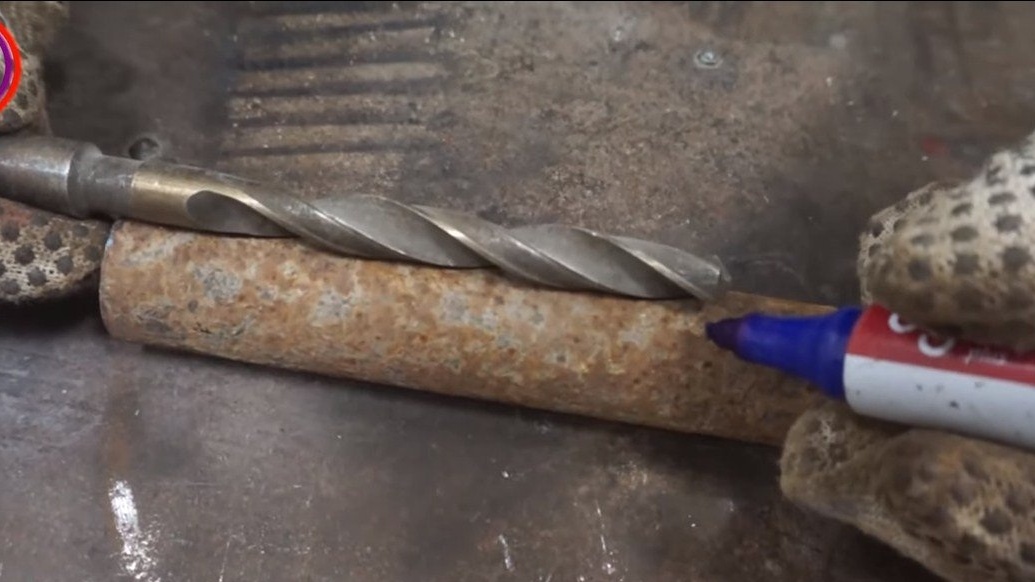
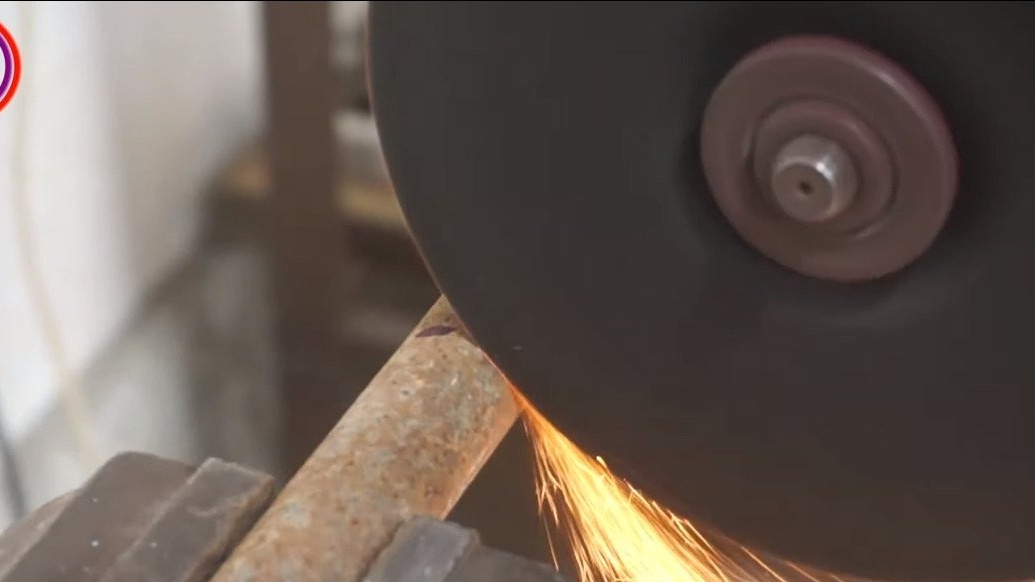
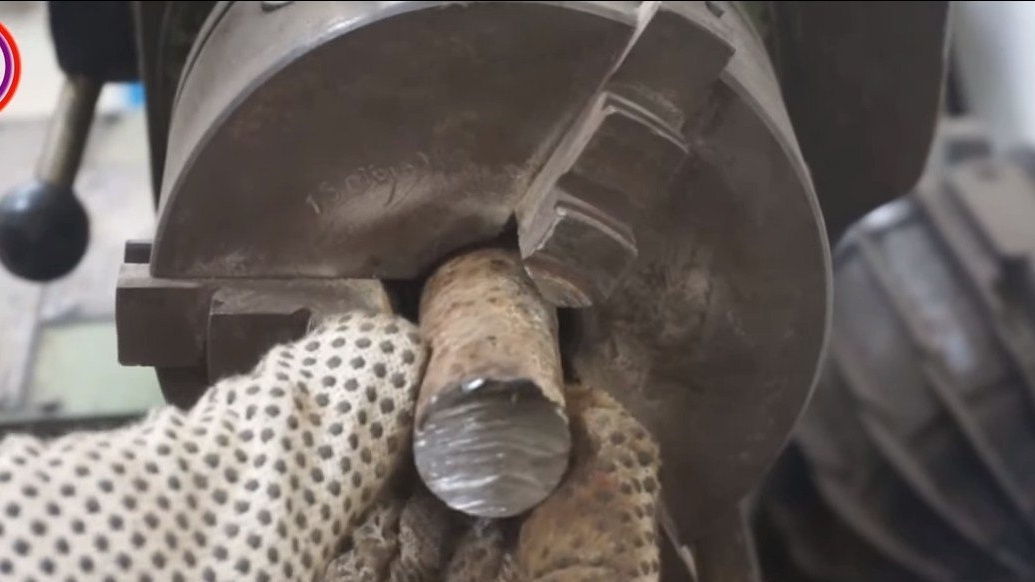
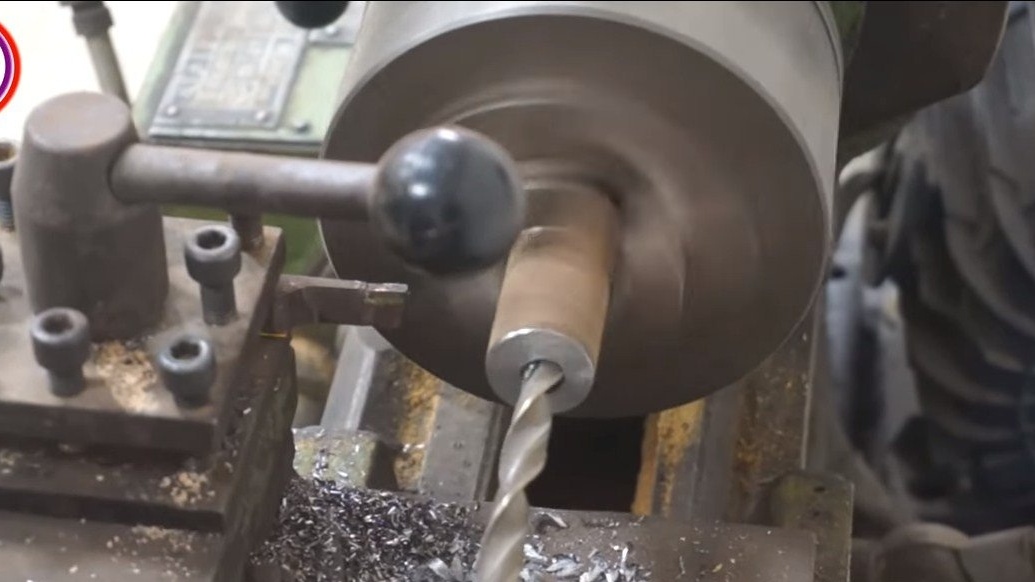
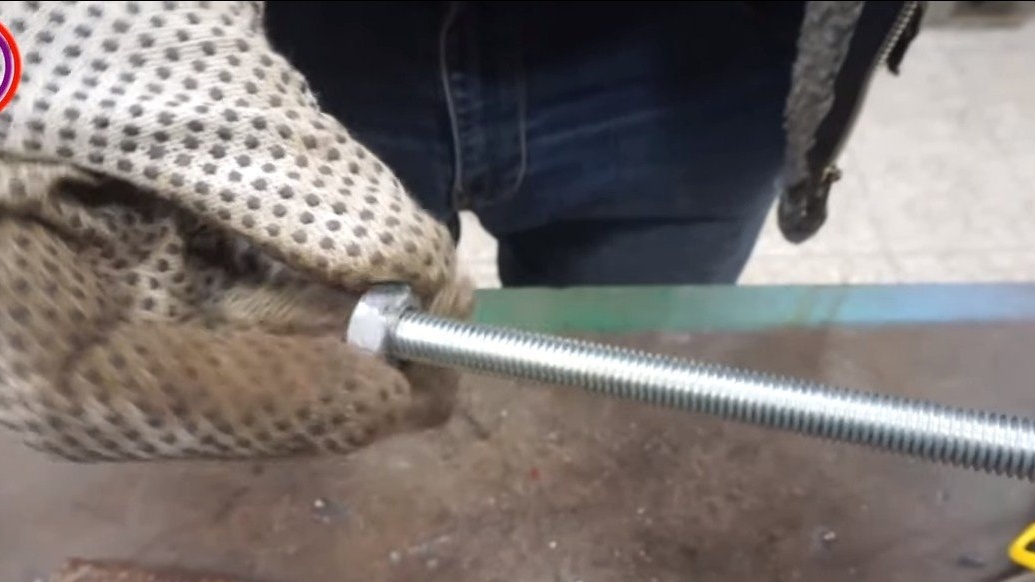
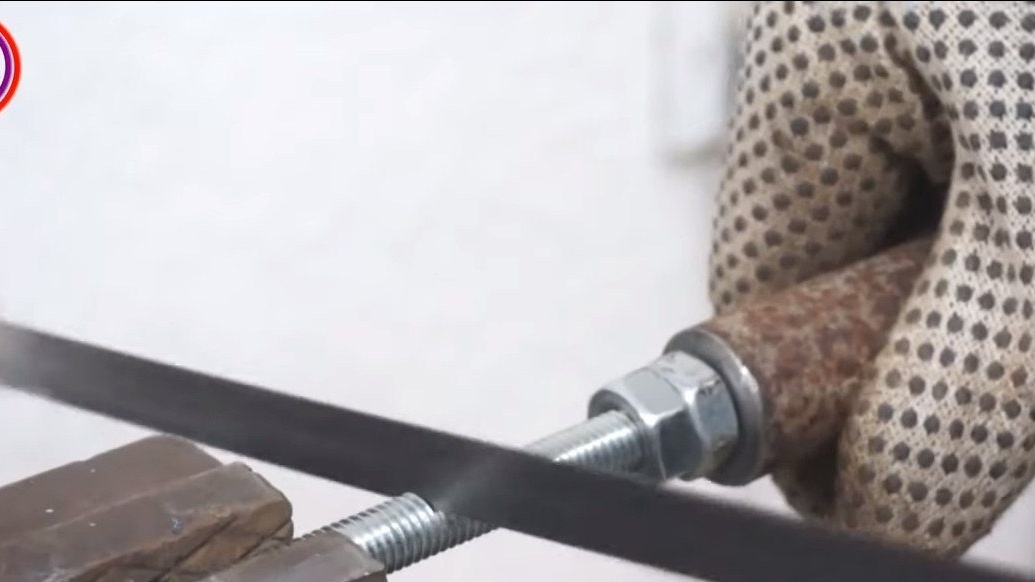
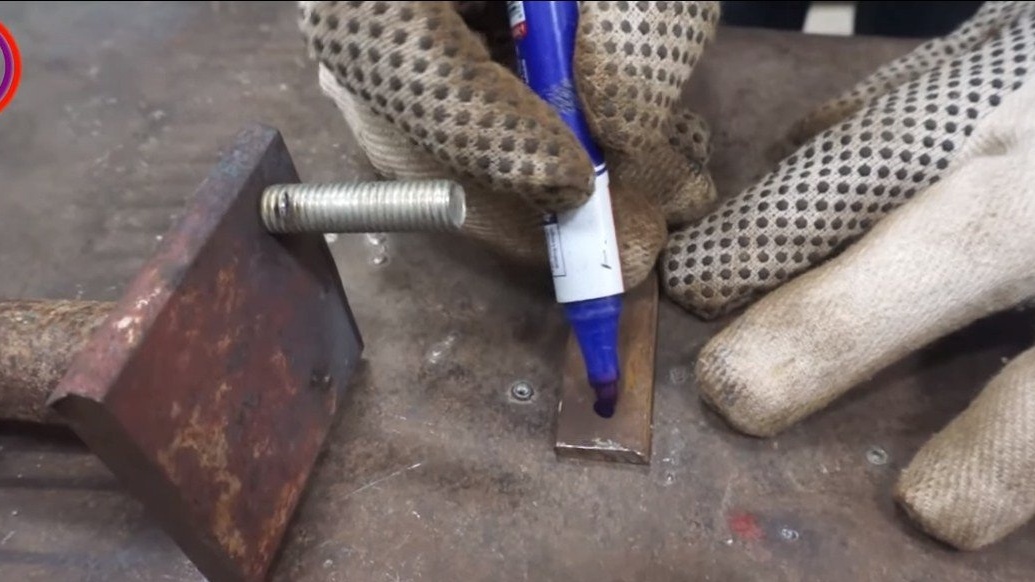
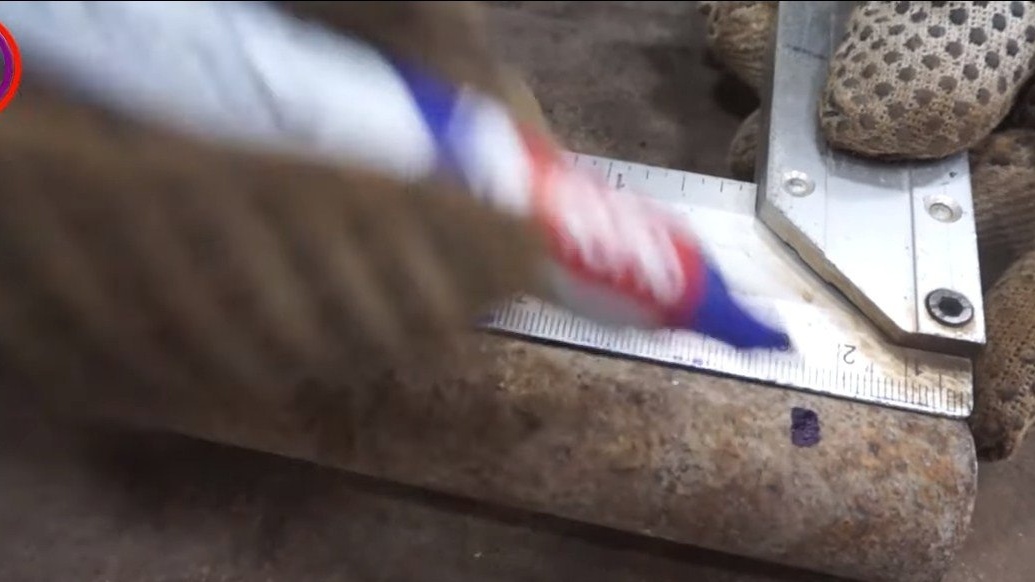
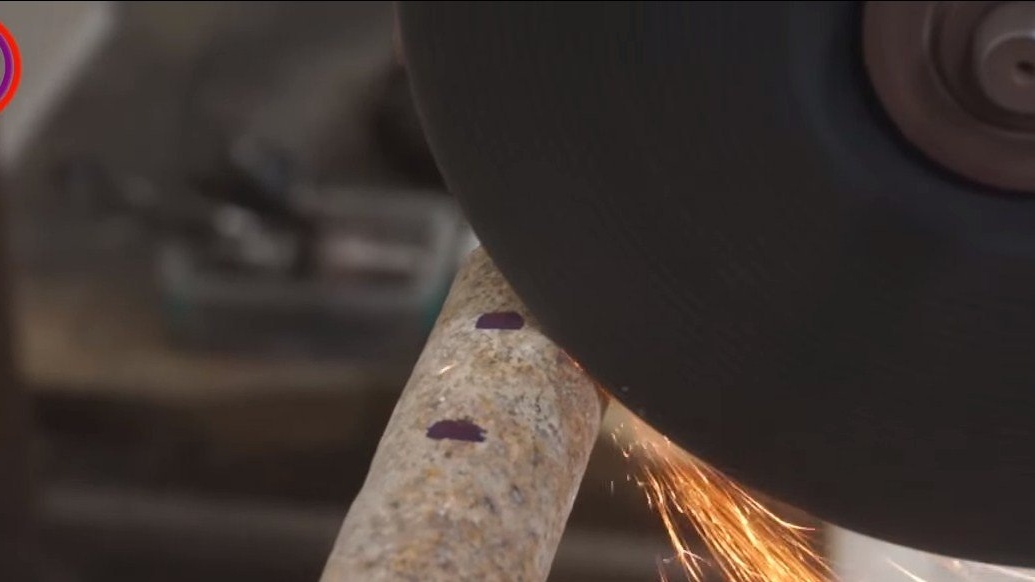
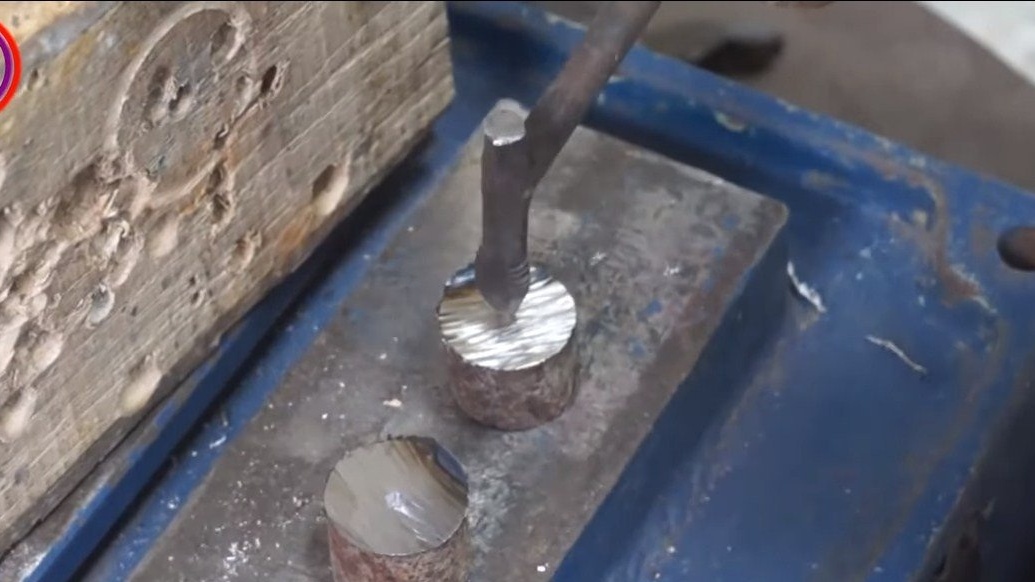
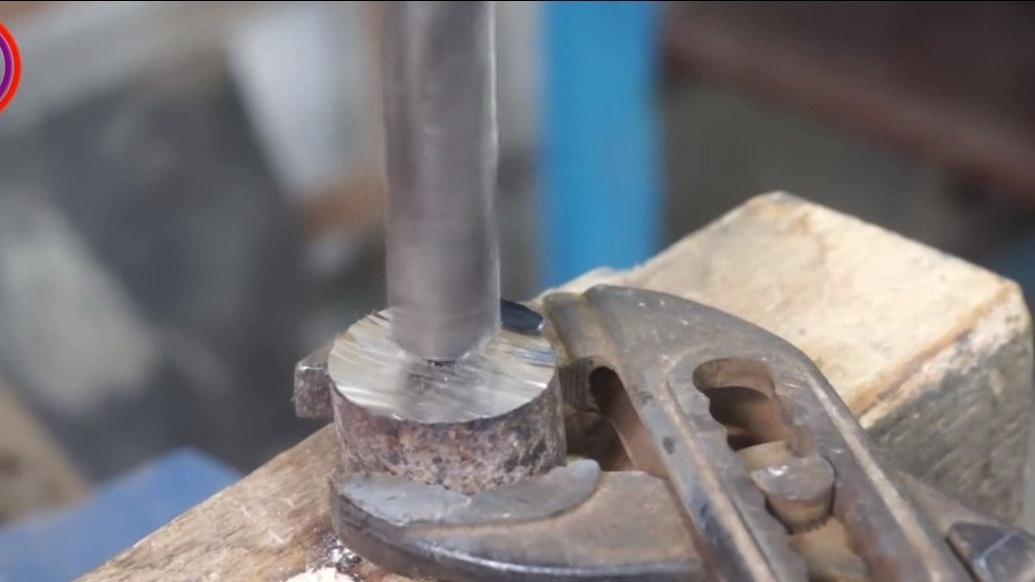
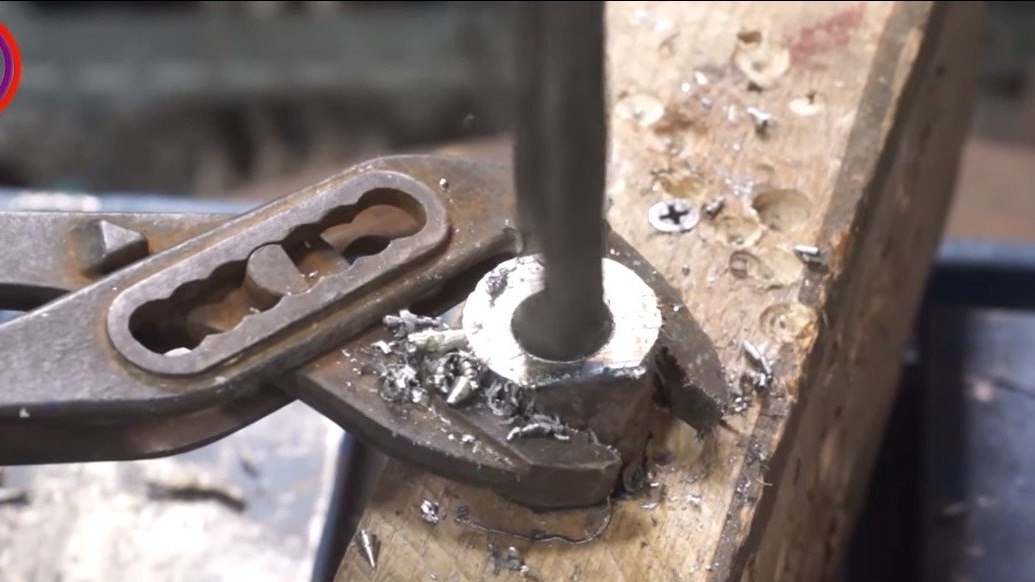
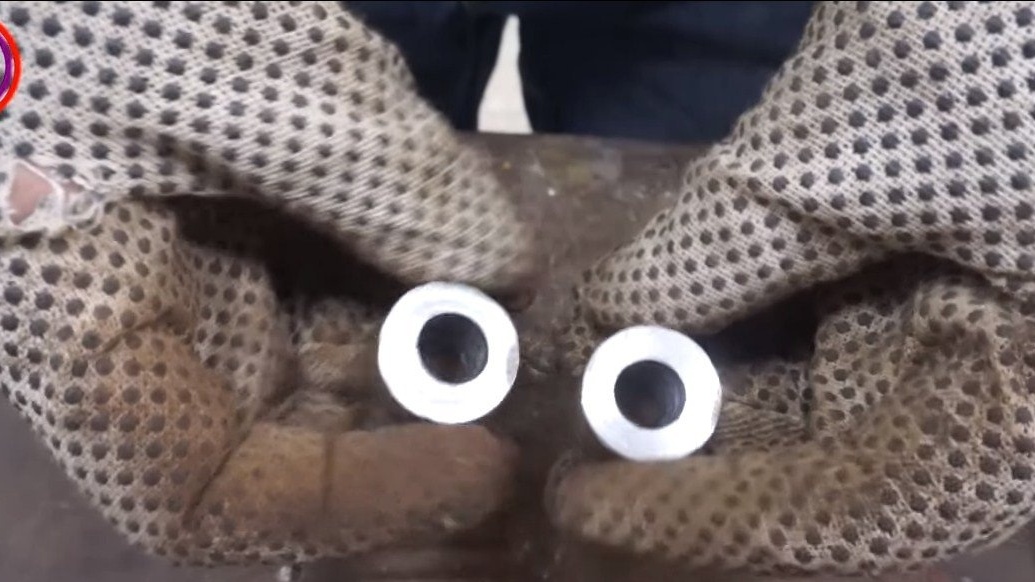
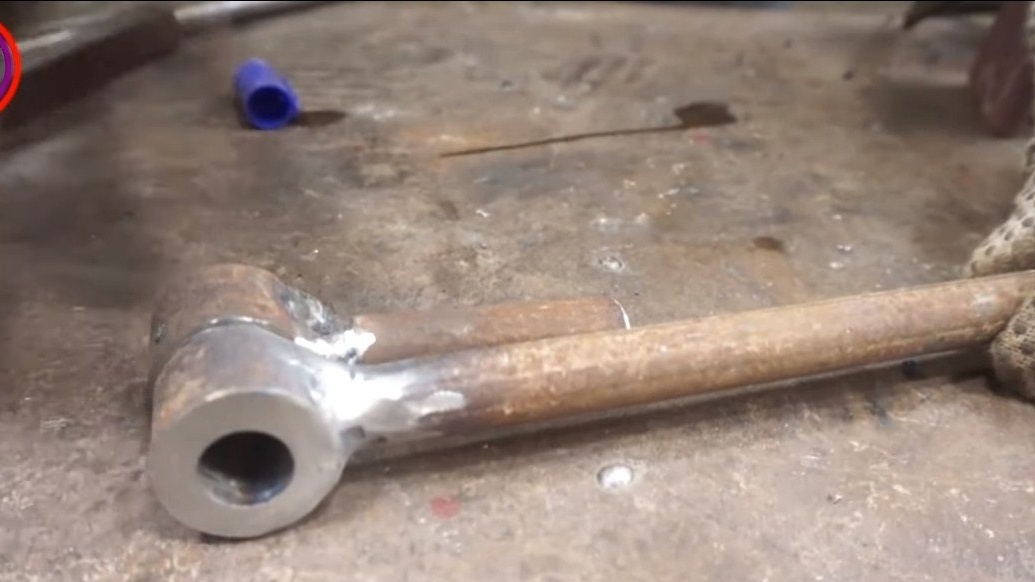
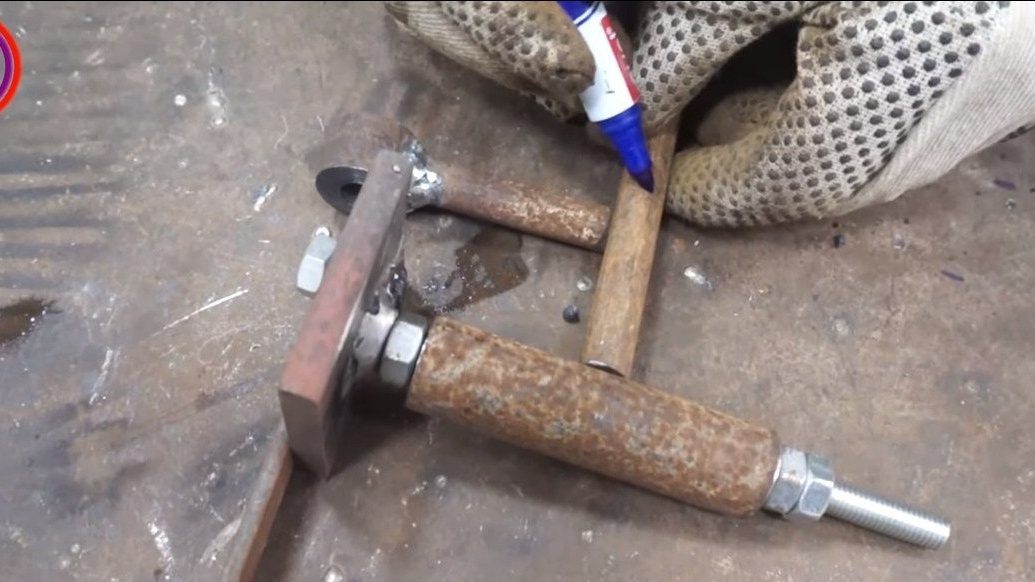
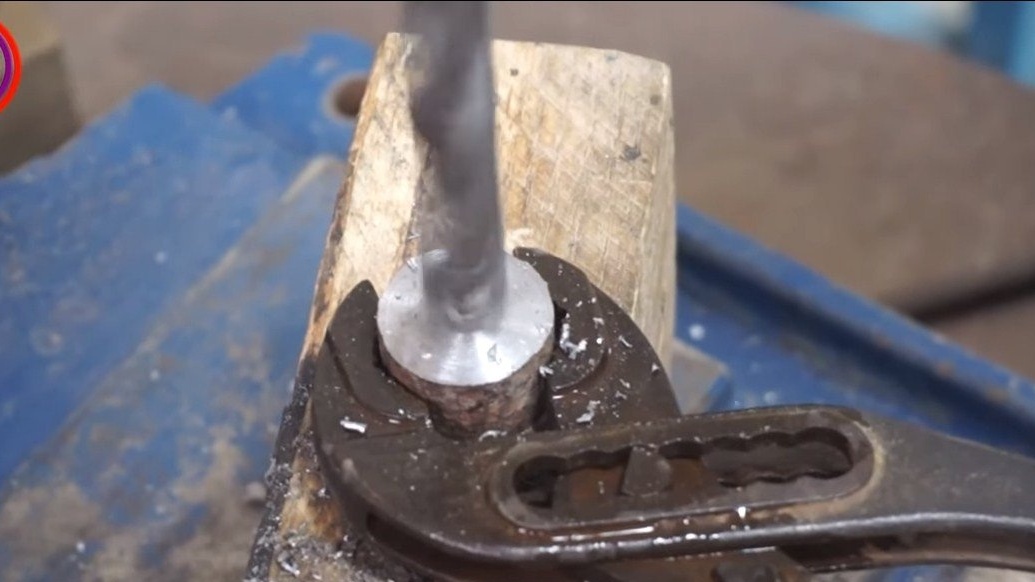
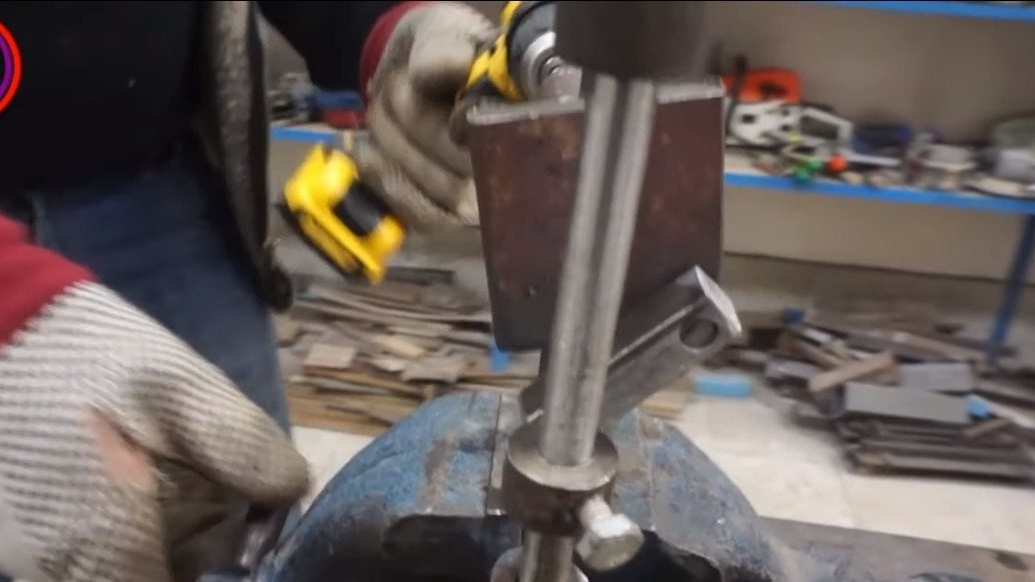
First of all, we will assemble the working unit, the essence of the design is to turn the rotational movements of the drill chuck into reciprocating movements. To begin with, a crank is made, here the author used a piece of thick sheet metal, we drill two holes in it and install threaded rods. The axis that will be in the center is needed to connect the drill to the machine. And the second axis is directly the crank spike. For the main axis, to which the drill is connected, you need to make a sleeve, here you need a round log, in it the author drills a hole along the entire length along the diameter of the threaded rod.
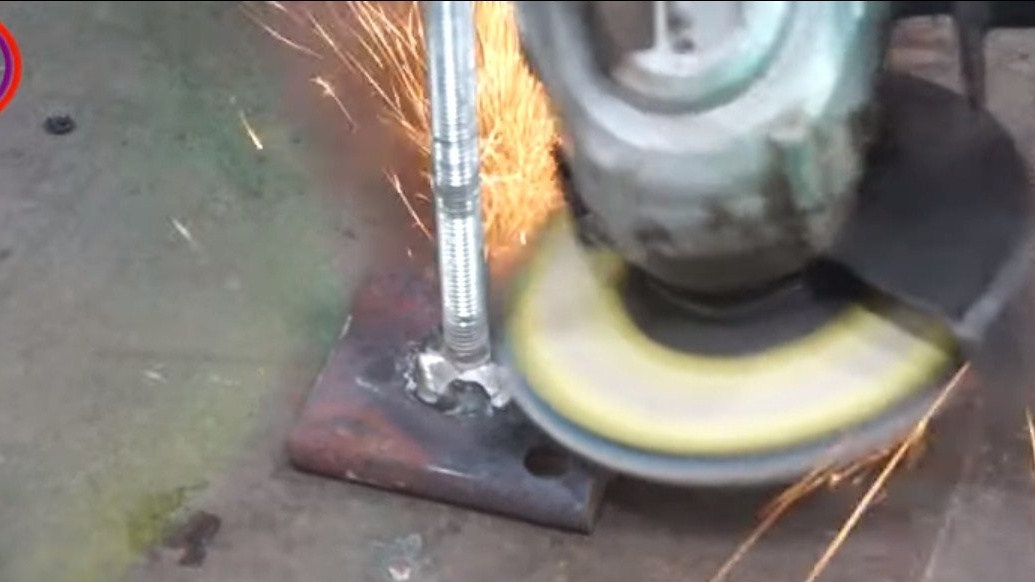

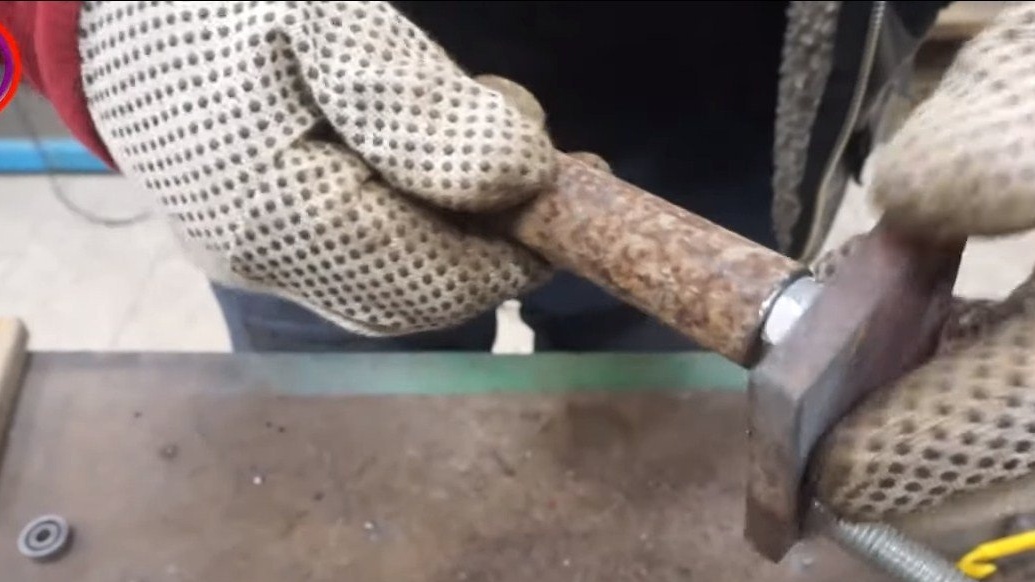

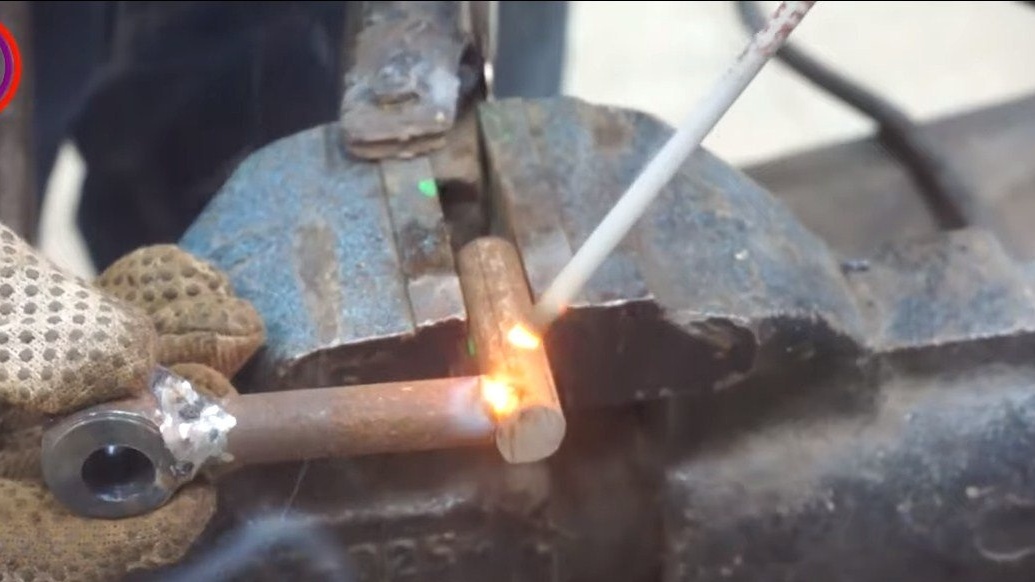
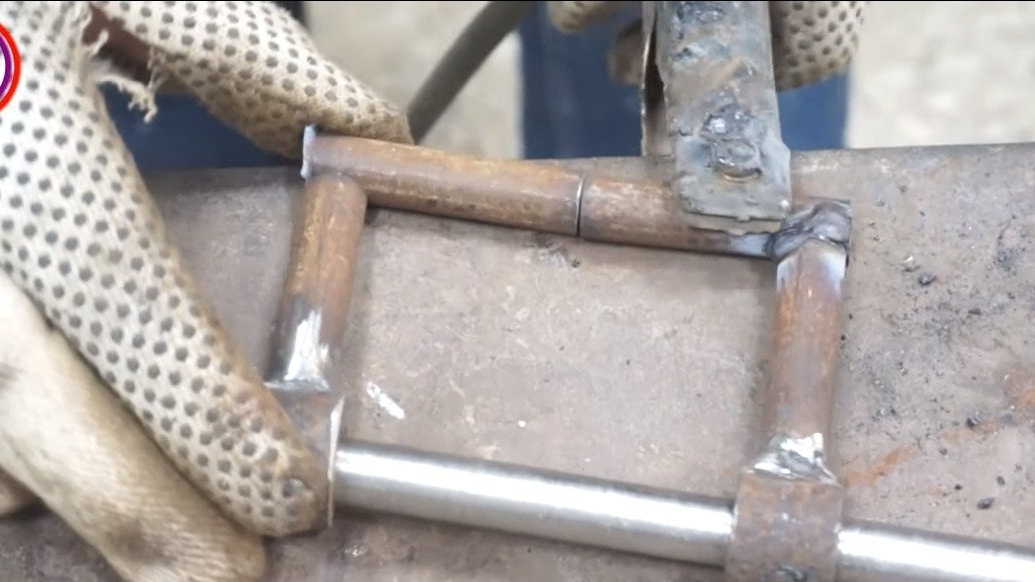
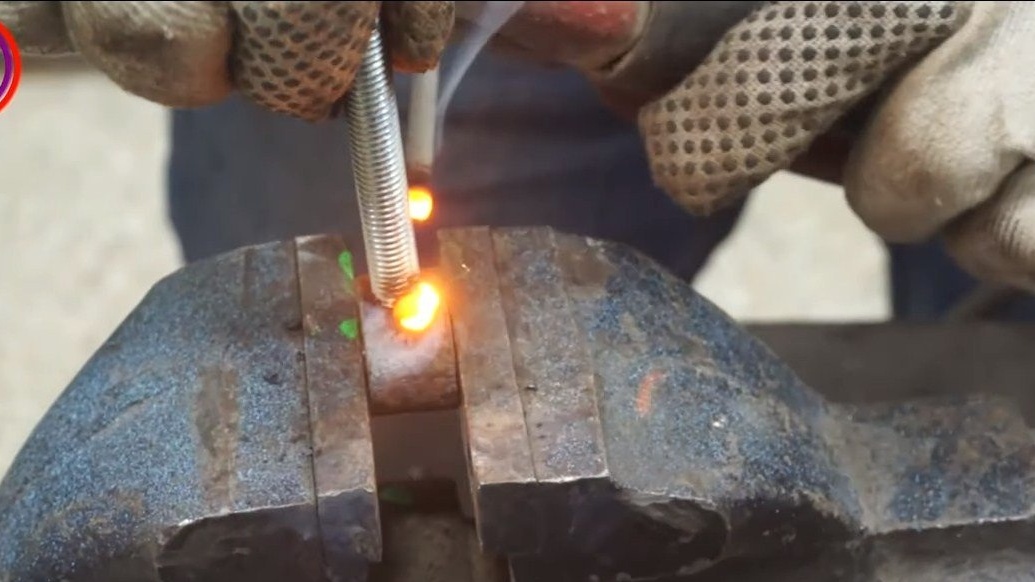
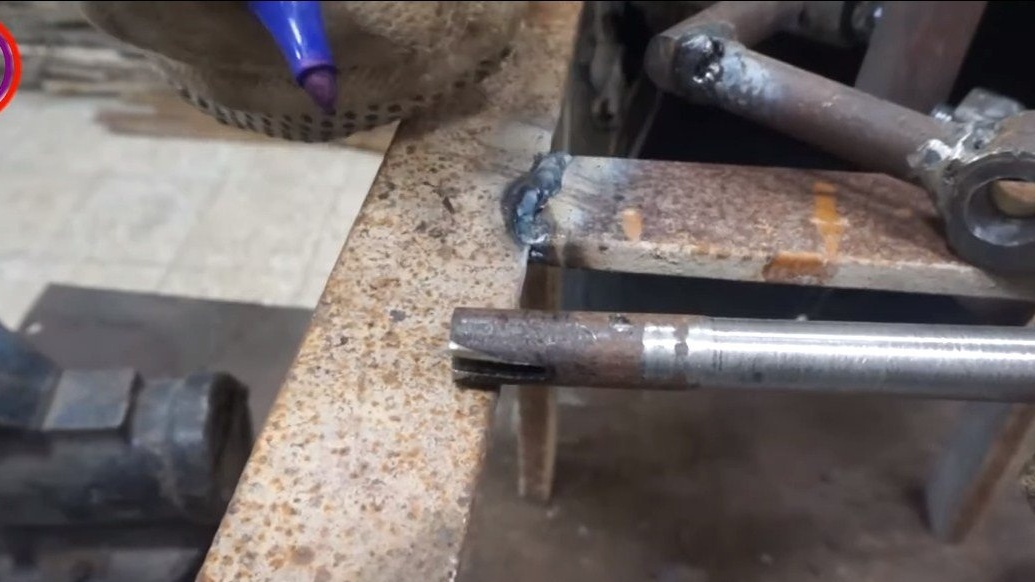
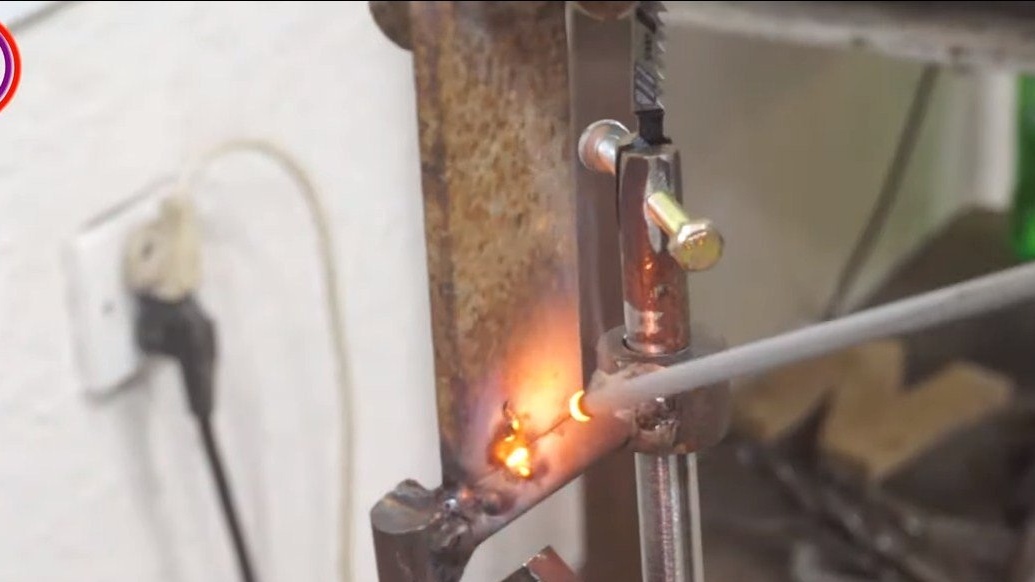
Well, then the frame from the roundwood is welded, it resembles the letter "P". At the ends of the frame, pieces of round timber with drilled holes are welded, these are bushings that are held by a rod running in the vertical direction. As a result, it remains only to connect the crank to the rod, we will manufacture a connecting rod. Of course, the design turned out to be very primitive and the efficiency is greatly lost here, but no one forbids you to assemble all the nodes on the bearings or just better.

Step TwoMaking a table
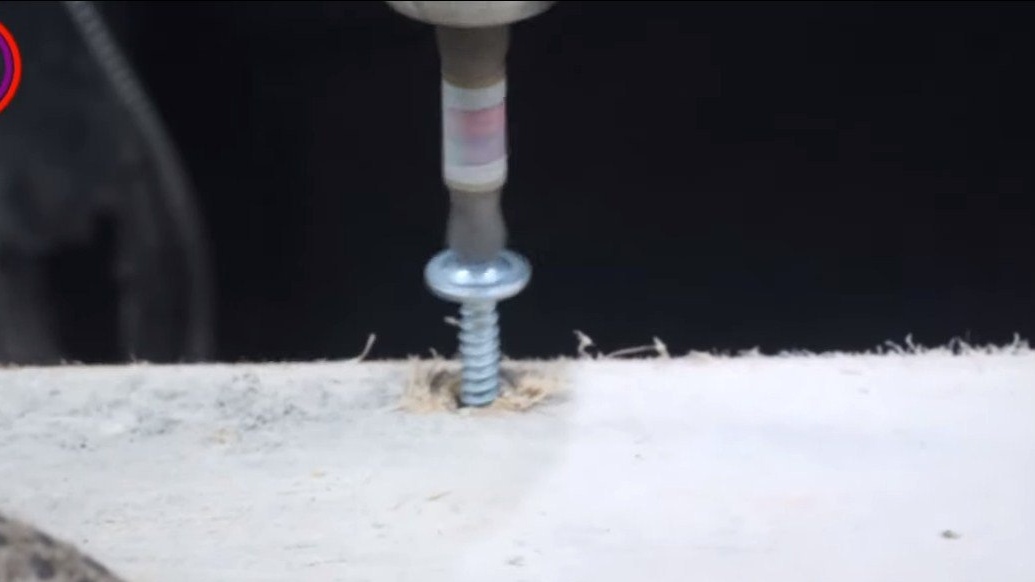
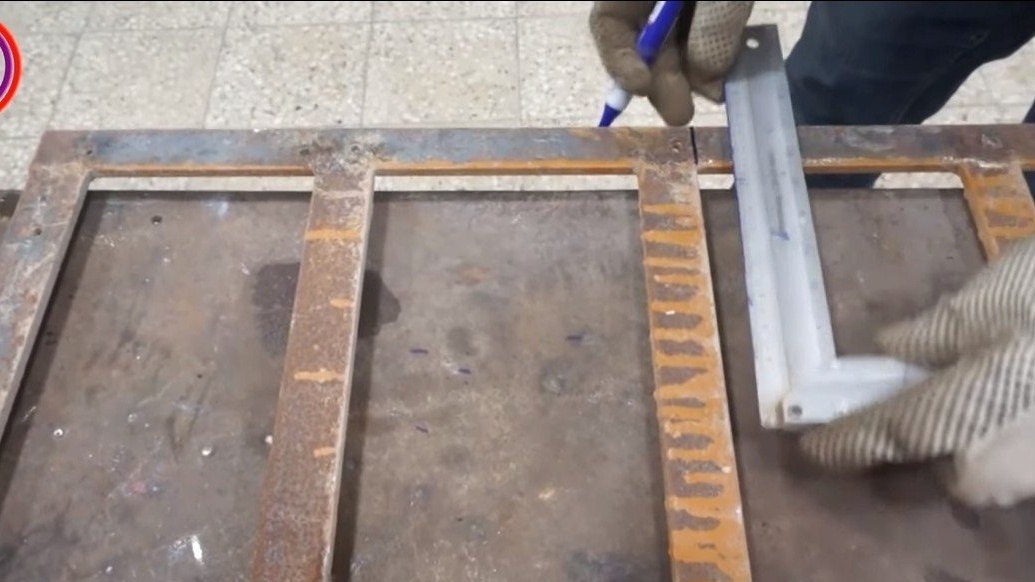
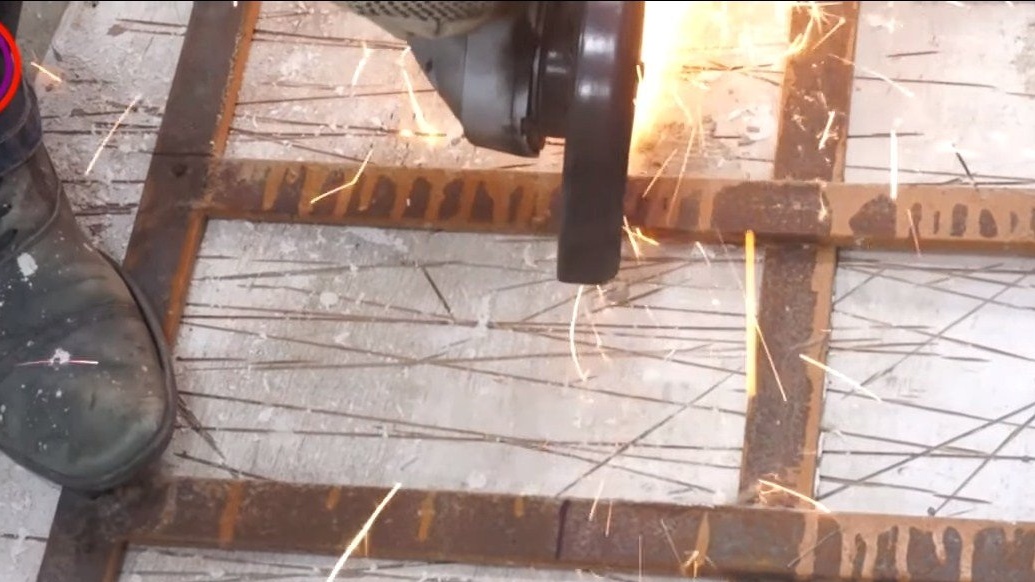
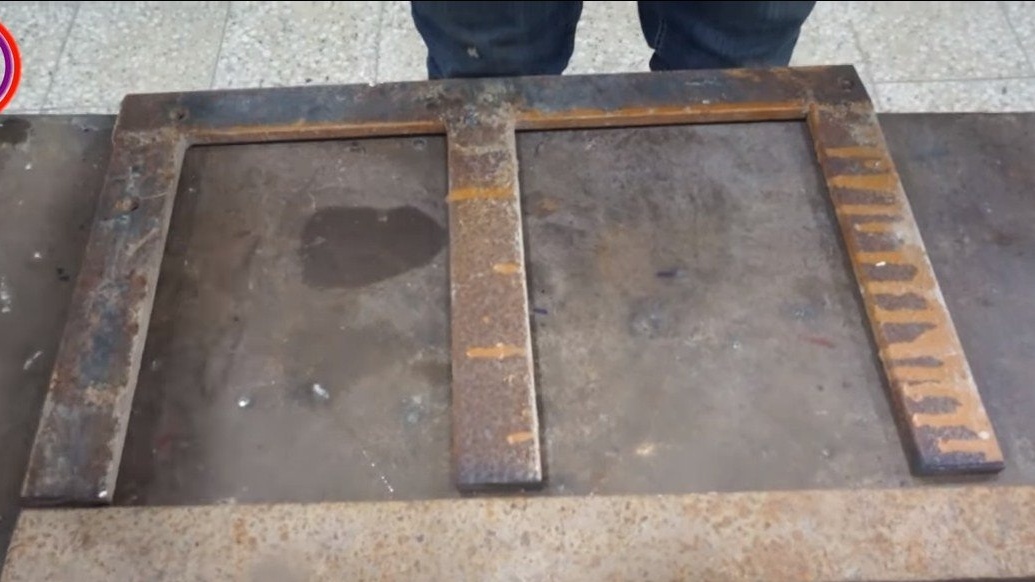
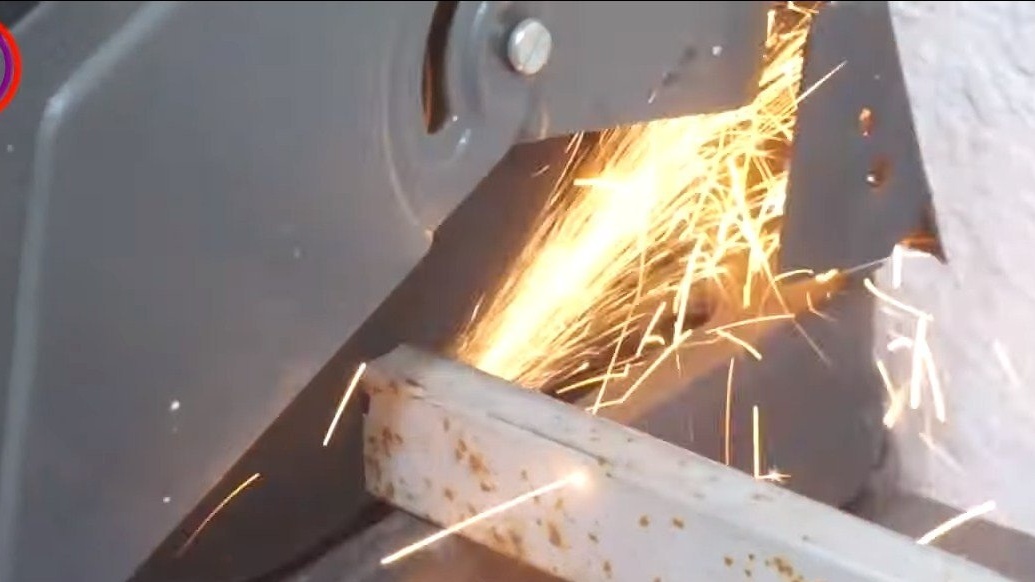
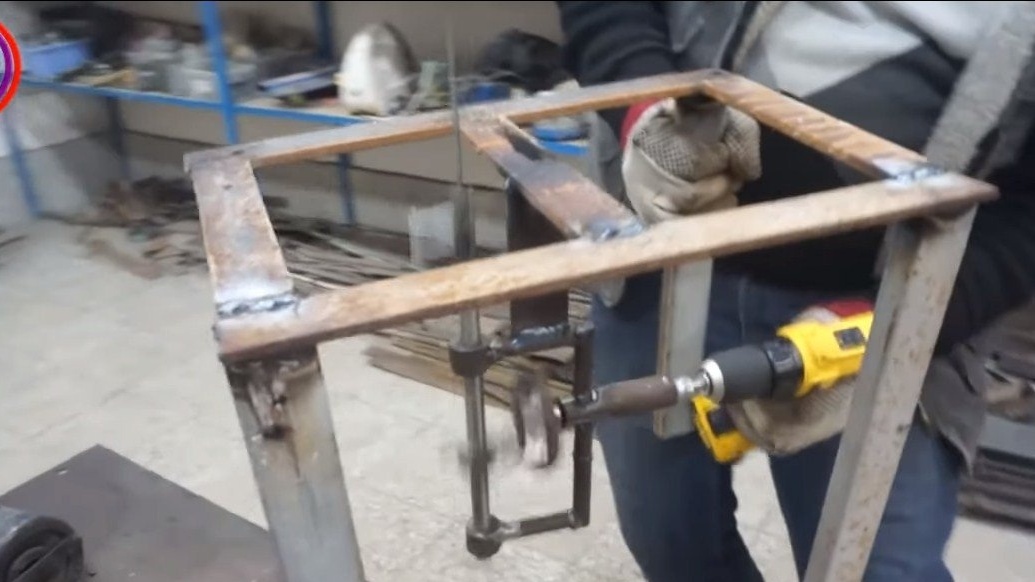
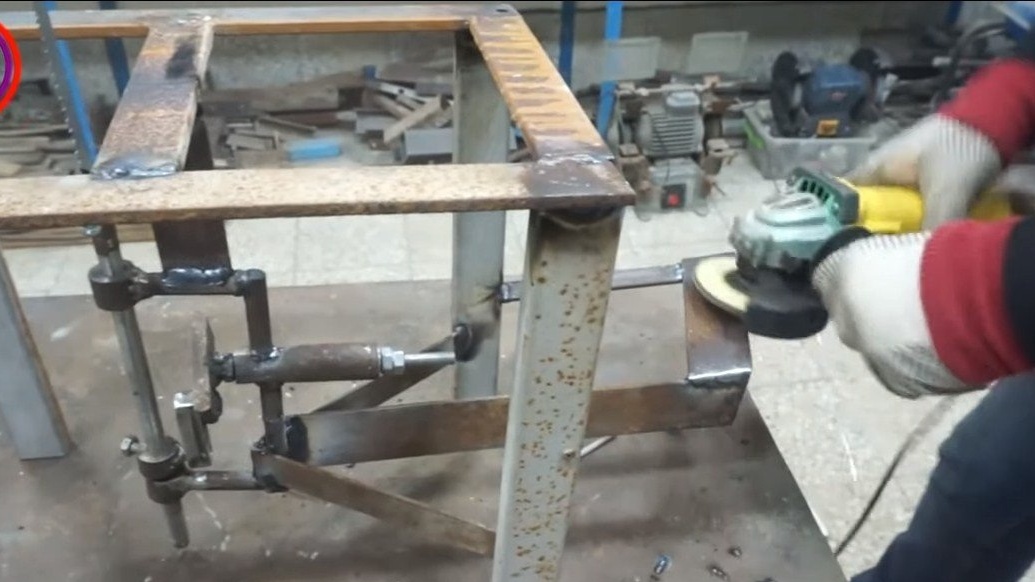
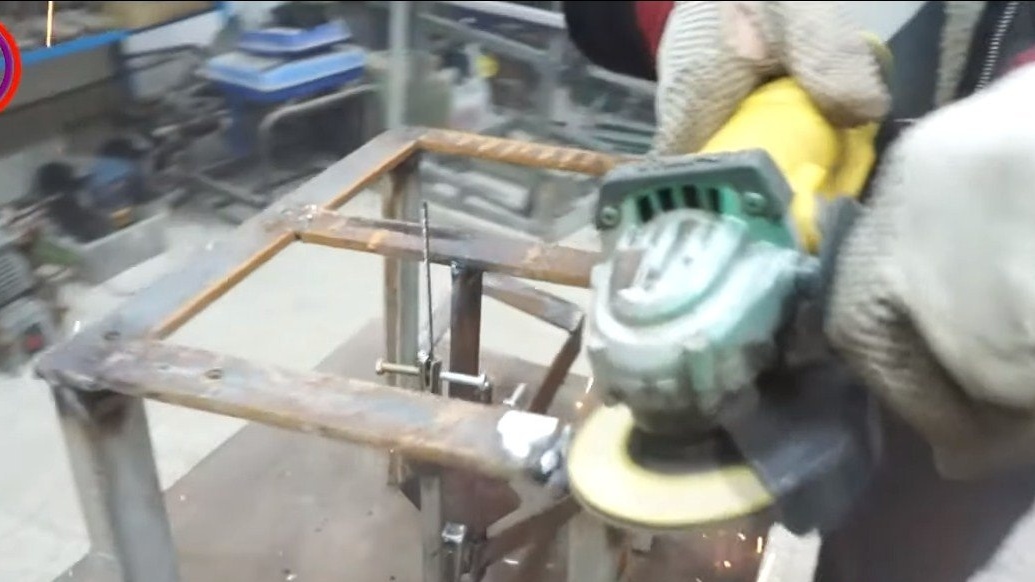
The work unit must be securely installed on a sturdy table. The author collects the table himself, here we need sheet metal, from it we weld the frame for the countertop. We weld the legs from the profile pipes to the frame.
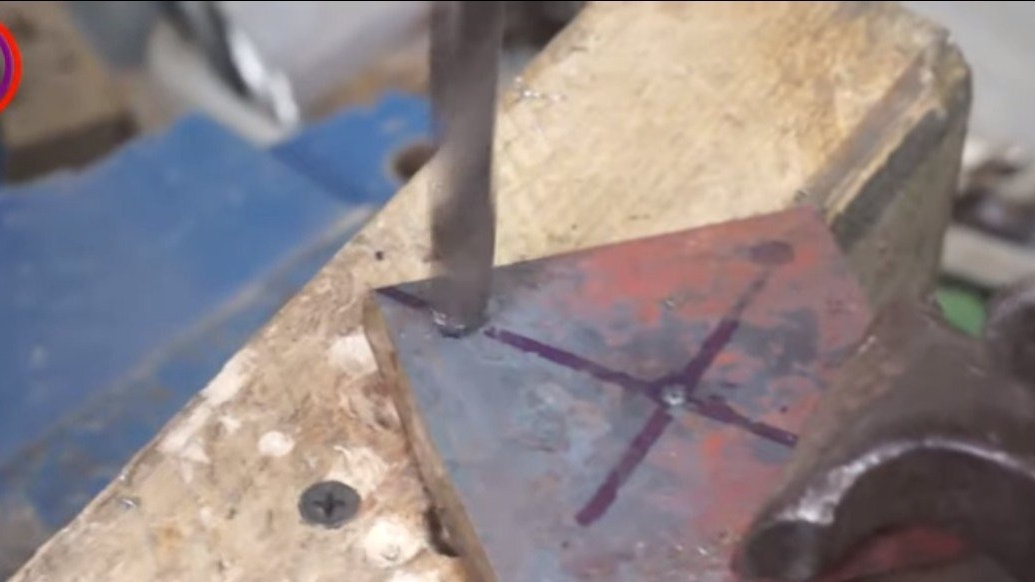
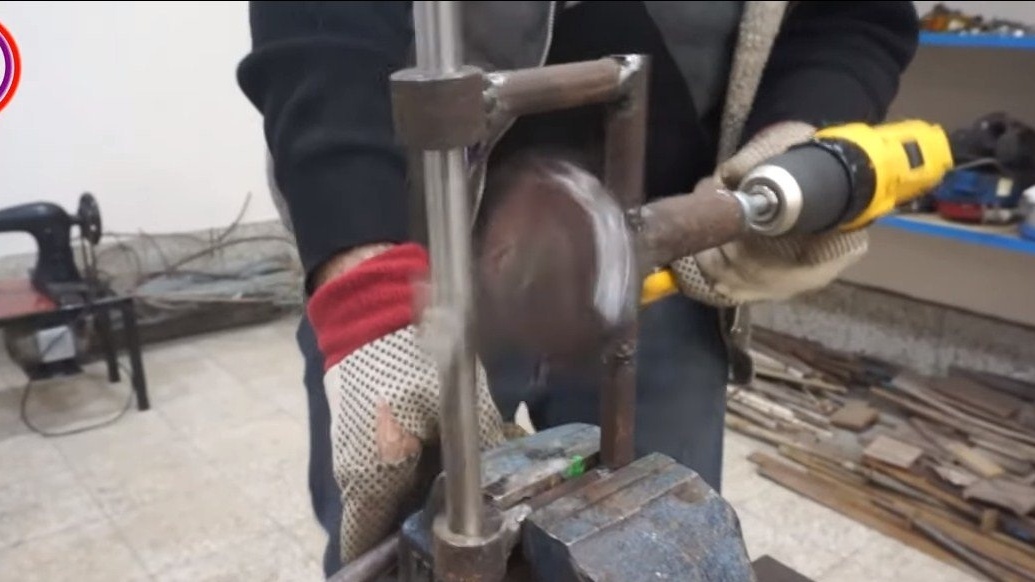
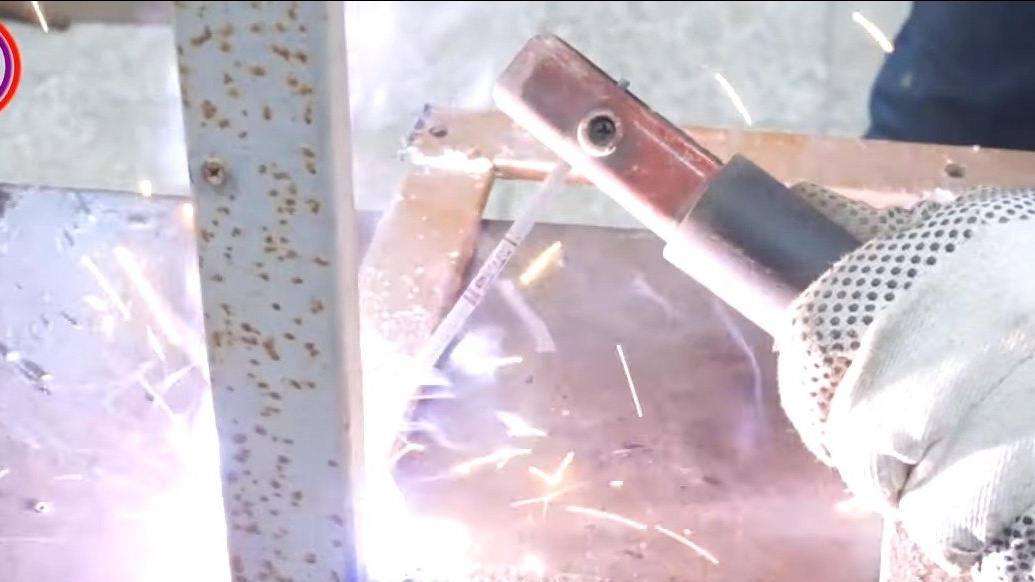
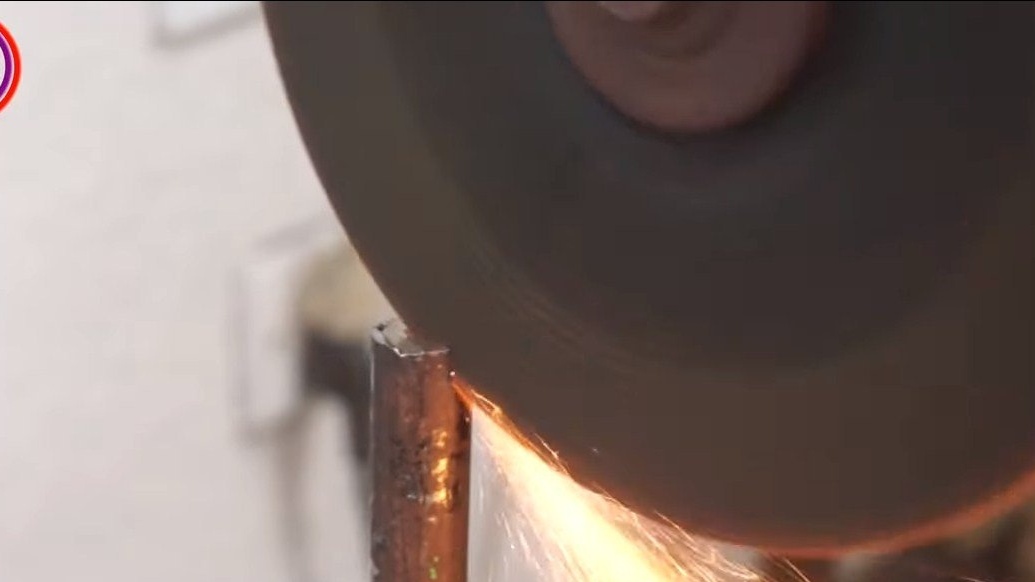
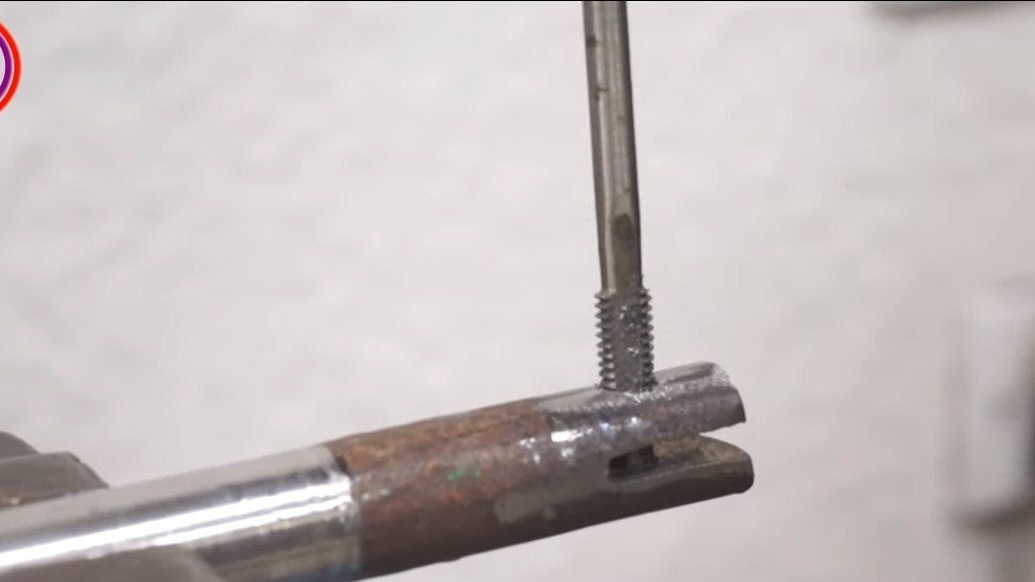
After that, it will be possible to install a working unit, we weld it in the right place using iron plates. We install a knife on the stem of the machine, for this we cut a gap in it with a grinder, drill a hole and cut the thread for the screw.

Step Three Final touches and tests
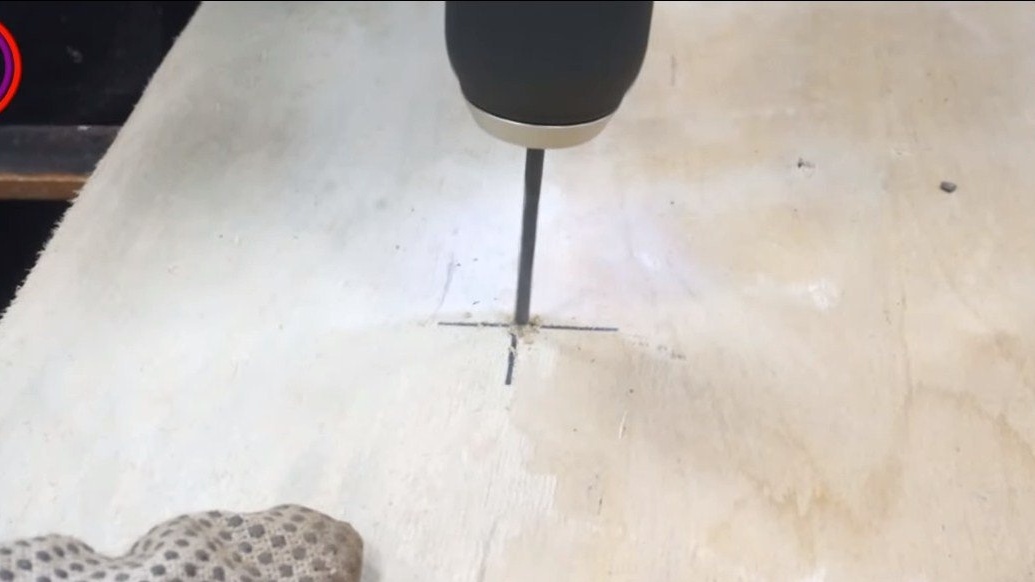
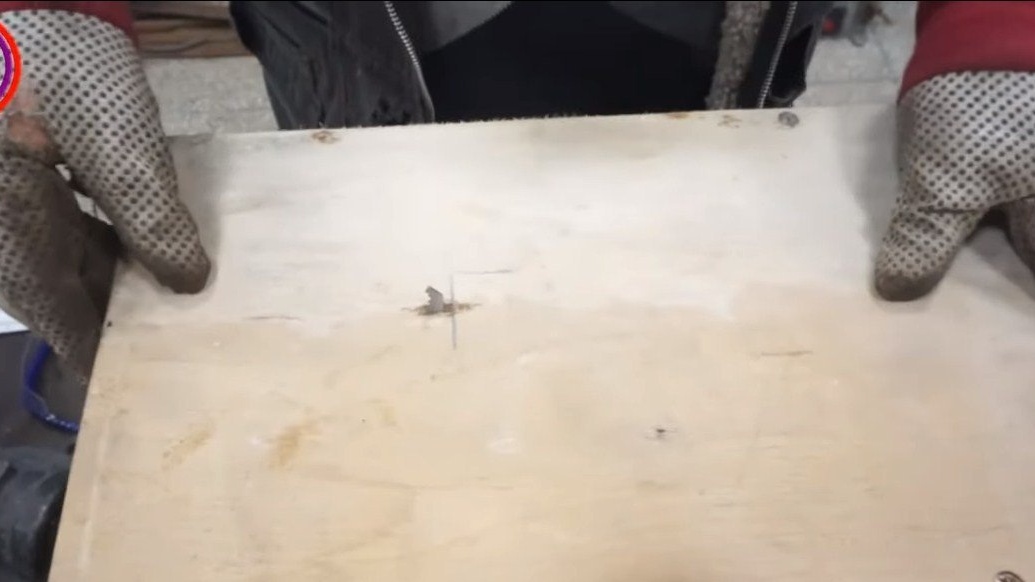
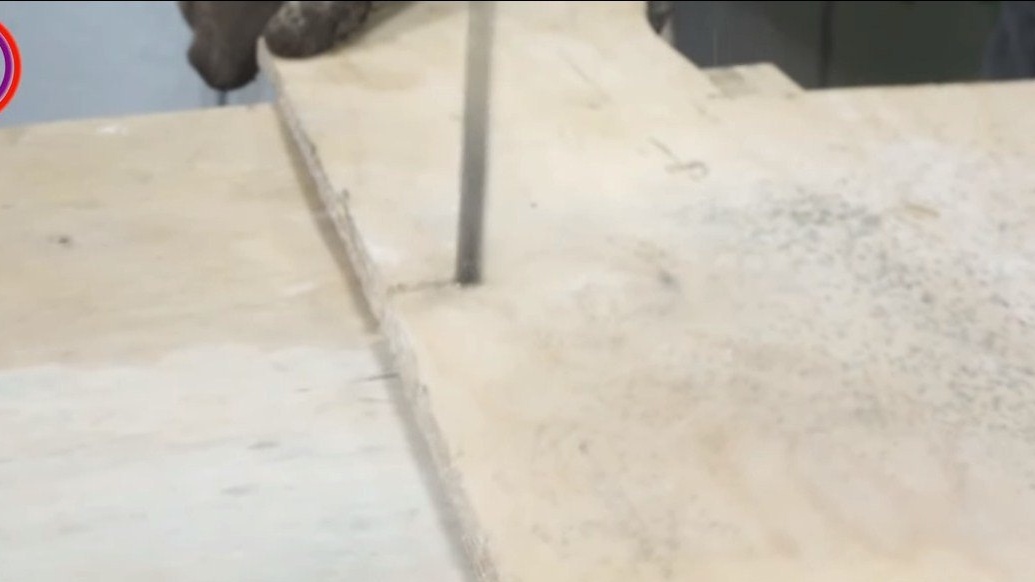
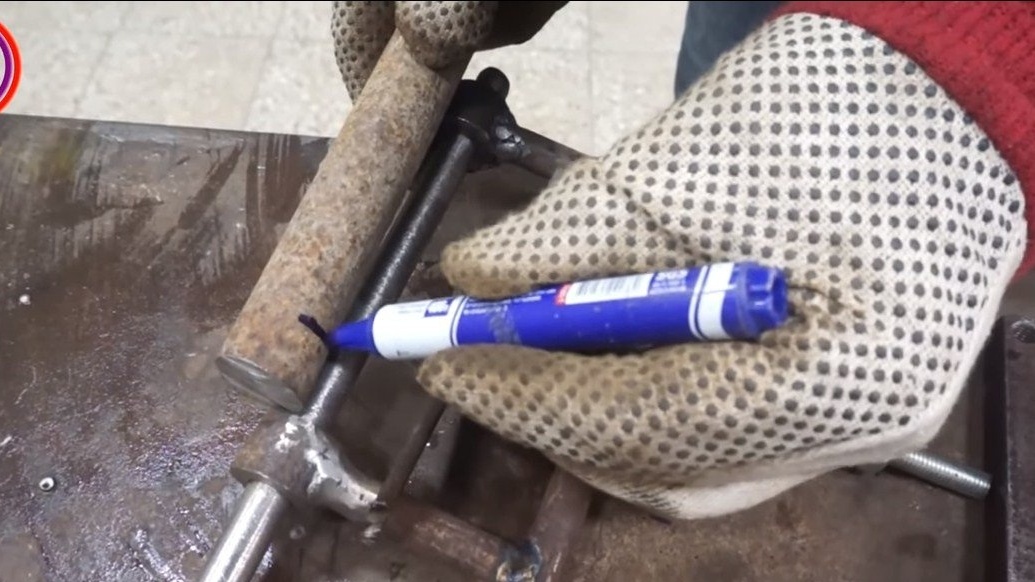
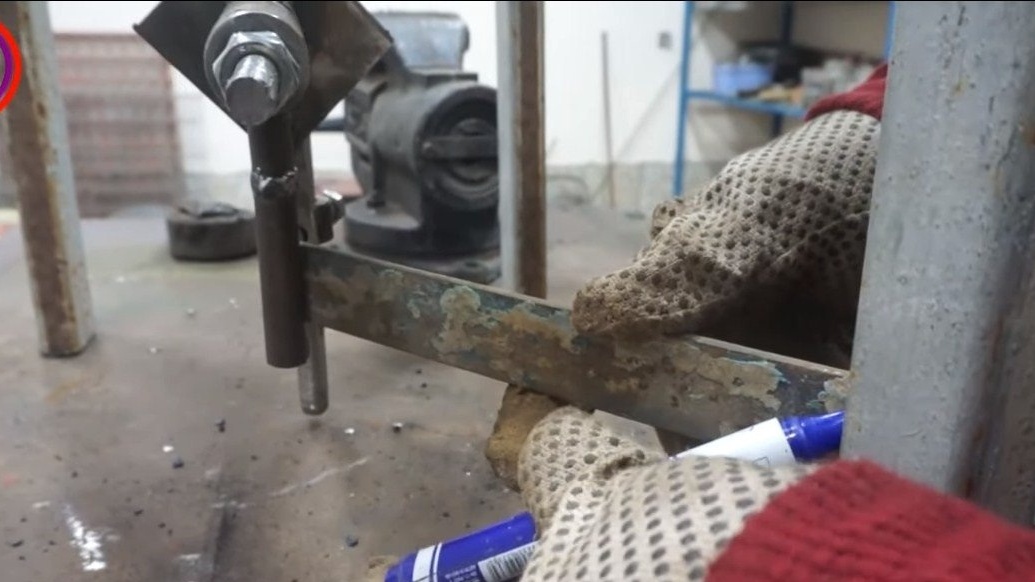
In conclusion, we need to make a countertop. We use thick plywood or similar material for this, fasten it with screws to the base. That’s all, the machine is ready, before the test, we lubricate well all the components in which there is friction, solid oil or other grease. We connect the drill and start the machine. The author demonstrates the operation of the machine, cutting plywood and other materials, the machine copes with the problem without problems.
On this project can be considered successfully completed, I hope you have found useful thoughts and ideas for yourself. Good luck and creative inspiration, if you decide to repeat this. Do not forget to share your ideas and homemade things with us!