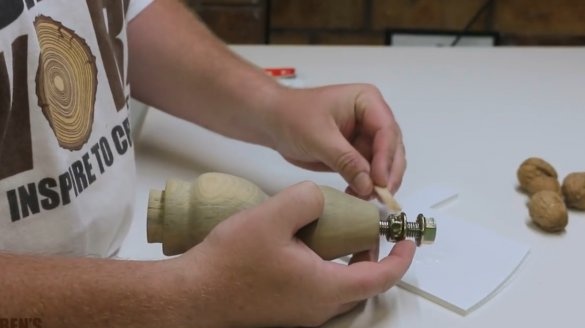
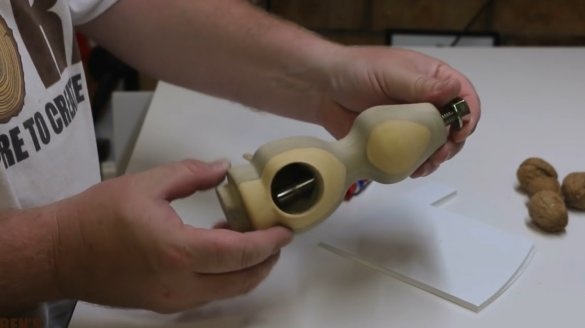
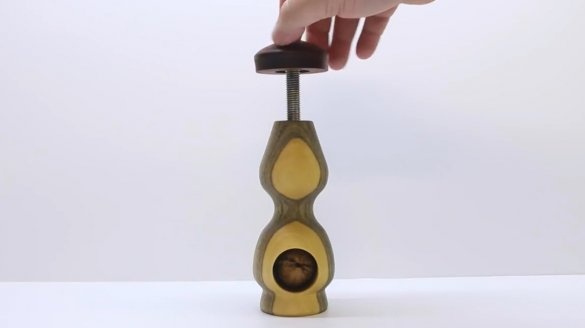
In this article, Ben, author of Ben's Worx YouTube Channel, will share with you the idea of creating a simple screw nut cracker.
Materials
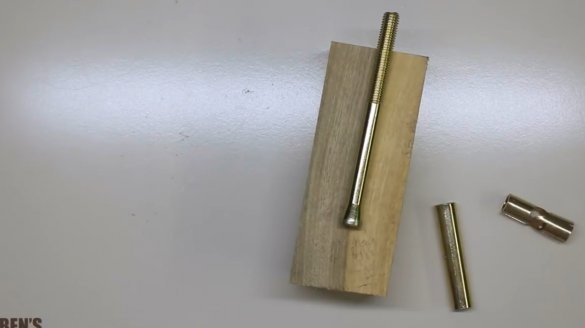
- Anchor
- Hazel bar
- Ash block
- Two-component epoxy resin
-
- Sandpaper.
Instruments, used by the author.
-
- Drilling machine
- Lathe
- Chisels.
Manufacturing process.
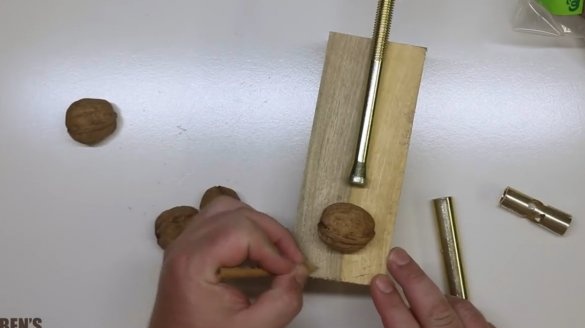
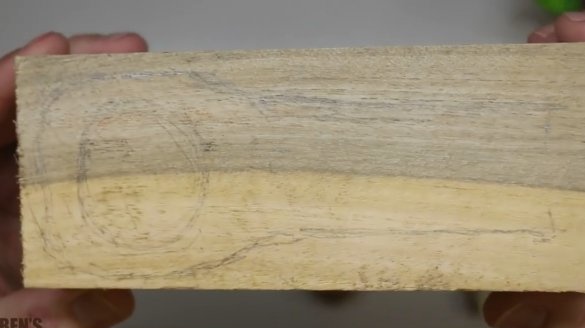
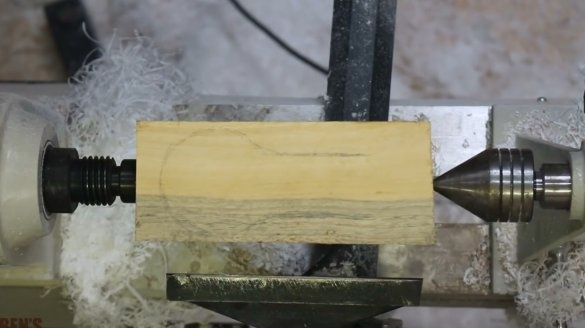
So, the master picked up a small piece of hazel for the base, and approximately outlined the contour of the future workpiece.
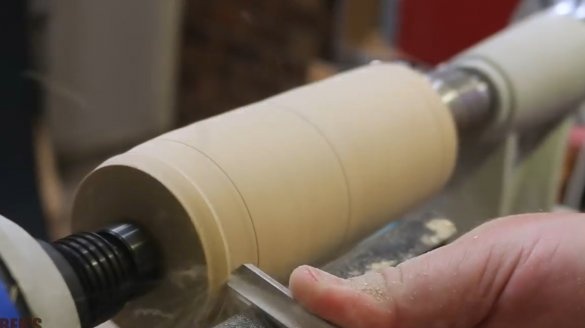
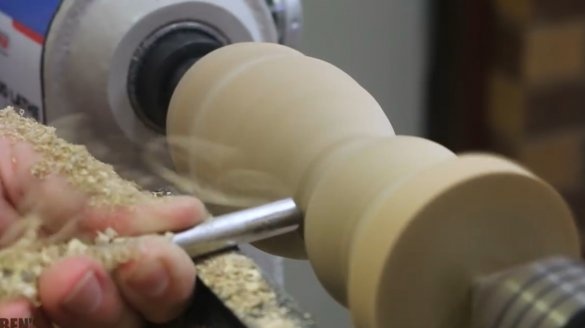
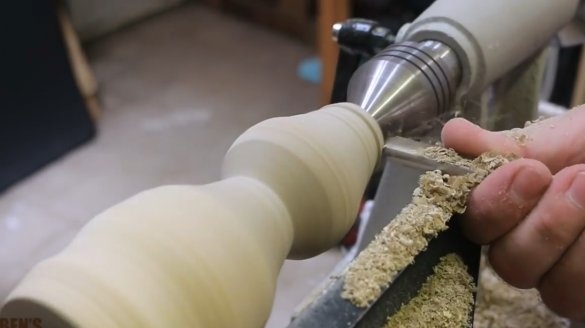
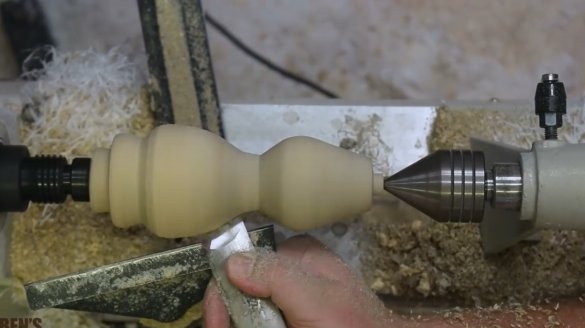
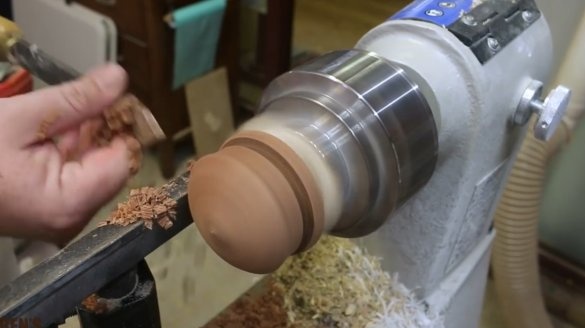
Then he installed it in a lathe, and roughly turned the basic contours of the base.
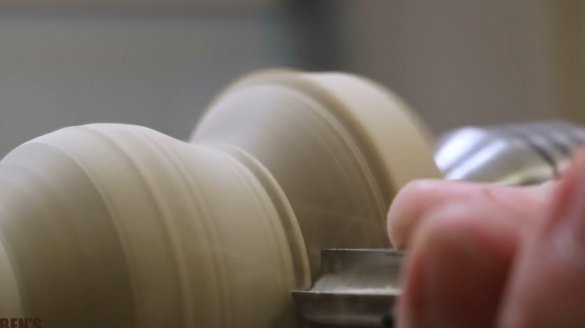
After finishing and leveling, the base is almost ready.
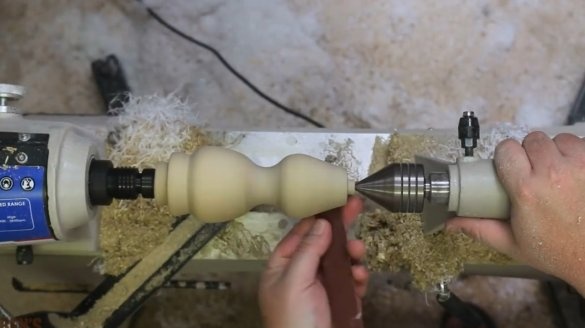
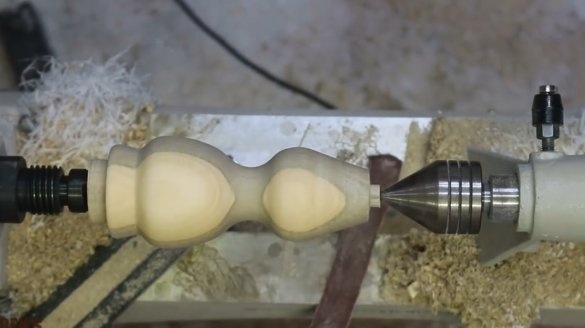
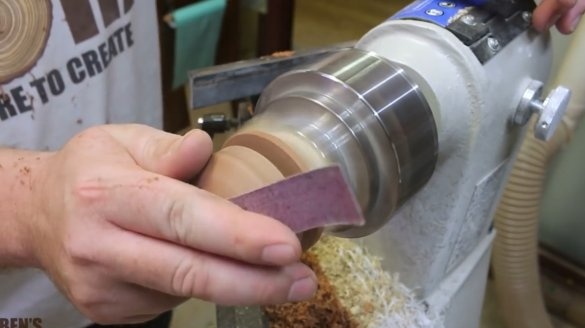
After sanding with sandpaper from 100 to 600 grid, we got such a blank.
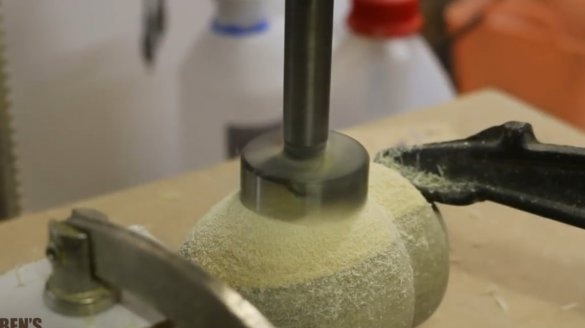
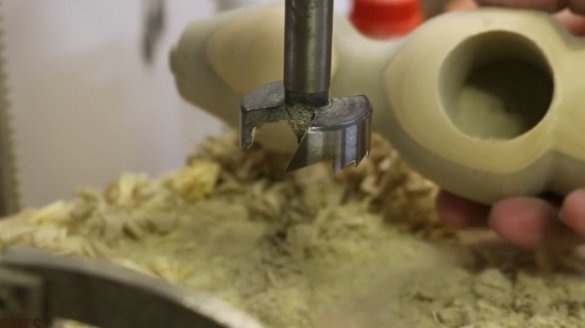
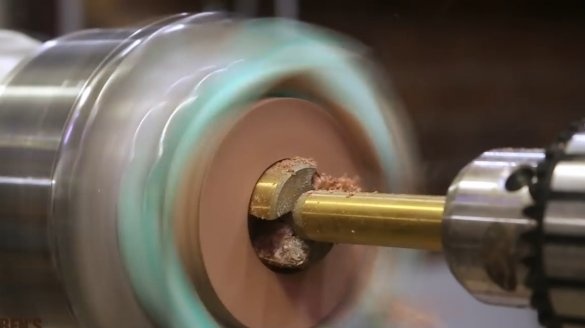
At the bottom of the base, the master drilled a hole for nuts with a Forstner drill.
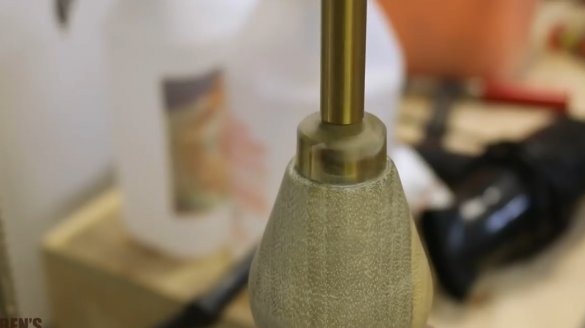
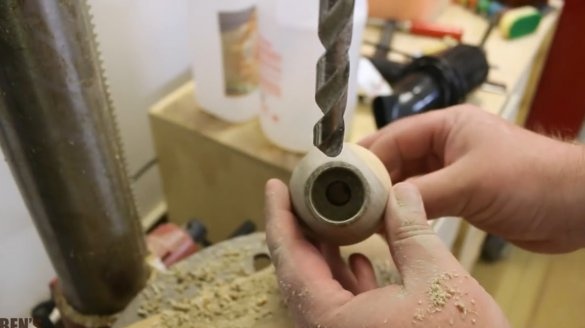
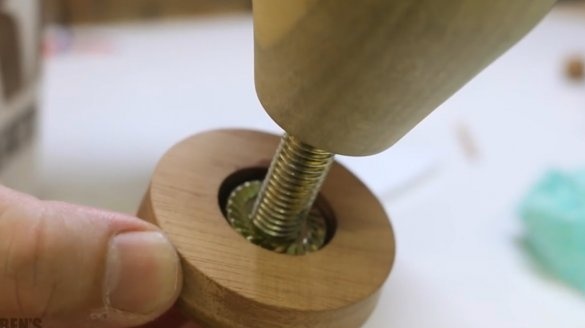
In the upper part, he made a recess for the nut, and drilled a through hole for the anchor rod.
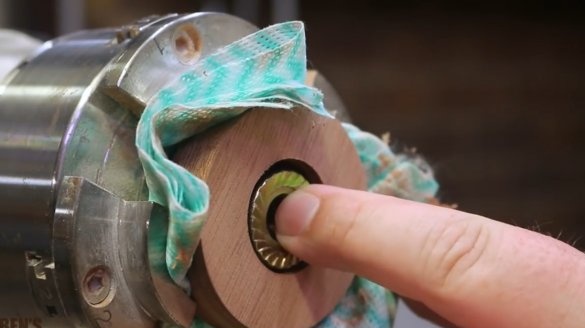
After mixing the components of the epoxy resin and lubricating the nut, he glues it to the top of the nut cracker.
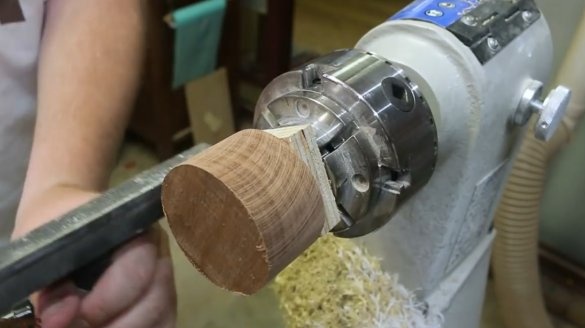
Now you need to grind the handle. For this, the master will use a blank of ash. Installs it on a lathe, and grinds it.
The surface of the handle is sanded with sandpaper.
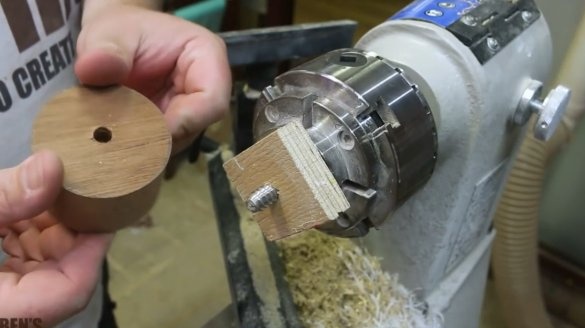
At the bottom of the lamb drills a recess for the nut.
Then lubricates it with resin, and glues it into the pressure handle.
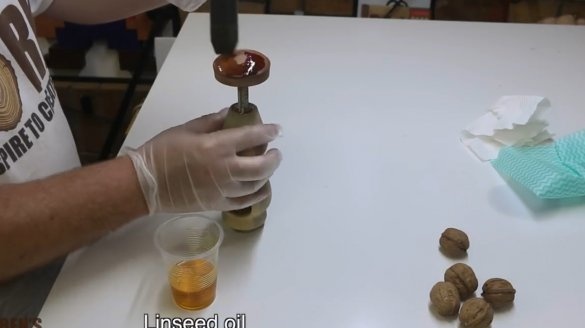
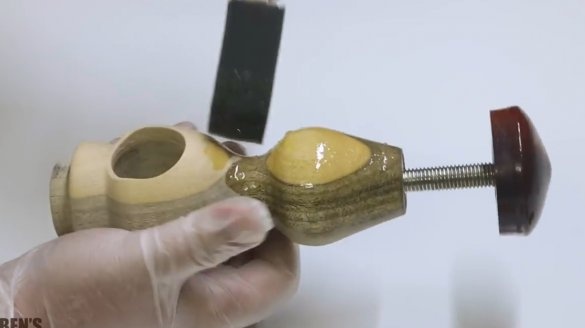
At the final stage, all wooden surfaces are covered with linseed oil. It protects against moisture very well and exhibits wood texture. In addition, it is safe for contact with food.
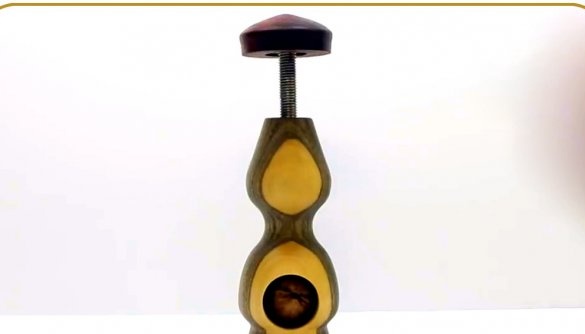
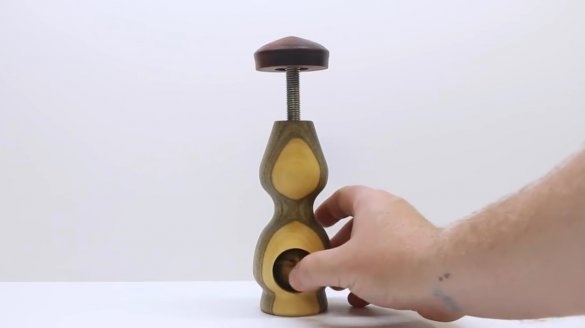
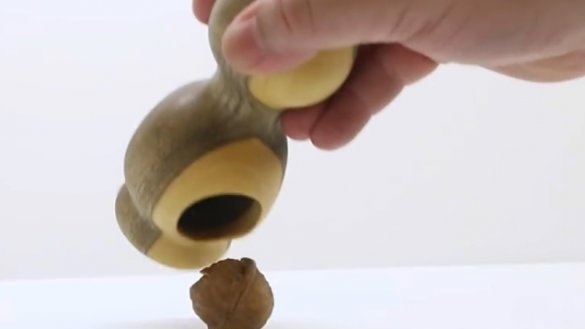
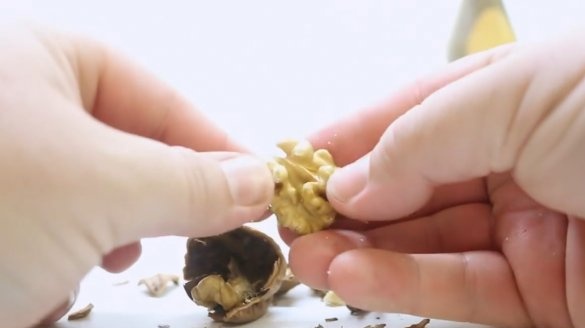
That's all, the kitchen device done. Enough to put a nut, and tighten the handle. The nut is cracked qualitatively, while the kernels remain intact, and do not turn into crumbs. This is the advantage of such a nut cracker over a hammer, and other types of such a tool.
In addition, in the manufacture of the base of the walnut tree, it is quite possible to do without turning work, giving it any bizarre shape.
Thanks to the author for a simple but useful kitchen appliance!
All good mood, good luck, and interesting ideas!

