

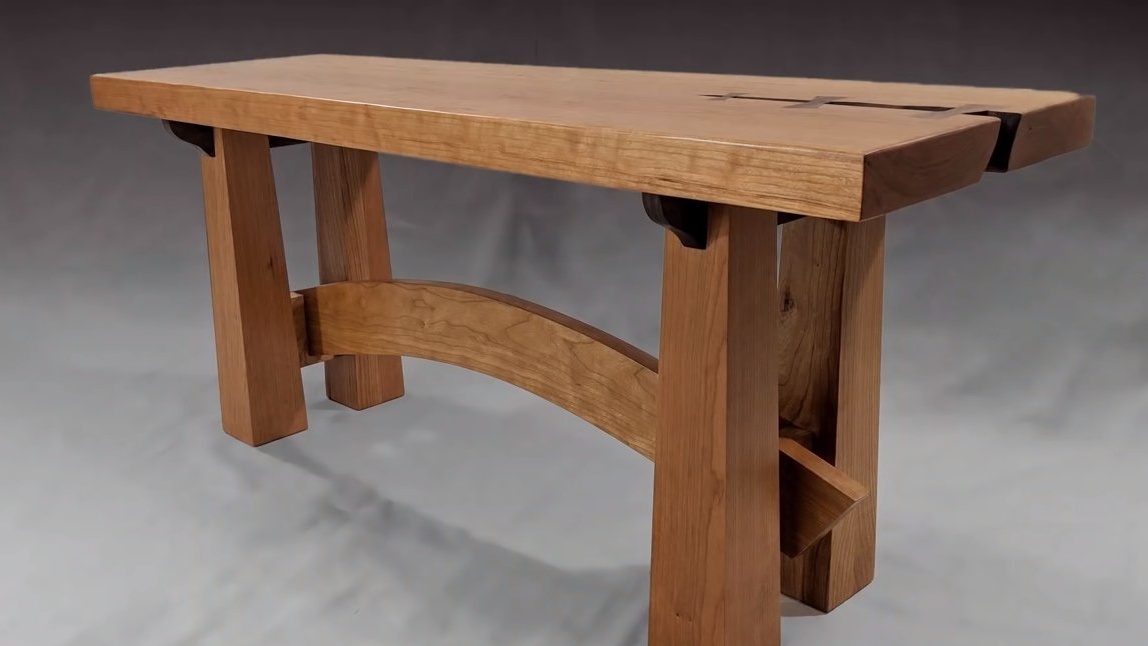
Greetings to connoisseurs of natural materials, today we will make a wonderful bench made of wood. The bench is made in Japanese style from solid wood of a beautiful breed of wood. Assembly process homemade not complicated, although the equipment was used quite serious. In the manufacture of such a bench, the most important thing is the accuracy of cutting and so on. The design of the bench is such that it is not even necessary to glue it, which will completely disassemble the product. If you are interested in the project, I propose to study it in more detail.
Materials and tools used by the author:
Material List:
- thick boards made of ash, cedar or other beautiful breed;
- oil for wood;
- carpentry glue;
- furniture dowels;
- wood for lintels.
Tool List:
- Miter saw;
- milling machine;
- Bulgarian with nozzles for wood;
- a circular saw;
- paper and pencil;
- roulette;
- clamps;
- tape cutting machine;
- a planer;
- iron;
- a hacksaw;
- machines for grinding.
Bench making process:
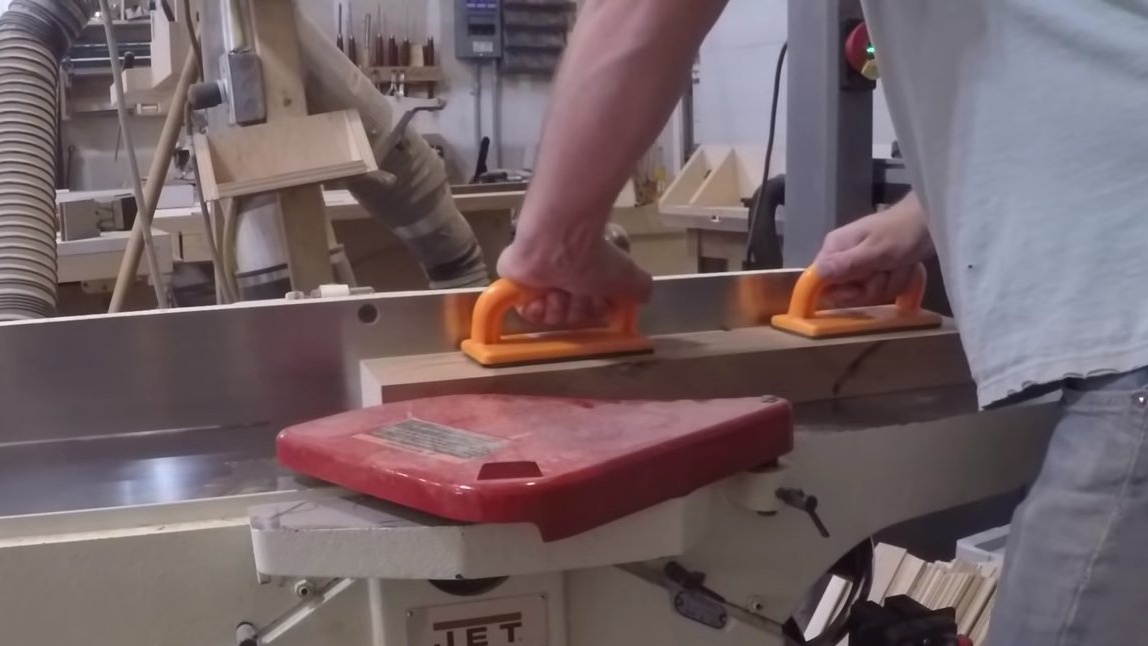
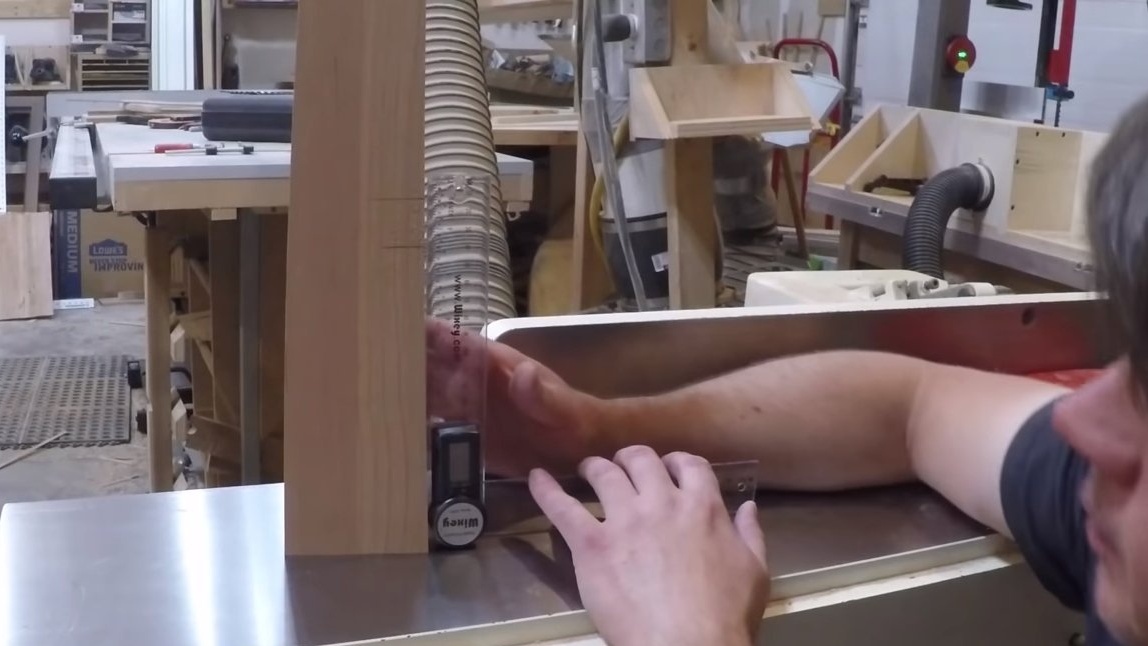
Step one. Putting the seat together
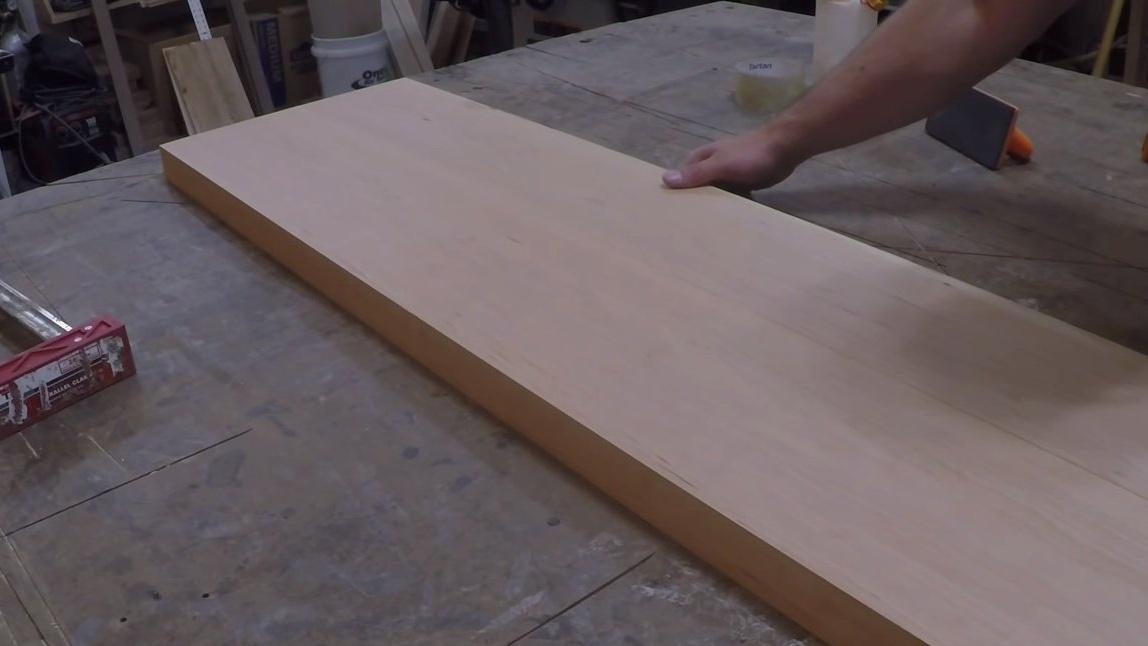
We will directly collect that part of the bench on which we will sit. For such purposes, we need two wide and thick boards, they need to be leveled to one thickness, for this we turn to the help of a surface gage.
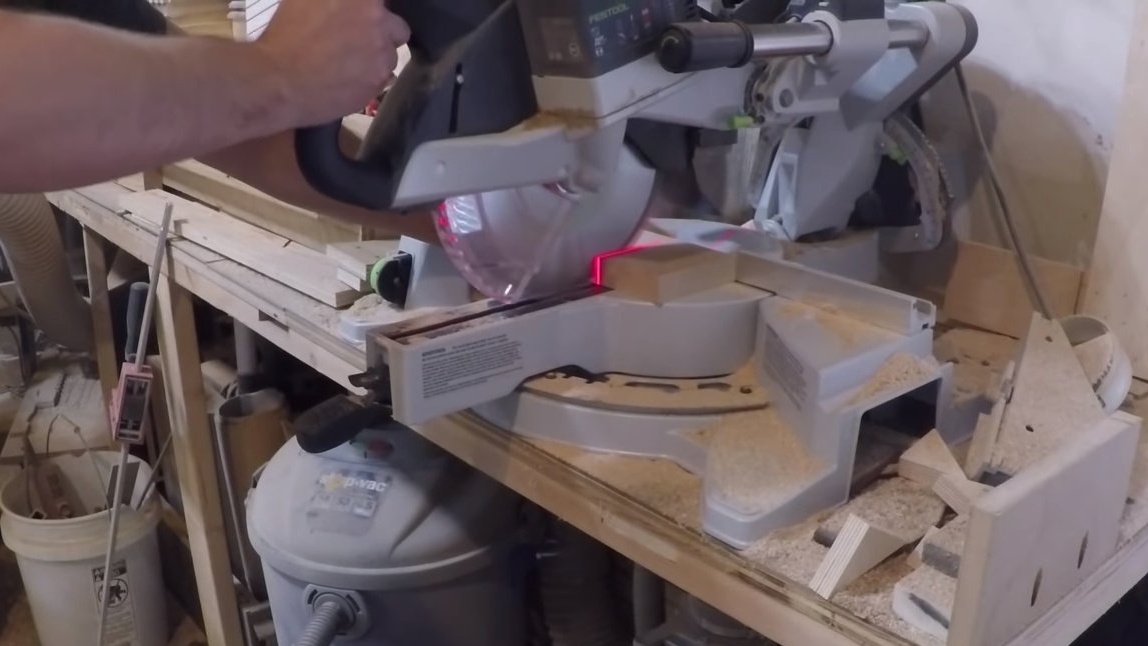
Further, the boards, if necessary, are aligned on the milling machine and cut off on the miter saw to the same length.


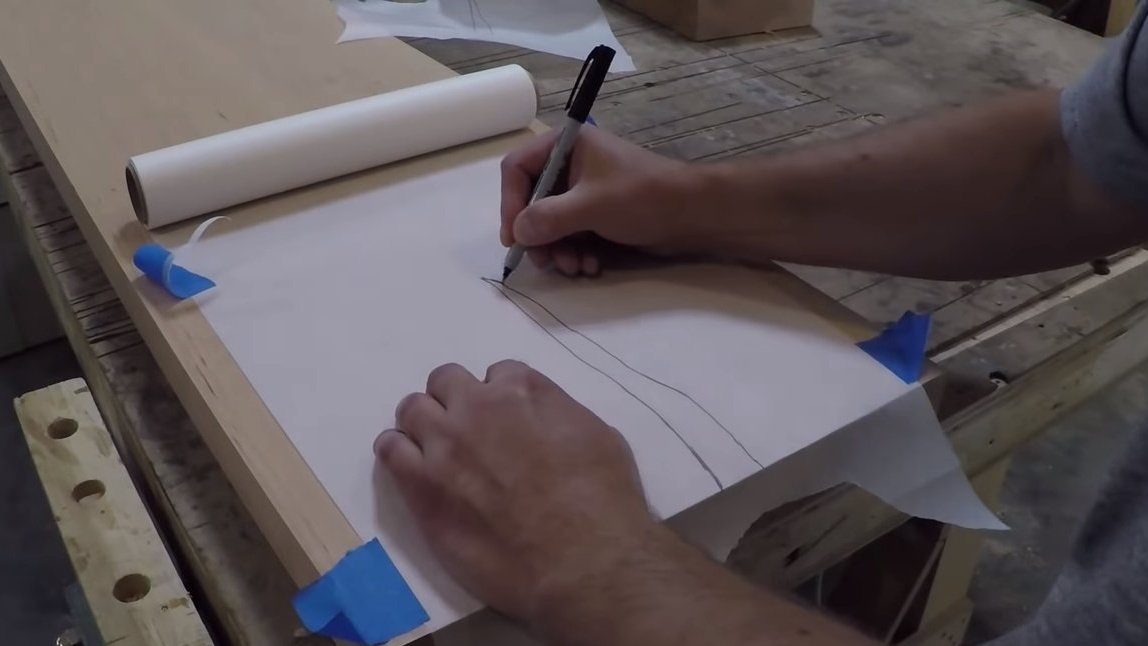
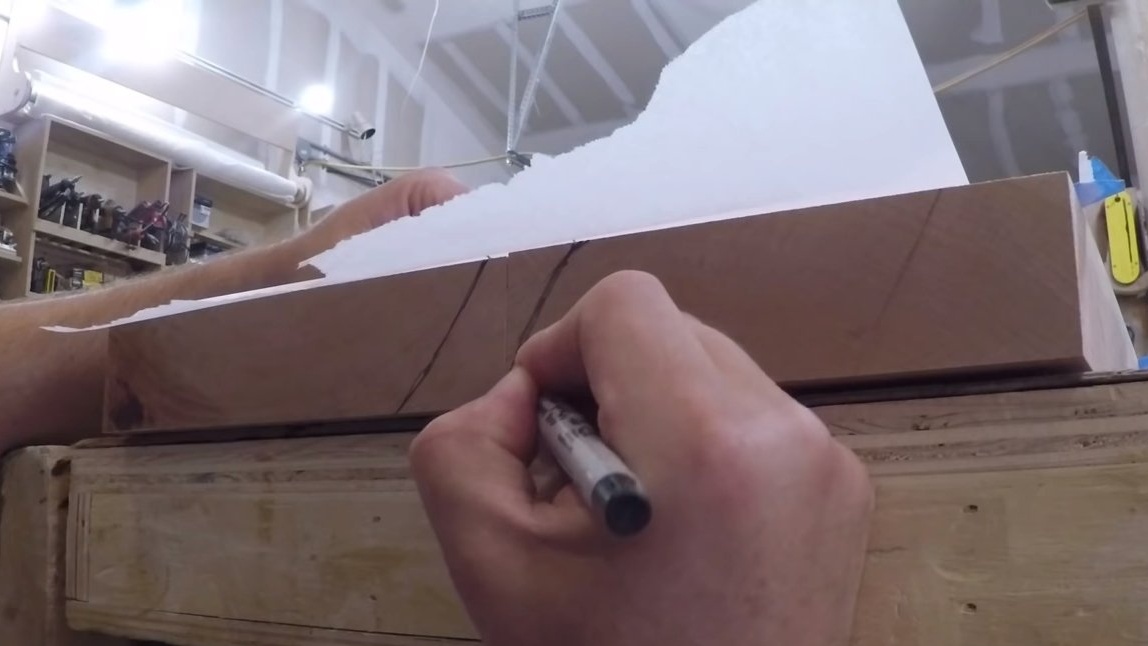
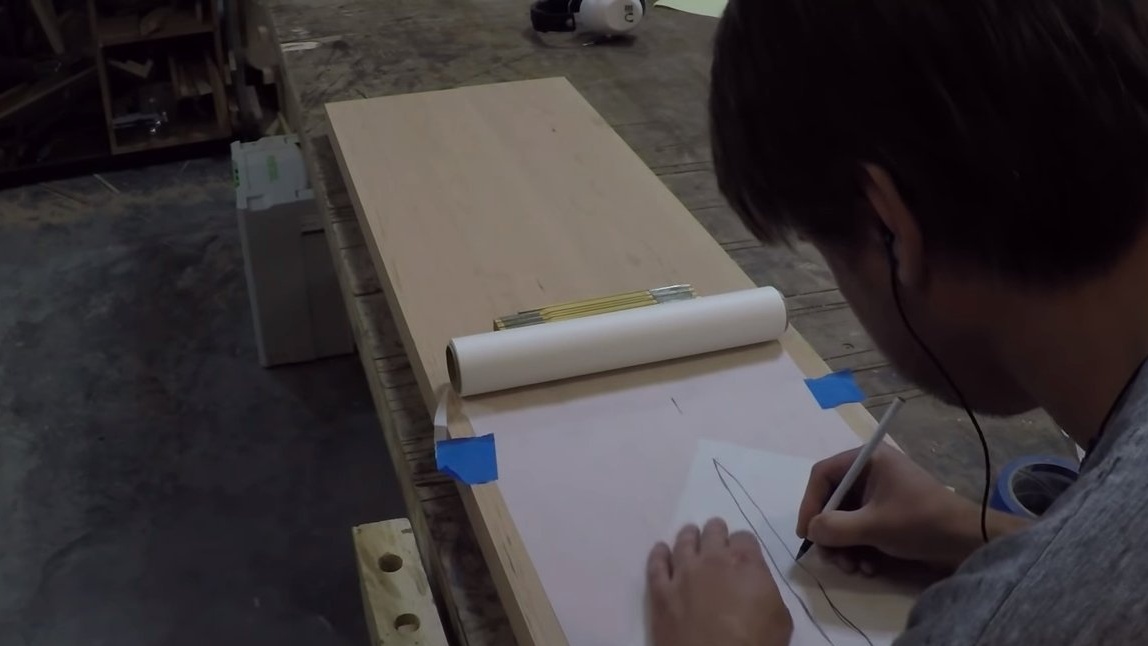
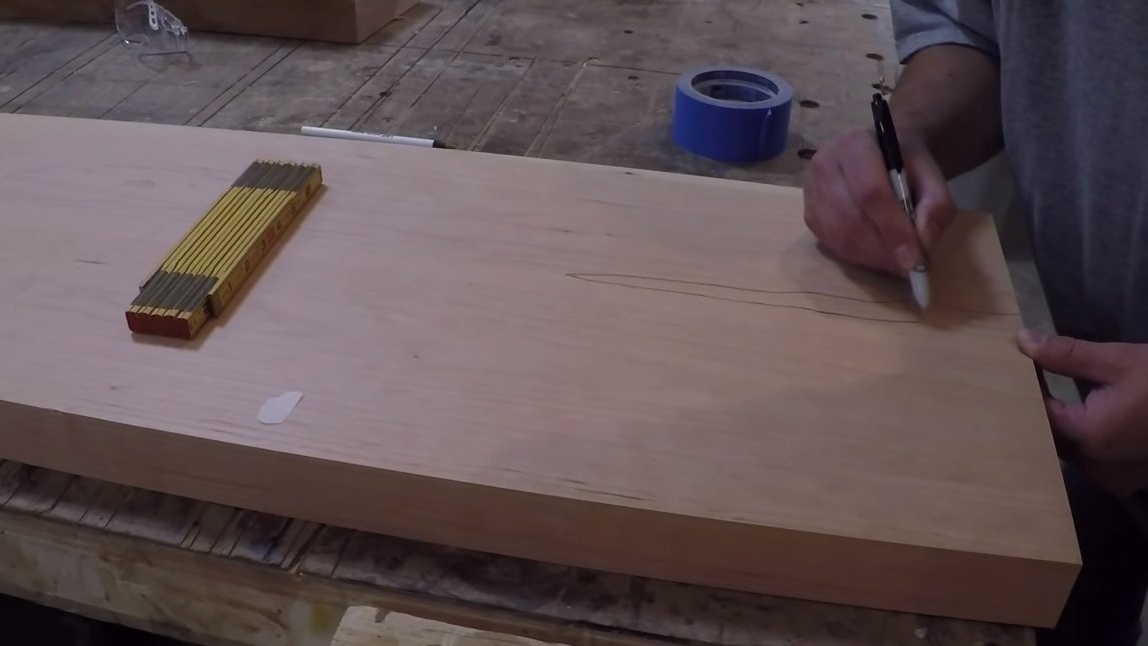
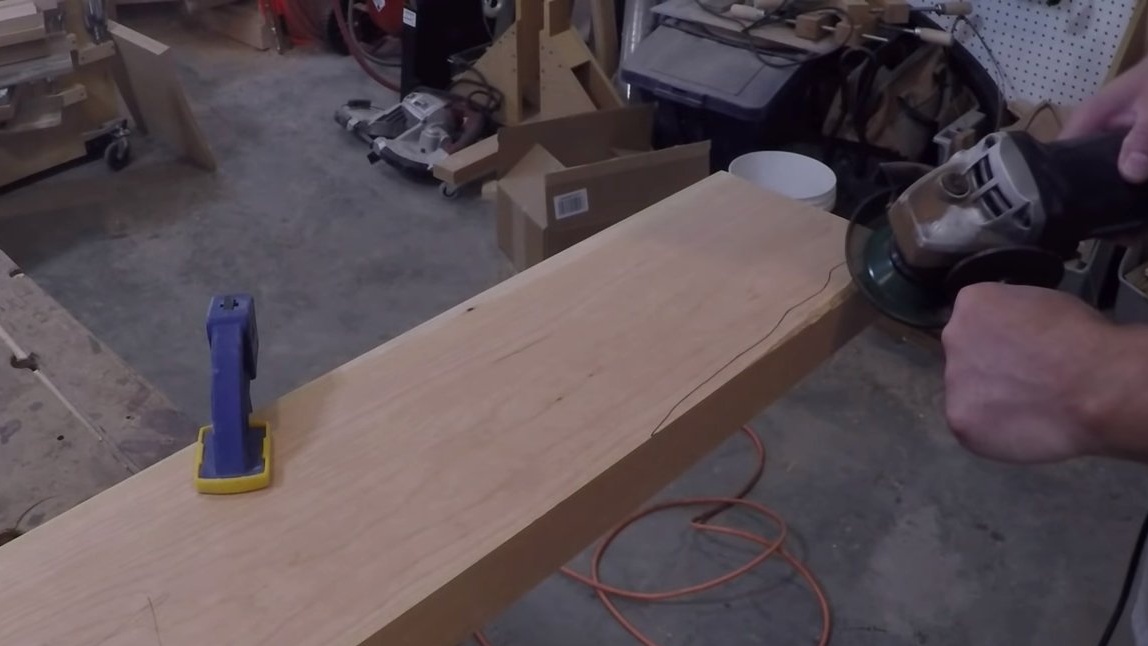
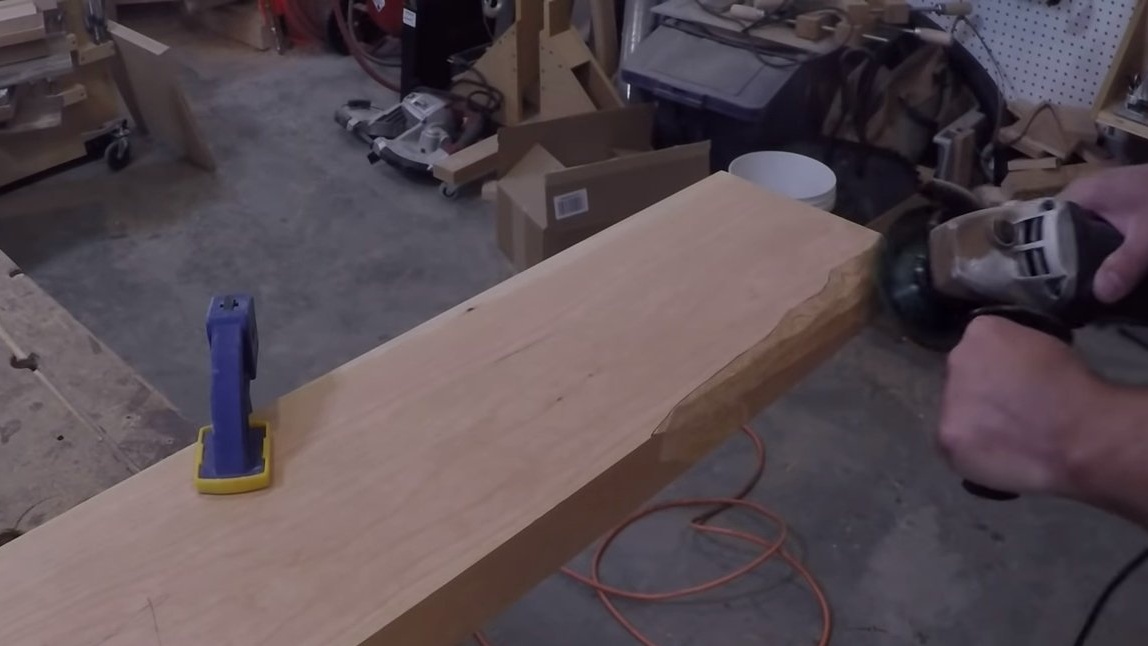

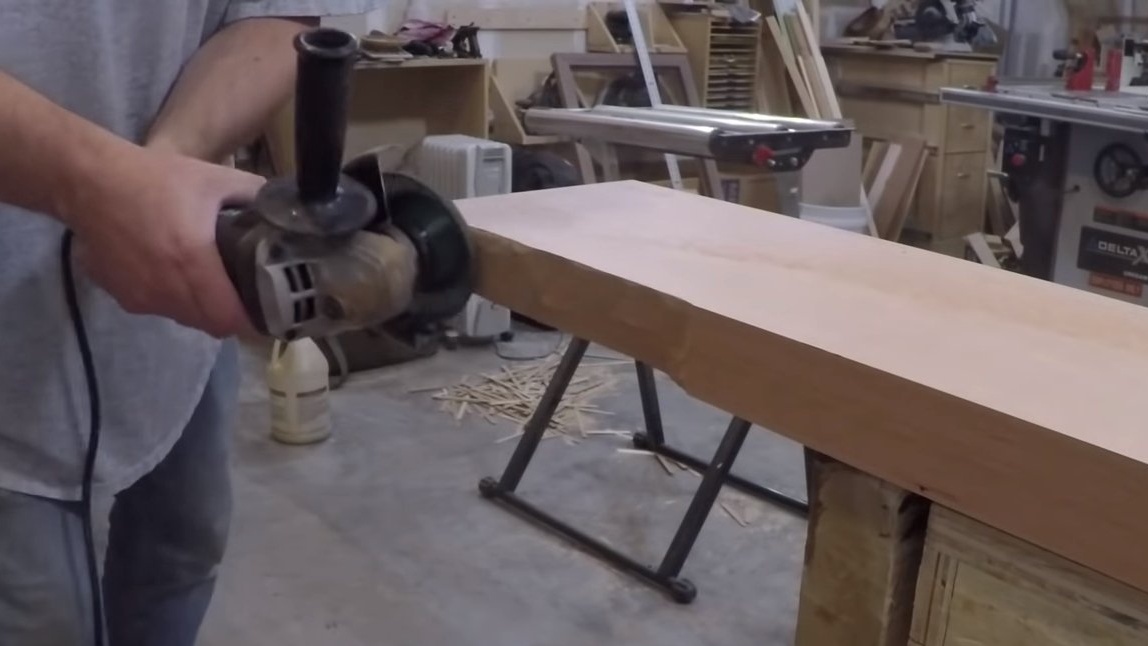
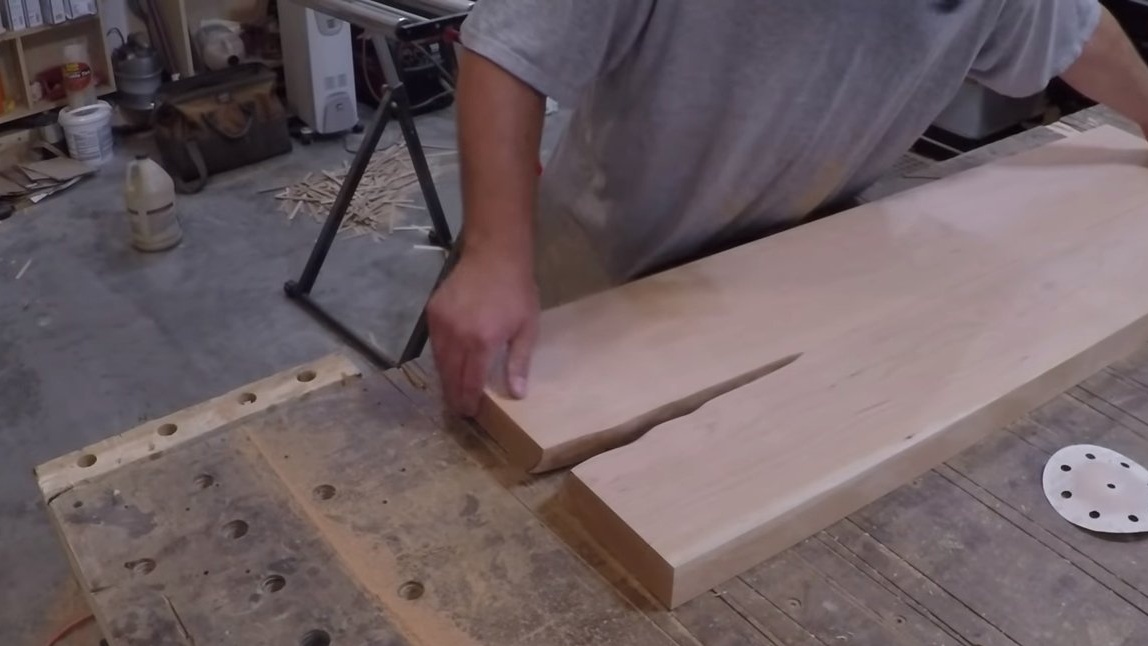
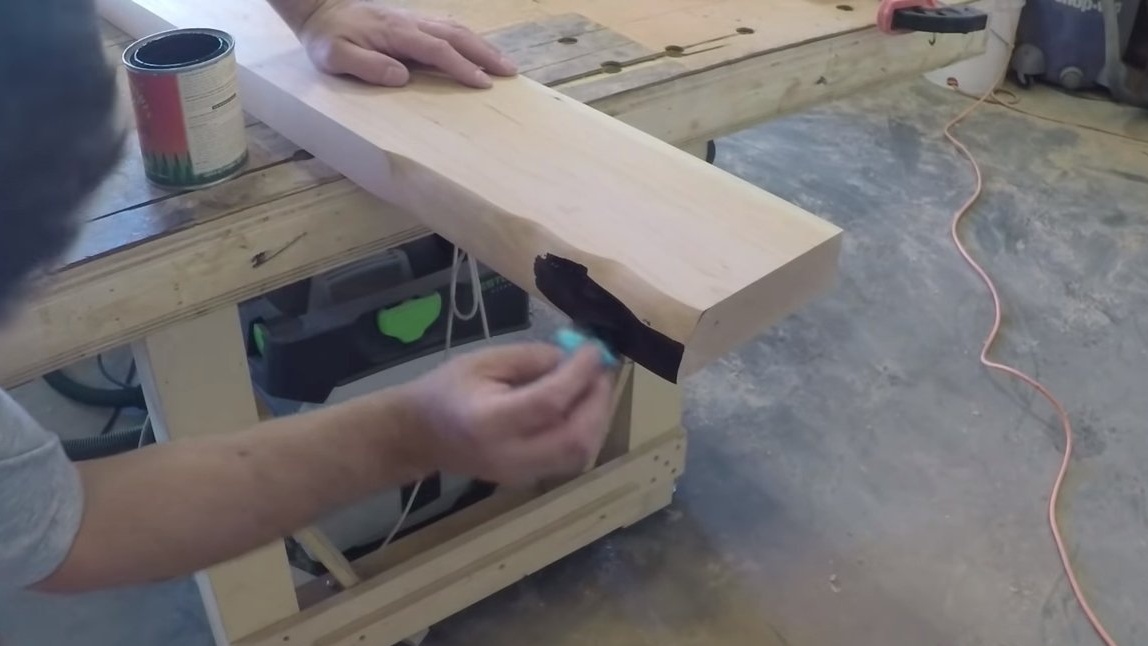
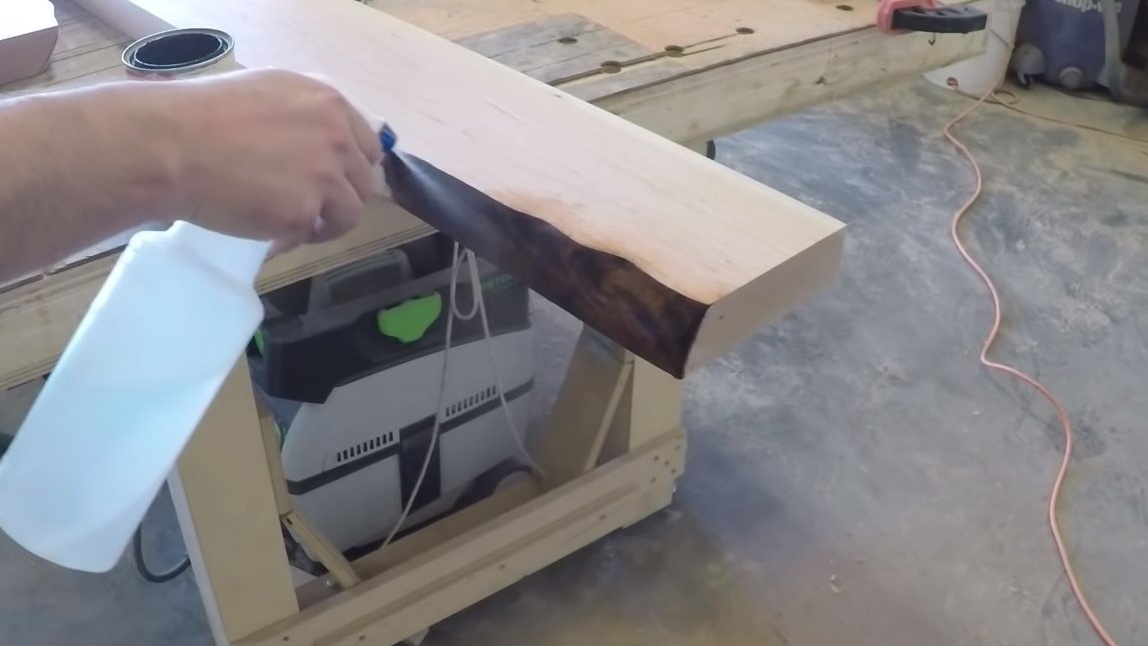
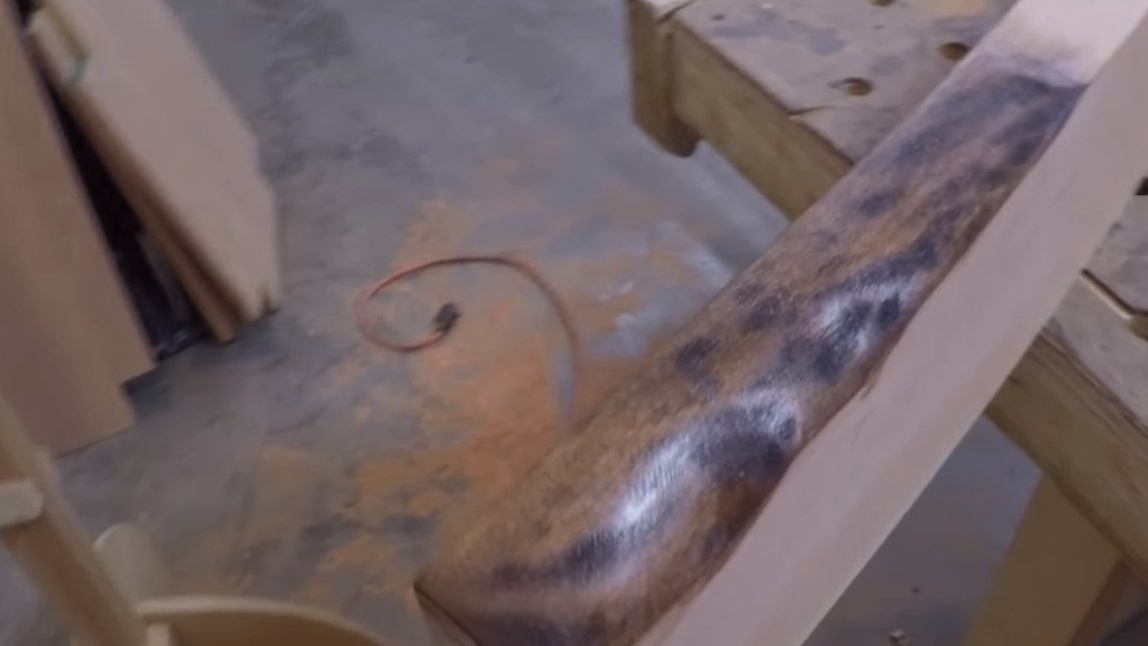
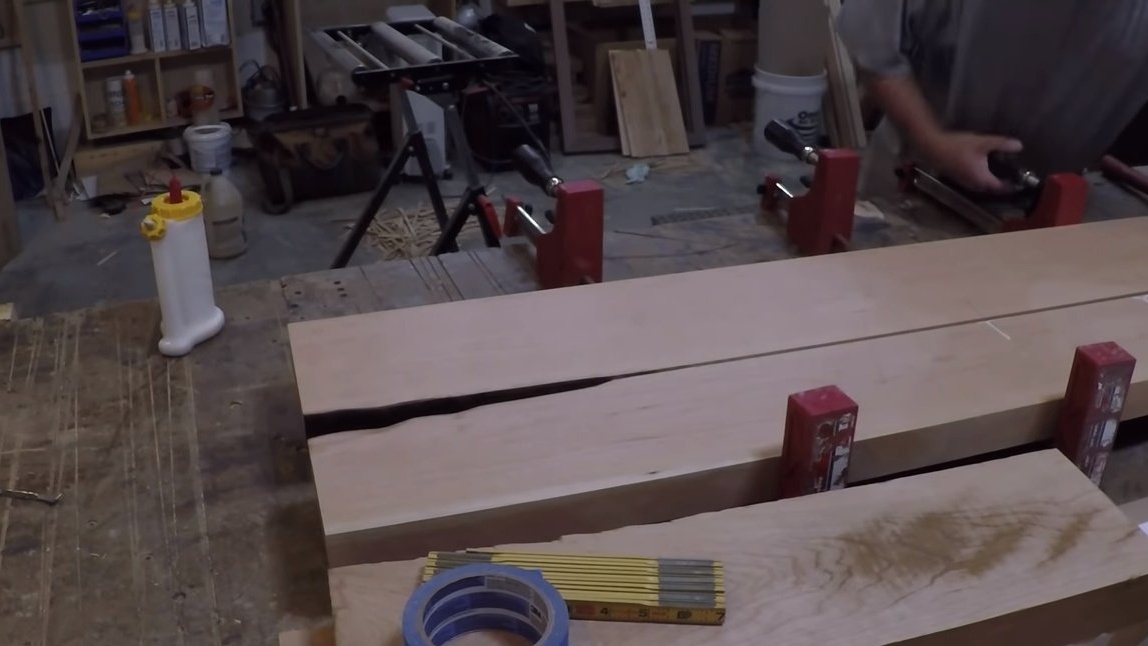
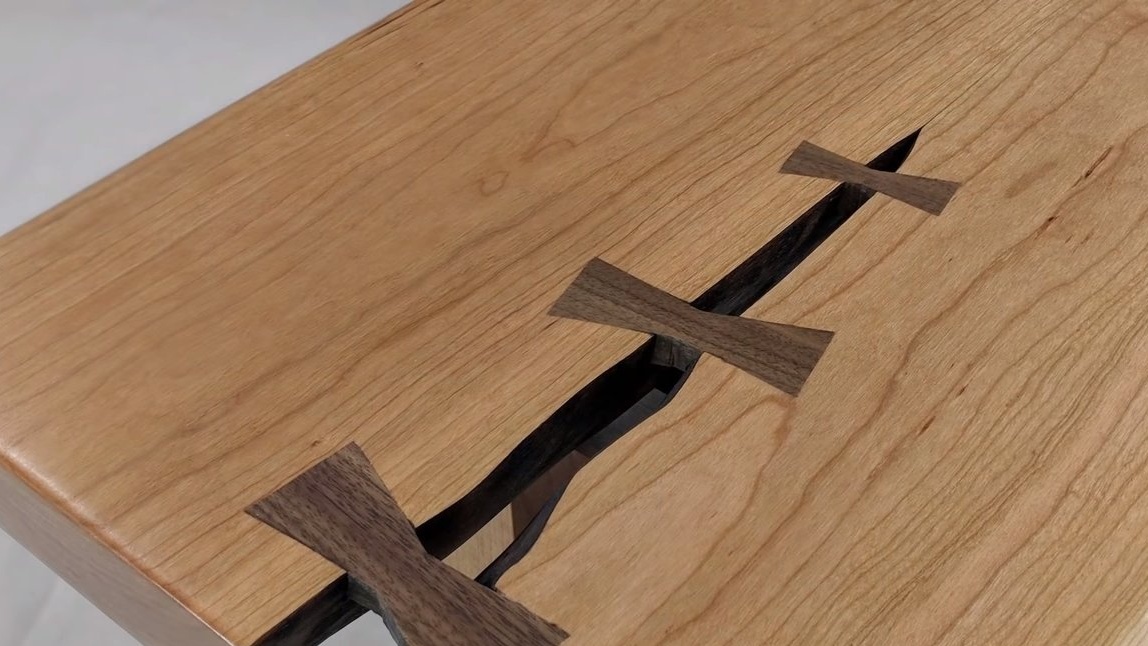
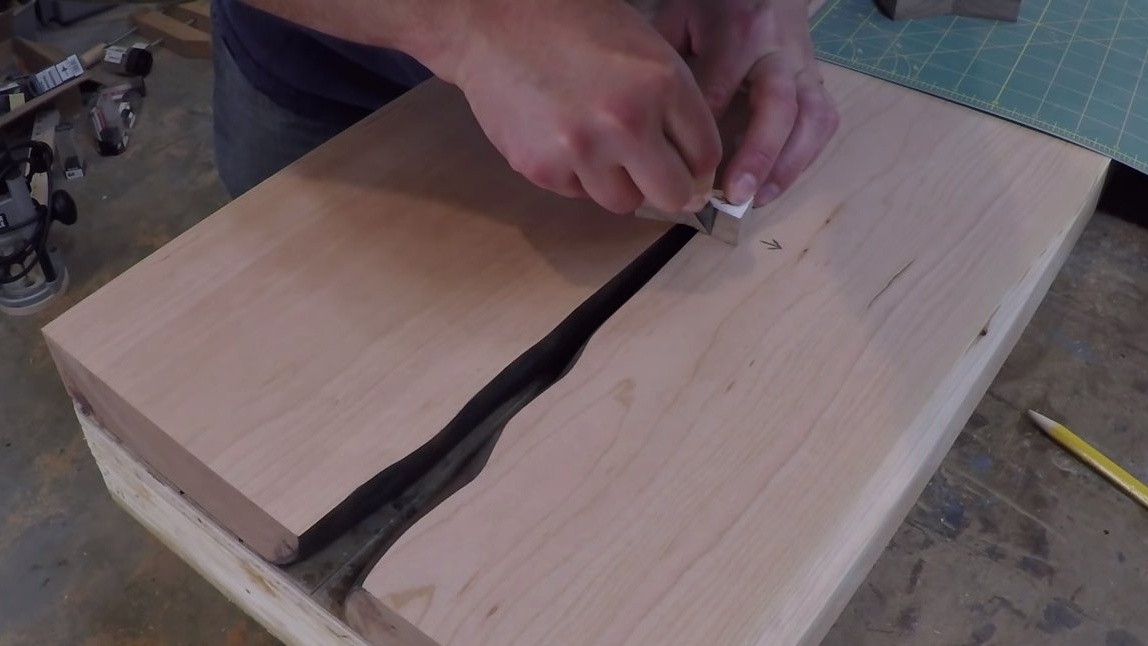
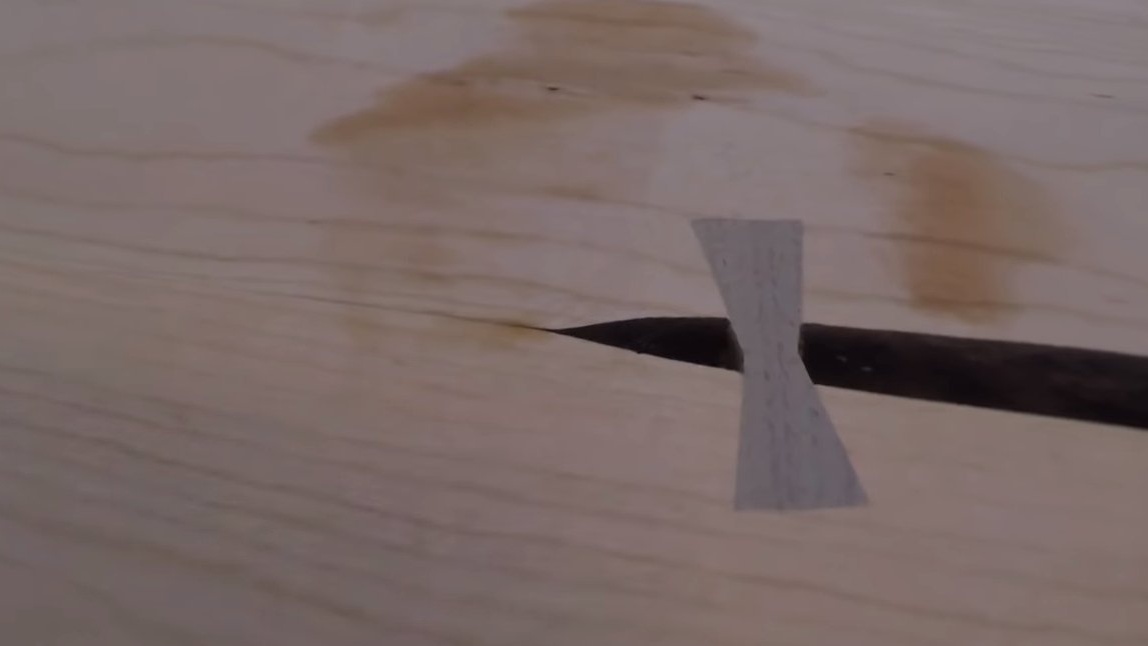
Now, as a decor, we have to make a crevice between the boards, in the end it will give the impression that the bench is made of solid wood plate and cracked. For such purposes, we pre-mark everything up, draw the shape of the gap, which one you like. The drawing should go on two boards. Well, then we get to work, here we need a grinder with a disc on a tree. We clean the right amount of wood from both boards and grind these parts with a grinder. And to highlight the picture, we process these parts with stain or dark wax.
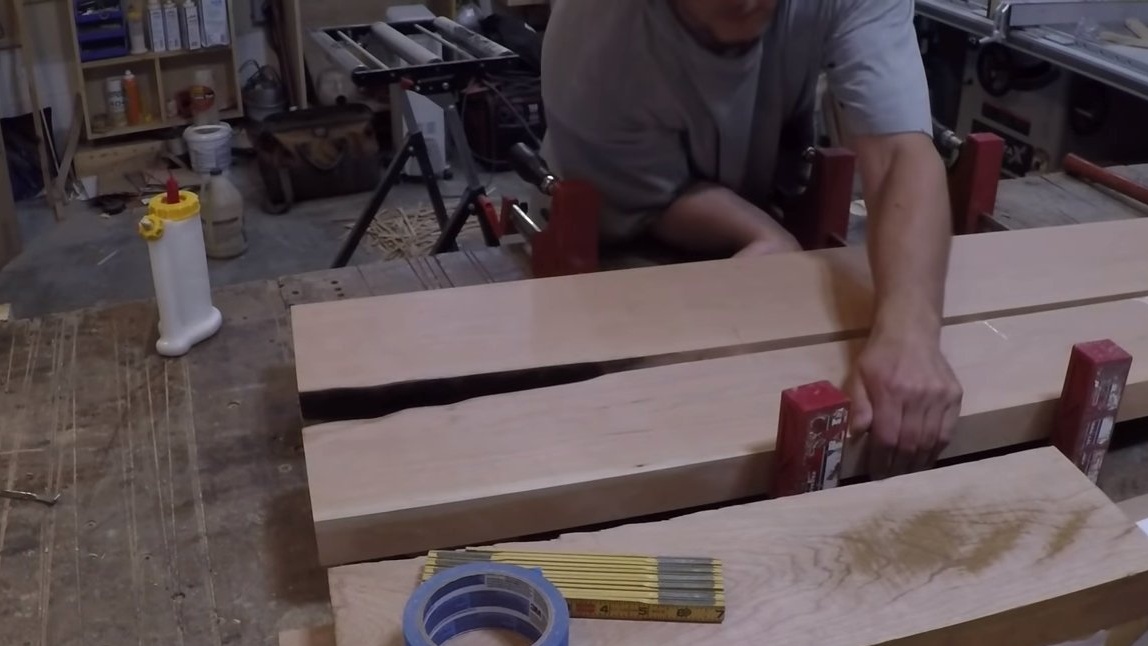
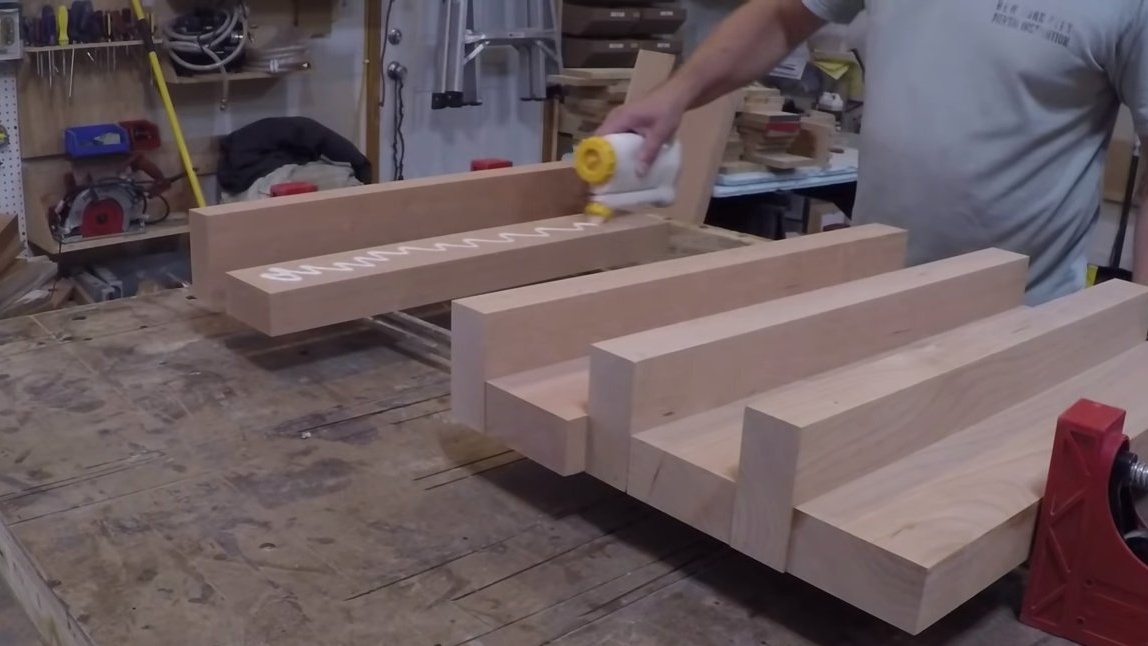
That's all, now the seat can be assembled, here we need furniture dowels and wood glue.We tighten the product well with clamps and let the glue dry completely.
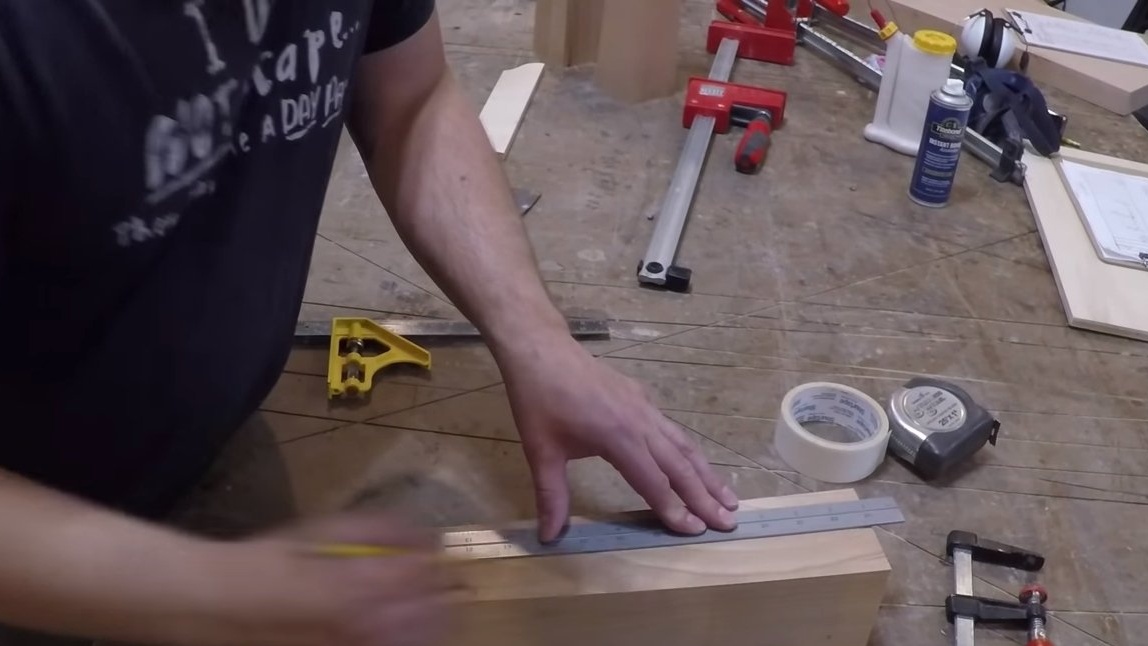
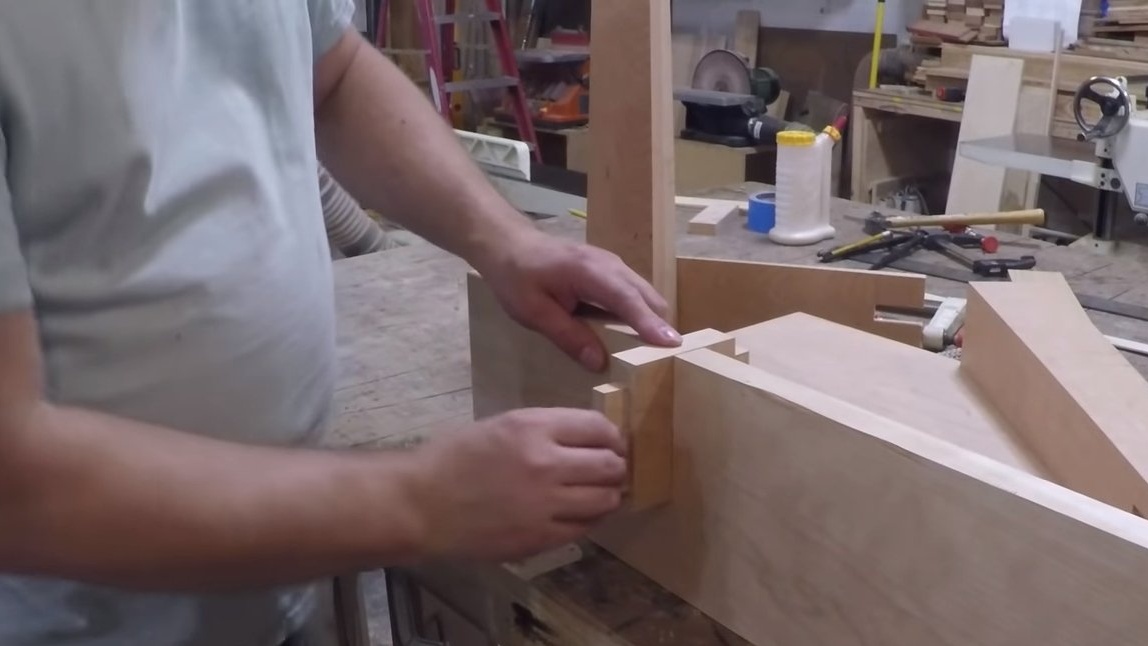
Step Two Jumpers
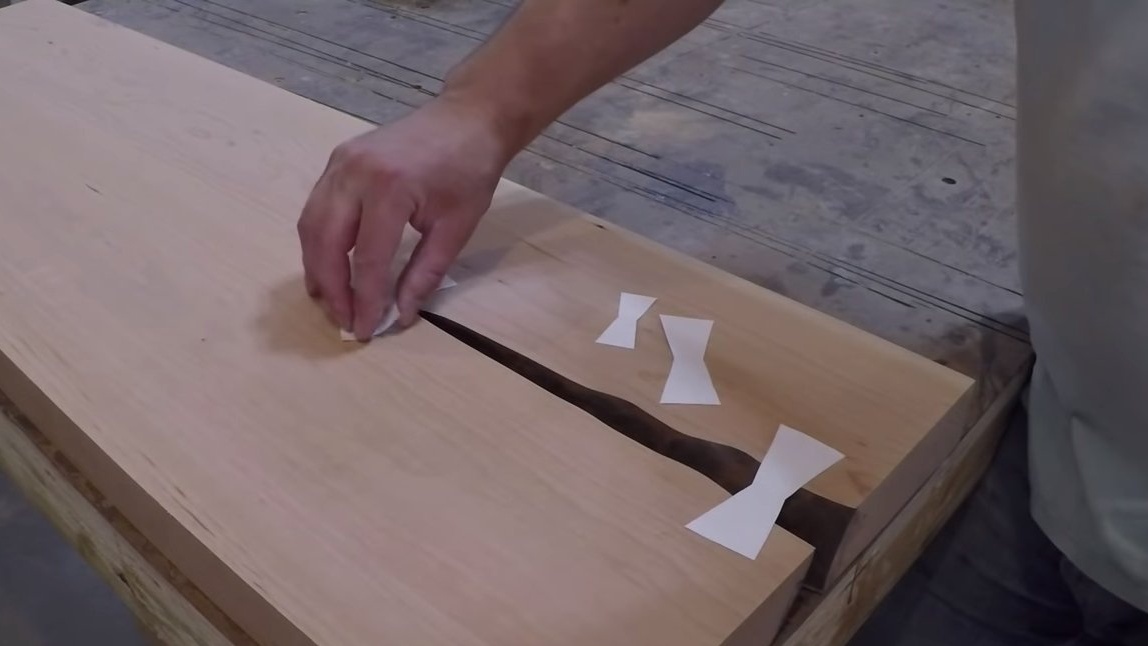
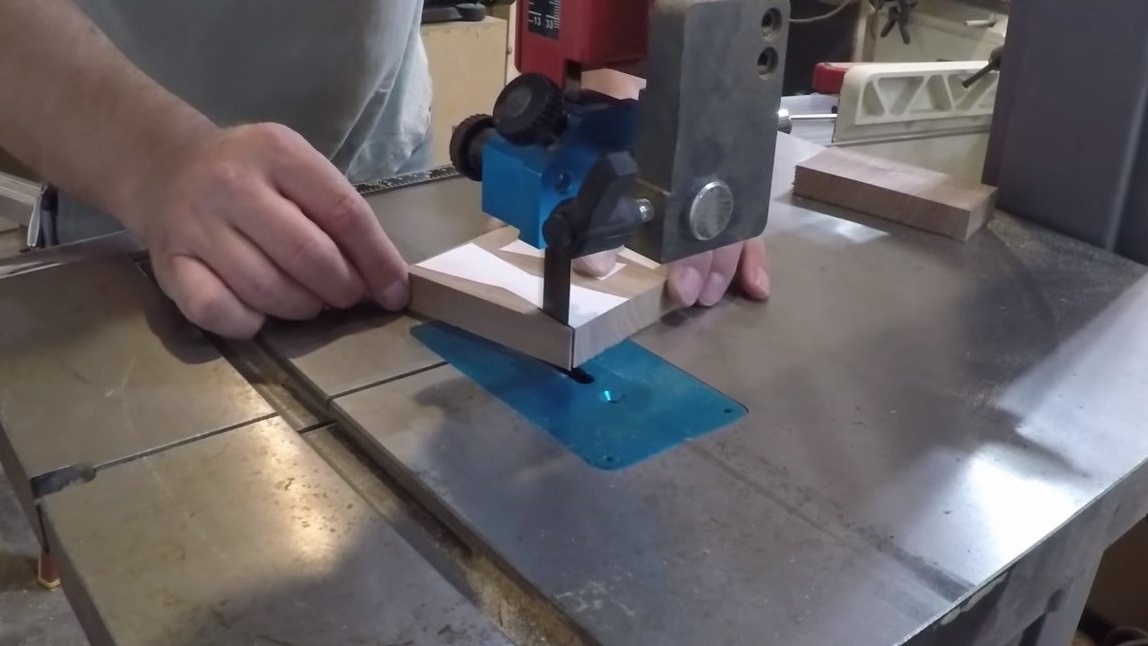
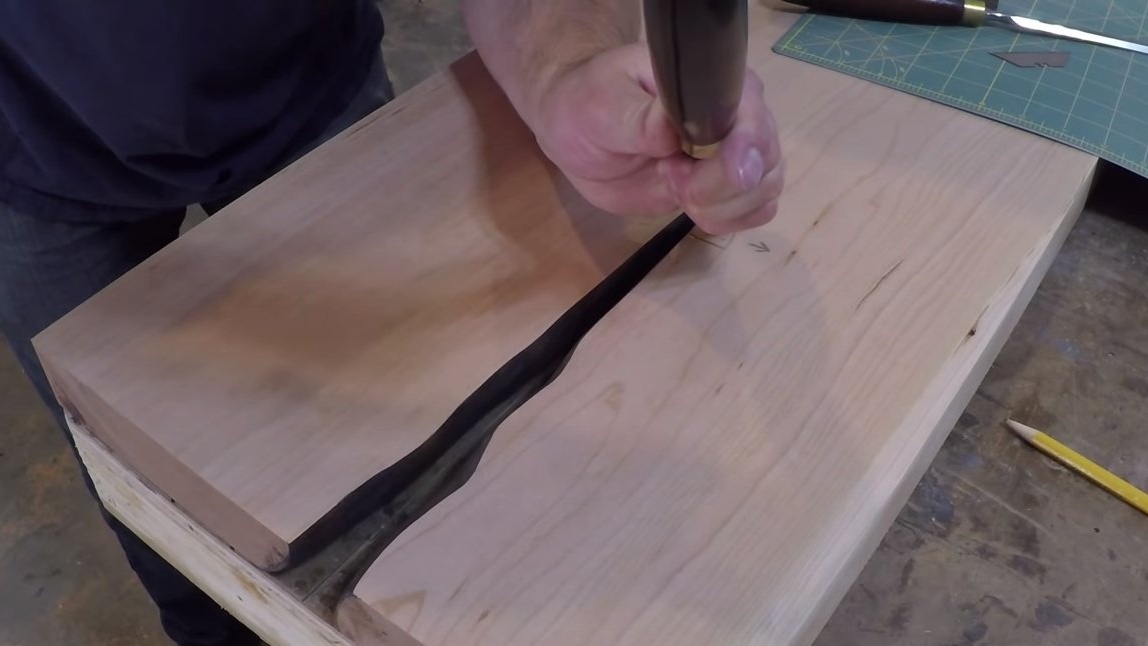
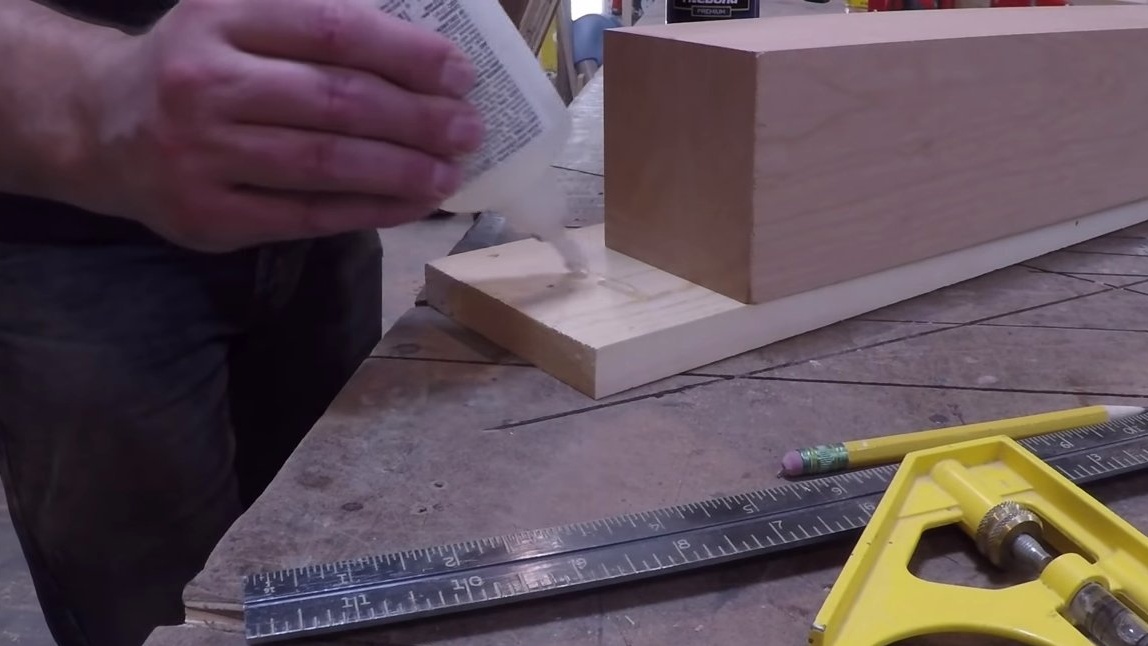
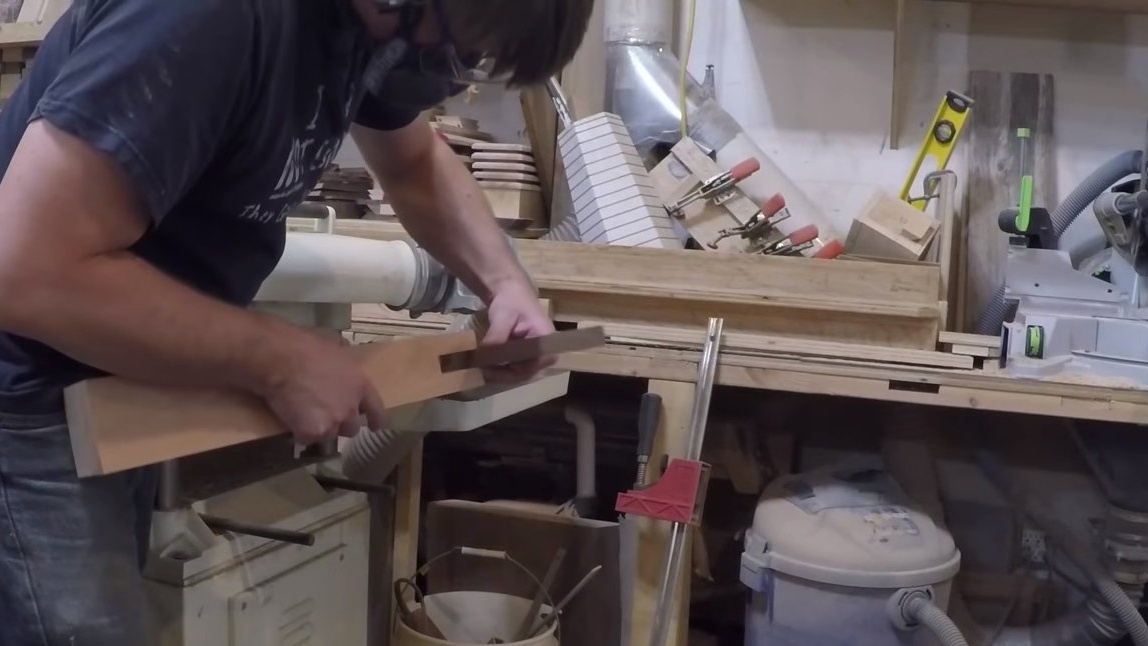
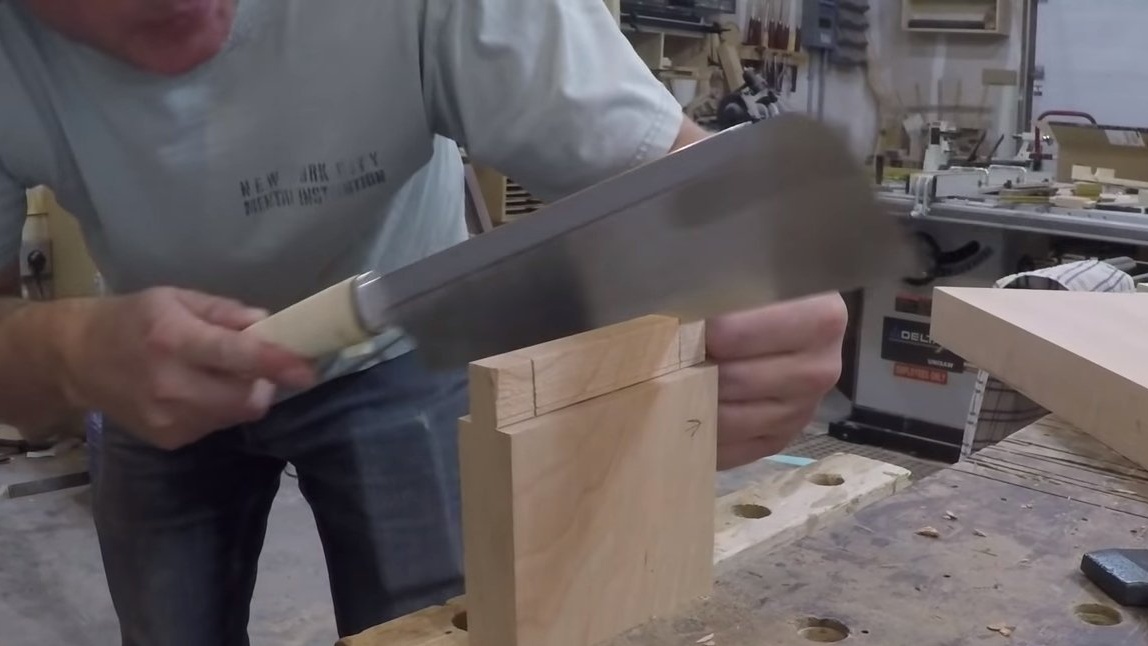
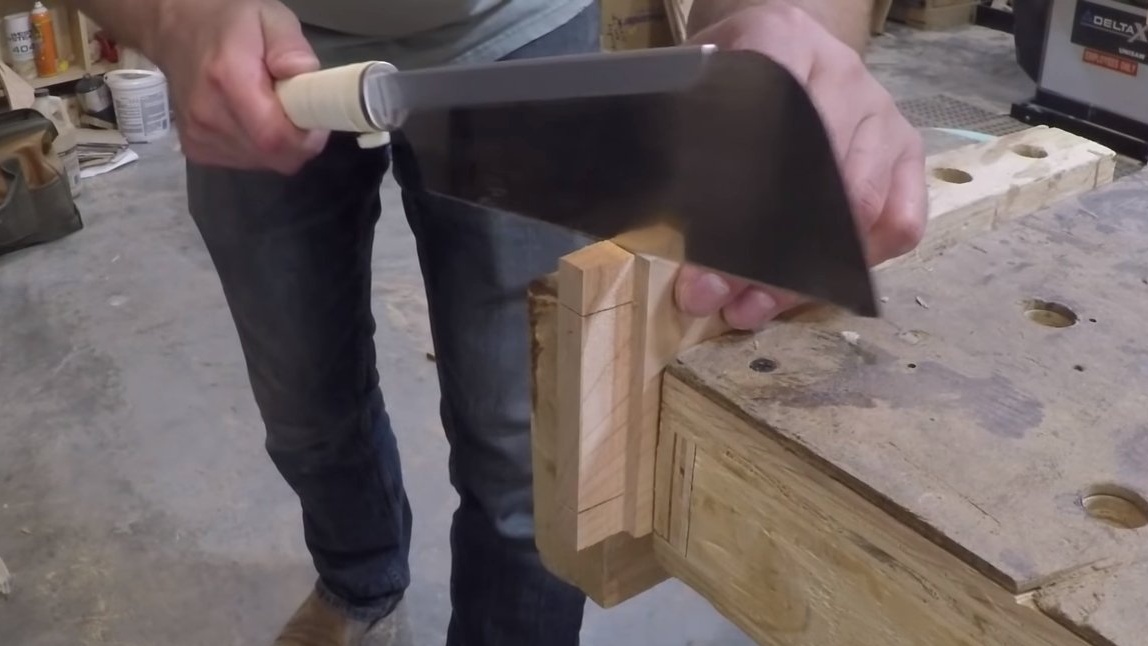
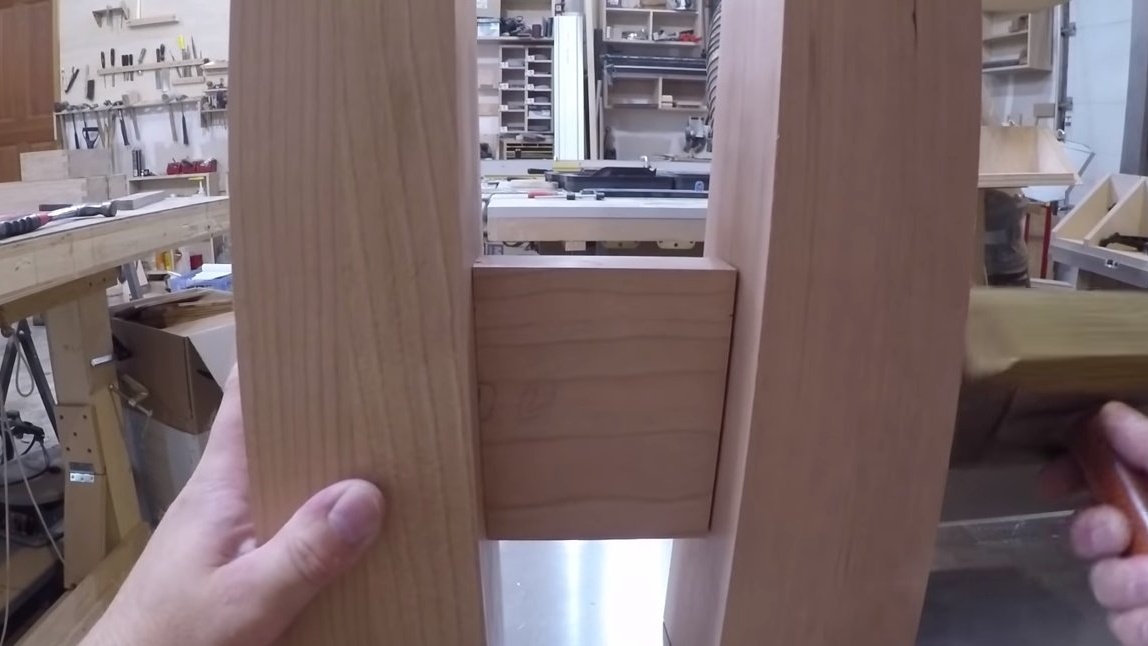
For the seat made earlier, you need to make jumpers that will be installed on the slot. The jumpers look like butterflies, we cut them out of wood with any tool convenient for you and grind them. Next, we make the markup and form a chisel indentation for the jumpers.
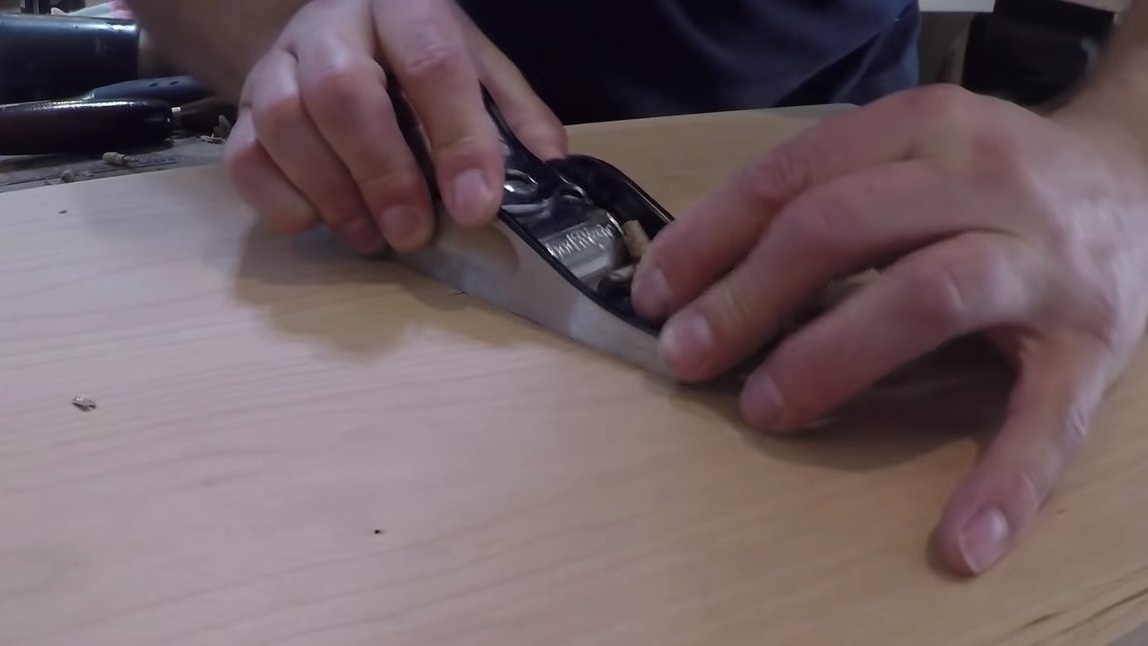
That's all, after this the jumpers can be installed, for this it is useful to use carpentry glue. We remove the parts protruding above the surface with a plane.


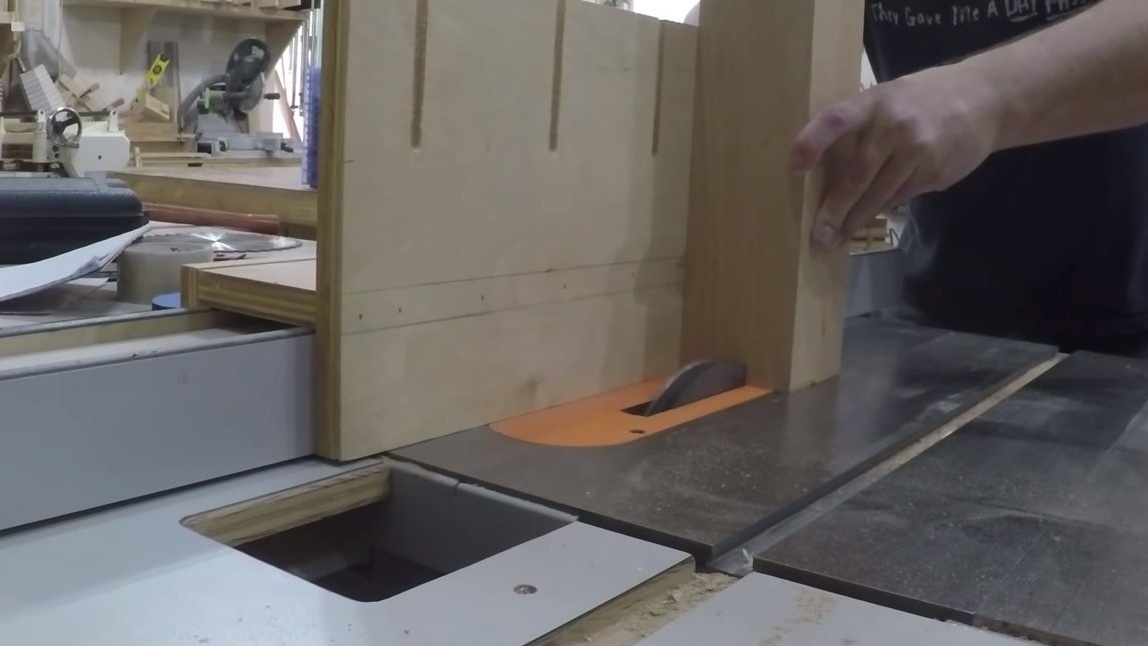
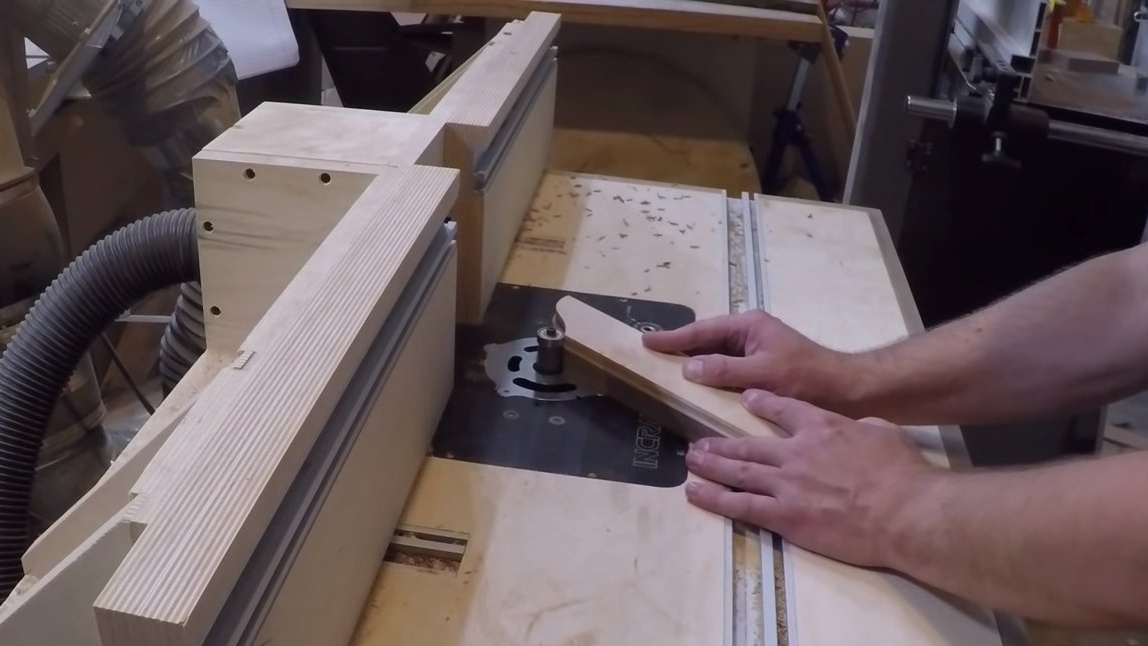
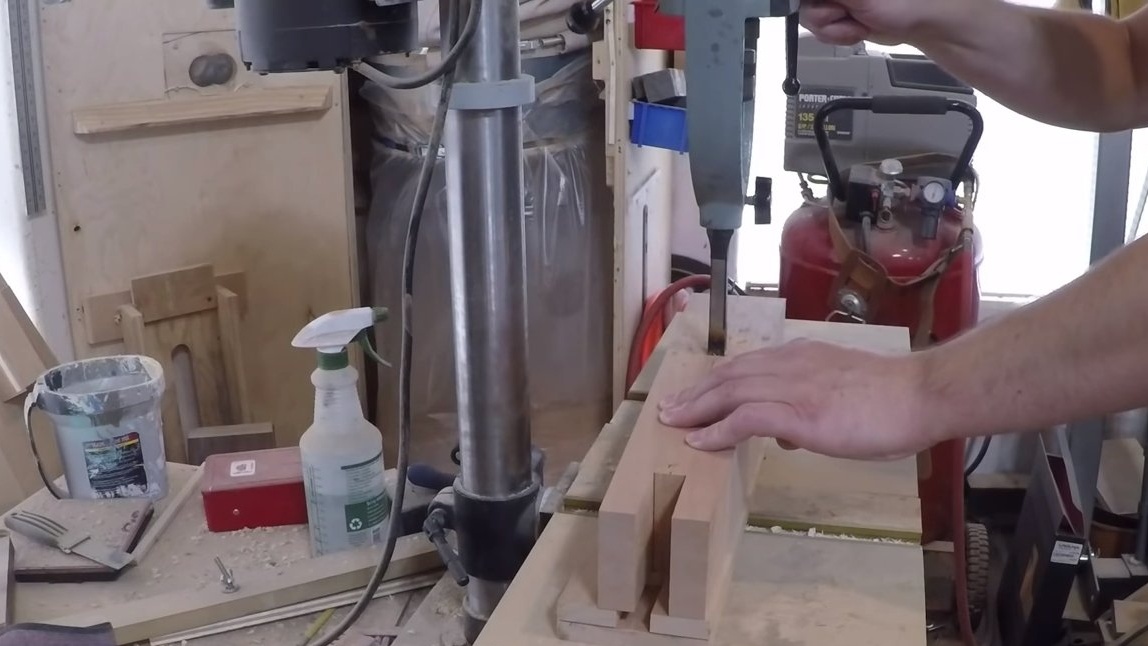
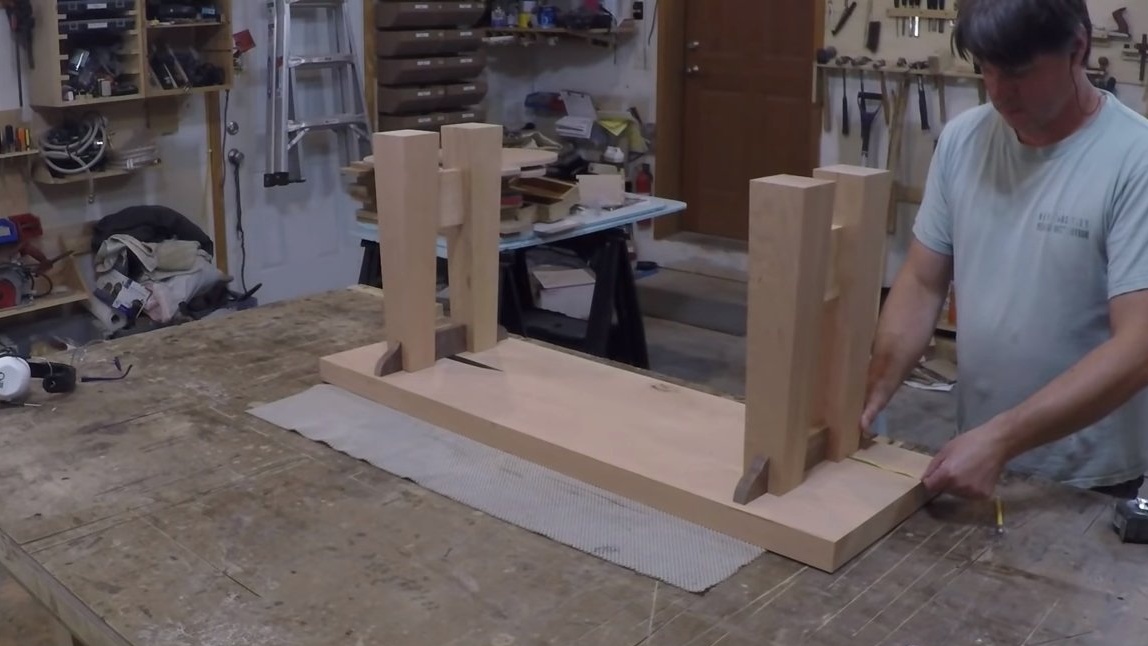
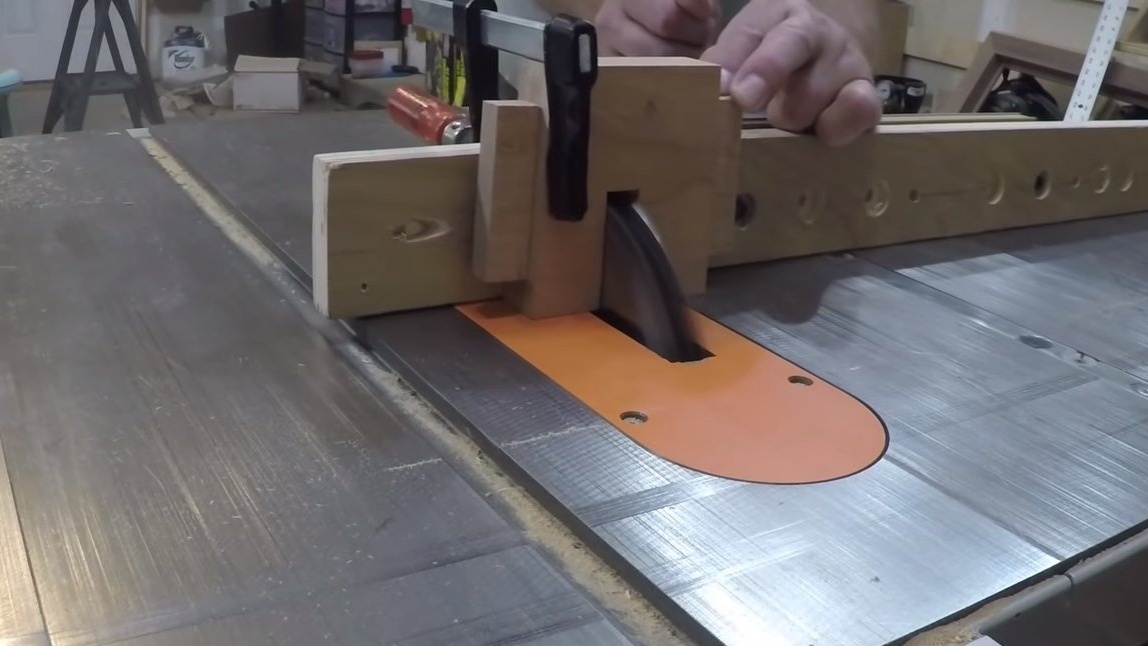
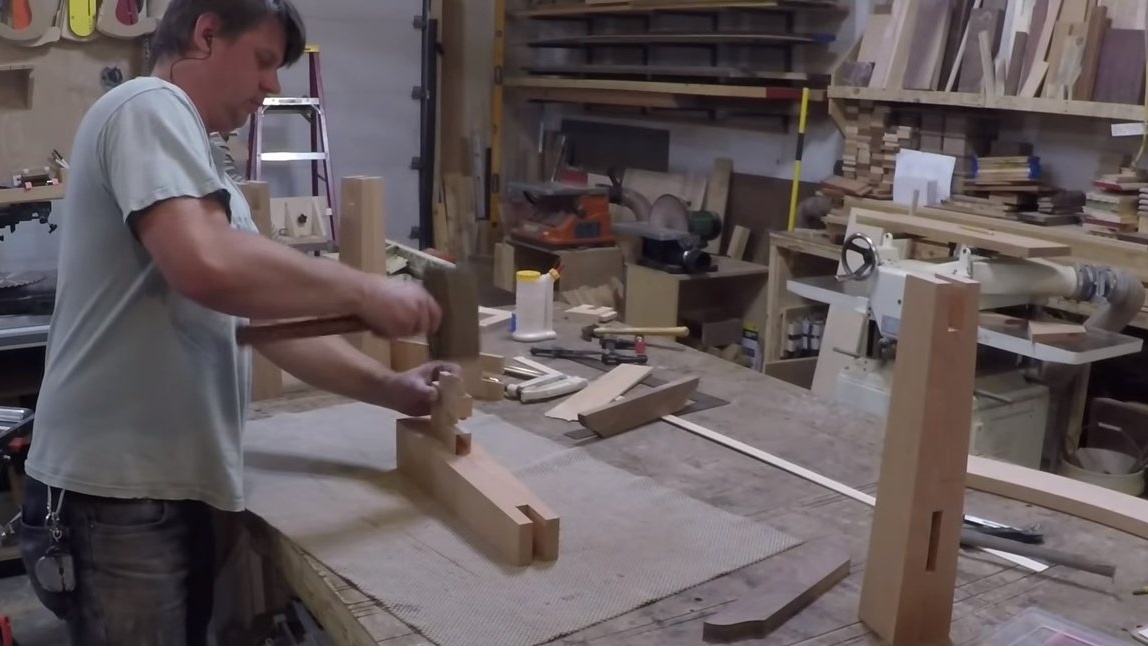
Step Three Making legs
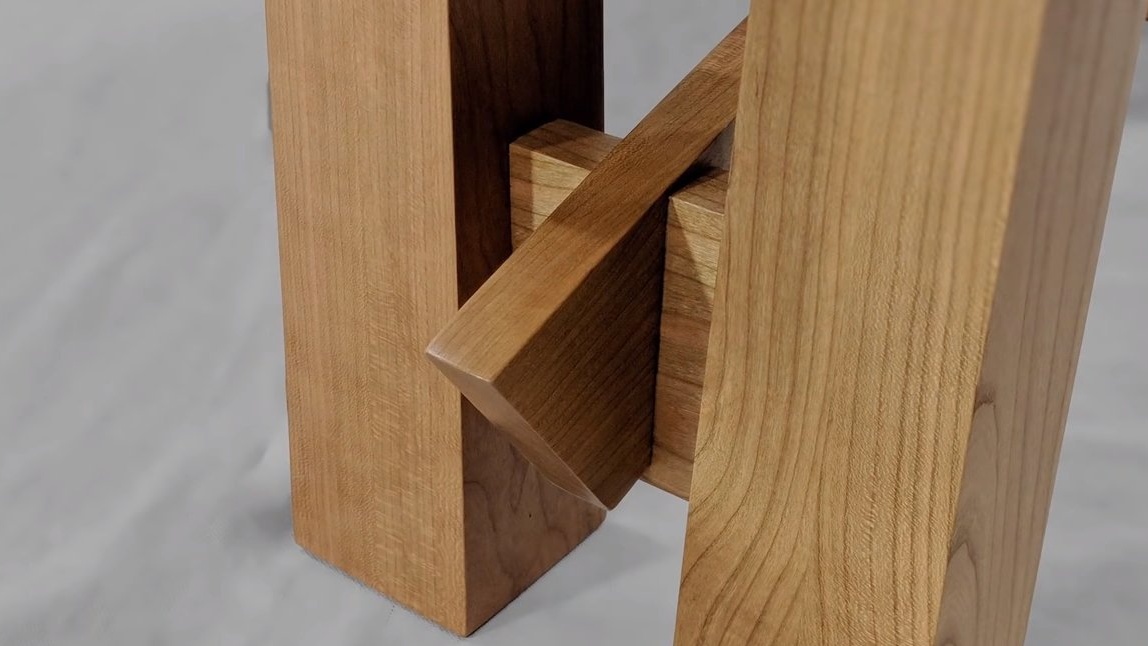
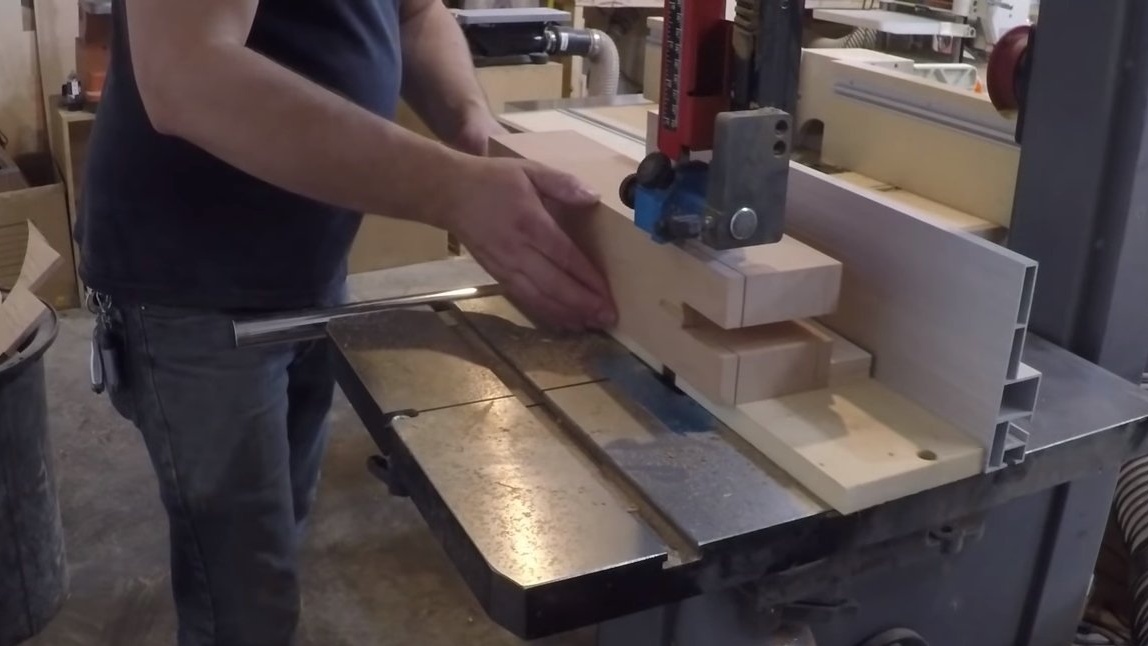
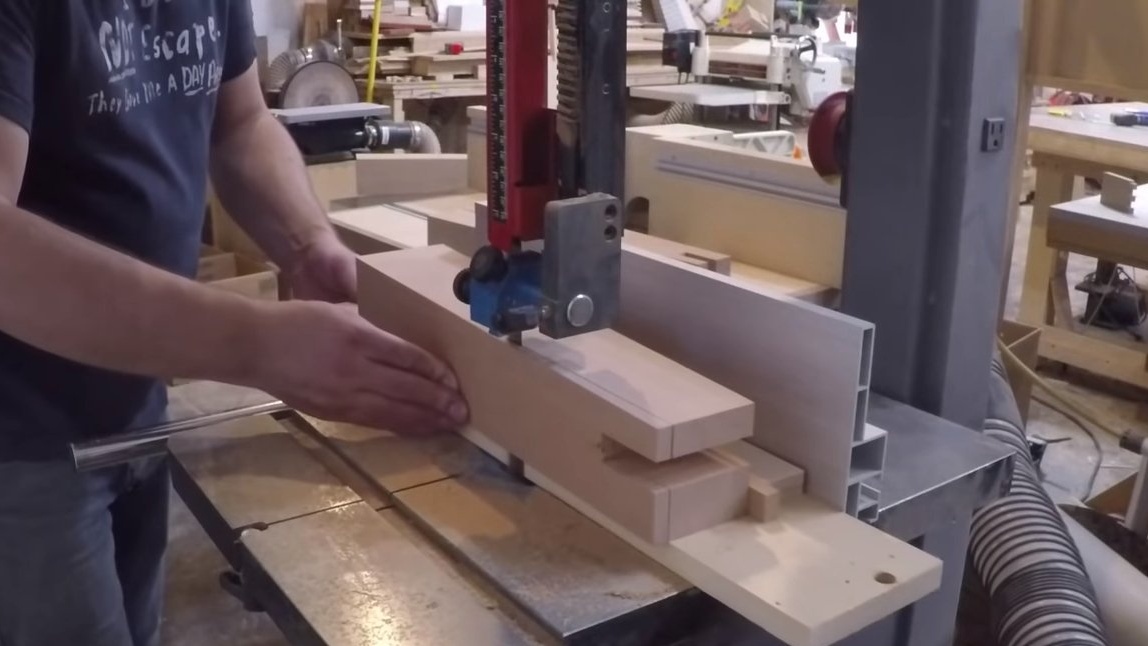
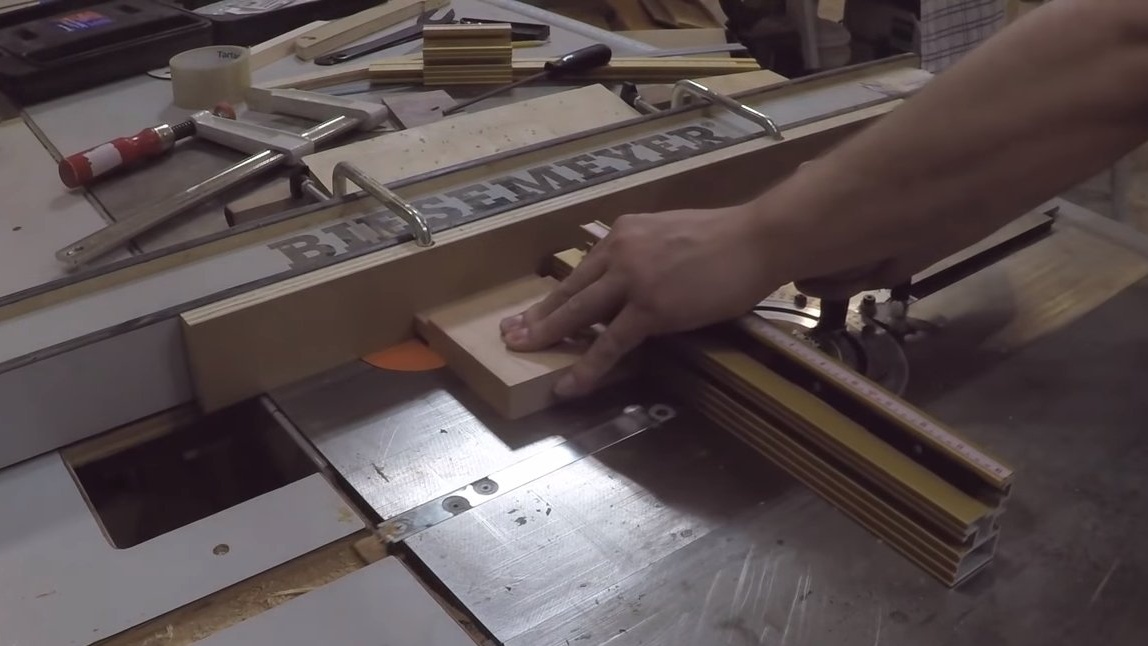
You can begin to manufacture the legs, here we need bars of large diameter. If there are none, you can glue several boards. We make the markup and proceed to production, here the author used the most diverse tool, including a circular saw, a band saw and others. The legs are made under the cone, they expand to the bottom. In the legs we also make grooves for the spikes, here we come to the aid of the electric and manual chisels.


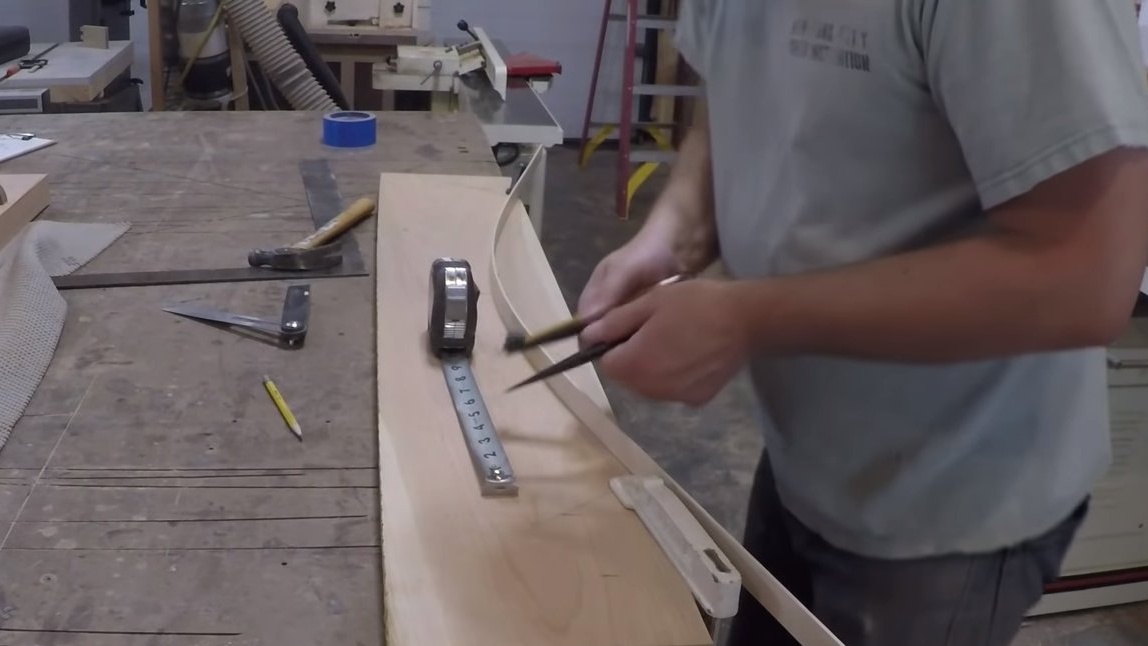
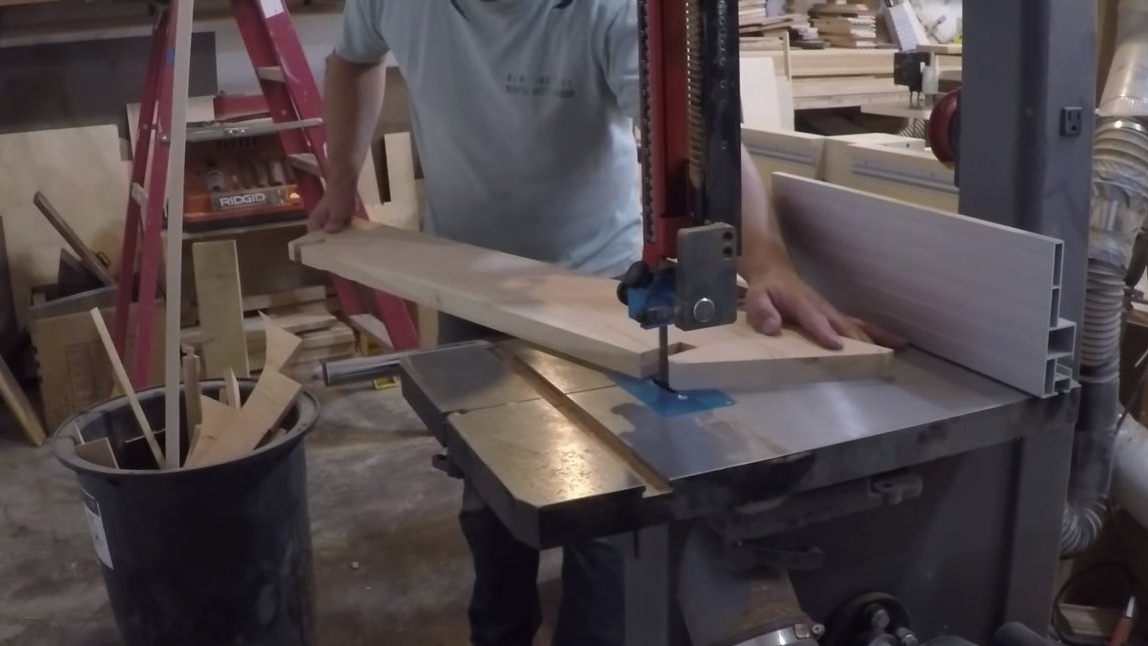
Step Four Spacers
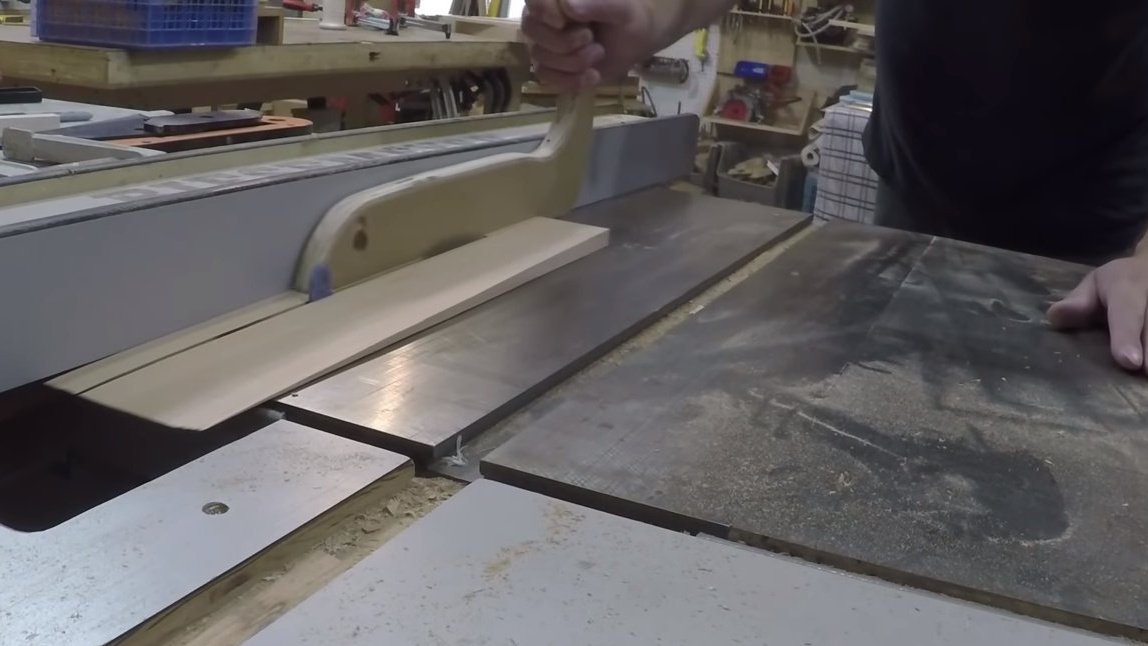
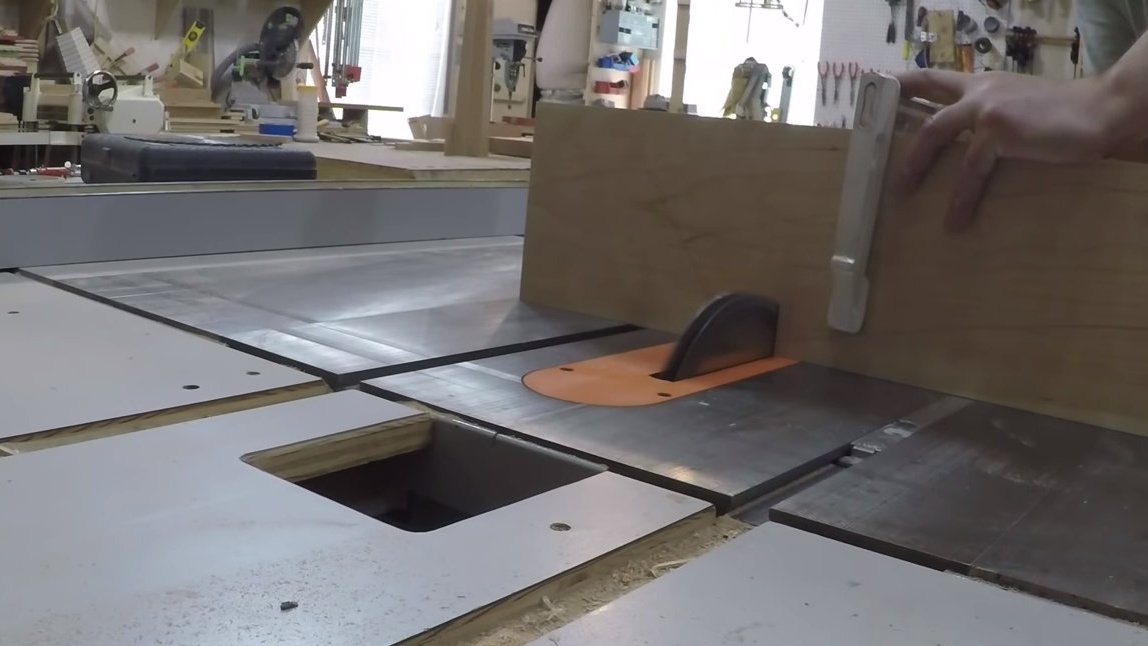
Between the legs in the upper part and in the middle there are struts. We make them from boards, adhering to accurate calculations and cutting.
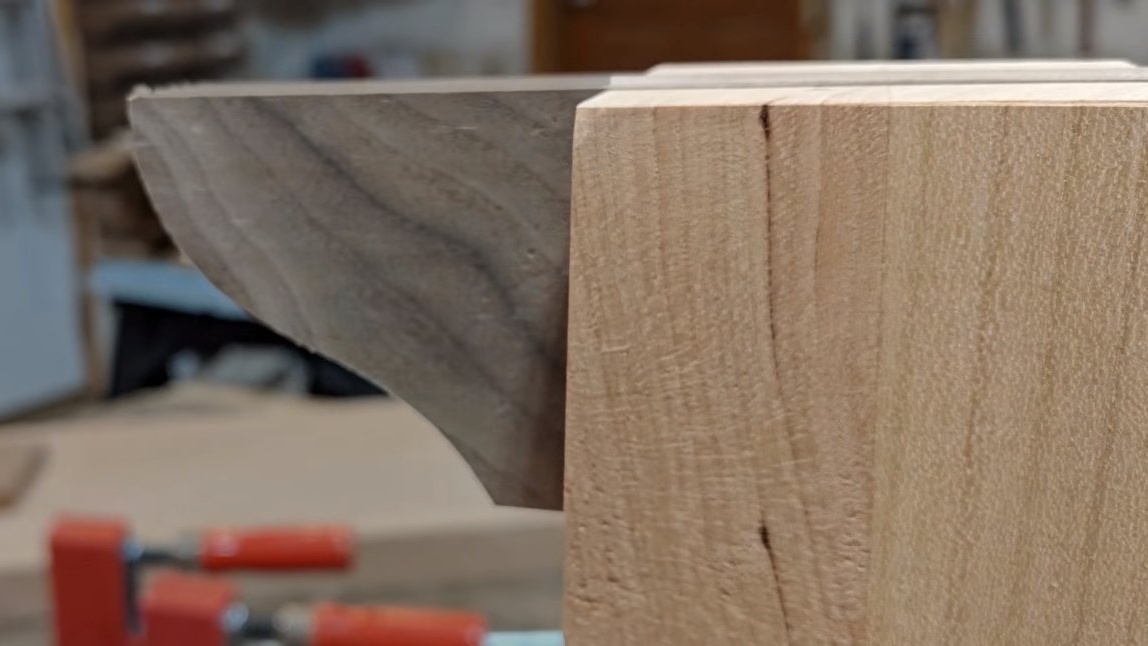
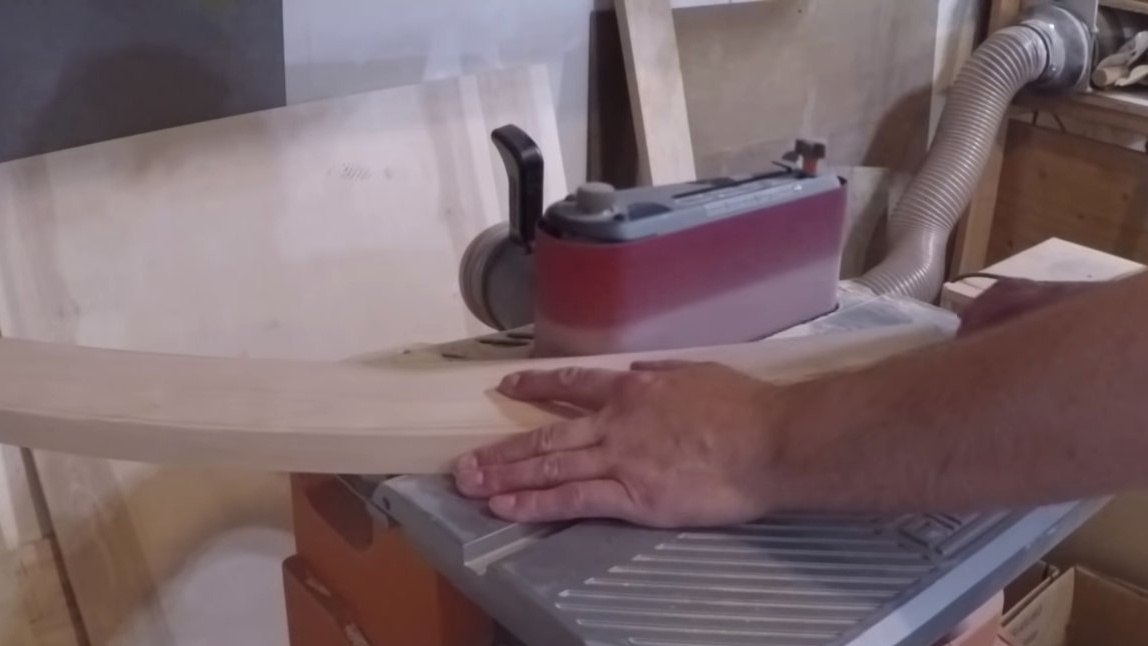
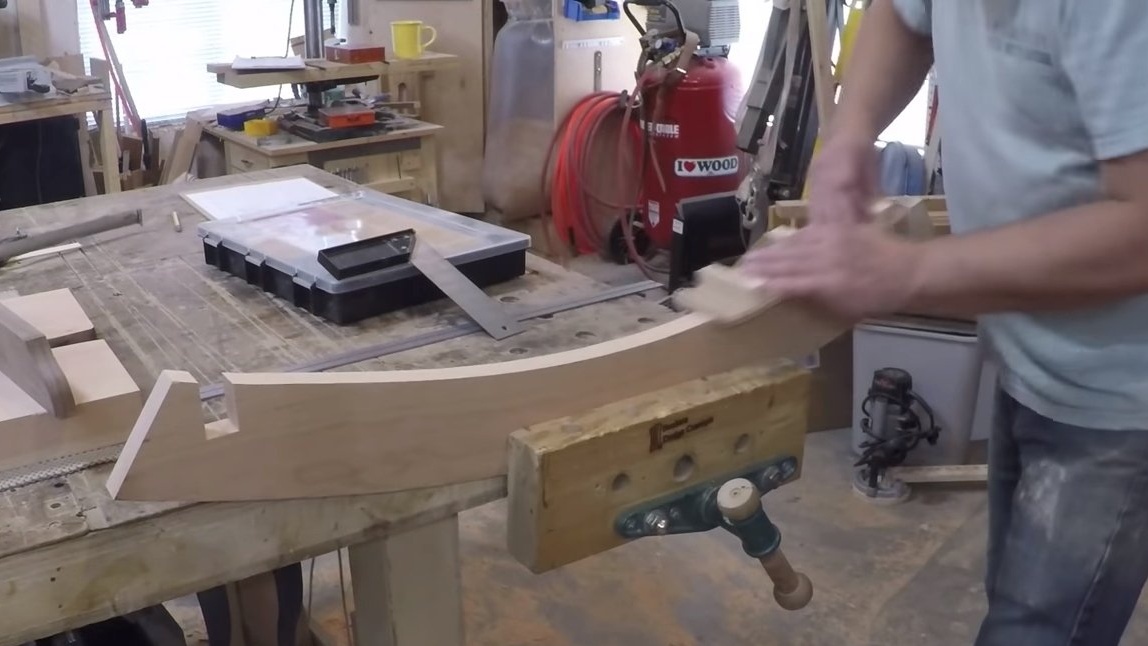
Also between two pairs of legs there is a large arched strut, we make it from a massive board. To cut such a figure you will need a tape cutting machine. Well, then grinding and all the details for assembling the bench are ready.

Step Five Impregnation and assembly
We impregnate all the details of the bench with oil or wax, such an impregnation will reveal the natural beauty of the wood and will protect it well. The better the wood is polished, the more expressive the pattern will be.

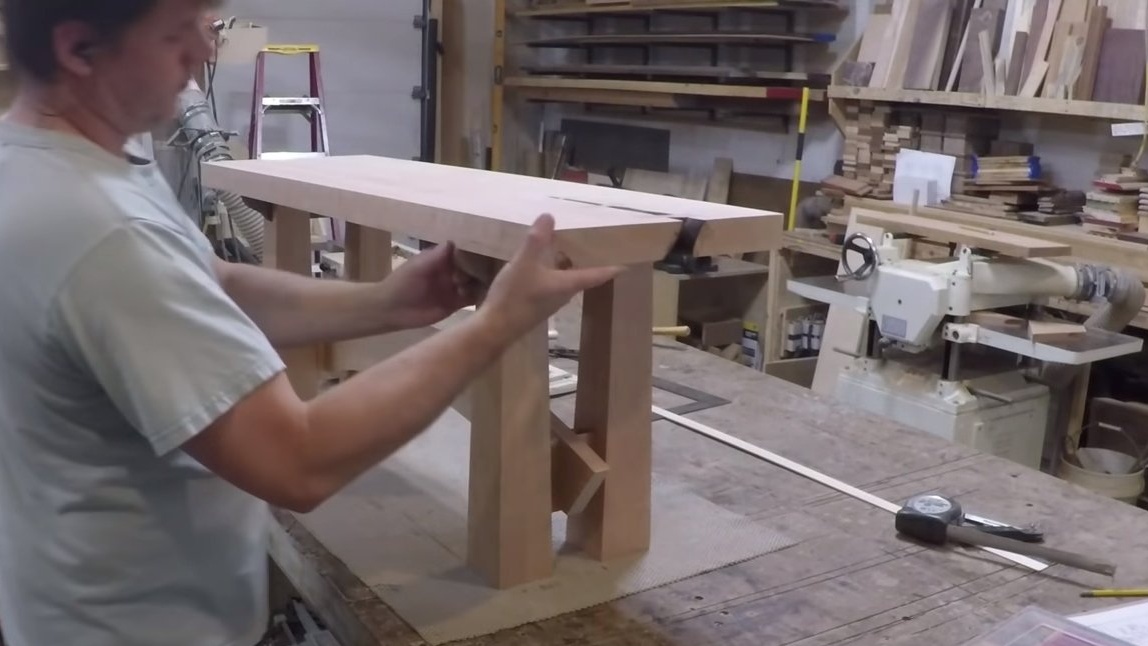
When the oil dries, it will be possible to collect the bench, if you wish, you can not use glue, the design should be reliable anyway, if minimal clearances were observed everywhere in the stud joints. But if desired, the bench can also be glued, so it will be very strong and durable.
That's all, this homemade product is ready, everything looks fine, the bench turned out to be strong. I hope you enjoyed the project and found useful thoughts for yourself. Good luck and creative inspiration, if you decide to repeat this. Do not forget to share your ideas and homemade things with us!