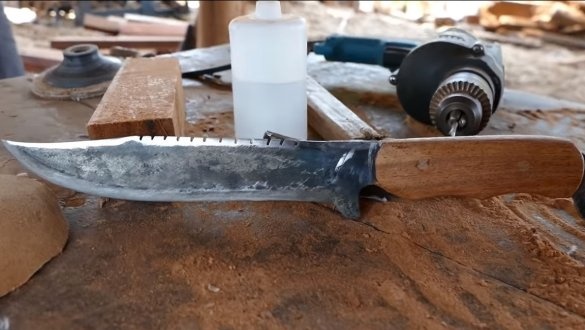
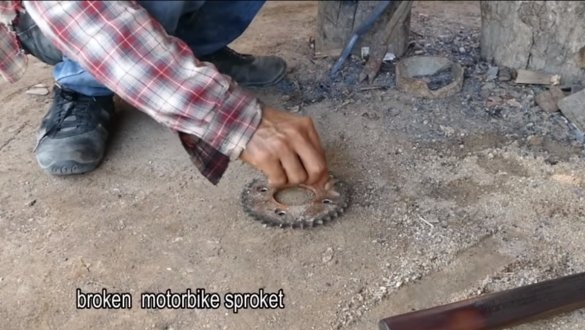
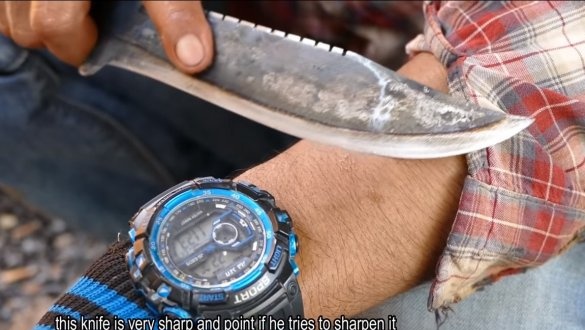
Hello everyone, today we will look at how to forge a massive knife from an old sprocket from a motorcycle. Such a knife will be useful in the household, they can cut the shoots, sharpen branches, remove bark and much more. The knife is made quite simple tools by craftsmen from Cambodia. Homemade it turned out pretty sharp, the author shaves the hair on his hand with a knife. We form the main profile by forging, and then we will have to work a bit with a grinder. If you are interested in homemade work, I propose to study the project in more detail!
Materials and tools used by the author:
Material List:
- oil for wood impregnation;
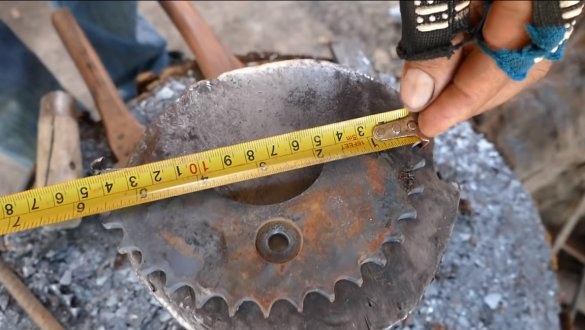
- an asterisk from a motorcycle;
- a tree for the handle;
- nails for pins;
- Super glue.
Tool List:
- hand circular saw;
- ;
- drill;
- forge furnace, anvil and other tools.
The process of making a knife:
Step one. Forging
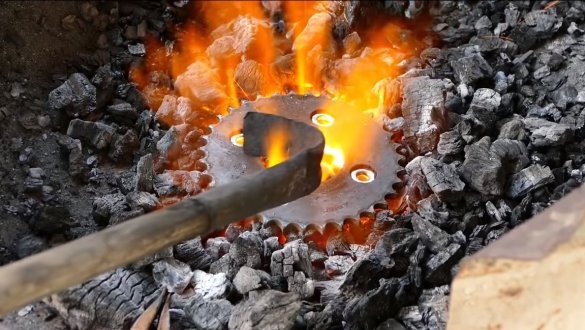
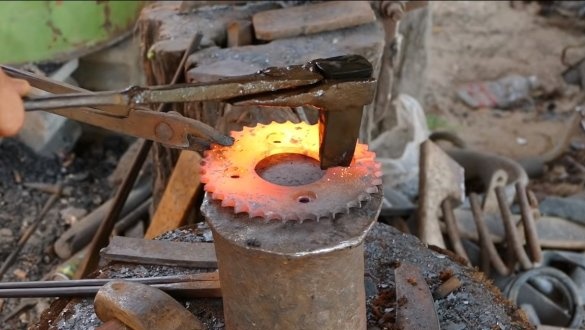
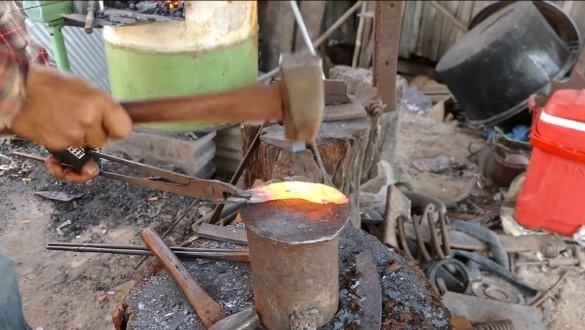
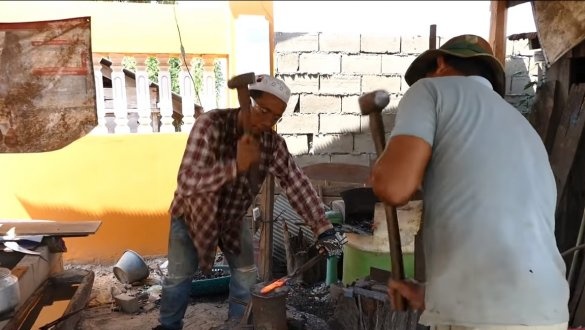
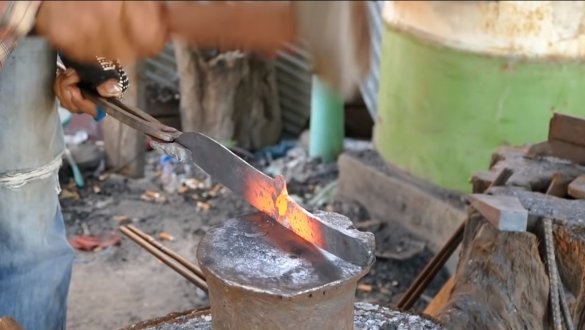
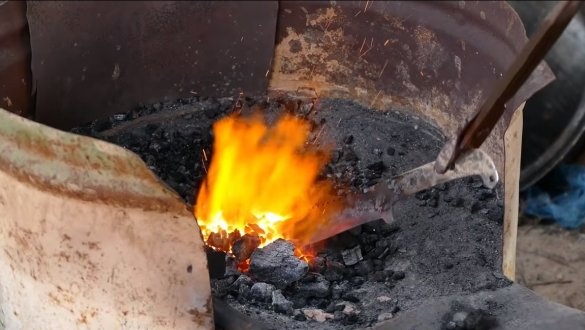
Knife manufacturing work begins with forging. The author’s stove is improvised, made of an iron barrel and other junk. Air is blown with a modified indoor fan.
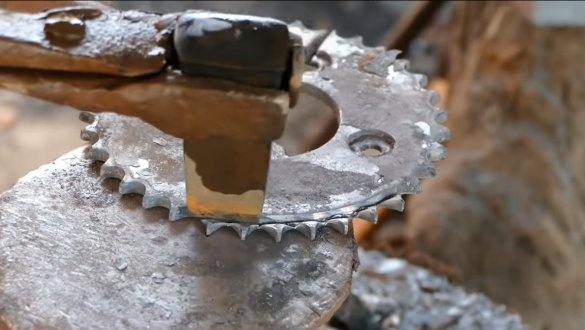
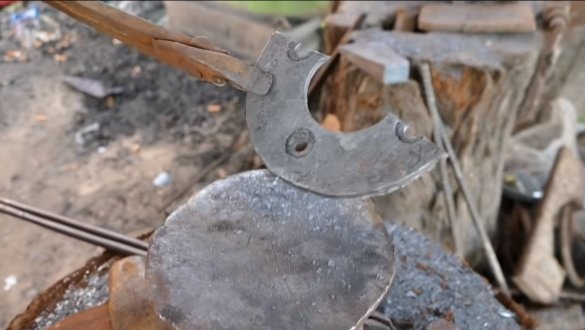
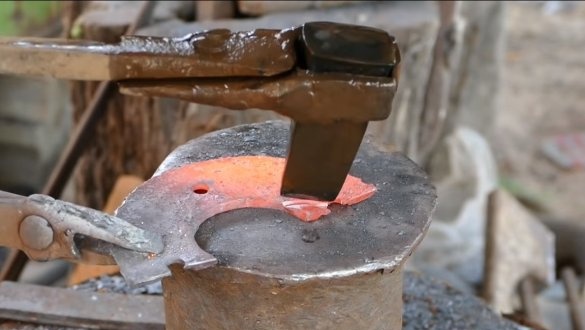
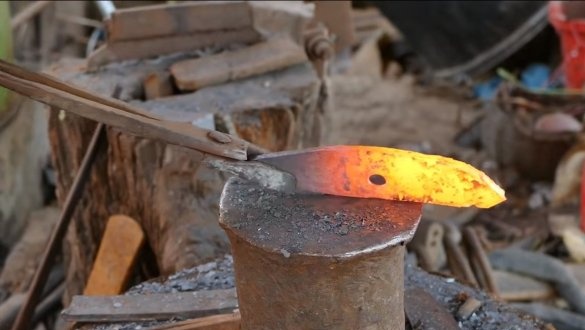
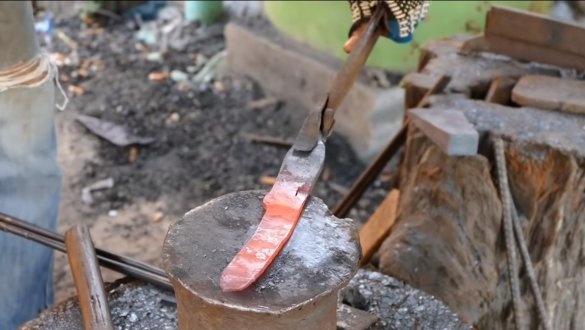
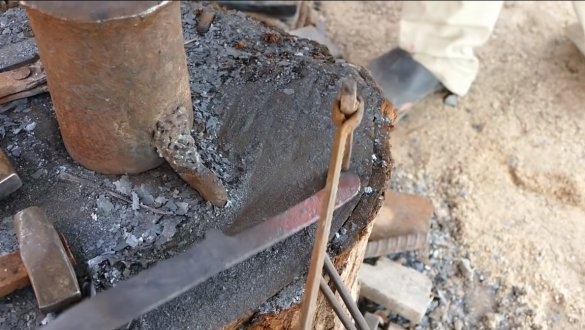
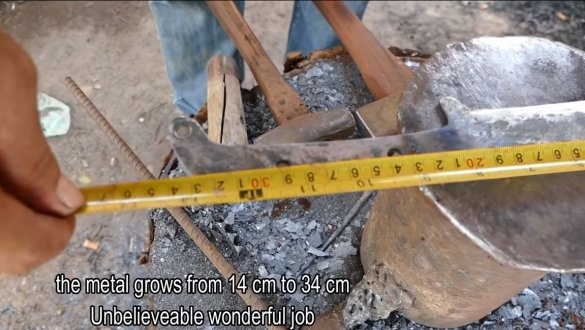
We redden the asterisk and then chop into two parts. We also remove the cloves from the resulting workpiece. Well, then slowly we begin to align the workpiece into the plate. Gradually, step by step, the author draws a piece of iron into the shape of a knife that everyone recognizes. If you need to make holes in the knife, they can be punched with a special punch.
Step Two Finishing the knife profile
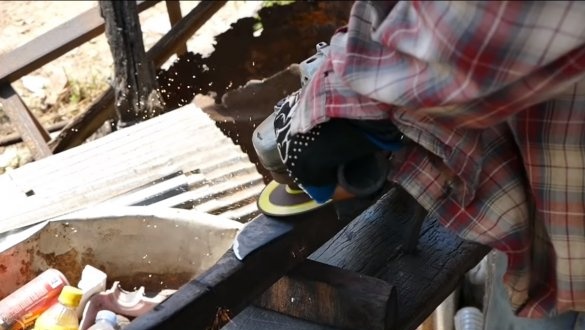
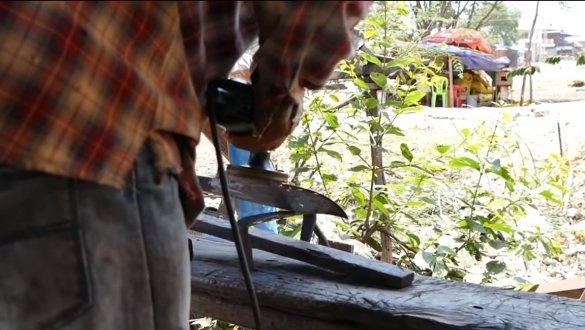
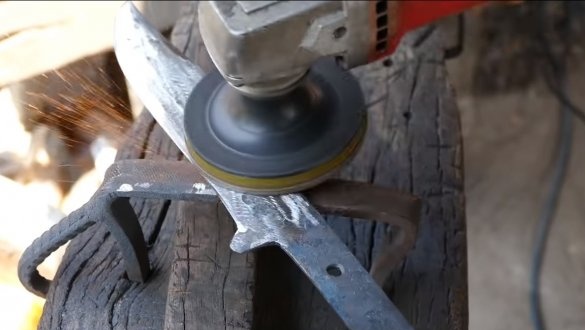
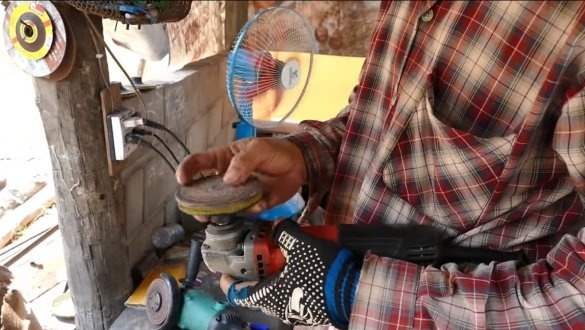
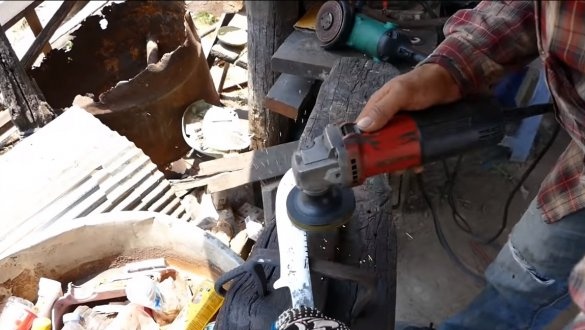
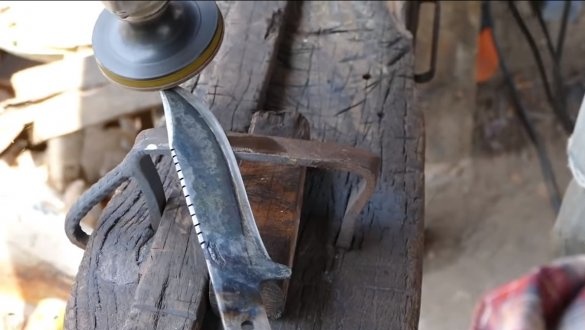
The profile of the knife needs to be improved, for this the author clamps the workpiece into an impromptu clip and is armed with a grinder. We install a thick grinding disc on the grinder and get to work. We need to process the blade along the contour, remove the forging defects.
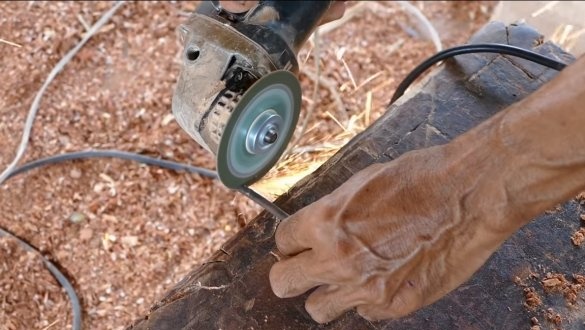
If desired, you can cut the teeth on the butt, we work as a grinder with a cutting disc. With cloves, the knife looks more interesting, and in everyday life such a function in the knife will not be superfluous. At the end, we grind the knife plane well. Grinding is carried out by a grinder with a nozzle for installing sandpaper.
Step Three Quenching
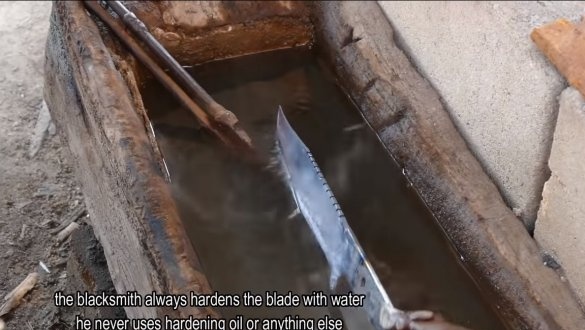
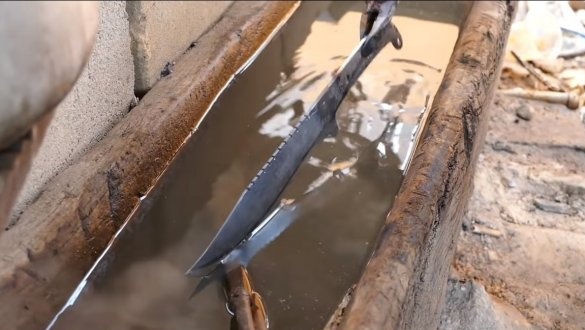
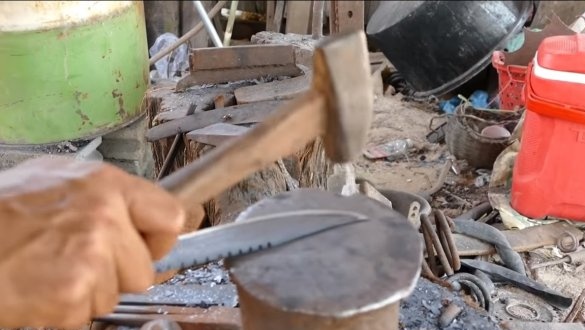
The blade can be tempered, and our author only tempers the blade. As a result, the knife itself remains plastic and cannot be broken. And the blade will turn out to be solid, it will not be blunt for a long time, however, the blade may turn out to be too fragile in the end. For hardening, we heat the blade and lower only the blade into the water. With such hardening, the blade will surely lead, so it will then have to be trimmed by tapping on the anvil with a hammer. The author checks the evenness of the blade by eye and trim with a hammer.
Step Four Sharpening
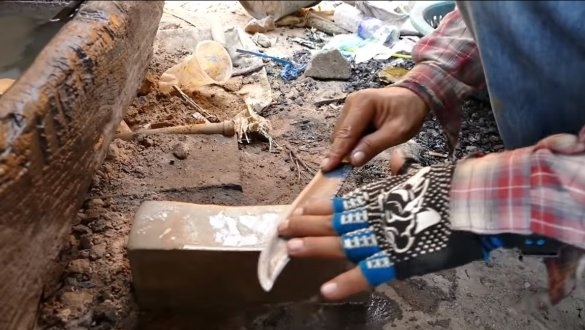
Now the blade can be sharpened, for this we need a grinding stone. And in order to sharpen the blade to its ideal state, there should be several grindstones, from large to smallest.
However, the author uses one stone and he manages to sharpen the knife to a blade state. With this knife, the author easily shaves the hair on his hand.
Step Five Pen assembly
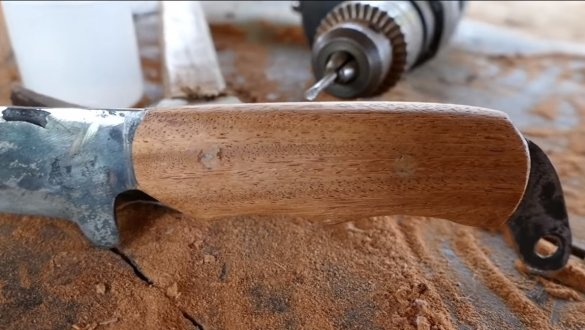
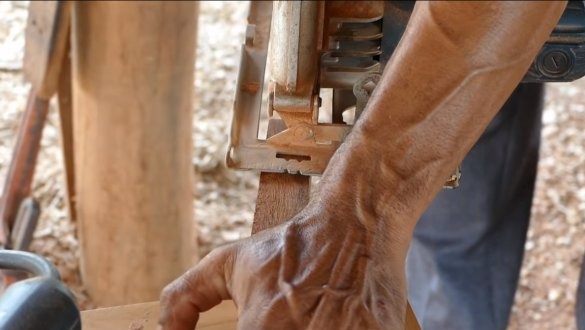
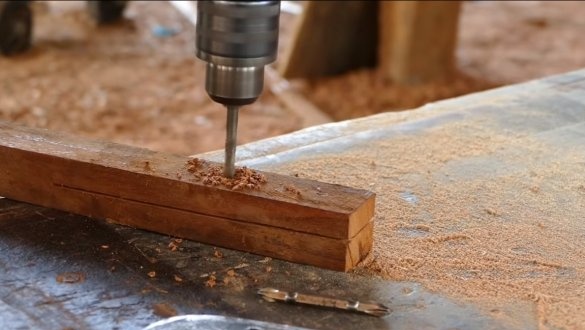
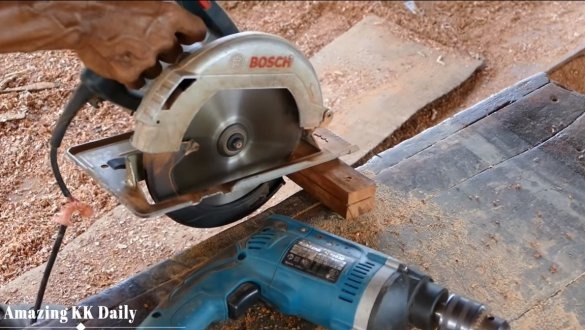
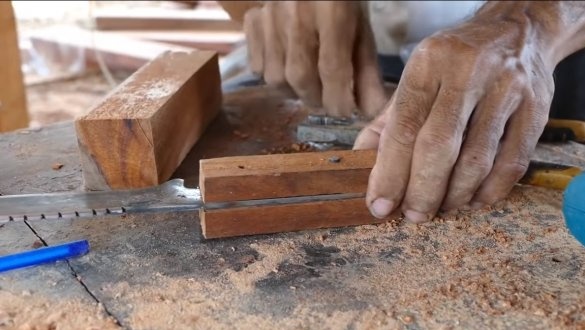
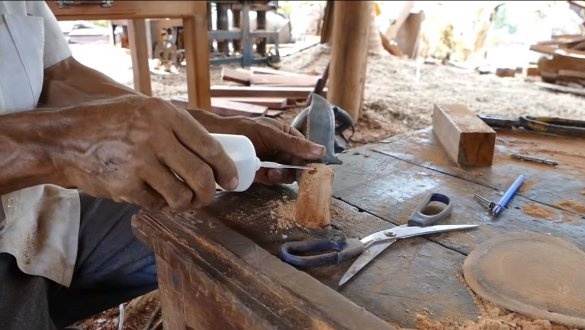
For the handle you need to make two pads, for this we cut the bar or look for a suitable thickness of the board. In the pads, drill holes for the pins, and also prepare the pins. Thick pins or other rods can be used as pins. When everything is ready, glue the handle, for this the author uses superglue. The author’s pins are so long that they are not visible in the overlays. The pins are walled on top with fine chips with glue.
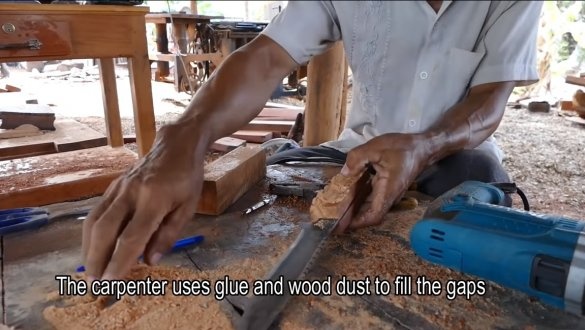
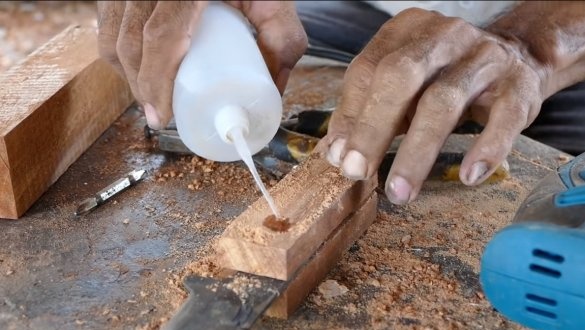
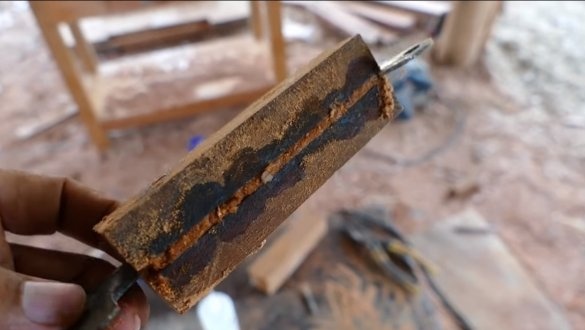
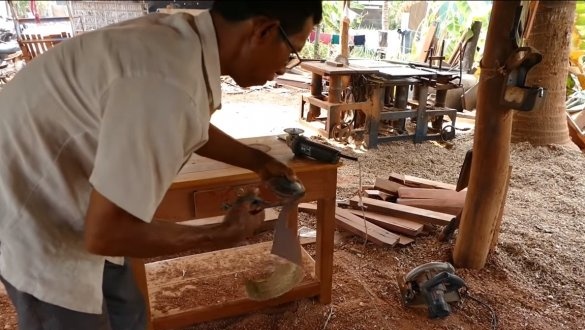
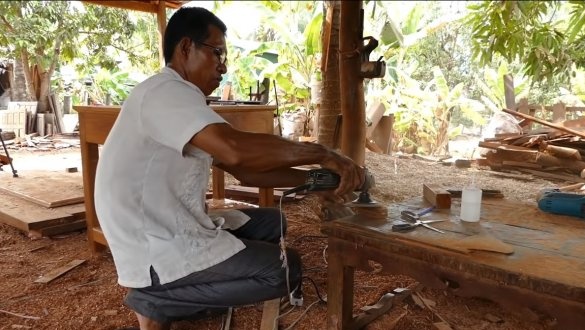
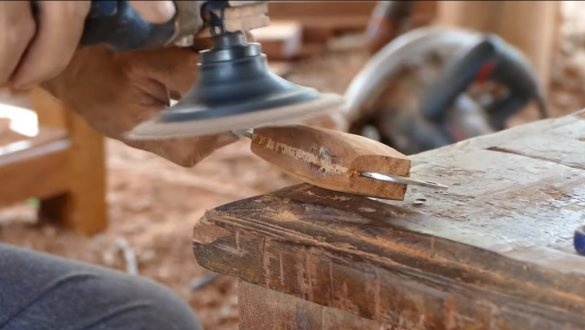
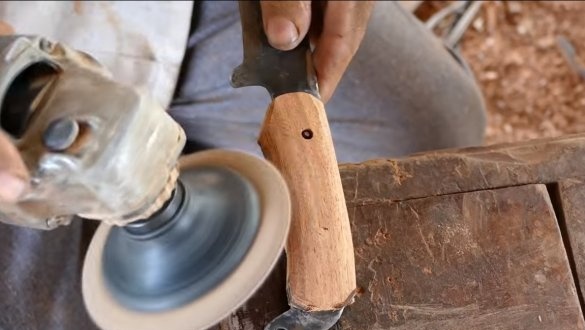
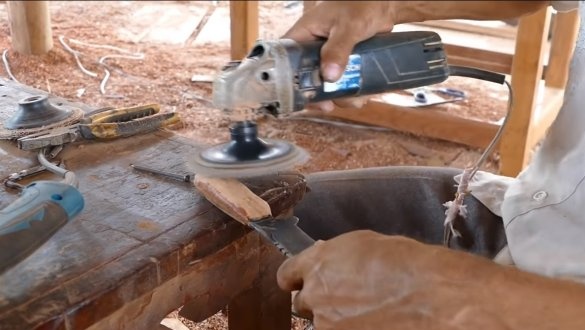
When the pads are installed, the handle needs to be sanded. To give the desired profile, you can work with a file on wood. Well, then we arm ourselves with a grinder with a nozzle for installing sandpaper. We carefully grind the handle, the author blocks all the cracks with wood dust with superglue, as a result, the handle turns out to be whole.
To make the pen ideal, it must be sanded manually with fine sandpaper.
Step Six The final
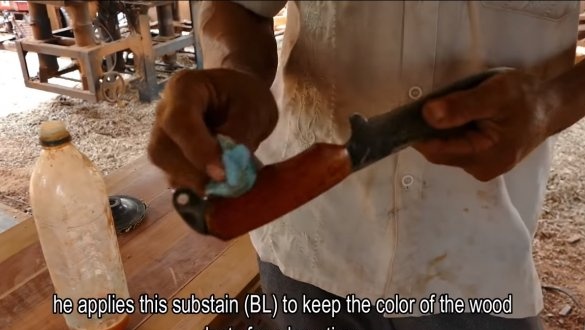
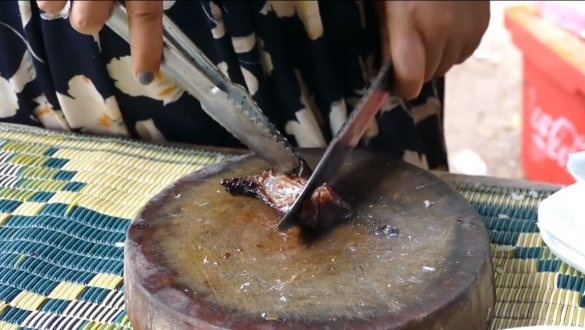
At the end, soak the handle with oil, this will protect the wood from moisture and dirt. Also, thanks to the oil, the pen will look very beautiful. That's all, now the knife is ready. The author slices them with fried meat. This is the end of the project, I hope you have found useful thoughts and knowledge. Good luck and creative inspiration, if you decide to repeat this. Do not forget to share your ideas and homemade things with us!

