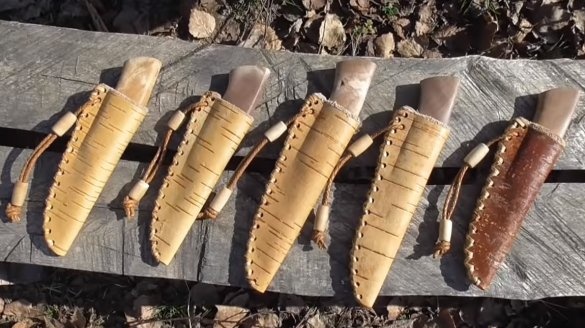
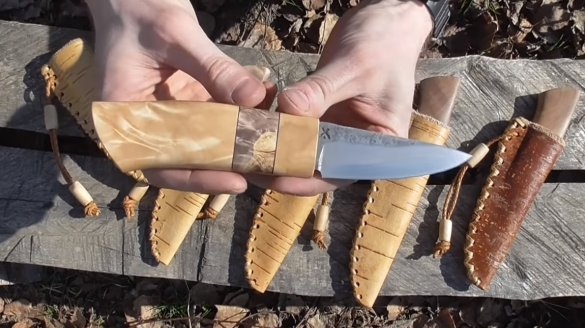
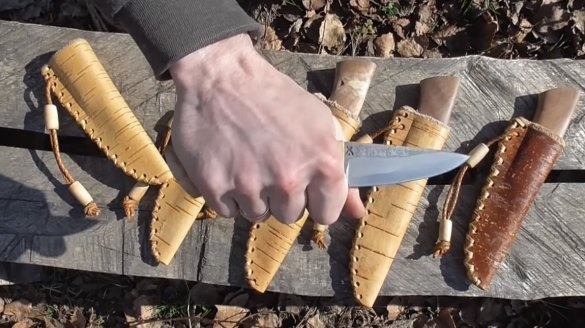
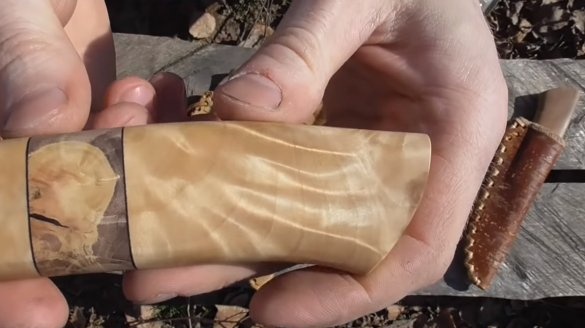
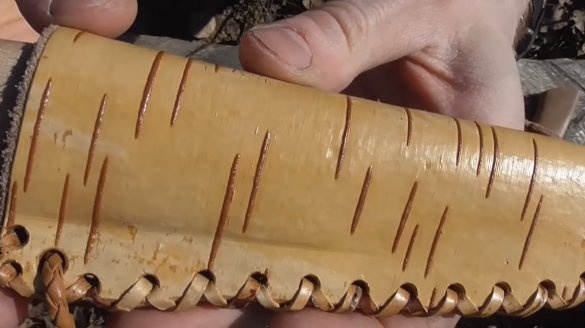
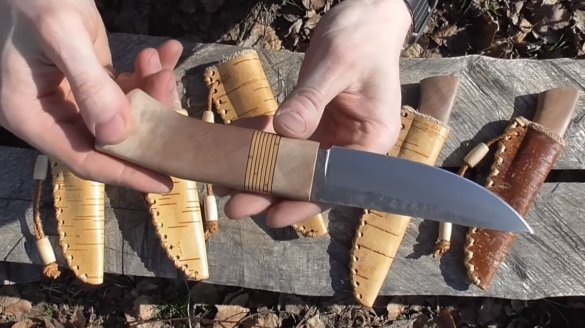
I welcome fans to craft, today we will consider how to make a knife in the Slavic style. The blade of the knife is made by forging from a file, presumably the steel used is of the U10A grade. The handle of the knife is combined, from suvel of birch and maple burl. Also for the knife, the author made beautiful sheath from birch bark. The knife is small, it is very sharp and strong, with it you can go for mushrooms, go fishing and so on. If you are interested in the project, I propose to study it in more detail!
Materials and tools used by the author:
Material List:
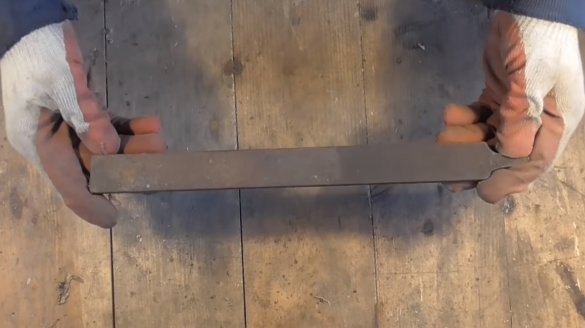
- an old-style file (made of good steel);
- birch bark for sheath;
- threads, glue;
- birch suvel, maple cap or other material for the handle;
- epoxy adhesive;
- oil for wood.
Tool List:
- belt sander;
- drill;
- oven and blacksmith tool;
- oil for hardening;
- clamps;
- files;
- grinder;
- .
The process of making a knife:
Step one. Forging
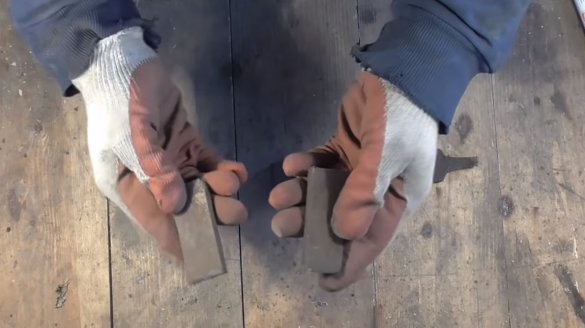
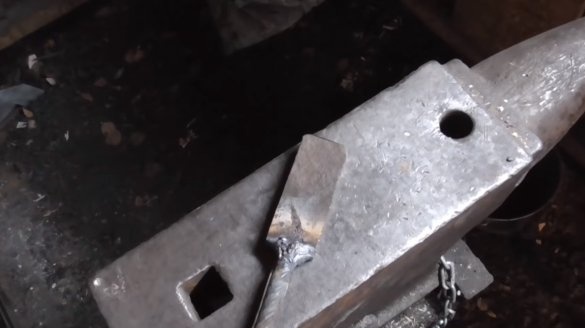
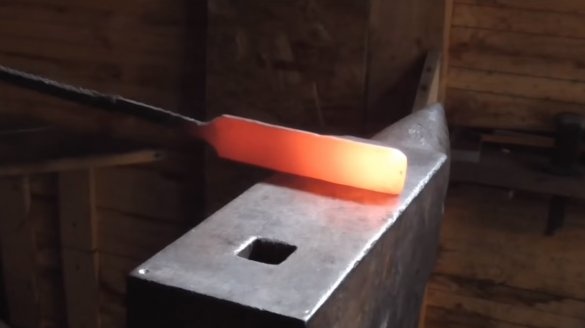
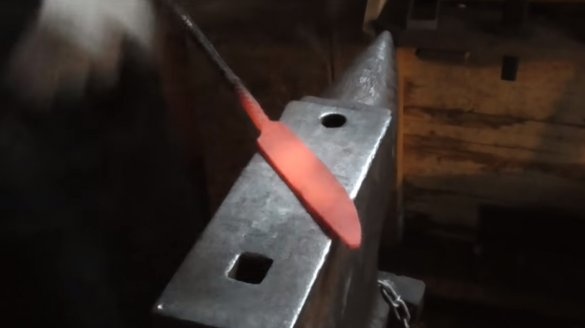
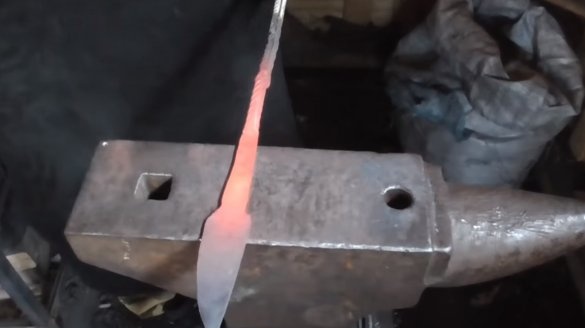
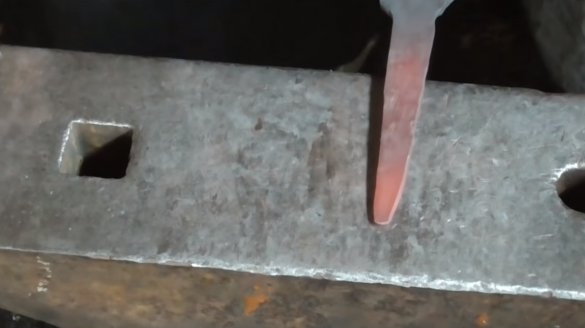
We start the knife manufacturing process with forging, first we cut the necessary piece from the file and weld it to the armature, which will serve as a handle. Thanks to forging, we will make steel thinner and stronger. It is recommended that before starting work, check the file steel for hardening; in a modern file, steel can be bad.
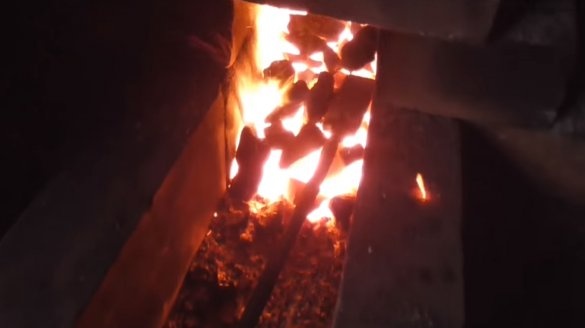
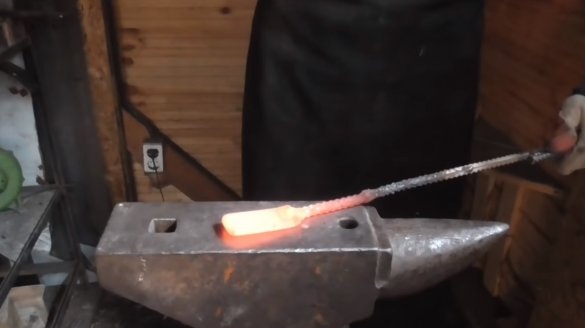
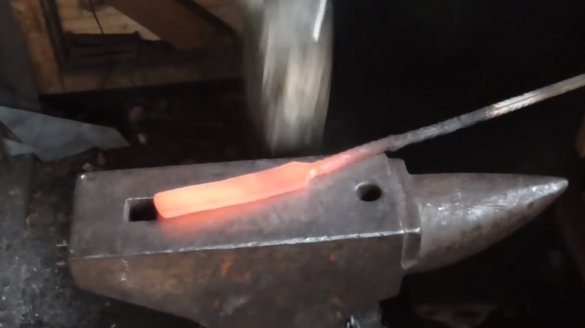
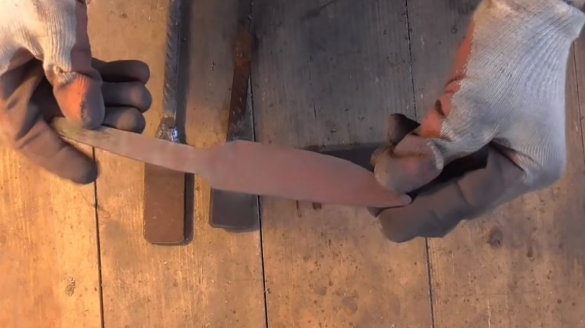
We heat up the workpiece and slowly form the desired shape of the blade. We pull the shank and in the end we get an almost ready blade profile. From one file by forging, you can make several excellent knives at once.
Step Two Quenching
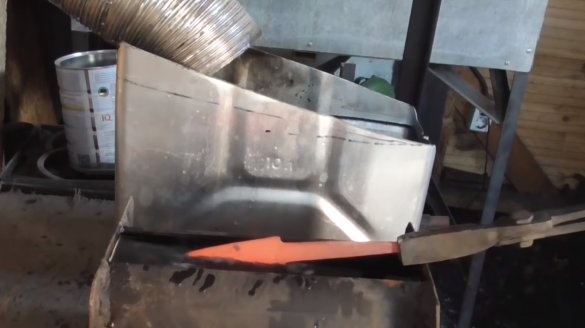
After forging, the author immediately hardens the steel. To do this, lower the hot workpiece into the oil. Quenching consists of two stages, at first only the blade is lowered into the oil, and then the entire blade. The author did not tell us anything about the blade's release.
Step Three Grinding
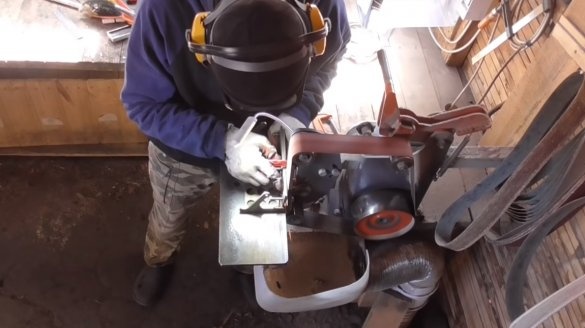
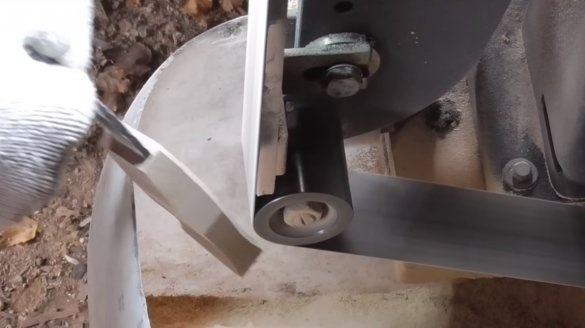
The final stage of blade manufacturing is grinding, here we need the services of a belt sander. We grind the plane and bring out the bevels. The blade cannot be overheated, otherwise there will be a tempering of steel.To avoid overheating, lower the blade into water for cooling.
Step Four A pen
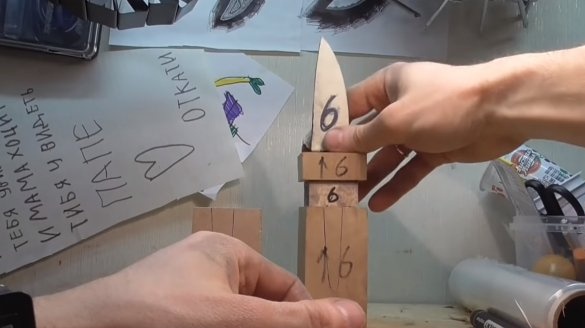
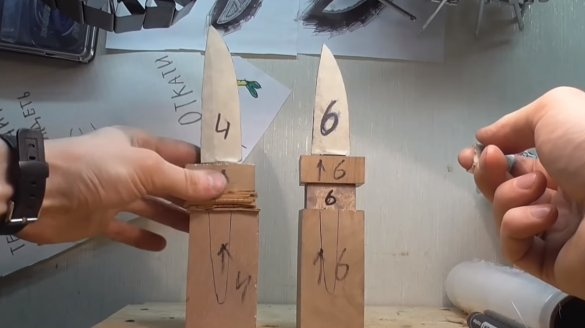
We make a handle, it consists of several sections for beauty. The birch suvel and maple cap are excellent as the material, these materials are very strong and look great. We glue the blanks on the shank with epoxy glue. For additional fixation, pins can be used.
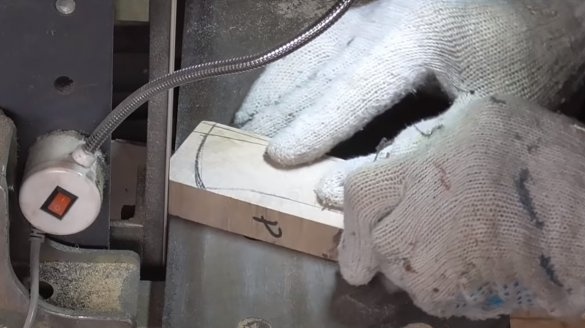
When the handle dries, it needs to be shaped in a belt sander or manually using a wood file. Then the handle is carefully sanded to a perfectly smooth state and soaked in oil. Now the handle looks great and is well protected from water.
Step Five Sheath
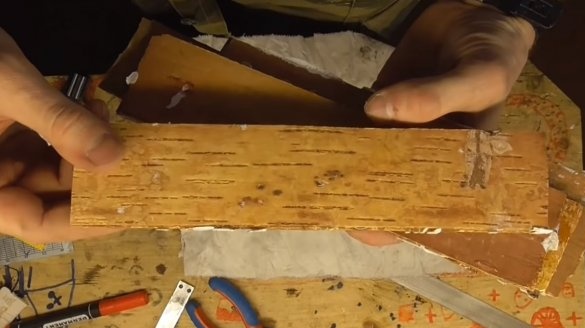
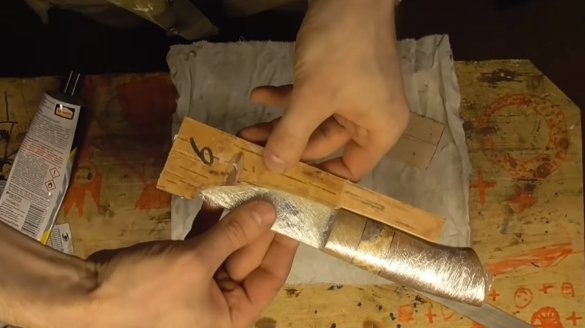
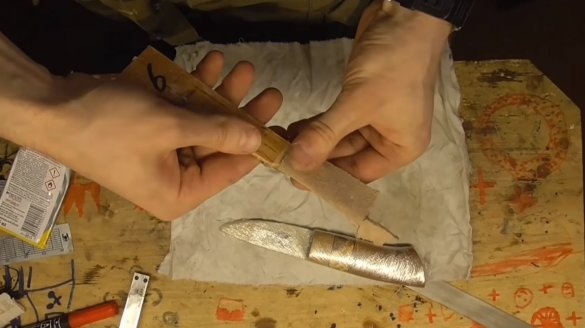
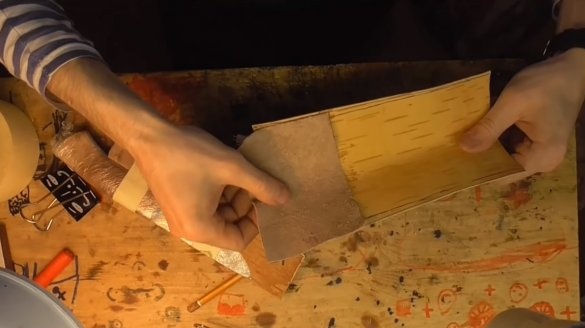
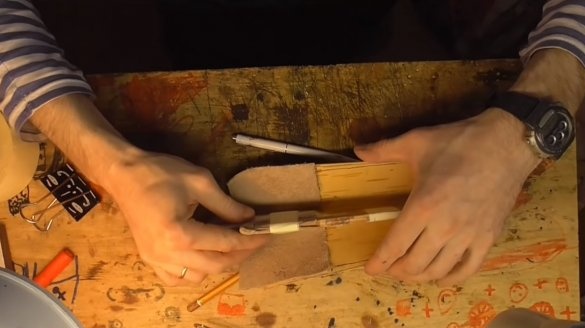
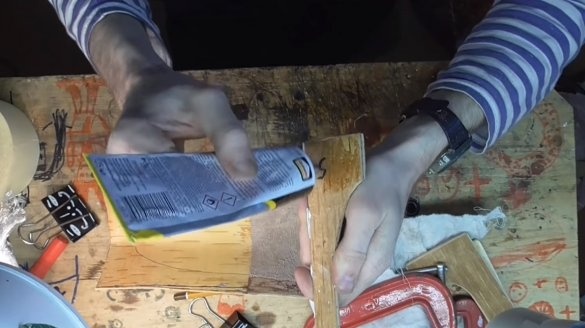
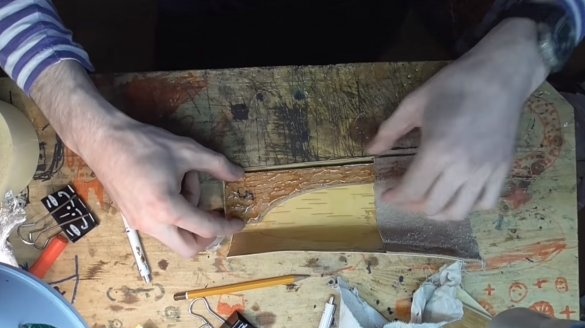
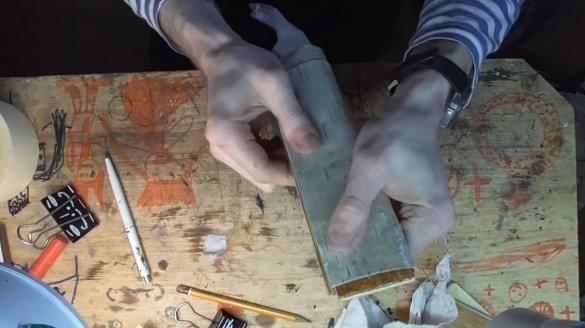
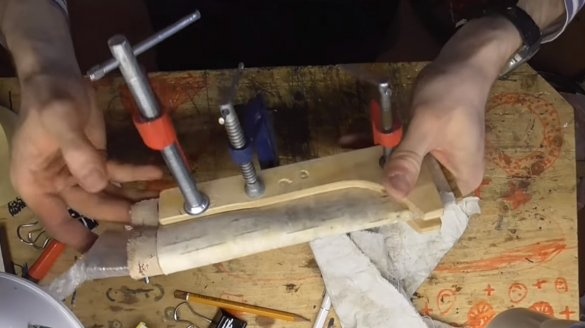
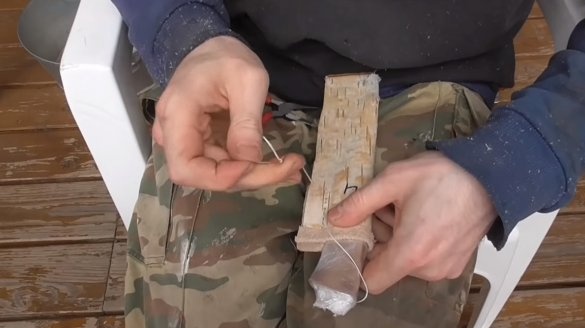
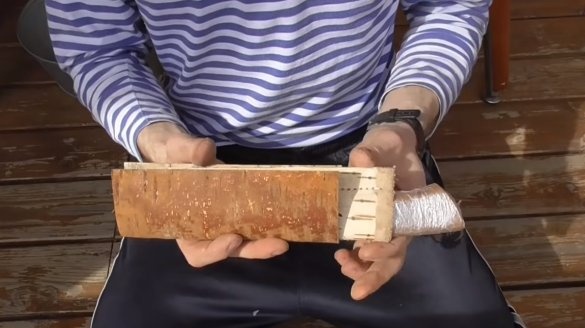
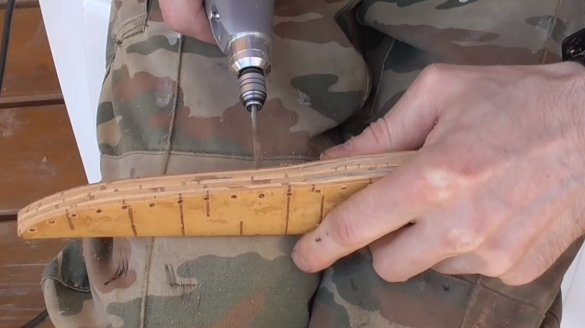
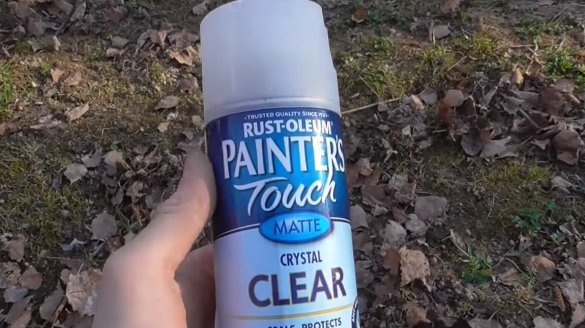
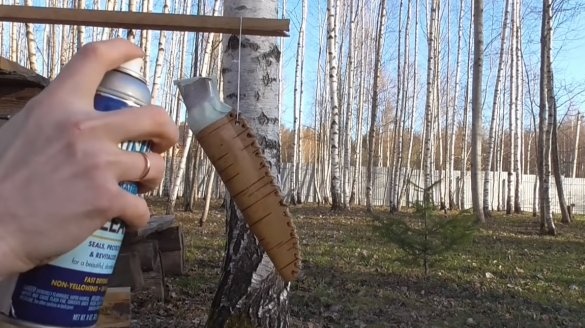
The author also makes original knife sheaths, leather, birch bark are used here, and plywood, fiberboard and similar material are suitable as spacers. First, the sheath is glued together, and then also stitched. At the end, the outer part of the sheath of birch bark is installed and everything is stitched with a beautiful pattern. And for the sheath to last longer, it is recommended that they be varnished with aerosol.
The author made several knives with different handles, they look amazing. If desired, such a knife made of high-quality steel can be sharpened to the state of a razor, and it will retain sharpening for a long time.
Homemade ready, everything turned out amazingly, I hope you liked the project. Good luck and creative inspiration, if you decide to repeat this. Do not forget to share your ideas and homemade things with us!

