By the way, the range of application of the level is quite extensive, it can be used in furniture production, in the installation or installation of any equipment, etc.
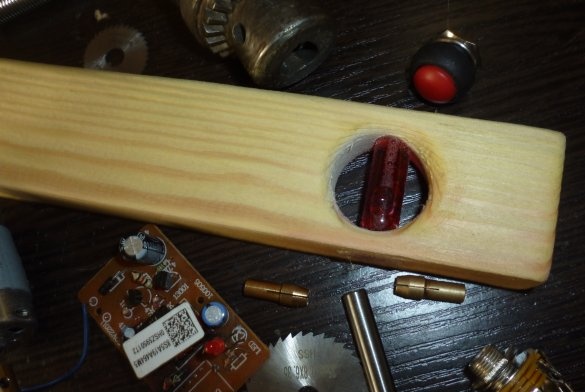
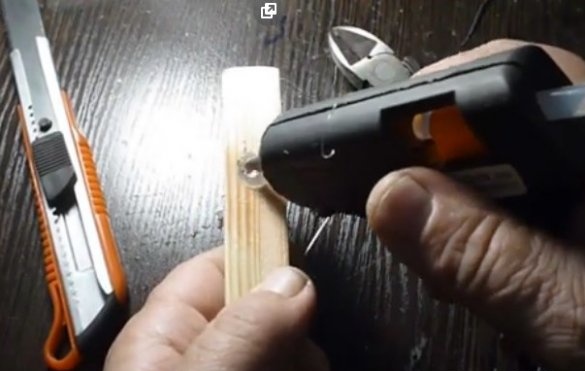
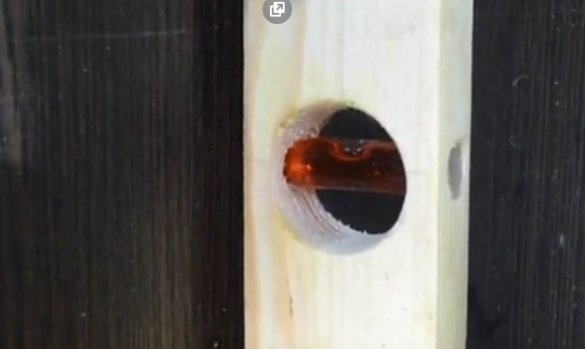
This device has gained popularity in that it is extremely easy to handle and use. Also, the bubble building level is simple to manufacture (and does not require any expensive or scarce materials for manufacturing), if there is no factory-made device at hand, even a novice master can do it. A device is made, in our case, from a wooden bar and two glass flasks. Depending on the tasks, the level length is selected, the bar of the required size is selected accordingly, the length of the device can range from 20 cm to 1.5 m. Calibration is carried out by placing the device on a strictly horizontal surface, removing the bubble into the center of the flask, marking with a marker the central part and two extreme points of the bubble. Then the flask is fixed in the device, in our case hot melt adhesive. The process of installing the flask is shown in the video clip instructions.
We will show, by the example of a test model, the principle of manufacturing a building level.
And so, we will start manufacturing our device, we will need a wooden block (choose your size based on your needs) and two glass flasks - as flasks we used ampoules of one milliliter of expired vitamin B12. We also need a hot glue to fix the flasks in the body of the device.
Video instruction:
Tools involved in the manufacture of bubble building level:
- Hacksaw or jigsaw.
- Thermogun with hot glue stick.
- The grinder and the grinding wheel to it.
- Sandpaper.
- Measuring tool.
- Pencil and marker.
- Varnish for the refinement of the device.
Materials for the manufacture of bubble building level:
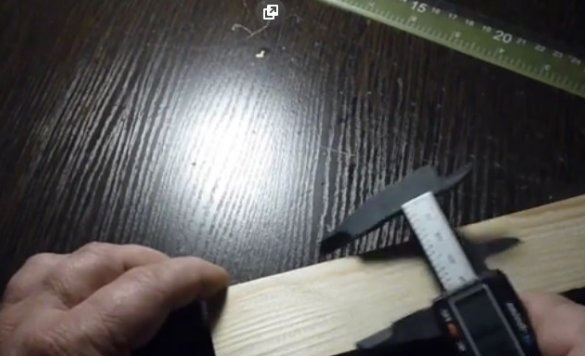
- A bar with a cross section of twenty by forty millimeters, the length according to your needs.
- Three ampoules, one milliliter, two for work, one for topping up the working fluid (in our case, expired vitamin B12).
Manufacture:
- Cut off the desired size of the bar, in our case we took a bar with a cross section of twenty by forty millimeters.
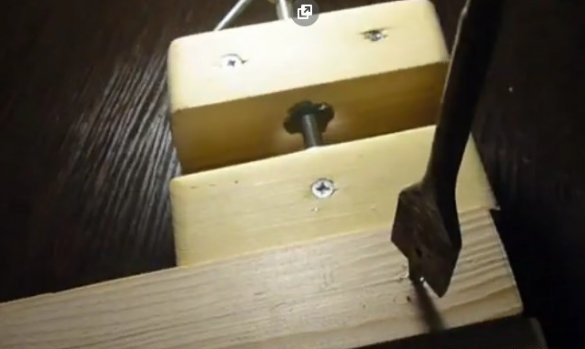
- Using a pen drill we drill two holes (shown in the video), we have a drill twenty-four millimeters.
- Frontally through the plane of twenty millimeters and through the center of the hole twenty-four millimeters, drill holes nine and a half millimeters.
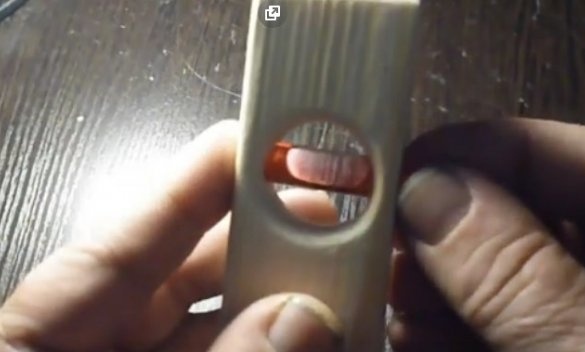
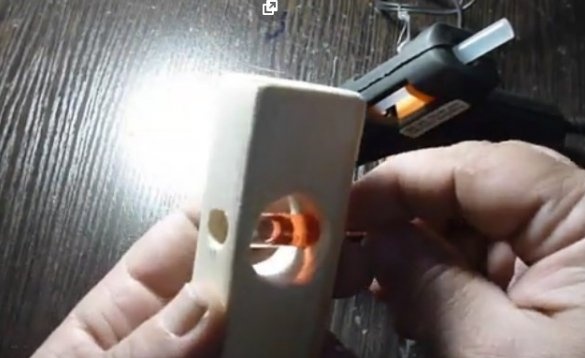
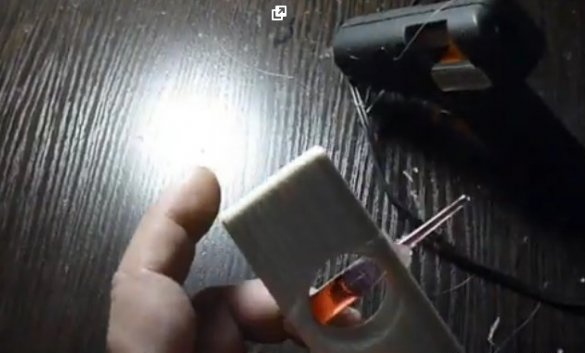
- We insert flasks into the resulting holes.
- Align and center the flasks.
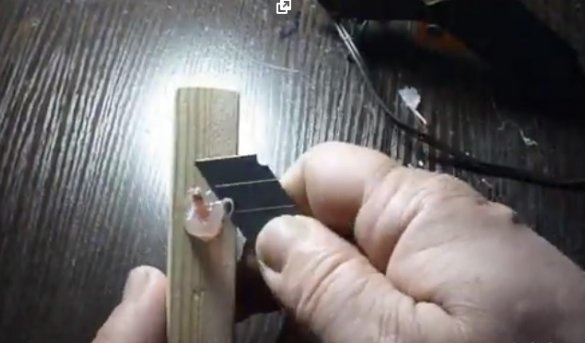
- We fix the flask with hot glue.
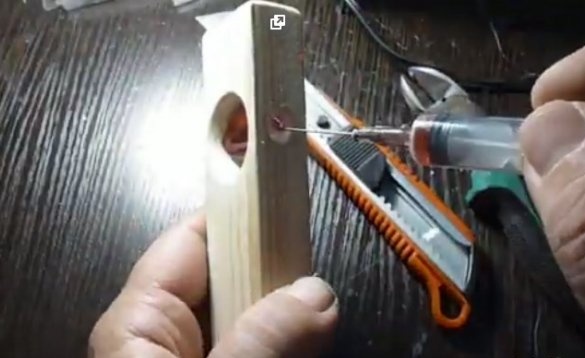
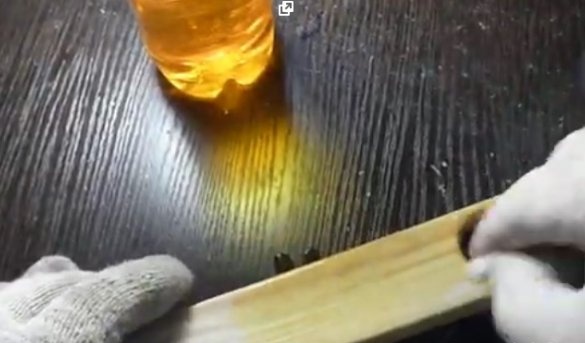
- Top up the working fluid in the flasks (as shown in the video instruction).
- We close after topping the flask holes with hot melt adhesive.
- We process the product with a grinder, emery cloth and varnish.
The device is ready, use it.
Big crops dear summer residents and success in construction.


