Hello again. This time we will do, not a very difficult, but very necessary thing, without electrics and mechanics. Put the soldering iron aside, and pick up the needle and thread. And so the topic of this article is the manufacture of a cover - books for a tablet, phone, e books and so on. etc. According to this instruction, you can make a cover - a book for any tablet. And also make just a notebook. I will show the process using the example of a seven-inch tablet (which I have) and a small notebook. For others, it will be necessary to change the size of the workpieces.
We will use:
- Plastic, 1 - 2 mm thick. (or a stationery tablet with a clip)
- An elastic band 10 mm thick. (it is possible and thicker, not fundamentally)
- Threads, preferably more durable and synthetic. (color optional)
- Stationery knife
- scissors
- awl
- Glue (moment gel or for rubber)
- Ruler
Step 1 Production of blanks.
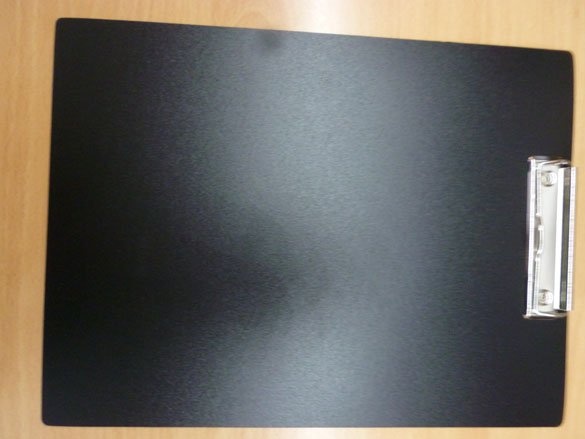
The basis of our cover will be plastic. It is quite durable and more practical than cardboard. You can order in the online store or buy just sheets of plastic. In my city I did not find stores where they would sell plastic sheet to me. If you have it sold - excellent. I found it on Aliexpress, but I did not want to wait for a long delivery time. So I went the simplest way, went to the stationery store and bought a regular plastic tablet with a clip. It was enough for a 7 inch tablet, I think enough for 8 inches. With large sizes, of course more difficult. Most likely, for larger sizes you will have to take two of these tablets:
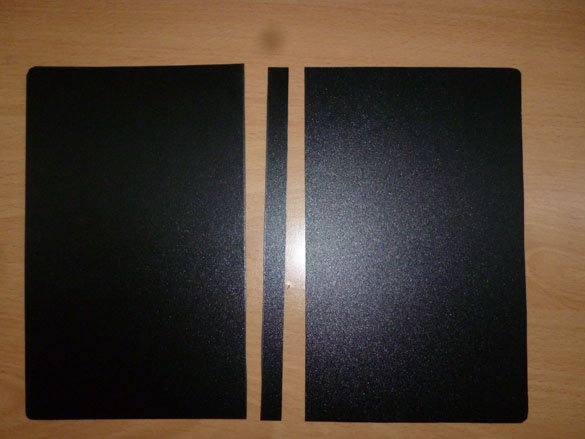
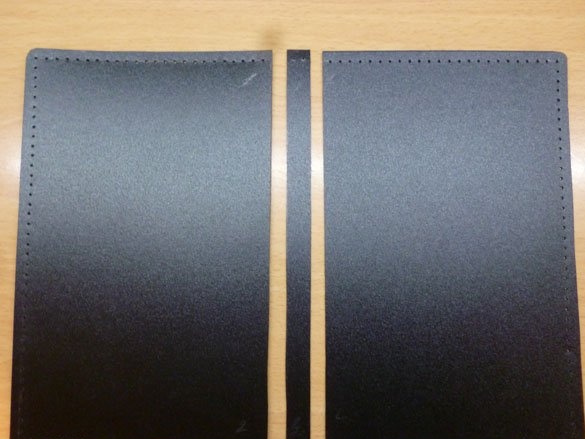
We cut out two blanks of 20 cm by 12.5 cm and one 20 cm by 1 cm from a stationery tablet or other plastic. For two large blanks, make two edges round. We’ll use a thin one in the middle. For tablets of other sizes, do this: measure the tablet, increase the width and length by 1.5 cm - these will be the dimensions of large blanks, add 0.2 cm to the thickness of the tablet - this will be the width of the small blank (which is in the middle), its length is the same, like the length of large:
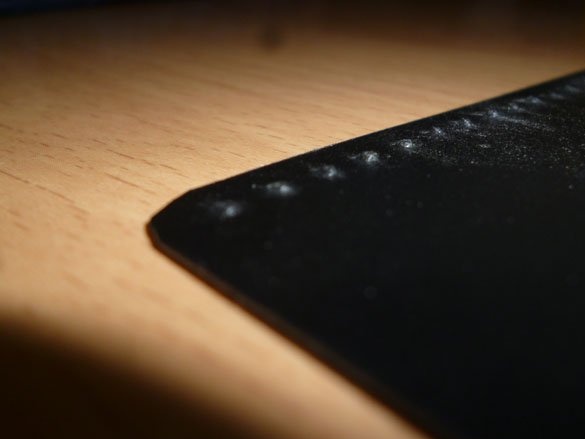
Now we take the blanks and lay them out as in the photo. This is our future case in expanded form. The distance between the workpieces is 0.3 cm. We draw a line along the perimeter of the workpieces at a distance of 0.5 cm from the edge. This is the seam line. Put a board or sheet of plywood on the blank (chipboard, fiberboard or the like), put a ruler on the line, take an awl in your hands and make holes in increments of 0.5 cm:
Having done all the holes, pay attention, on the reverse side on each hole turned out "pimples".
I use a clerical knife to cut them, as they will interfere with us in the future.
Step 2 Glue the fabric and stitch it.
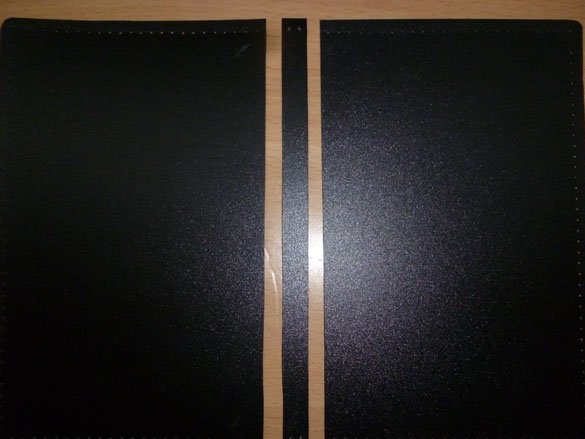
The appearance of the cover depends on the fabric you have chosen. Here, as they say, the taste and color of all people are different. You can use leather, leatherette, velor. I like denim. It is practical, durable enough and looks good. We glue the blanks on the fabric, observing the distance between the blanks of 0.3 cm. The glue should be chosen elastic, for example, the moment of gel, rubber or shoe. At the edges of the blanks, the fabric should protrude at least 1 cm. And also make sure that they are on one straight line:
After the glue has dried, we cut off the excess tissue, 1 cm should remain at the edges:
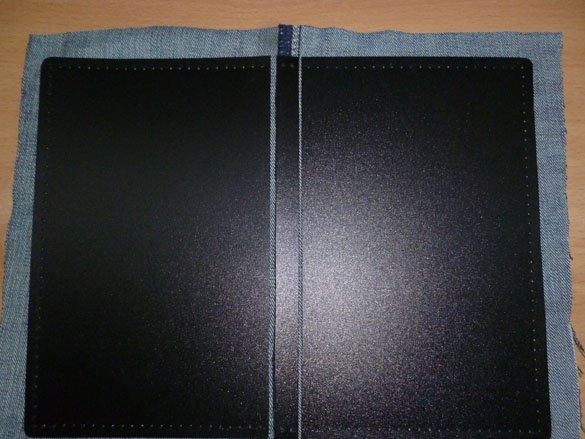
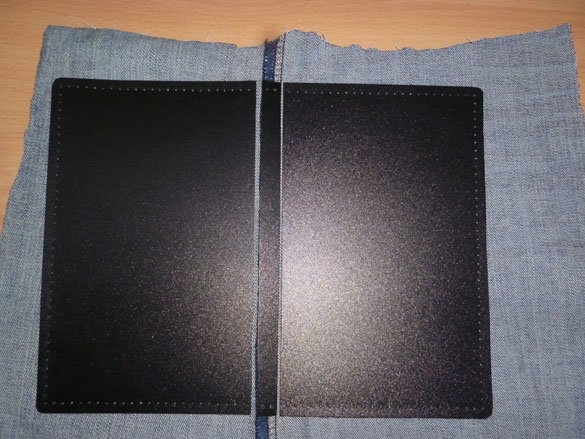
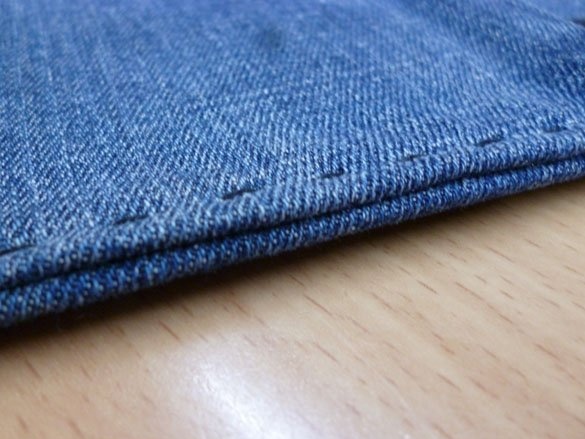
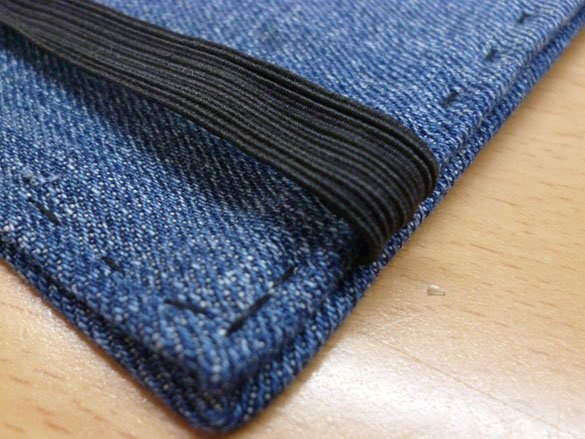
We wrap the edges of the fabric and threading the needle into pre-prepared holes, stitch it with straight stitches. If the fabric stretches like mine, try to pull it slightly:

If there is too much curled fabric, it should be trimmed. We turn over our already single workpiece, and again glue it to the fabric. Two types of fabric can be used, outside the skin, inside the velor, for example. This is how someone likes, the scope for imagination is great. Remember the main thing: the first glued fabric is external, the second, respectively internal. The rules are the same - at least 1 cm along the edge. I have a bad imagination, so all the same denim:
When the glue dries, cut off the excess fabric along the edge:
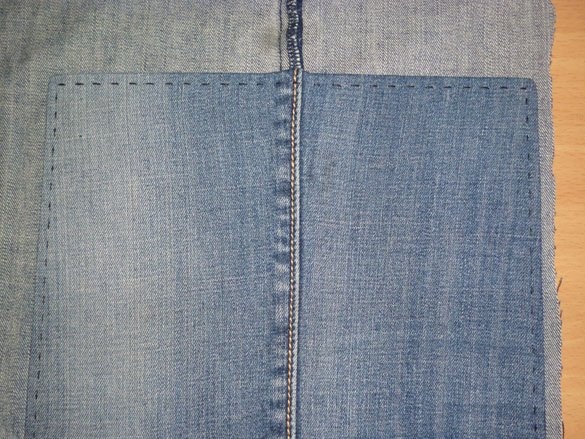
This time, we bend the edges of the fabric inward, so that we get such an edge:
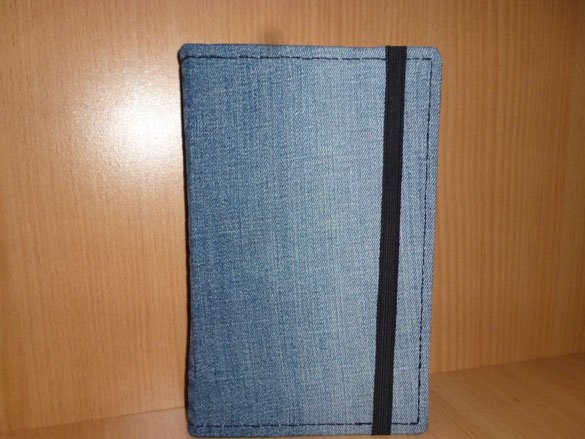
We sew through the same holes, only so that the stitch is obtained in the place in which there was a space before. On one side, you need to sew the elastic band from top to bottom, it is needed to close the cover. Sew it at a distance of 2 cm from the edge:
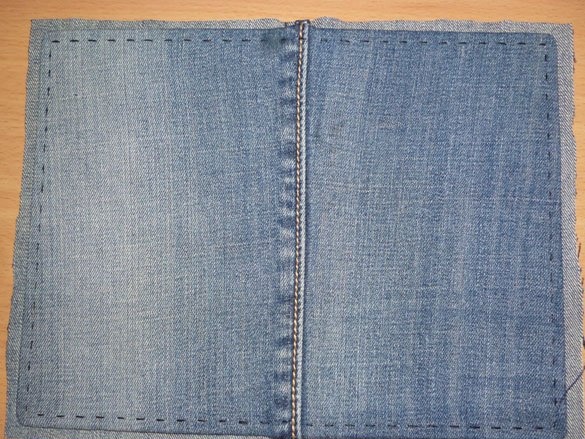
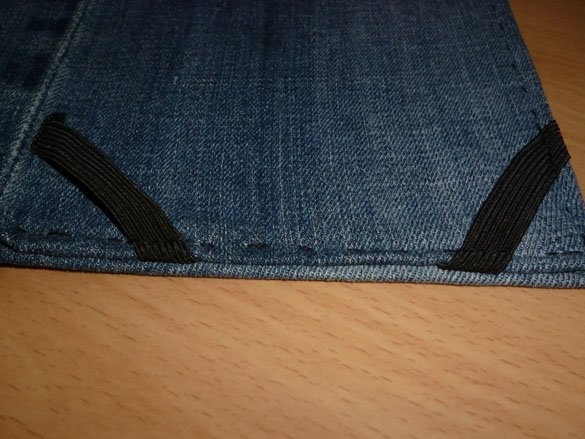
On the other side, we will sew the elastic in the corners to fix the tablet. We retreat 2.5 cm from the edges:
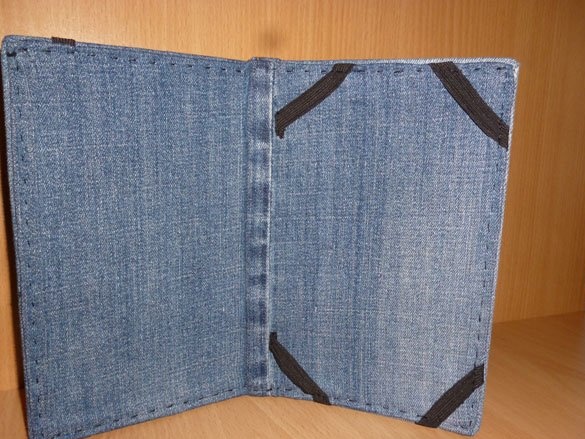
In open form it should turn out like this:
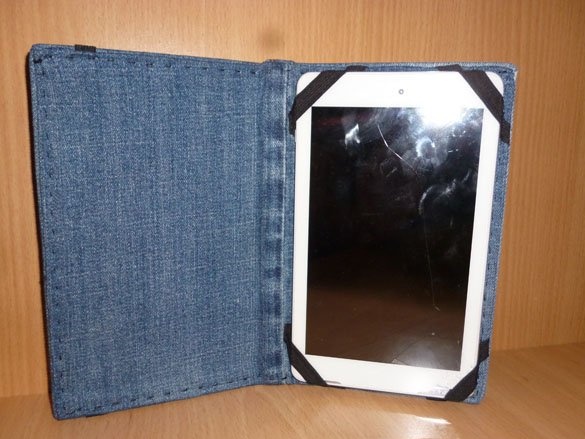
With a tablet inserted:
If desired, you can add a footrest so that you can put a case with a tablet.
Step 3 Decoration.
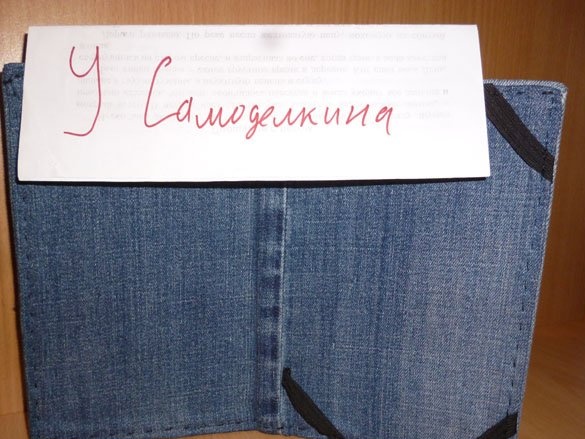
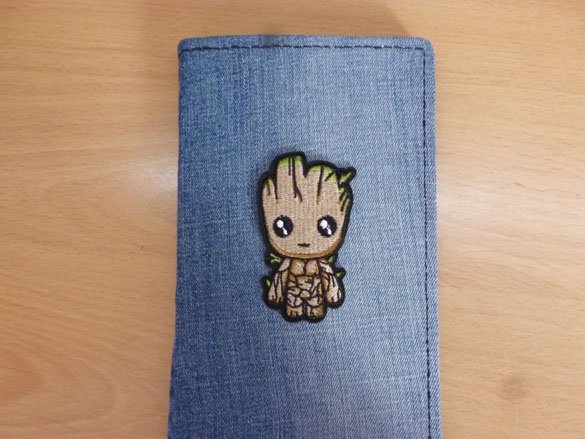
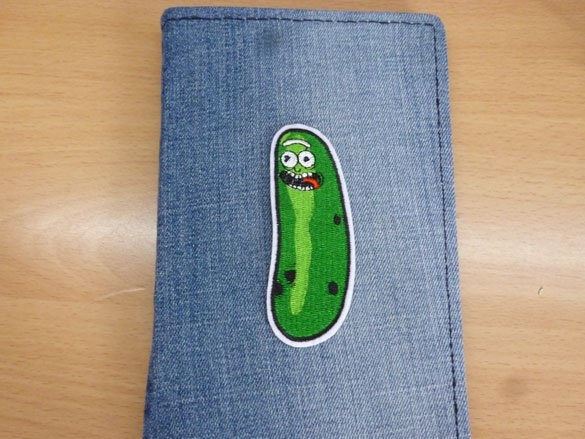
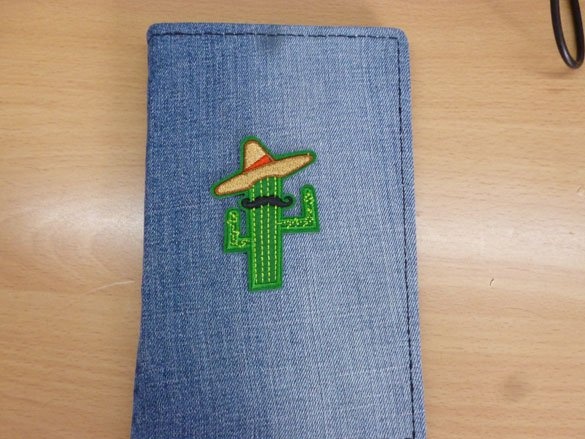
This step is for people with good imagination! You can embroider your name on the front side, or the name of a loved one. Or just a phrase, a slogan, but anything. And also a great option, in my opinion, to use a patch with hot glue. You can buy one at an atelier for repairing and sewing clothes, or at an embroidery store, or order at Aliepress. It will look interesting, and most importantly - unique. There will definitely not be another such cover!
The patch with Groot looks nice:
A funny cucumber is clearly to please children:
What about a cactus:
In general and in general there is a wide field for imagination.
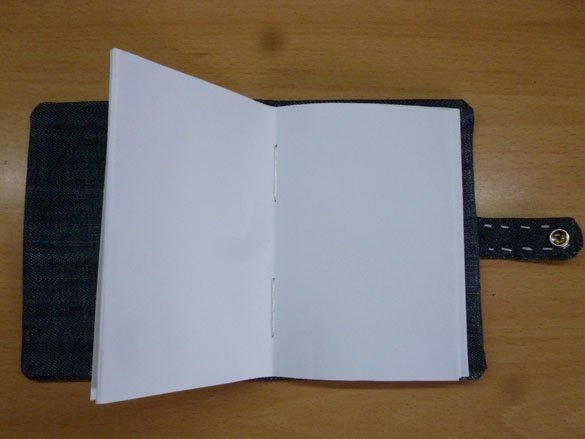
I made myself a notebook on the same principle.
It turned out convenient and original.
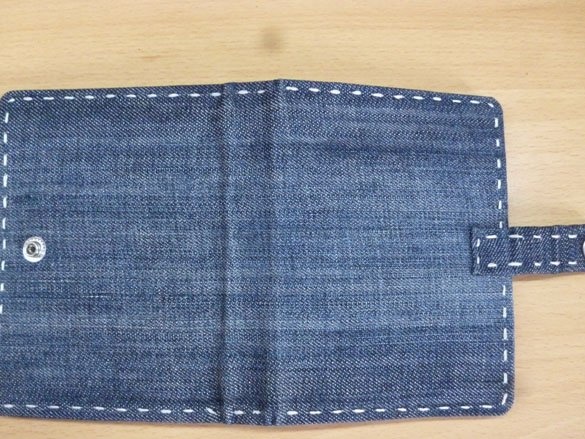
She made sheets for her from A4 sheets cut into four parts:
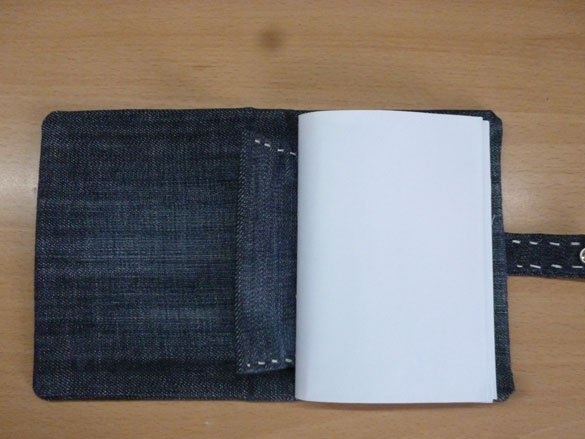
And another photo inside:
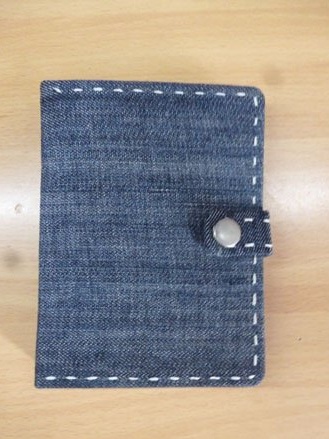
But for the note, I added a clasp, instead of an elastic band:
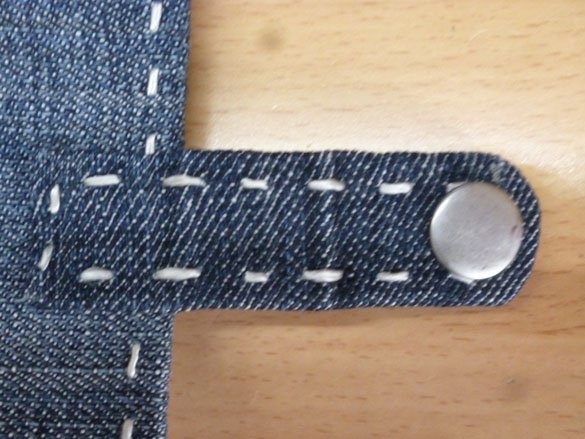
The same clasp can be made on the case for the tablet, this is how you like it more:
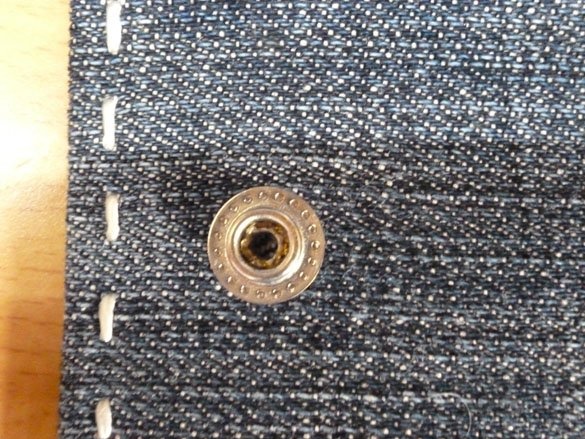
It is possible to rivet such a fastener without a special tool, using a hammer and a pin suitable for diameter or a blunt nail.