Hello fans to craft, today we will consider how to make a gas horn from a cylinder. In such a furnace, you can easily melt aluminum, as well as heat steel for hardening. The stove is going to be installed quite simply, it runs on gas and consumes quite a bit of gas. The body is made of a cylinder in which there was freon. The insulation is made of gypsum and sand, and the legs are made of shaped pipes. The furnace can be installed in two positions, one position for melting metals, and the other for use as a forge. If you are interested in the project, I propose to study it in more detail!
Materials and tools used by the author:
Material List:
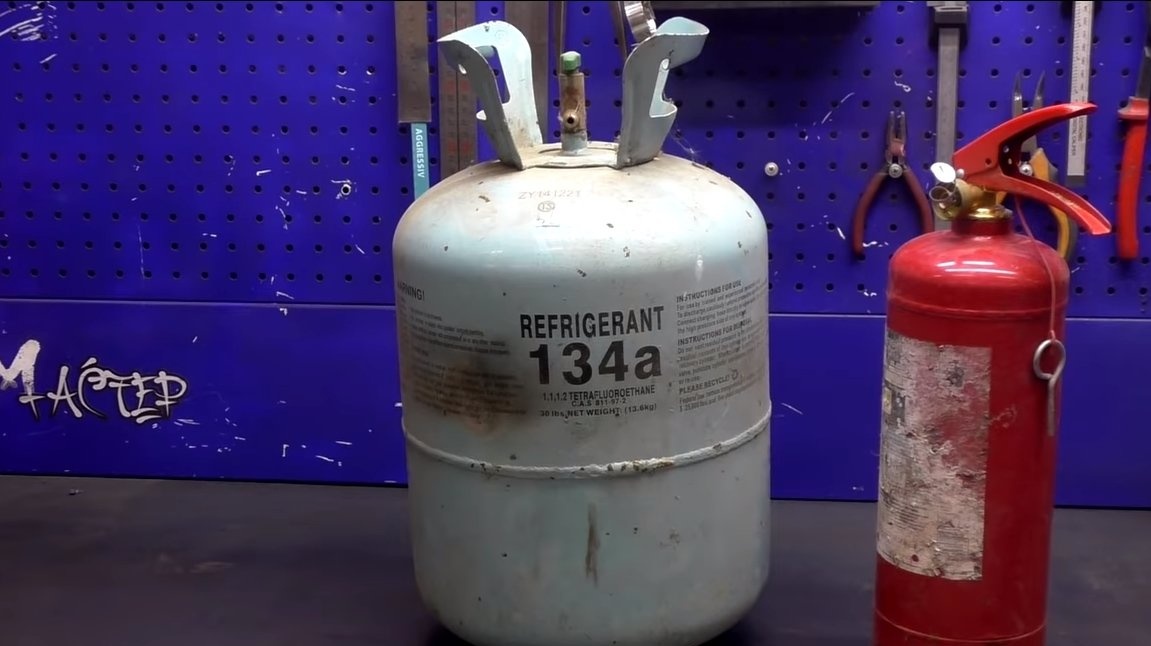
- a cylinder from under freon;
- profile pipes;
- bolts and nuts;
- iron bar;
- an empty fire extinguisher for a crucible;
- round timber for turning;
- sheet metal;
- gypsum and sand;
- heat resistant paint.
Tool List:
- grinder;
- welding machine;
- drill;
- a lathe (optional).
Furnace manufacturing process:
Step one. We work with a cylinder
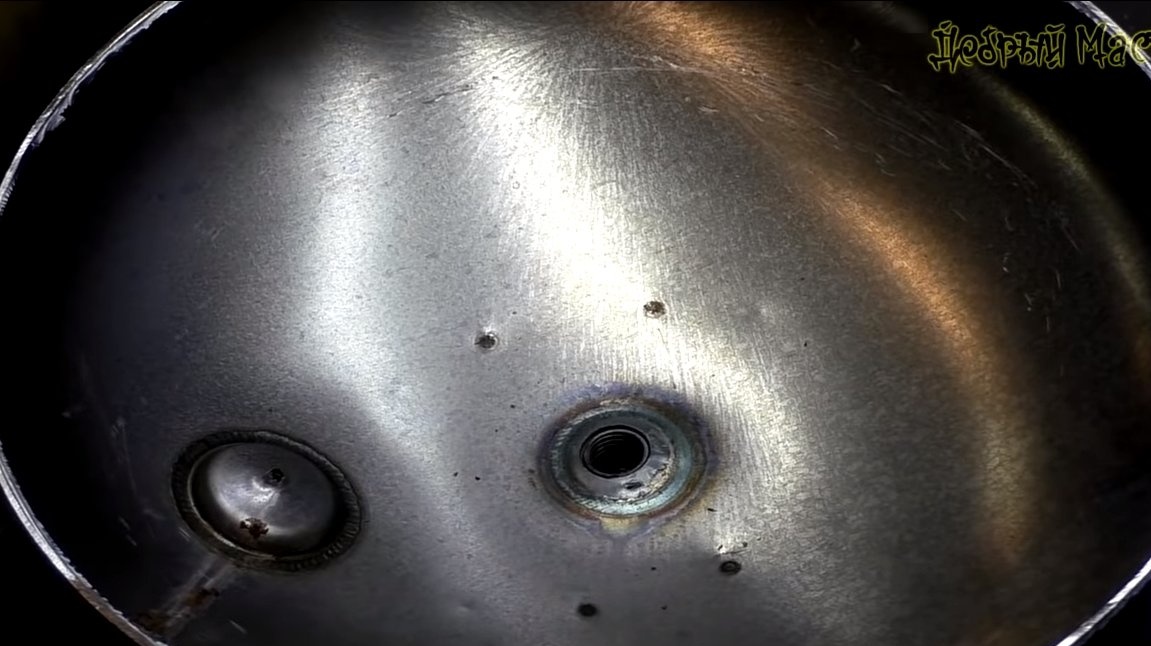
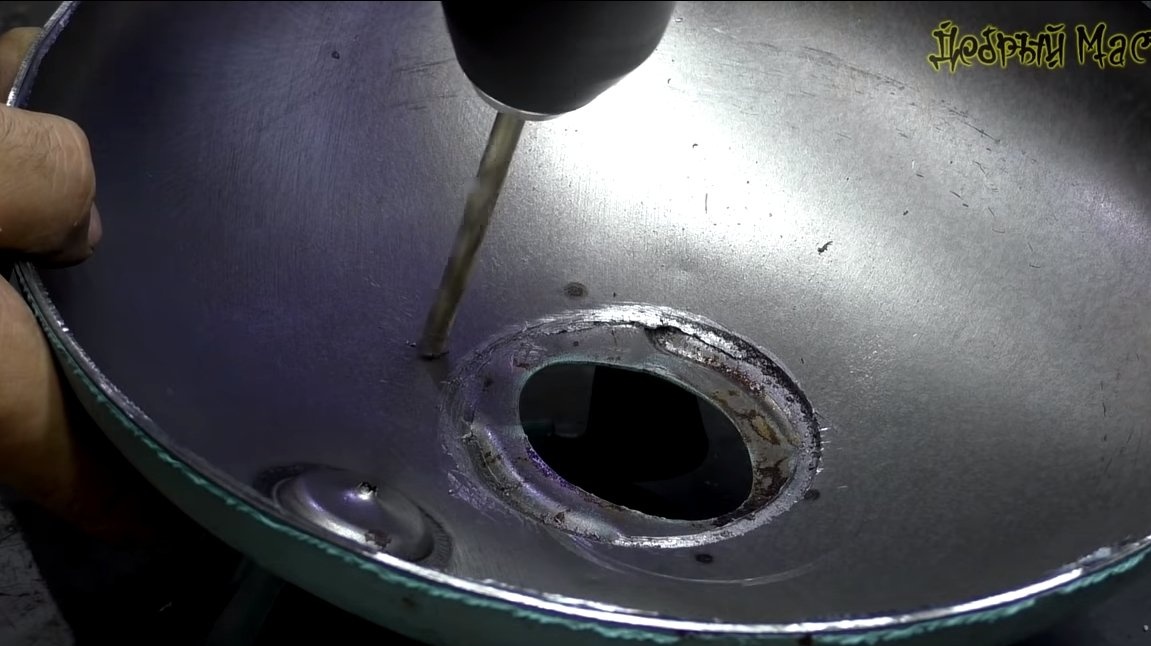
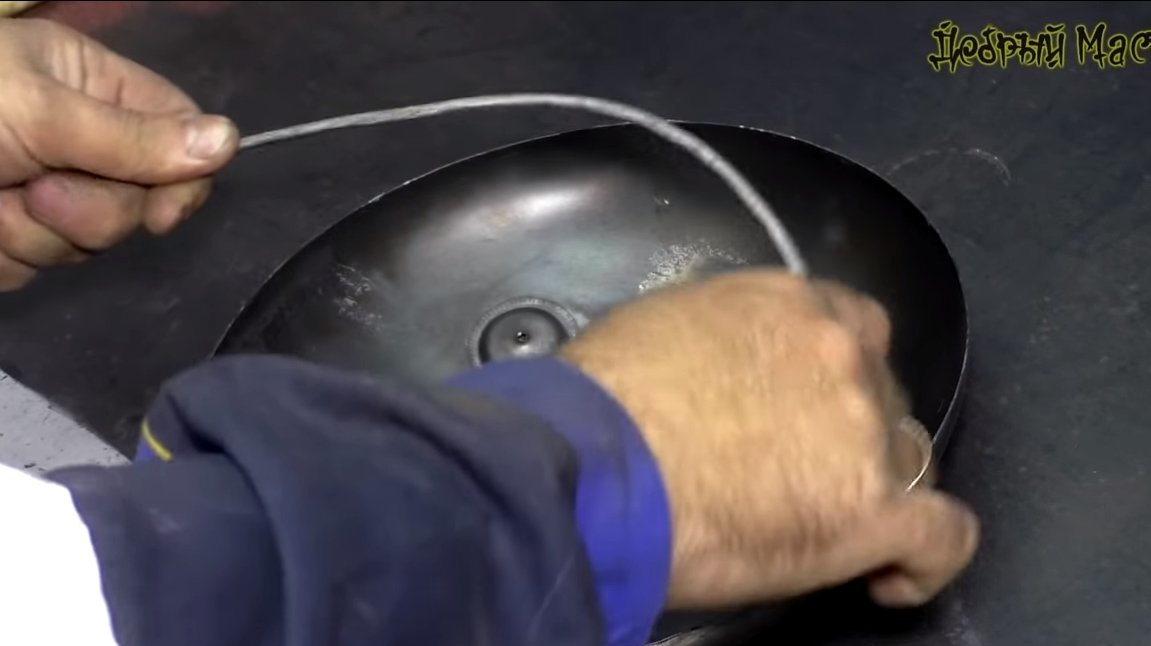
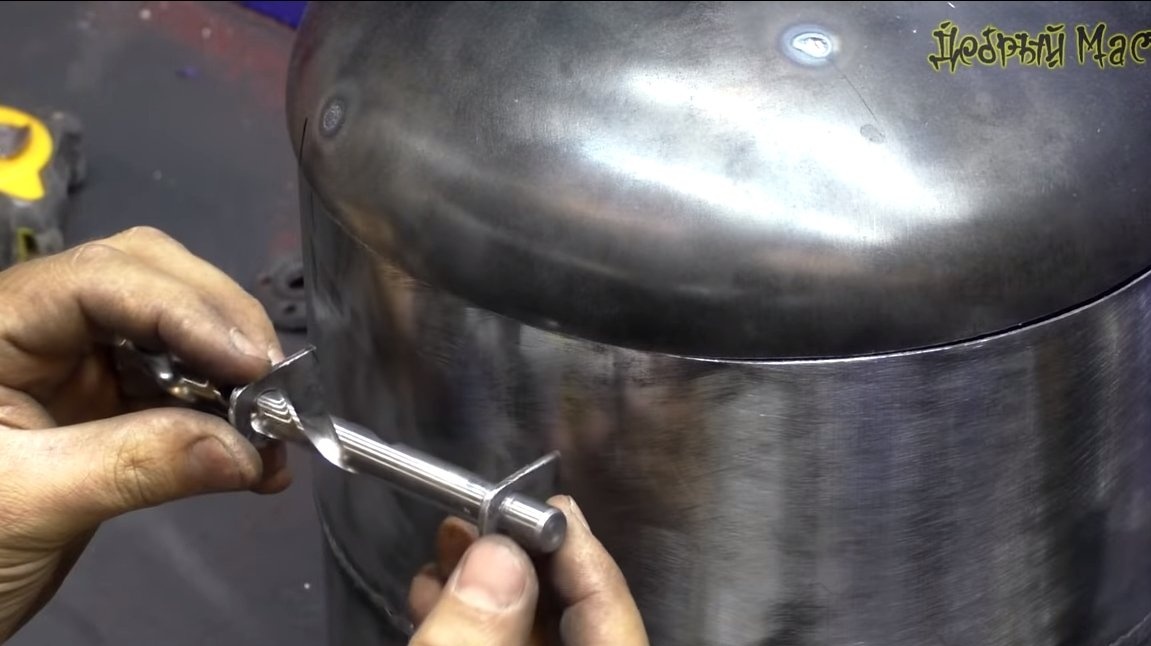
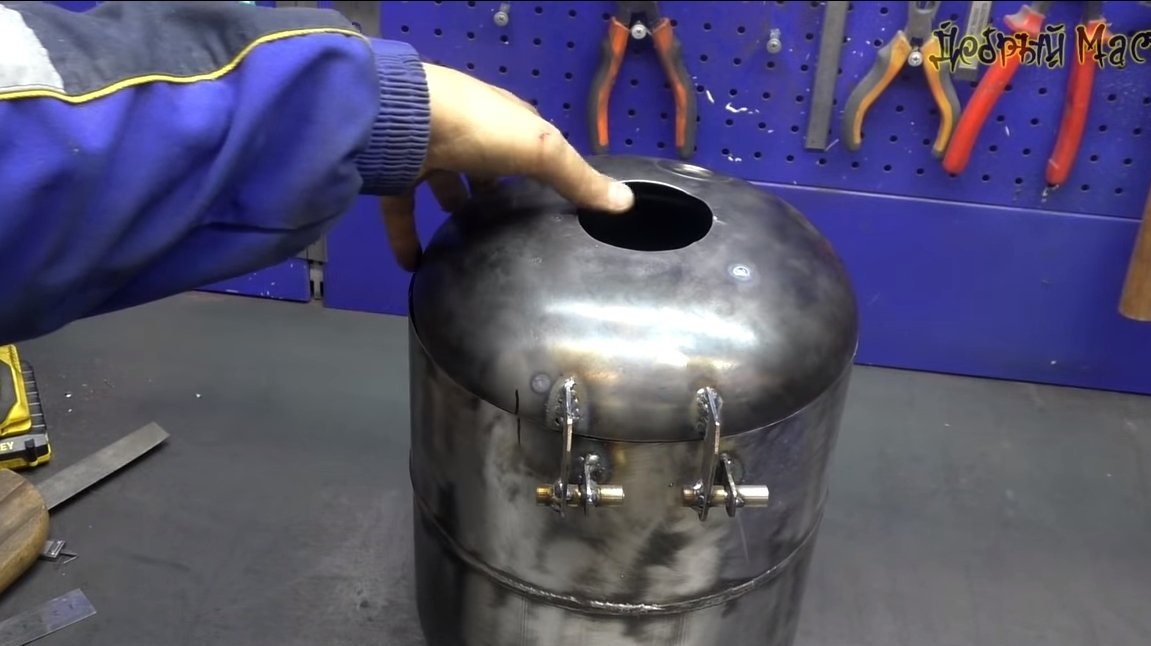
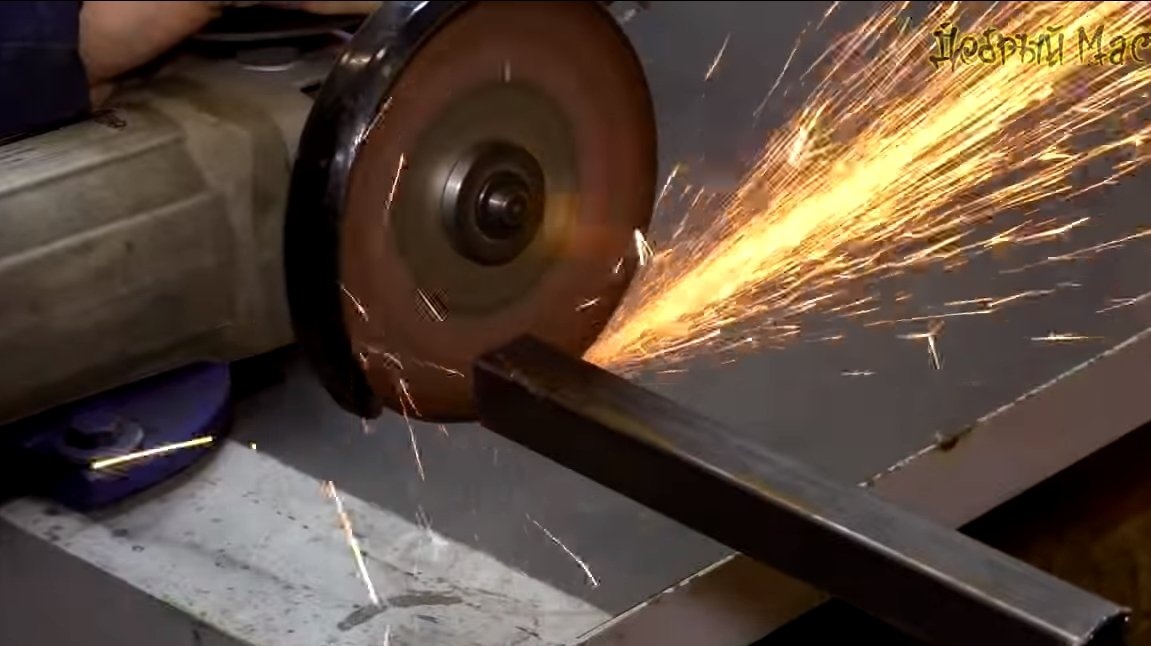
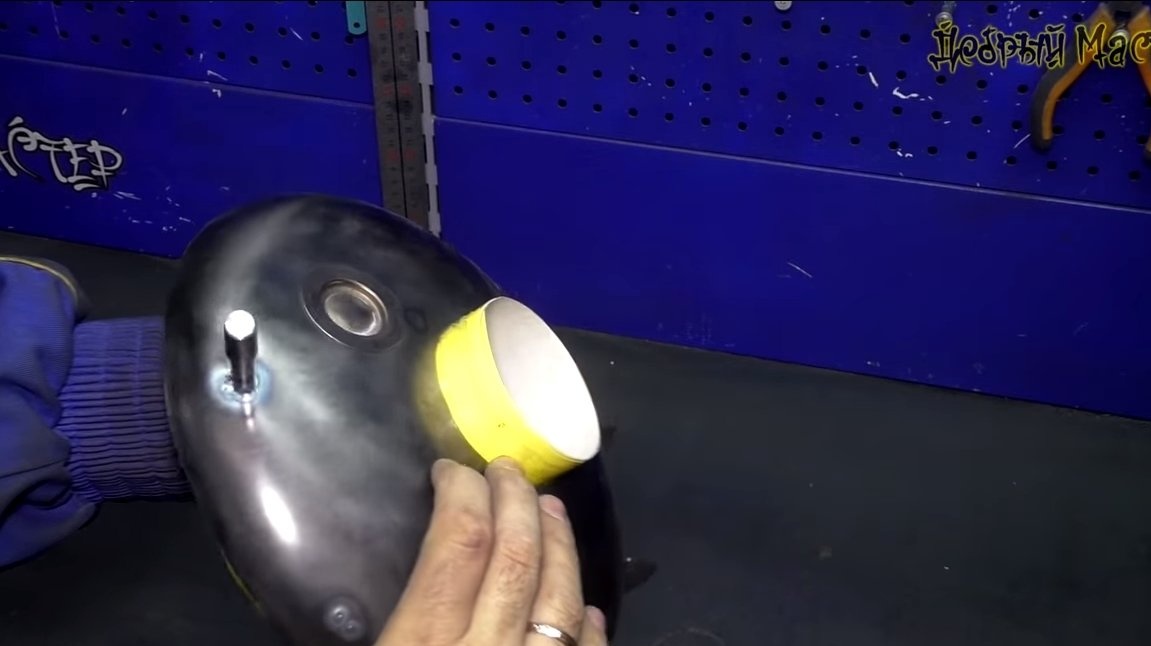
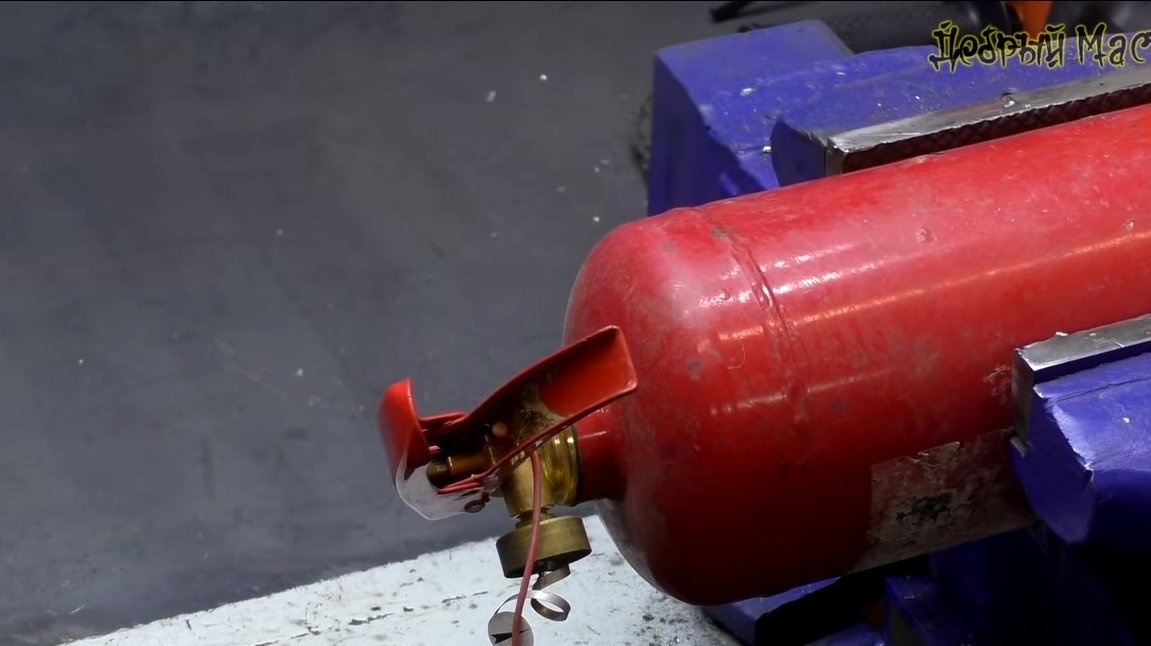
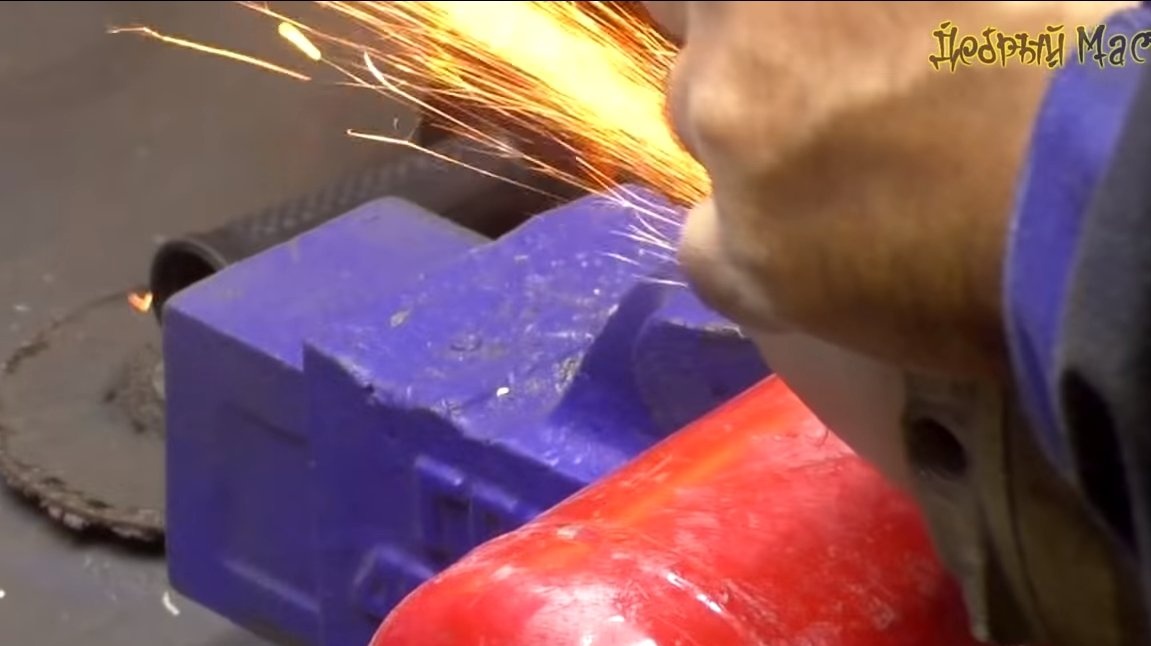
First of all, we need to cut the cylinder, and we must be extremely careful, as some gases used as a refrigerant can easily ignite. If you do not want the cylinder to explode, it is best to fill it with water before cutting. From the cylinder we need to cut off the upper part, we don’t need to throw it away, it will be a cover. Under the filler neck in the lid, we drill a hole with a crown. As for the handle, that it can be removed by drilling the weld points.

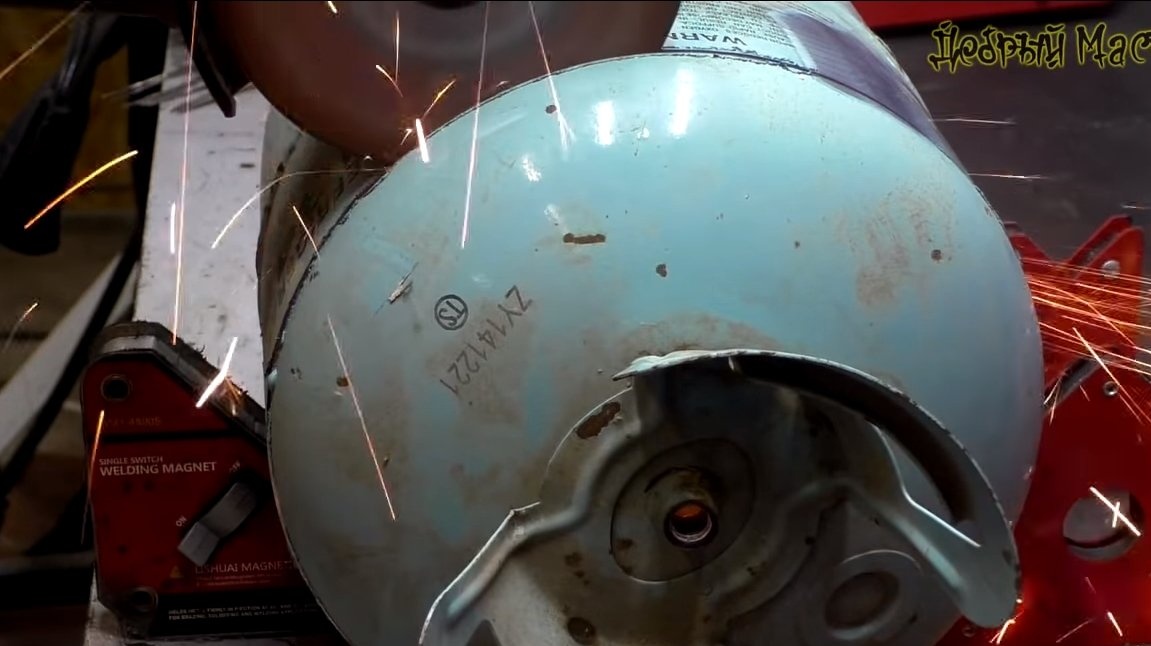


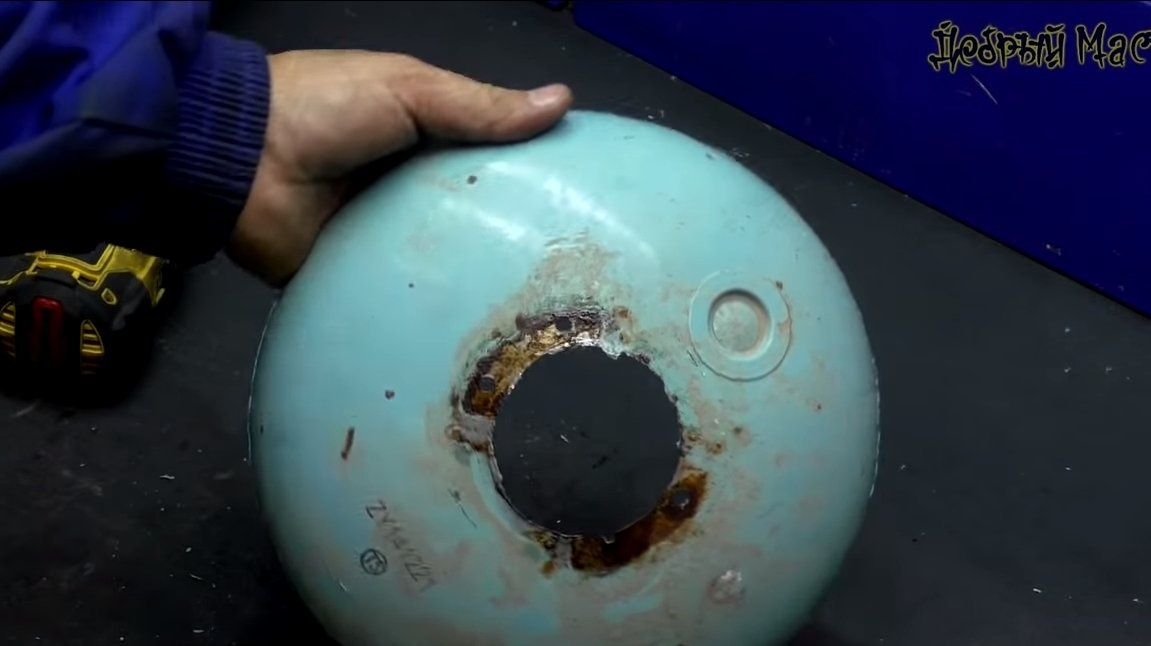
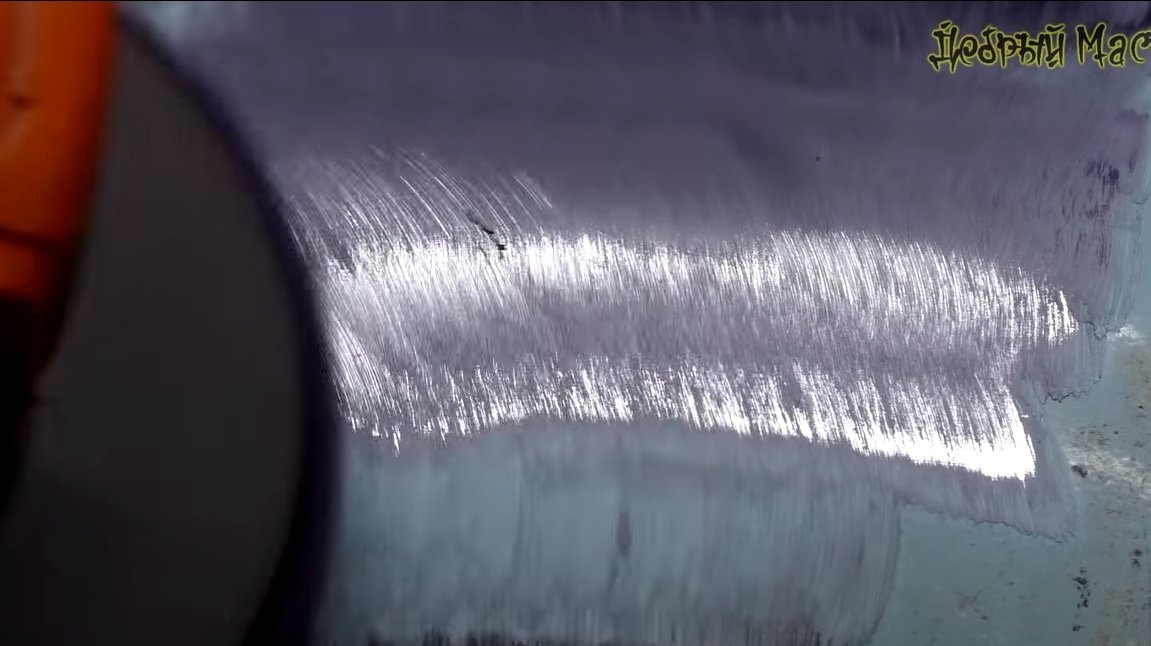
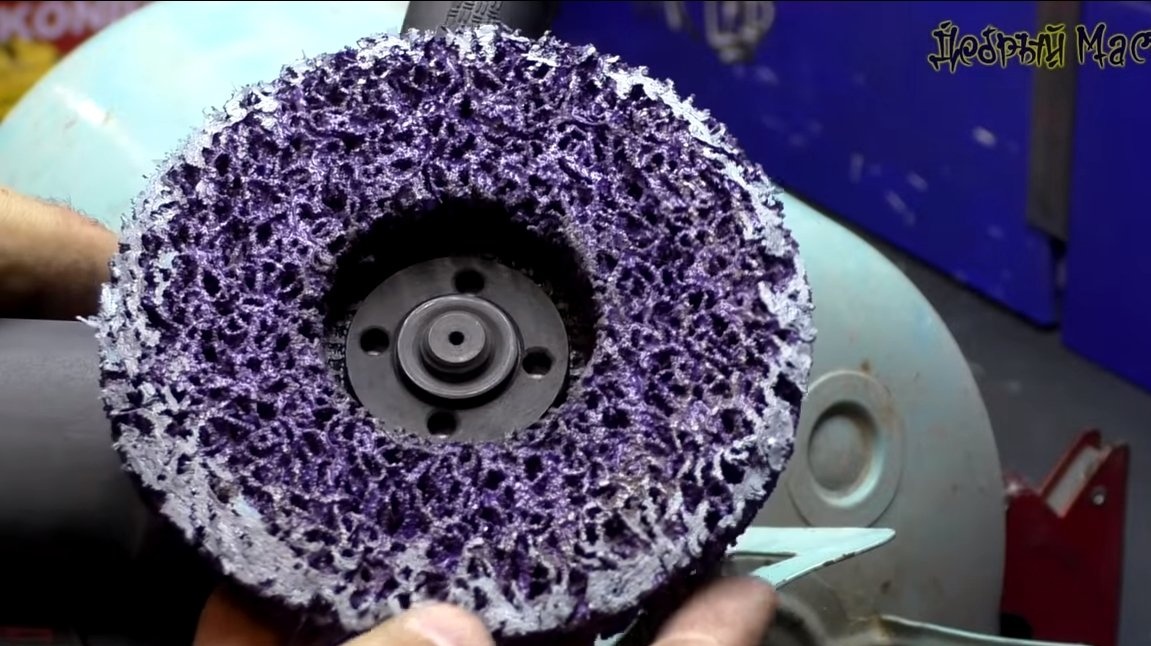
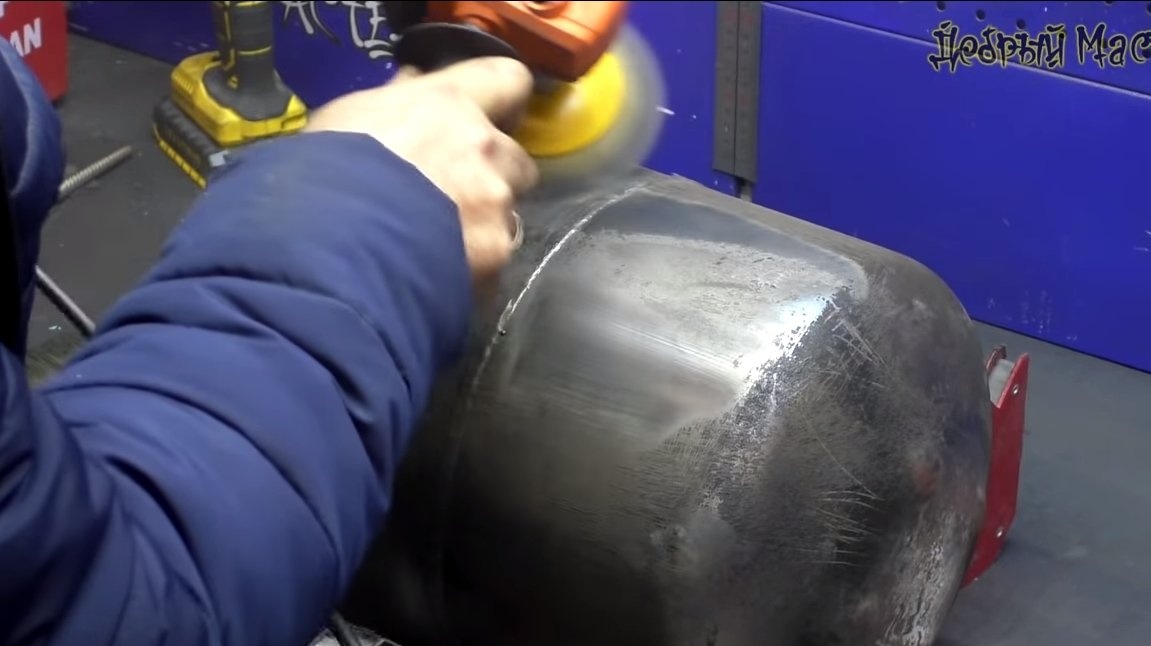
Next, you need to remove all the paint from the cylinder, since it will burn during operation of the furnace. The author tried to remove the paint with a grinder with a special nozzle, but nothing worked, the paint burned and stuck to the disk. The way out of the situation was firing the balloon at the stake, as a result, the paint was removed with a wire brush. Well, in the end, the author went through the bottle with a grinder with a brush nozzle.
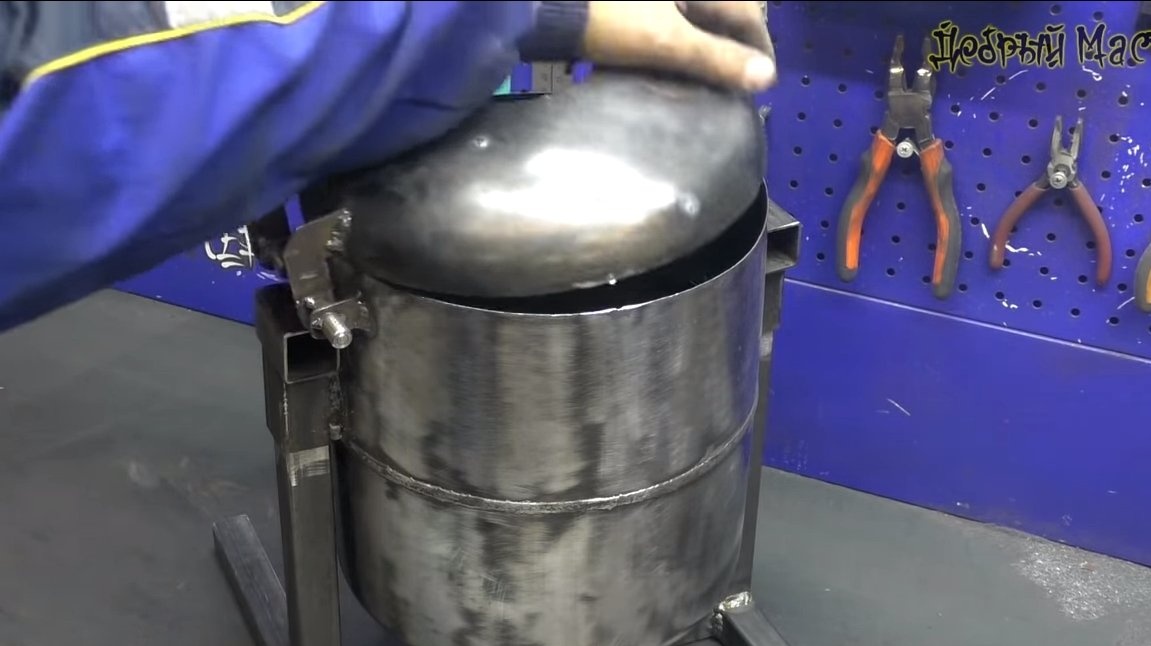
Step Two Refinement and installation of the cover
The lid needs to be modified, namely, it is necessary to weld a “skeleton" inside the lid, which will not allow the insulator to fall out. We weld the desired design from thick wire or rods.
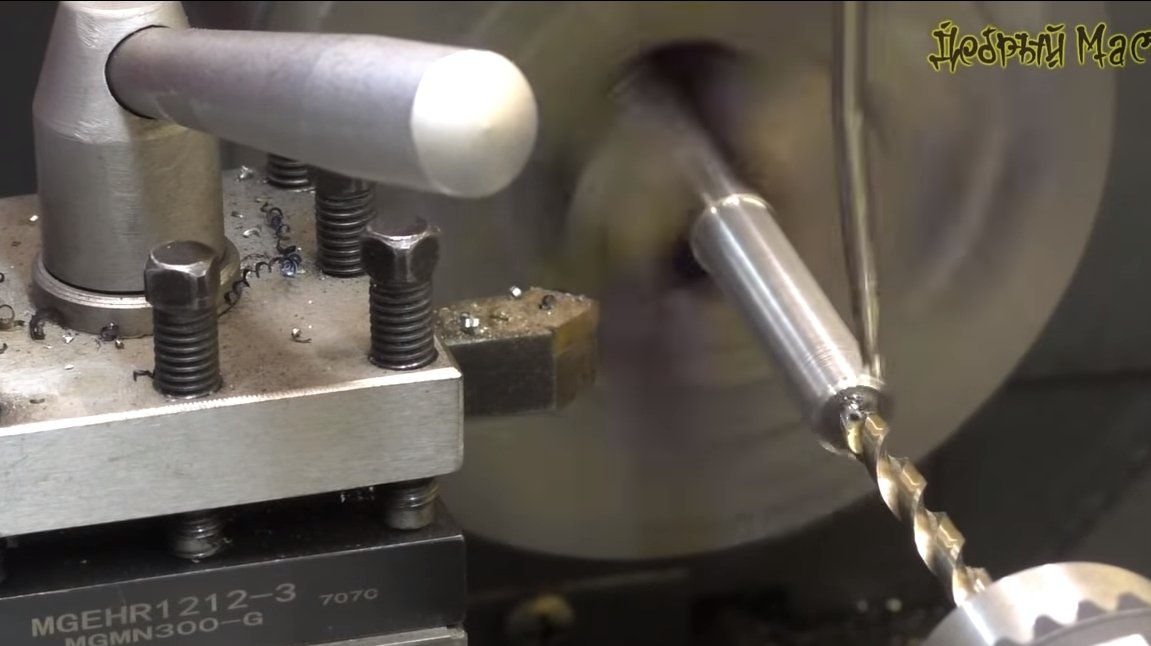
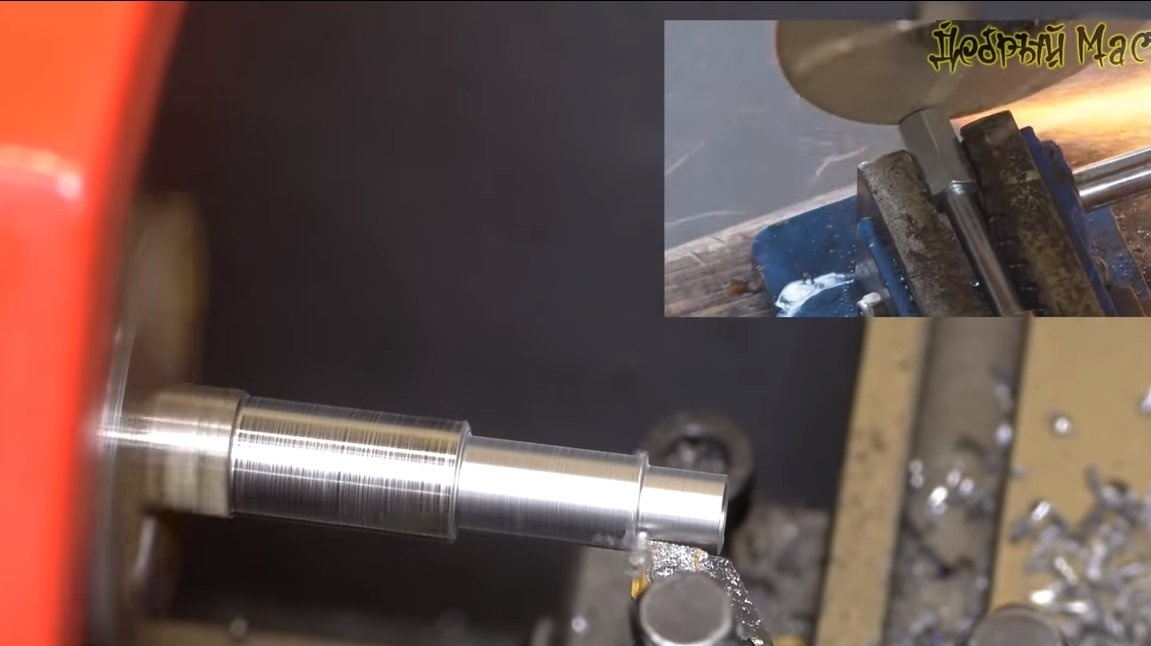
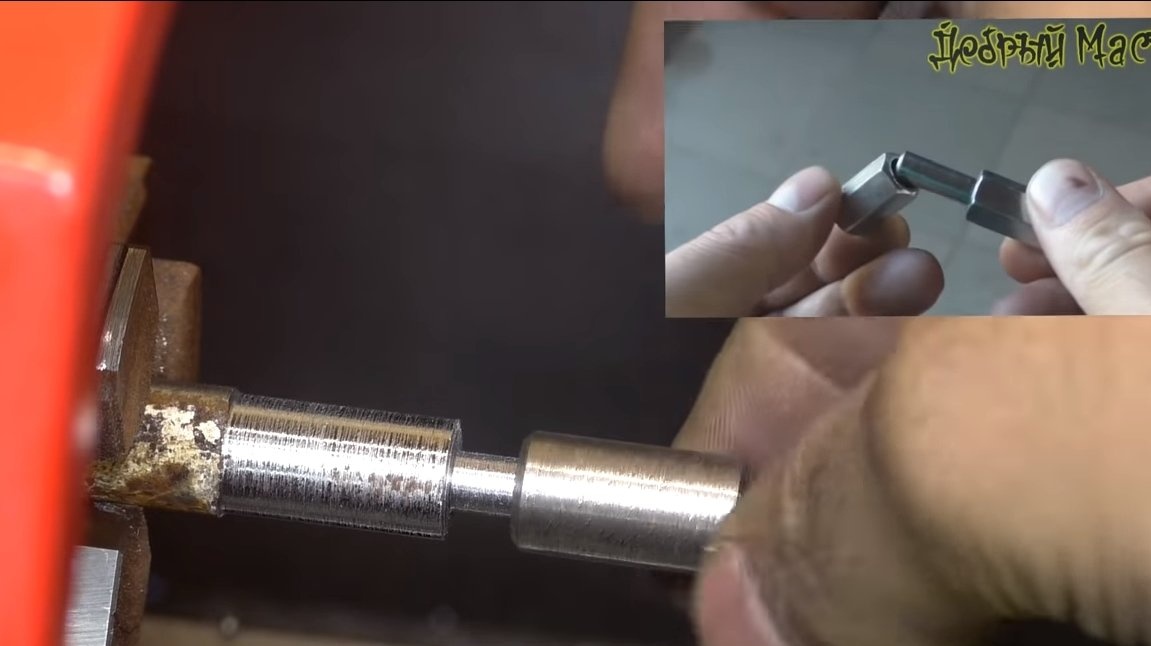
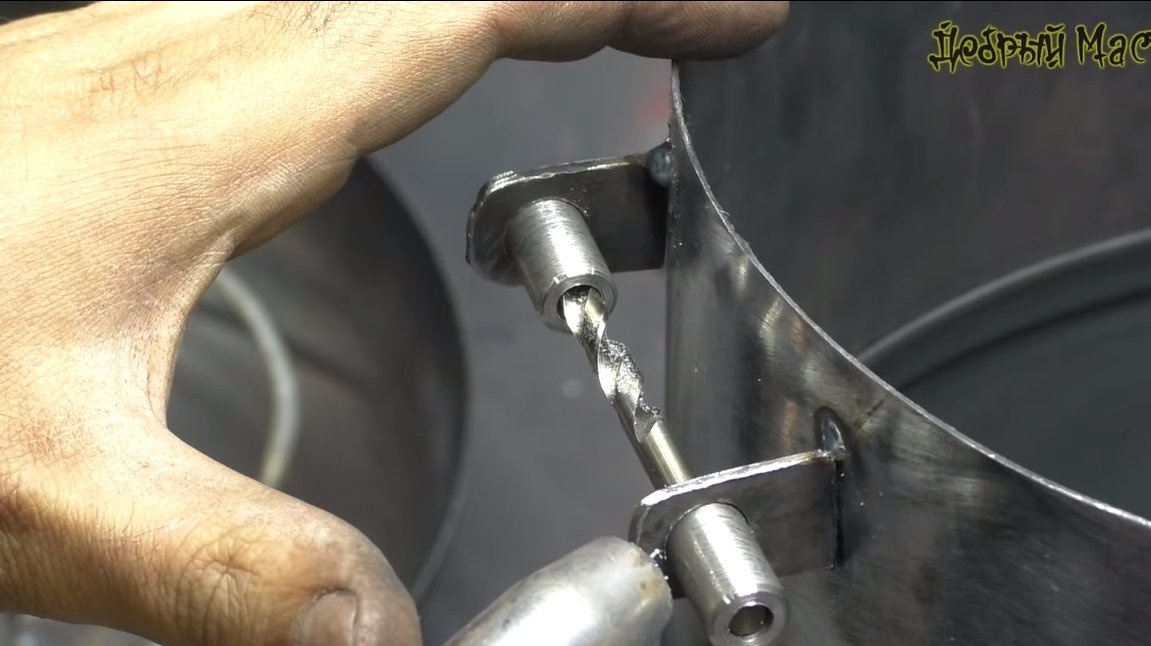
Now we need to install the lid on the stove, we need hinges. Since the author had a lathe, he decided to turn the hinges from scratch. If there is no such machine, nuts with bolts are perfect as loops.
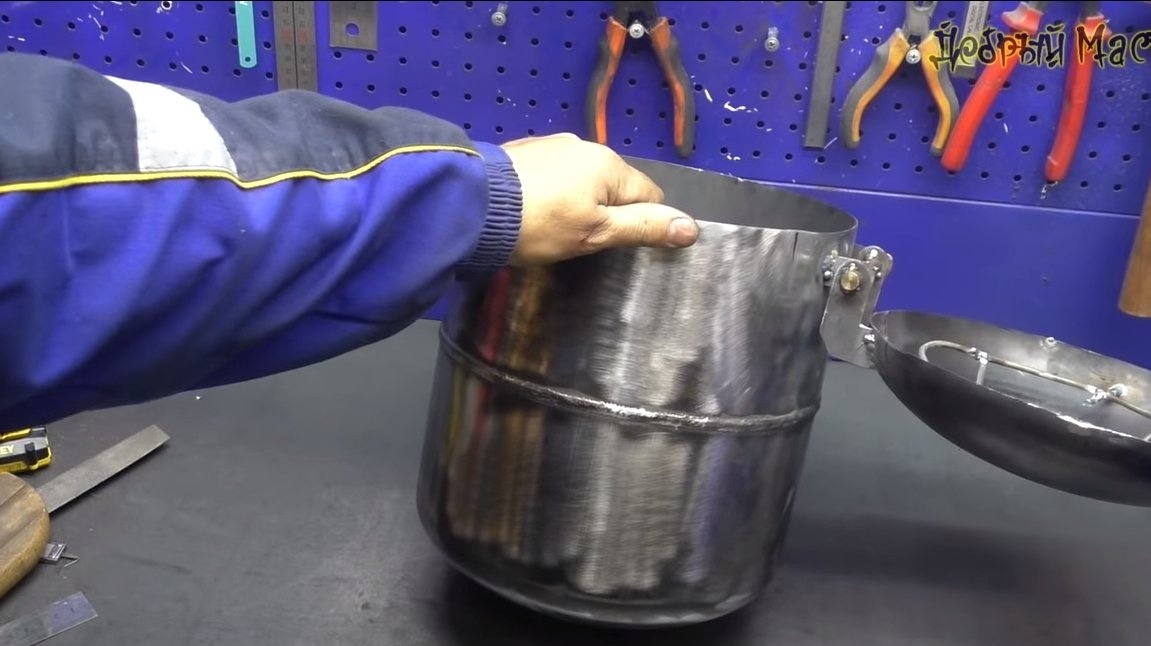
We place the hinges through iron brackets, thanks to this design, the lid abuts against the furnace body and it does not need to be additionally fixed.
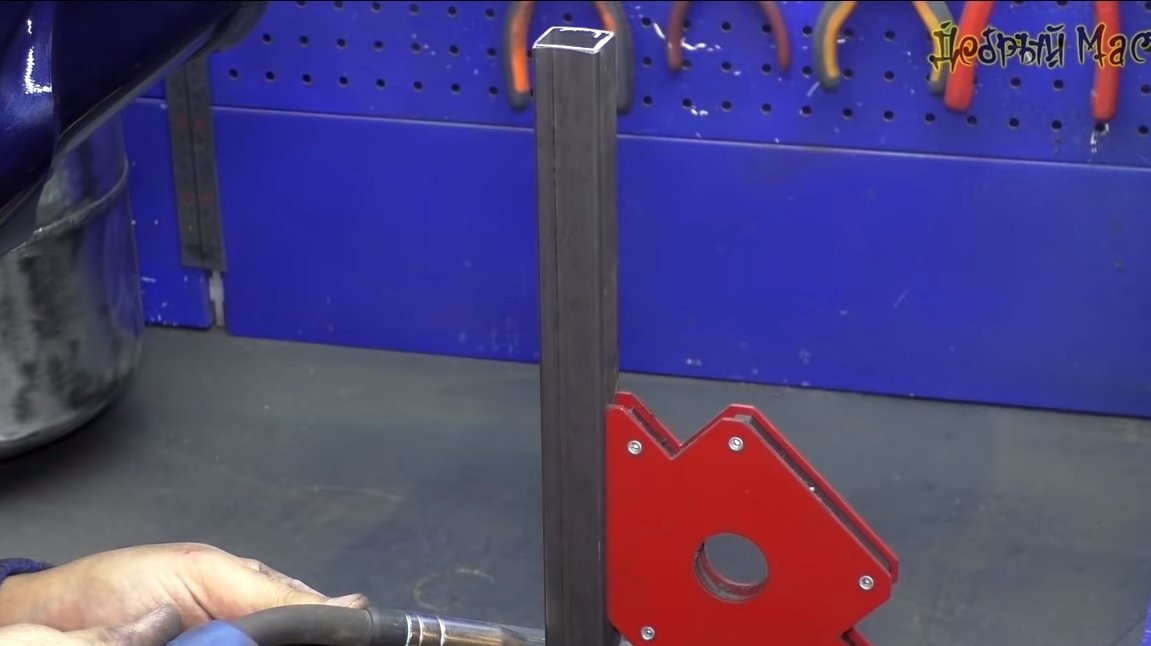
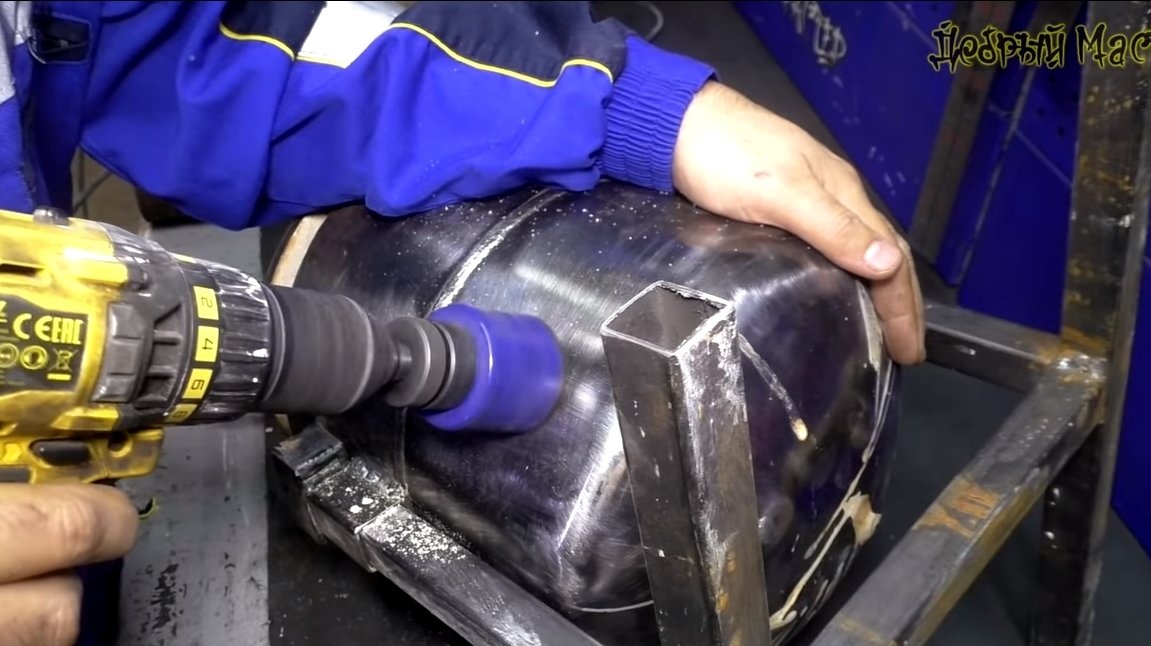
Step Three Legs
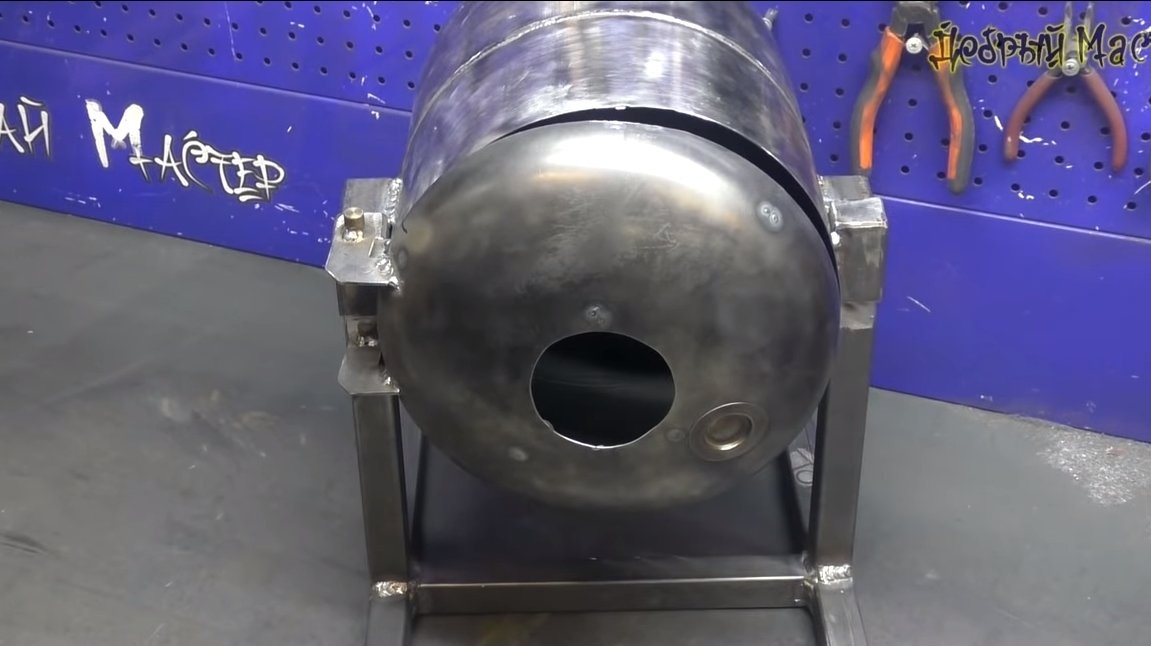
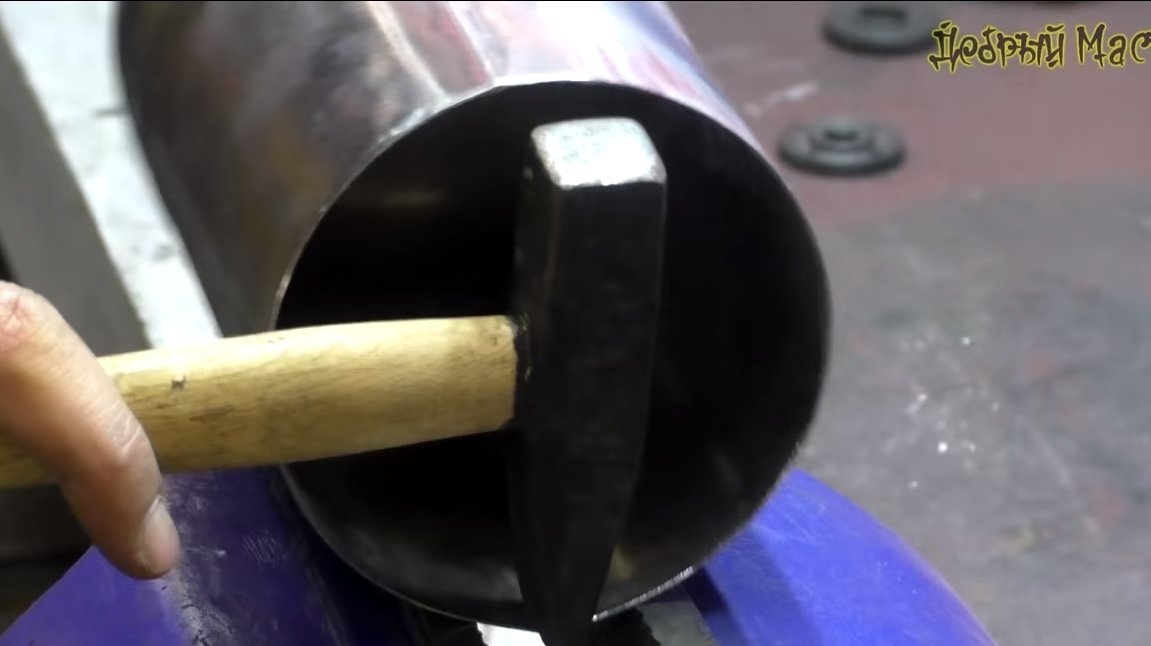
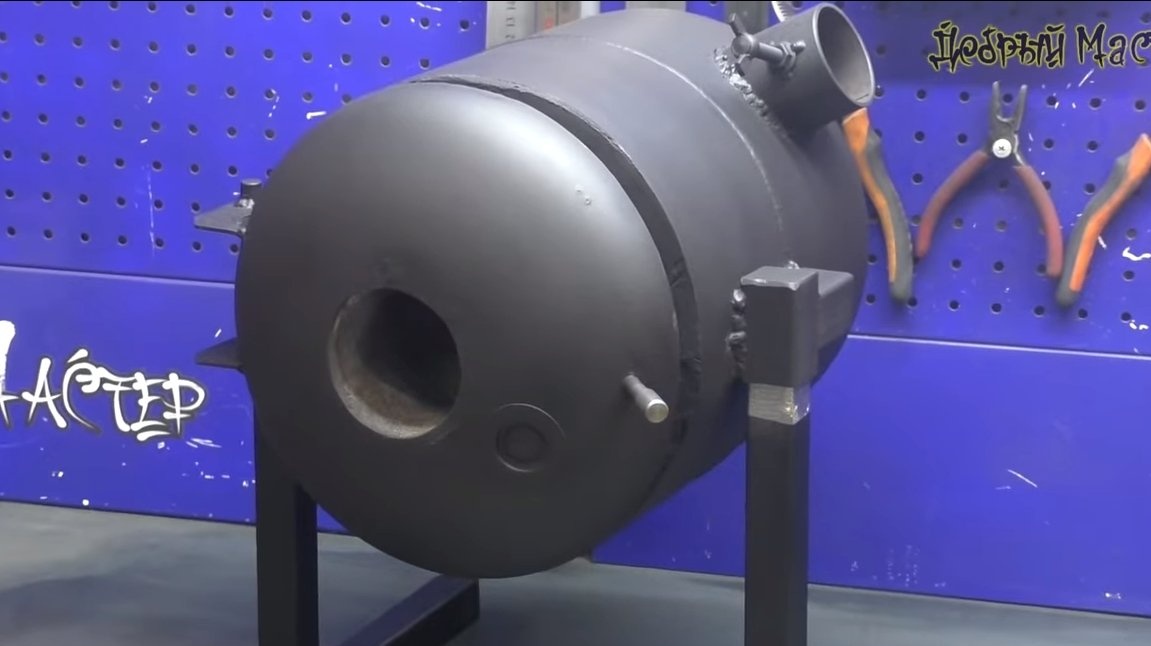
We make legs for the stove, the stove must be stable, this is vital. The author has welded a simple and reliable design of profile pipes. Pieces of pipes of a slightly larger diameter are welded to the furnace body, which work as clamps that are worn on the legs. As a result, the furnace can be installed horizontally and vertically.
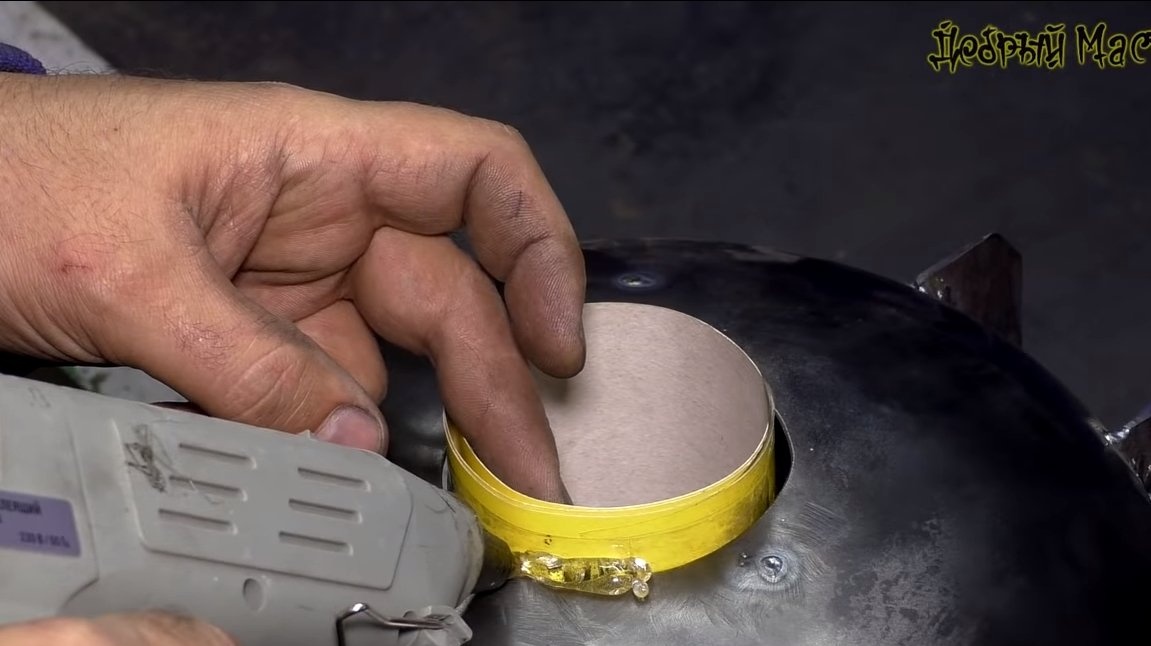
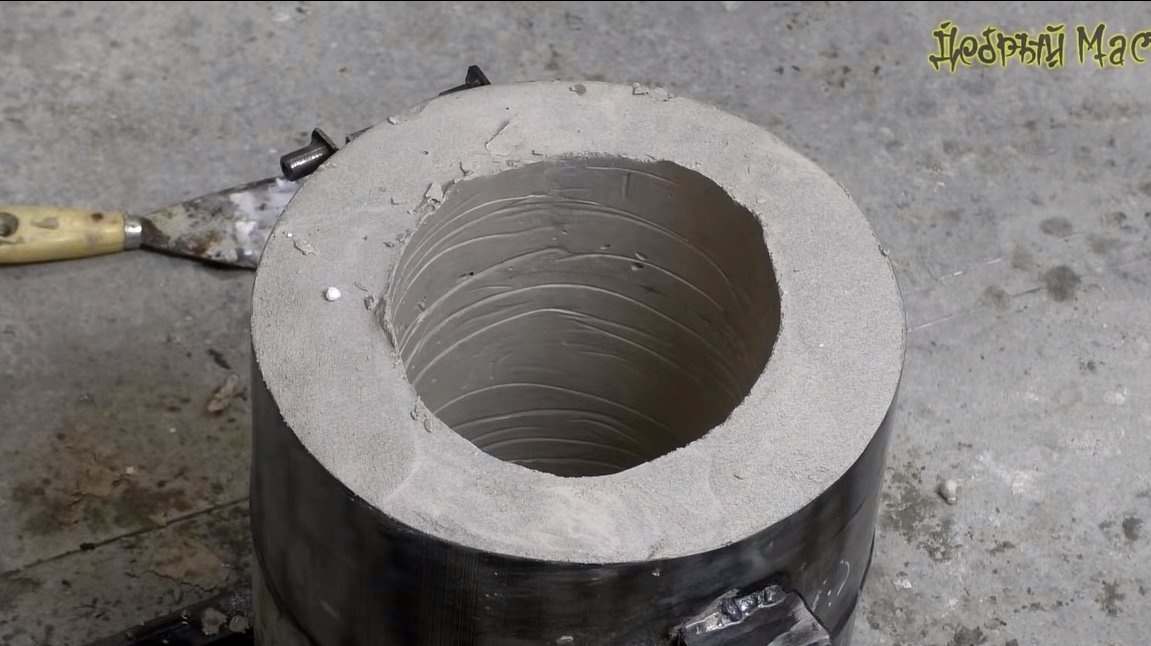
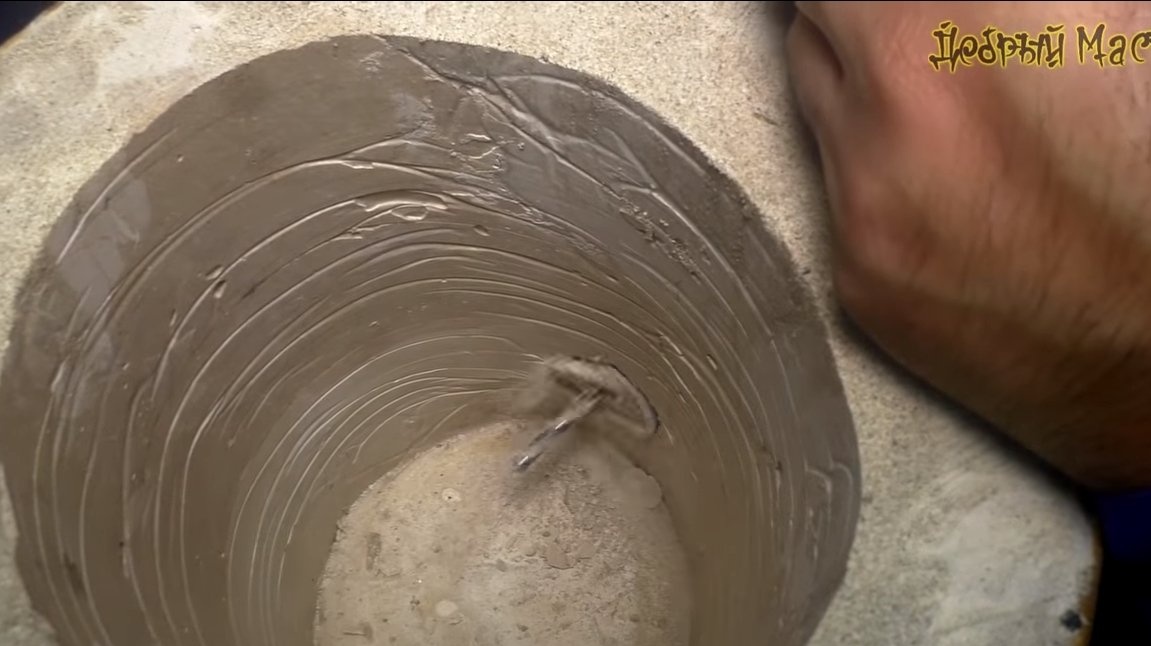
Step Four Pouring
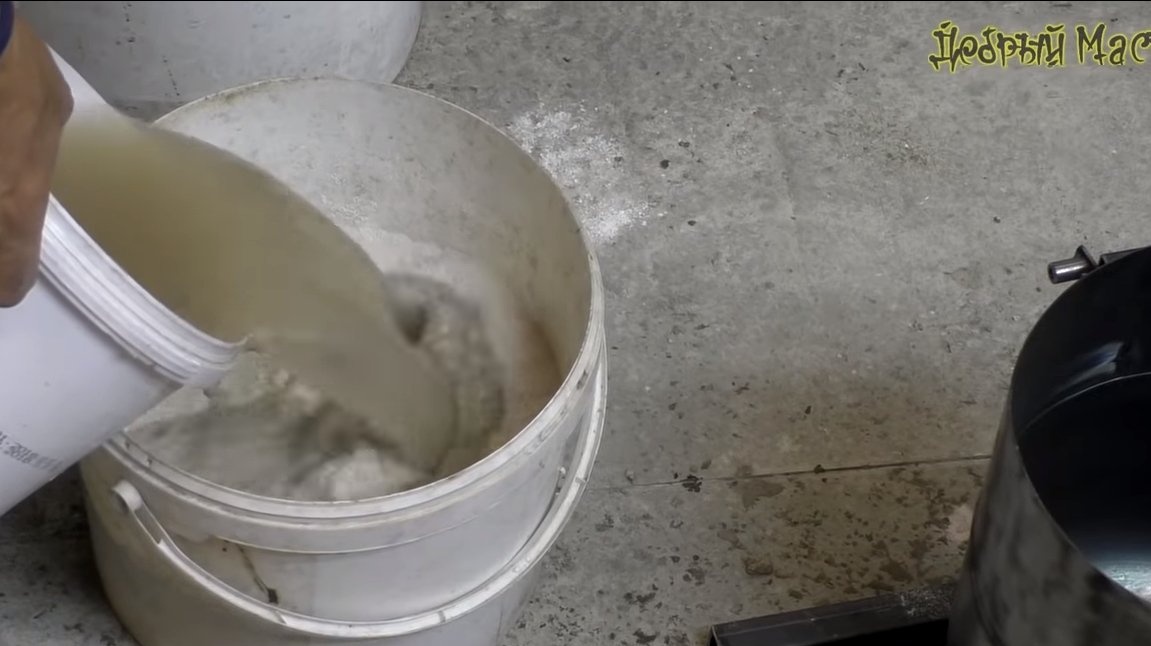
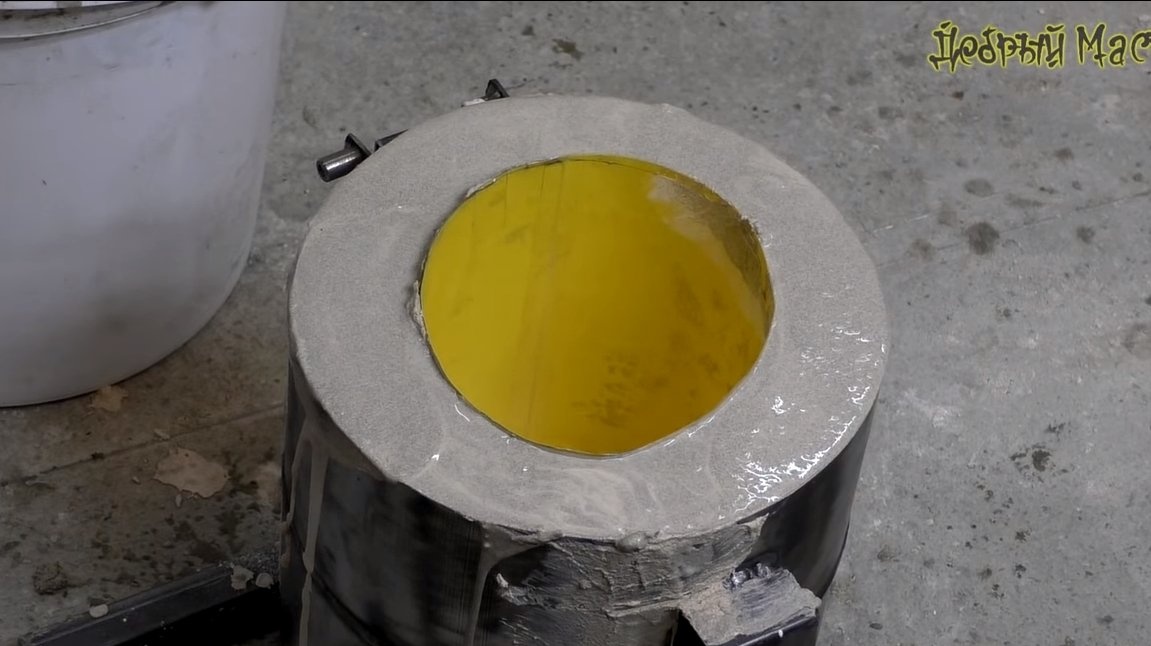
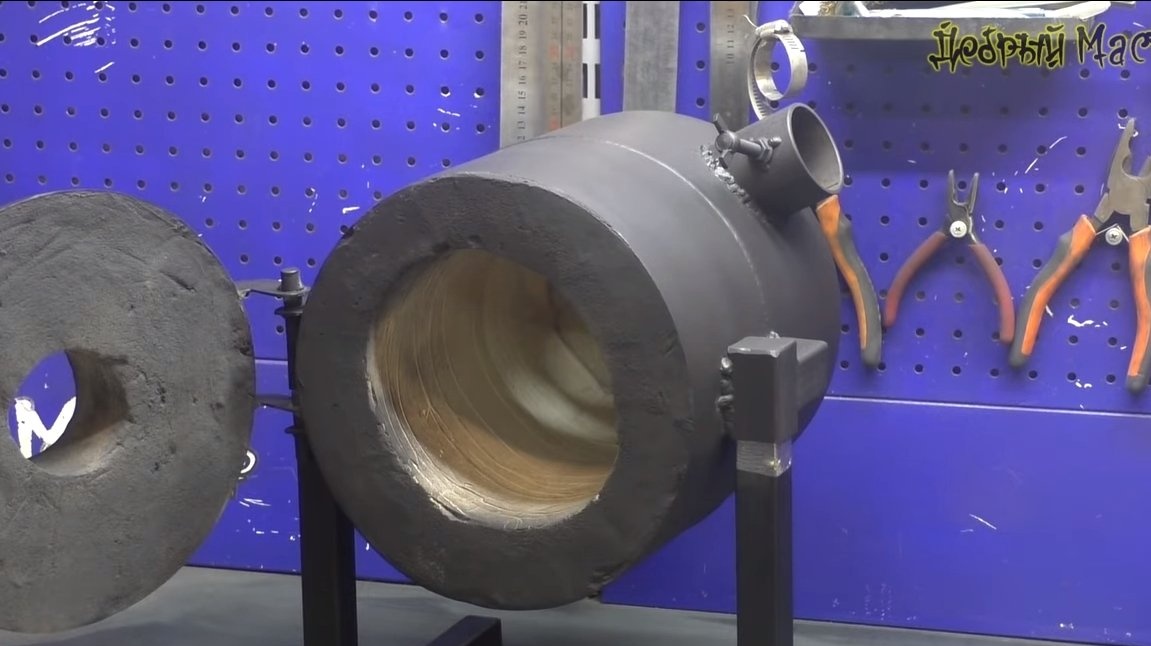
Next, you can fill the insulator, as the formwork, the author used paper and foam. To prevent the solution from leaking through the gap in the lid, we seal the slots with a glue gun. The author used gypsum with sand as an insulating solution, it is affordable and cheap. Of course, professionals recommend using special heat-resistant solutions for such purposes. Gypsum sets quickly enough, after which the formwork can be pulled out. Now leave the gypsum to dry for at least a week.

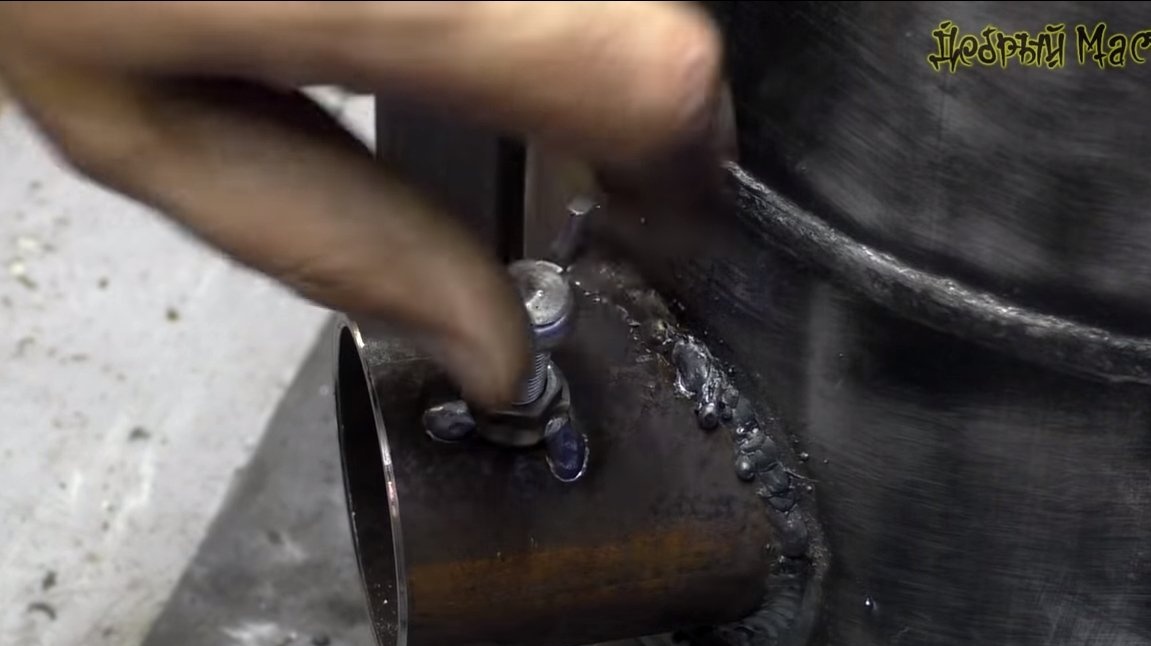
Step Five Burner fasteners
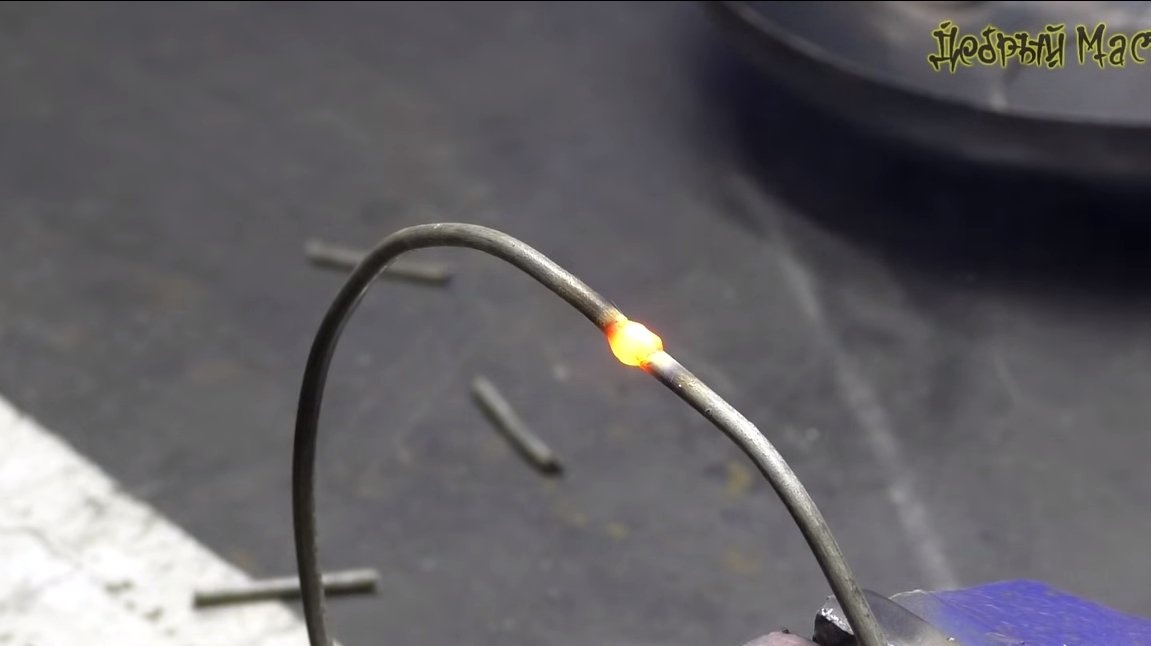
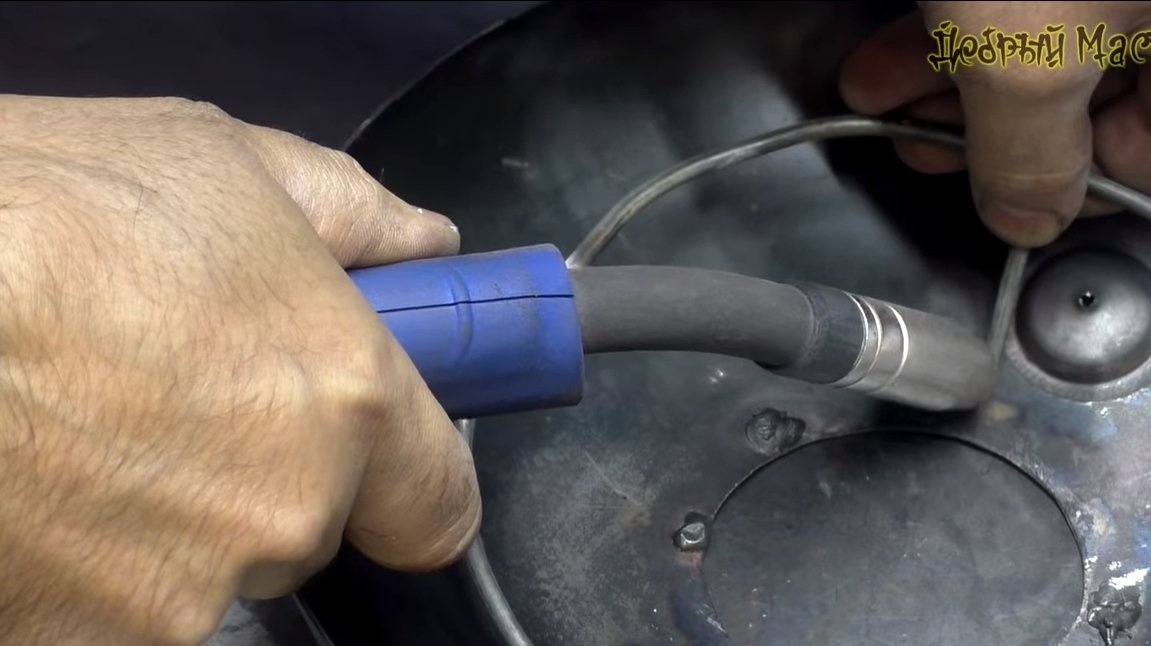
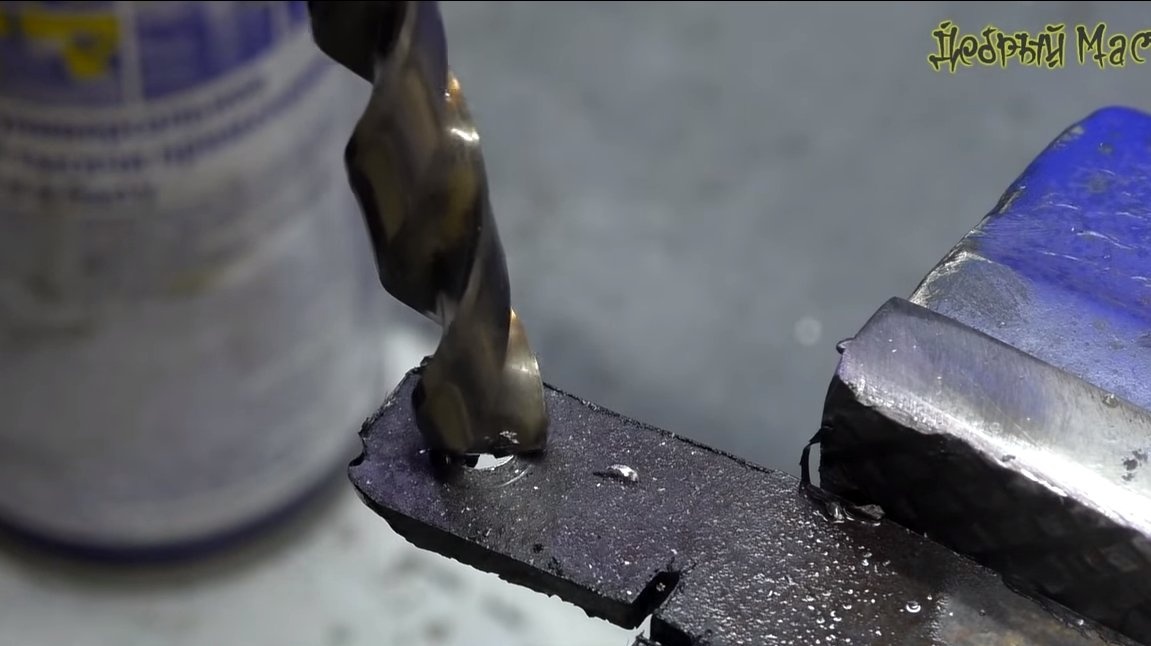
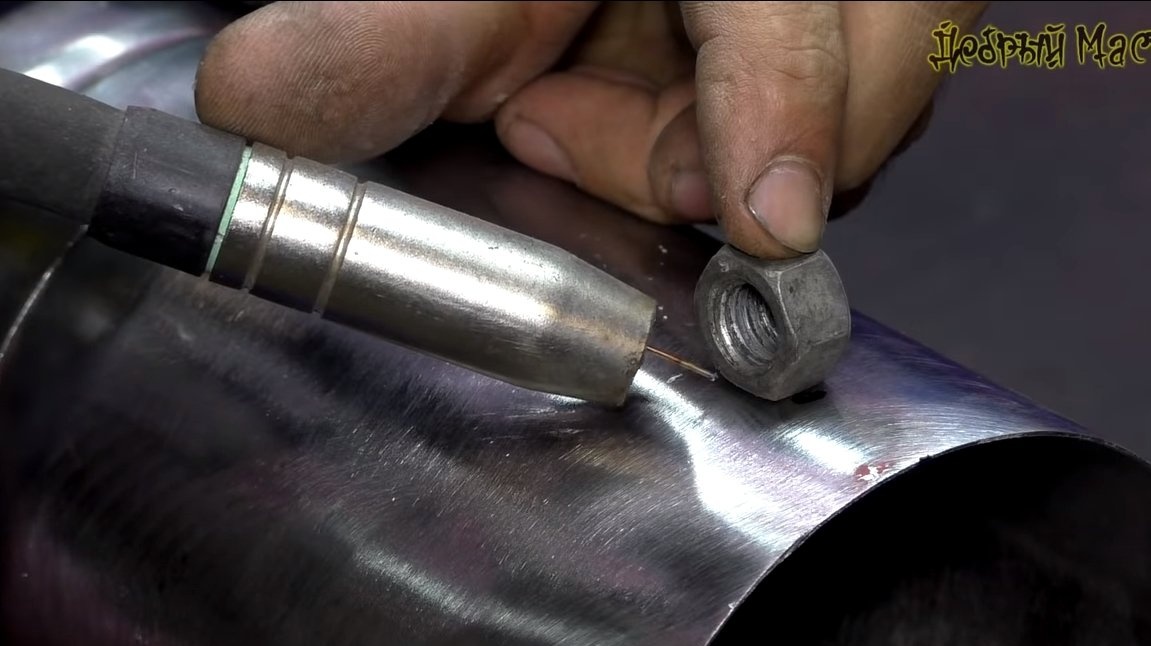
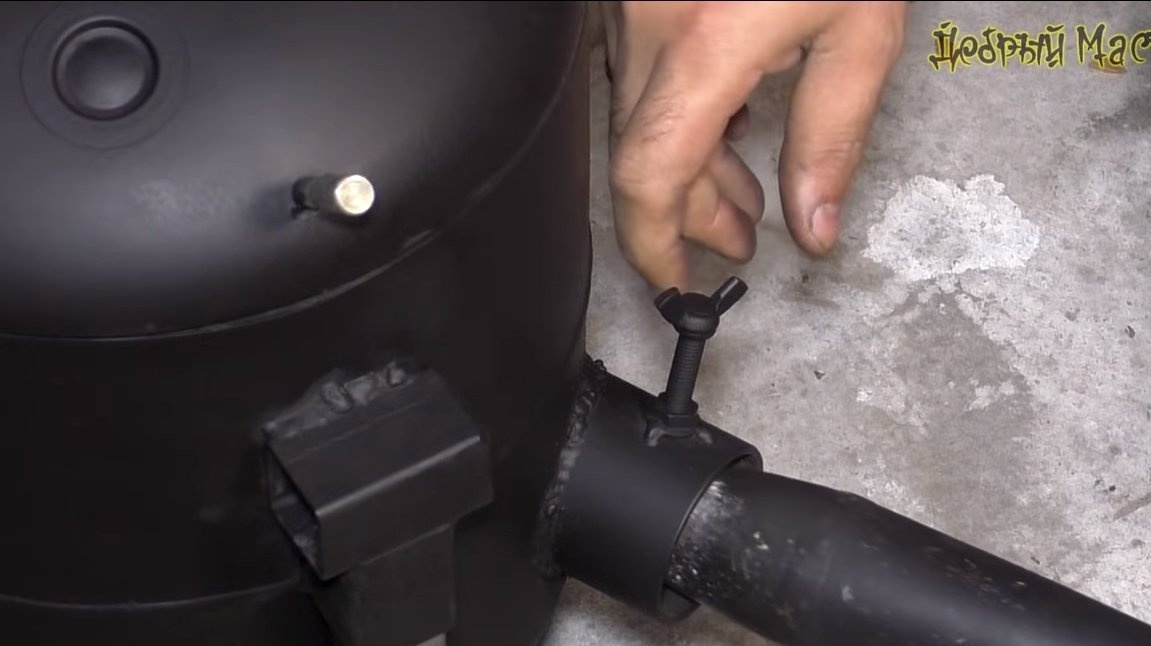
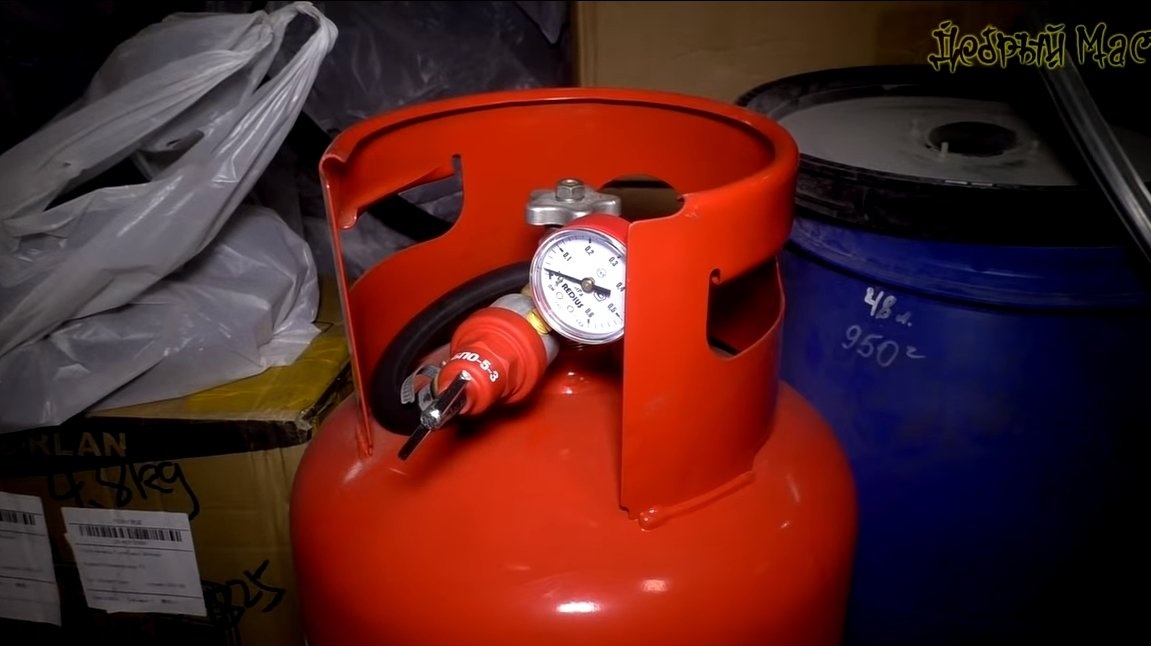
In the side of the furnace, we drill a hole with a crown and weld a piece of pipe, a gas burner will be inserted here. To fix the burner, the author drilled a hole in the pipe, welded a nut, into which a bolt with a wing nut is wrapped.
Step Six Crucible
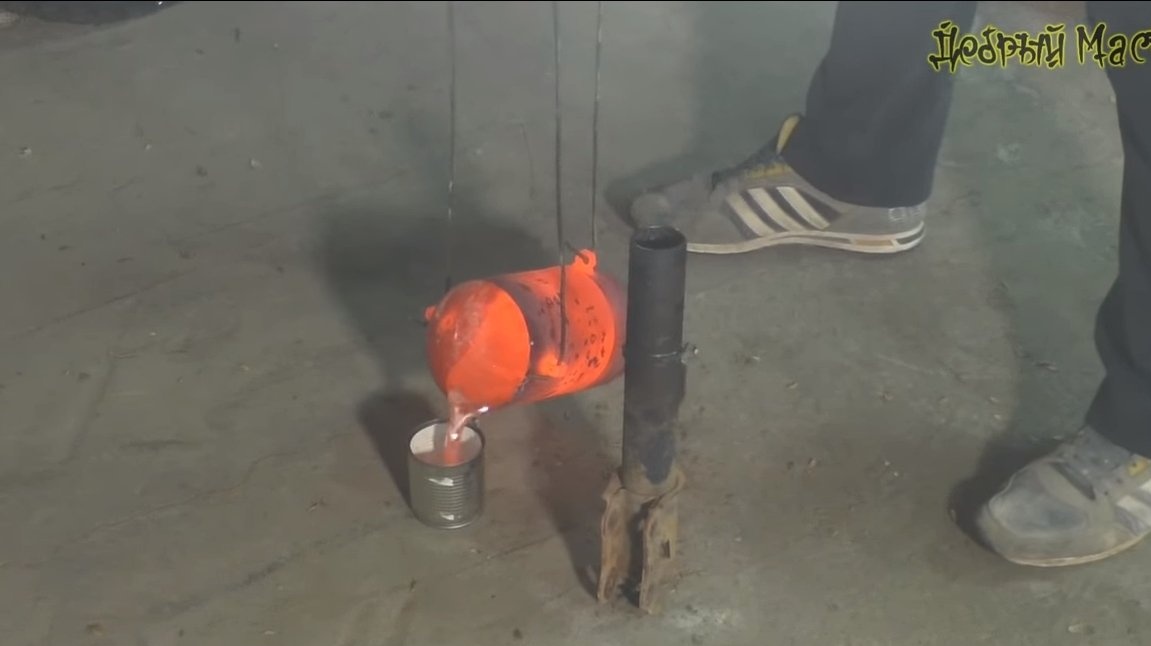
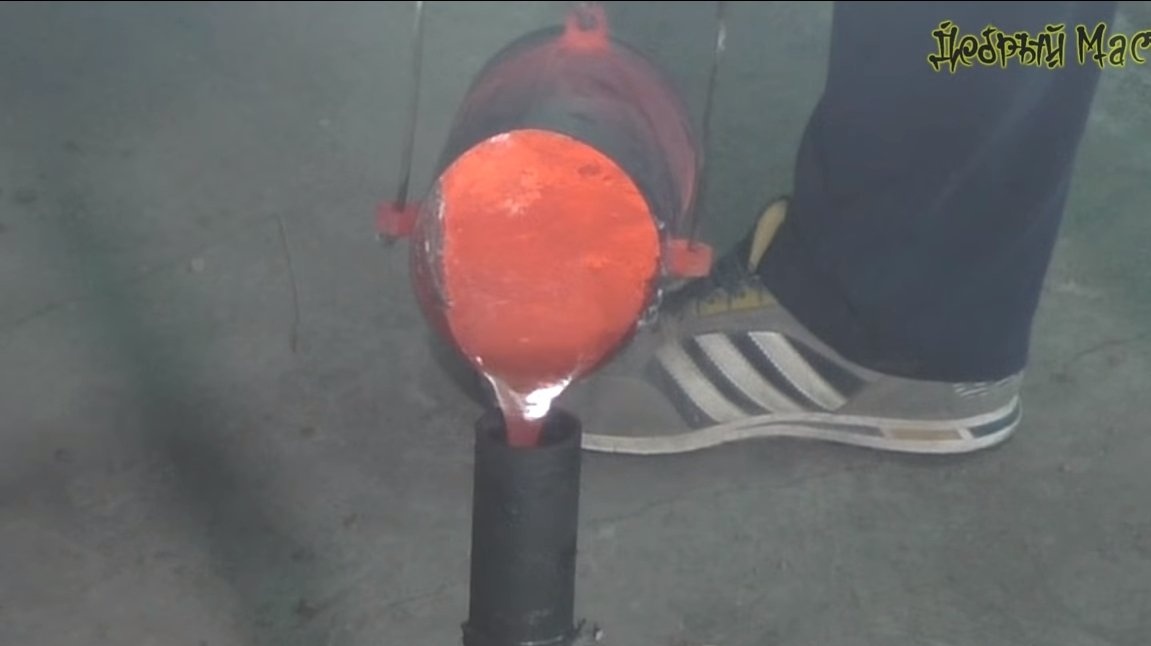
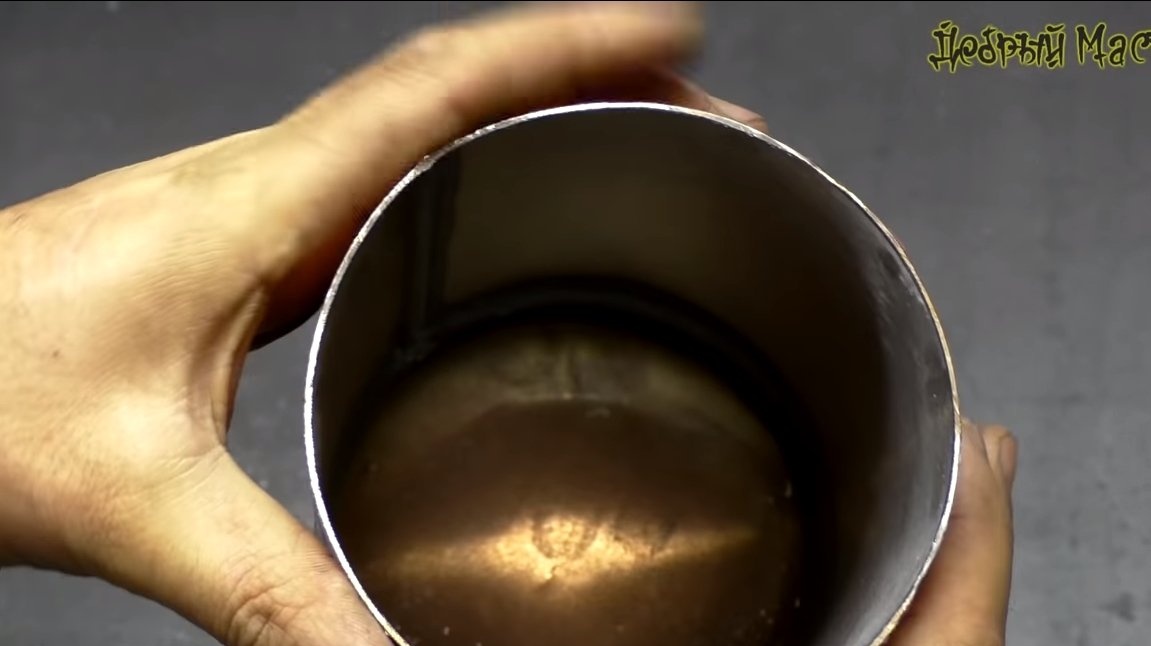
To make the crucible, the author used a body from a fire extinguisher. The metal turned out to be quite thin, such a crucible will quickly burn out. It is best to make a crucible from a thick-walled iron pipe. To attach the handles, we weld nuts to the crucible, and so that aluminum can be easily and safely poured, we form a nose on the crucible.
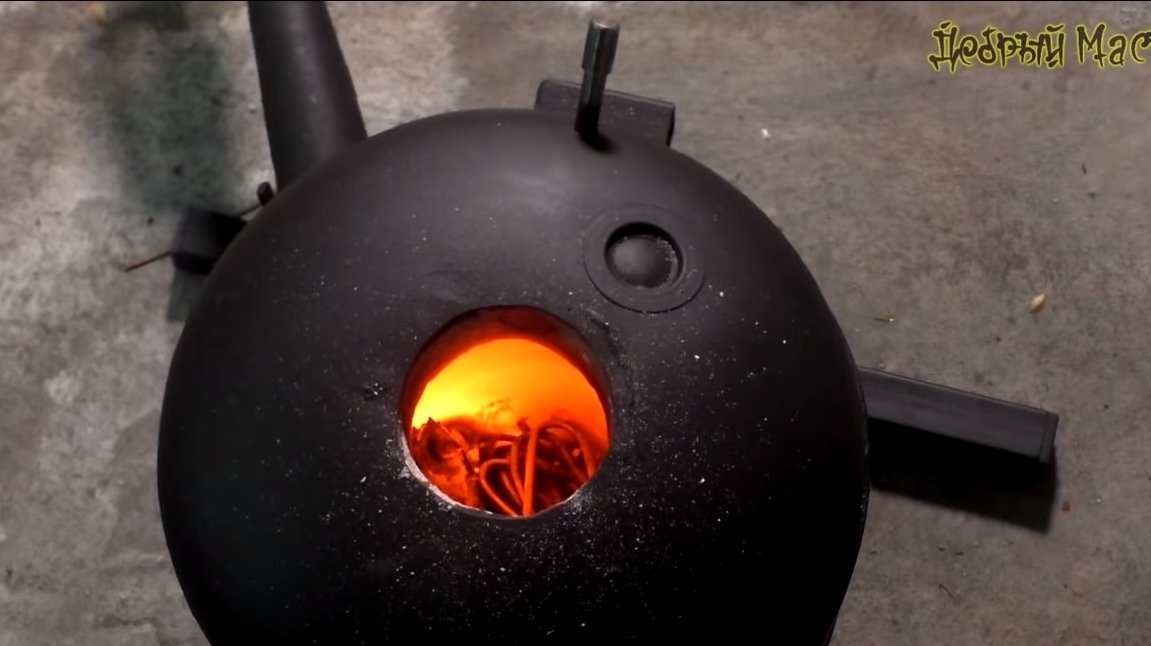
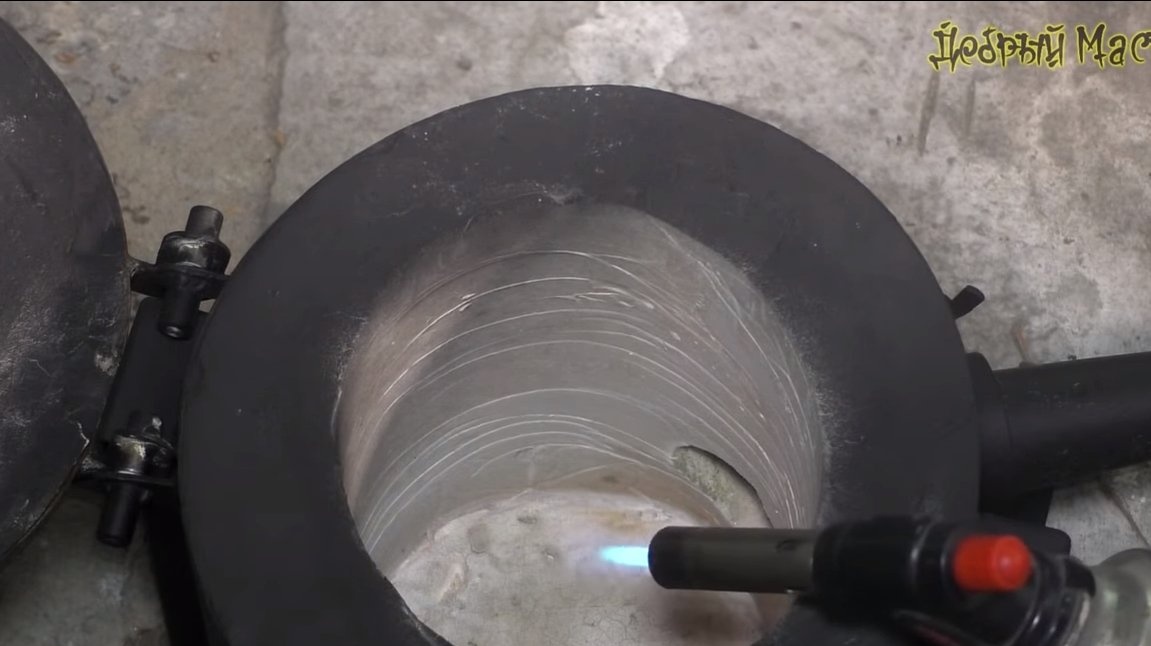
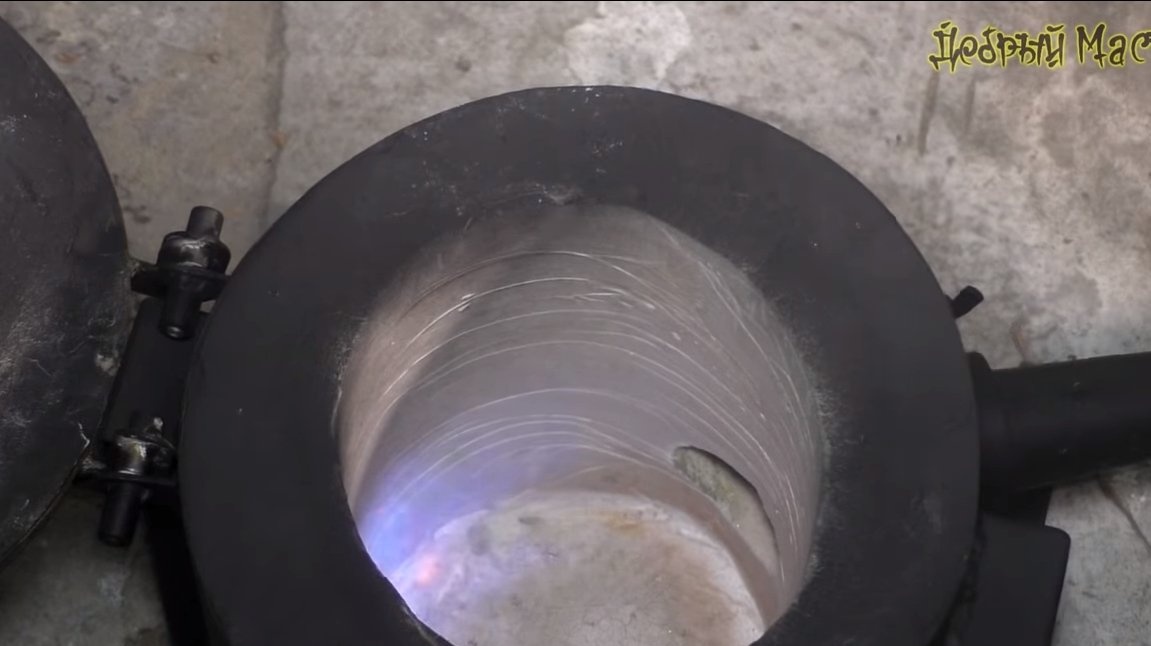
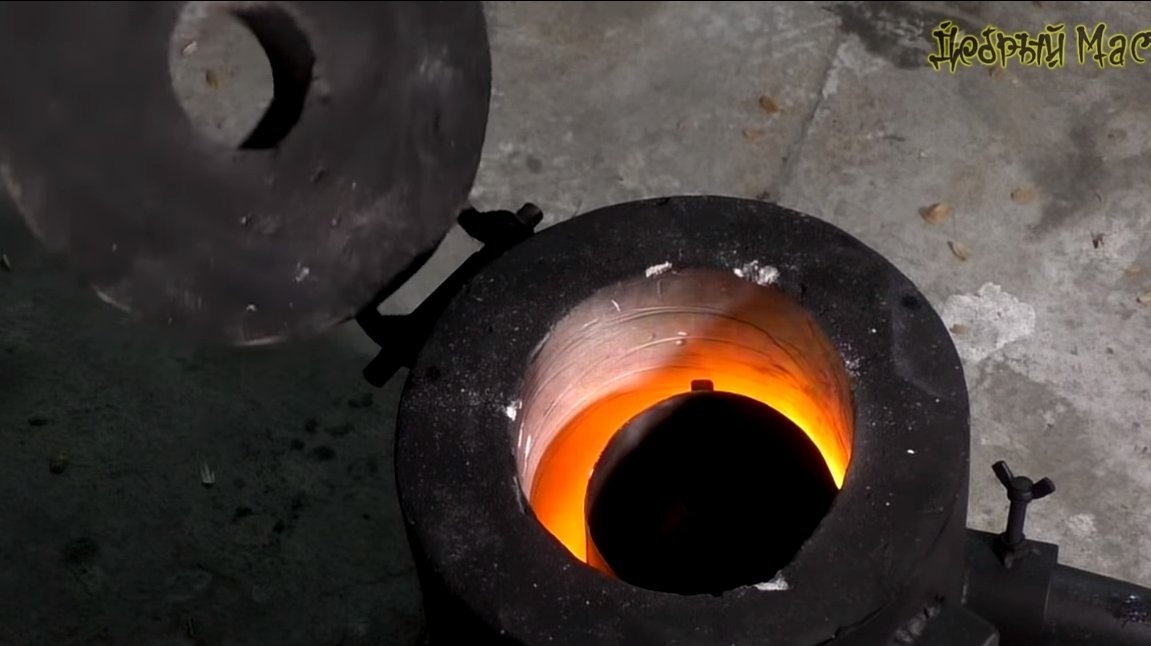
Seventh step. Test
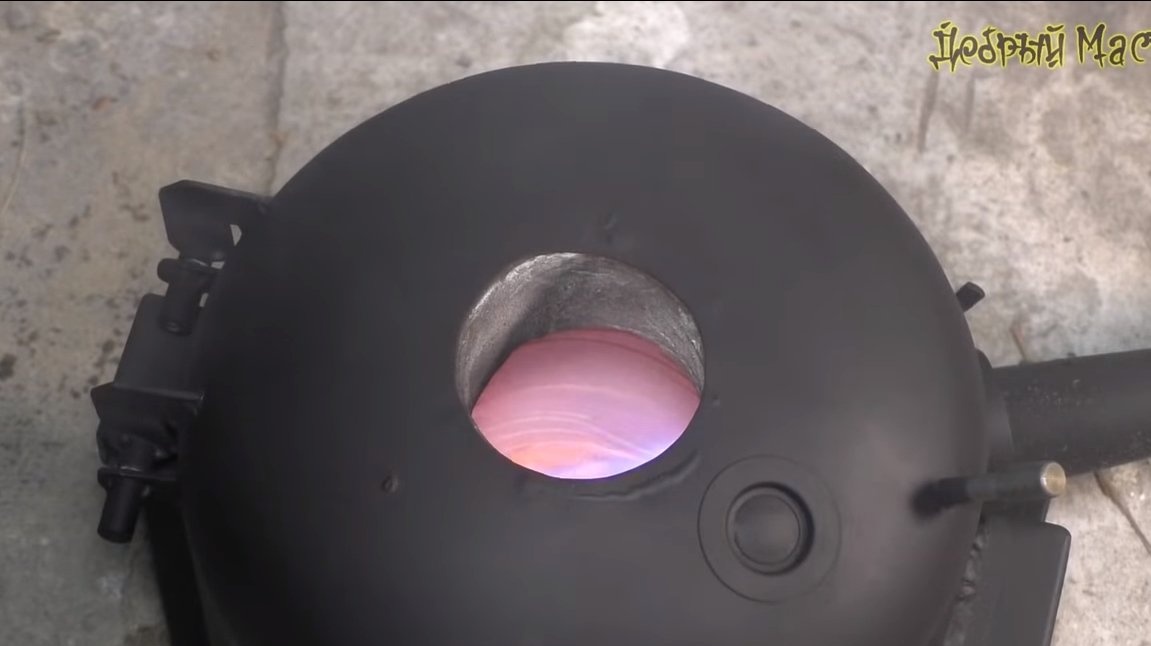
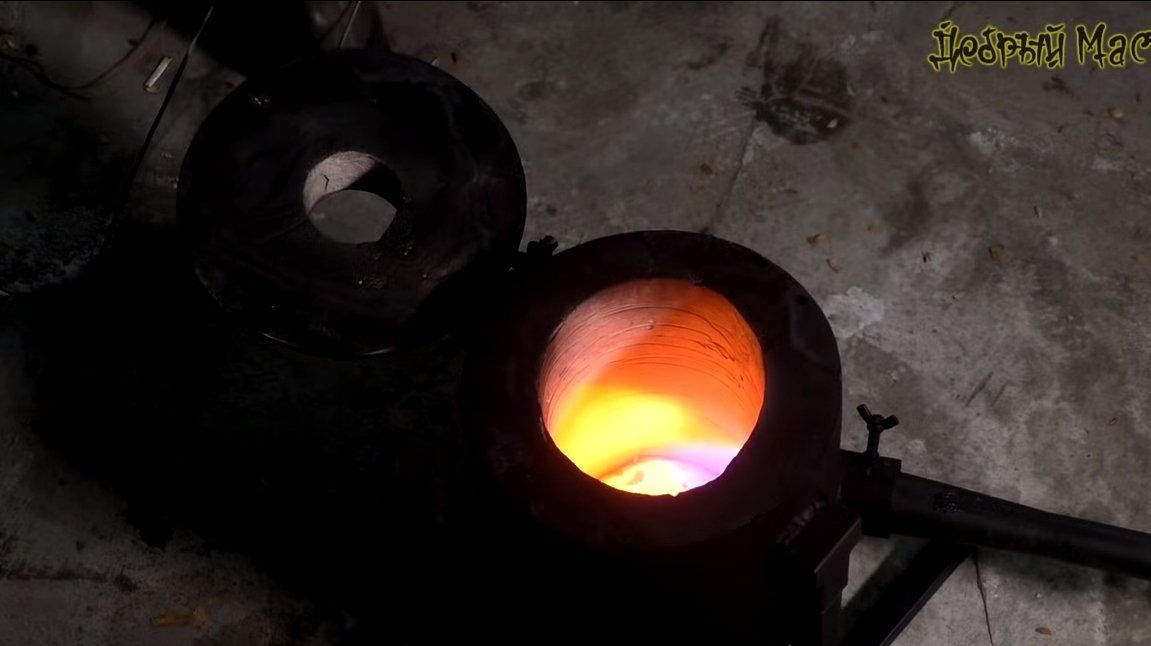
At the end, the oven is painted with heat-resistant paint, which can withstand temperatures up to 1000 ° C. The stove is ready, you can start it, light the burner and let the stove warm up. Now you can omit the crucible with aluminum, the author used aluminum wires as a source of metal.
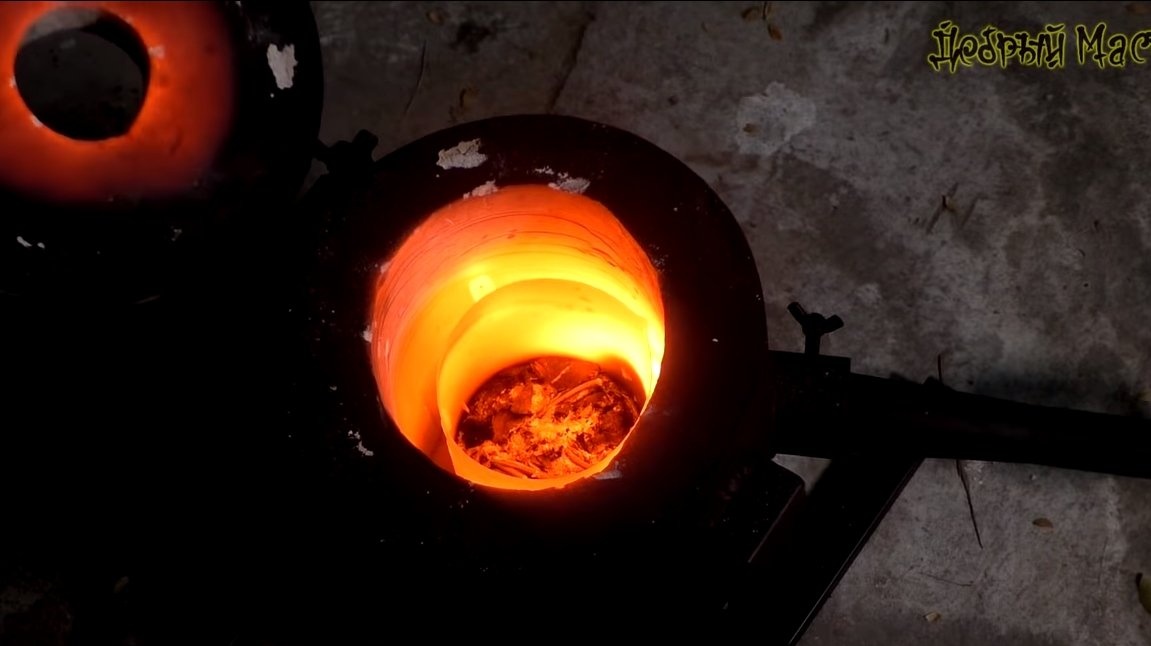
Aluminum began to melt after a few minutes and now you can add a new one. In order for the metal to be of high quality, soda and salt are added to it, as a result, we collect the formed slag with a device with a stainless steel spoon.
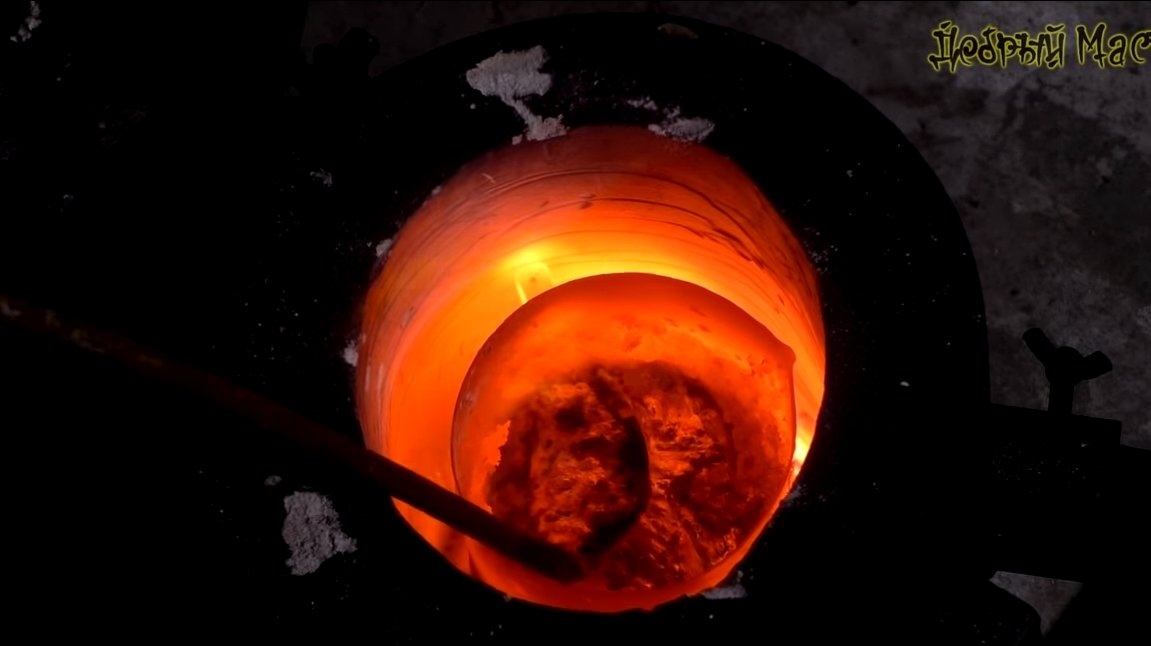
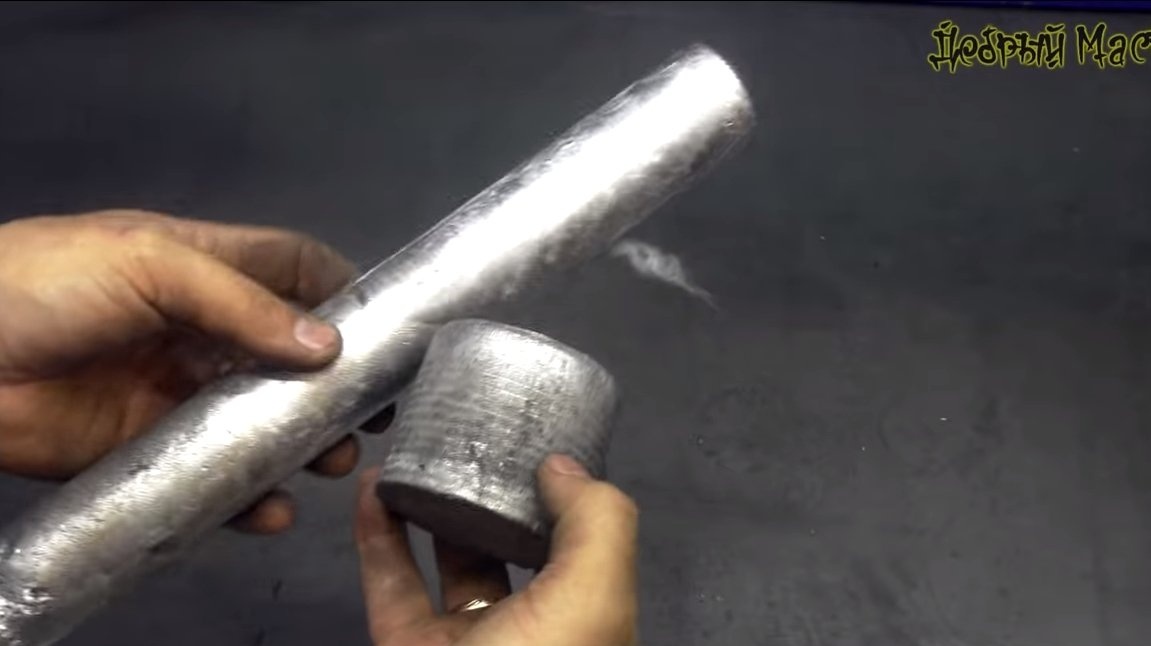
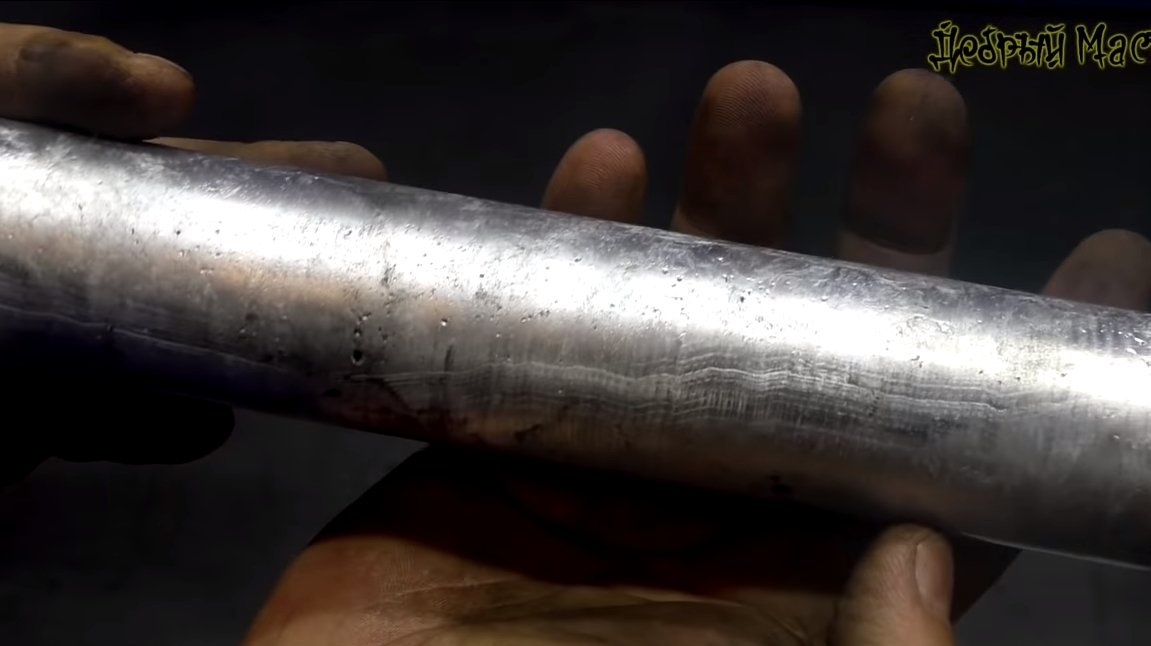
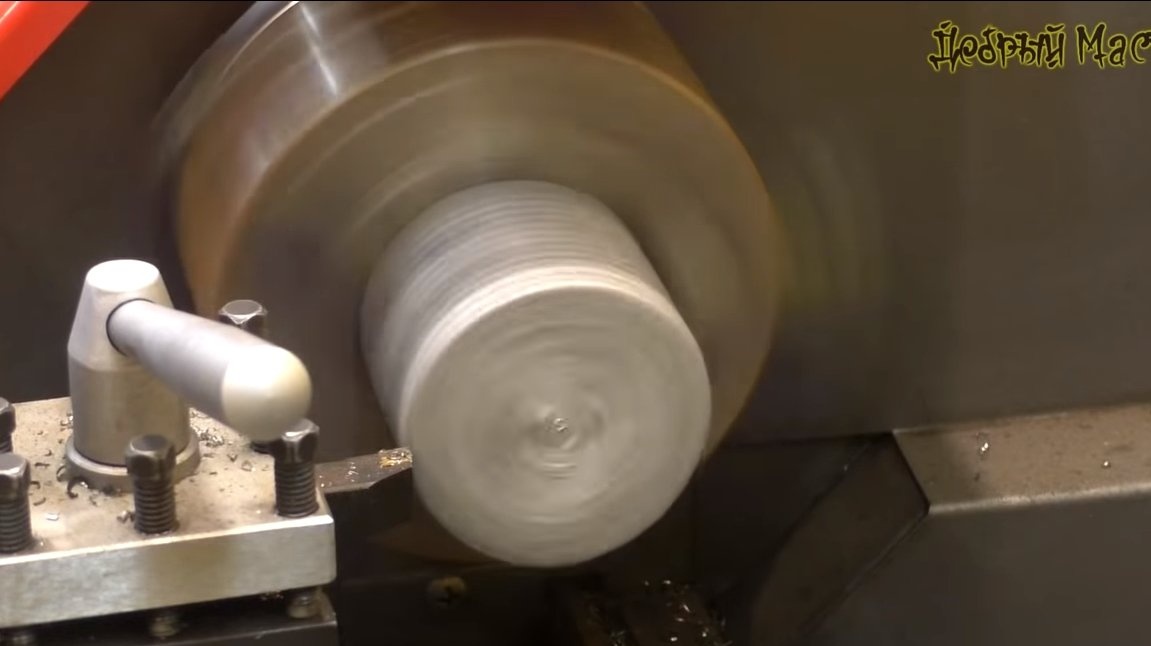
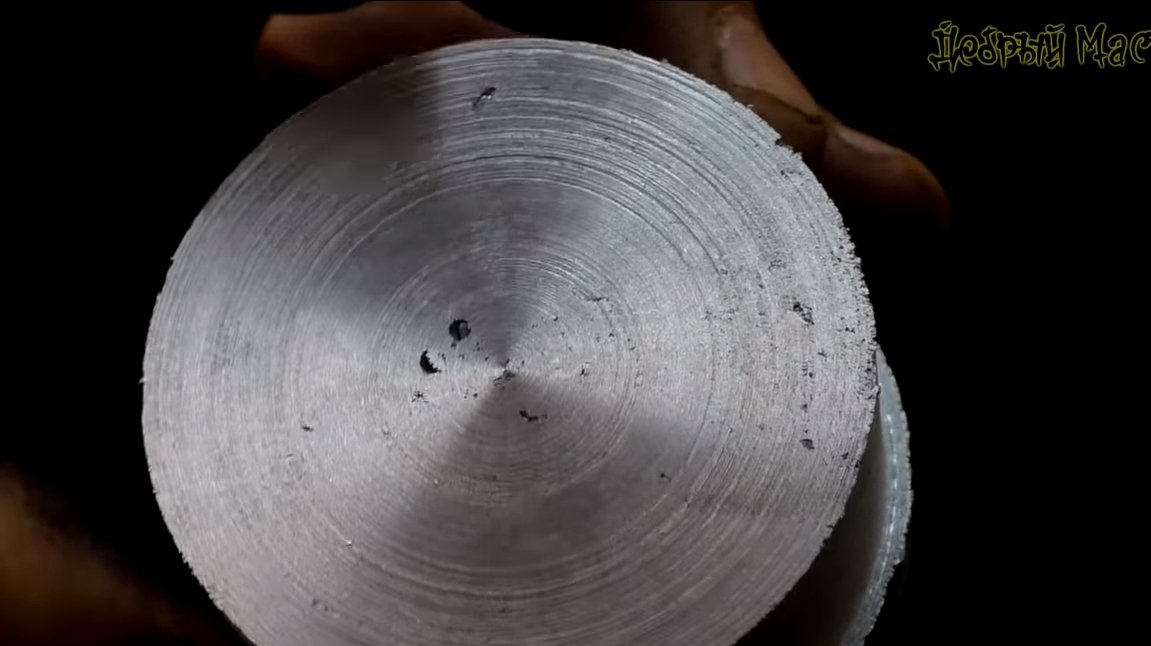
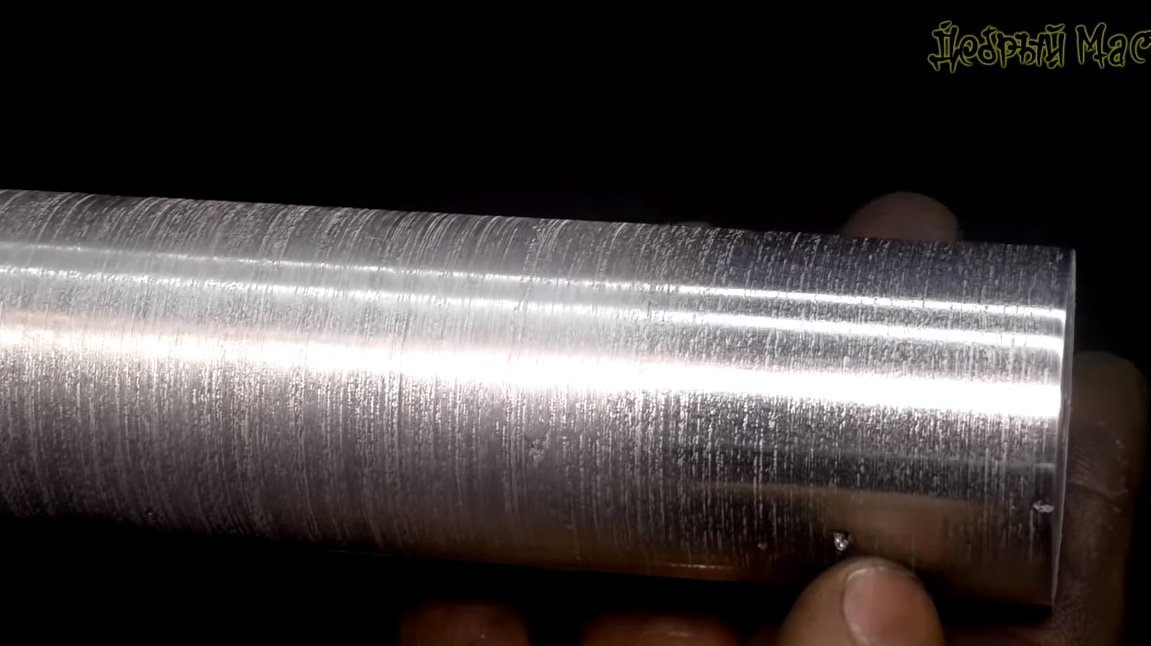
The author poured liquid aluminum into a tin can and a car rack. The result is two blanks for processing on a lathe. The most important thing in this matter is that the metal does not have a large number of shells, otherwise you can do little with such raw materials. After turning, the author did not see a large number of sinks, and the quality of the pouring completely suited him.
Homemade It proved to be good, it is simple and convenient. On this project is over, I hope you liked the homemade. Good luck and creative inspiration, if you decide to repeat this. Do not forget to share your ideas and homemade things with us!