
Hello to all those who want to try their hand at forging. Today we will look at how to make a small and simple braid by forging. Homemade It turned out strong and comfortable, the scythe easily mows grass. The author also made a handle for the braid from a board of suitable sizes. Having the simplest coal-fired oven, you can forge yourself such or another tool if necessary. If the project interests you, I propose to study it in more detail!
Materials and tools used by the author:
Material List:
- a piece of steel rod for forging;
- a board or bar for the handle;
- oil or wood paint.
Tool List:
- oven and blacksmithing supplies;
- drill;
- a hacksaw;
- brace;
- belt sander;
- flat file for metal.
The process of making braids:
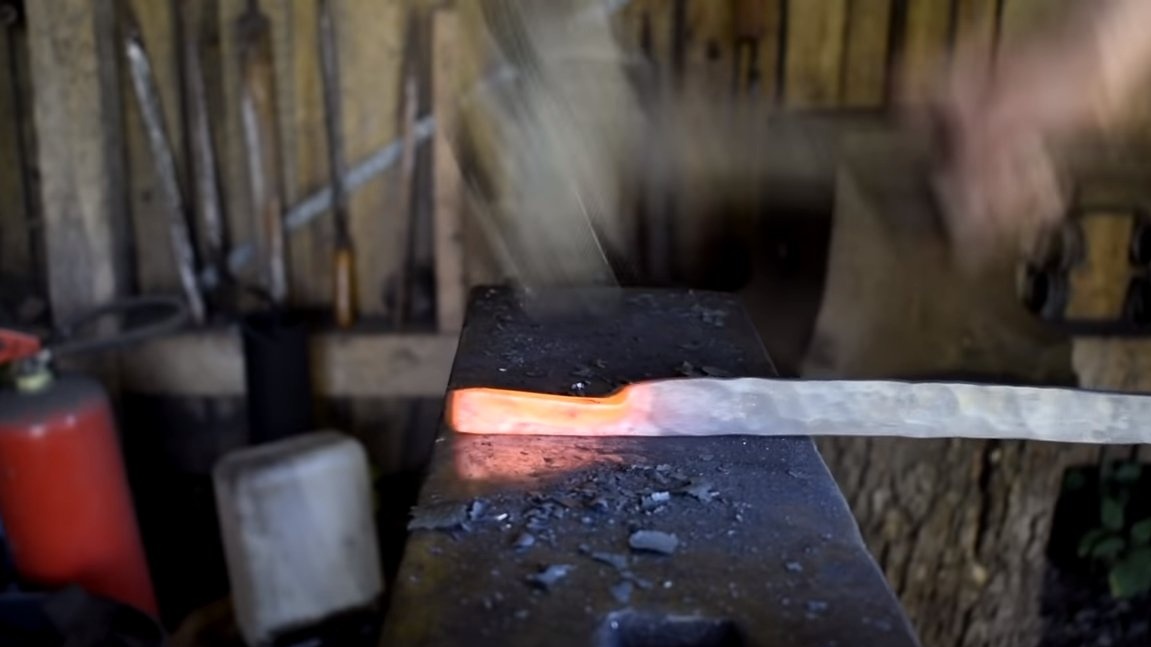
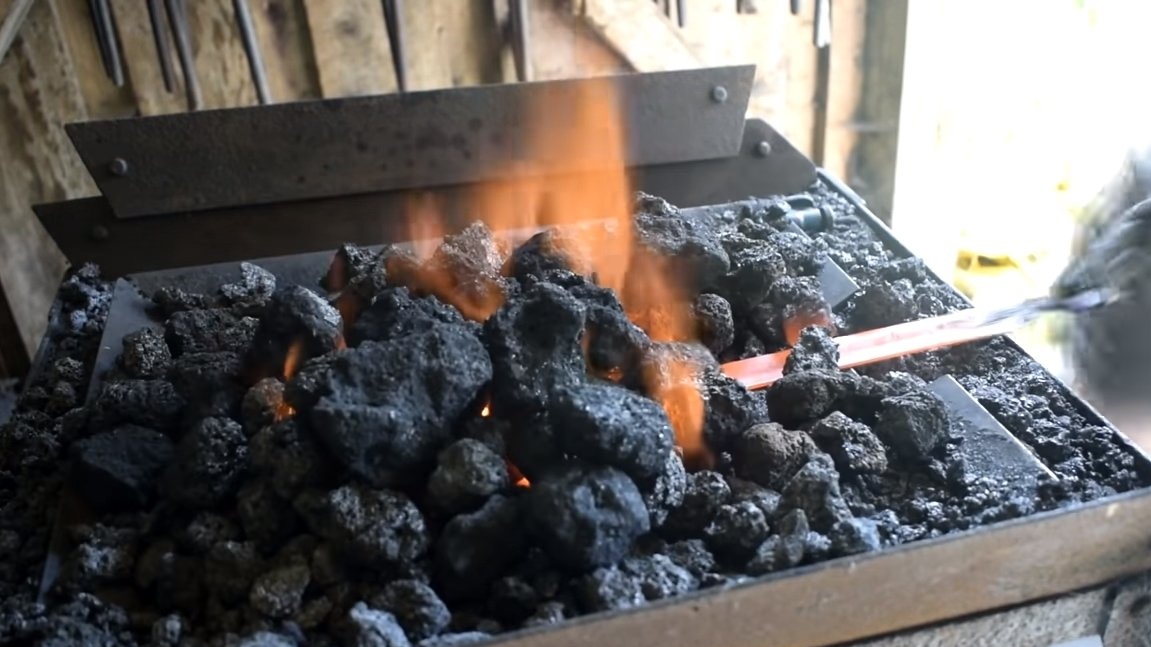
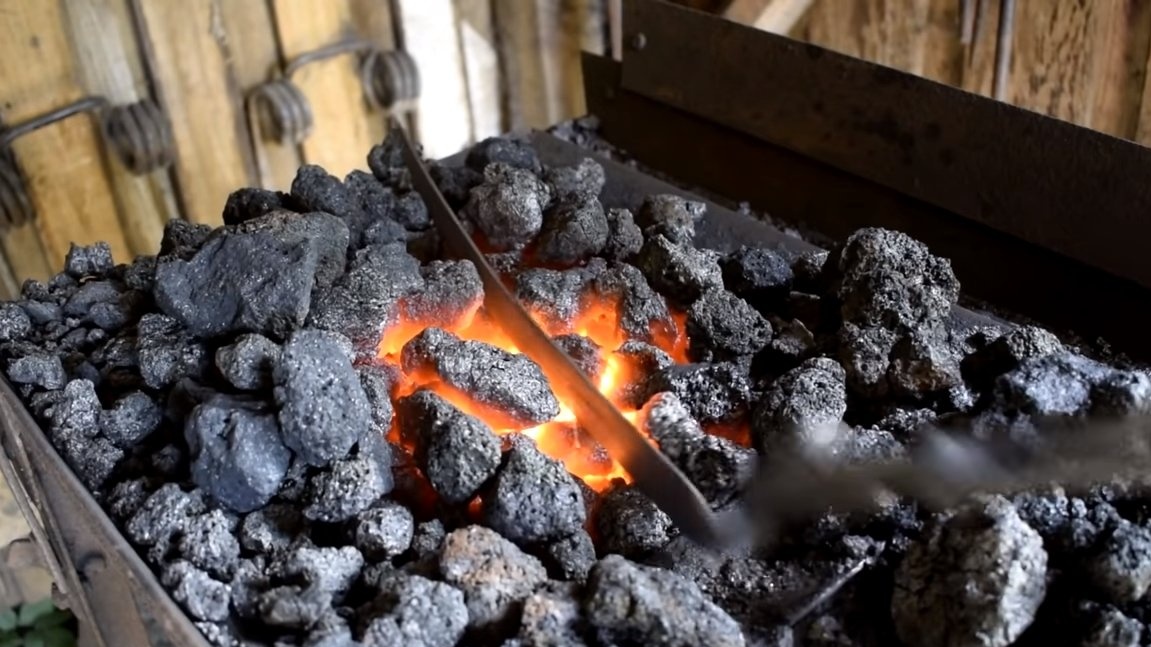
Step one. Forging
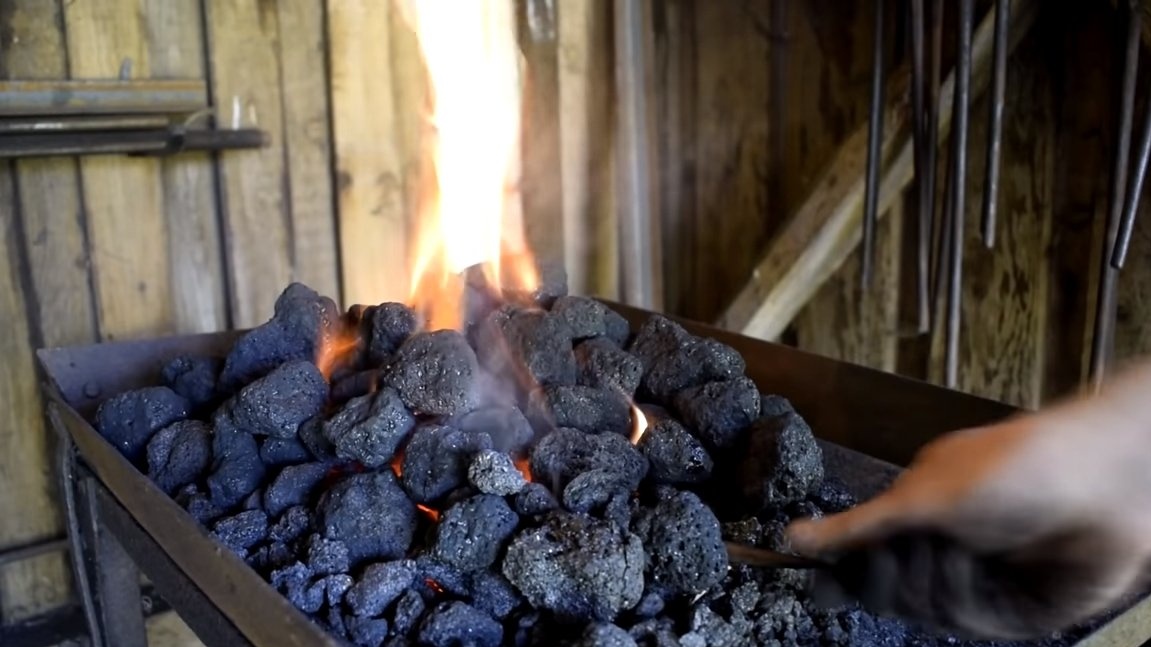
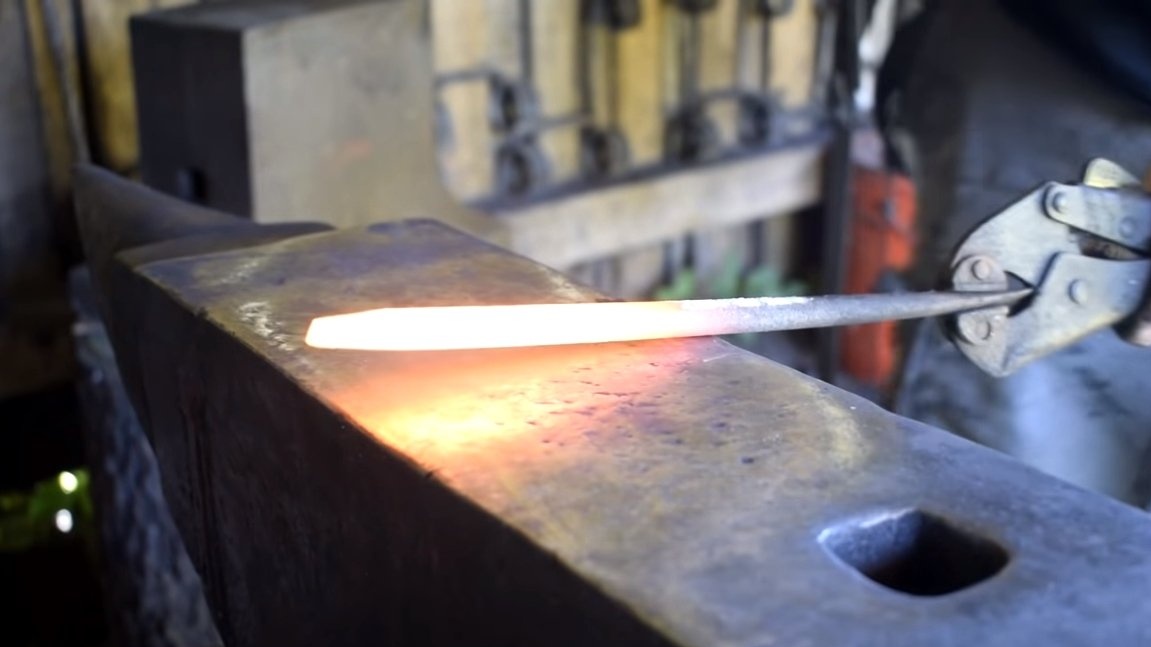
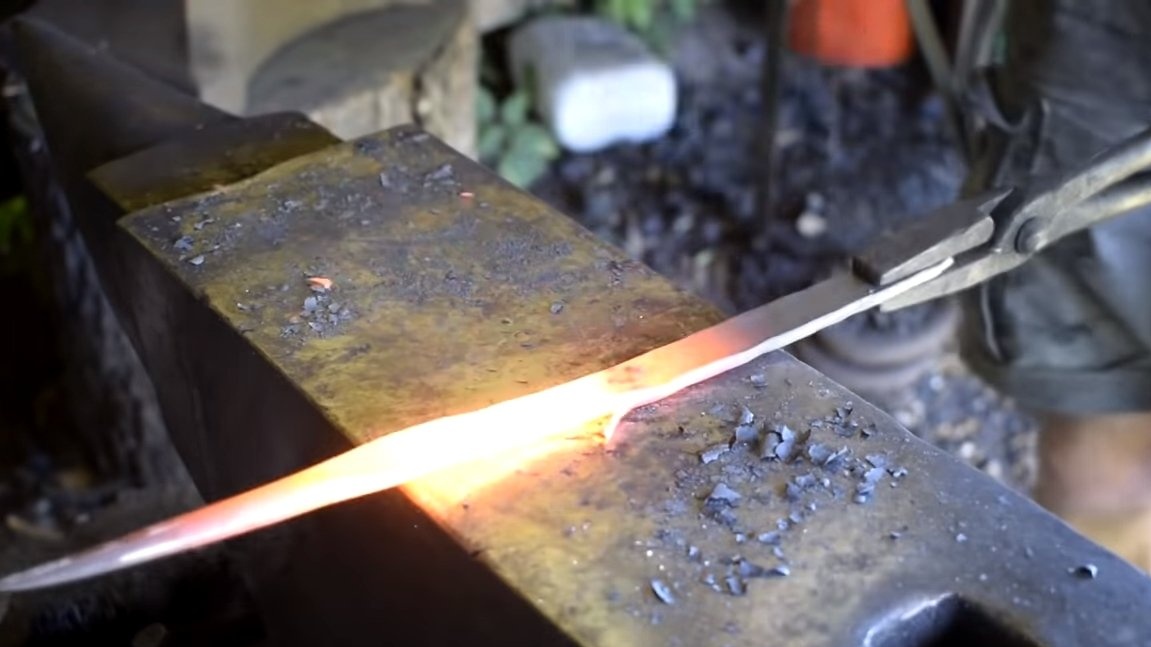
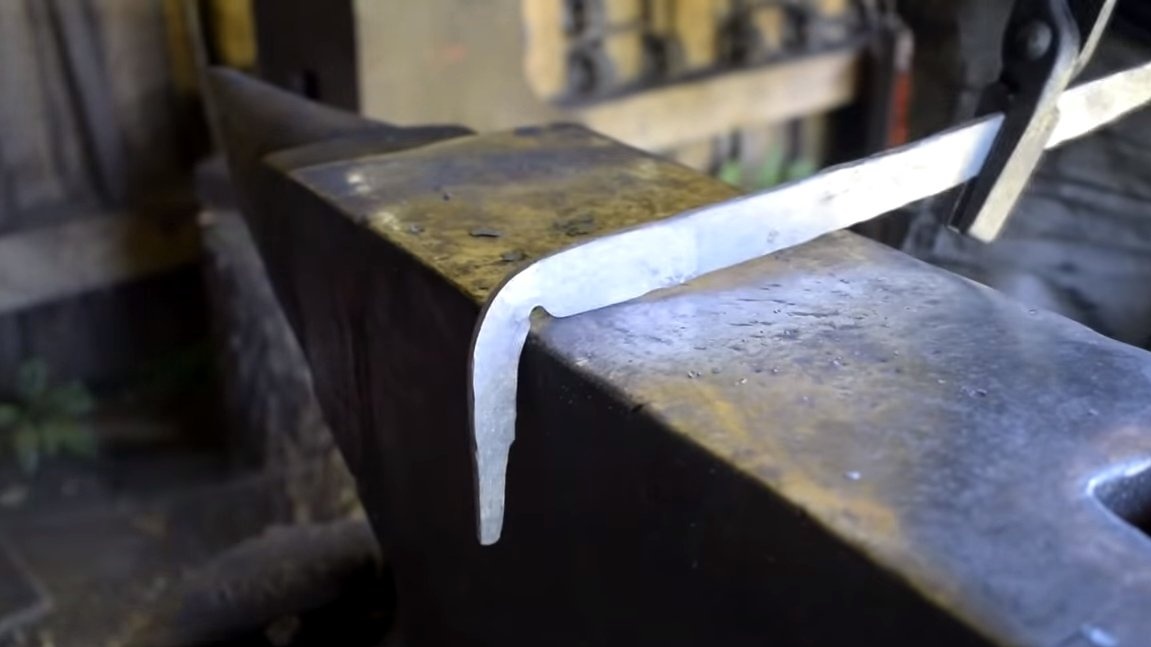
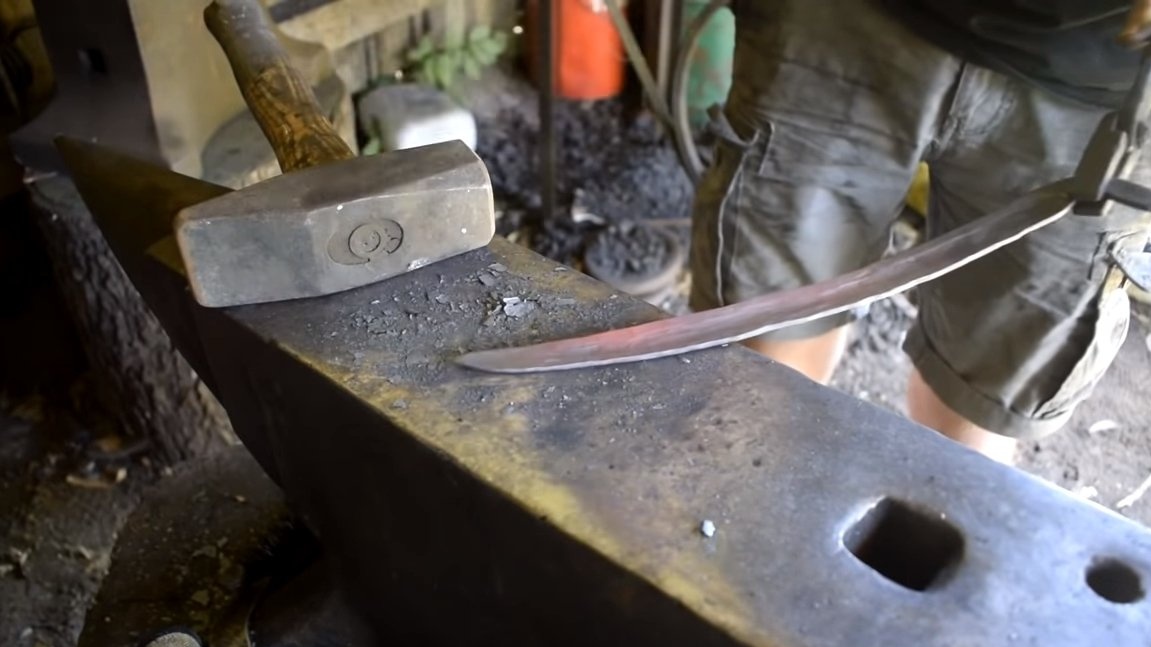
We kindle the furnace and you can start forging. We need a piece of carbon steel rod, we heat it to a yellow glow and we can start forging. The author makes the rod flat and slowly pulls it to the desired length.
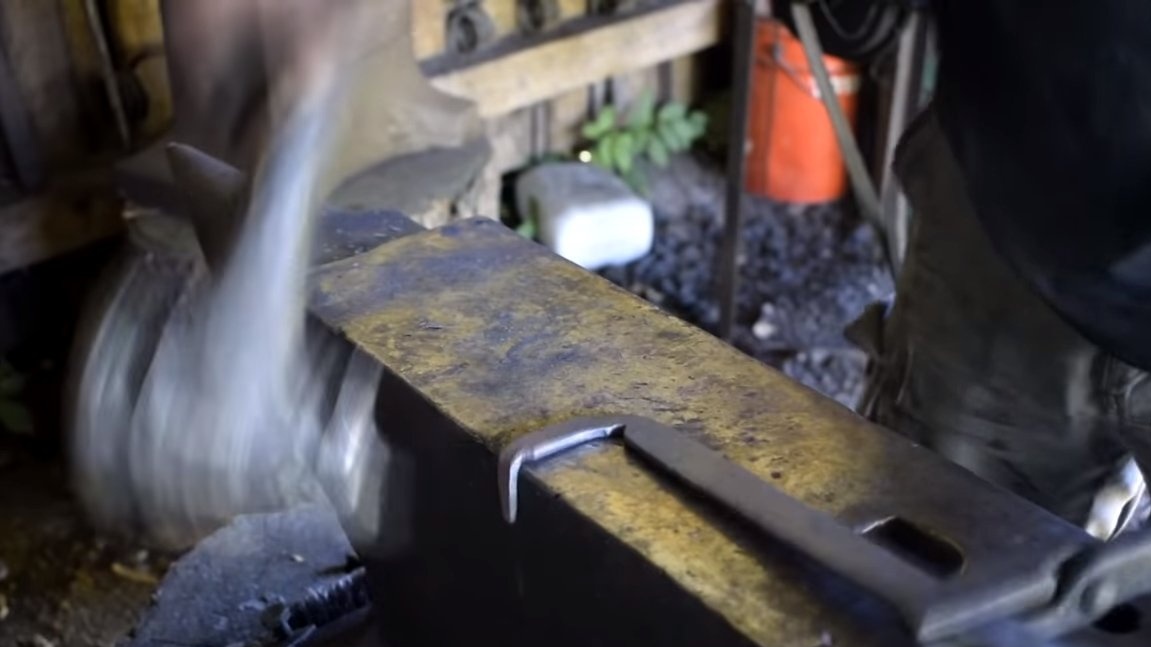
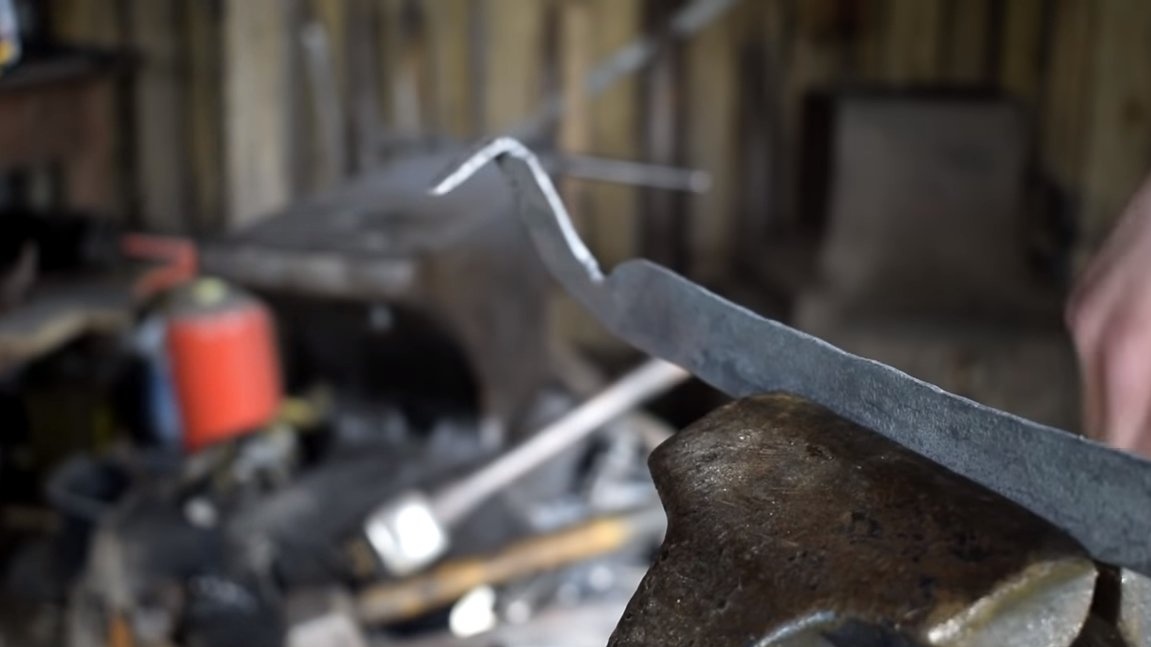
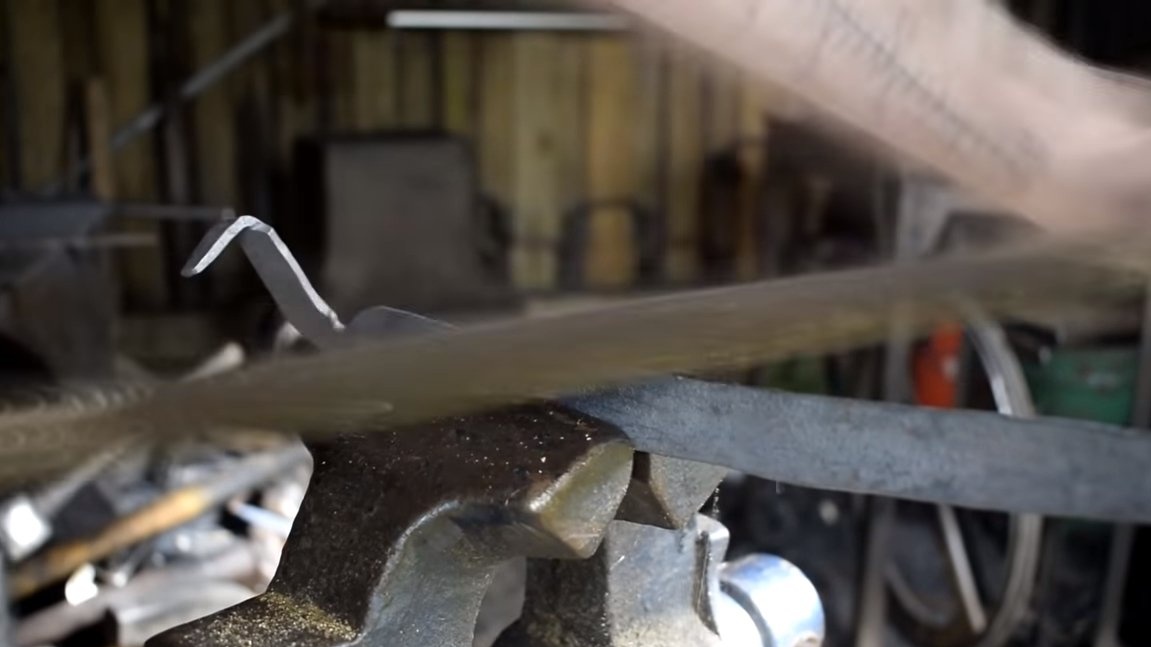
We form the back of the braid, bend it at an angle of 90 degrees and make a hook with which the braid will be attached to the handle. At the end, the braid can be slowly bent, the author forms a recognizable profile almost before our eyes.
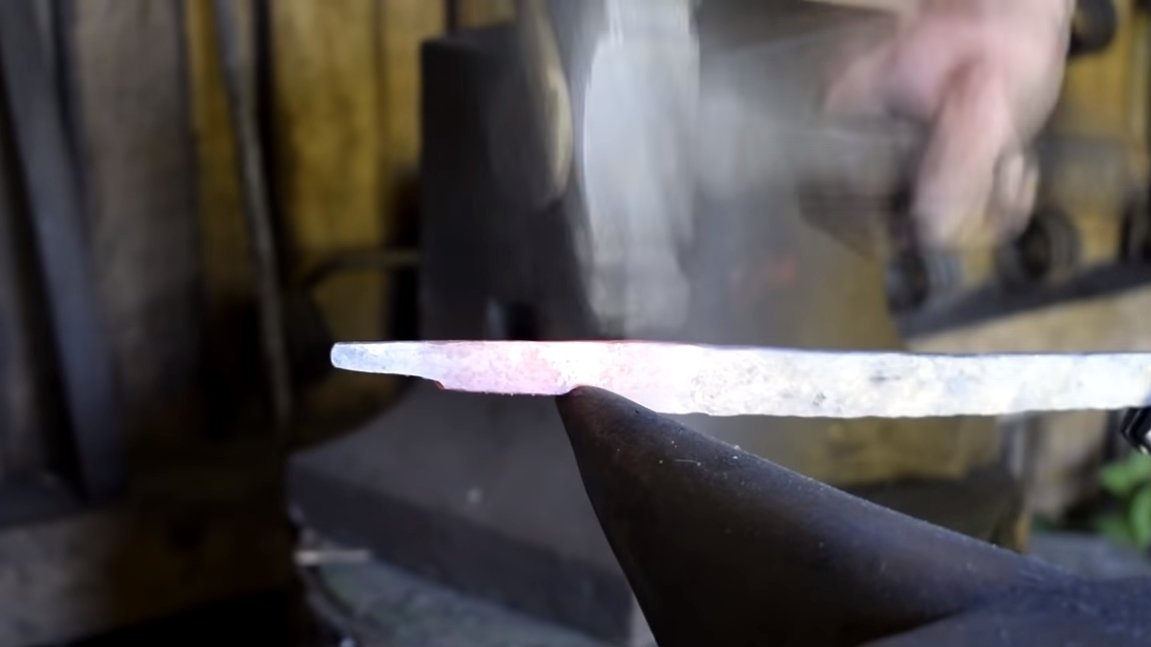
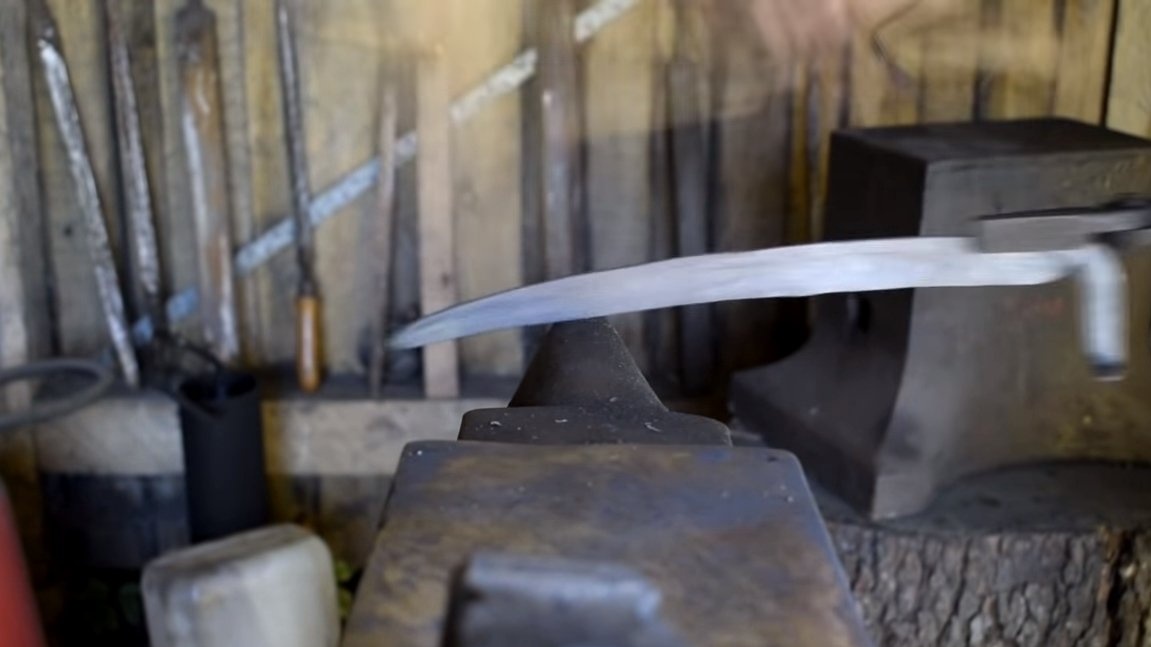

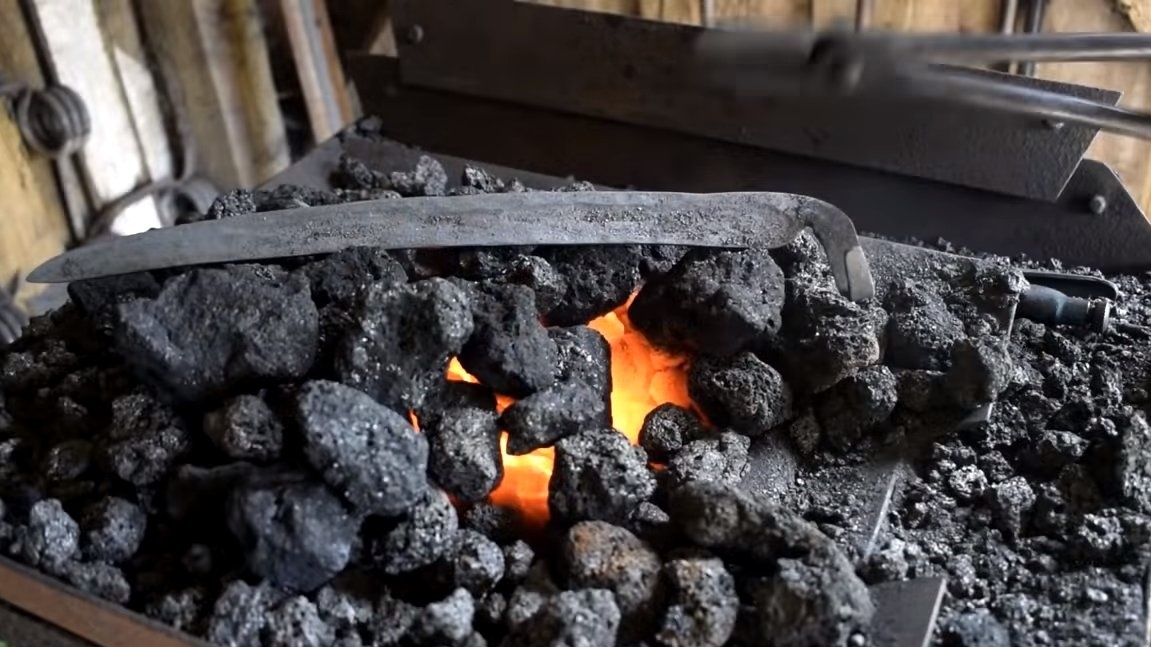
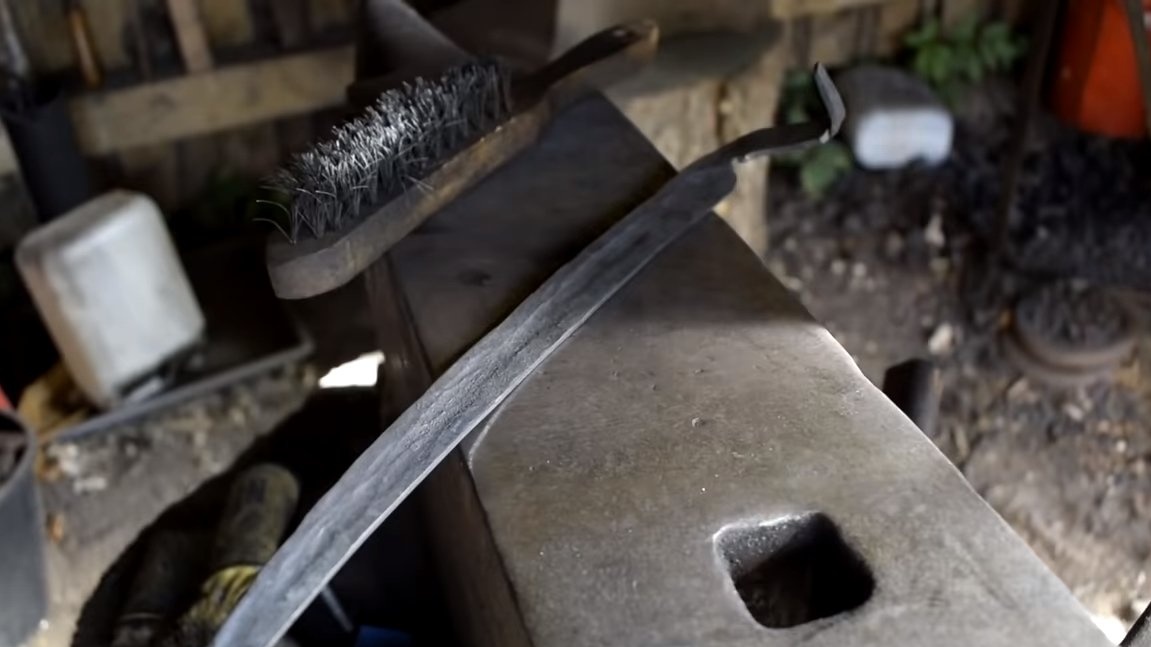
Step Two Adjustment
After forging, we will need to modify the blade, because it will be curved. For such purposes, we need a flat file. We make several passes and align the future blade.
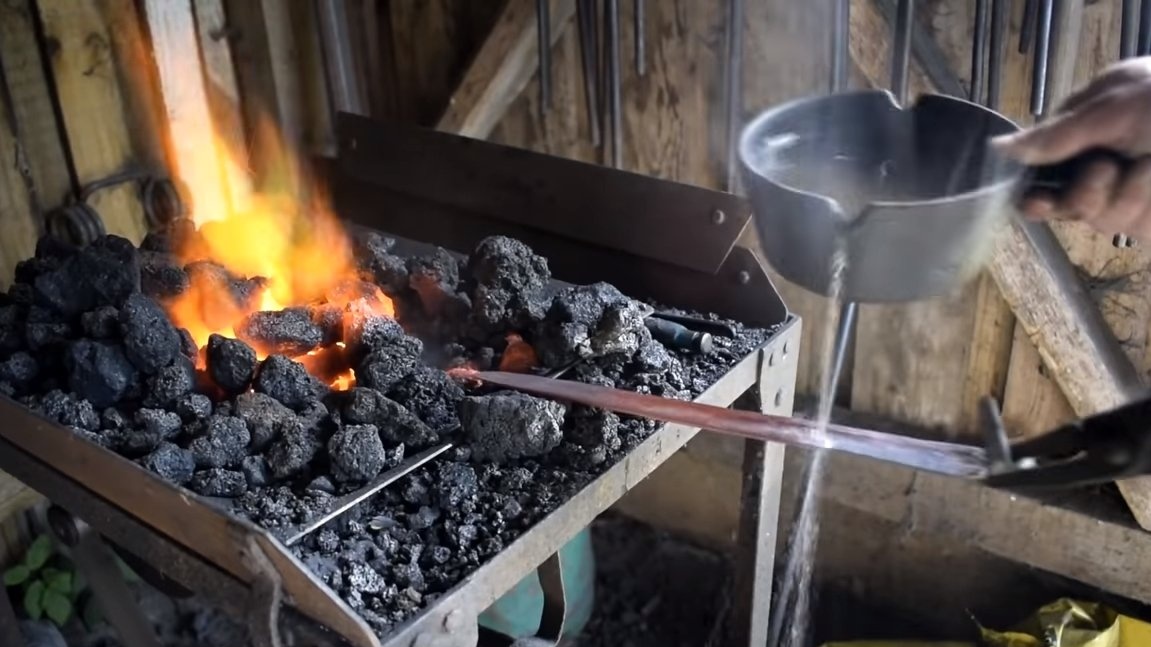
Step Three Heat treatment
After forging, a lot of stress will be present in the steel, which can lead to deformation of the braid. All these stresses must be removed, the procedure is called normalization. We heat the braid and let it cool on the coals. The procedure must be repeated several times.
Well, then you can proceed to hardening, as a result, the blade of the braid will be solid and the braid will be mowed well and long. First, prepare a bottle of water, now we heat the braid. When the braid is heated to a yellow glow, we carefully water only the blade from the bottle, you need to water on both sides.As a result of this procedure, we harden the blade, and the spit butt will spring. As a result, the braid will be strong, and the blade will be solid and will be able to hold sharpening for a long time.
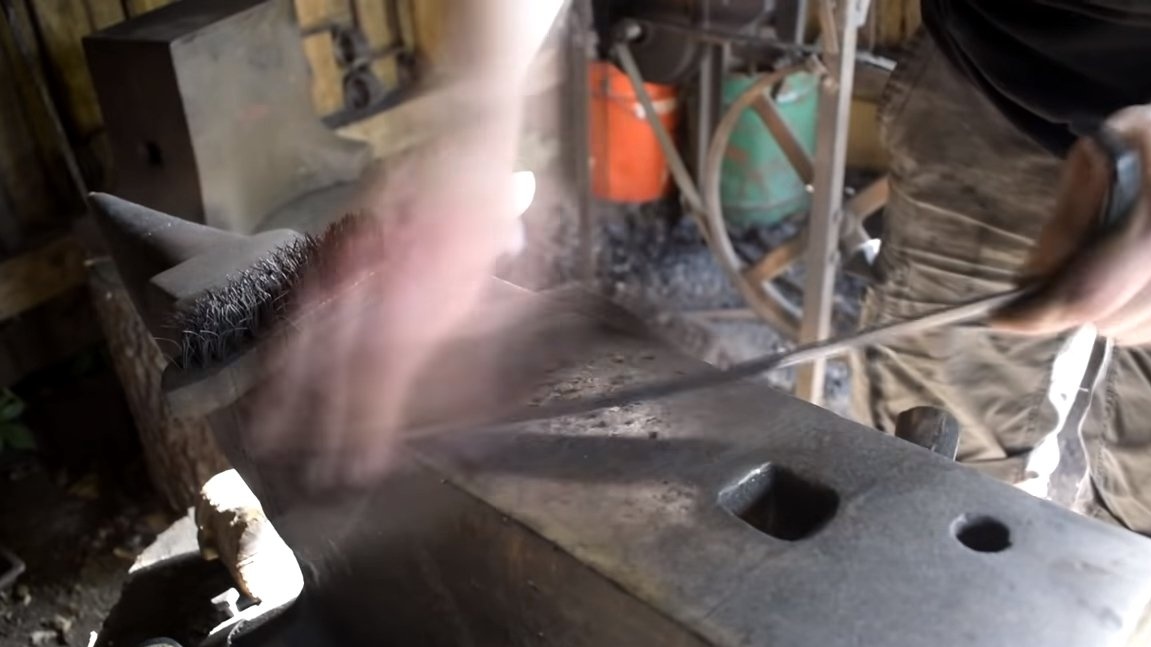
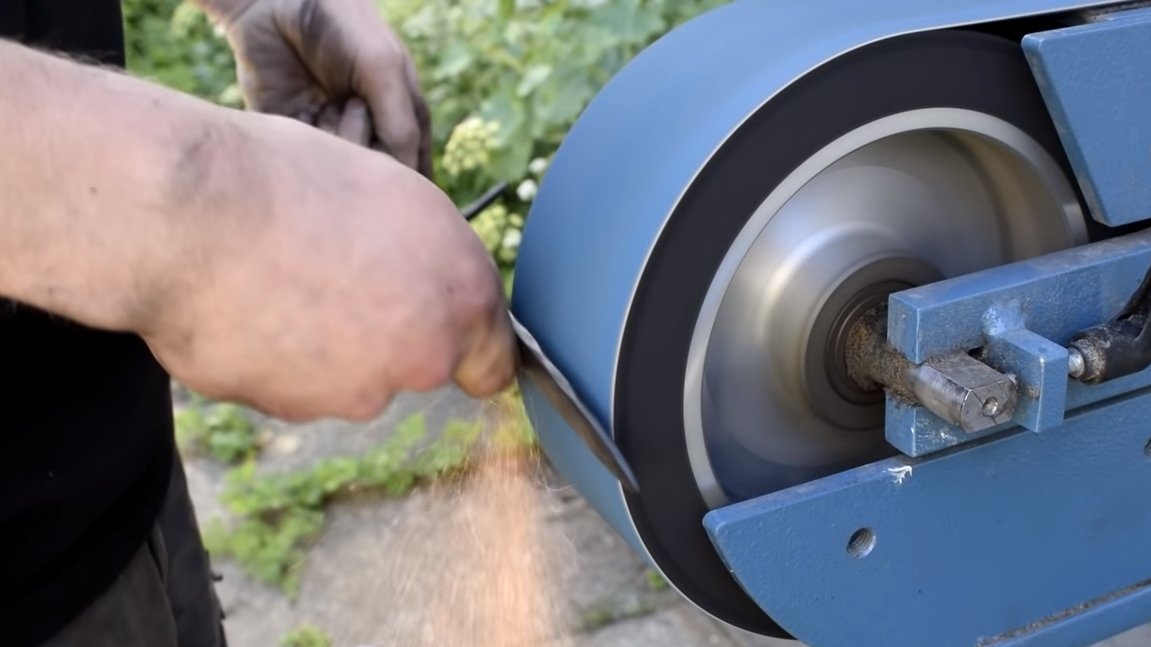
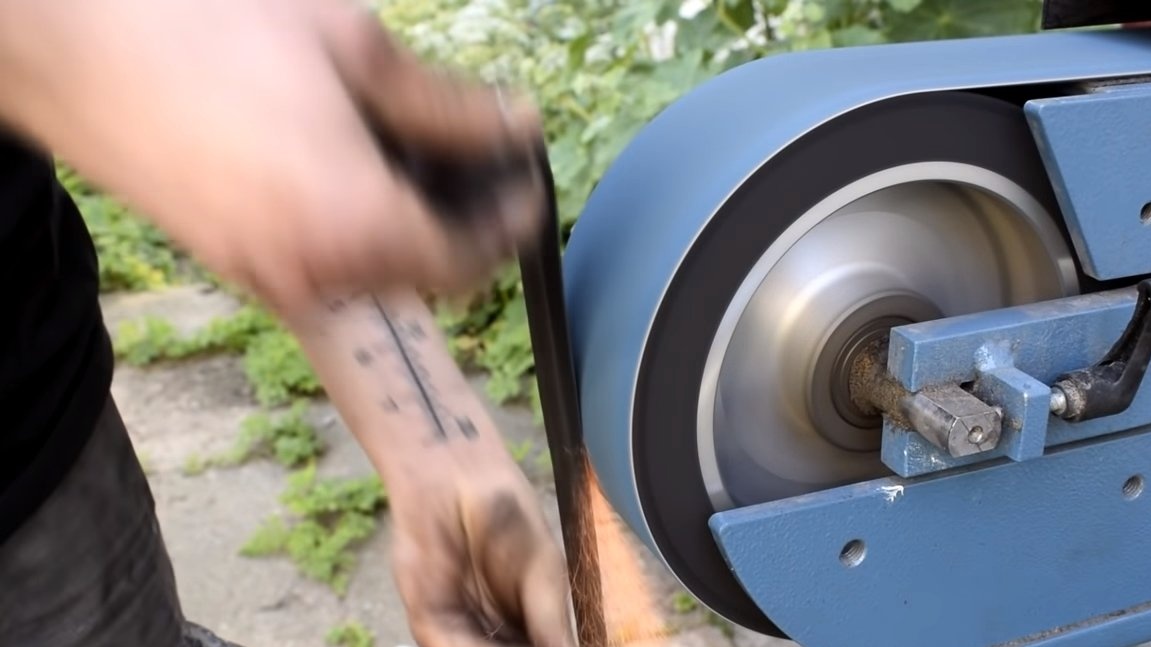
Step Four Bevels
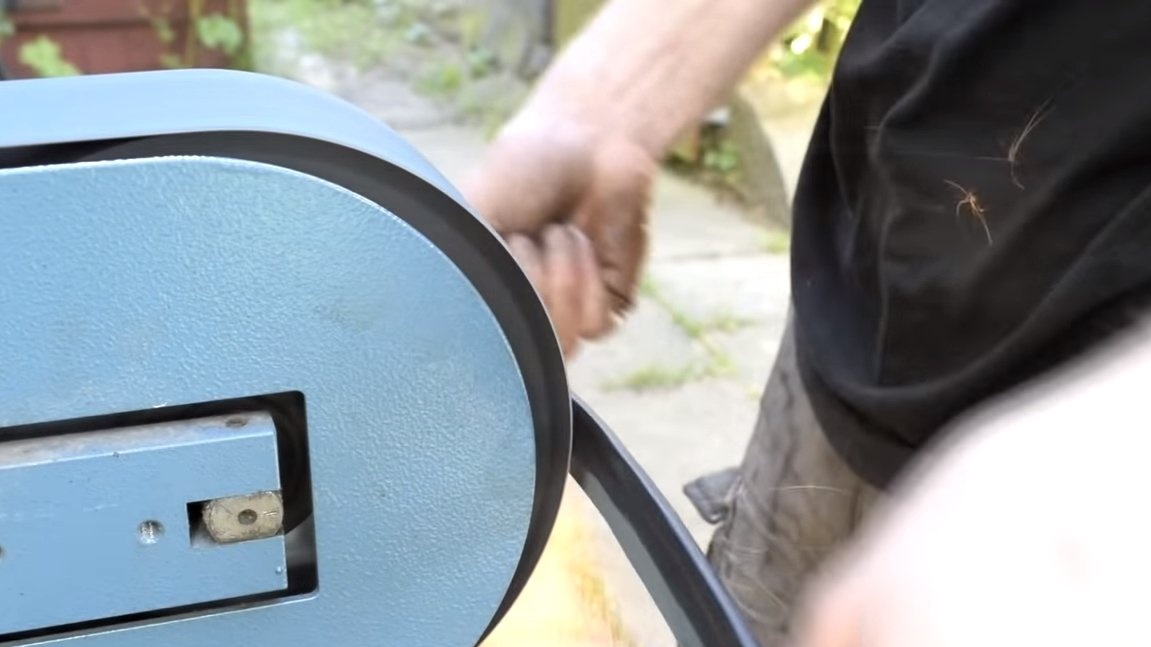
Next, you can form a braid blade, make descents. Here the belt sander comes to our aid. You need to work slowly, the steel should not overheat, otherwise you will have to temper the blade again. Having made the desired profile of the blade, it can be sharpened, for this a tape with finer grain is placed.
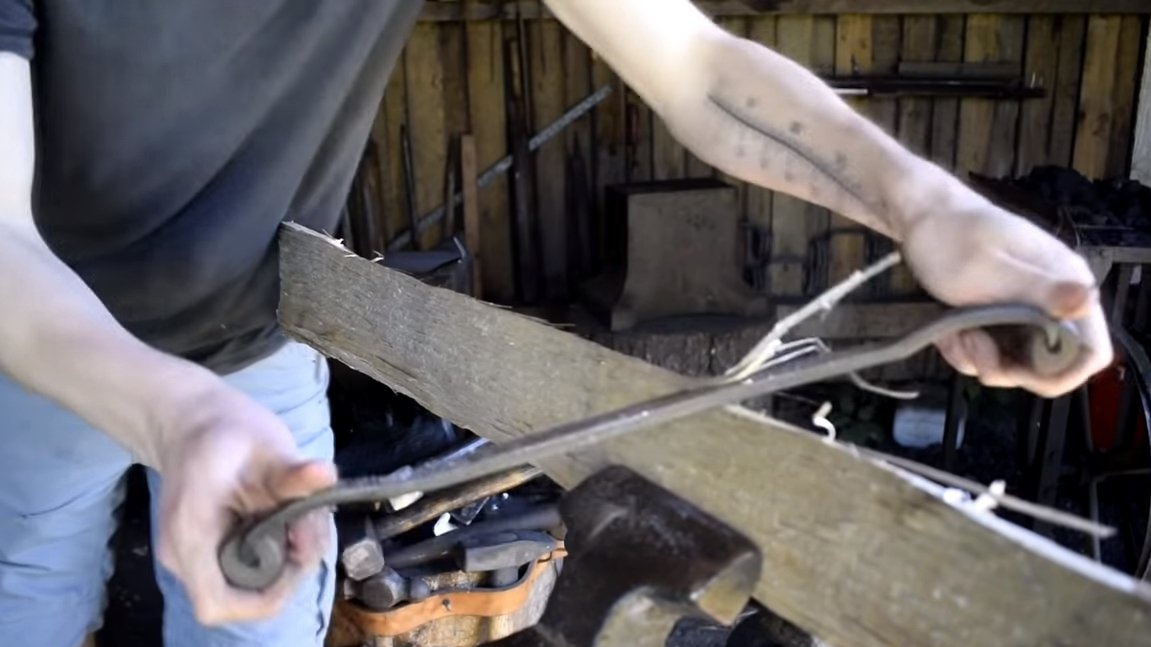
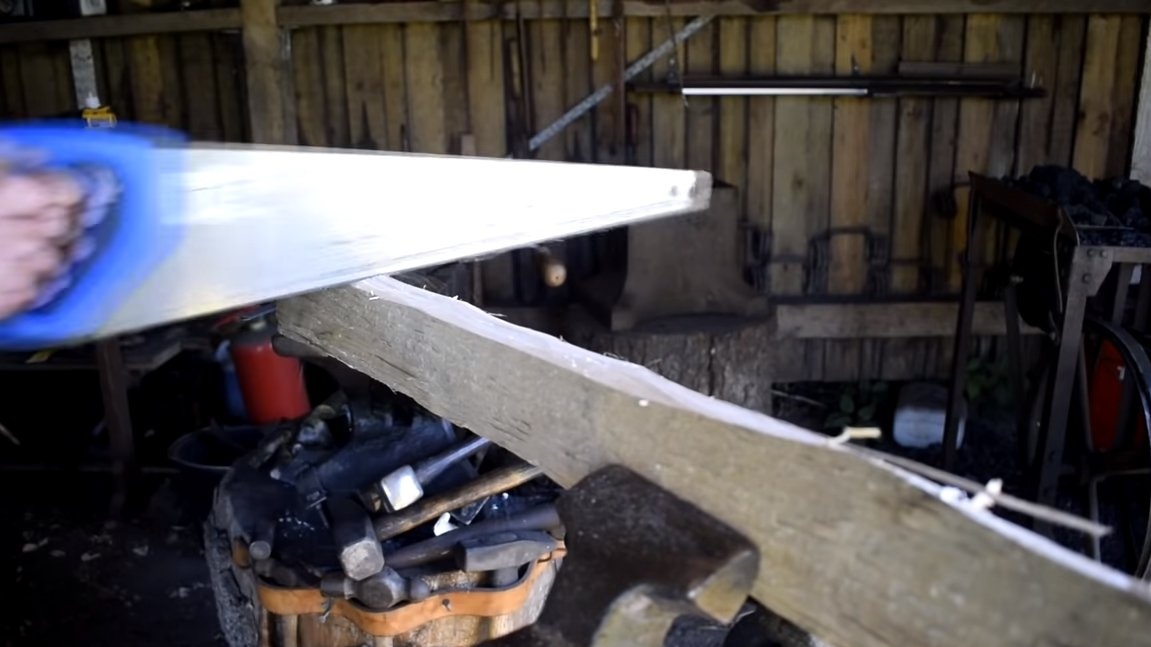
Step Five A pen
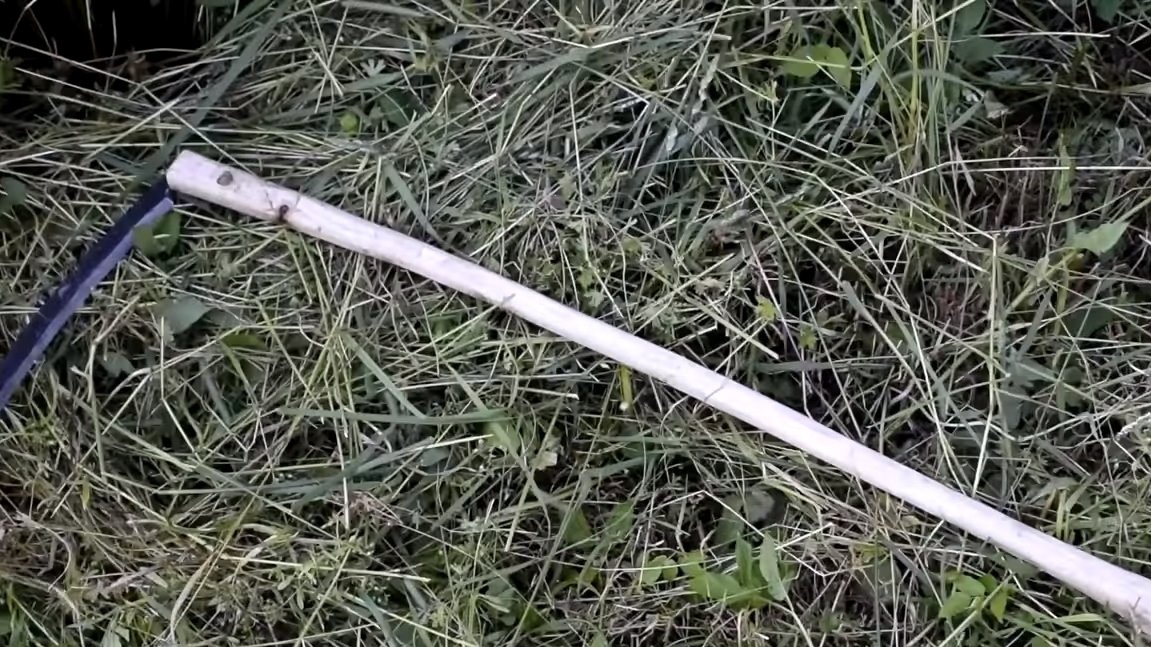
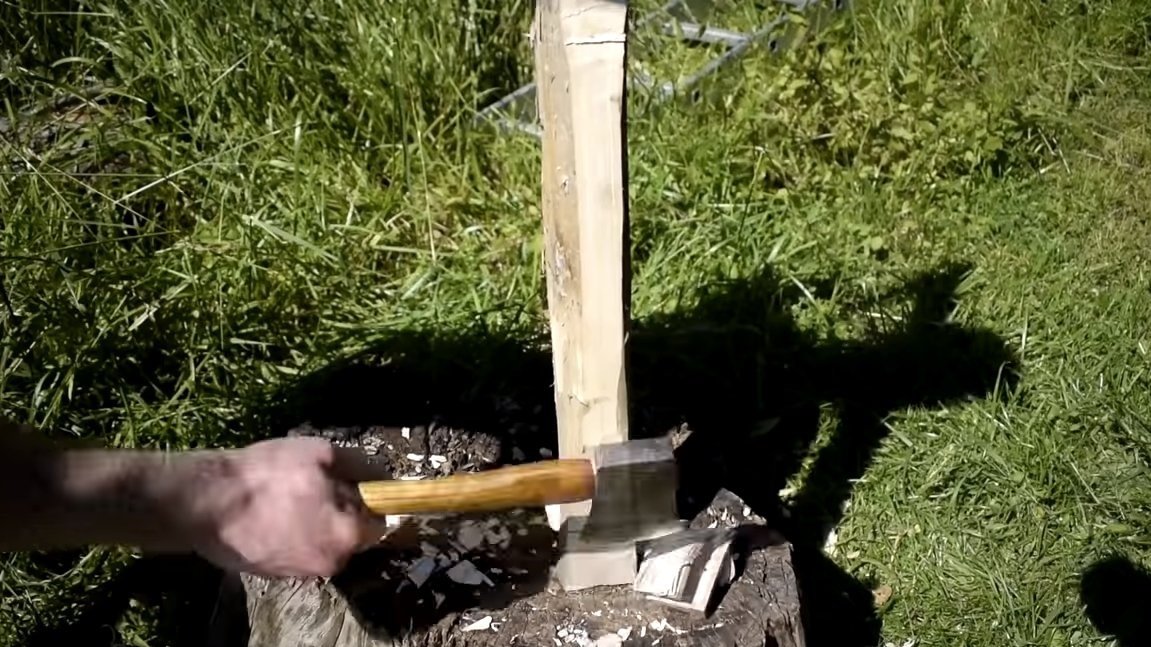
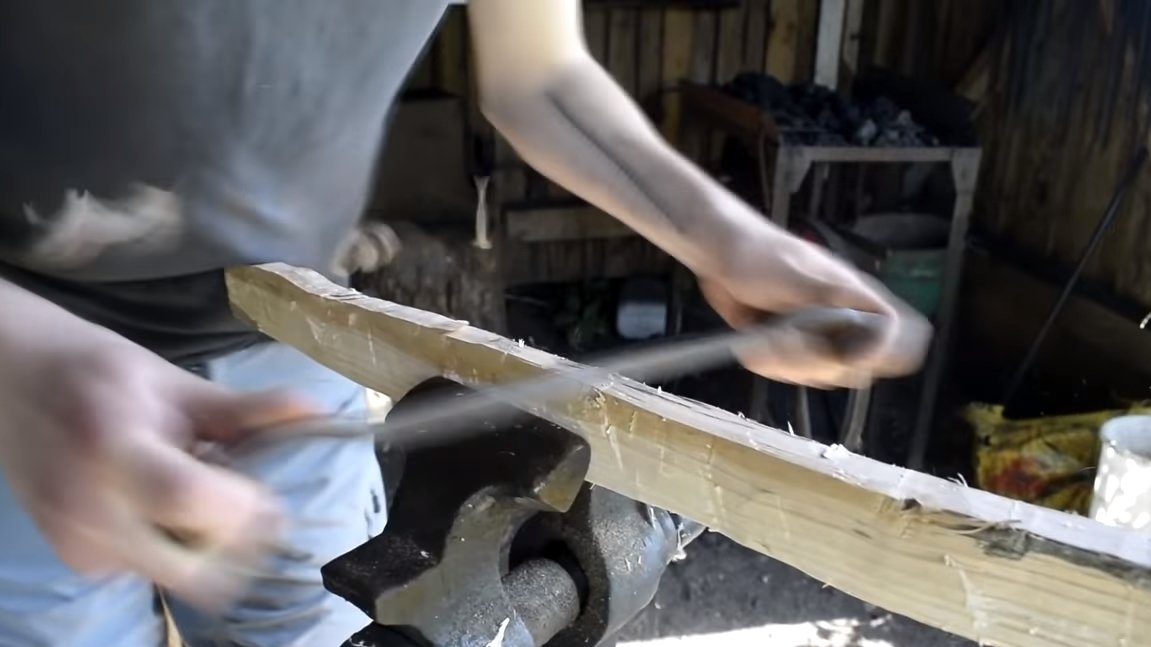
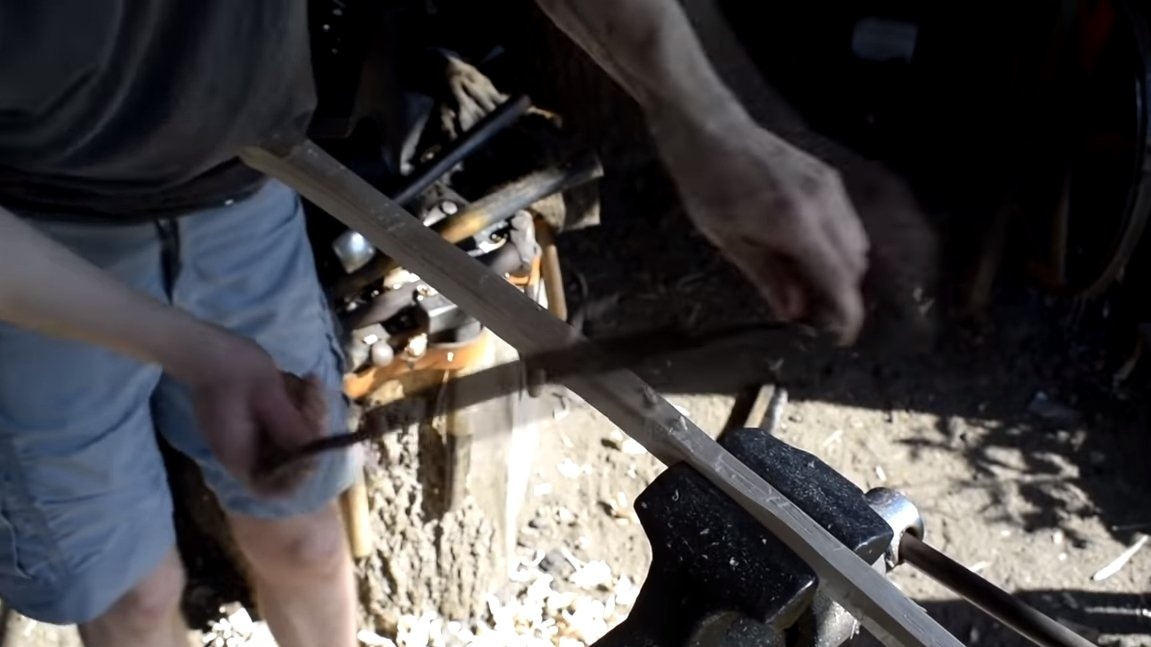
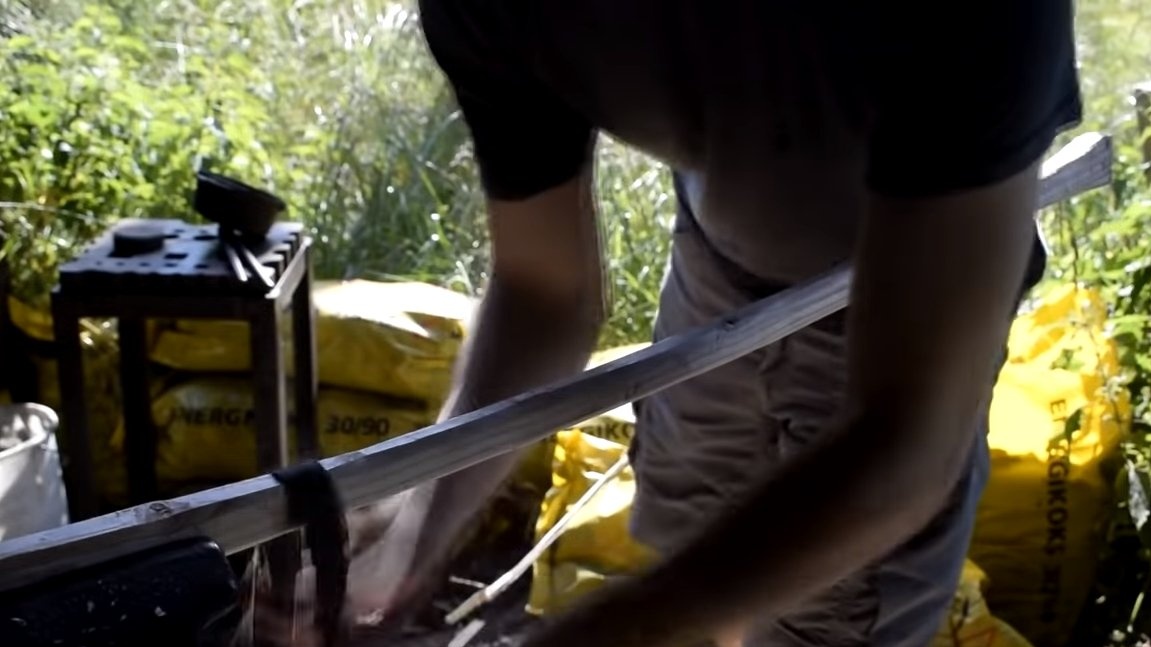
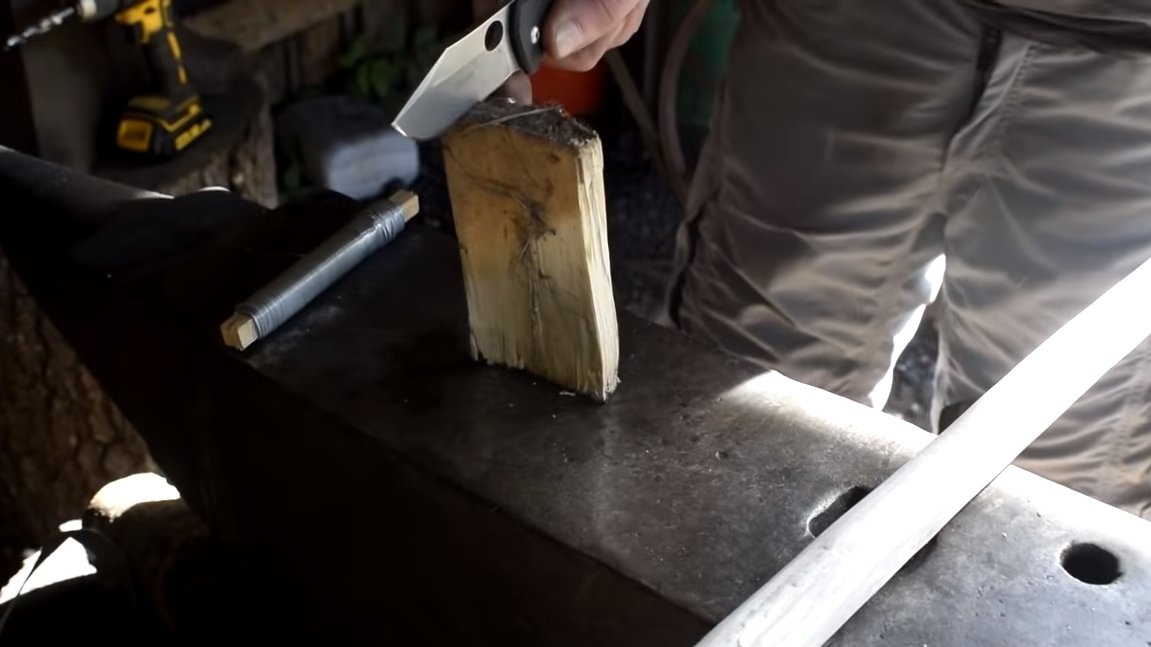
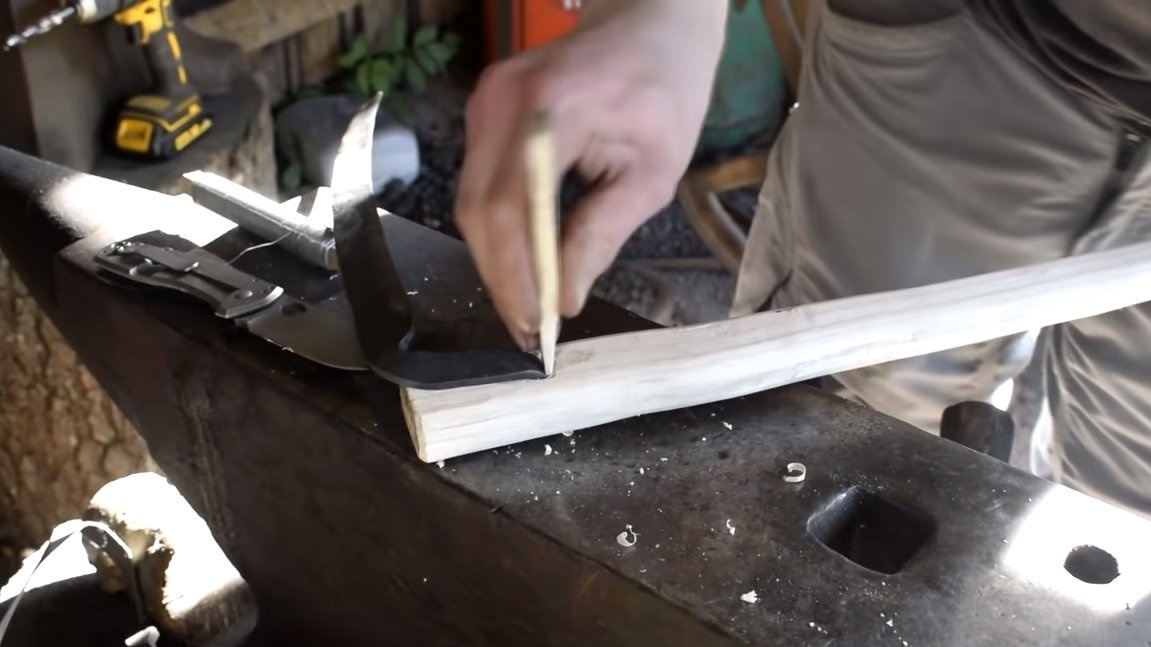
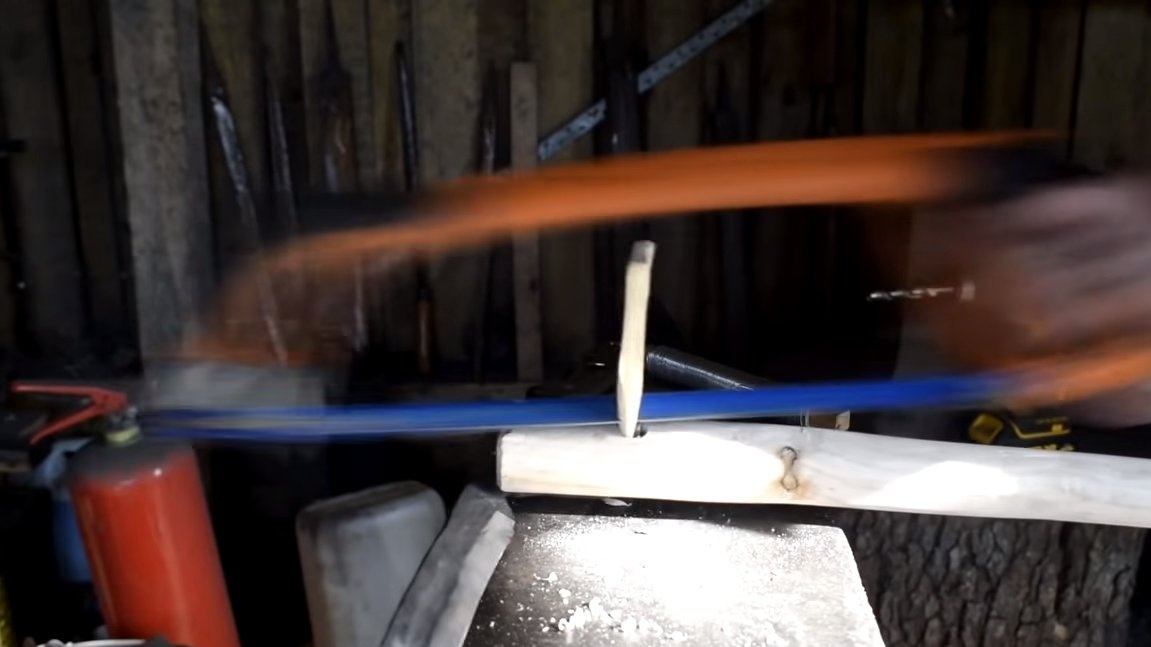
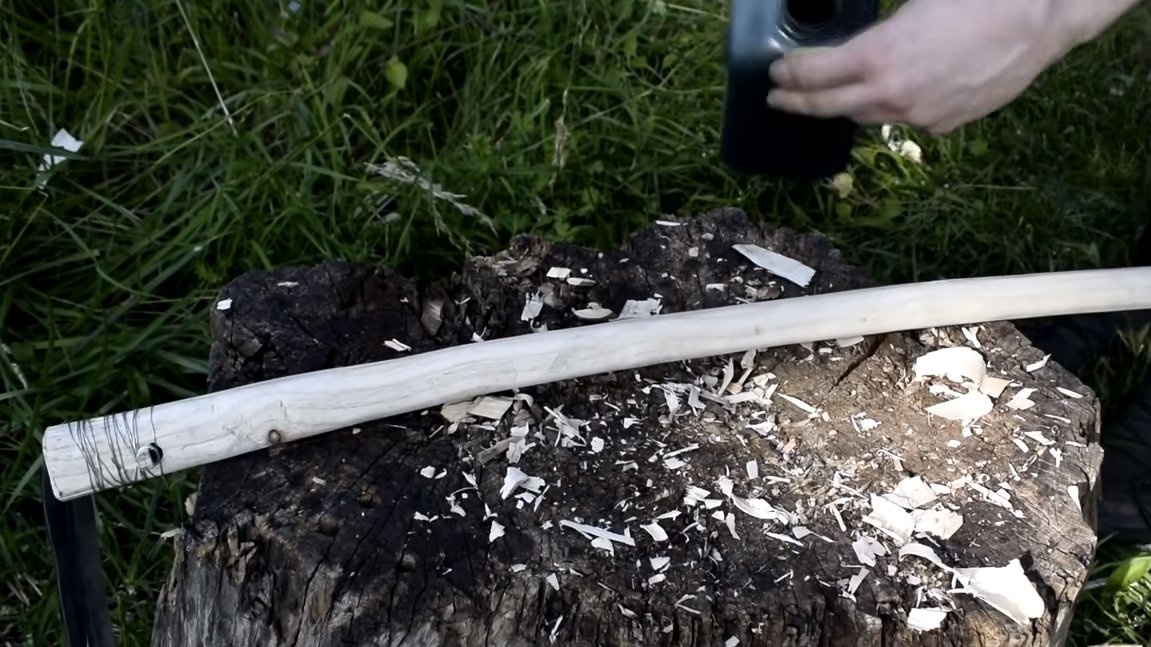
We make a handle for the braid, as a material a piece of a thick board or bar will do. We cut the board to the desired length and cut it with an hatchet, setting the primary profile for the handle. Next, the brace will come to our aid, with the help of it we form the final profile of the handle. At the end, we polish the handle with large sandpaper to remove sharp edges, burrs, and so on. It is not advisable to smooth the handle; it can slide in the hands.

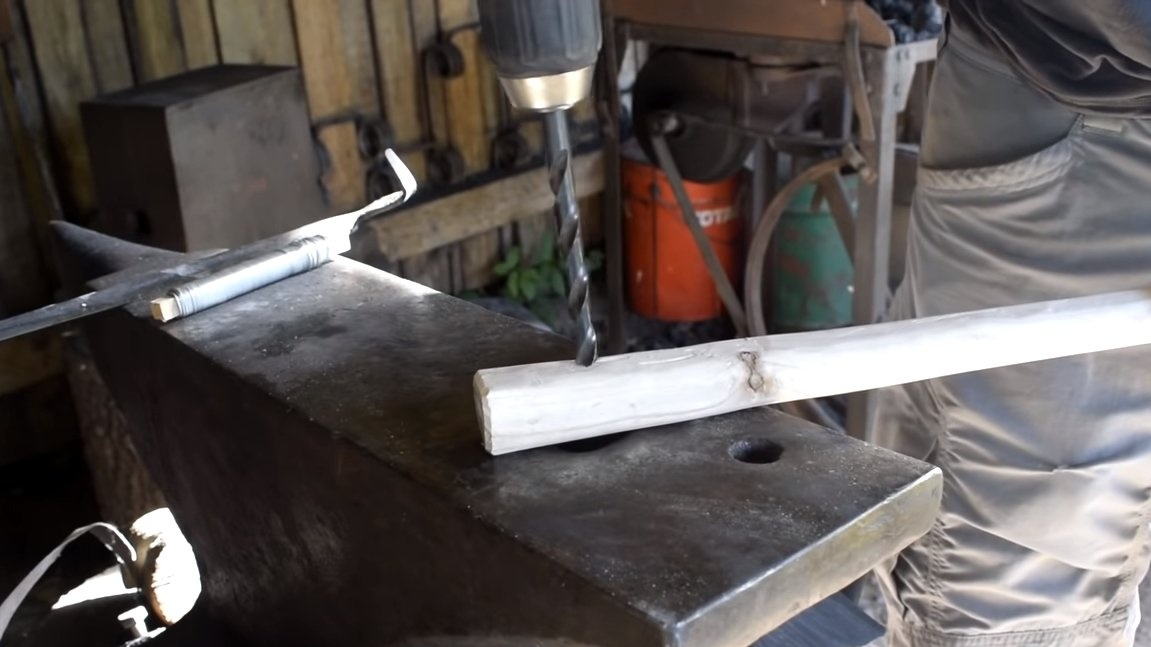
Step Six Assembly and testing
At the end of the handle, you need to drill a hole, insert the spike spike here and hammer a good peg. The wedge is best to hammer on carpentry glue, then everything will hold on very reliably. As an additional measure, the author fixed the braid with wire, but usually an iron ring is put here and a wedge is hammered.
So that the pen does not absorb water and dirt along with it, the author impregnated the tree with oil.
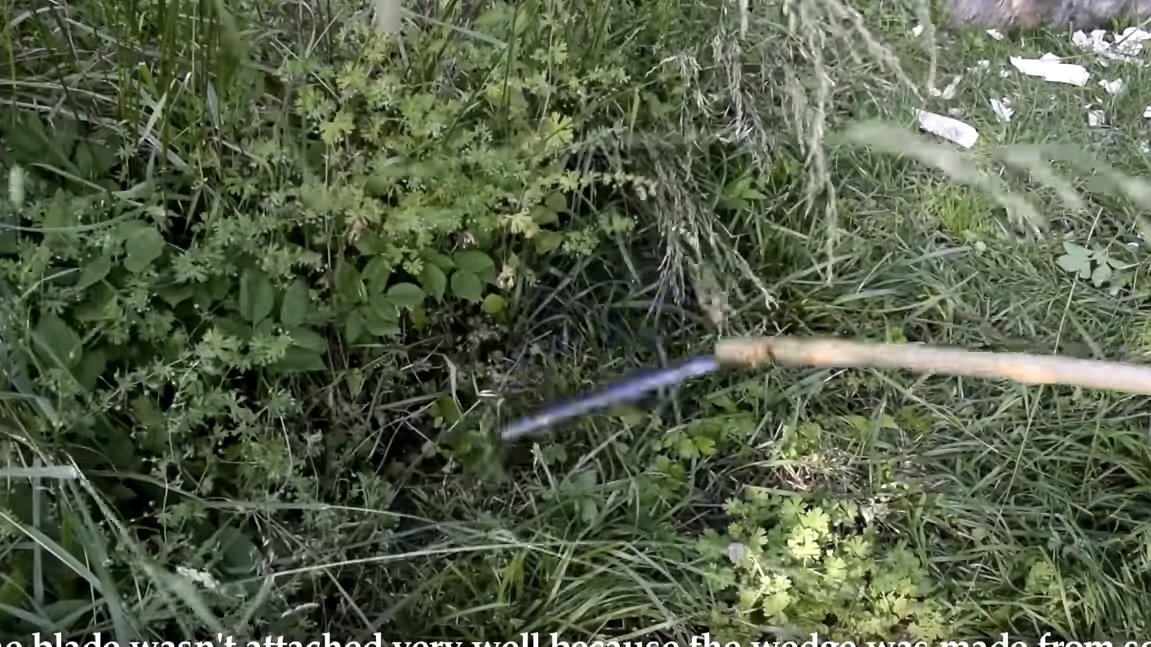
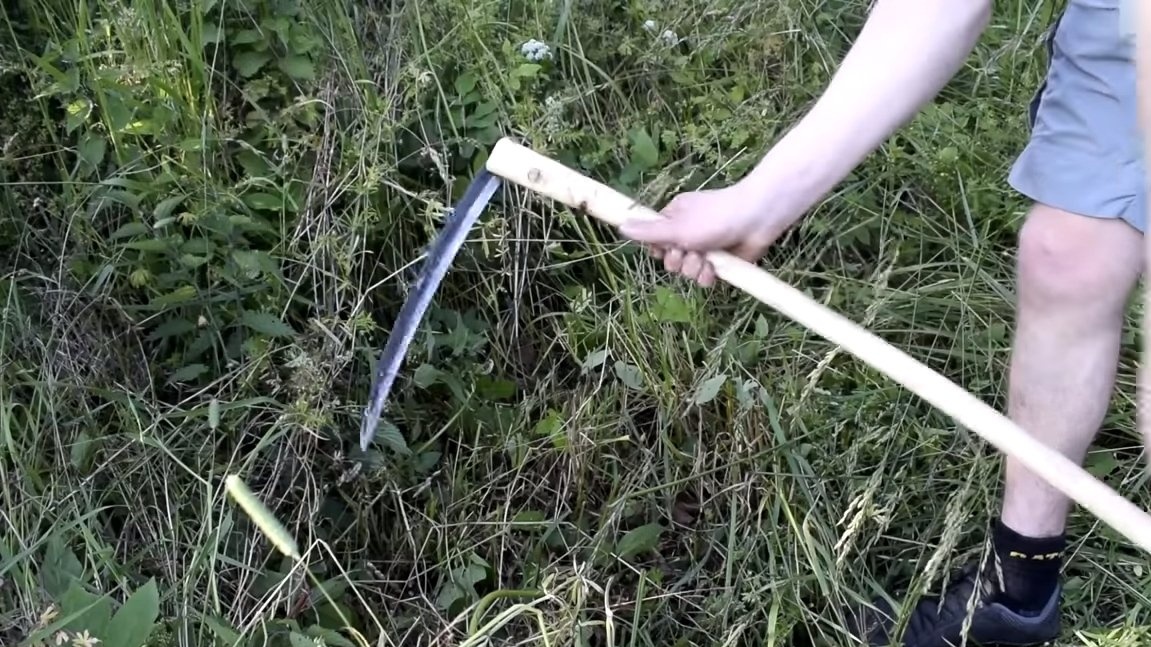
That's all, the scythe is ready, we perform fine grinding with a grindstone and you can mow. Mowing the scythe is normal and holds well on the handle. The author even decided to remove the wire and showed that the braid rests on only one spike. Of course, this is not a very reliable mount, it is better to put an iron ring on top or install a plumbing clamp.
This is the end of the project, I hope you have found useful ideas and thoughts. Good luck and creative inspiration, if you decide to repeat this. Do not forget to share your ideas and homemade things with us!