
Good day to all. Today, the author of the Men's Craft channel will show how he put together such a wall organizer. do it yourself from 110 plastic pipes.
MATERIALS:
Plastic pipe Ø 110 mm;
Plywood;
Wood screws;
Piece of board;
Not large door hinges;
INSTRUMENTS:
Angle grinder;
Screwdriver;
Drill;
Jigsaw.
Cutting wheel:
Ruler;
Masking tape;
Marker;
Square;
Sandpaper;
Stationery knife;
Face Saw;
Gas-burner;
Metal brush;
Drill;
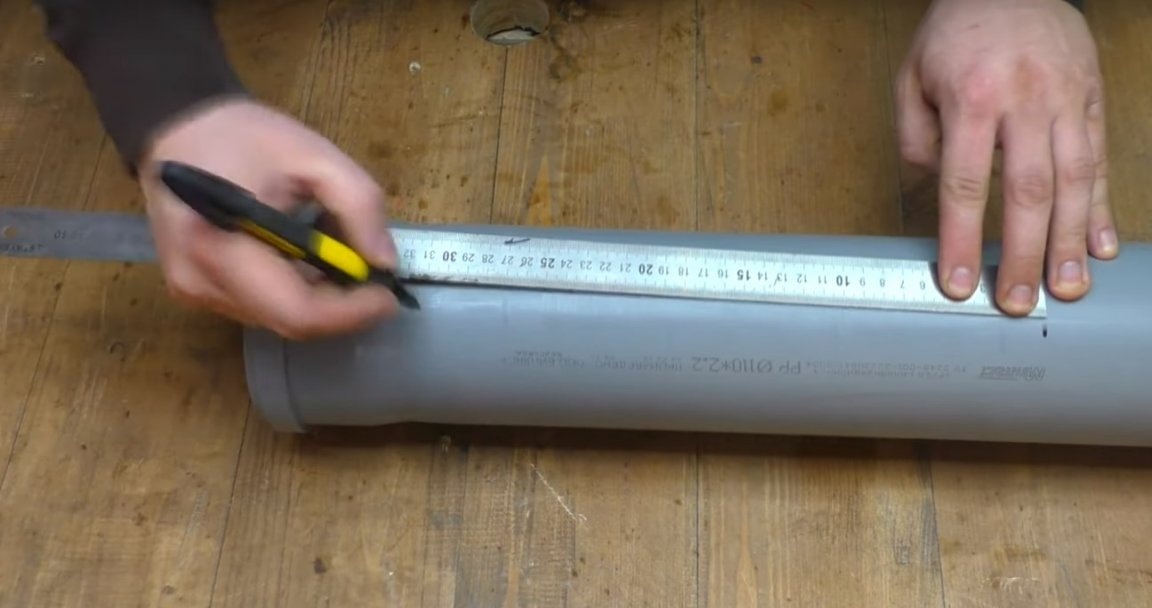
The author took the pipe and cut three pieces of 320 mm from it each.
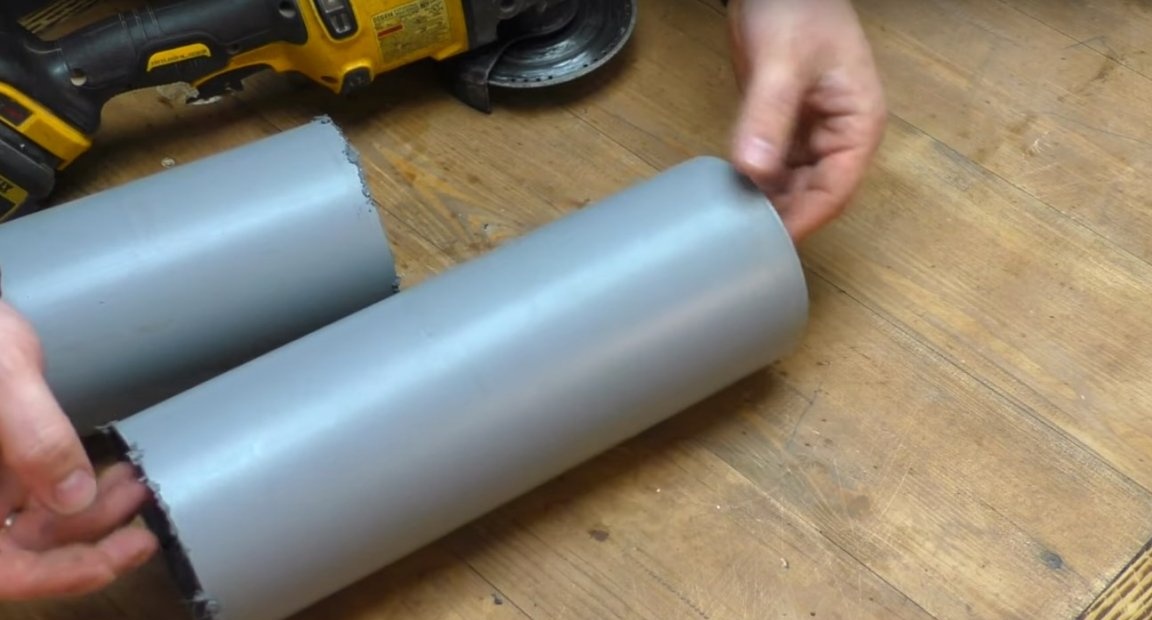
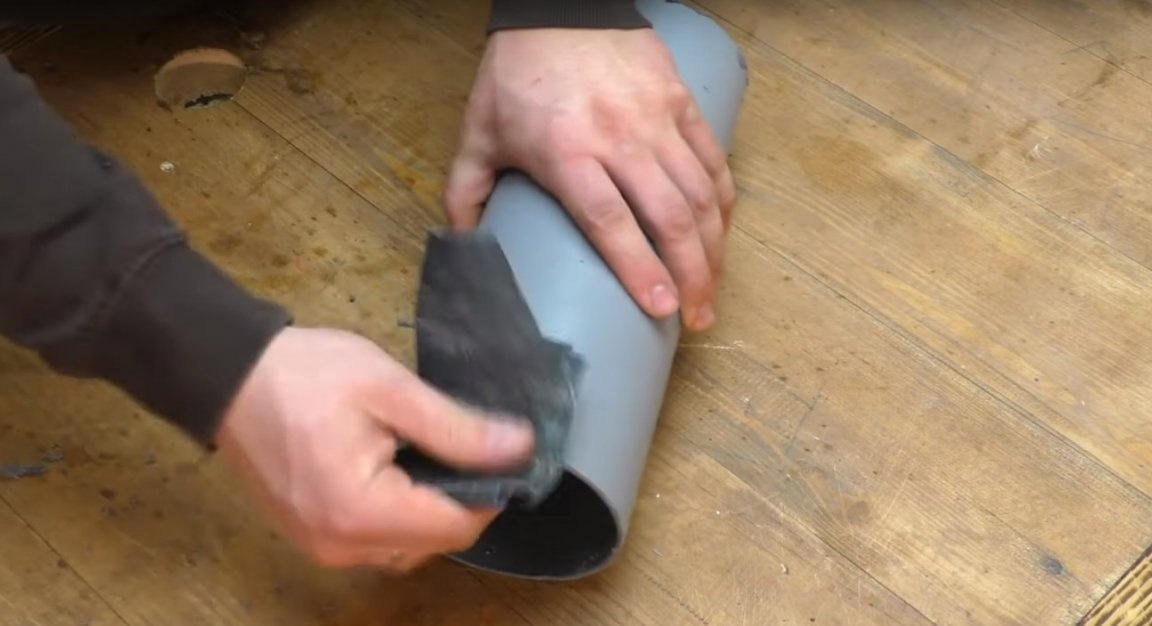
And processed the edges with sandpaper.
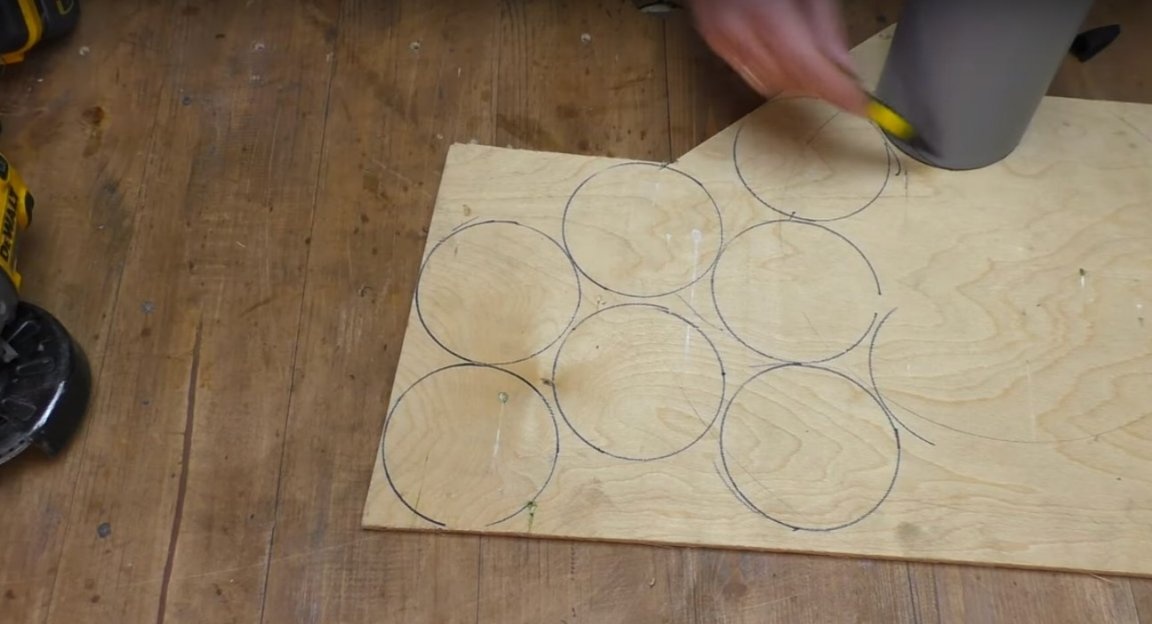
Then he took the plywood, pipe and marker.

And put on the plywood such a markup.
Next, cut out these details.
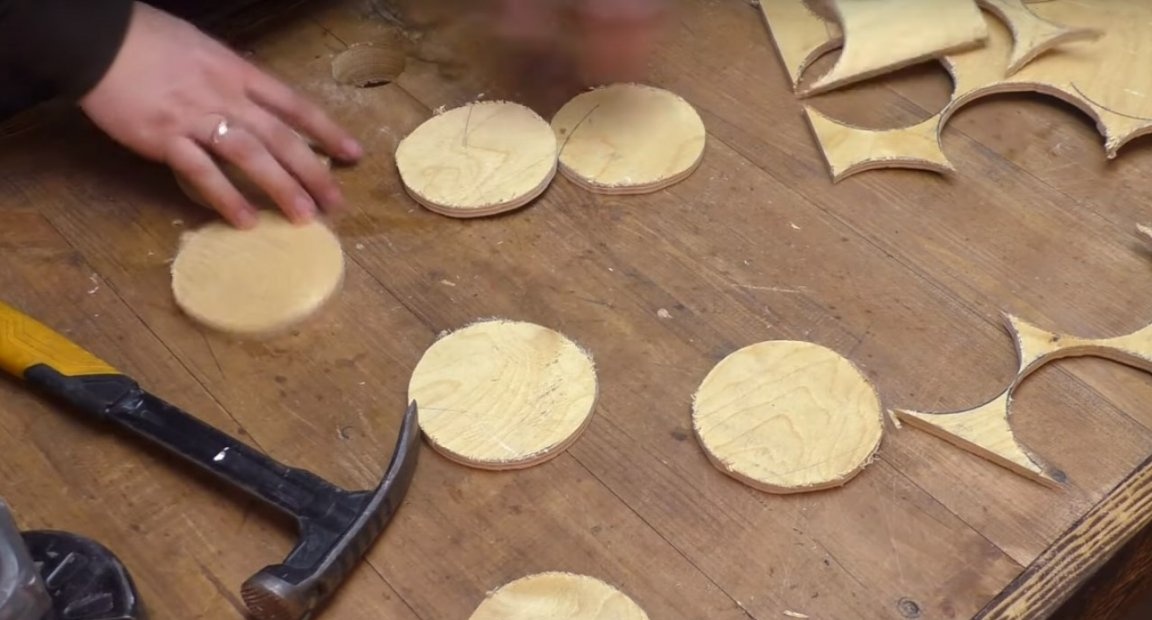
Then he processed these plywood circles with sandpaper.
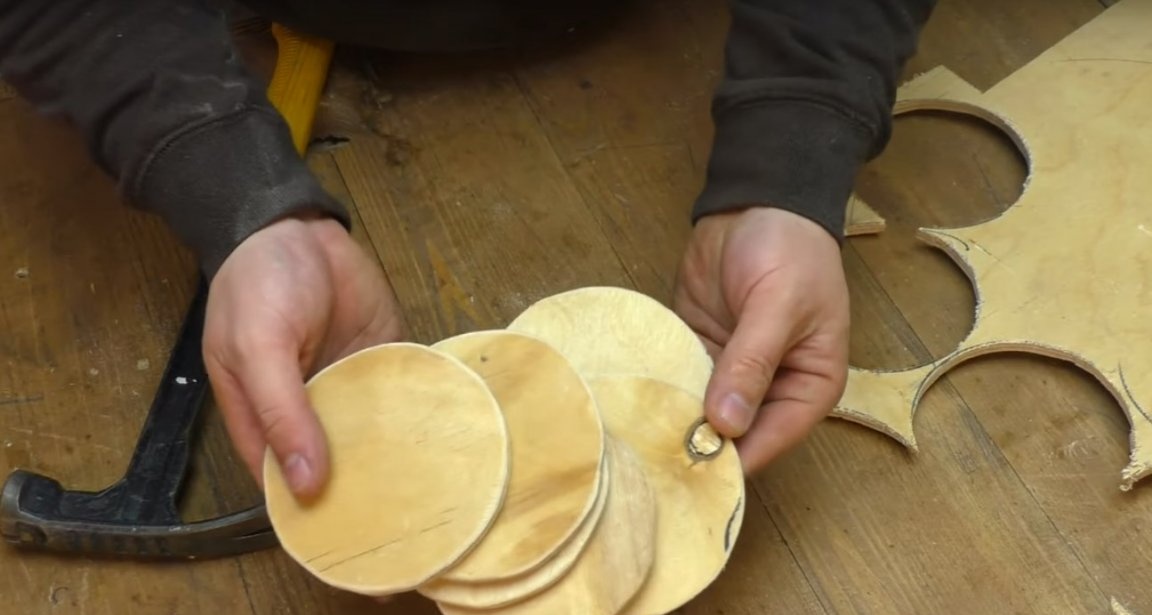
After made such a markup.

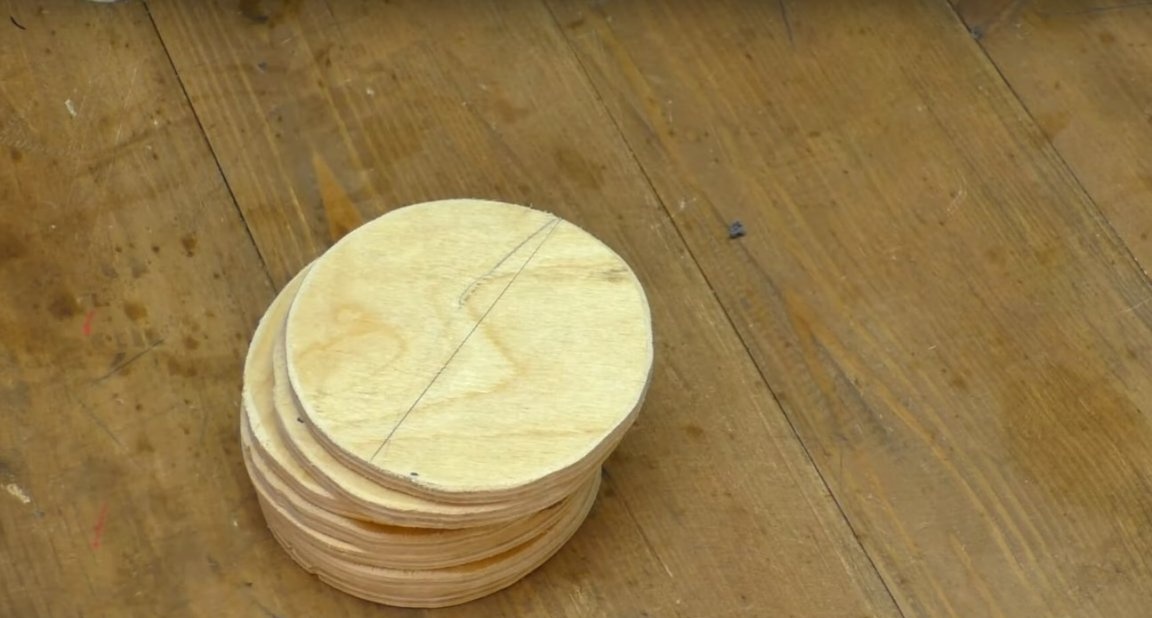
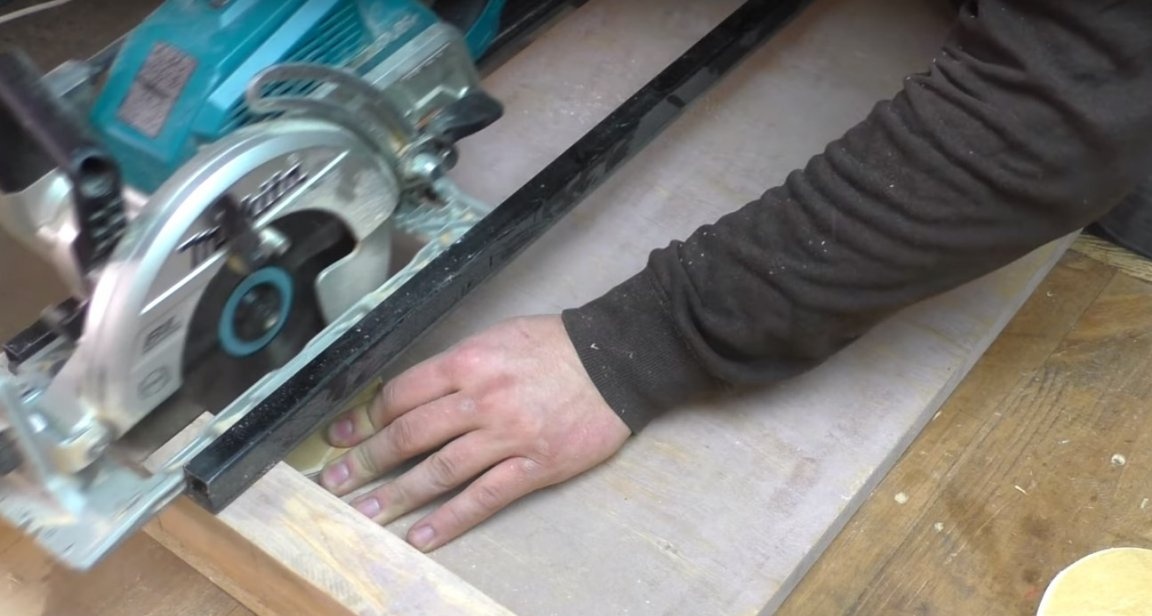
And with the help of an end saw, sawed circles in half.

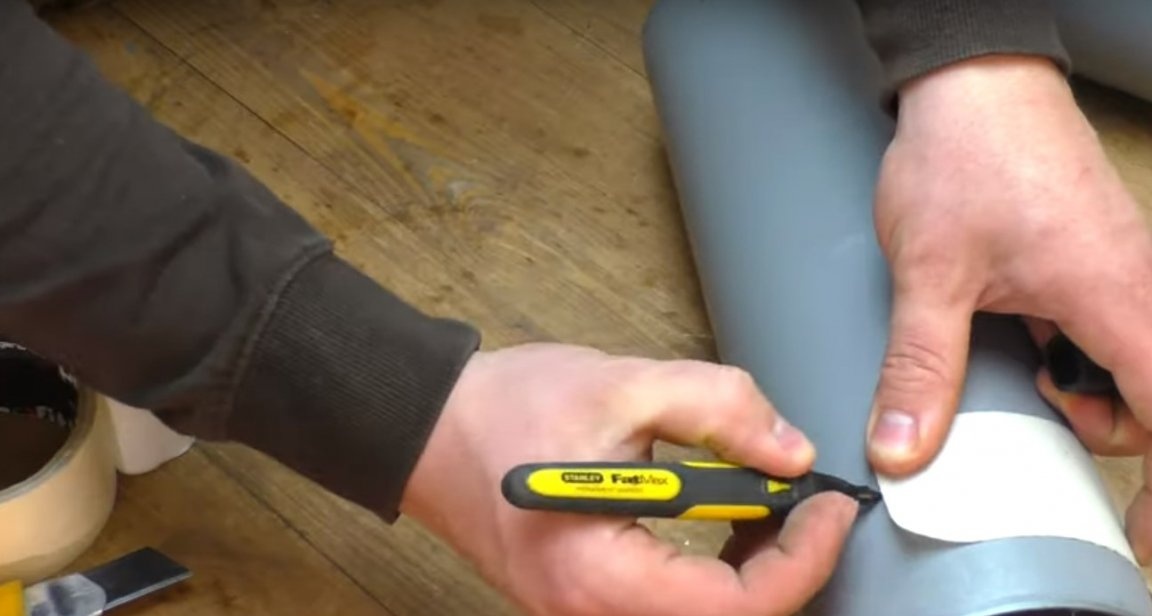
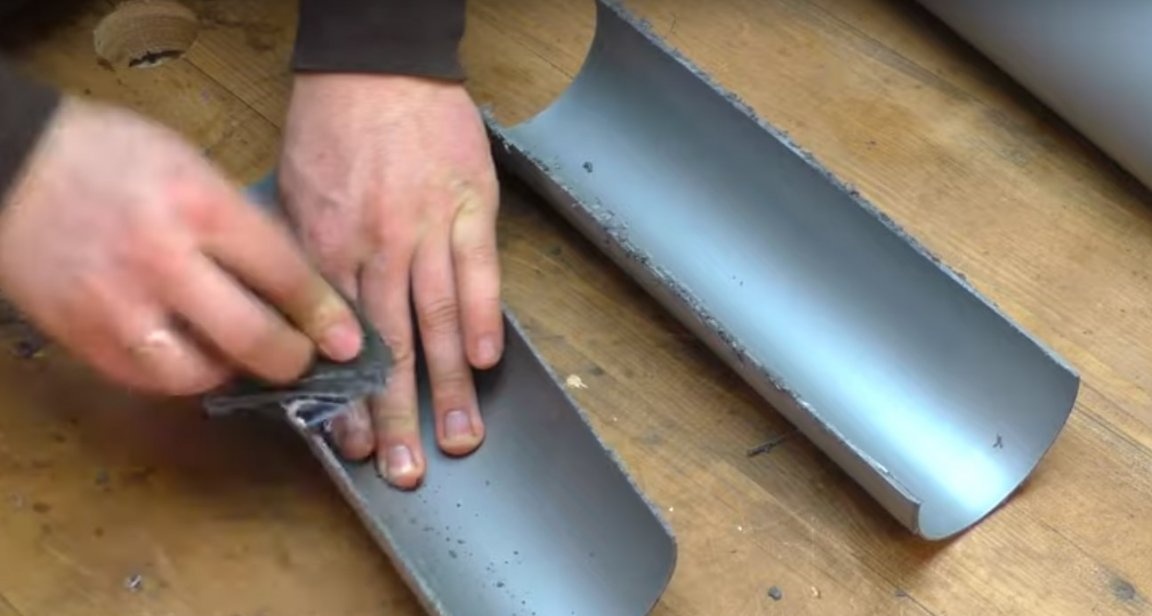
Then, the author needed to cut evenly along the pipe pieces. To do this, he wrapped the pipe with adhesive tape in one layer.
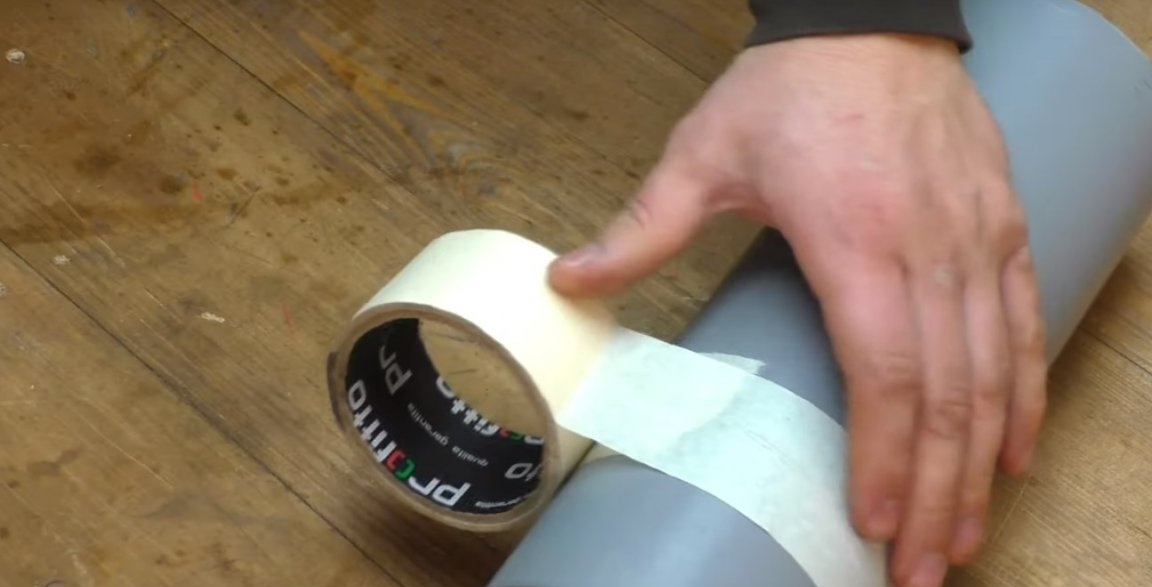
After he cut off the excess with a knife.
Then, he removed the tape from the workpiece and folded it in half.
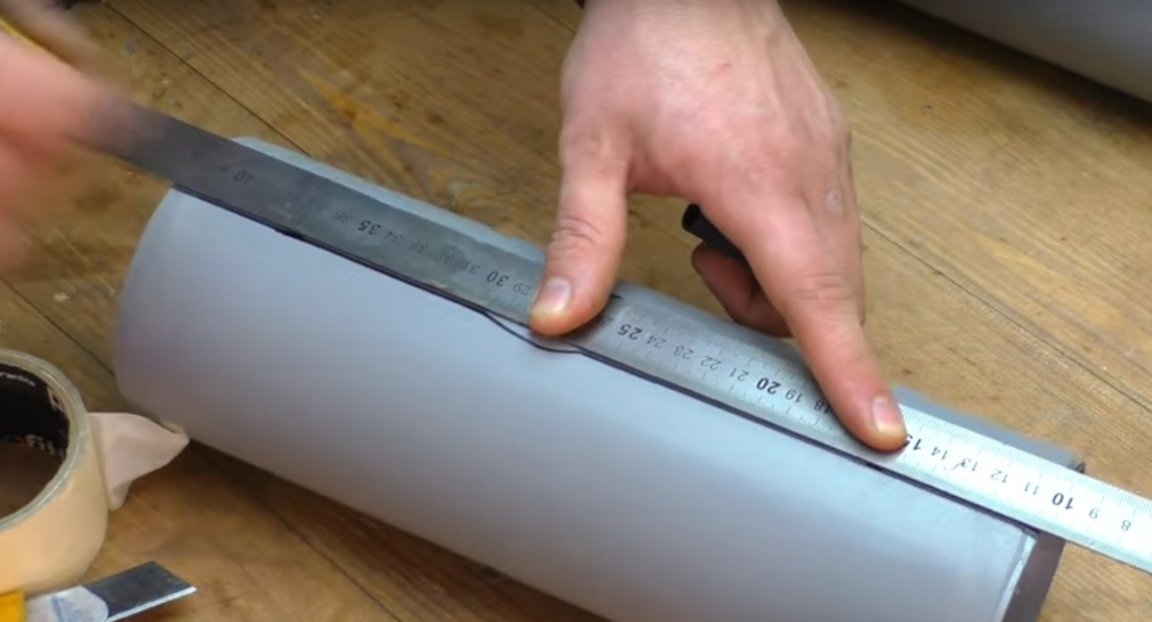
After he drew a marker on a straight line on each pipe.
Next, I made the markup using folded tape.
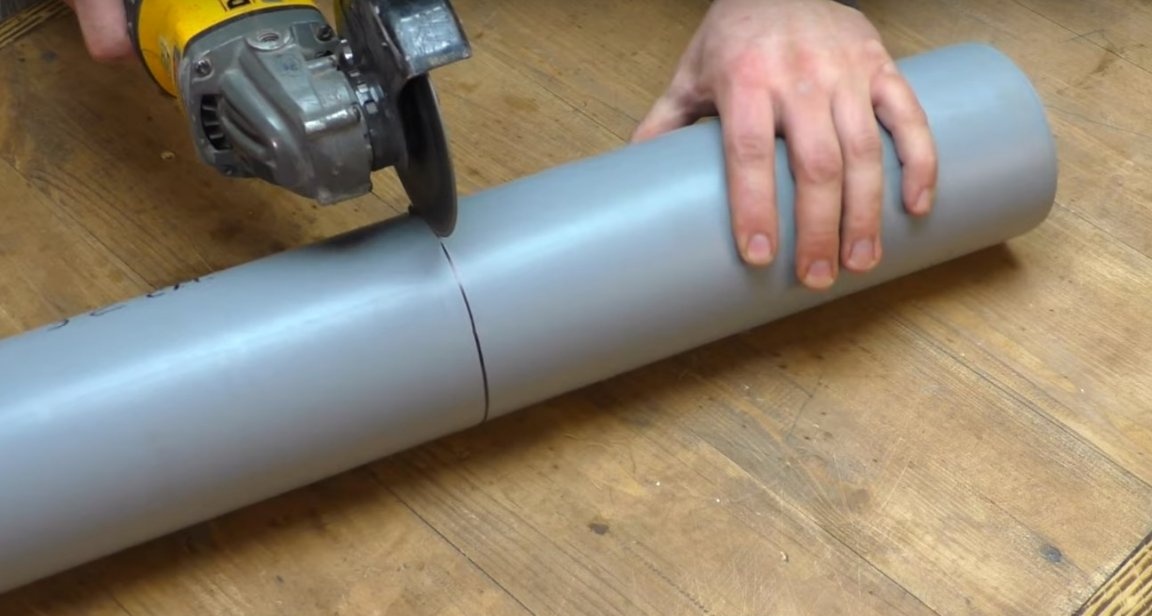
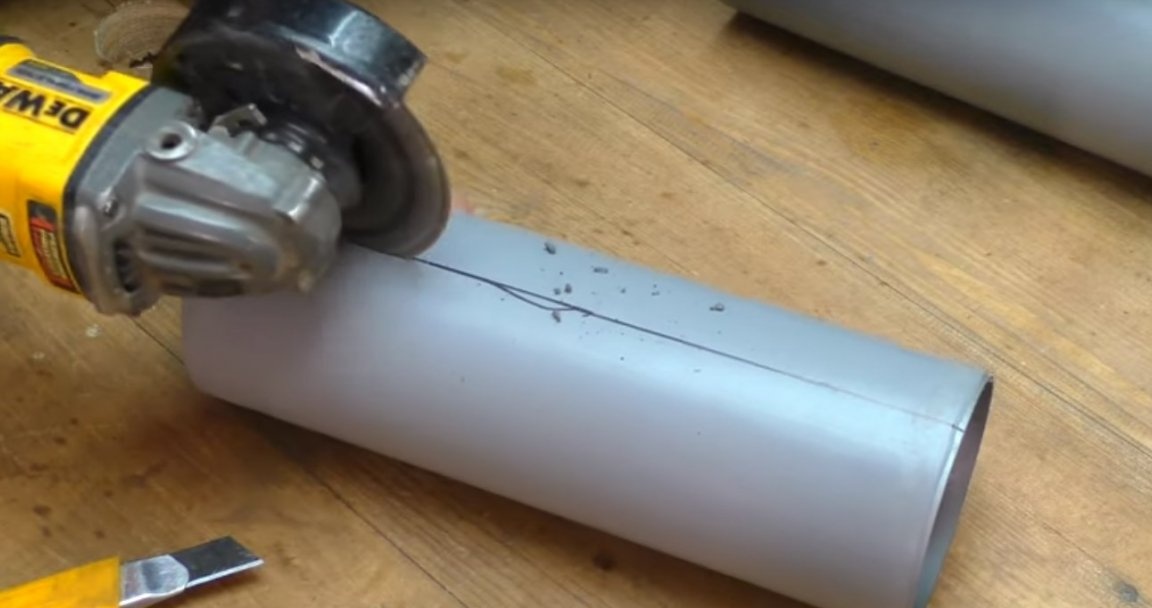
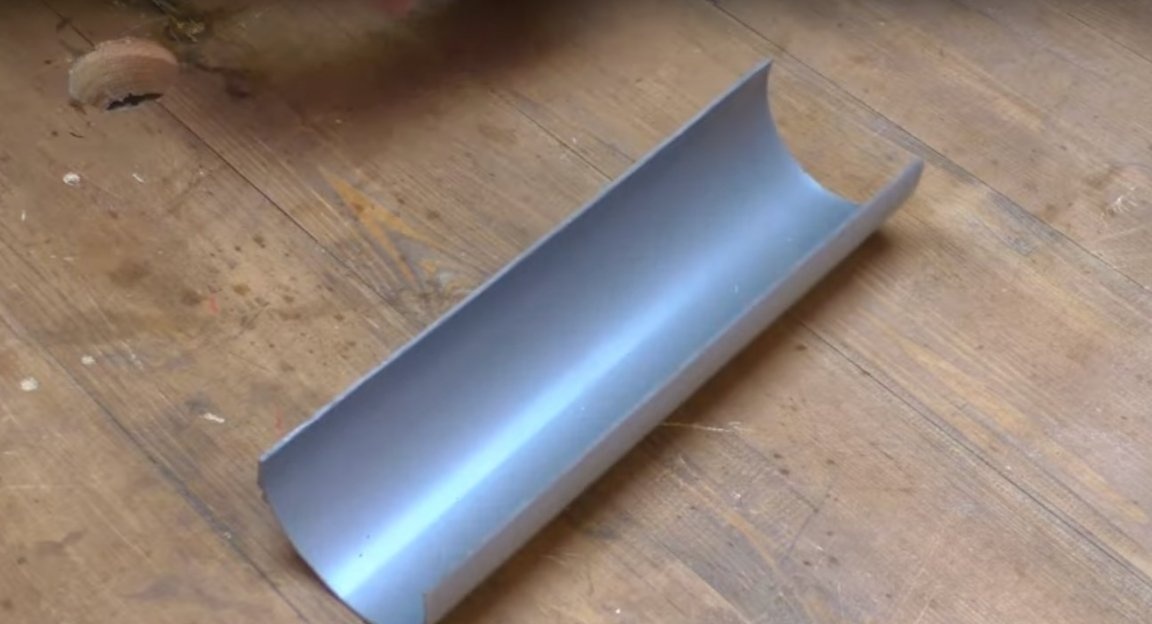
Then he cut the pipes according to the marking.
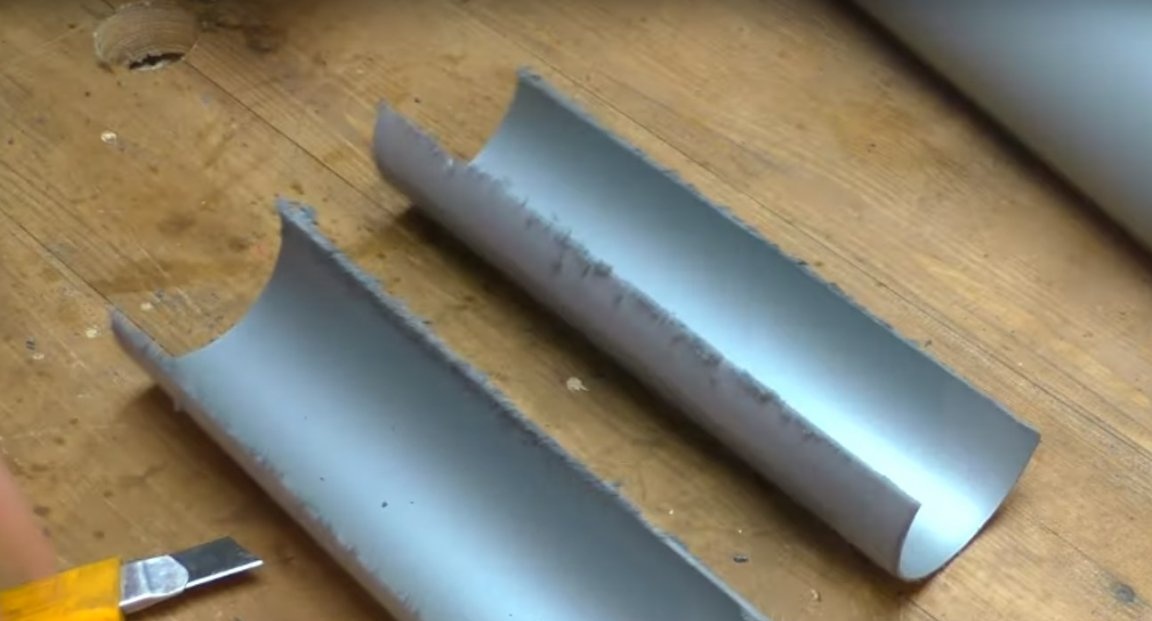
Then he worked the edges with a knife and sandpaper.
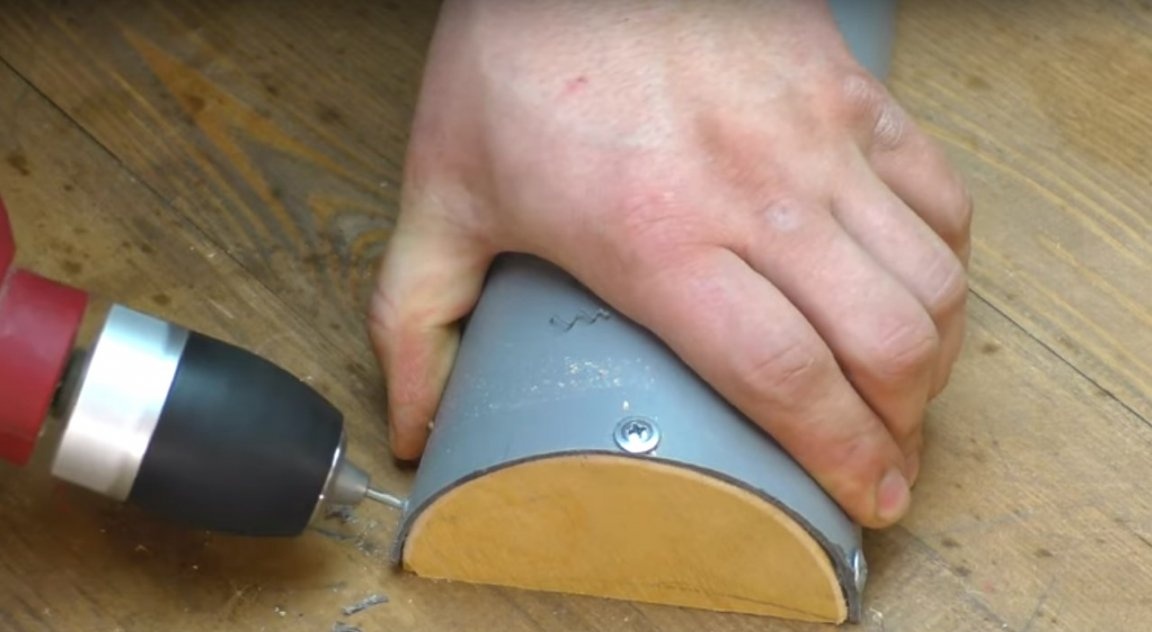
Then he installed the part from plywood into the workpiece from the pipe.
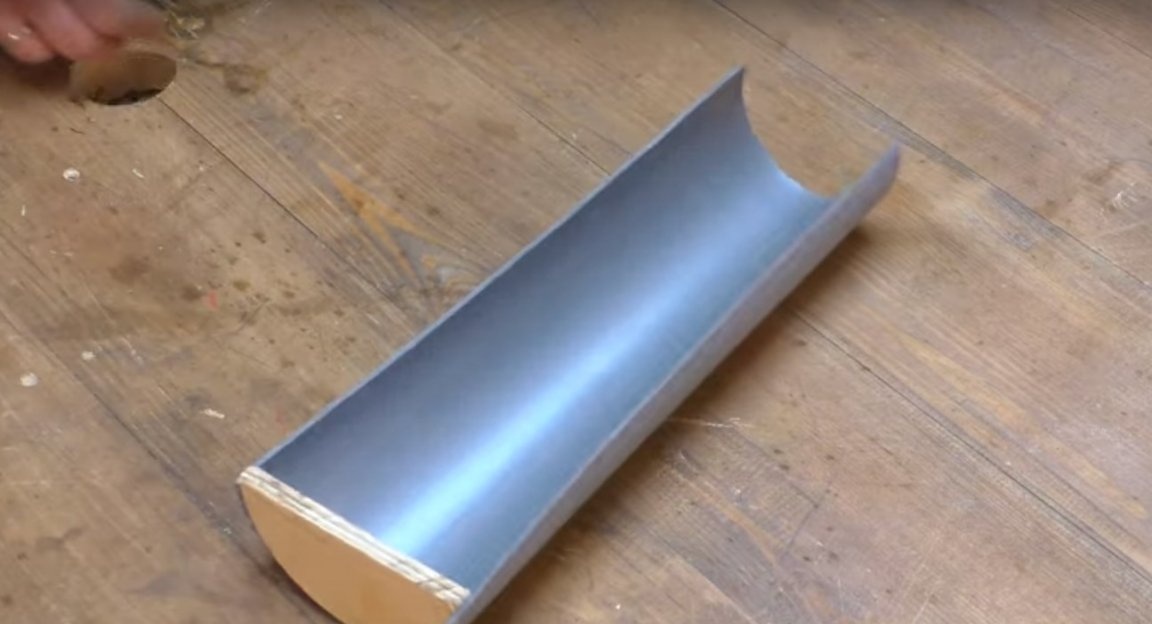
And secured it with screws.
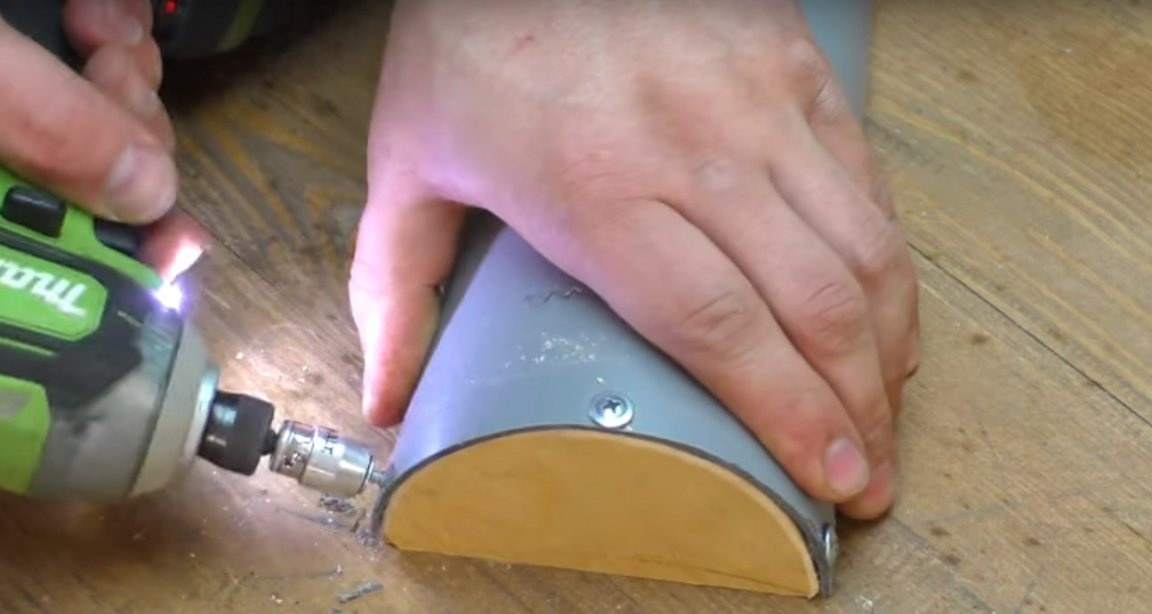
Having previously made holes for them.
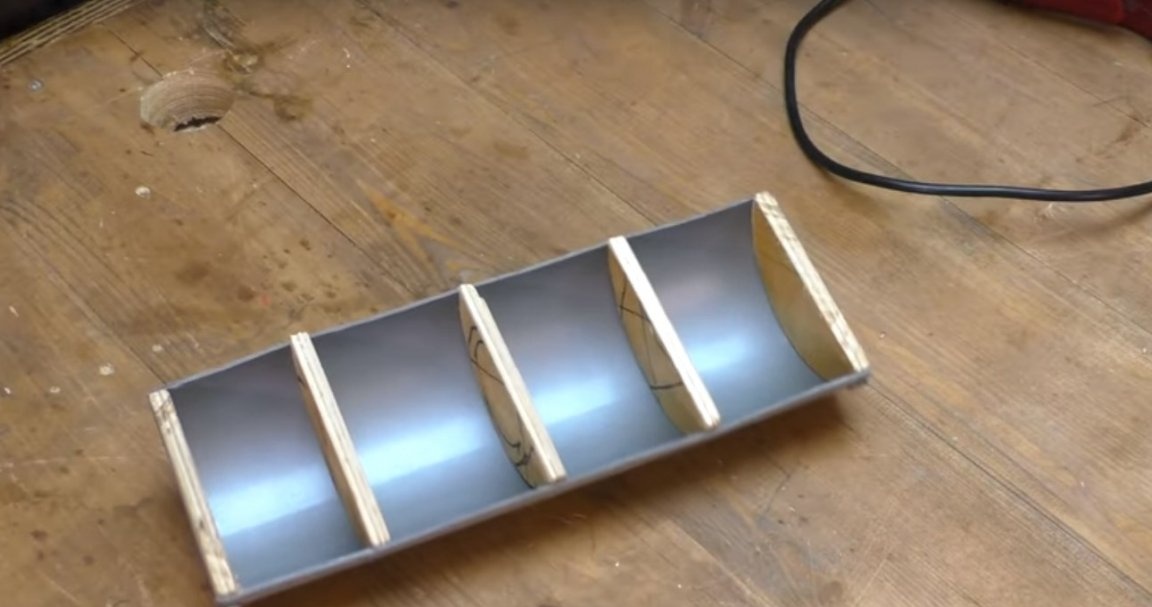
In the same way, the author installed and fixed four more details from plywood.
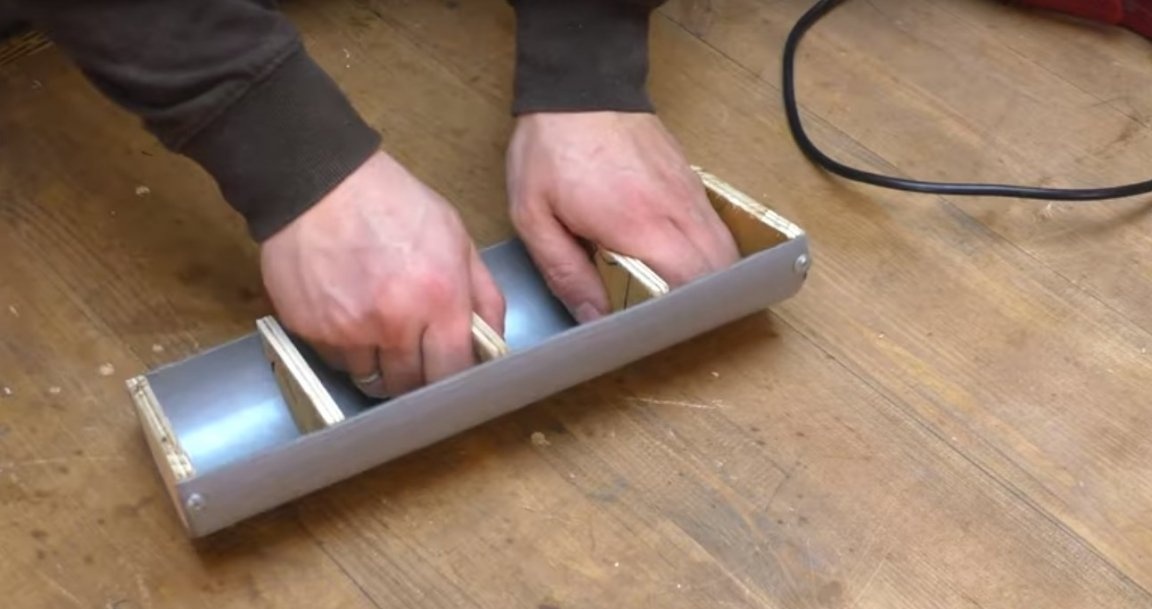
The author made four such parts.
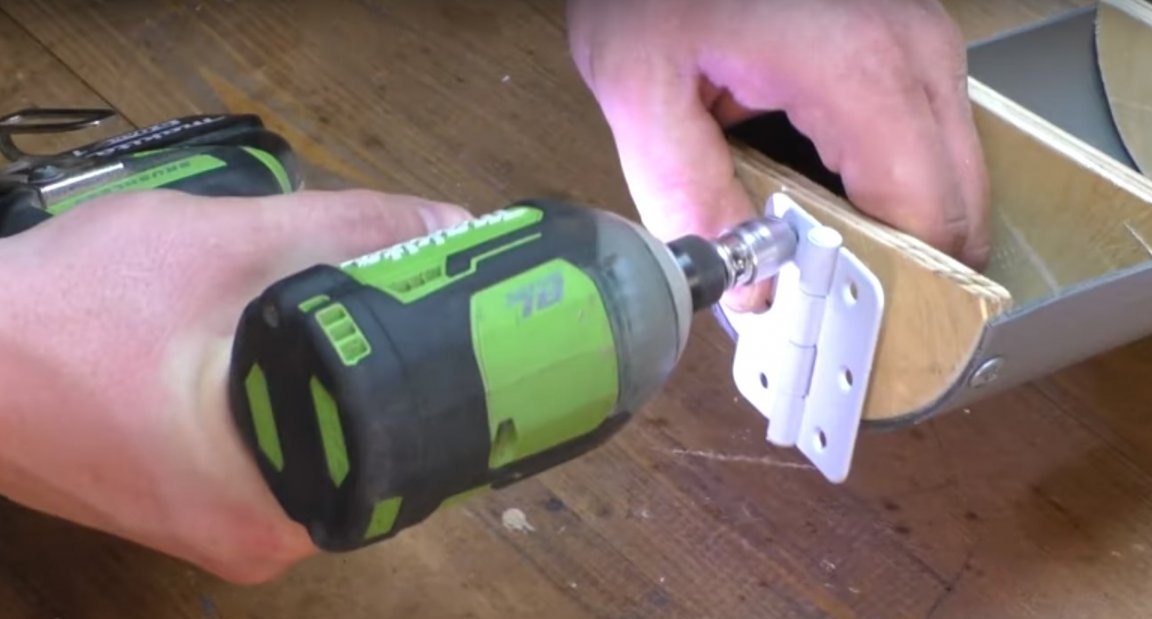
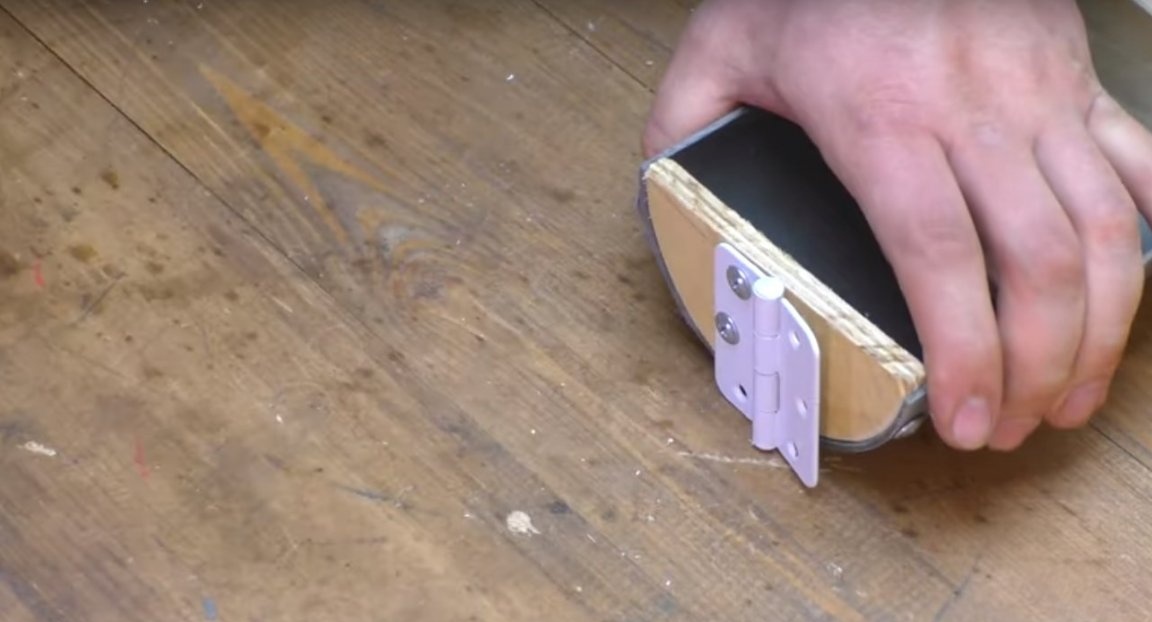
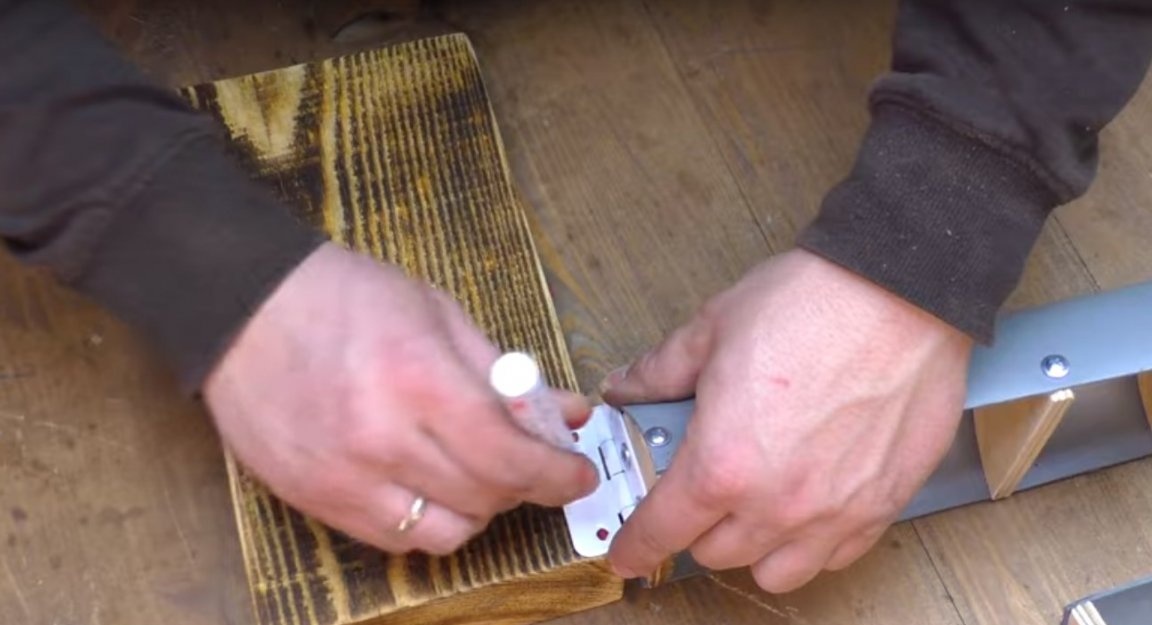
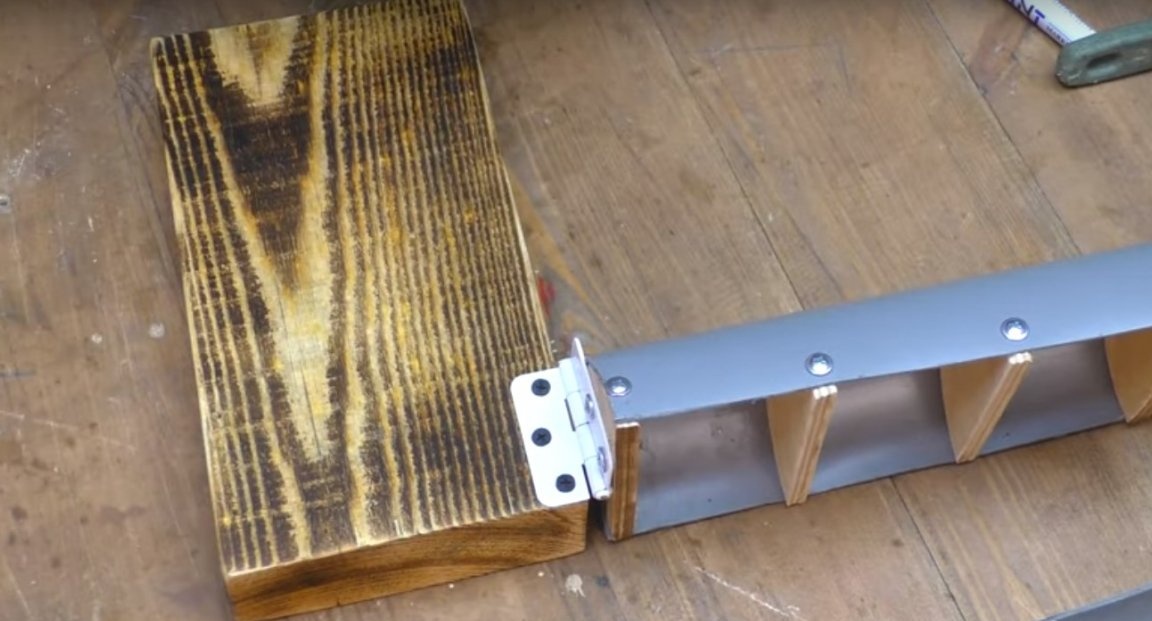
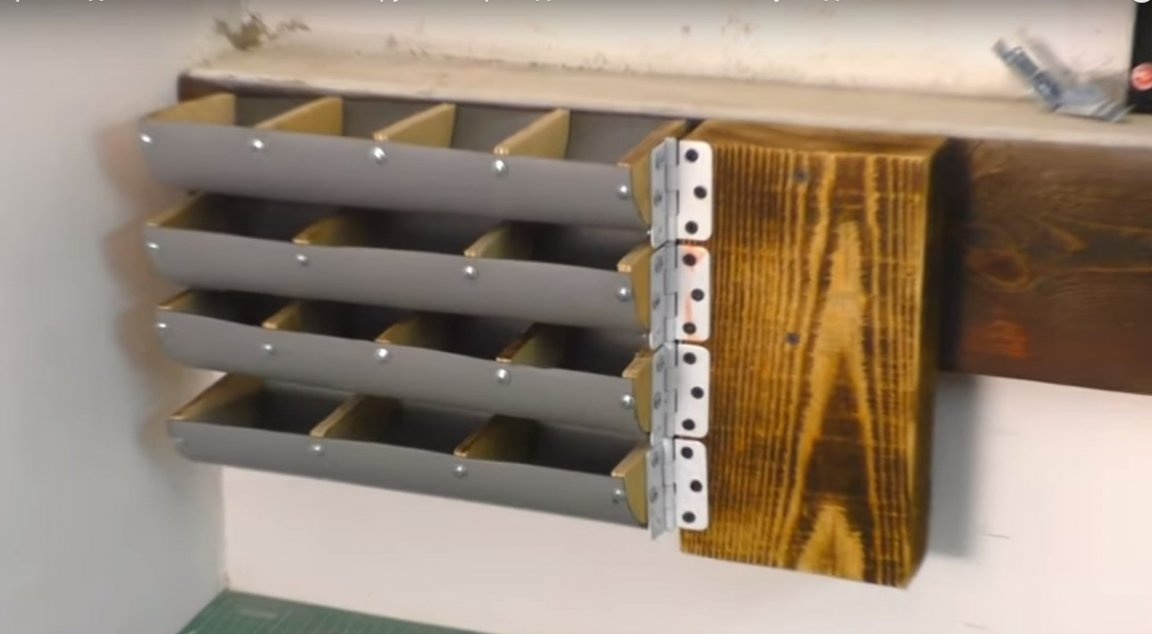
After, he fastened one door hinge to each of them, as shown in the photo.
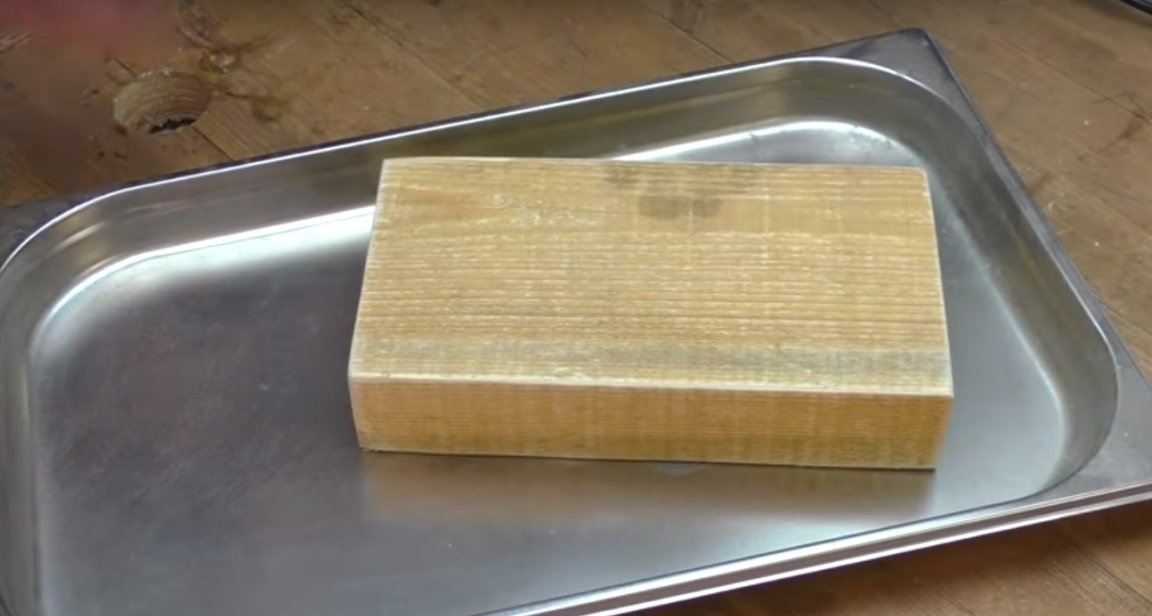
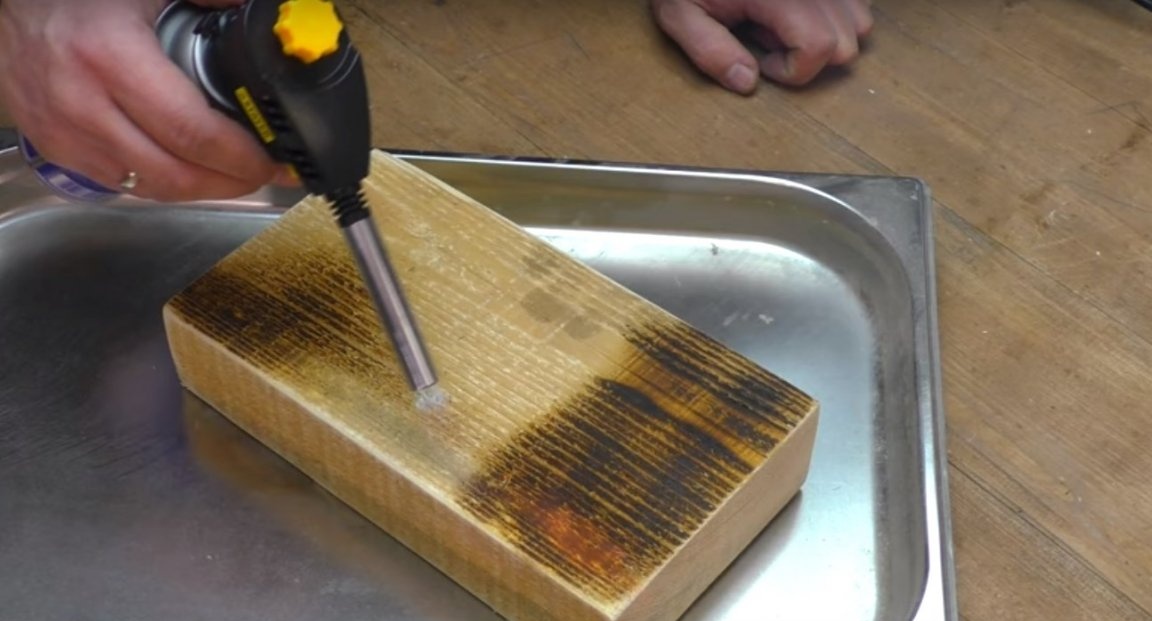
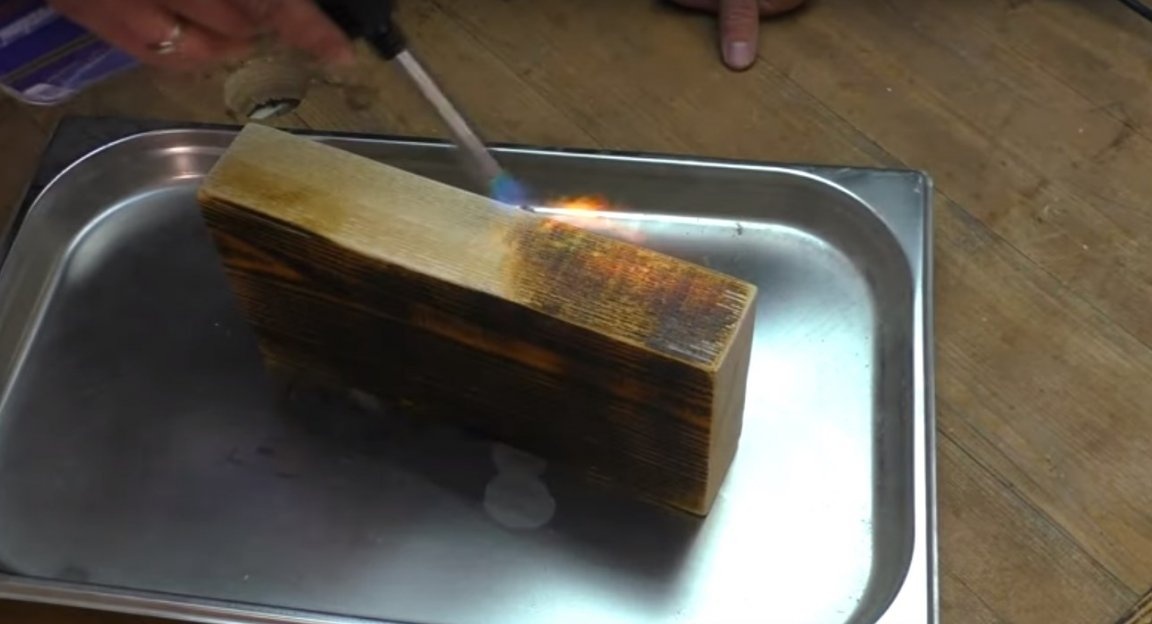
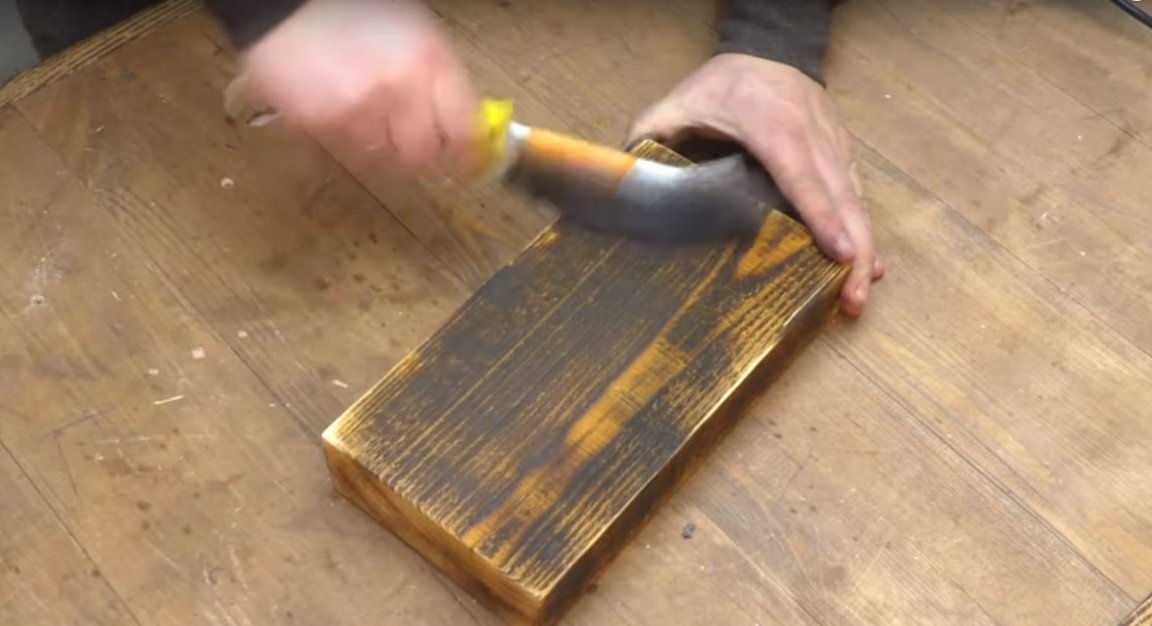
Then, he took a piece of the board and burned it a bit with a burner.
After he brushed it with a metal brush.
Then I made the markup.
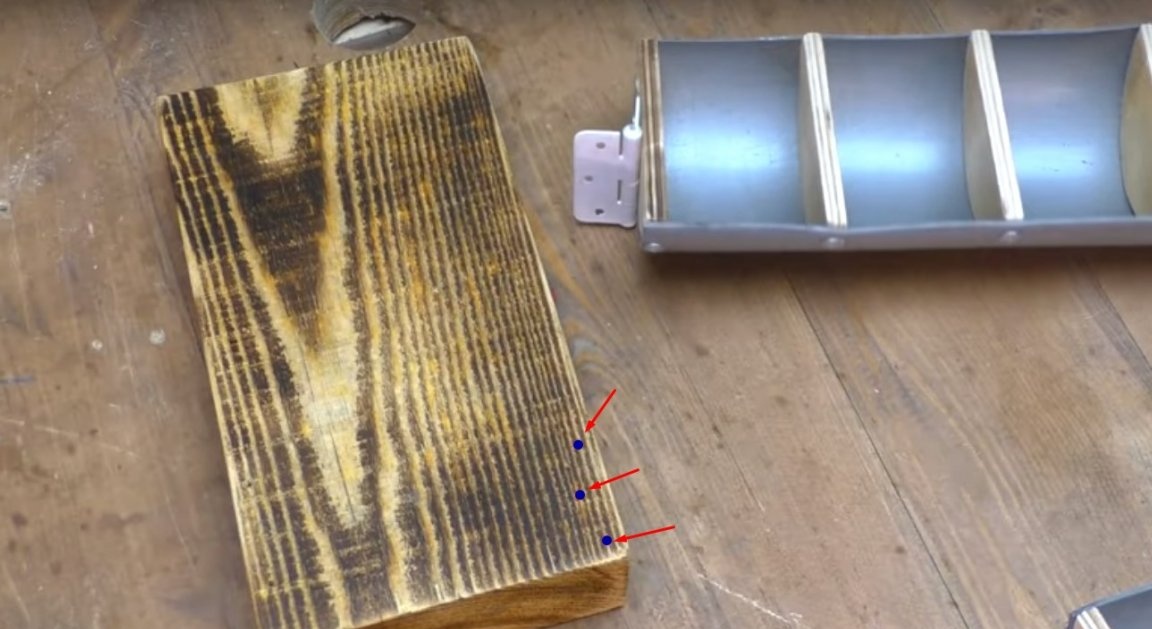
After he made holes for the screws.
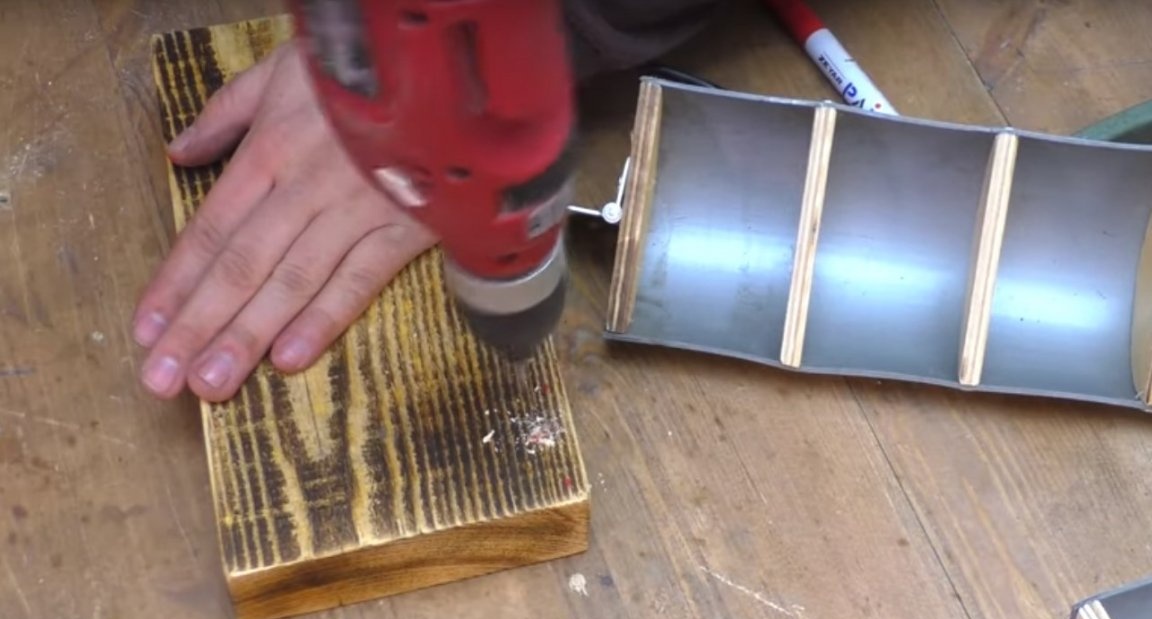
And screwed to the board, the finished part from the pipe.
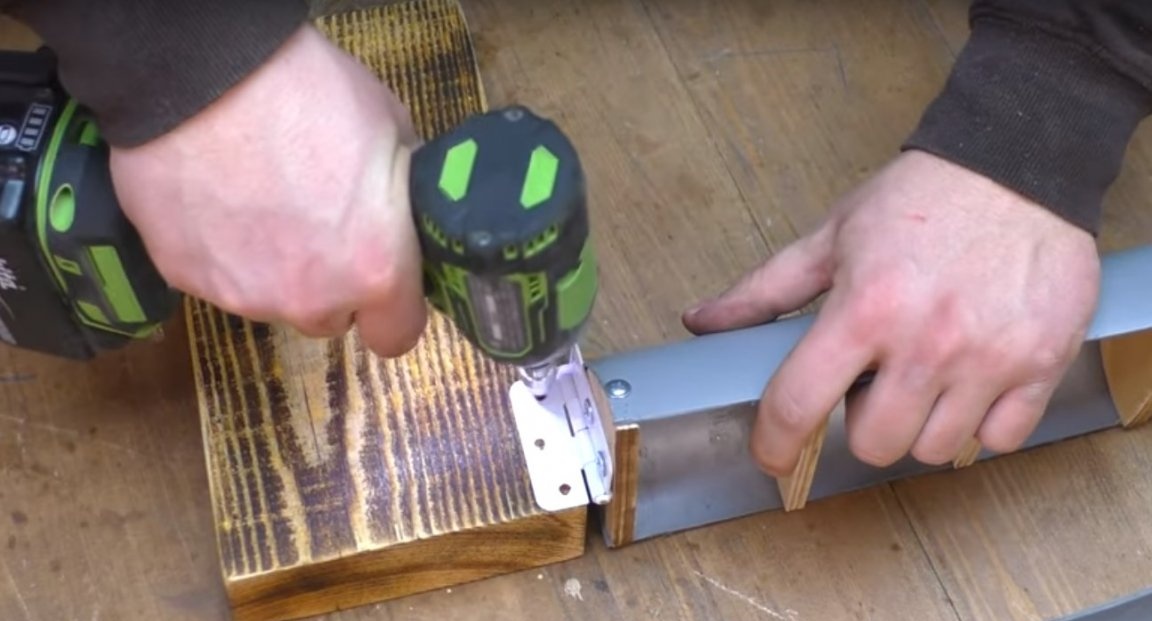
Like this.
After the author, attached the board to the wall in a suitable place.
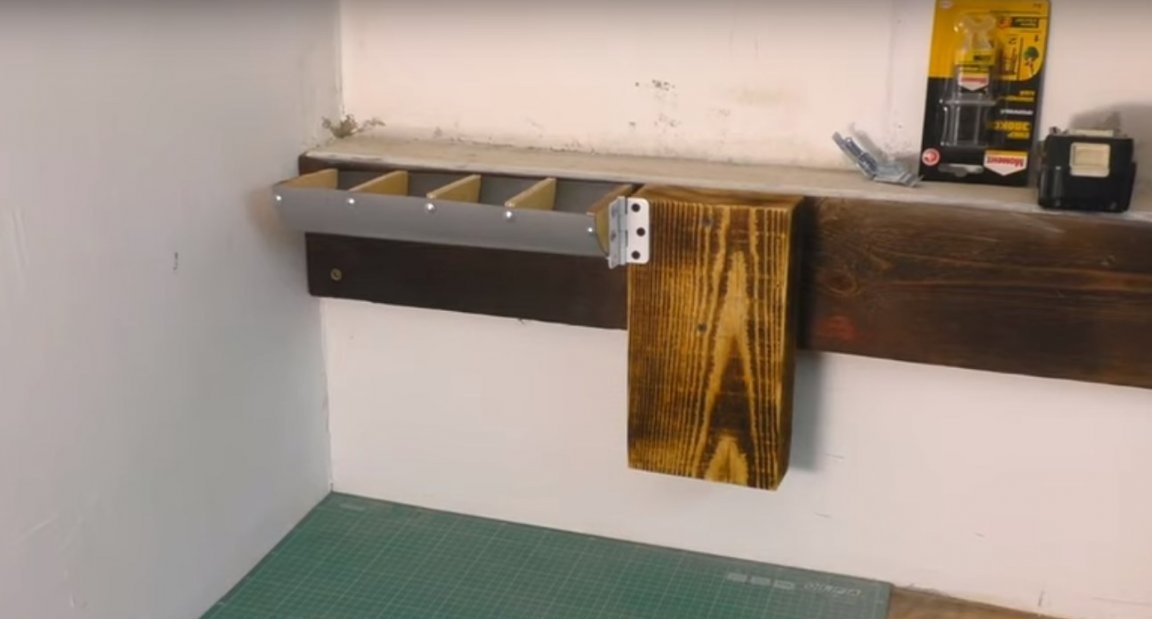
Then the remaining parts, the master also screwed to the board.
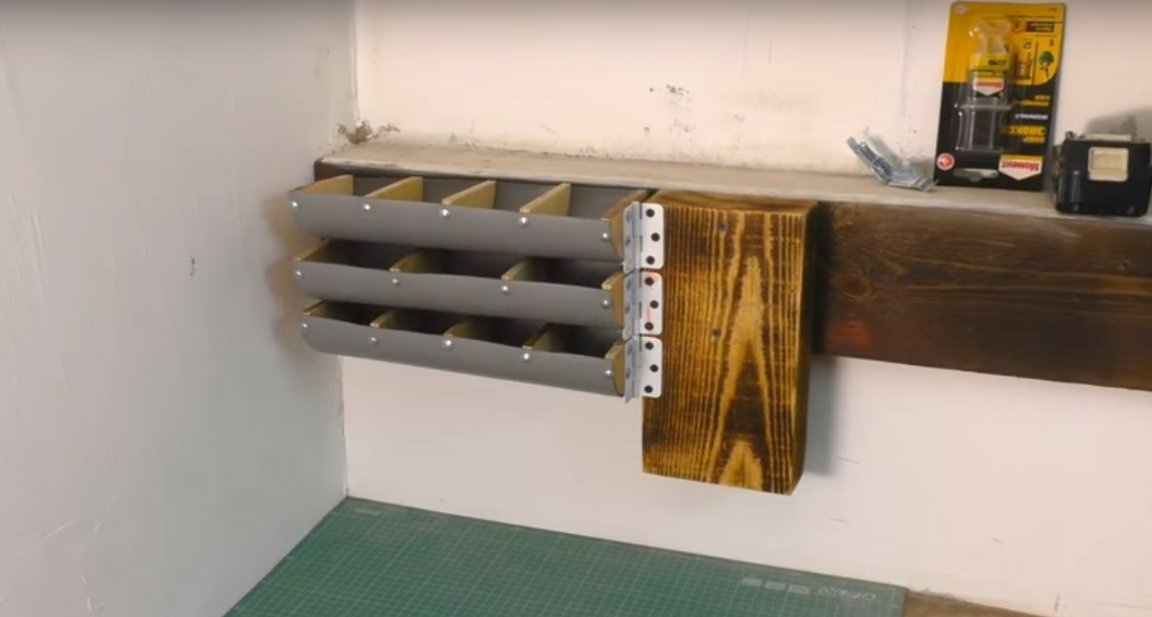
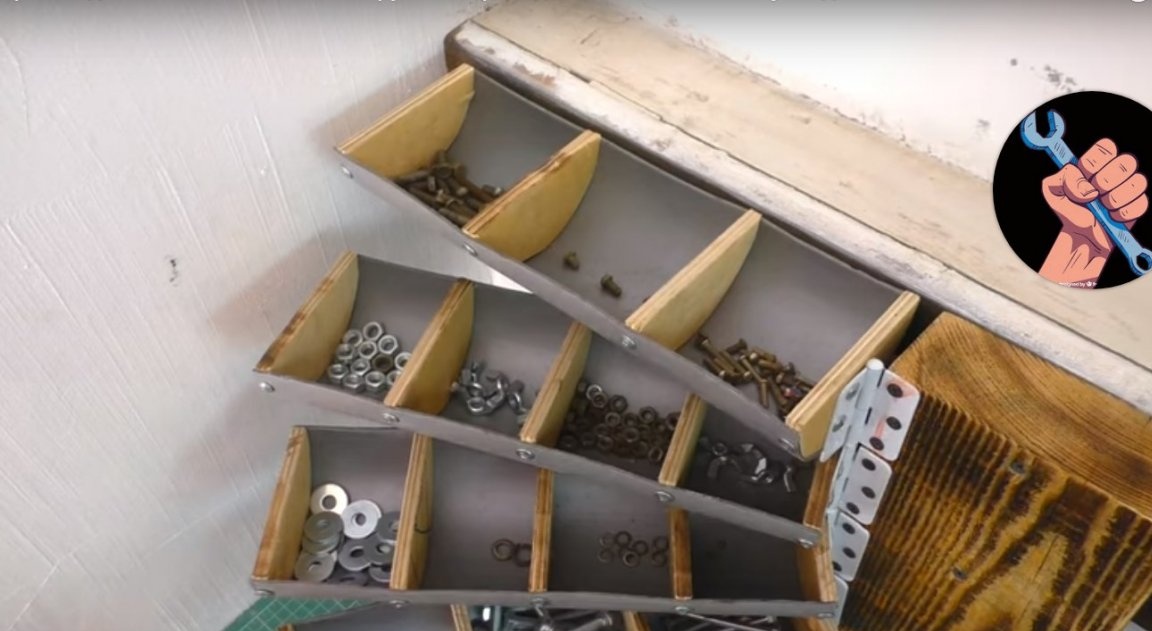
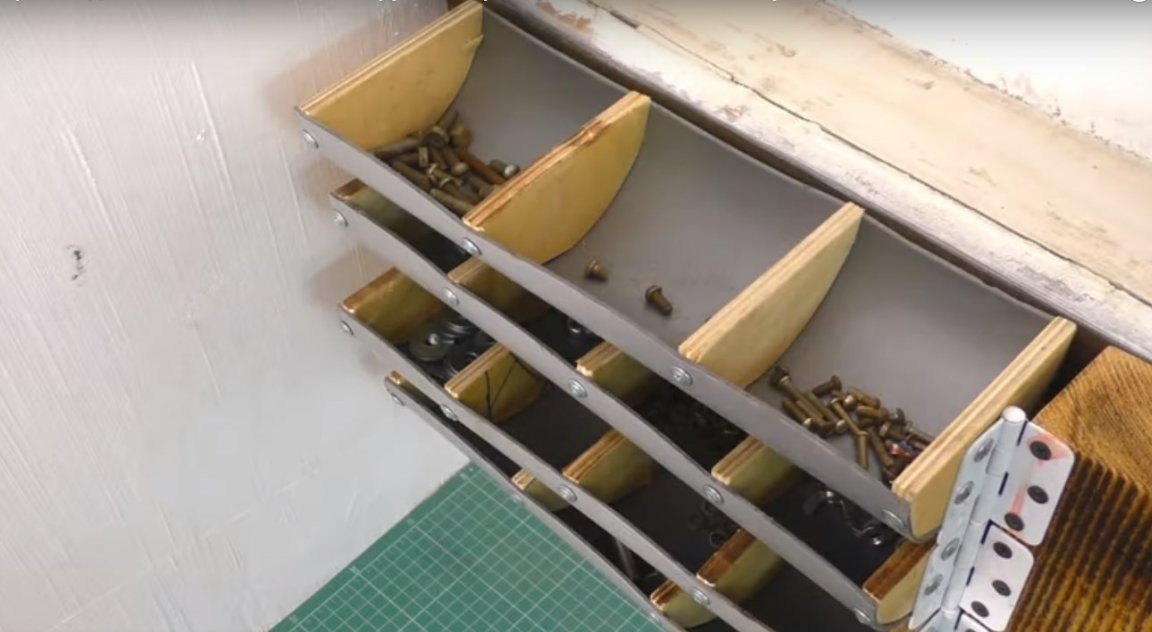
Such a convenient and compact organizer turned out as a result of the author.
Thanks to the author for useful homemade.

And that’s all for me. Thank you all, good luck to everyone and see you again!