I welcome fans to craft, today we will consider how to make do it yourself such a useful tool as a chisel. The author makes the tool by forging from iron, as well as a piece of carbon steel, which serves as a tip. The author hardened the tool, the chisel works fine, and it looks great. The manufacturing process of such a tool is not complicated, but the author approached the manufacturing very responsibly, and pretty solid equipment was used. If you are interested in the project, and you want to try your hand at forging, I suggest that you familiarize yourself with homemade in more detail!
Materials and tools used by the author:
Material List:
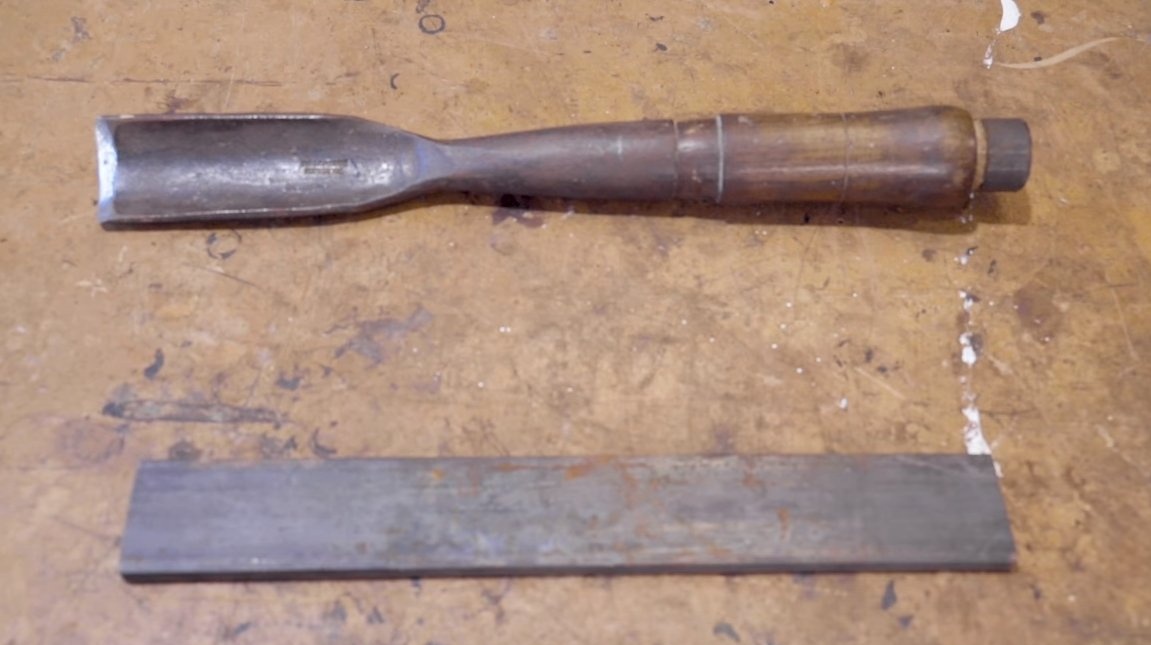
- an iron plate for the base (it is possible and steel);
- a piece of carbon steel for the tip;
- borax;
- a piece of the bar for the handle;
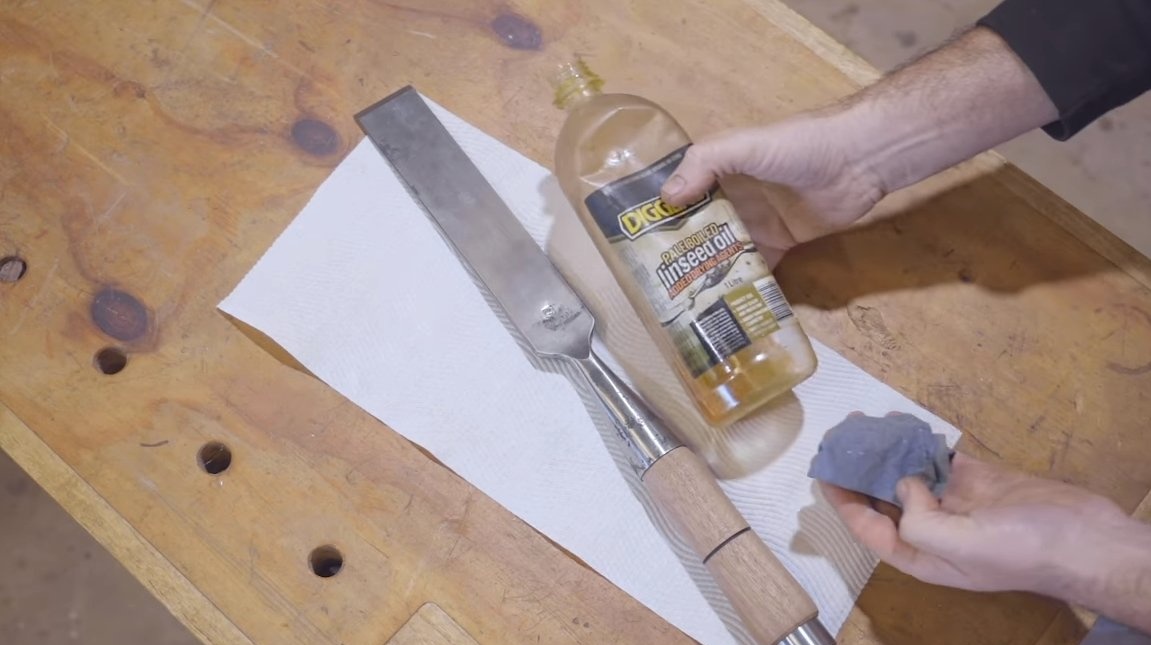
- oil for wood;
- a piece of iron pipe (for making a ring).
Tool List:
- oven and blacksmith tools;
- belt grinding machine;
- welding machine;
- grinder;
- oven;
- lathe;
- drilling machine.
The manufacturing process of the chisels:
Step one. Forging
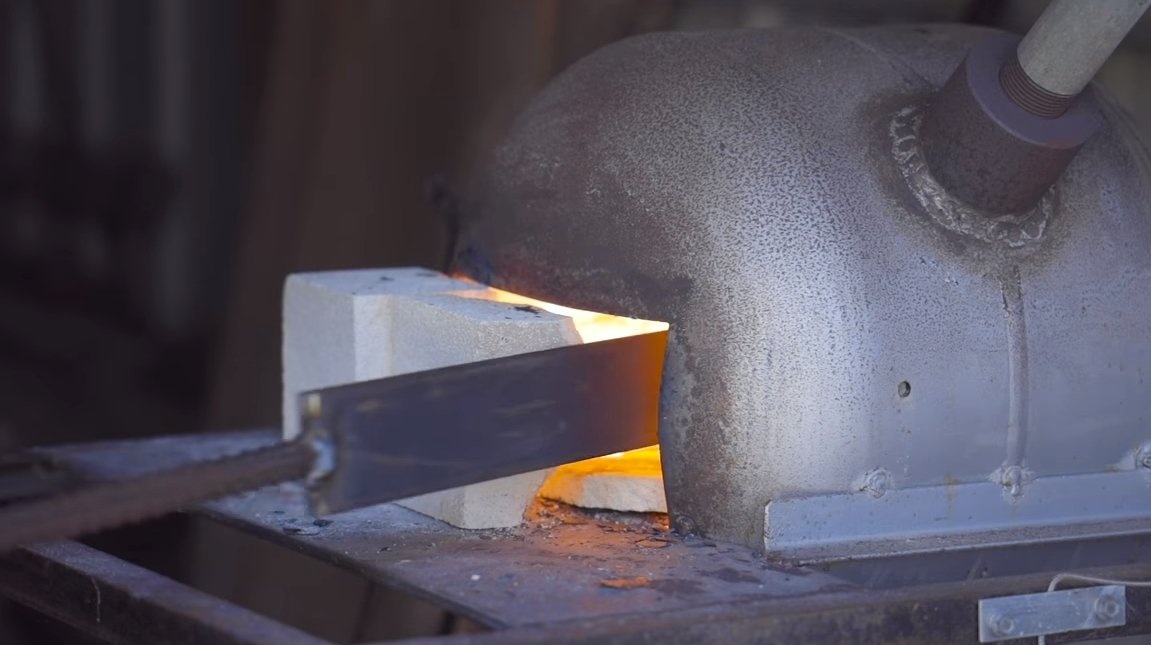
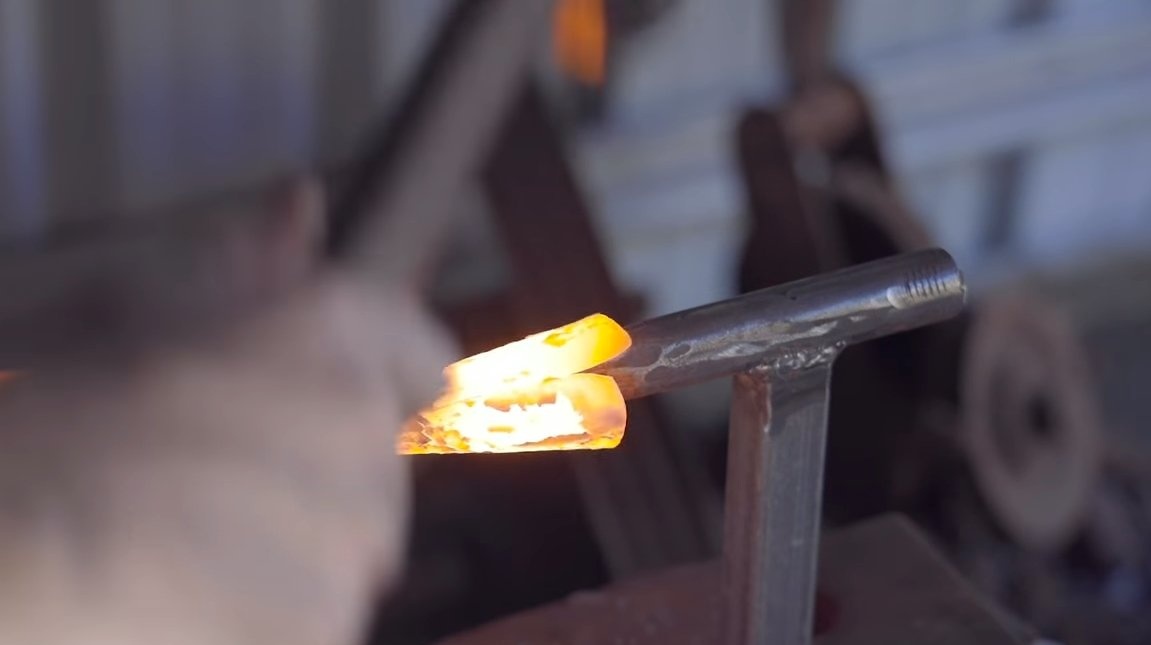
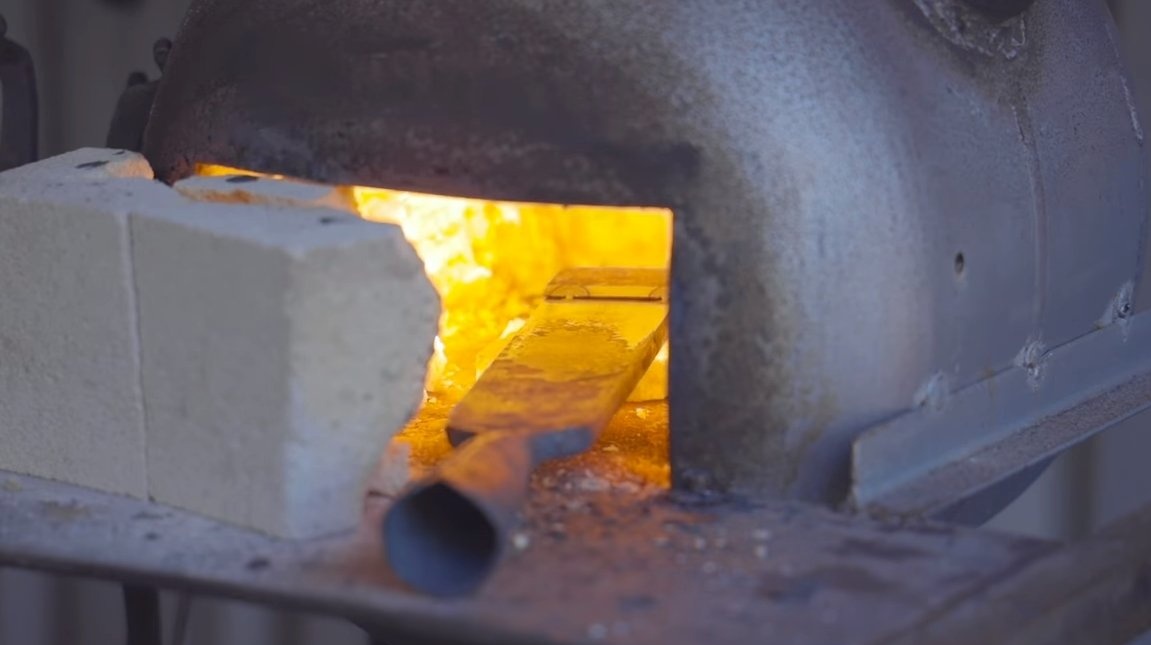
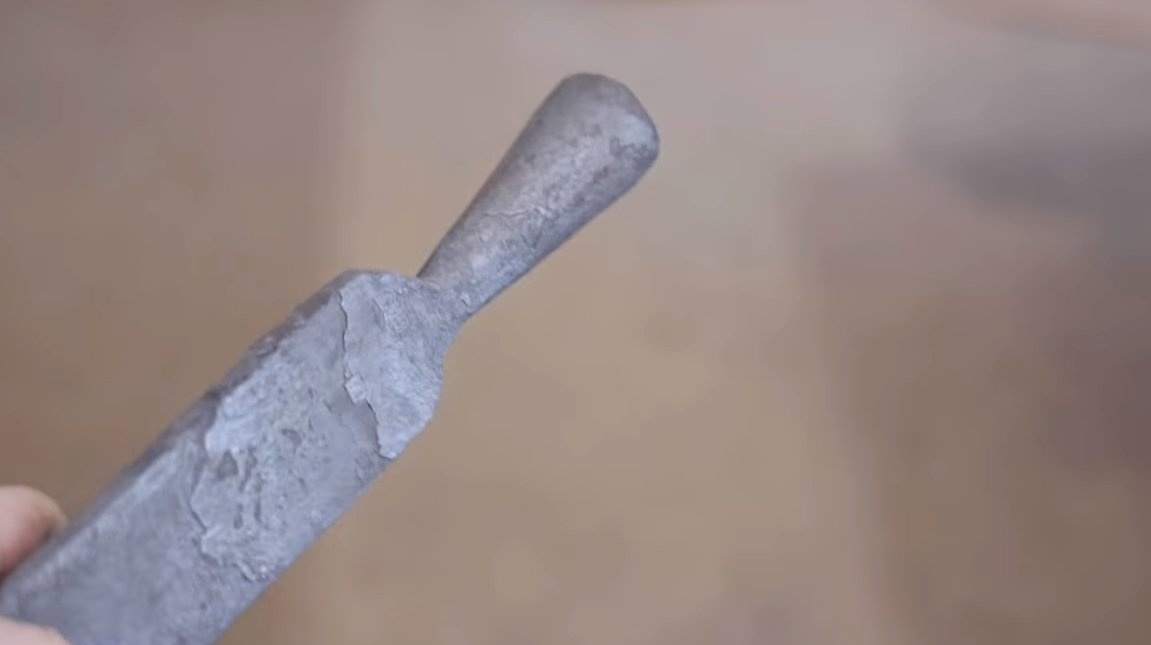
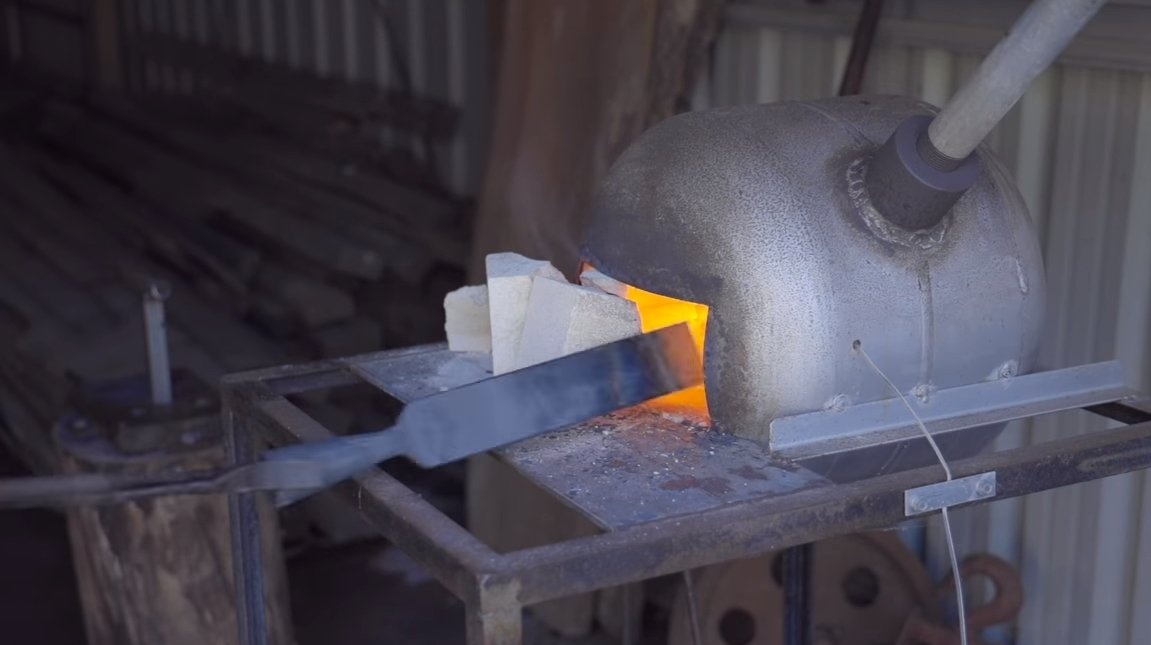
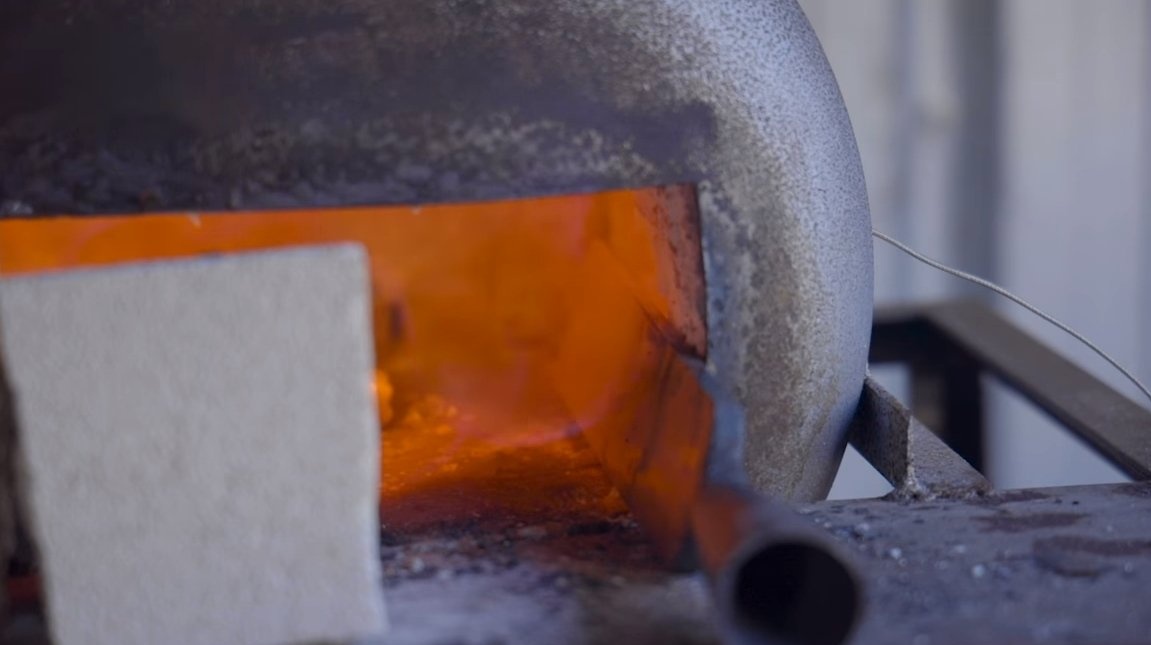
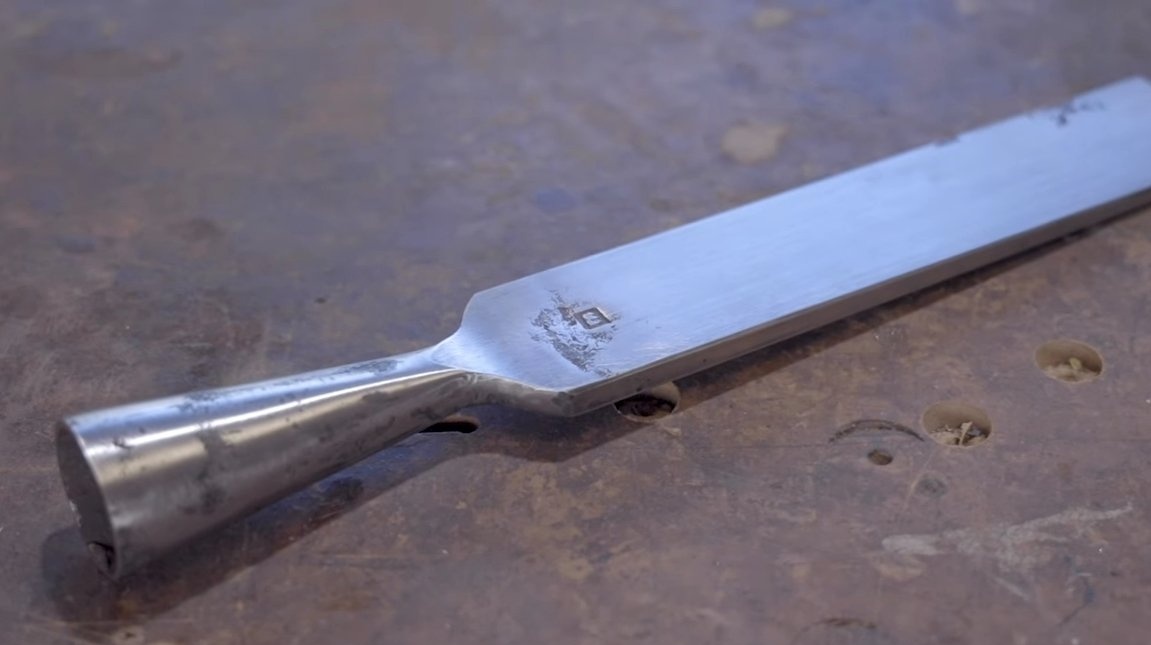
We start the furnace, and proceed to forging, the author has a homemade gas furnace. As the source material, we need a piece of an iron plate, heat one end and proceed to forging. At this stage, the author forms the back of the chisel, where the handle is inserted. In the end, this part of the plate must be made under the cone, so that you can insert the handle.
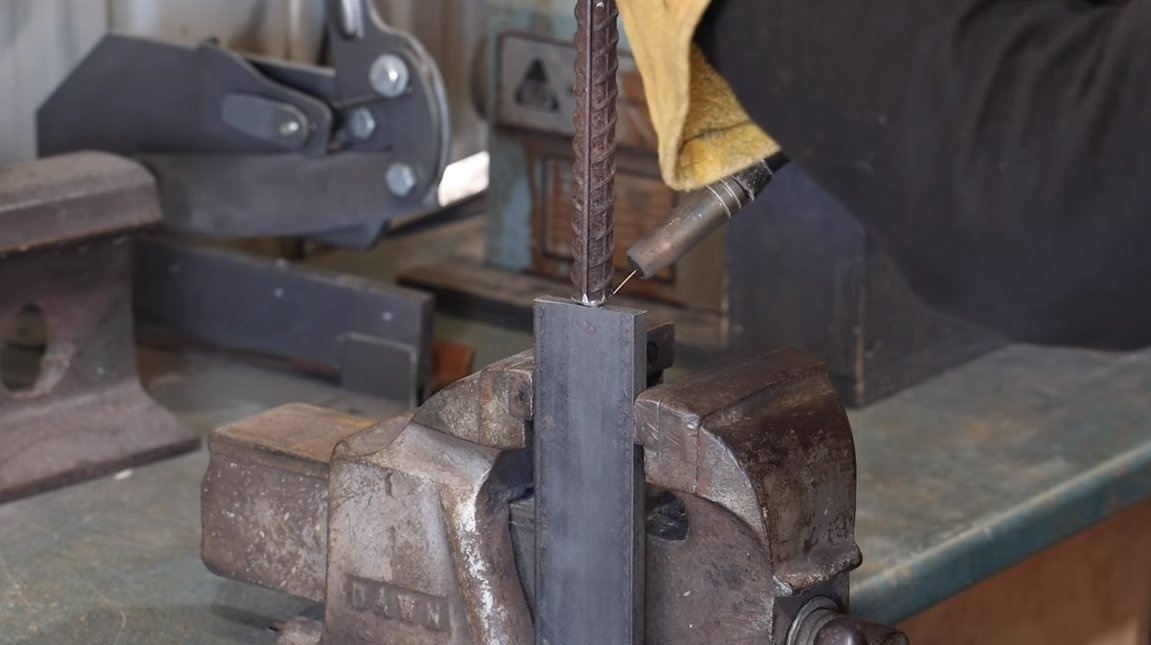
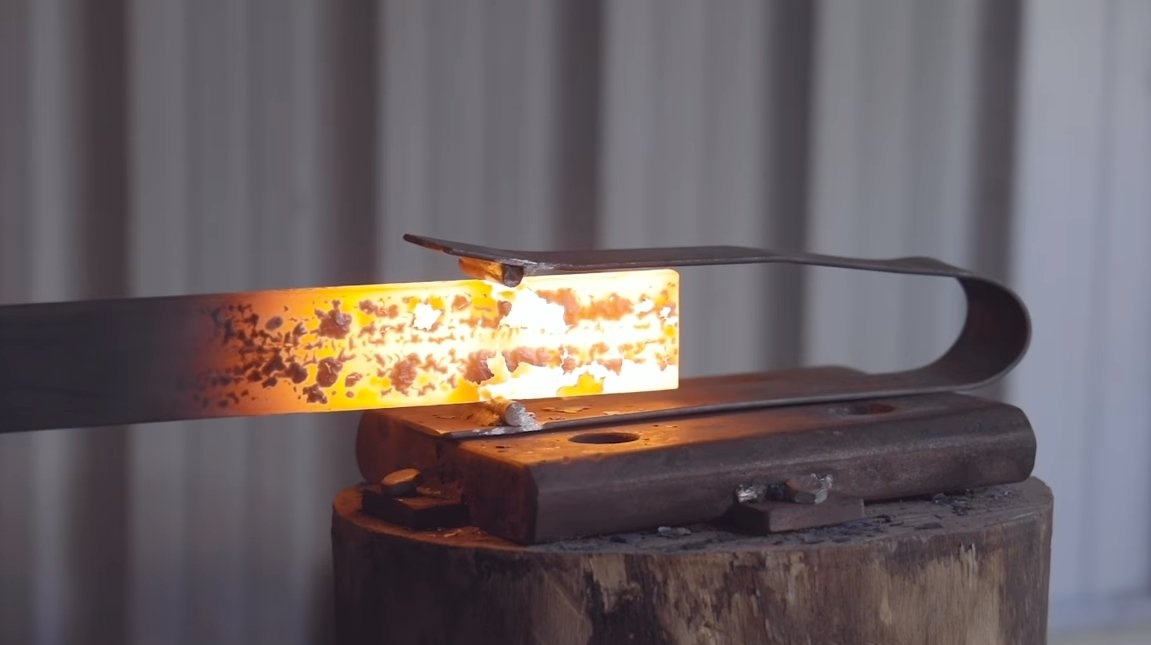
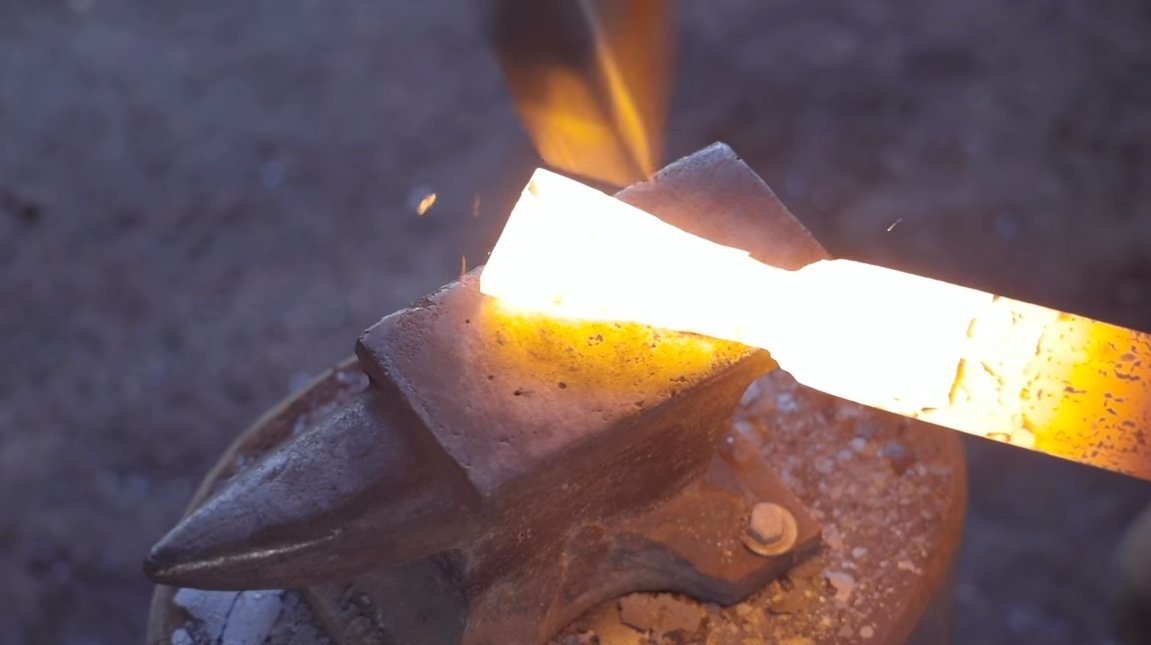

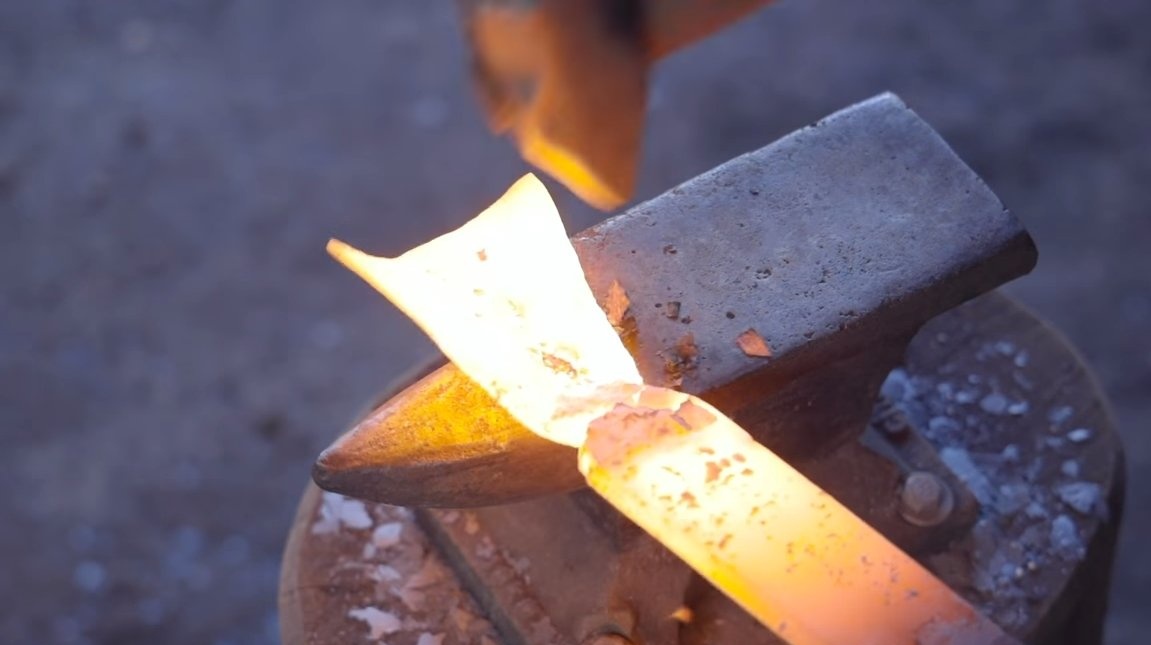
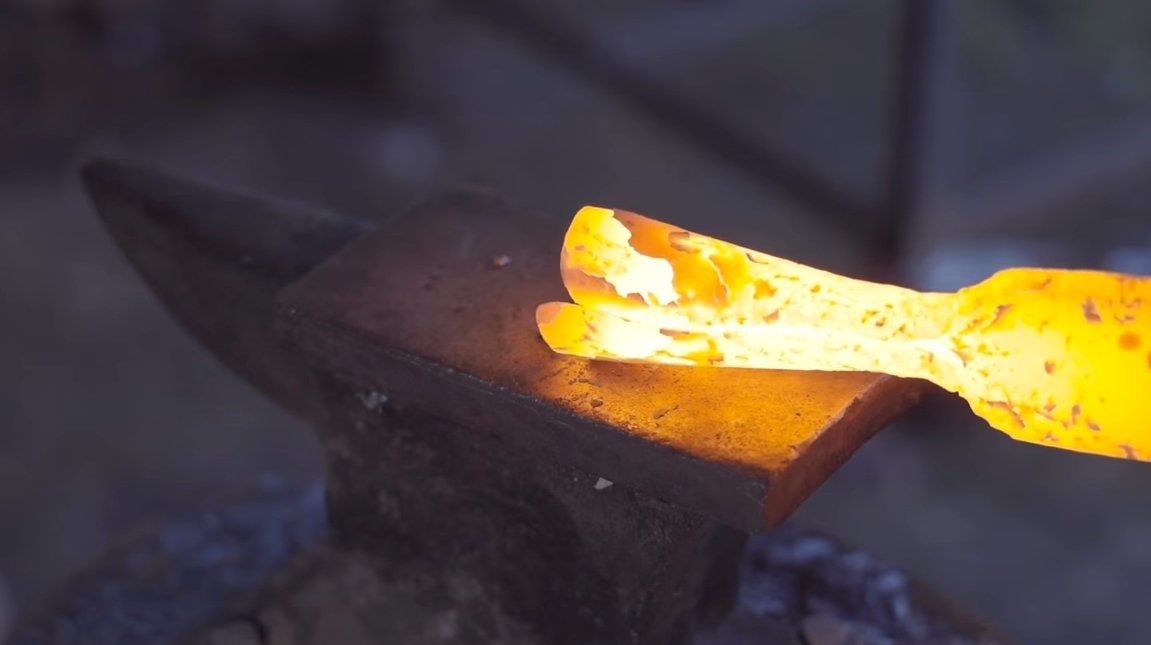
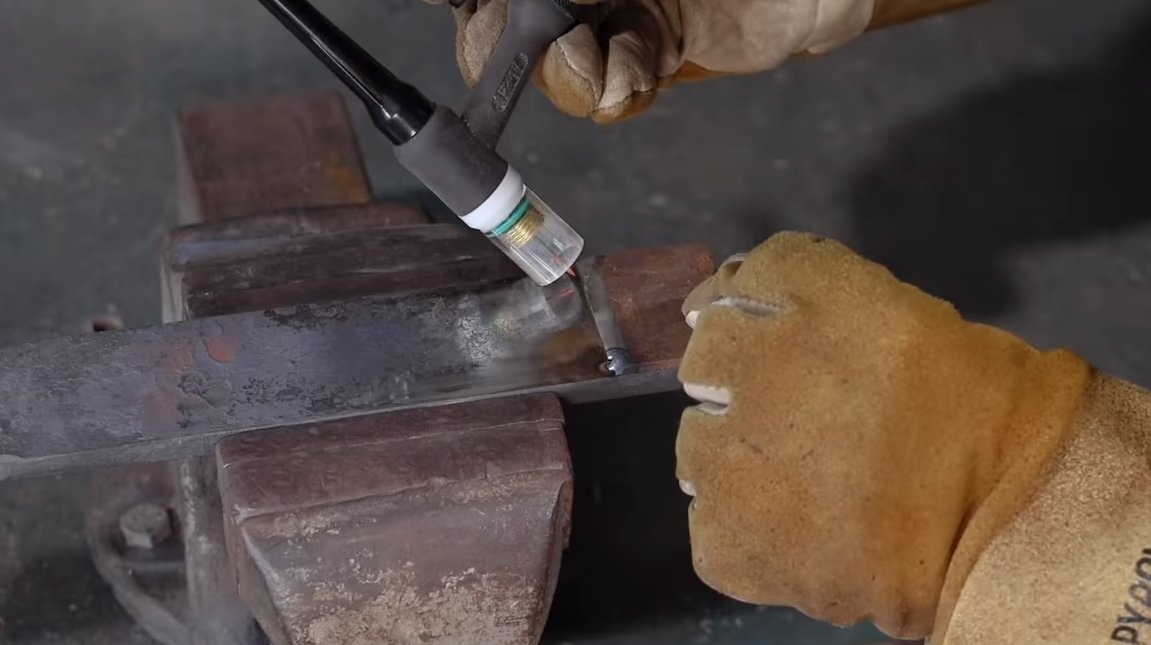
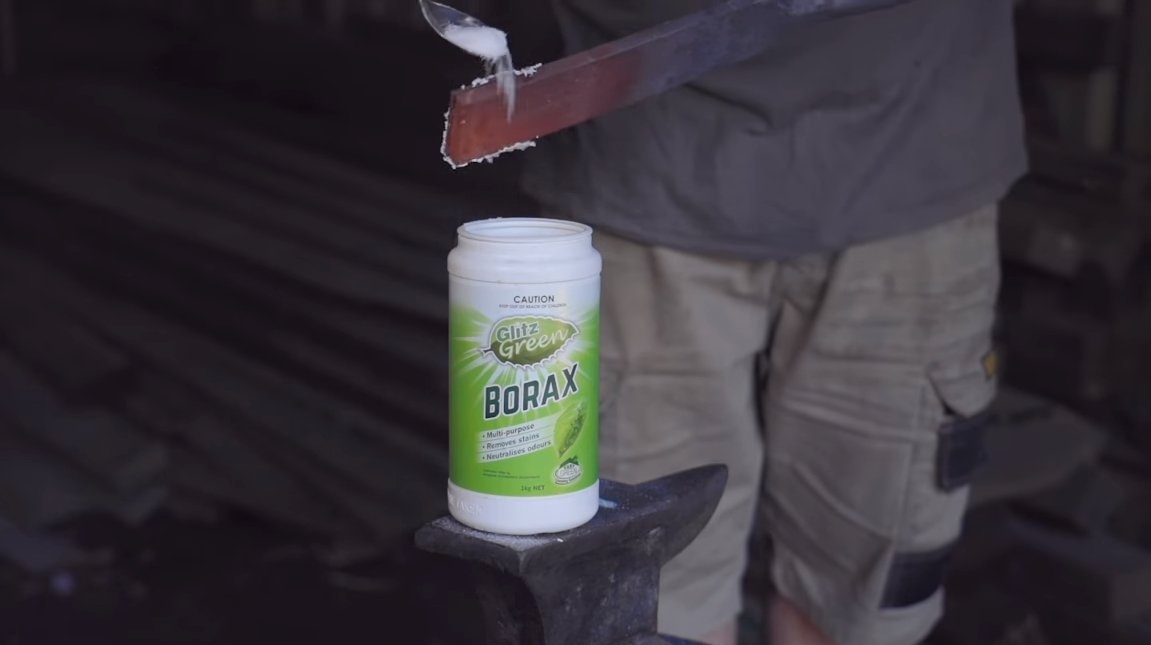
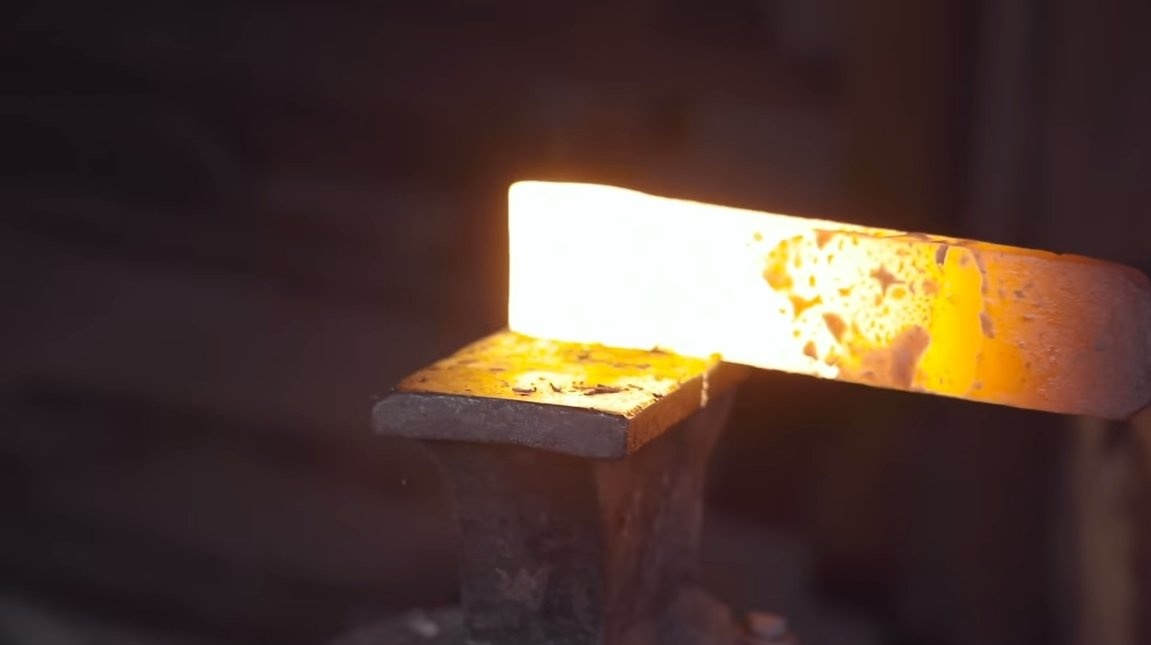
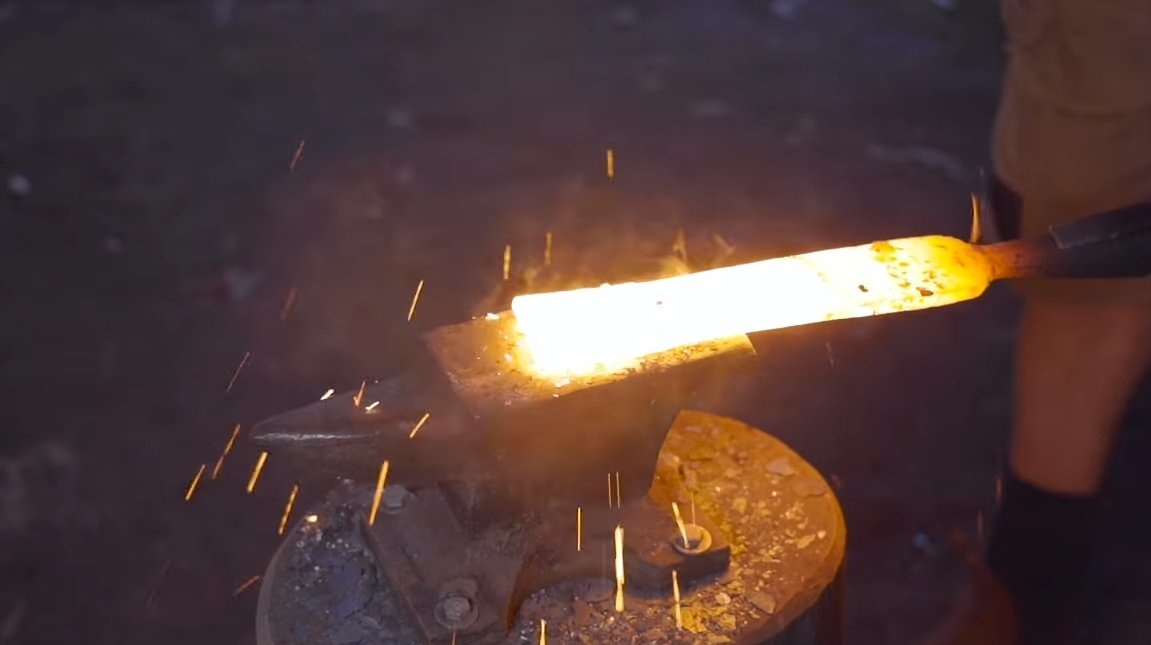
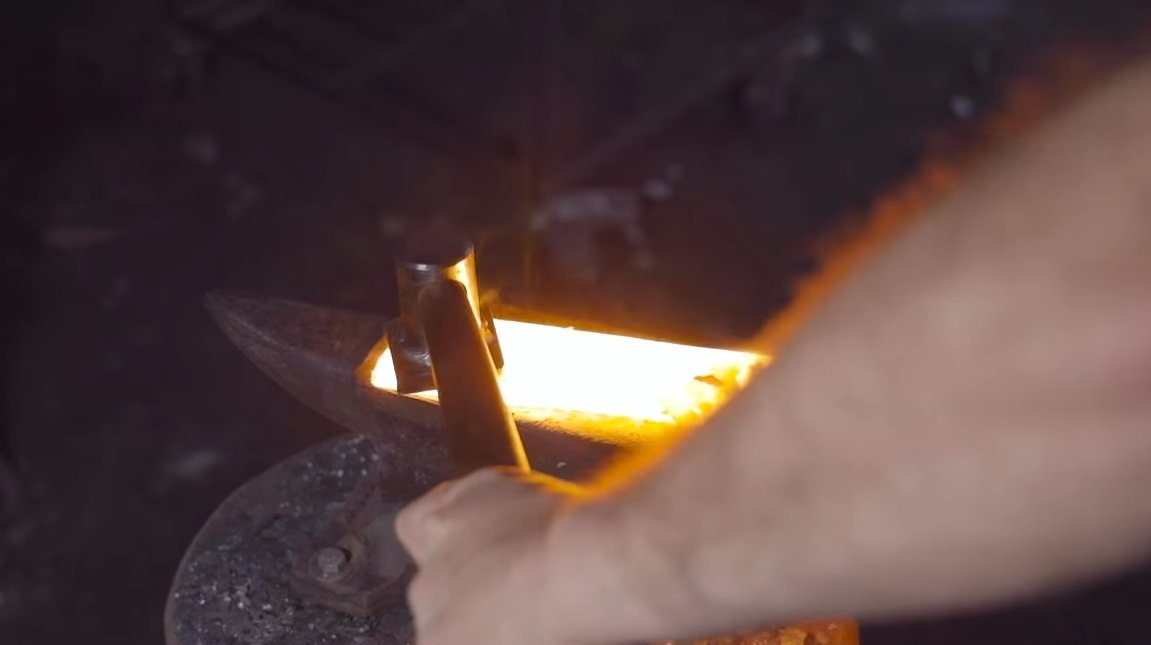
Next, we proceed to the formation of the bow of the chisel, which will be the blade. Of course, the blade of the chisel should be as solid as possible, here we need a piece of steel with a high carbon content. We weld this piece of steel to the tip of the chisel, and then proceed to forging, we need to mix both pieces and make the product monolithic. To iron and steel mixed, you need borax, it prevents the process of oxidation of iron under the influence of oxygen.
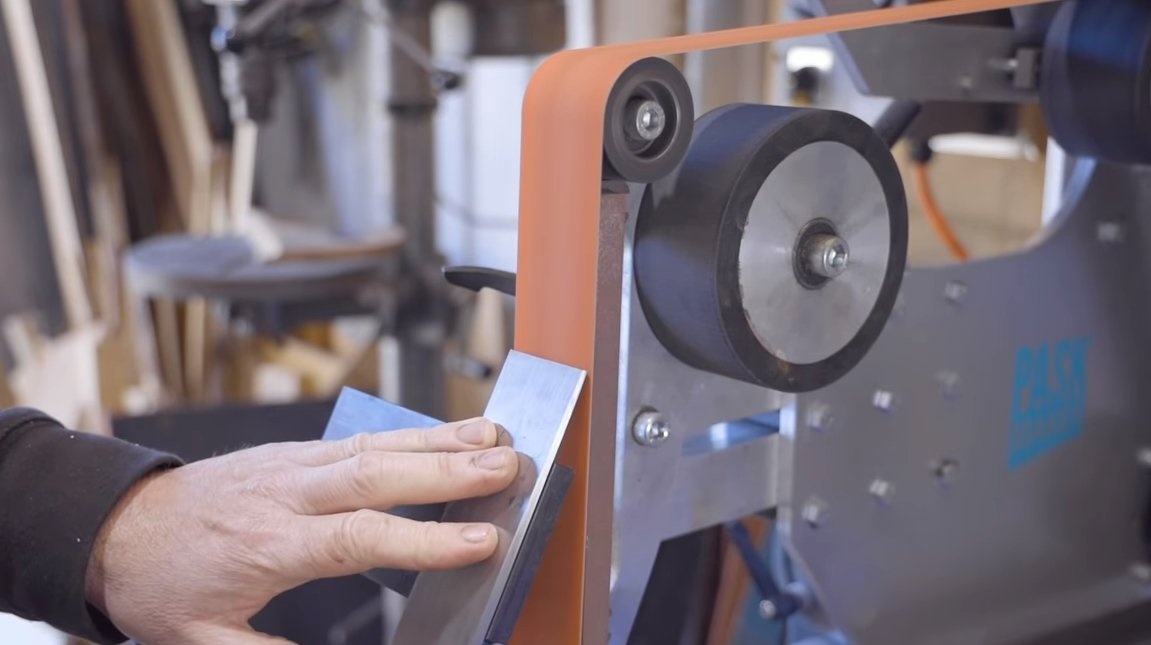
Step Two Grinding
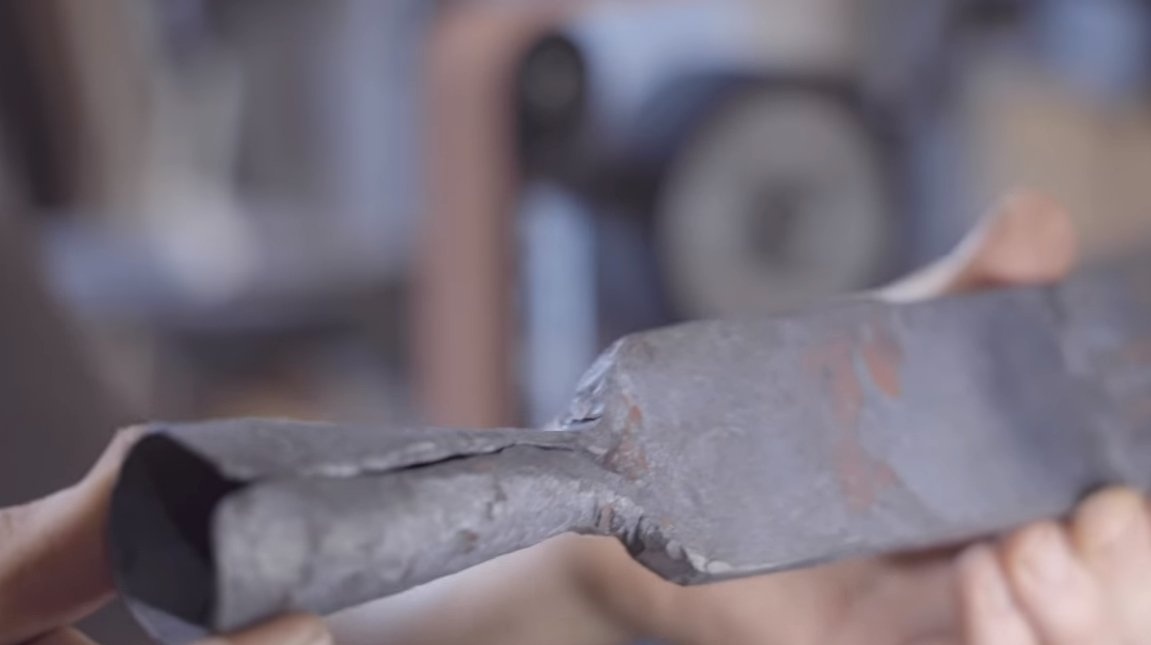
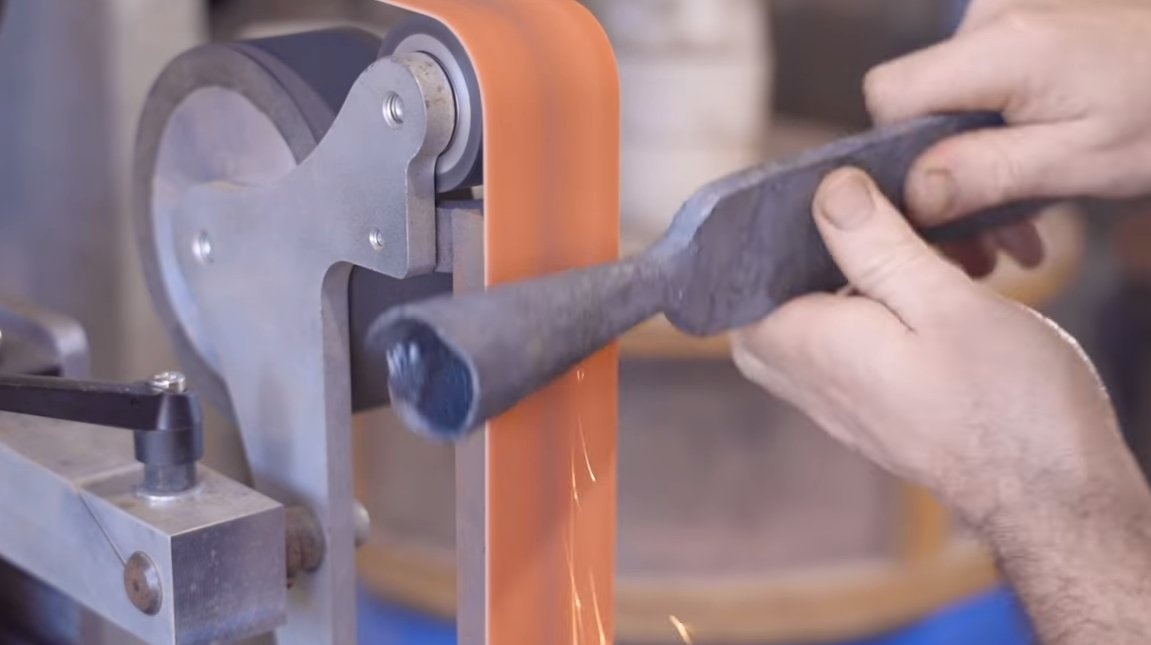
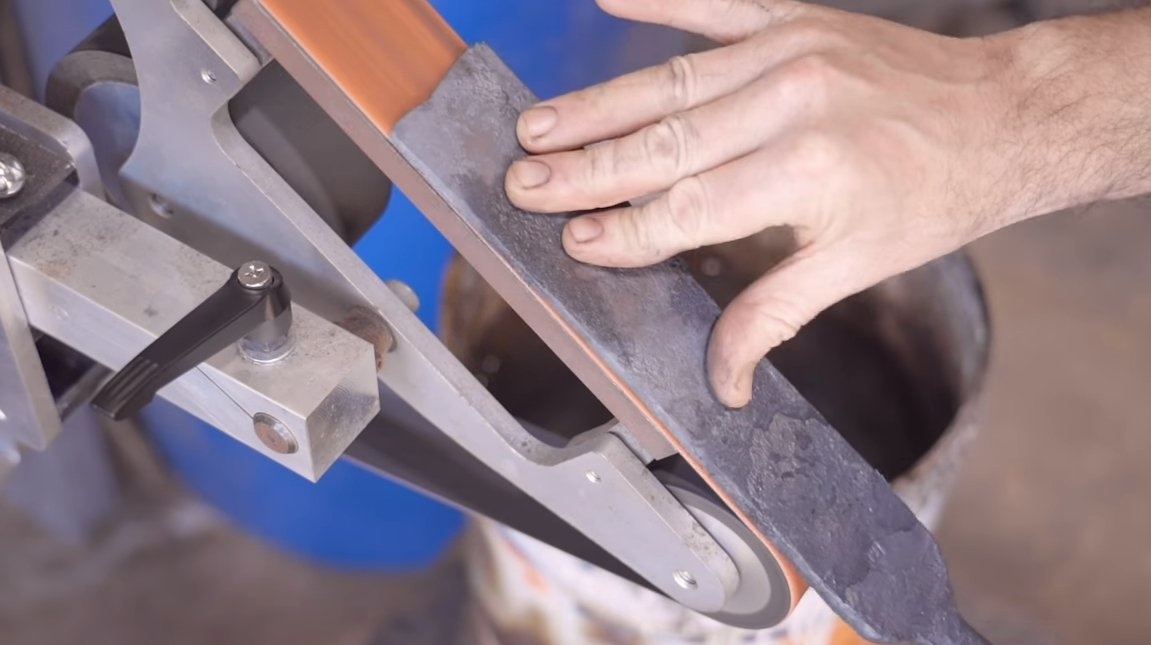
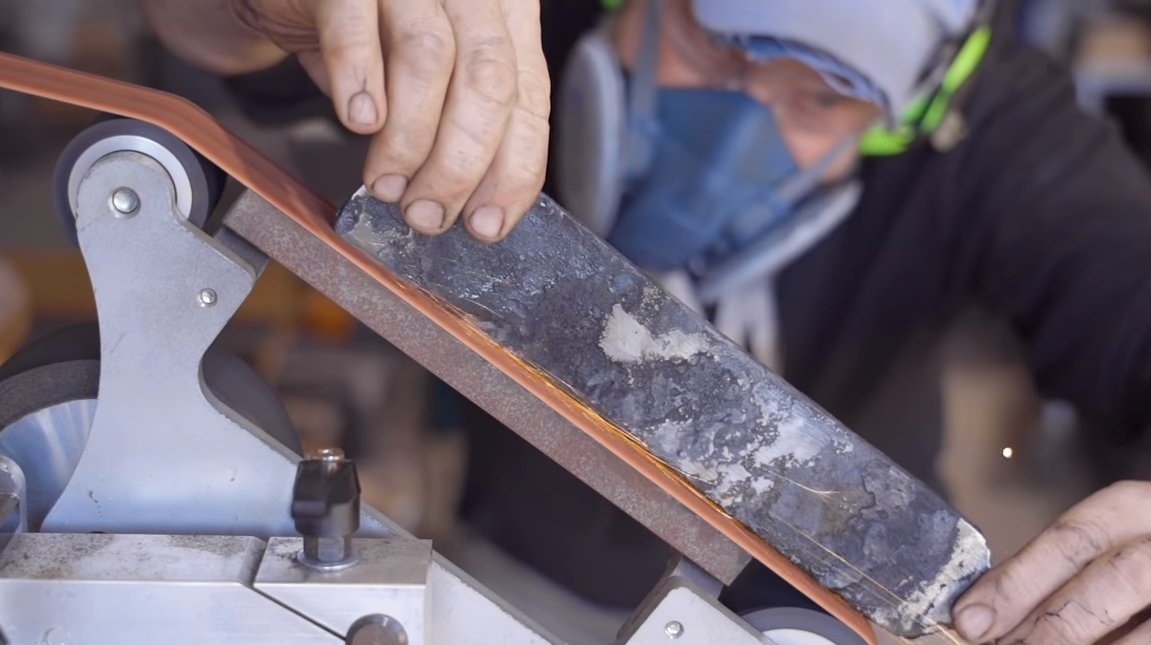
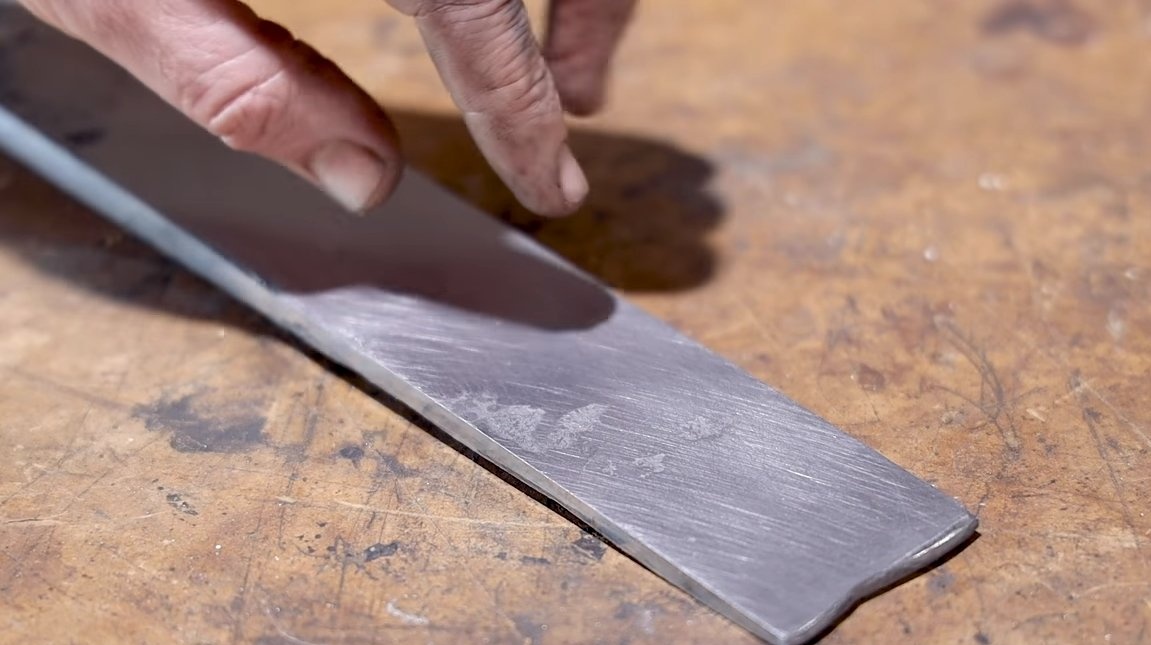
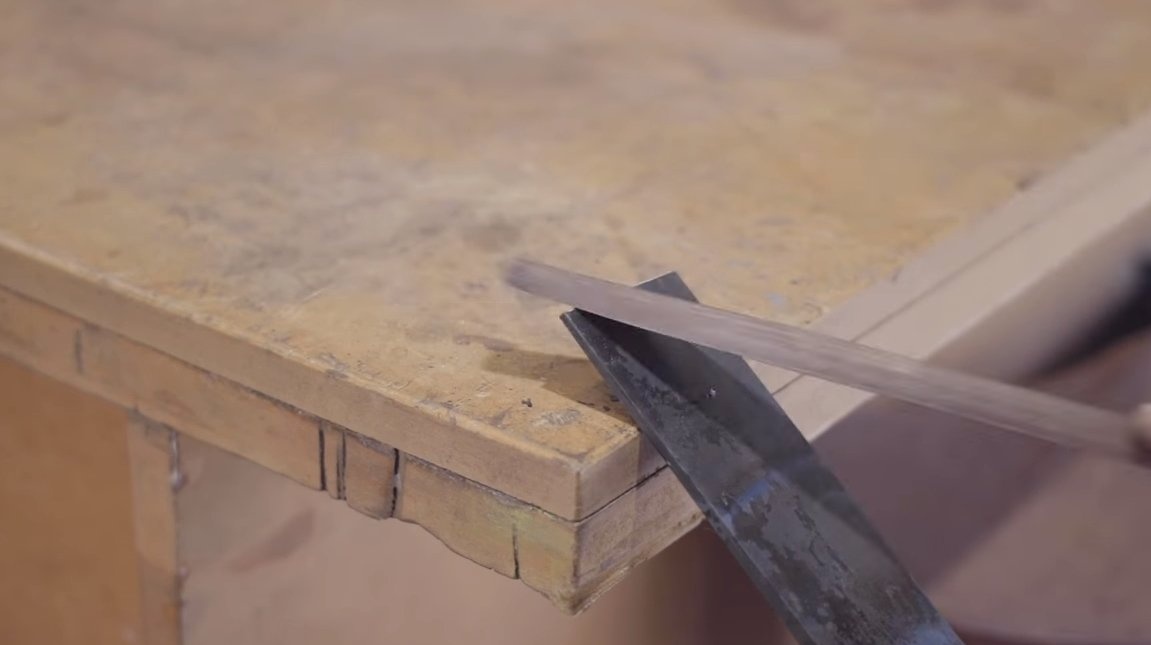
Of course, after forging, the product will not work out perfect for us, to finish the chisel, we need a belt sander. We grind the chisel thoroughly, align it along the contour, and also grind the plane. As a result, the author has an excellent workpiece.


Step Three Heat treatment
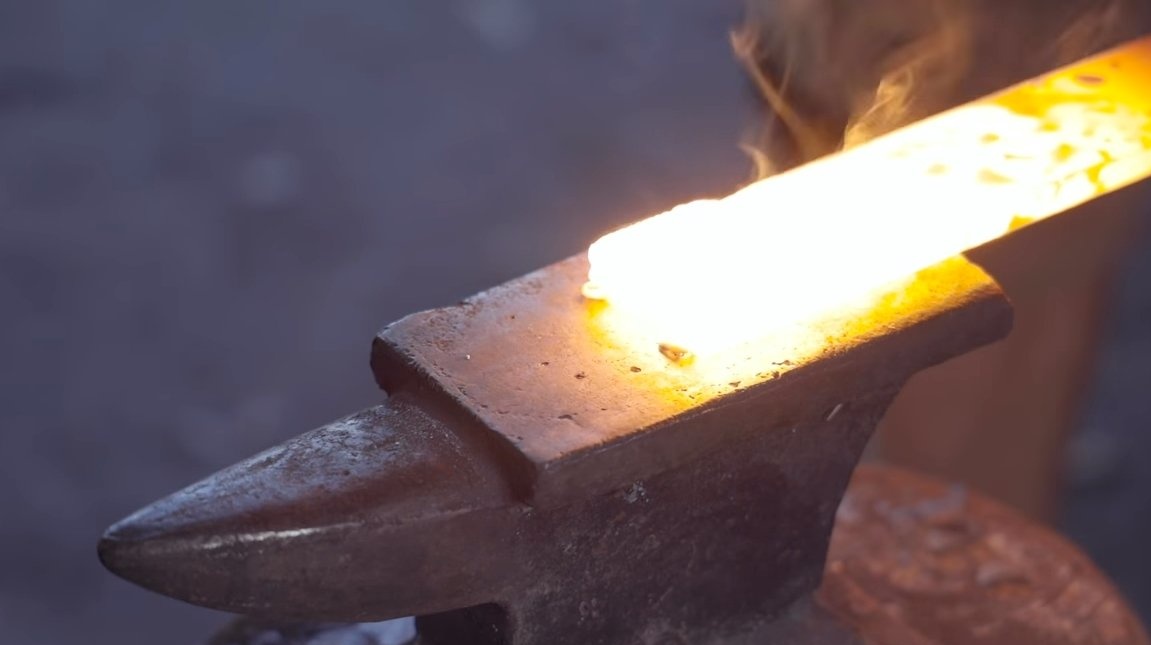
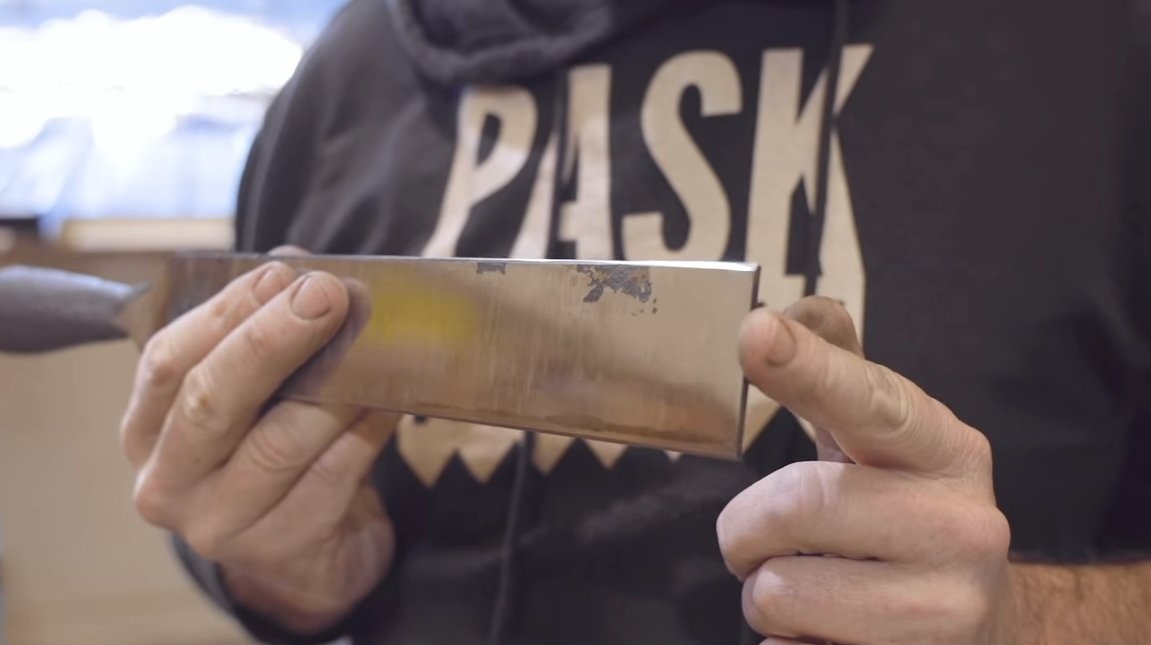
The tip of the chisel must be hardened so that the steel is as hard as possible and the chisel does not blunt for a long time. We heat the tip of the chisel to a yellow glow, the author's temperature turned out to be around 830 ° C.Next, lower the tip of the chisel into the oil, this will be the hardening process.
After hardening, we check the steel, try to scratch it with a file. If there are no scratches, it means that the steel is stronger than the file, it is perfectly hardened.
But this is not the end of the heat treatment; we still need to release the steel so that it is not brittle. For such purposes, the author used a domestic oven. We heat steel in it at a temperature of 200 ° C until a straw-colored coating forms on the steel, this will mean vacation.

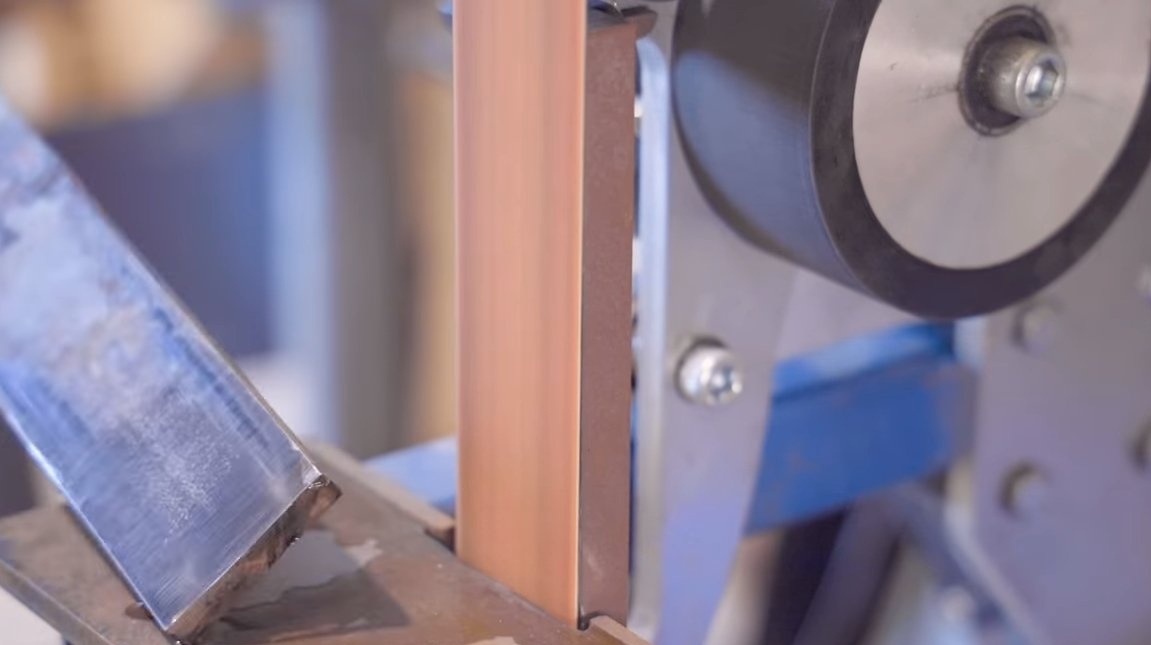
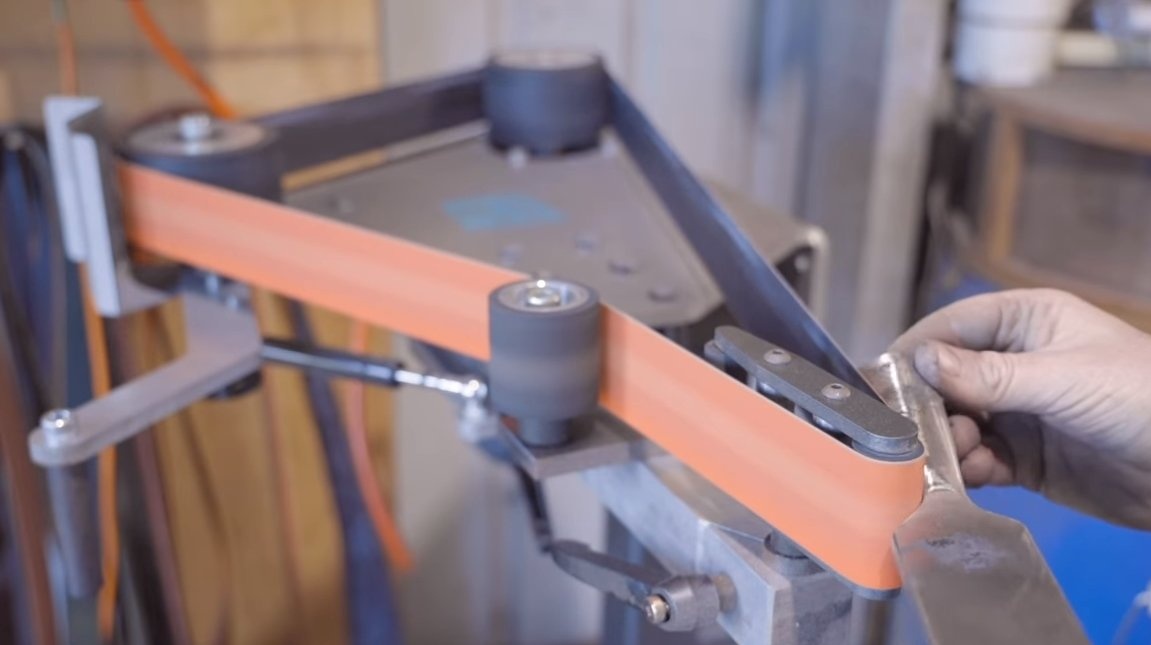
Step Four Sharpening
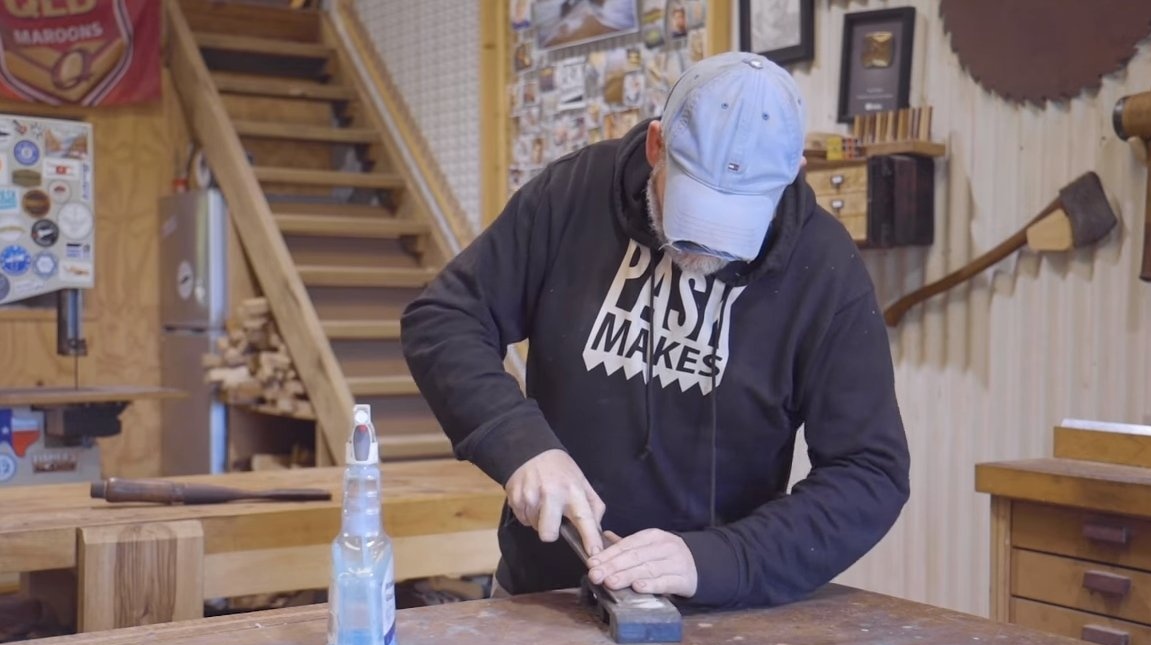
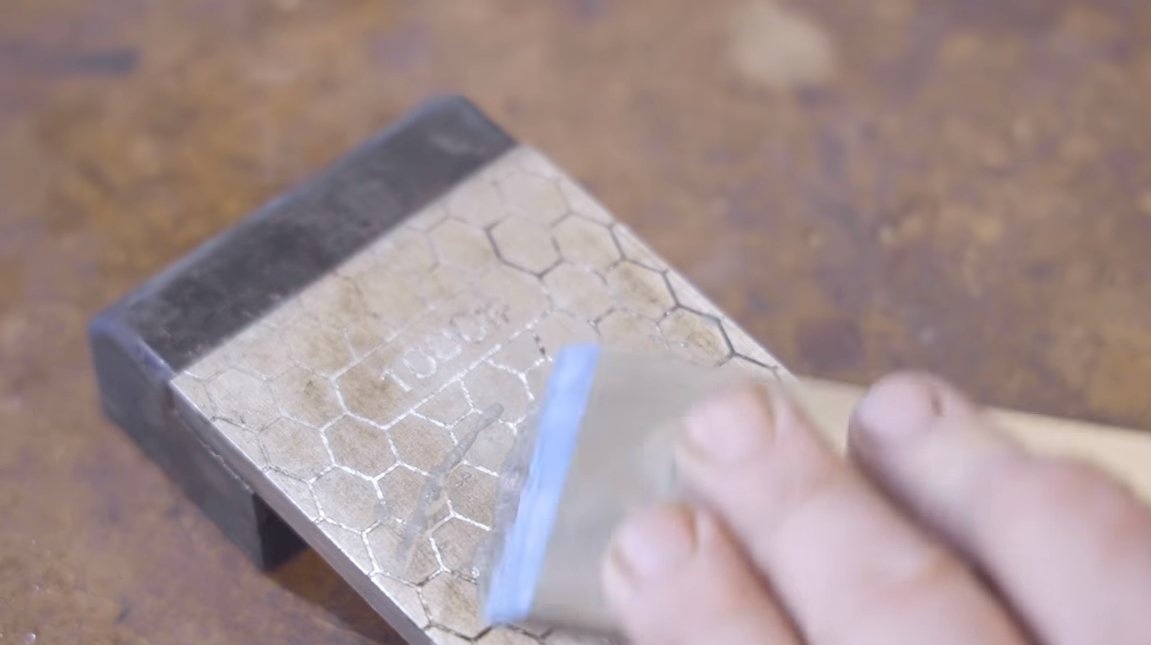
After heat treatment, light grinding should be performed again in order to remove scale and oxide film. Well, then the chisel can be sharpened, the author for this purpose has a special holder that allows you to hold the chisel at a clearly defined angle relative to the grinding belt.


Step Five A pen
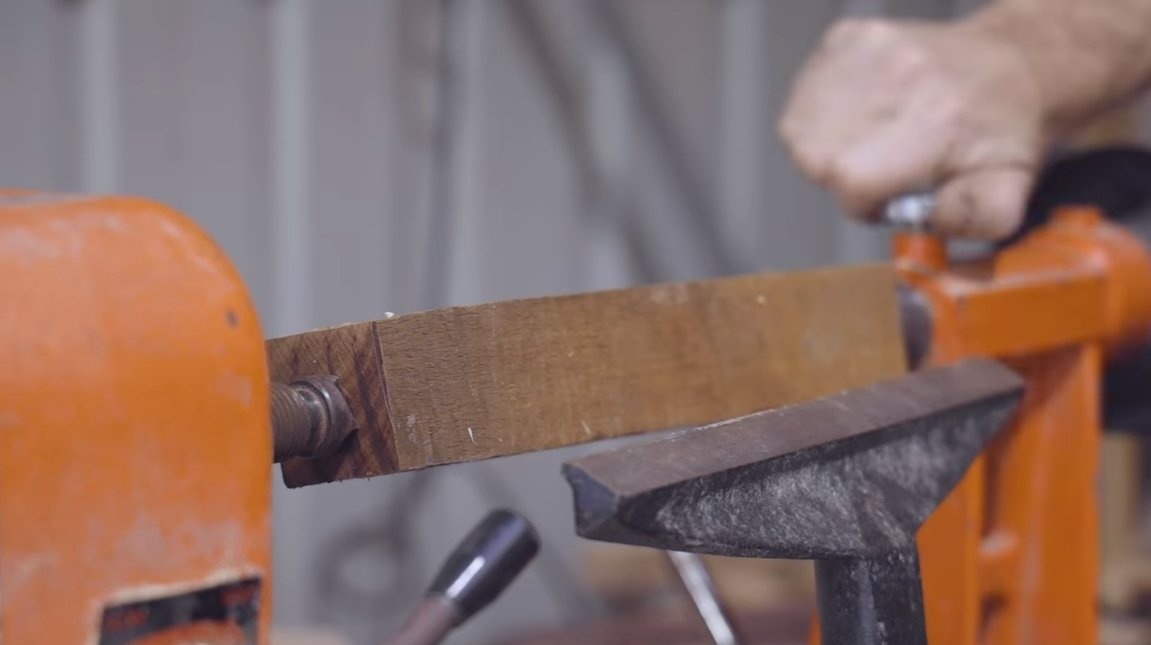
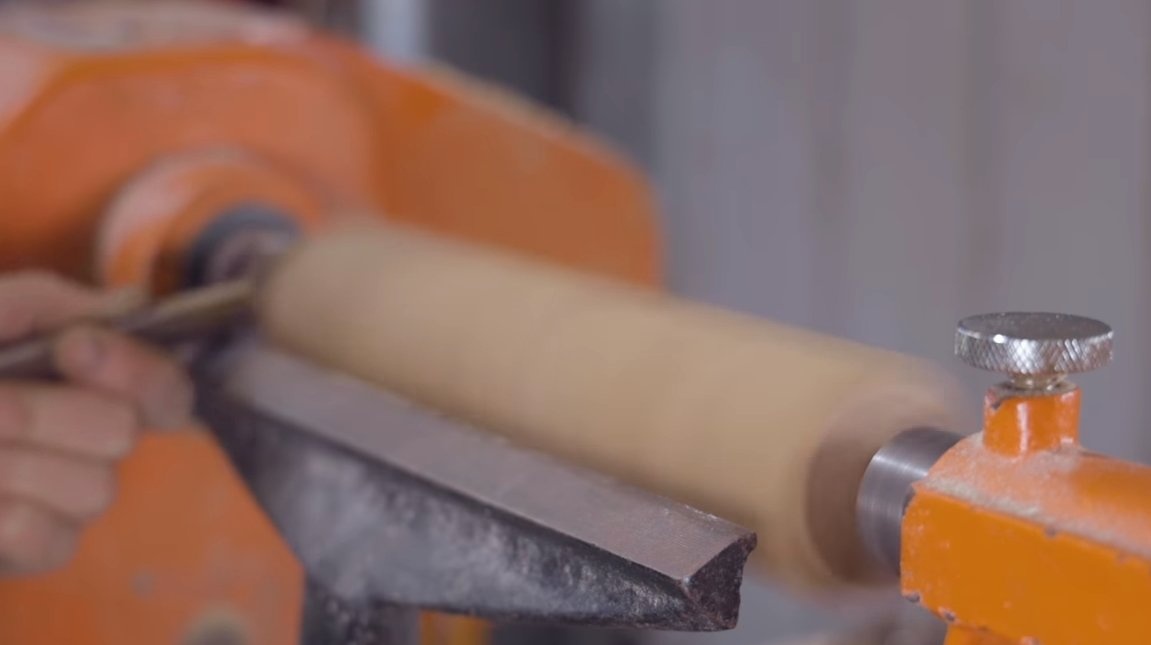
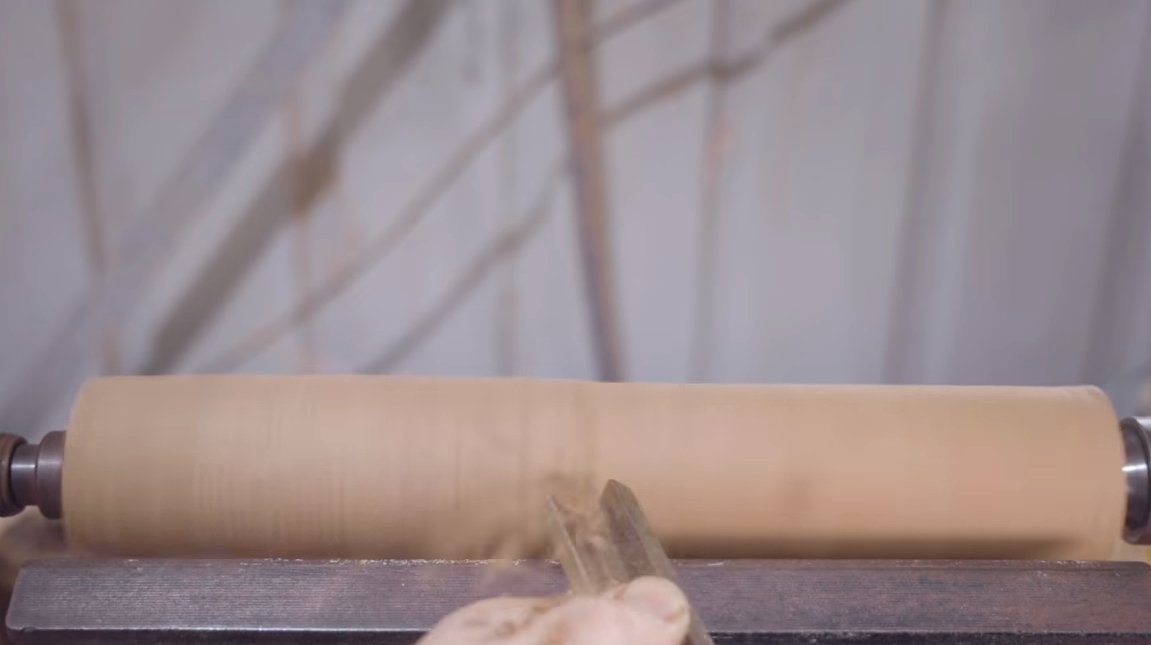
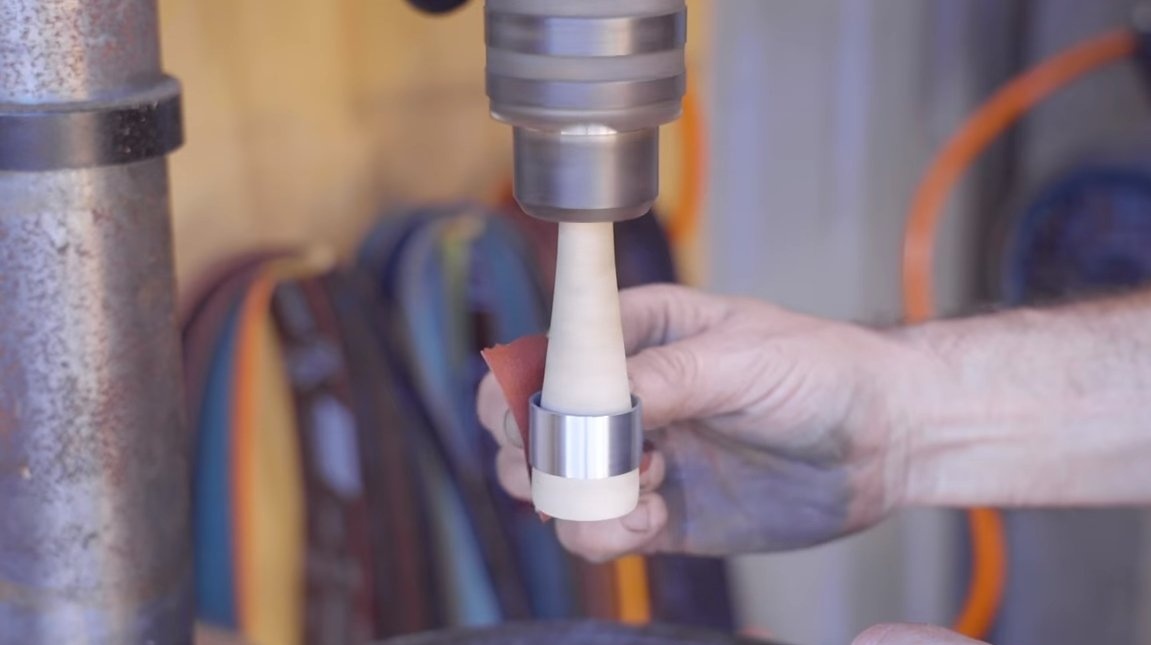
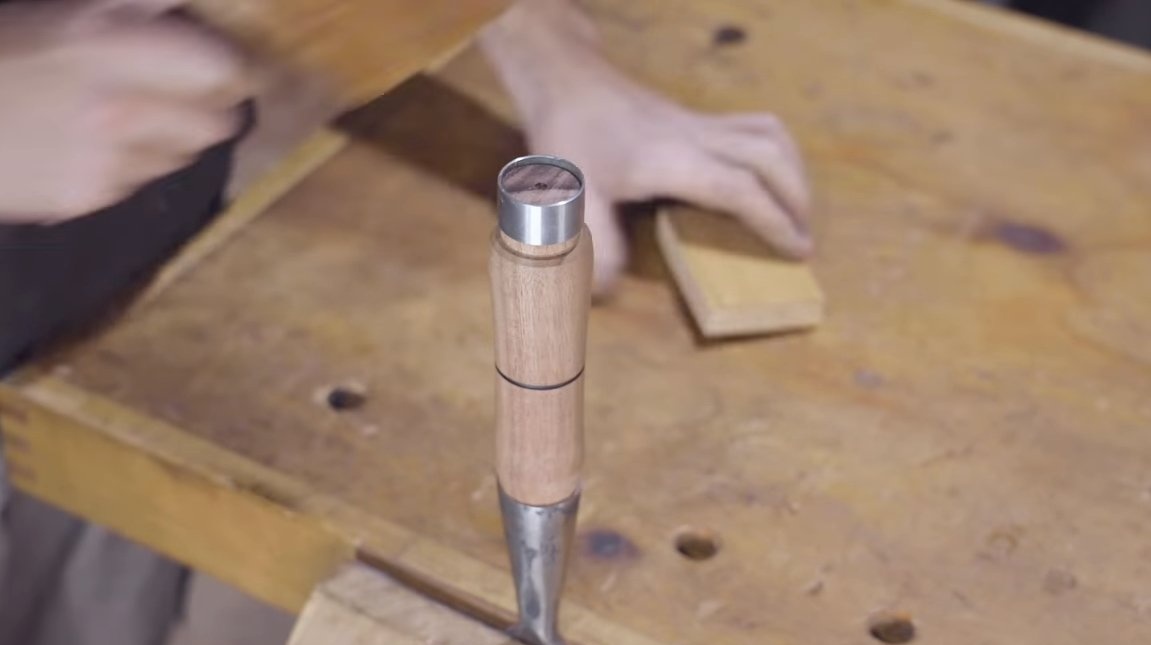
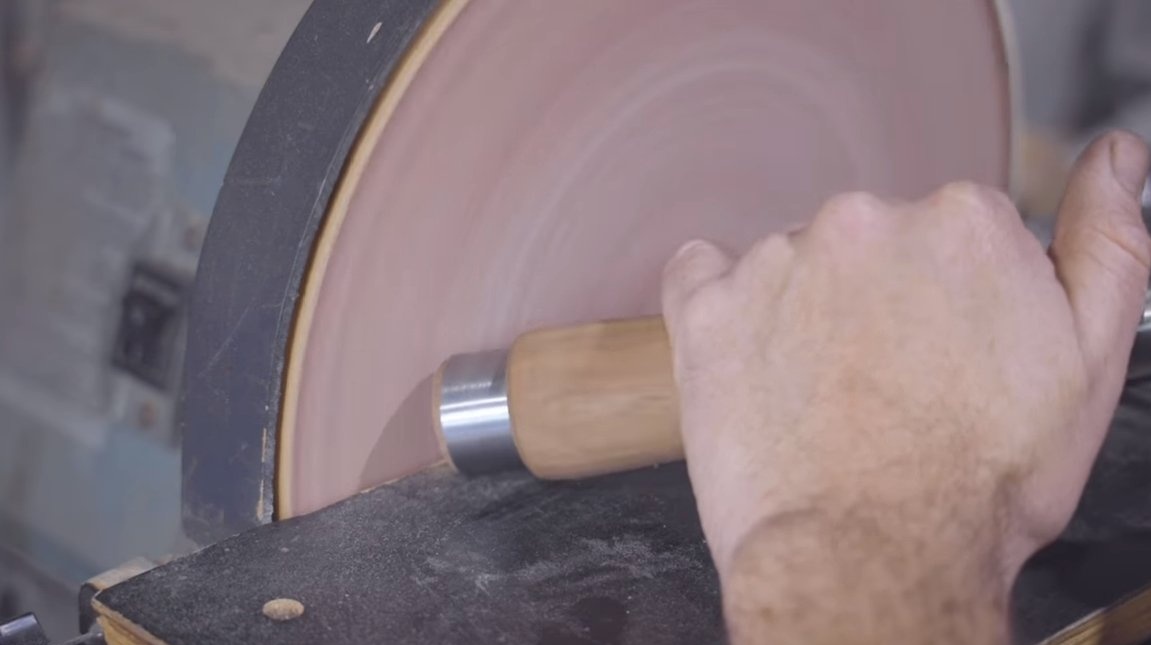
We make a handle for a chisel, for these purposes we will need a lathe, but you can also work with hand tools like a brace. The author easily and simply turned a pen using a lathe. If you want to make a decor in the form of a black strip, it can be burned on a lathe using iron wire.
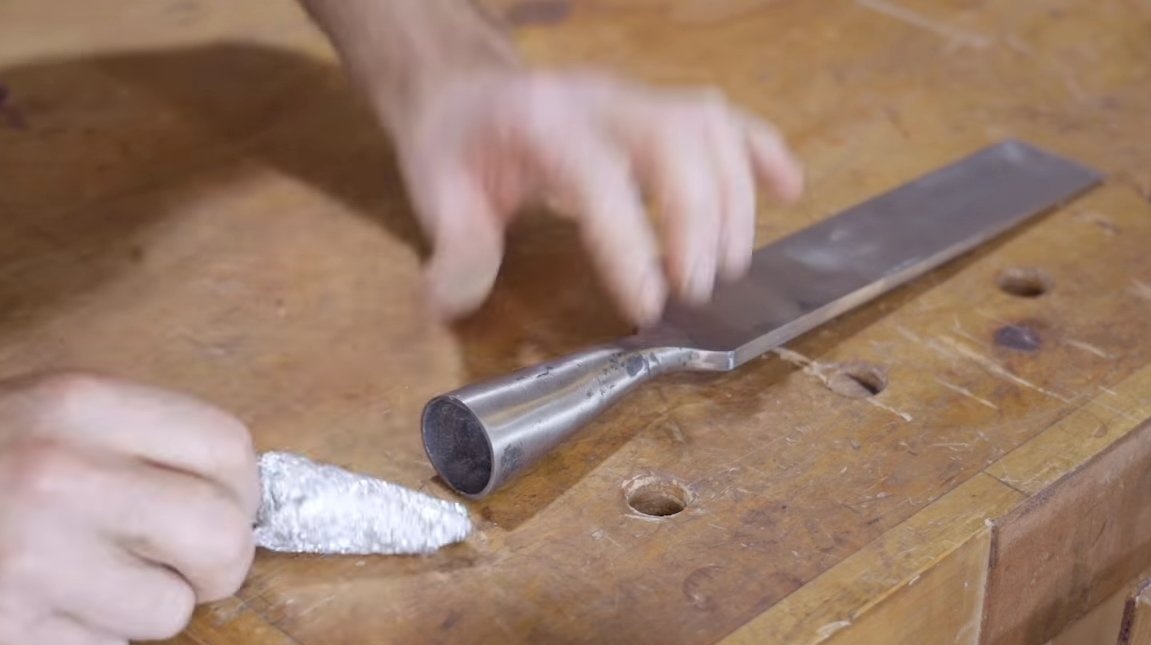
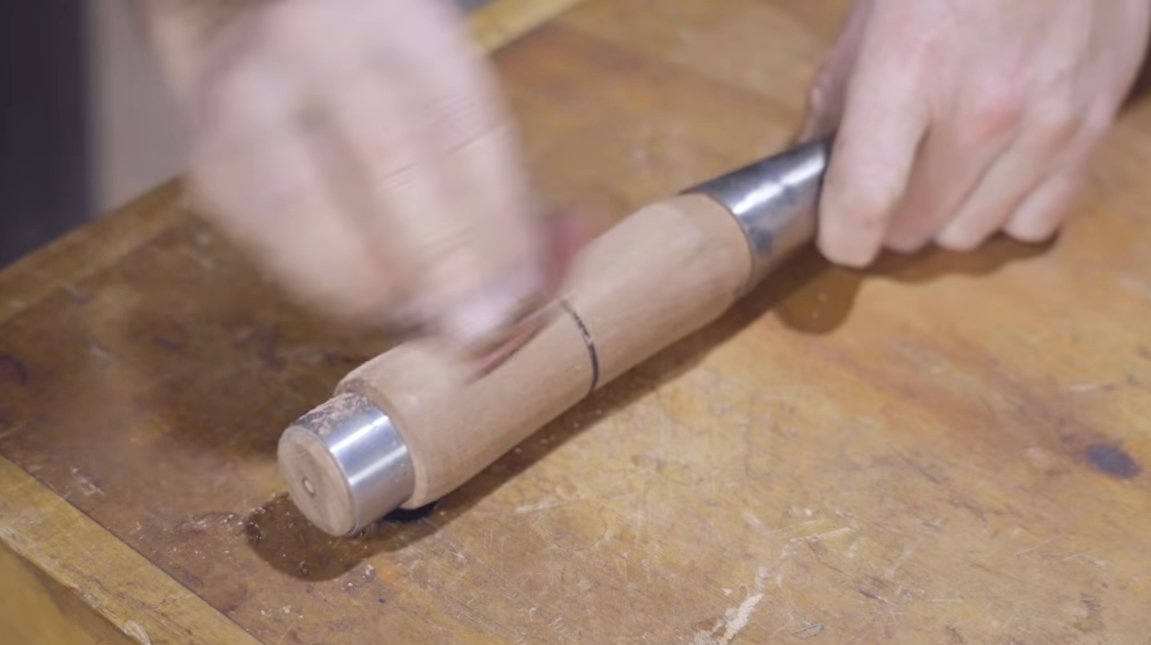
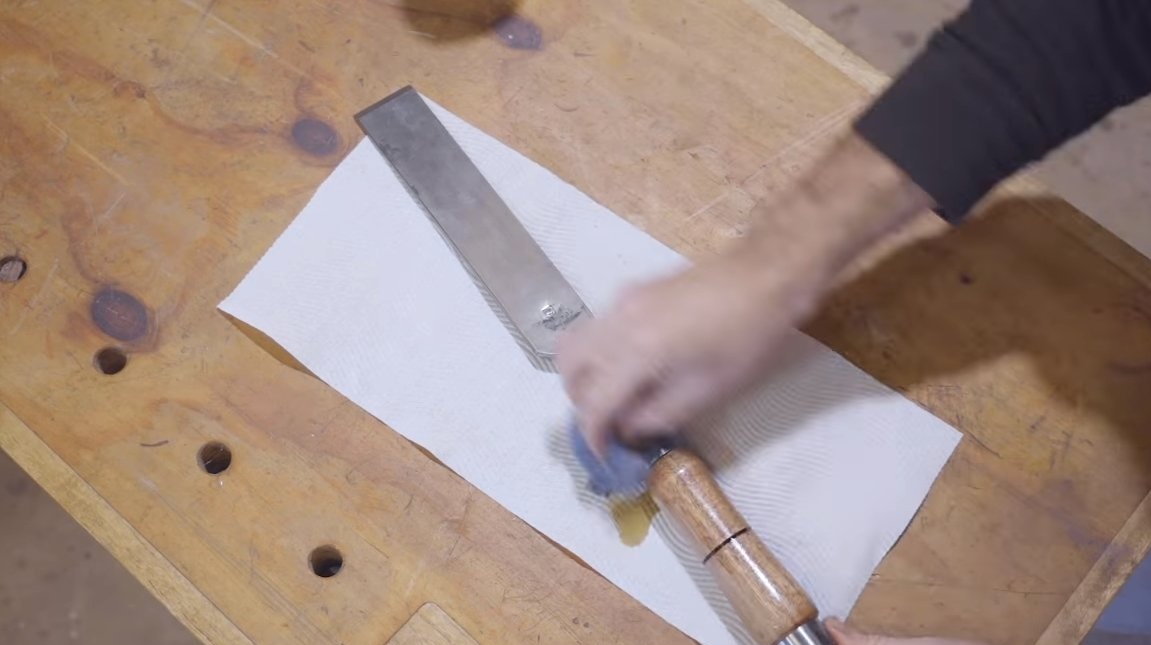
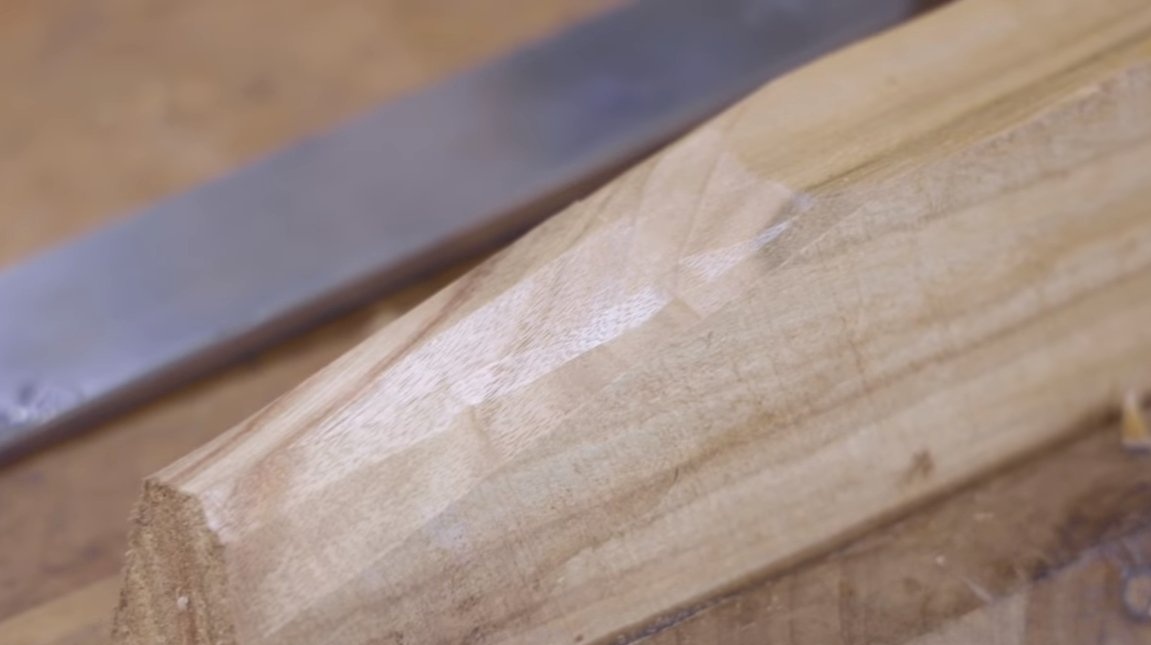
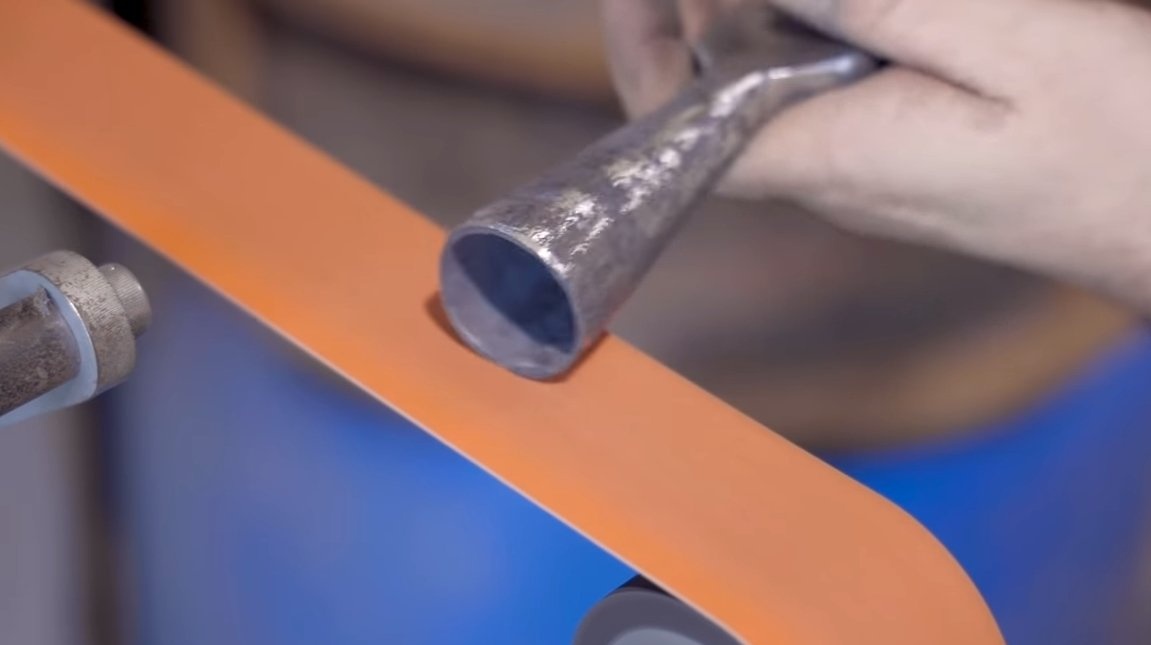
For the back of the handle you need to make an iron ring to strengthen this part. The author made it from a piece of iron pipe. We refine the handle by grinding fine sandpaper, now the chisel can be assembled. At the end, we impregnate the tree with oil so that it is not afraid of moisture, and it will not be superfluous to coat steel with oil, so that it does not rust. After that, the chisel is ready and you can test it. The homemade work perfectly, and her look is gorgeous.
On this project is over, I hope you liked the homemade. Good luck and creative inspiration, do not forget to share your ideas and homemade things with us!