
Many of you know that cutting threads is quite simple, but when using thin taps there is a big chance to break them.
In this article, the YouTube author of the Levsha channel will tell you how he made the machine for threading from M0.5 to M3.5.
Materials
- Shaft from an inkjet printer
- A pair of bearings
- Brass bar
- Adhesive for bearings
- Machine oil
- Caprolon round timber
- Sandpaper
- Hexagon screws, M4 screws
- Paste GOI
- magnesium plate
- Silicone legs
- Transparent self-adhesive film.
Instruments, used by the author.
- Lathe
- Hex keys, screwdriver
—
- Countersink nozzle
- Grinding machine
—
- Drill
- CNC milling machine
—
— .
Manufacturing process.
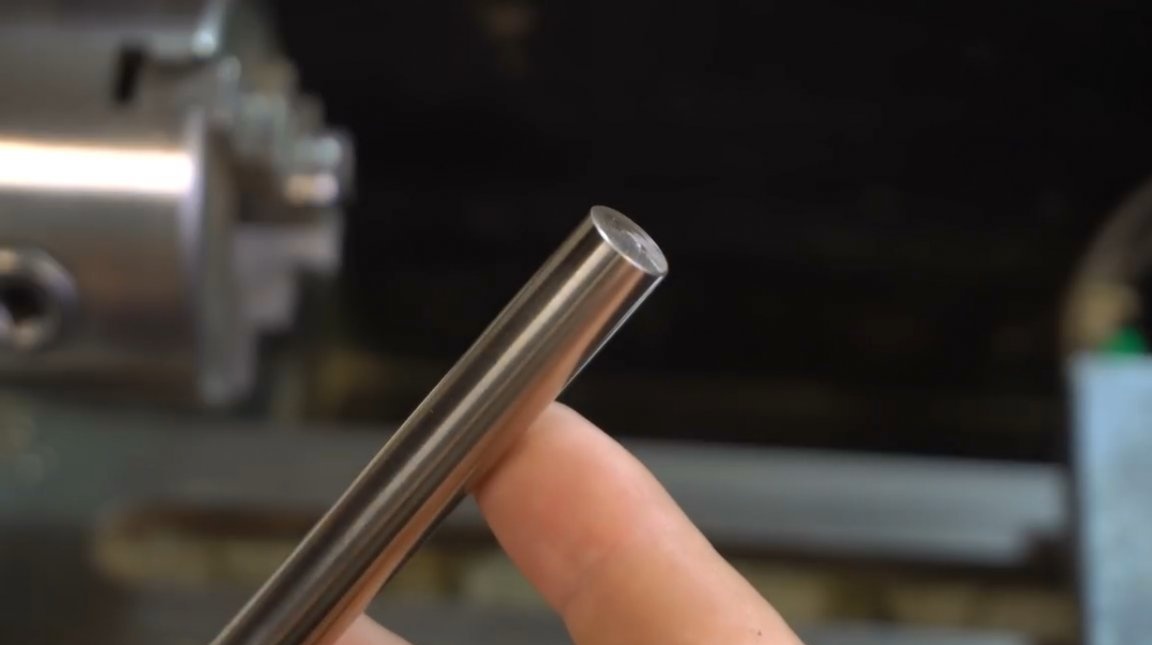
First of all, the master begins with making a stand on which the handle will be mounted. The main material for it will be a shaft from a broken inkjet printer. It is made of stainless steel.
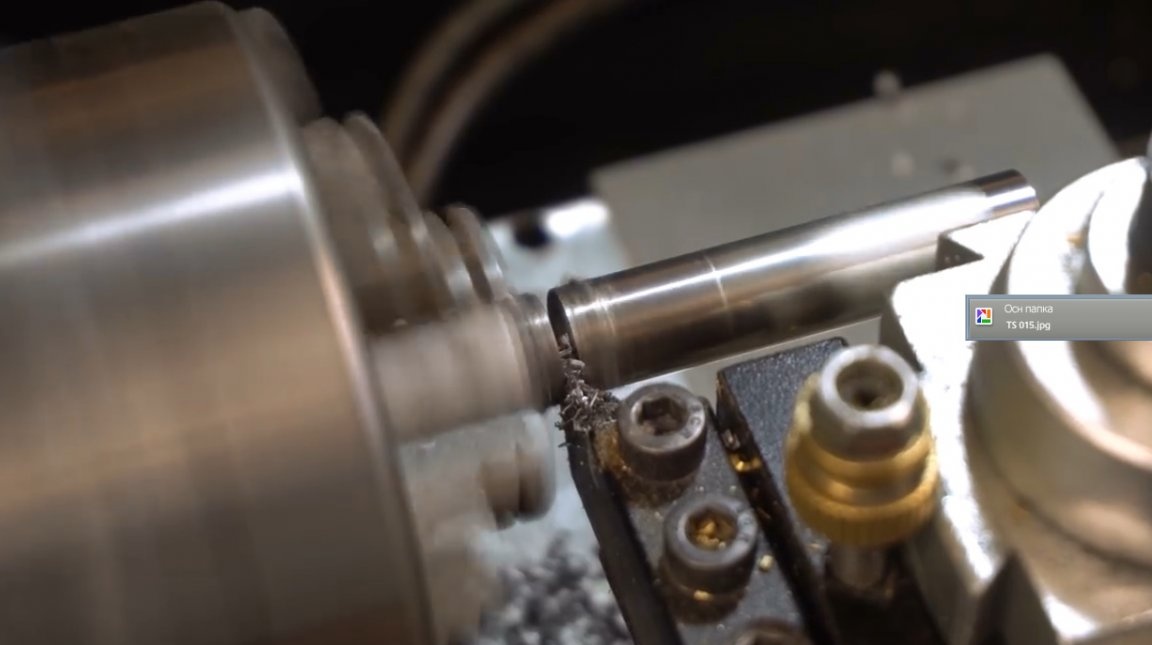
The first he made a long vertical stand, and then the transverse bar.
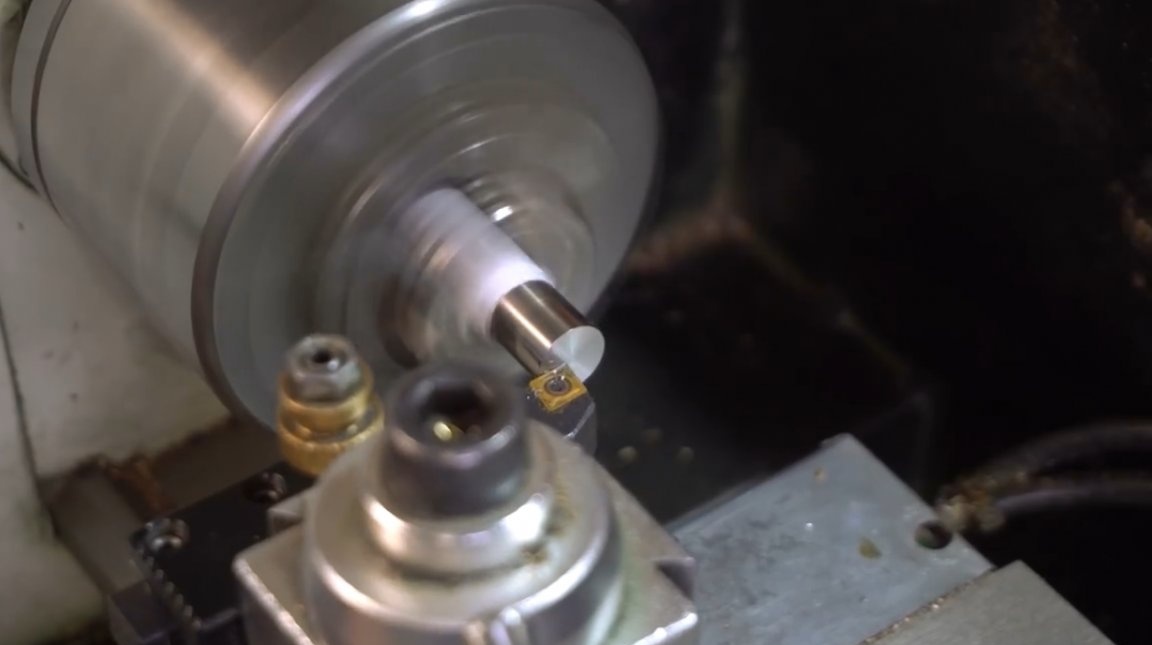
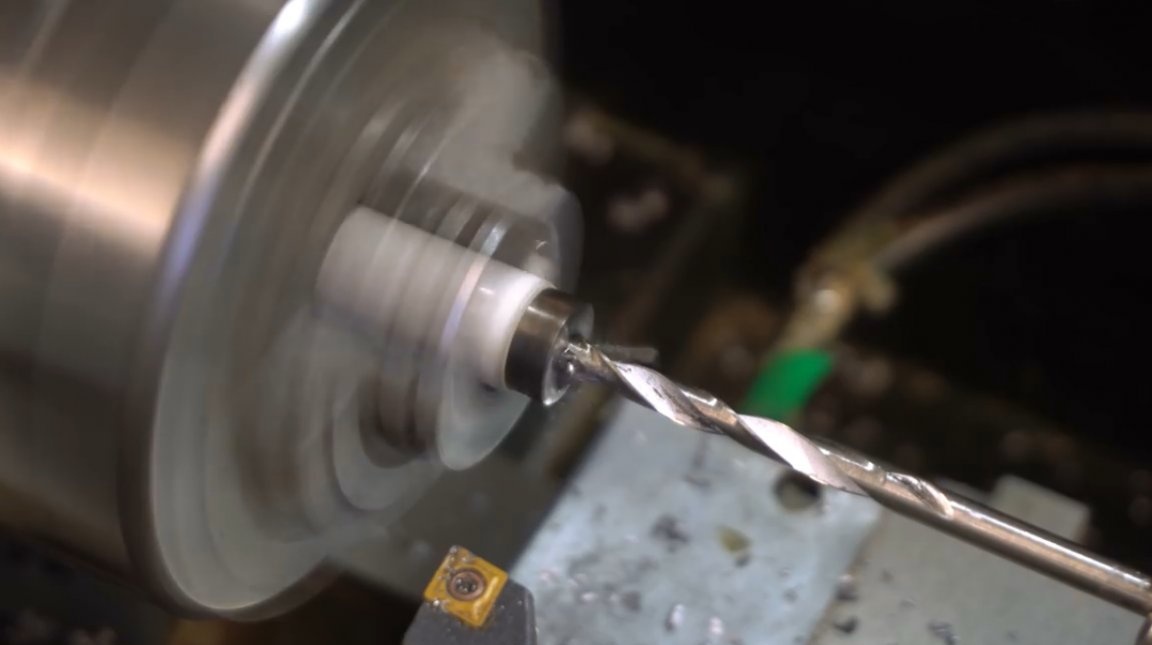
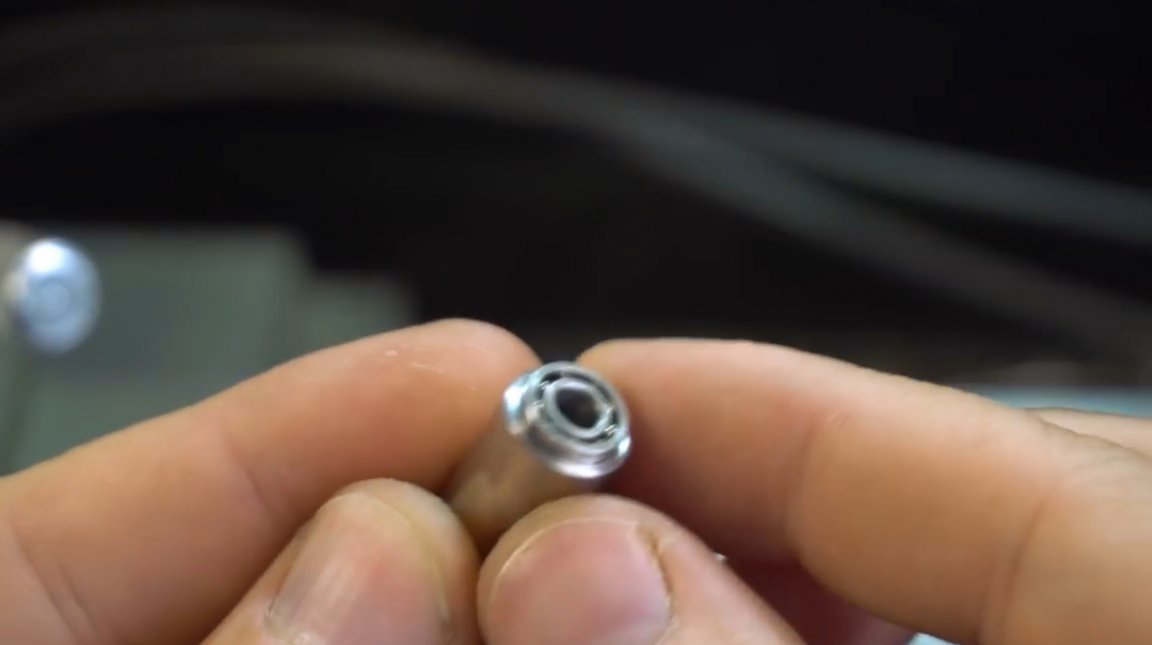
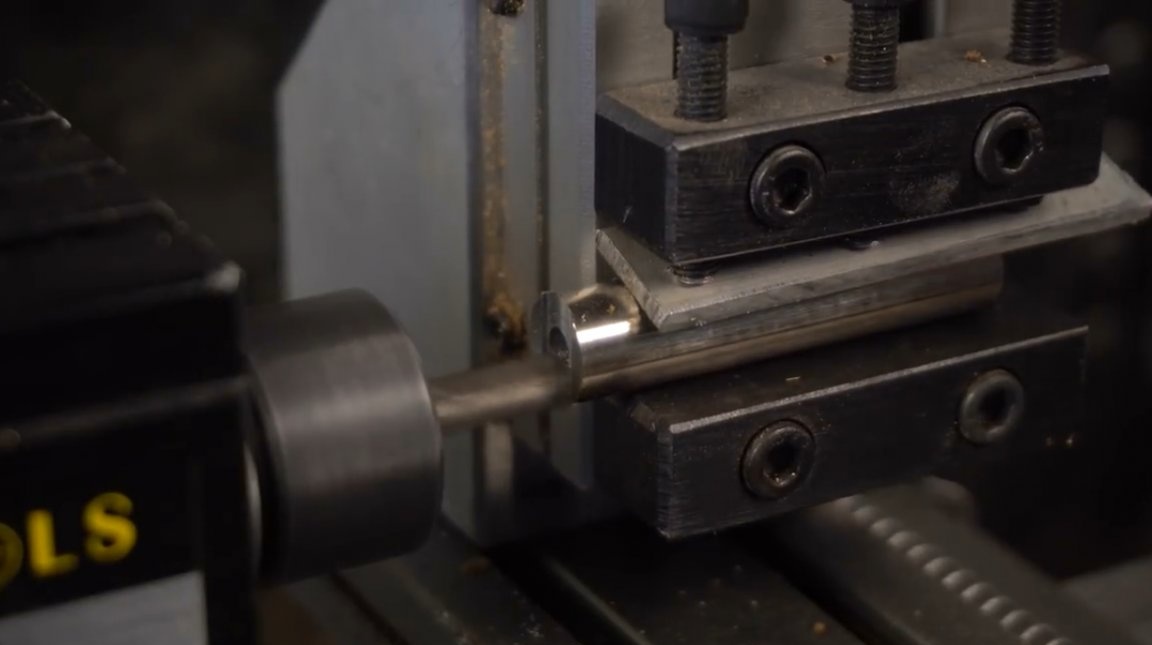
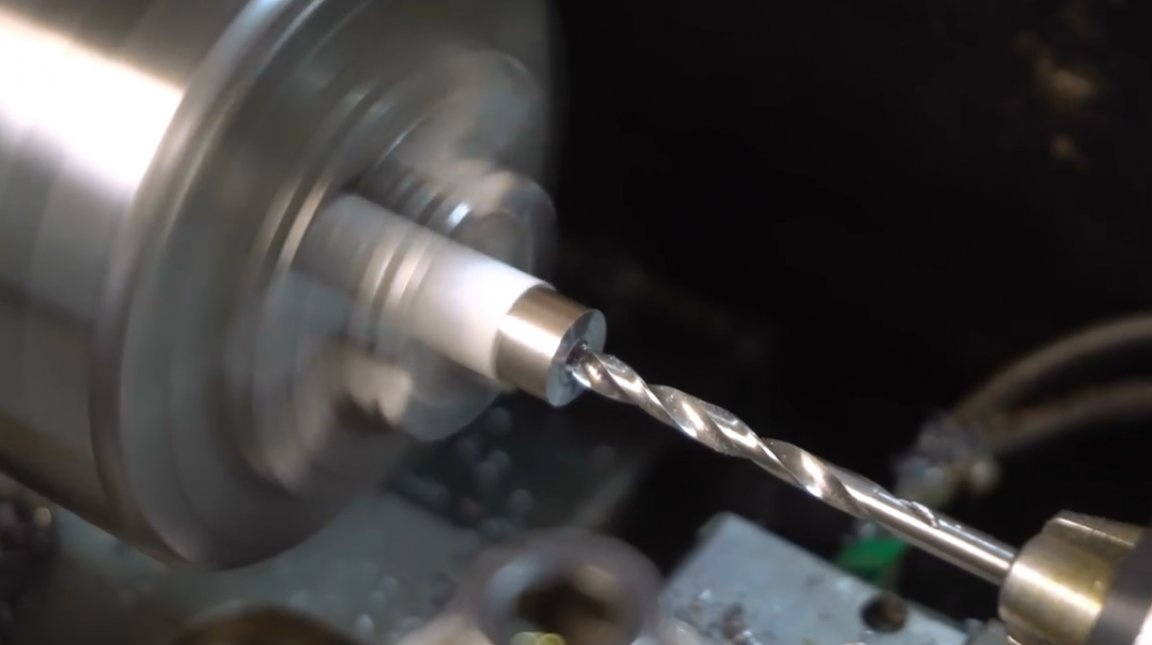
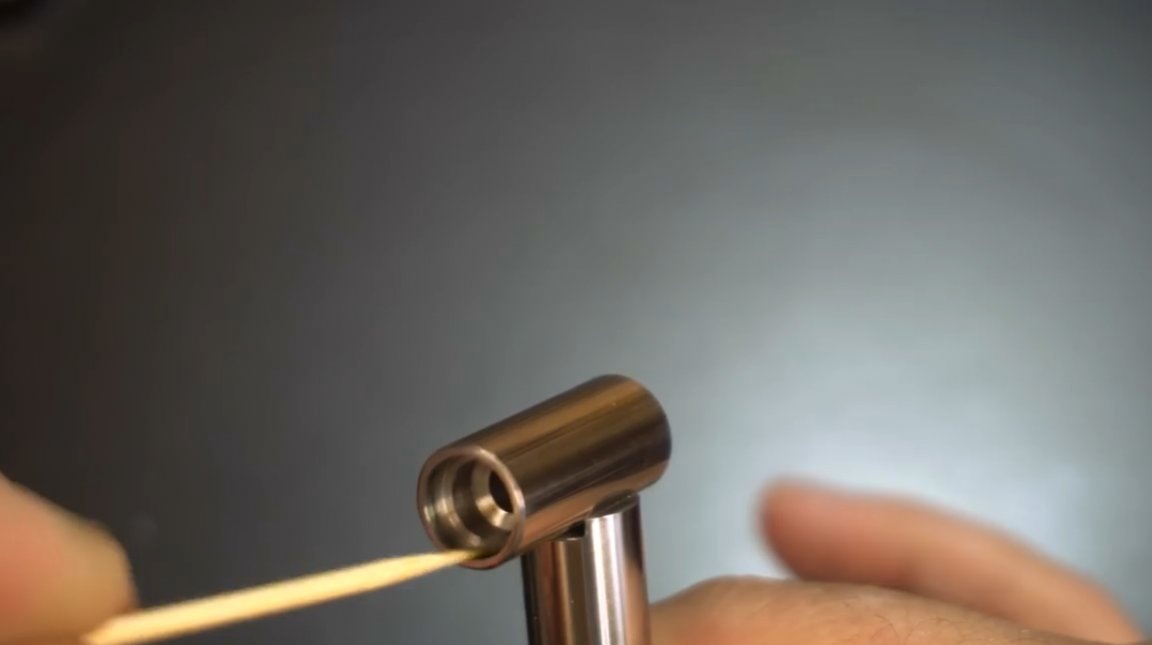
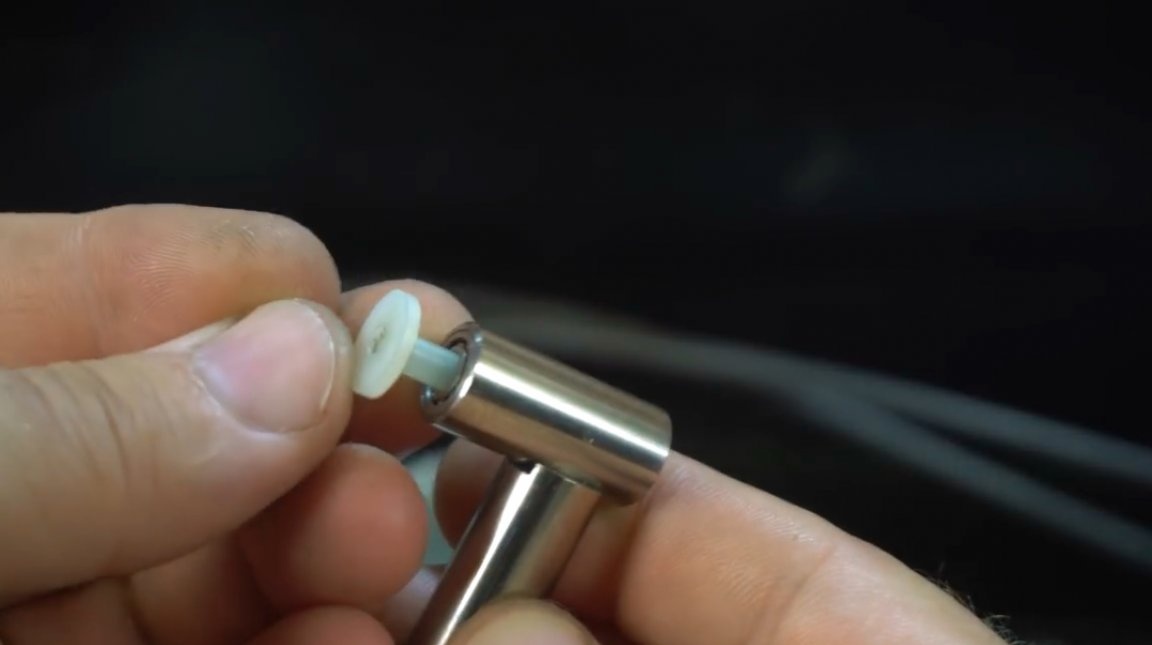
Then a small spindle is made with grooves on both sides, two small bearings will be pressed into them. Instead of a center drill, the author had to use a step drill.
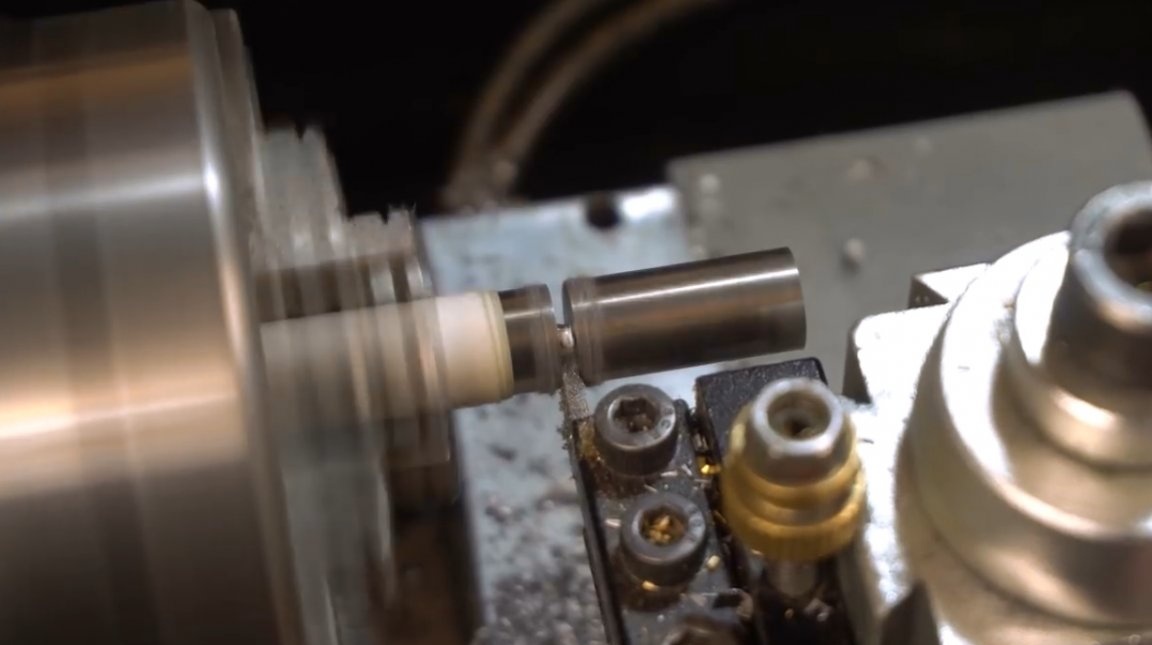


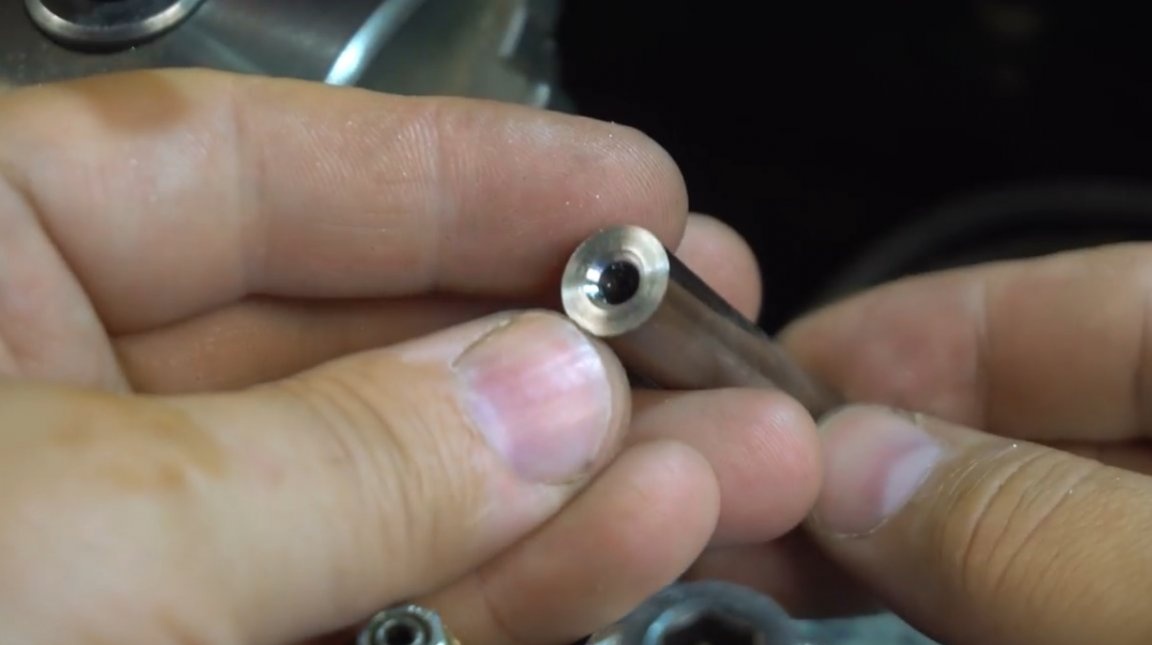
This is how the bearing fits. In principle, you can do without them by making the design on the bushings, however, the master will even use M0.5 taps, and for them increased requirements.
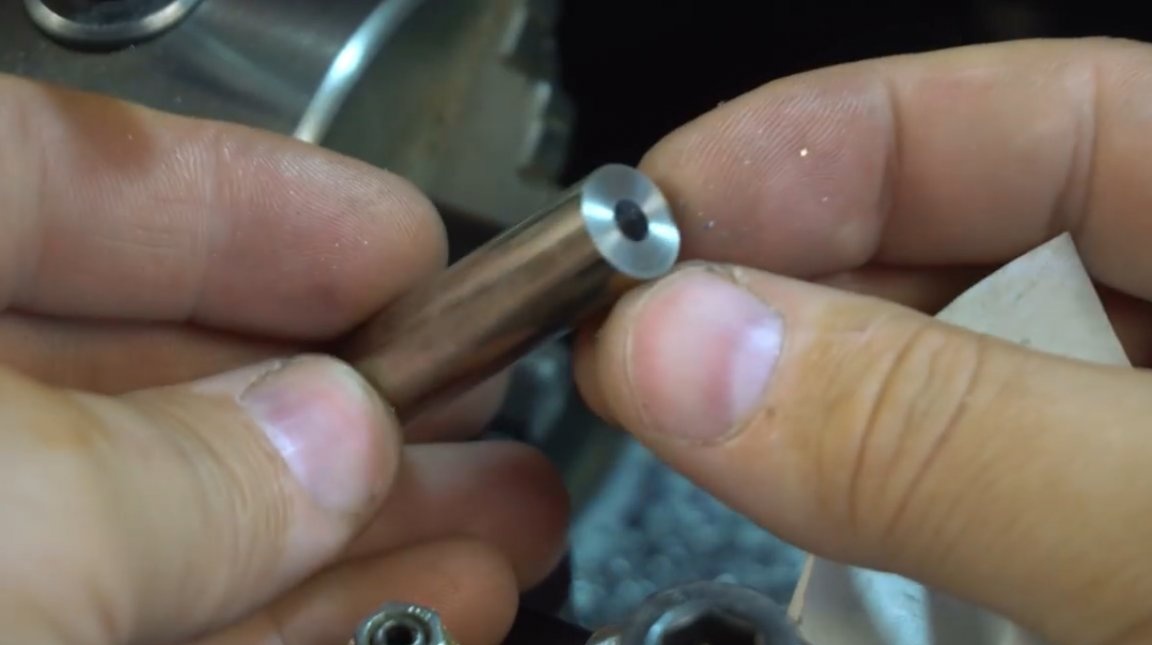
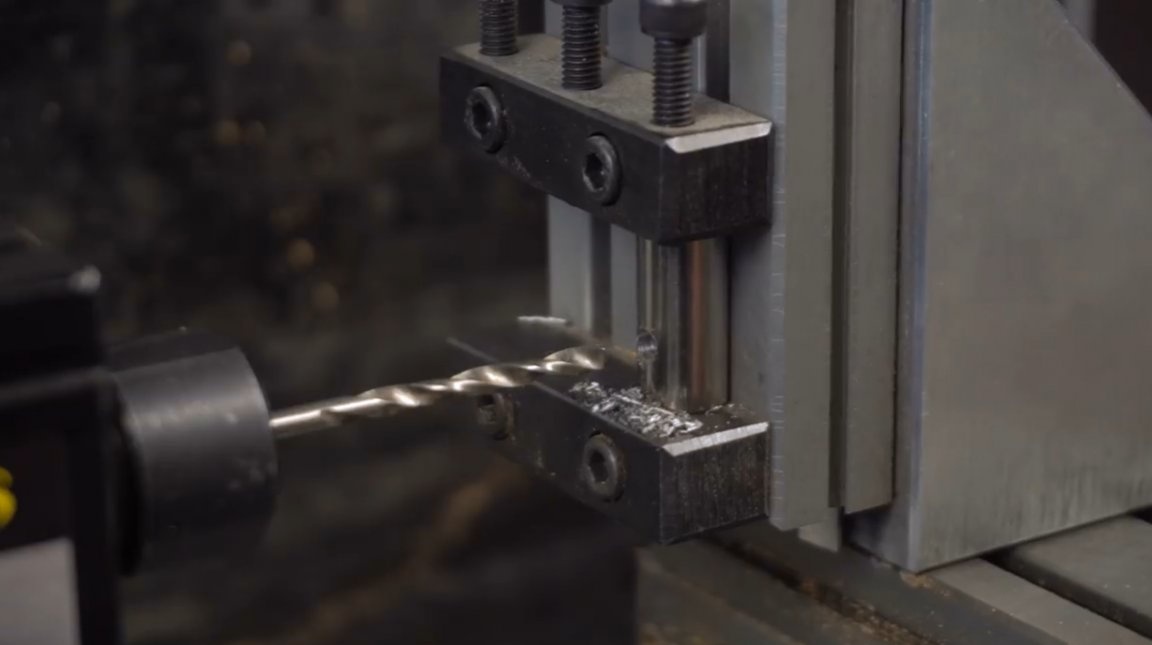
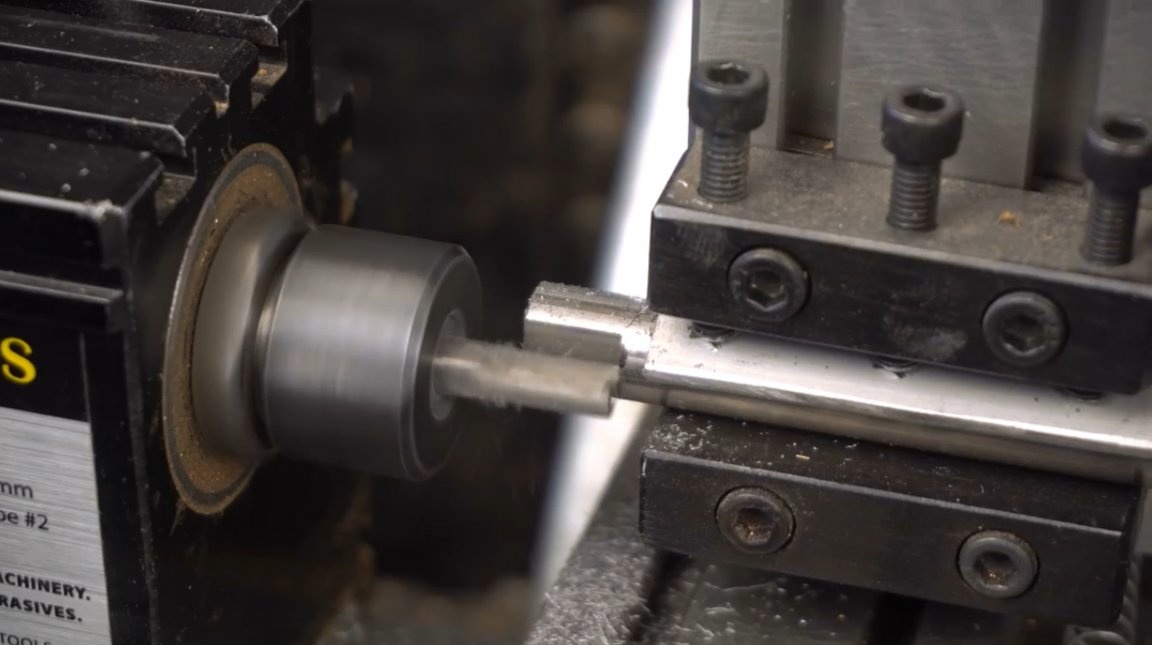
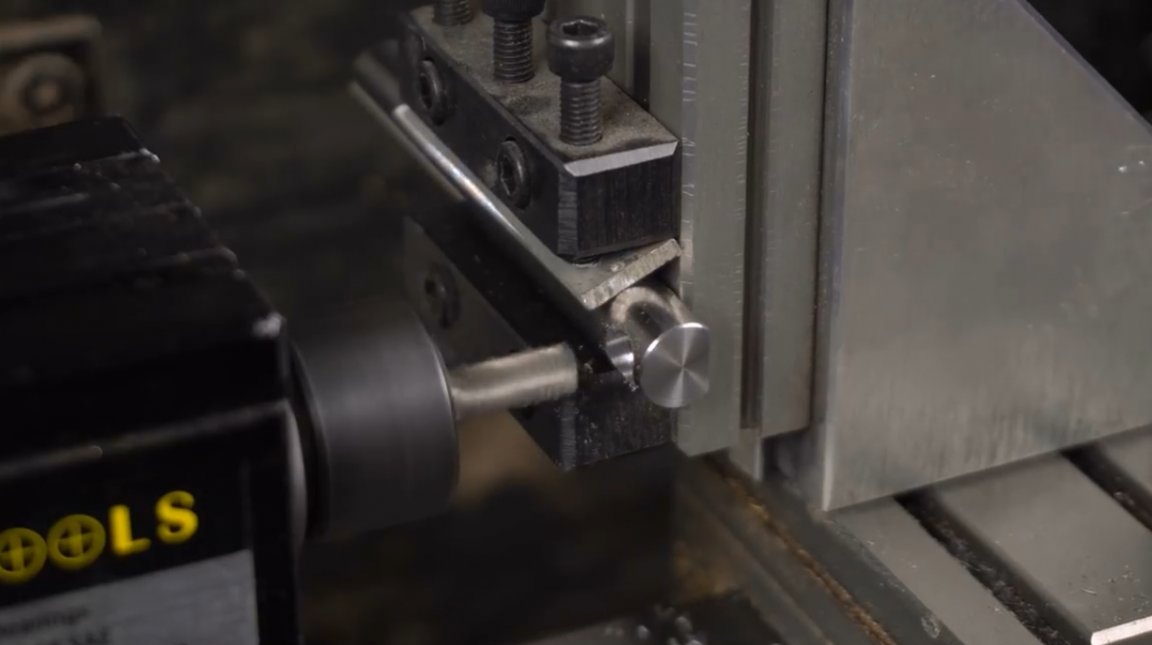
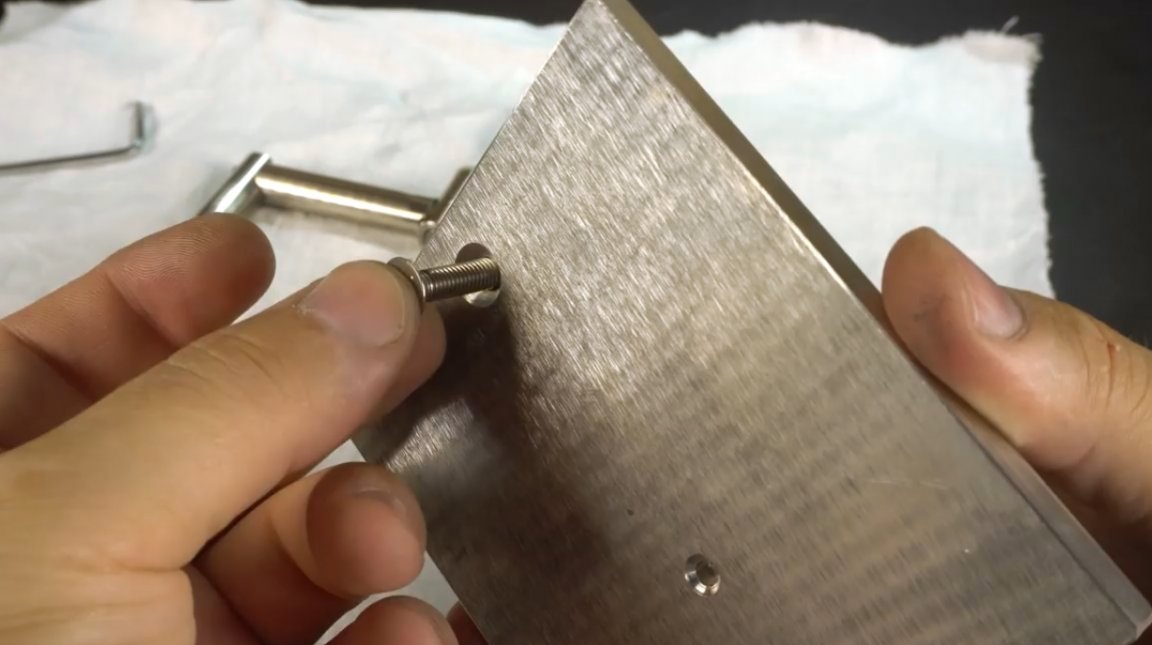
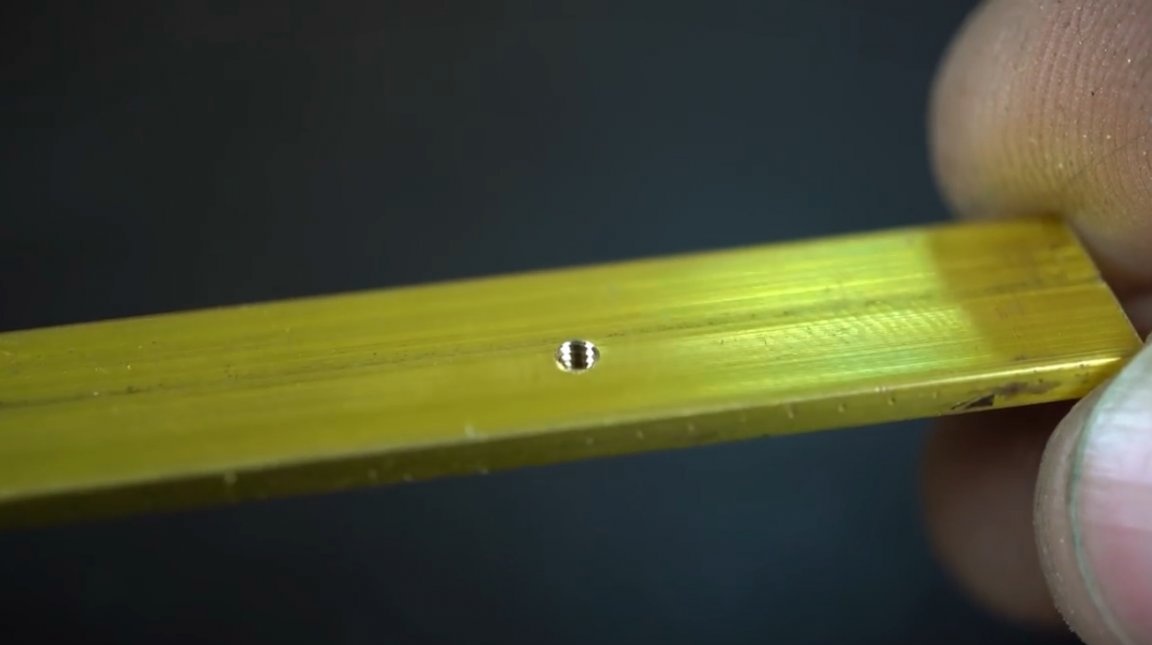
A hole is drilled in the side of the spindle and a thread is cut. At this point, it will be attached to the rack. There will be no special loads, just the M4 screw.

To increase the fulcrum, a groove is milled in the transverse bar.
The edge of the upright is also milled. The author used a digital micrometer.

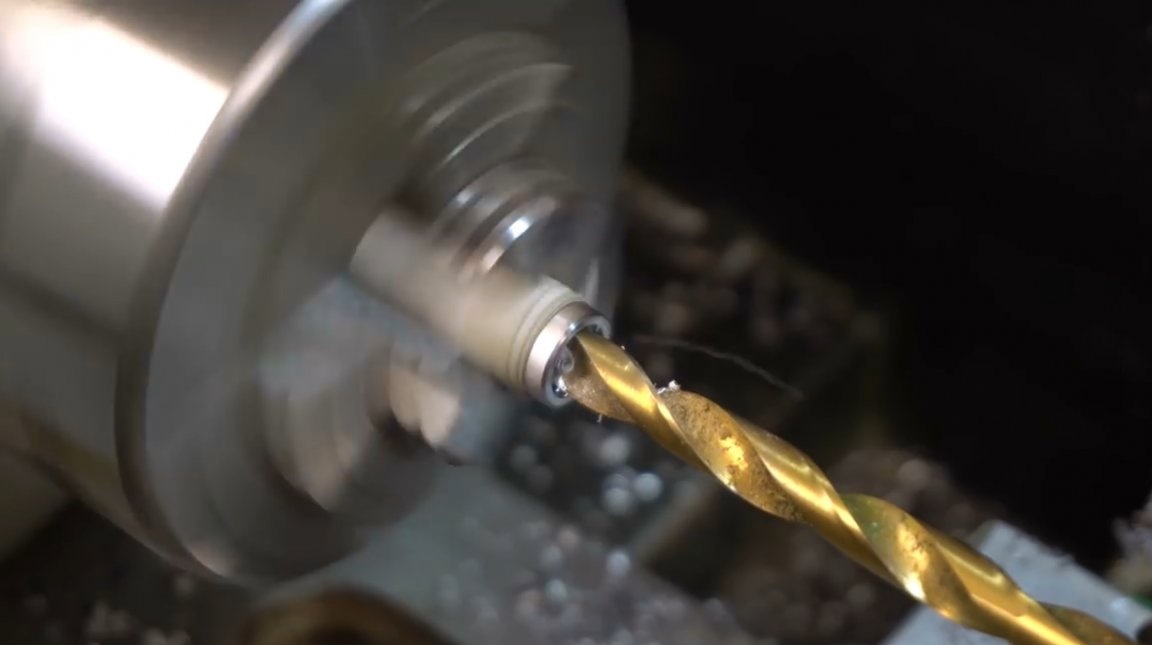
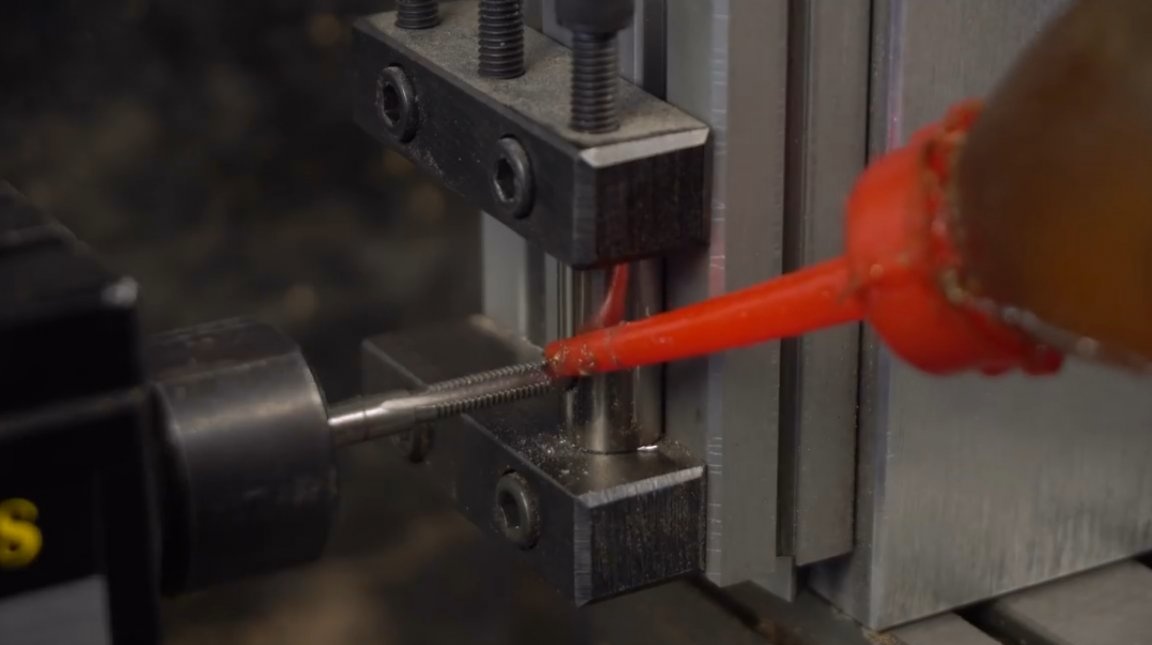
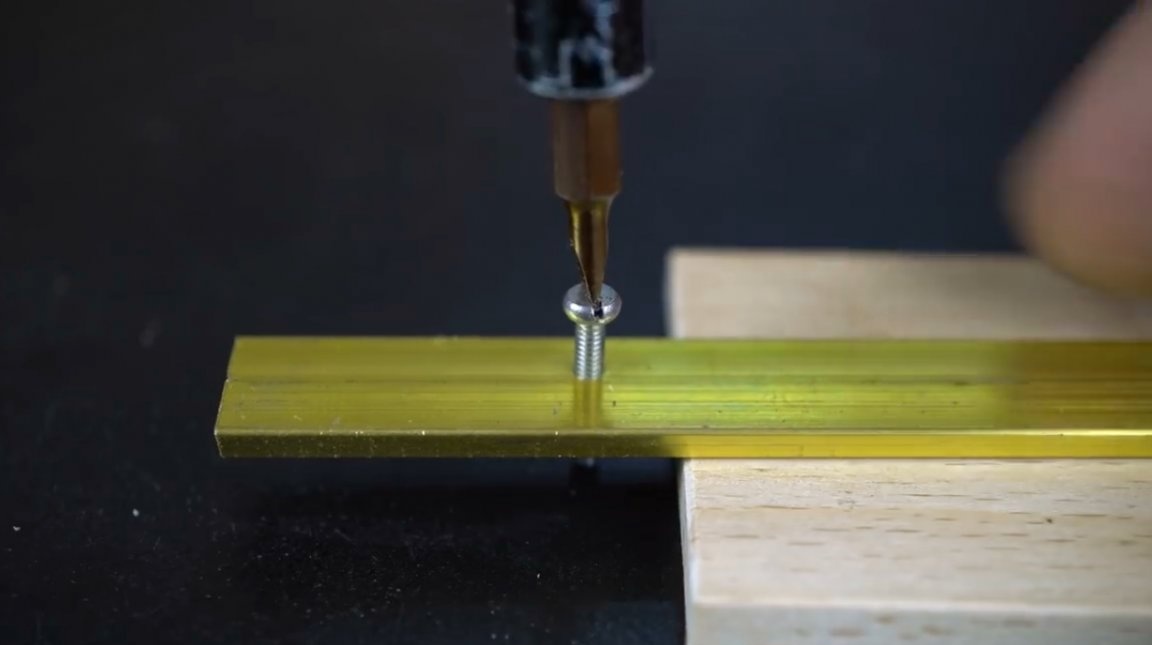
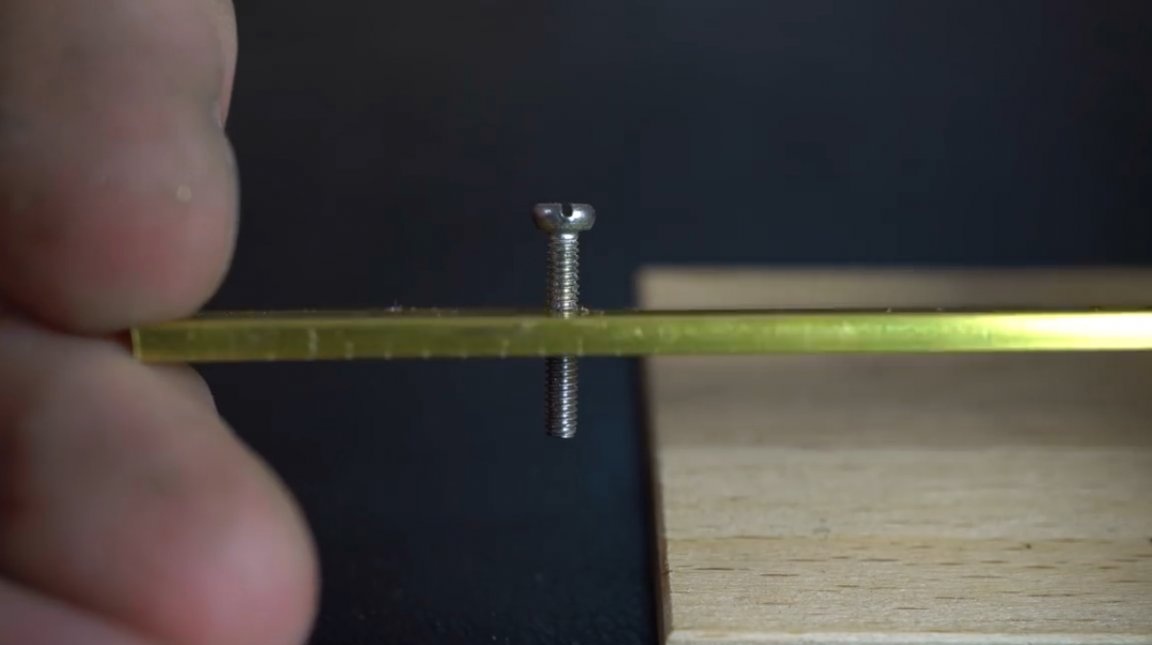
Now you need to drill a hole for the fixing screw.
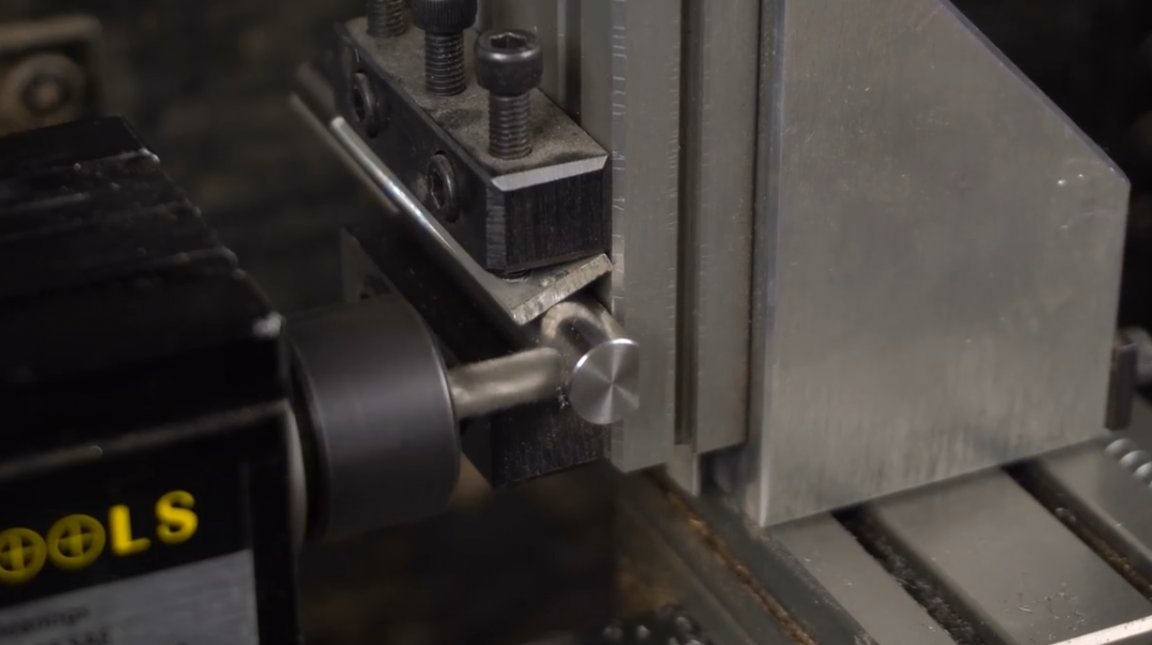
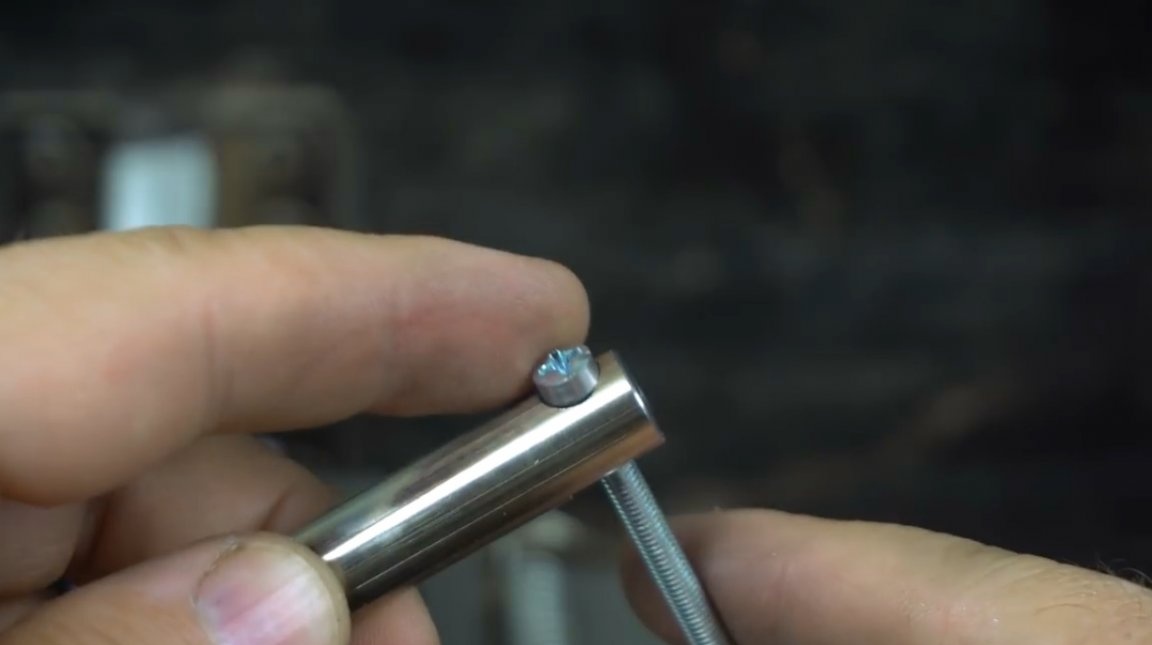
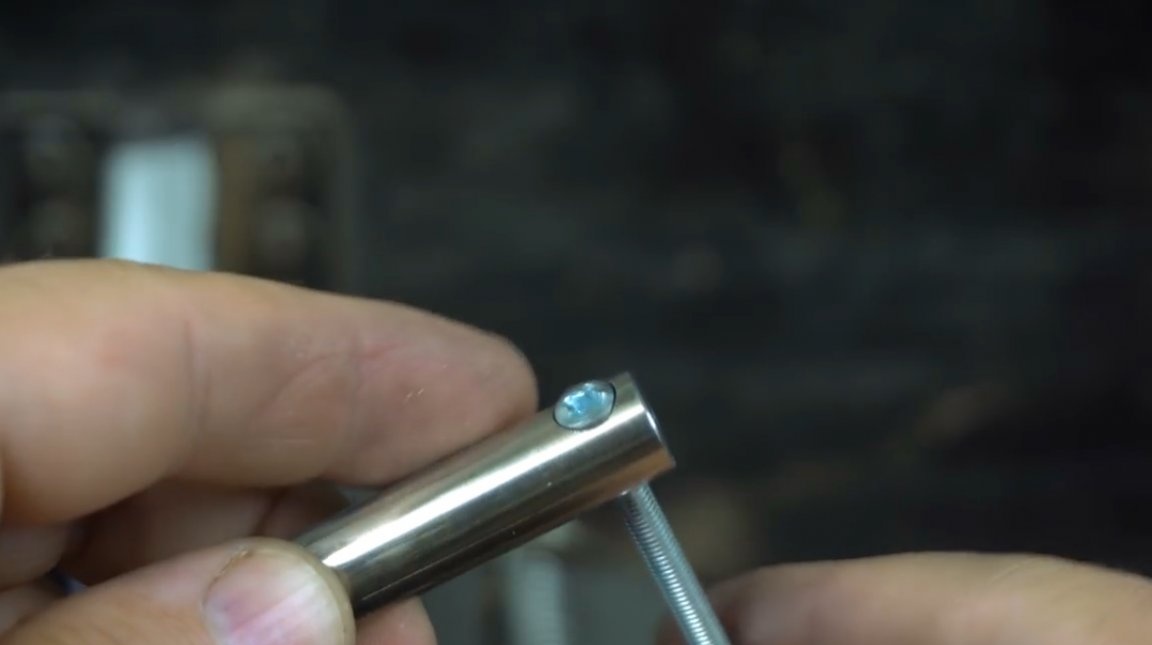
In order for the screw head to be flush, the author has honed it.
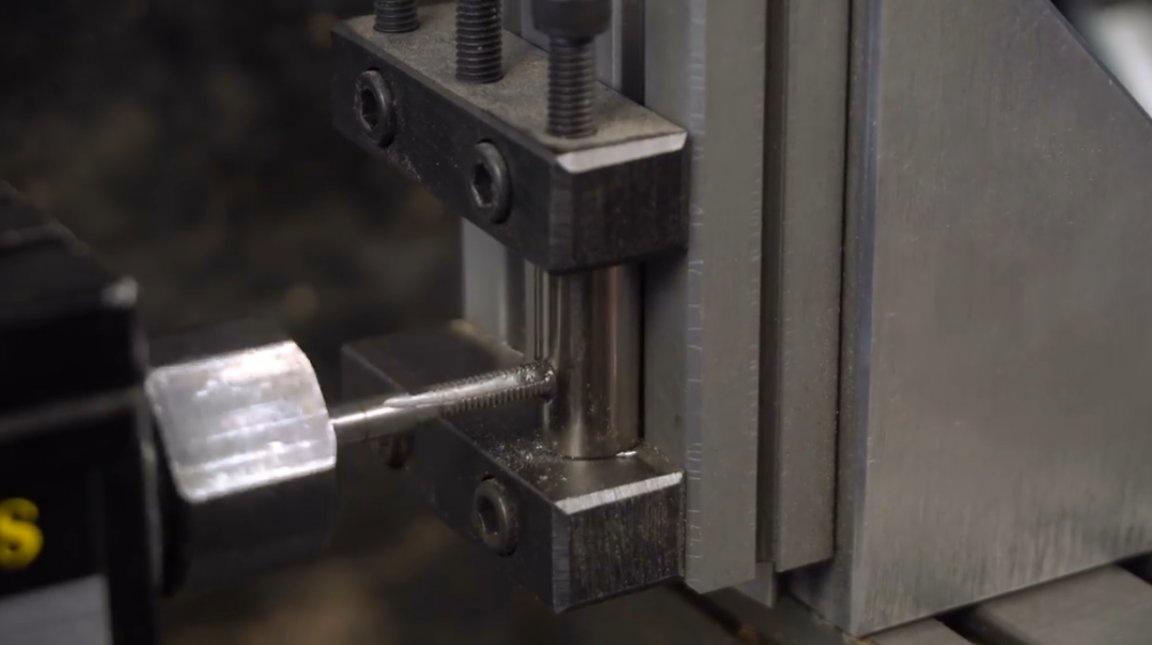
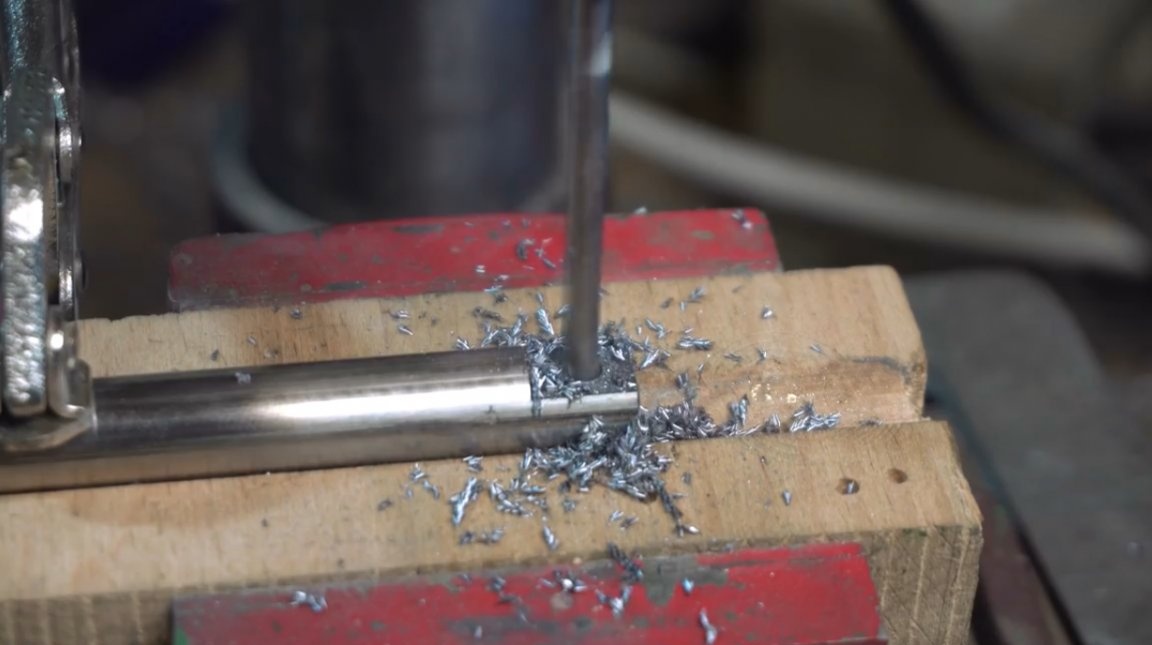
It remains to drill a hole, and cut a thread in it for attachment to the base.
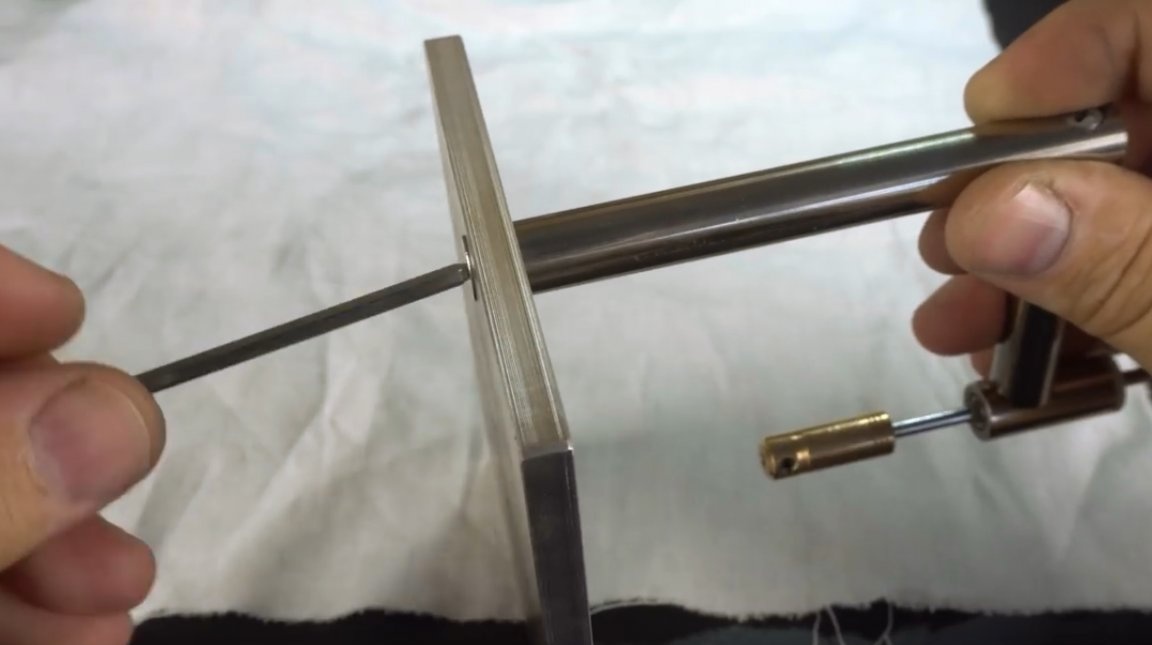
The author collects the elements of the rack, thanks to the milled grooves, all elements will become at an angle of 90 degrees.
The bearing seats are lubricated with glue, and pressed into place using.
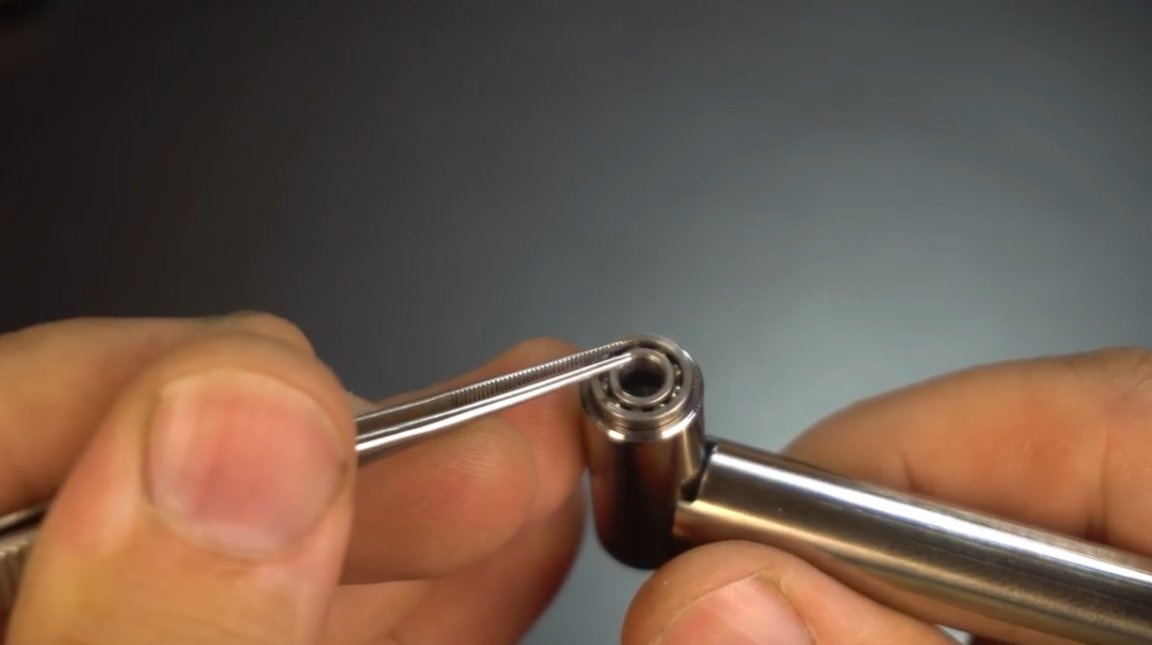
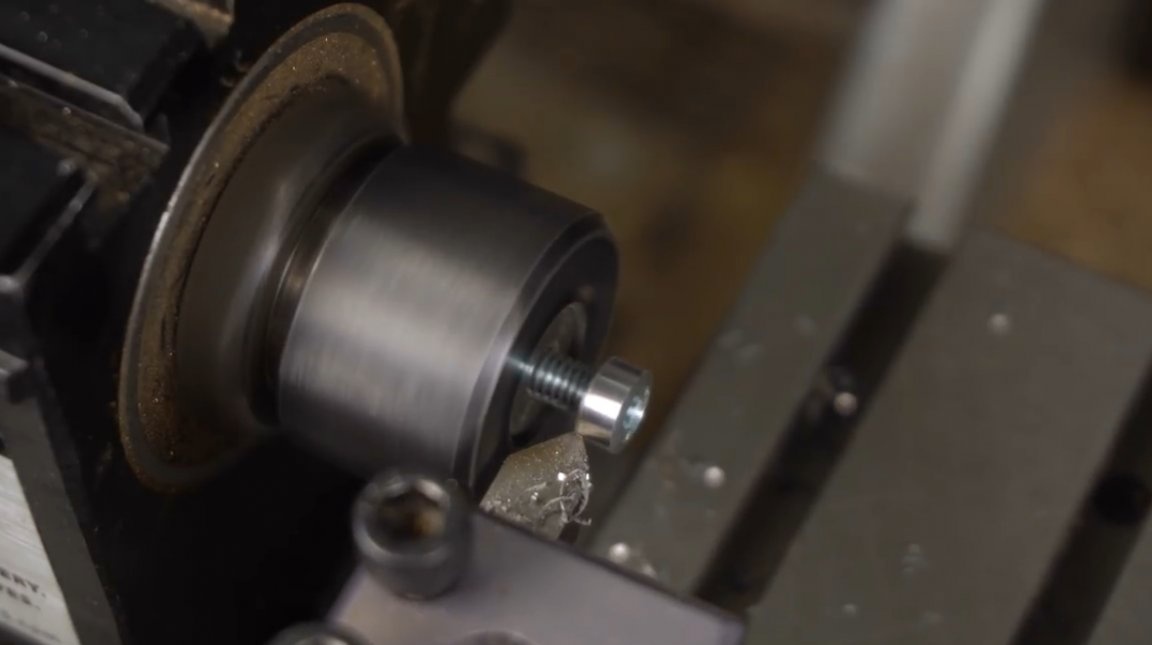
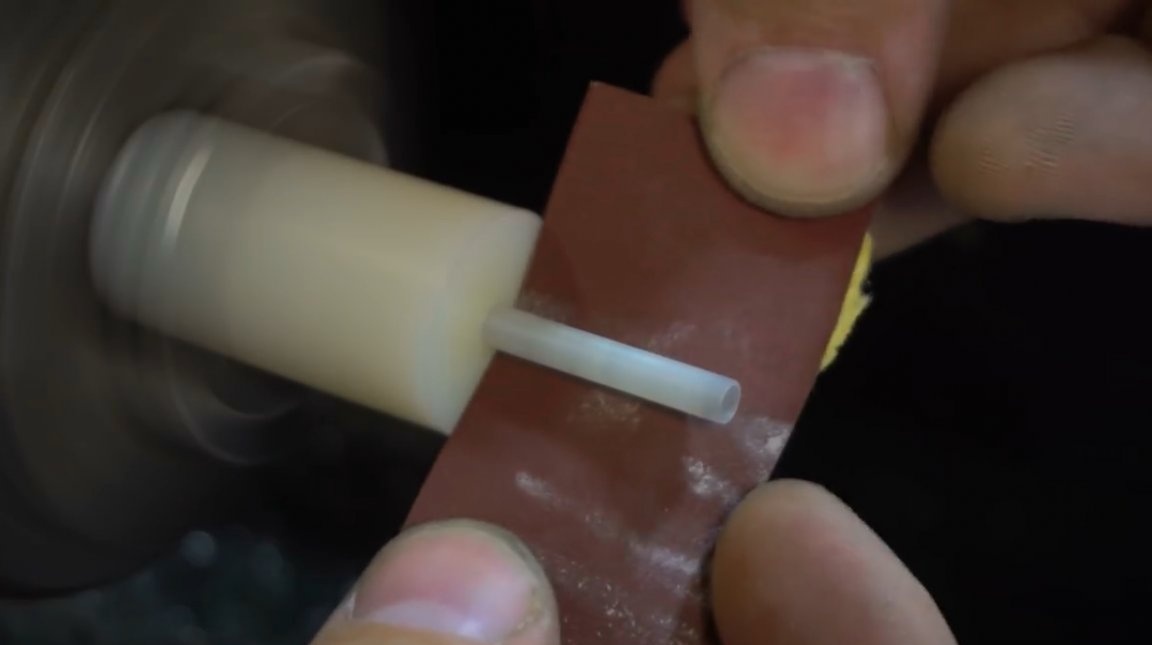
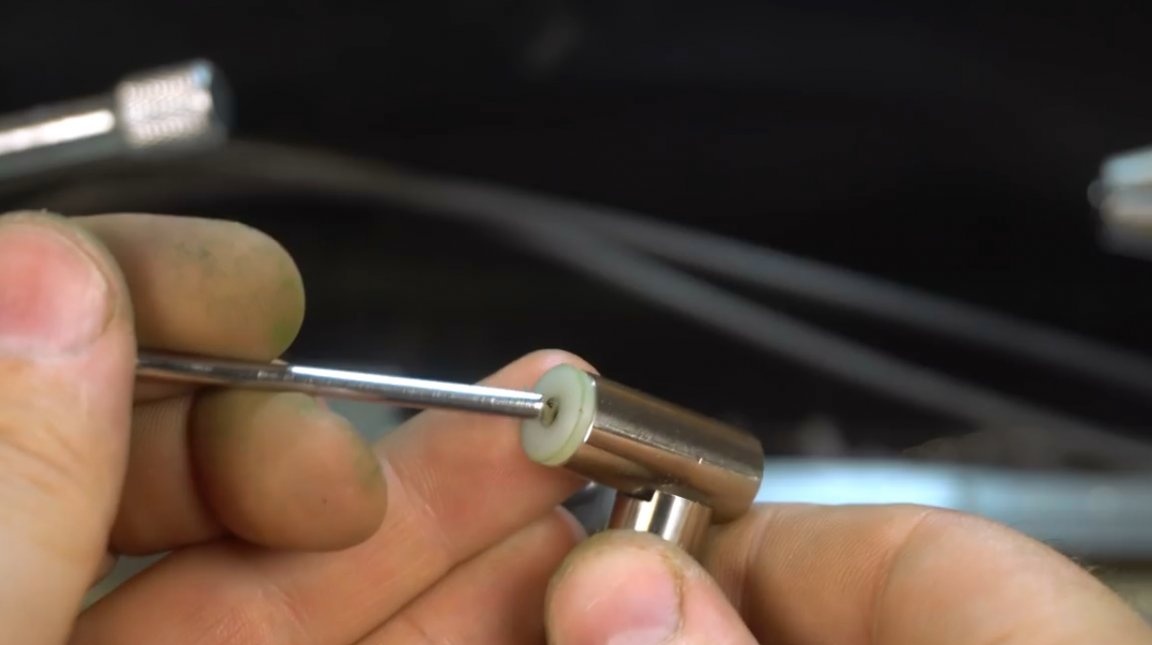
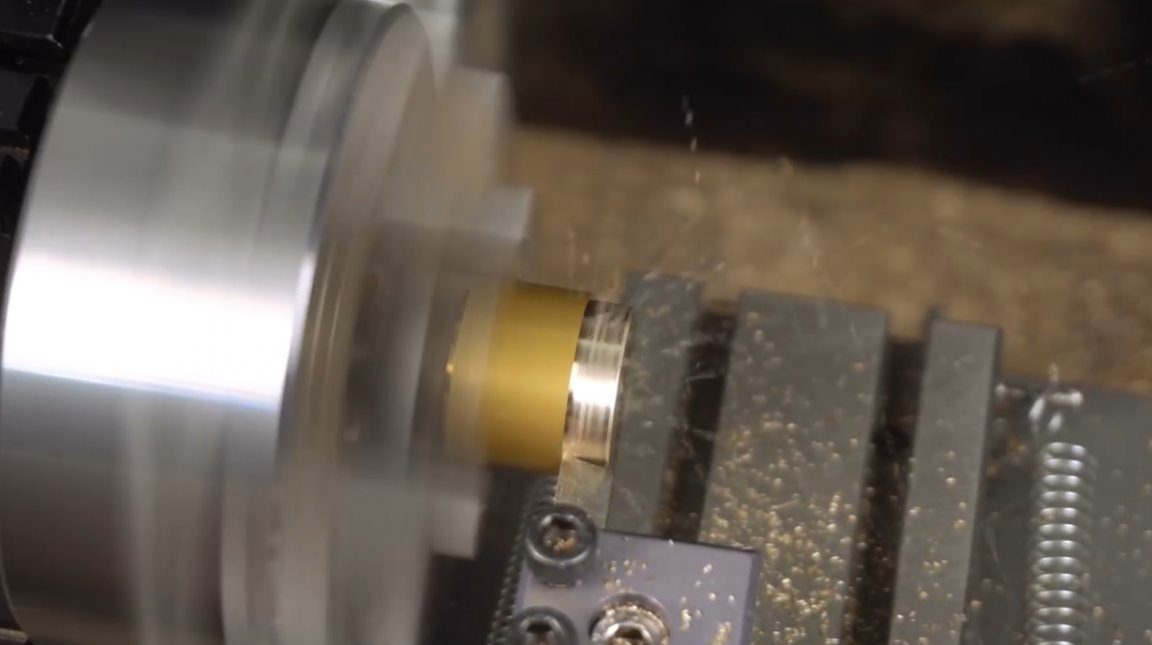
From the caprolon disc, the master grinds a special sleeve, it will hold the knob tightly. When processing caprolon can not use high speed, it melts. The outer diameter of the sleeve is 4 mm, and the inner 3 mm. Therefore, the master makes fine-tuning with sandpaper.
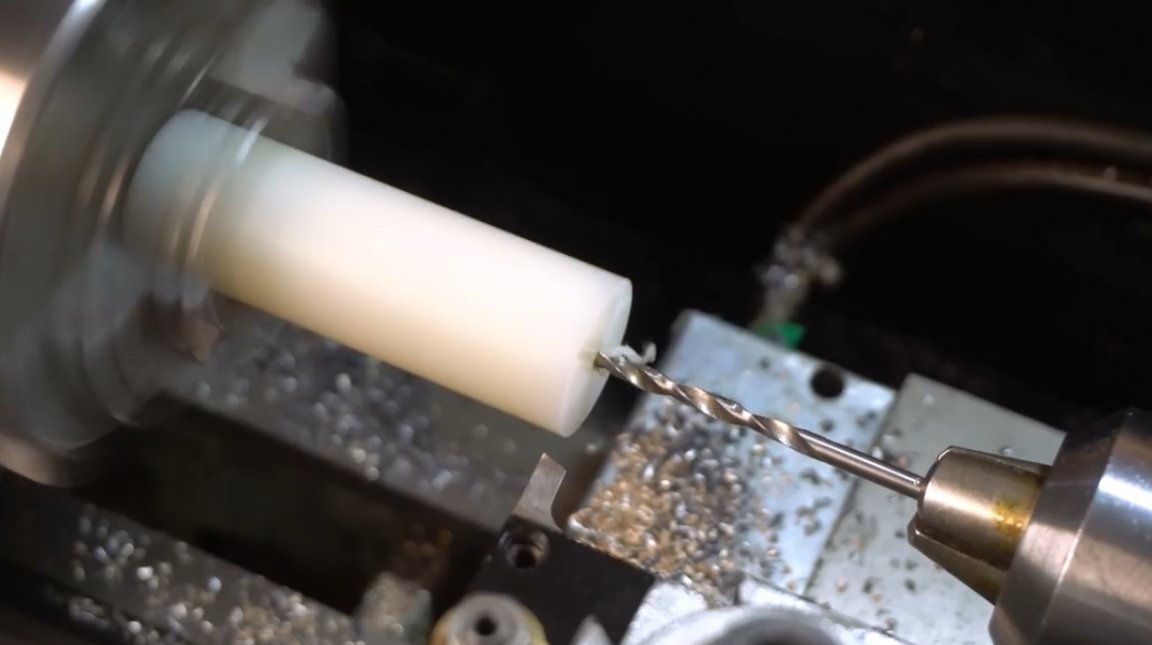
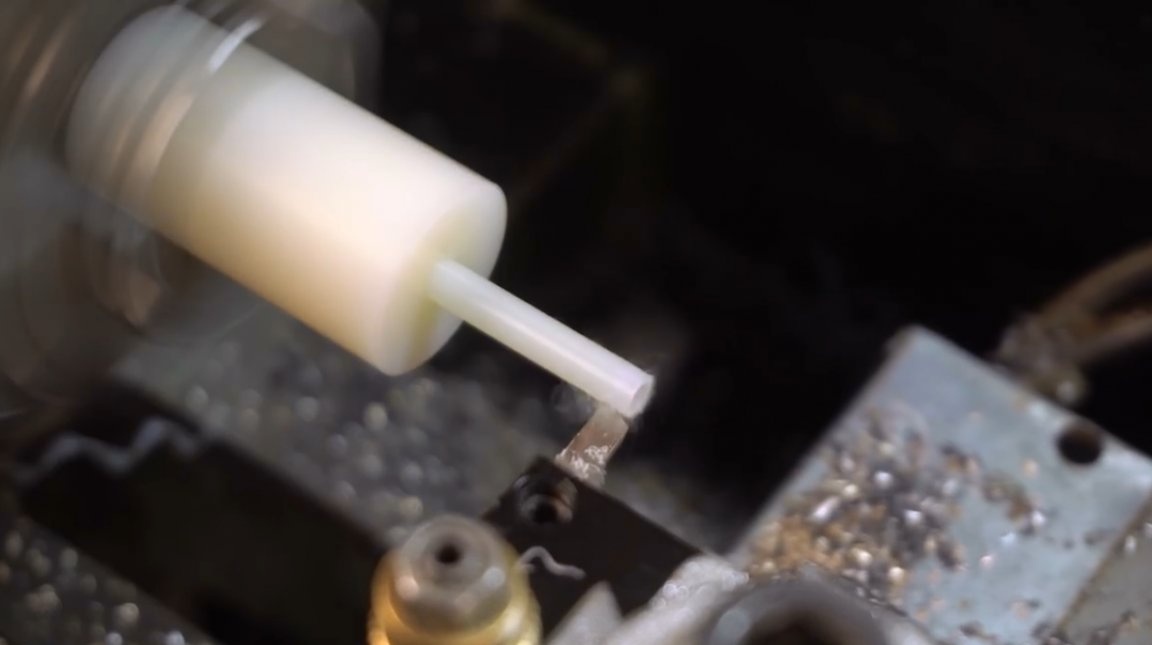
At the second end of the sleeve, he machined a small hat, it is designed to protect the bearings from chips.
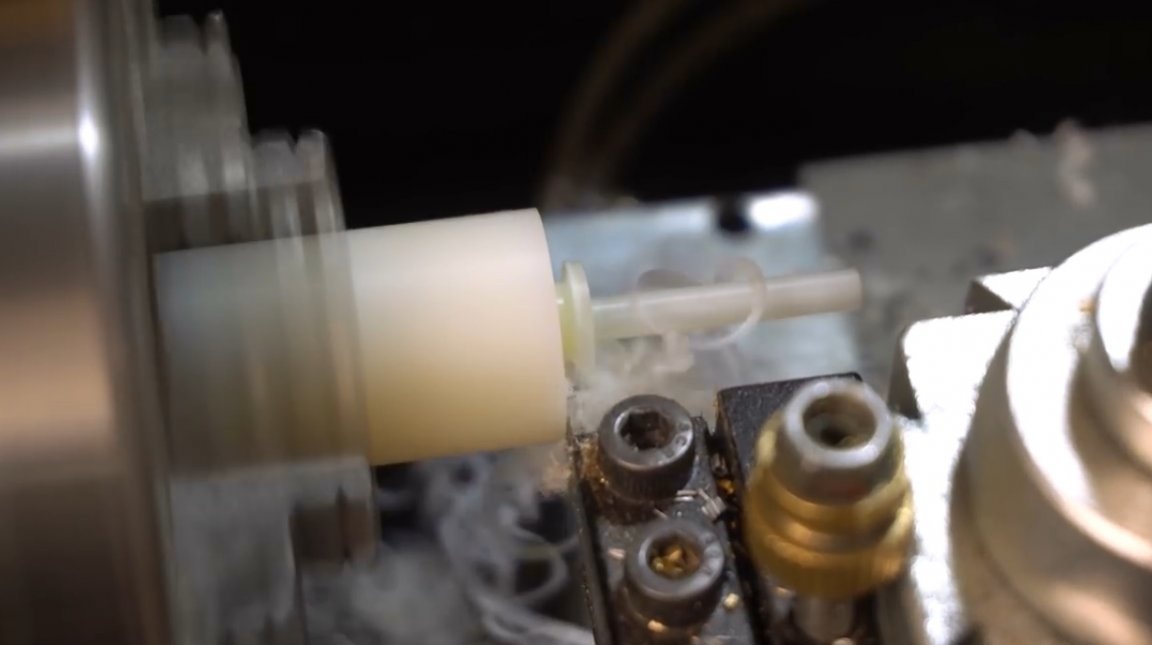
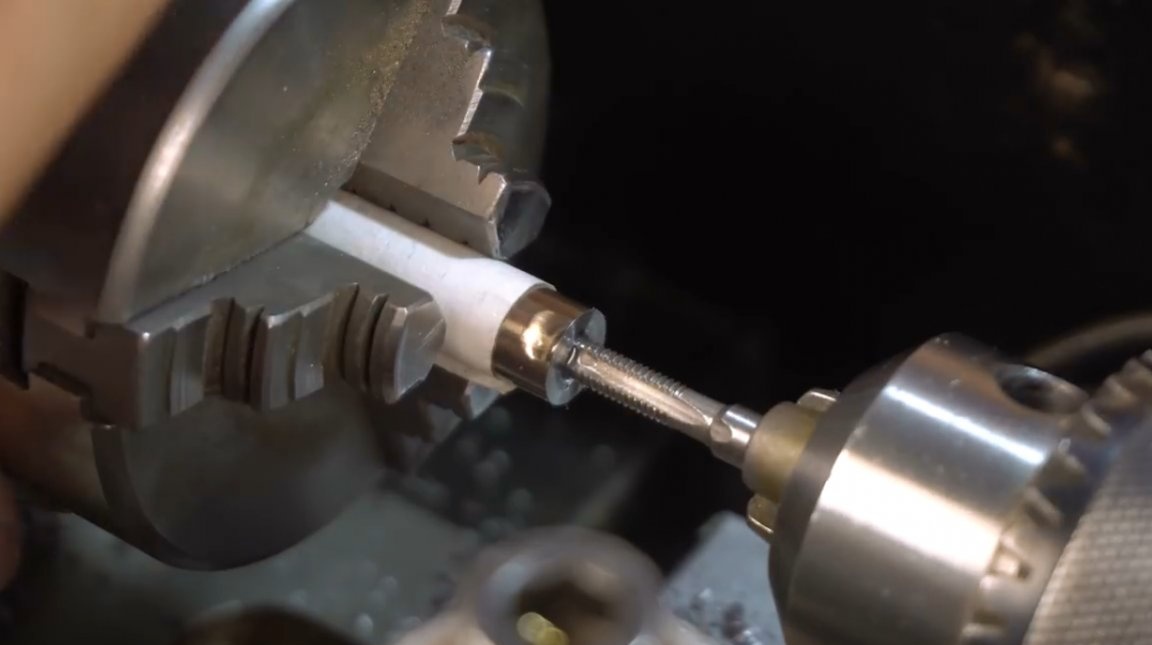
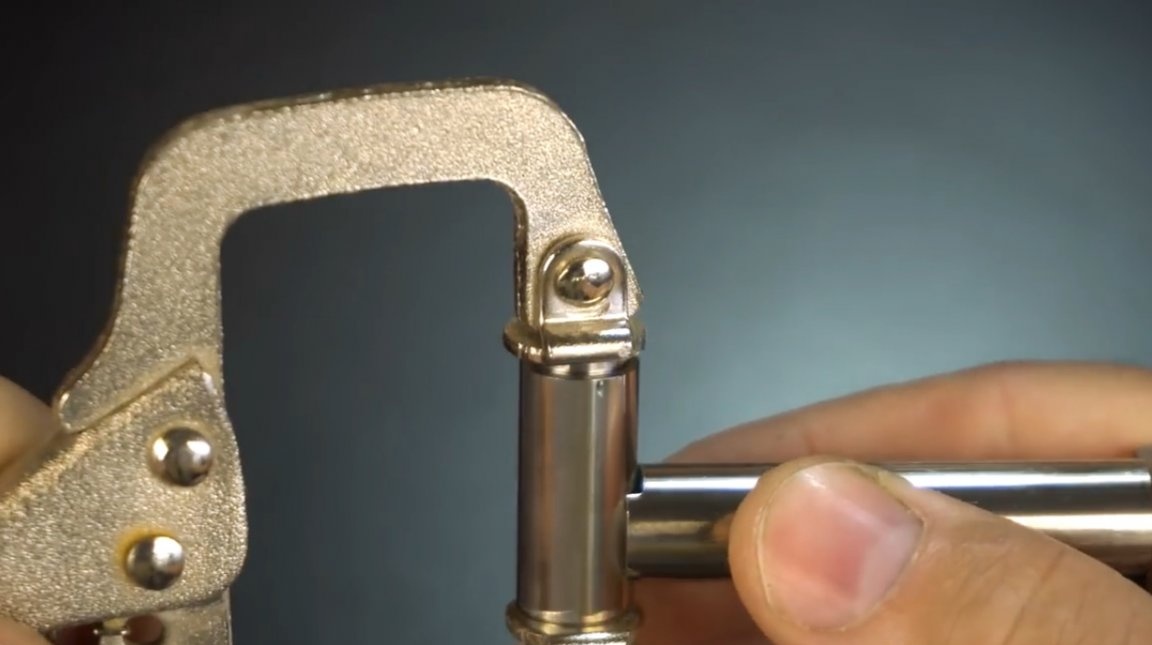
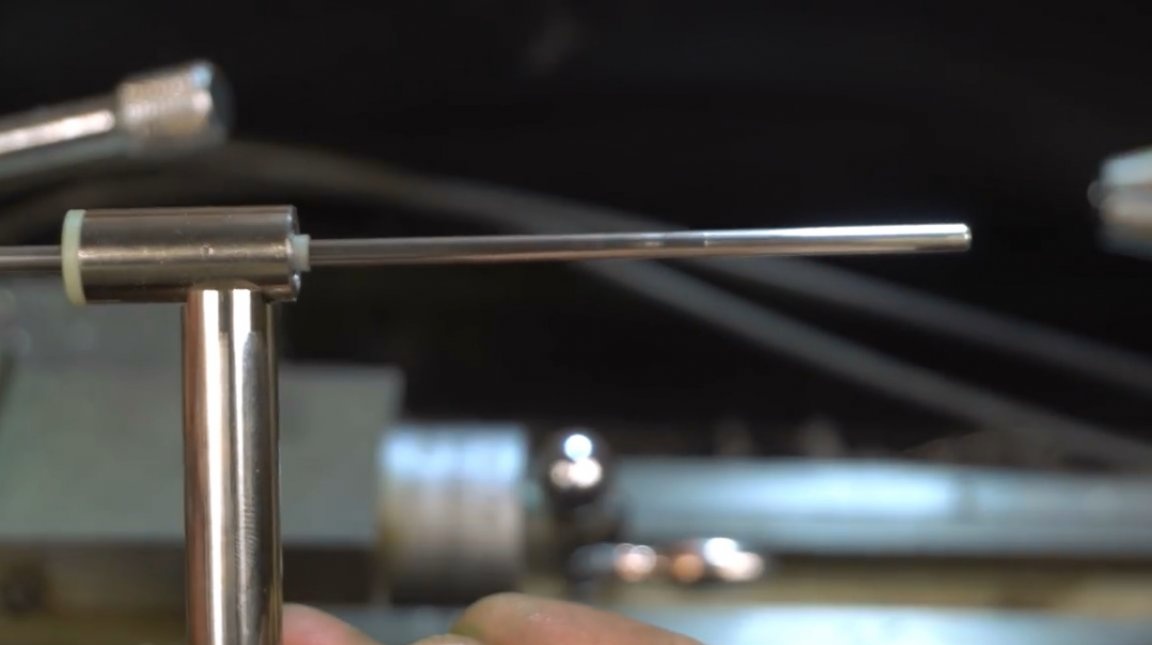
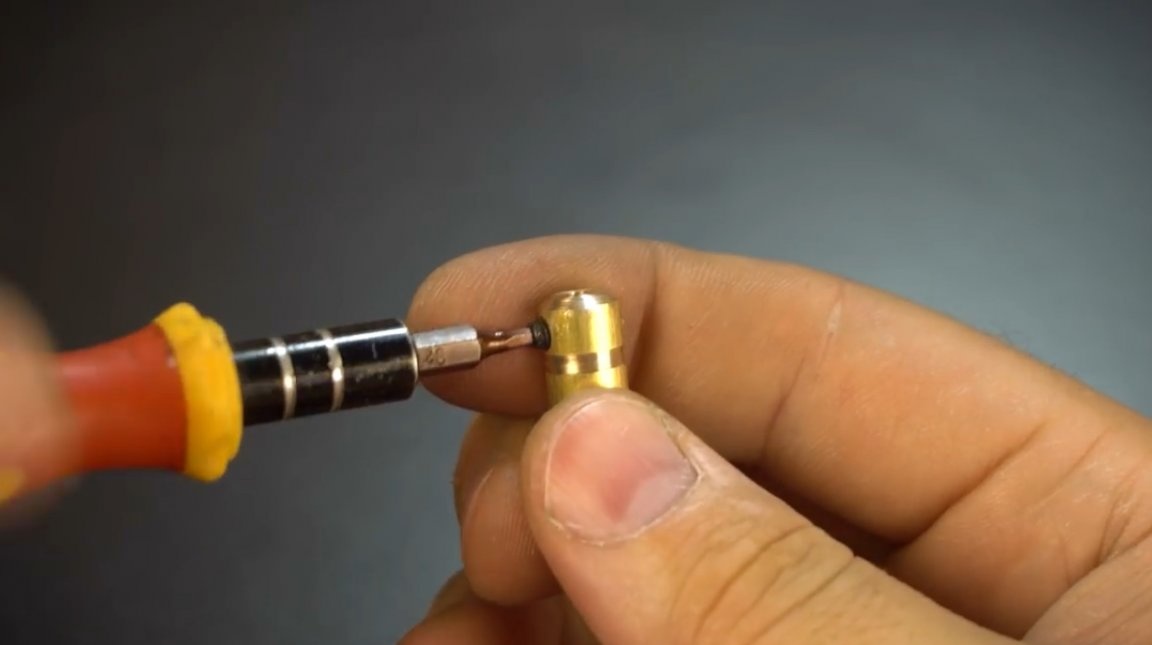
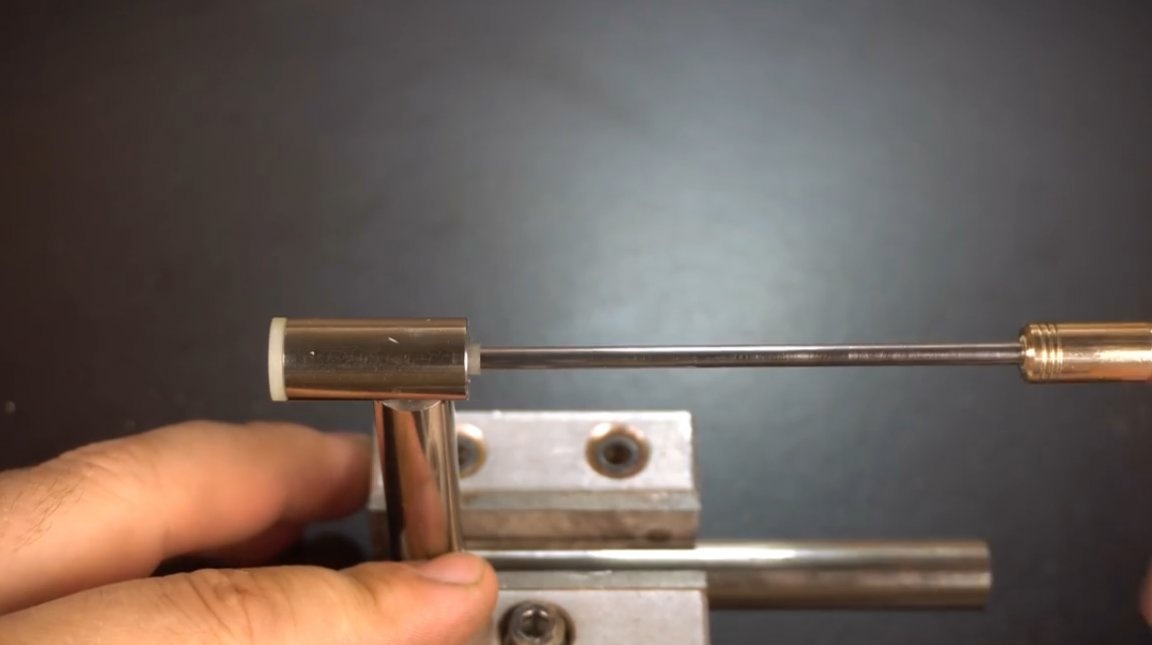
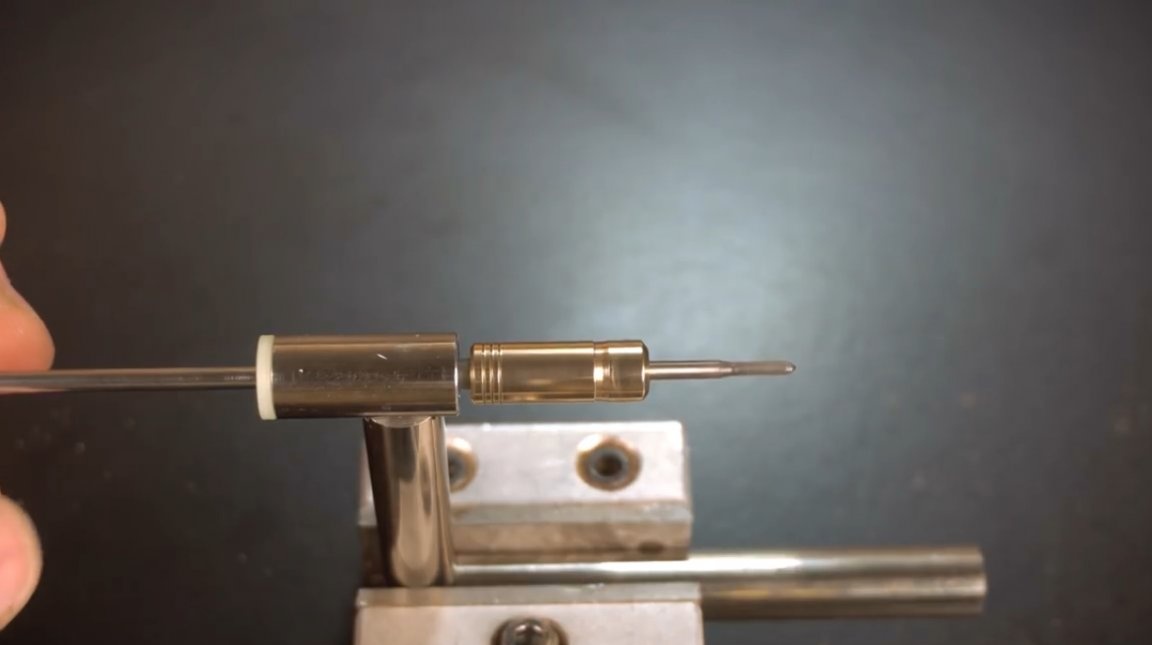
Then the pin is inserted into the sleeve. The author wanted to use a purchased collet chuck, but he had too much beating.
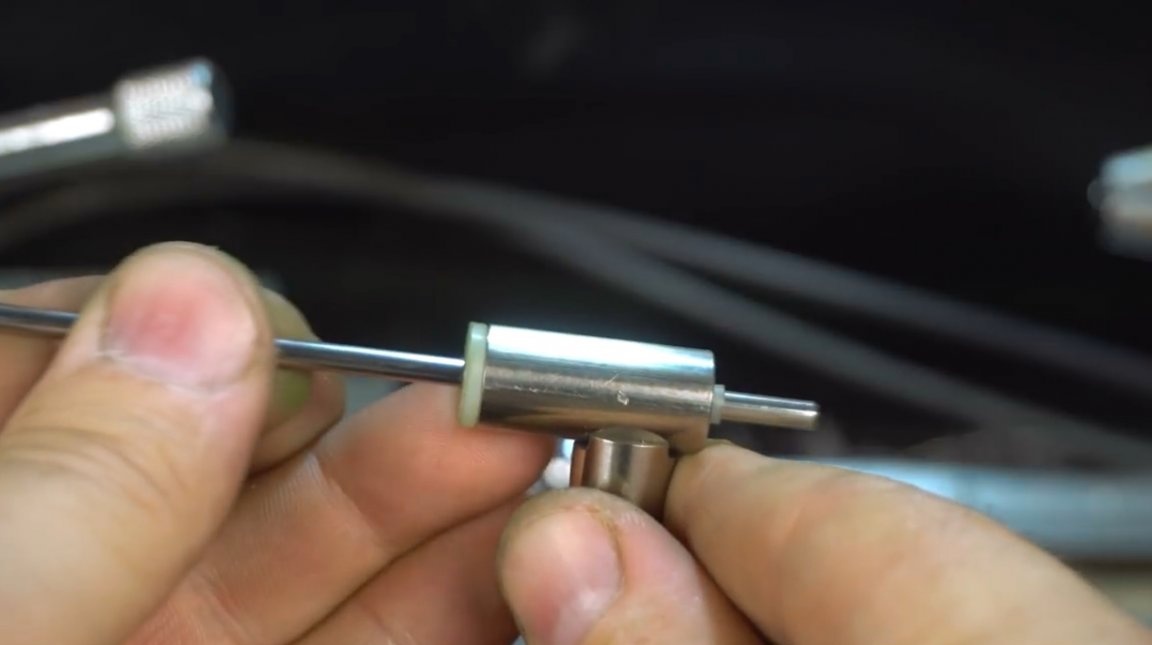
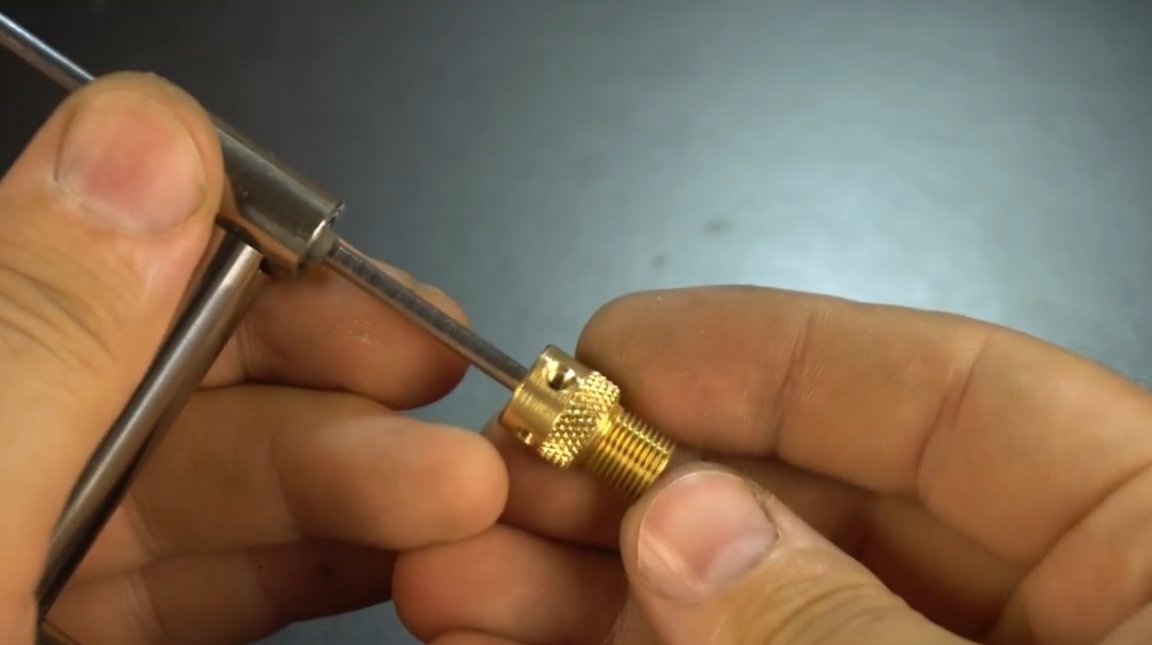
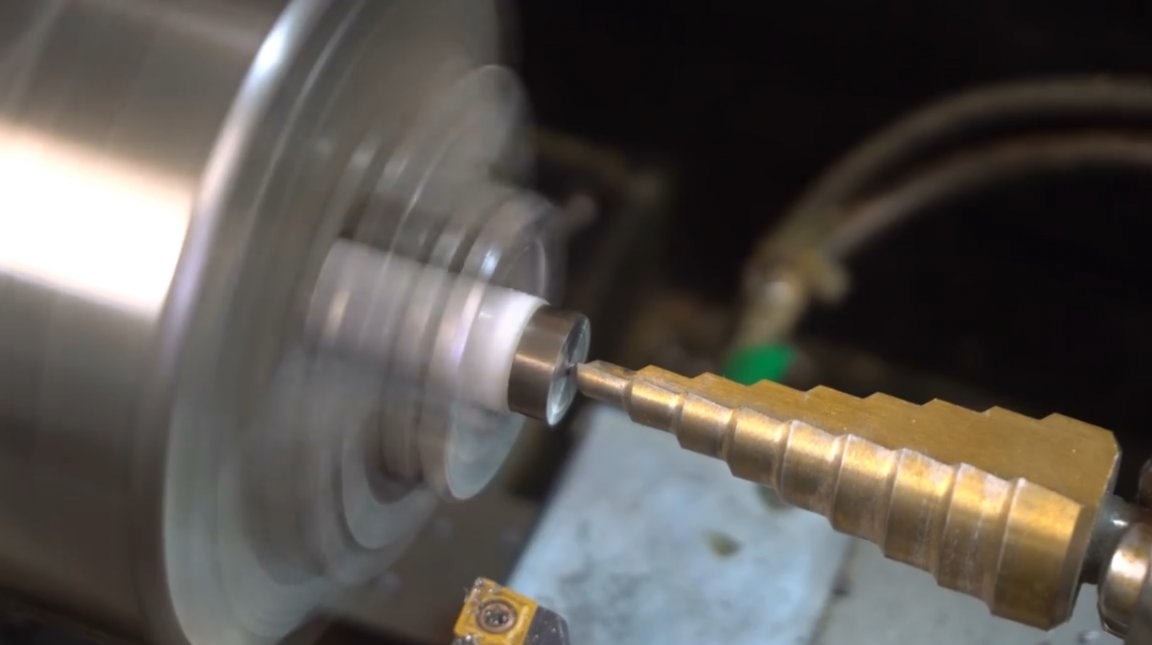
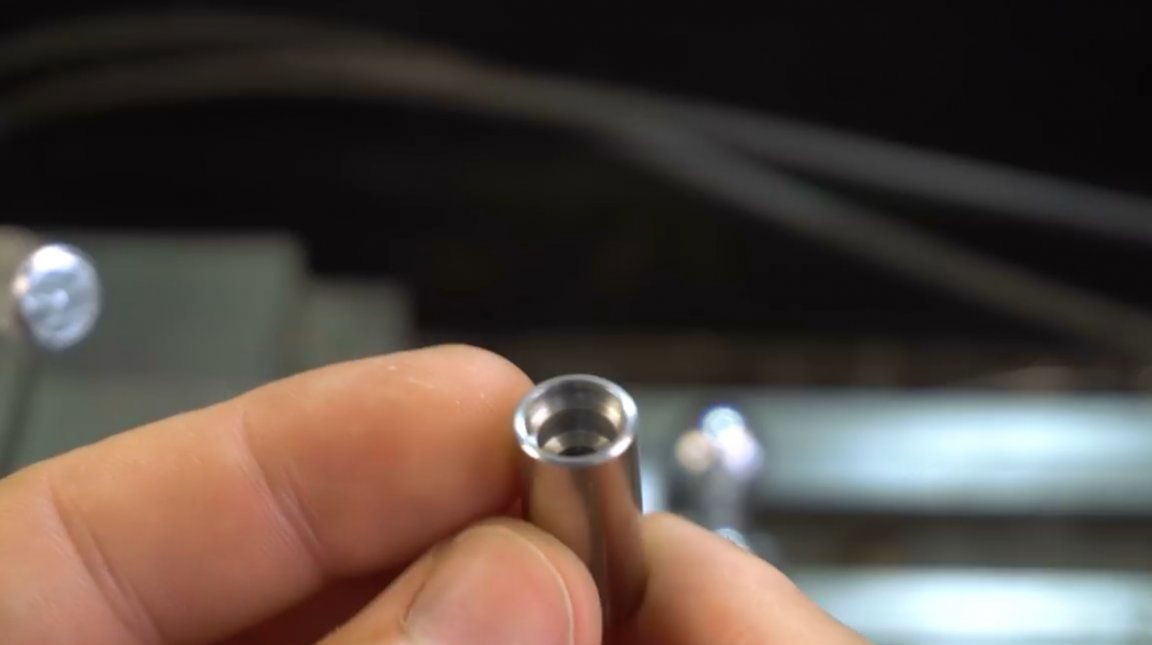
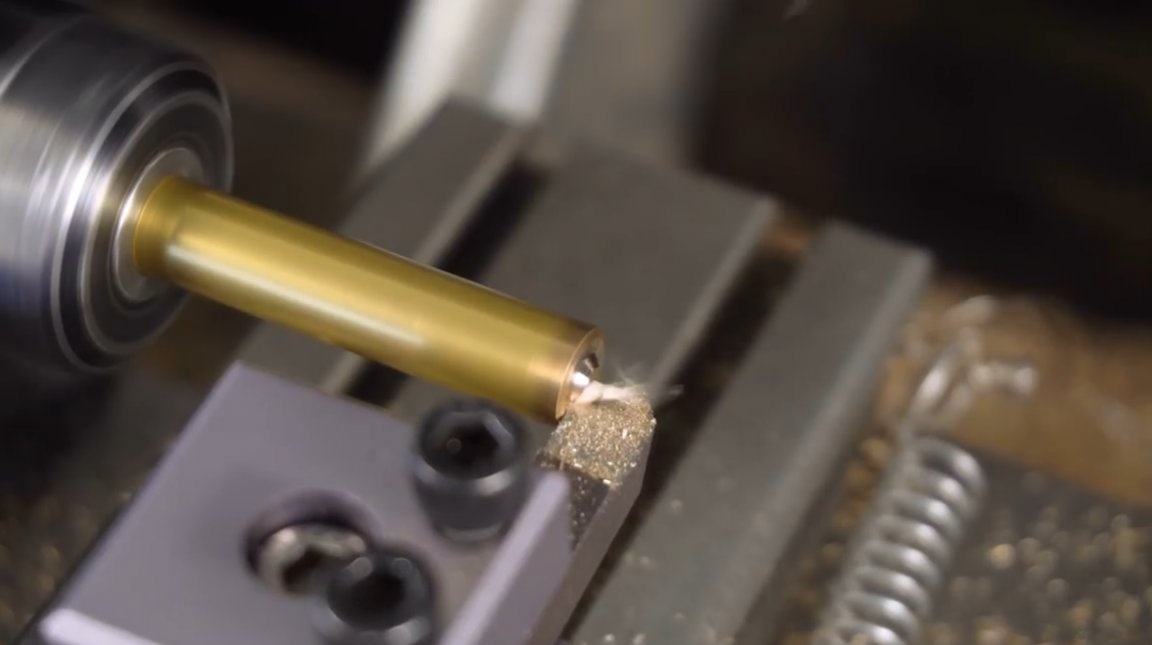
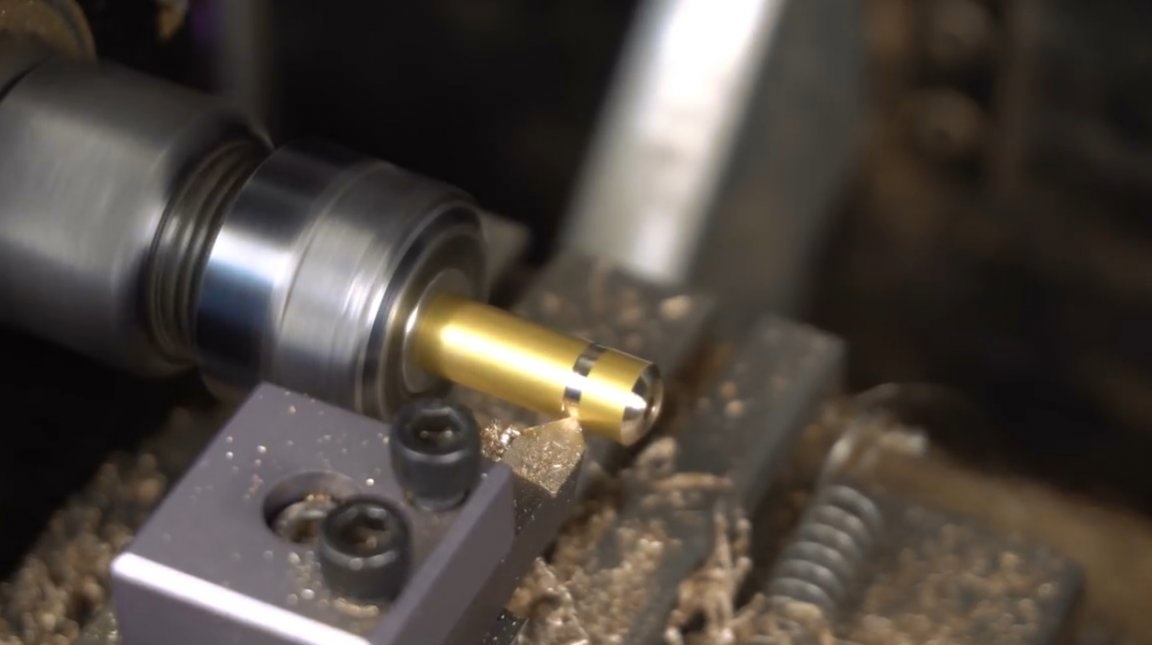
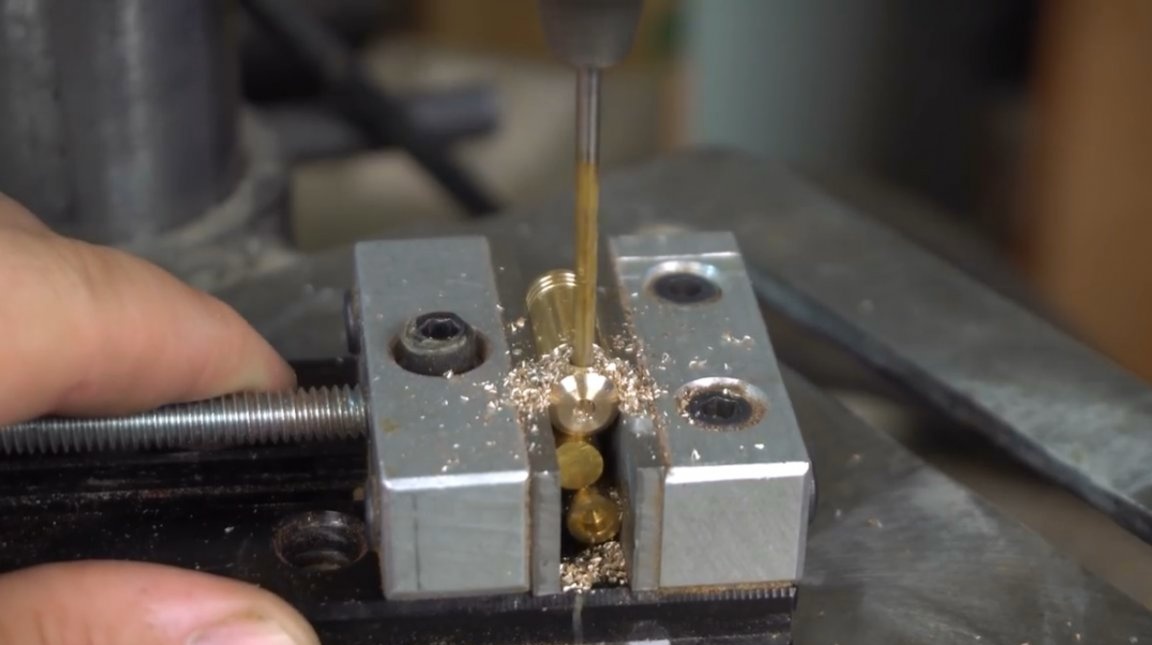
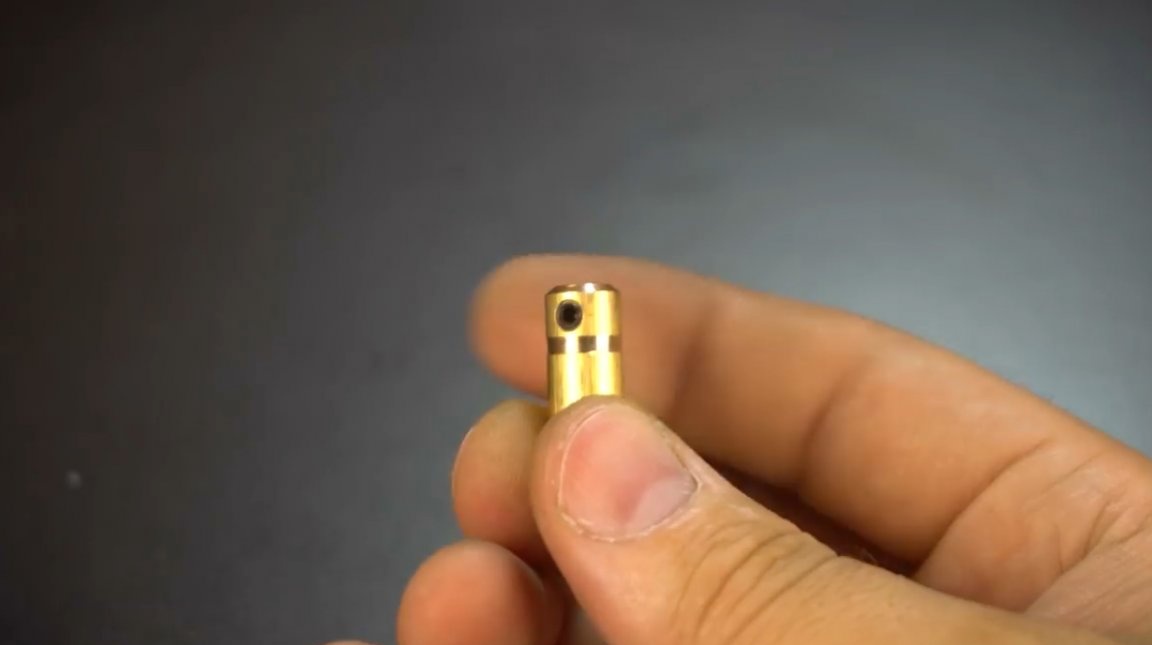
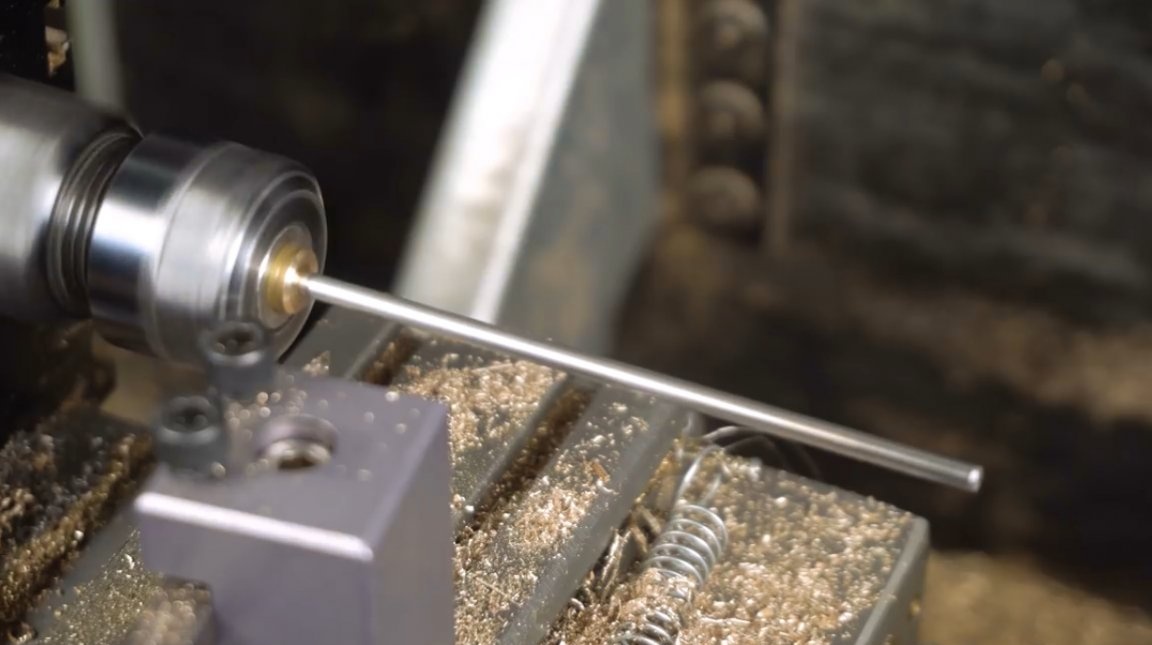
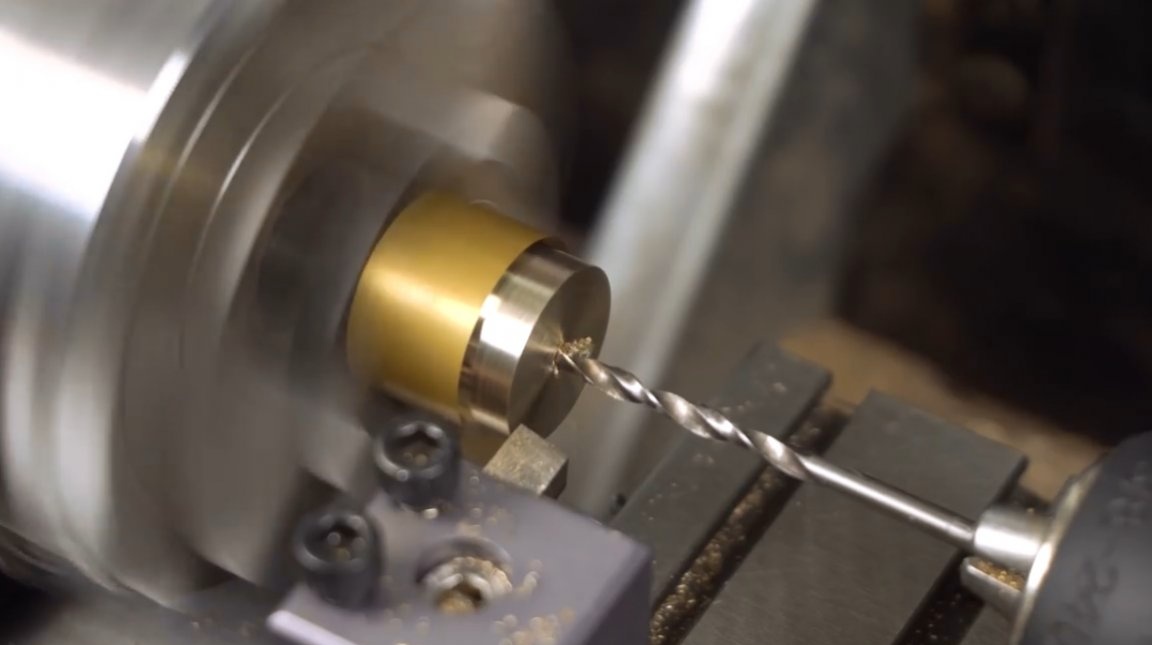
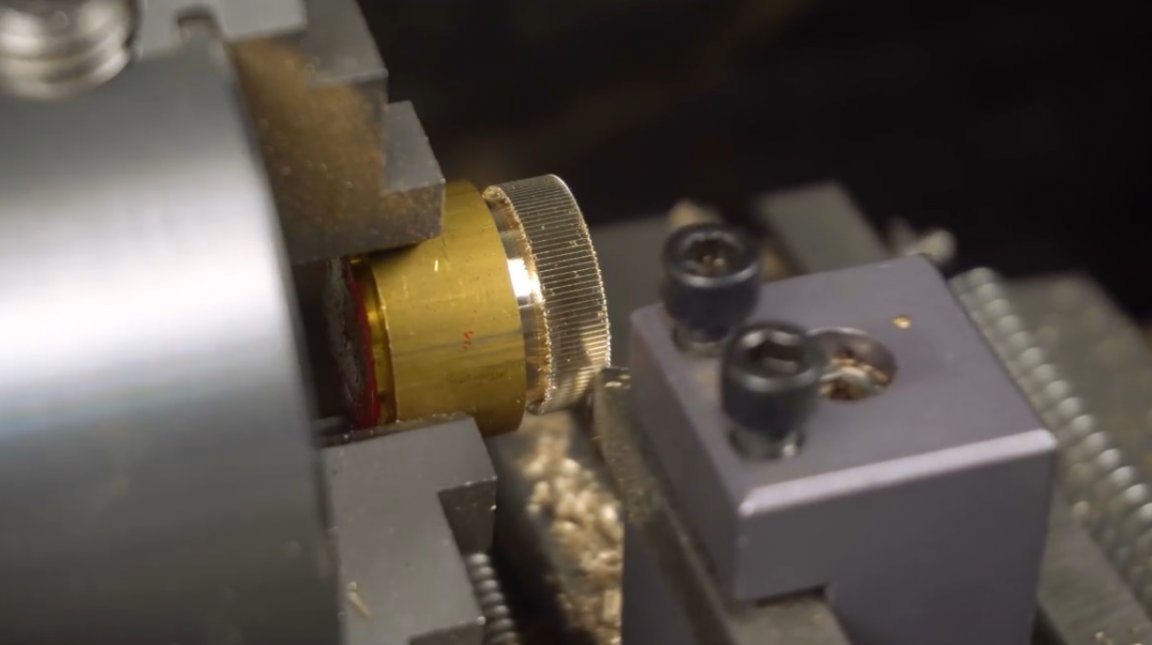
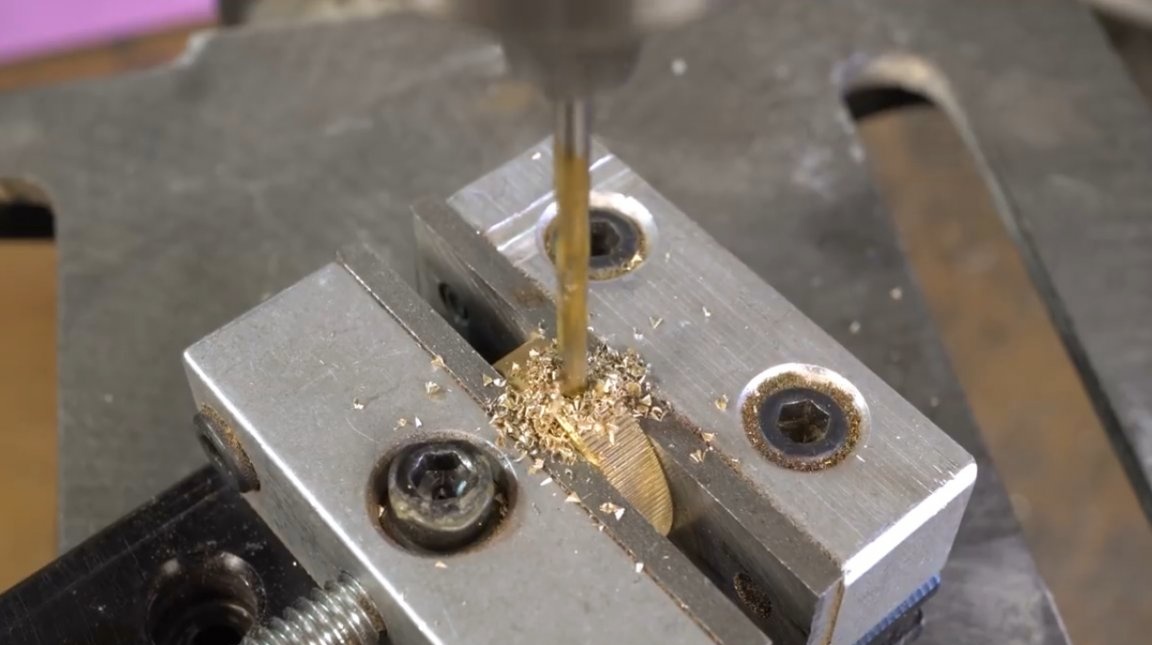
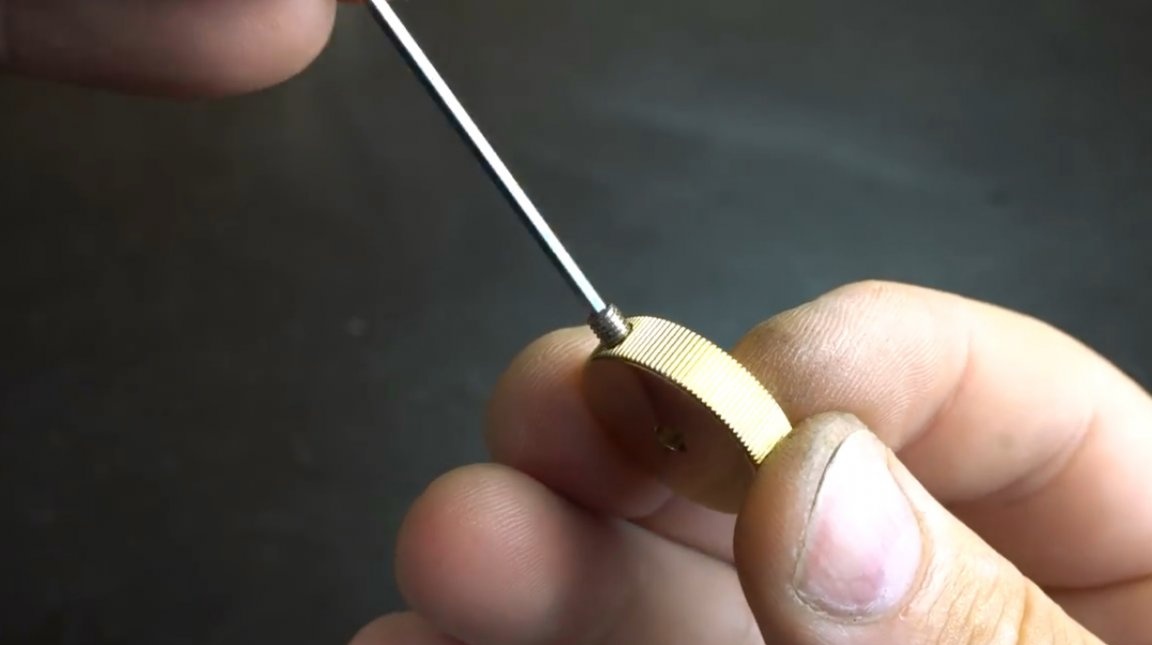
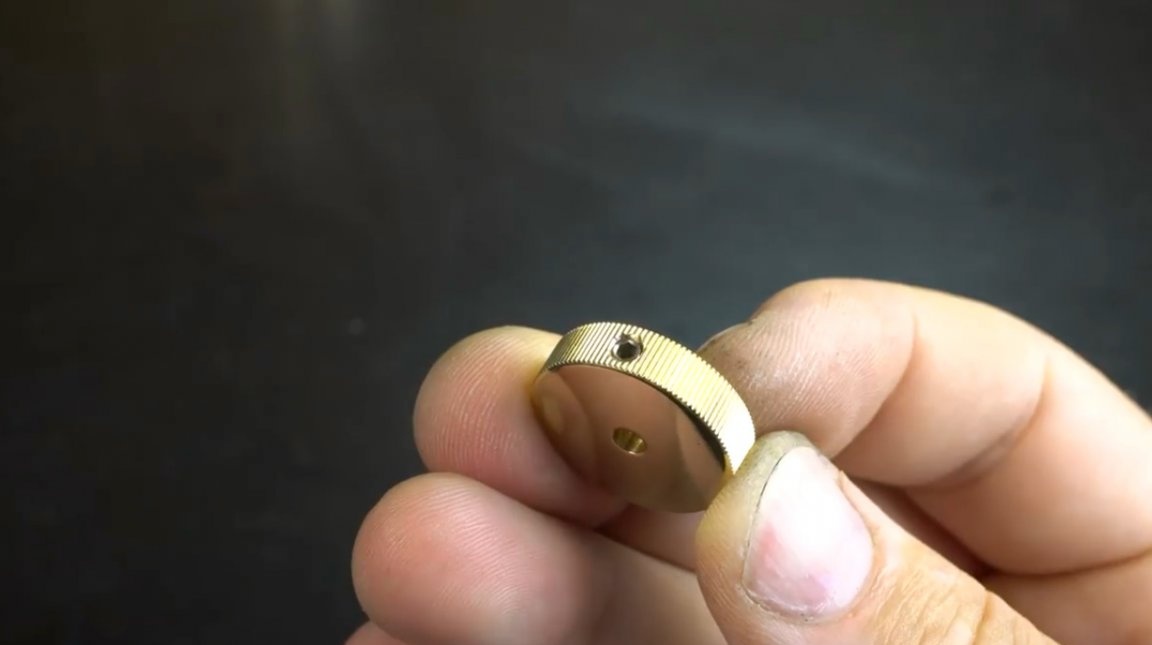
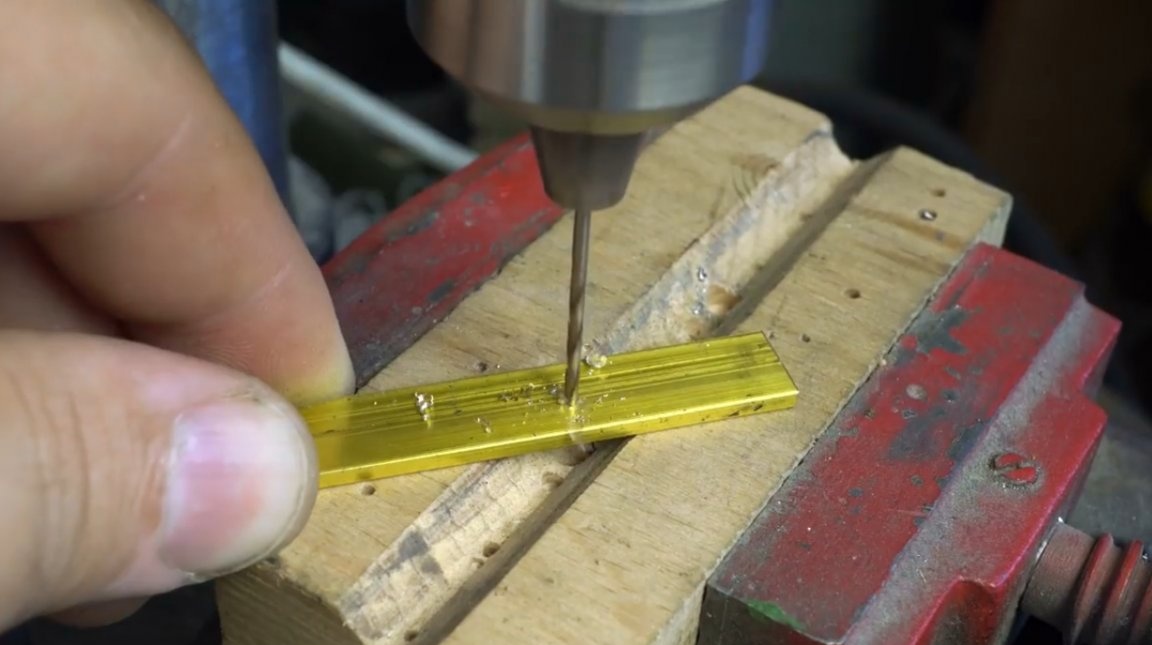
In the end, he decided to carve a cartridge out of a brass bar. The cartridge will be used for taps with a 2.5 mm shank.

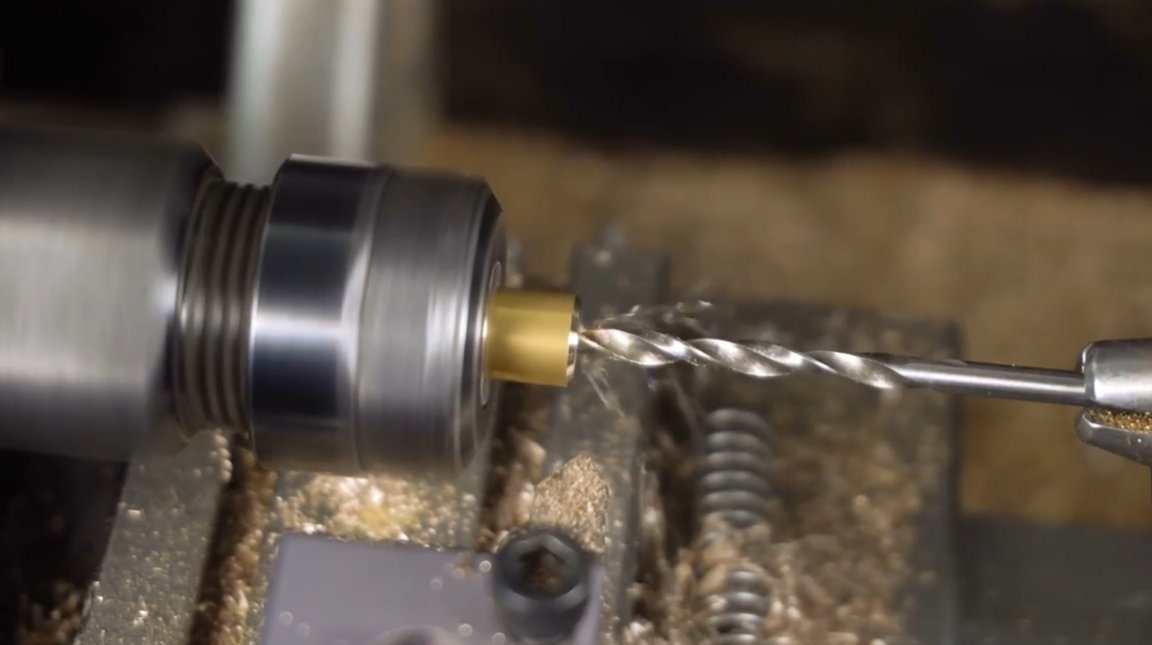
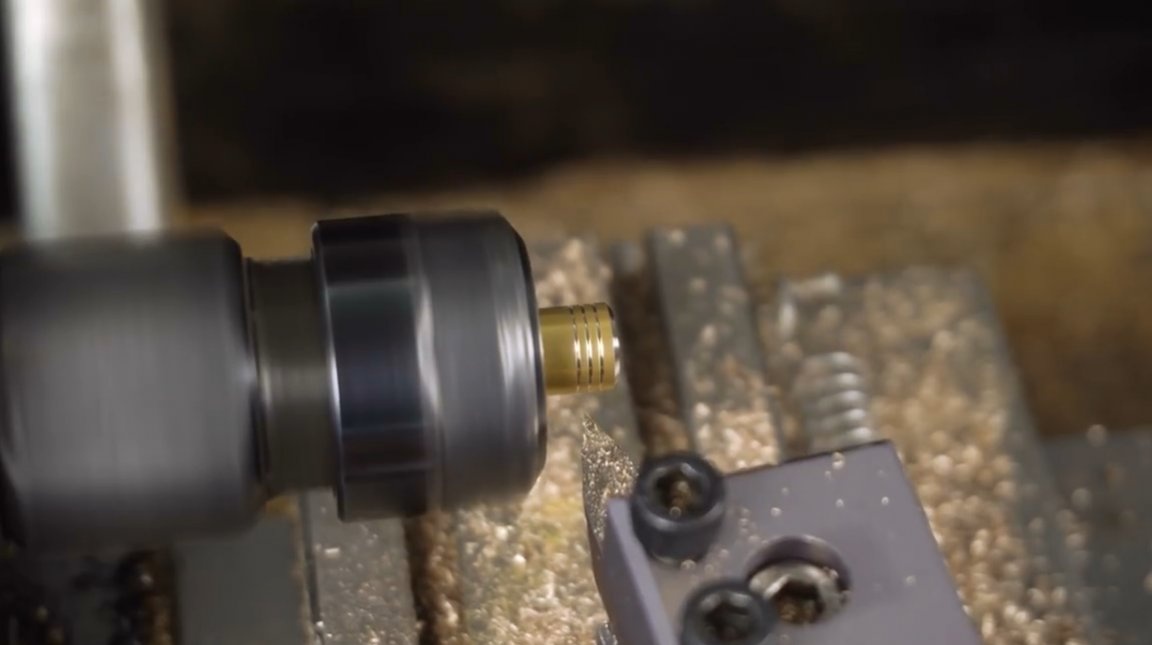
On the second side of the cartridge, drills a hole for a winder with a diameter of 3 mm. Also applies decorative slots.
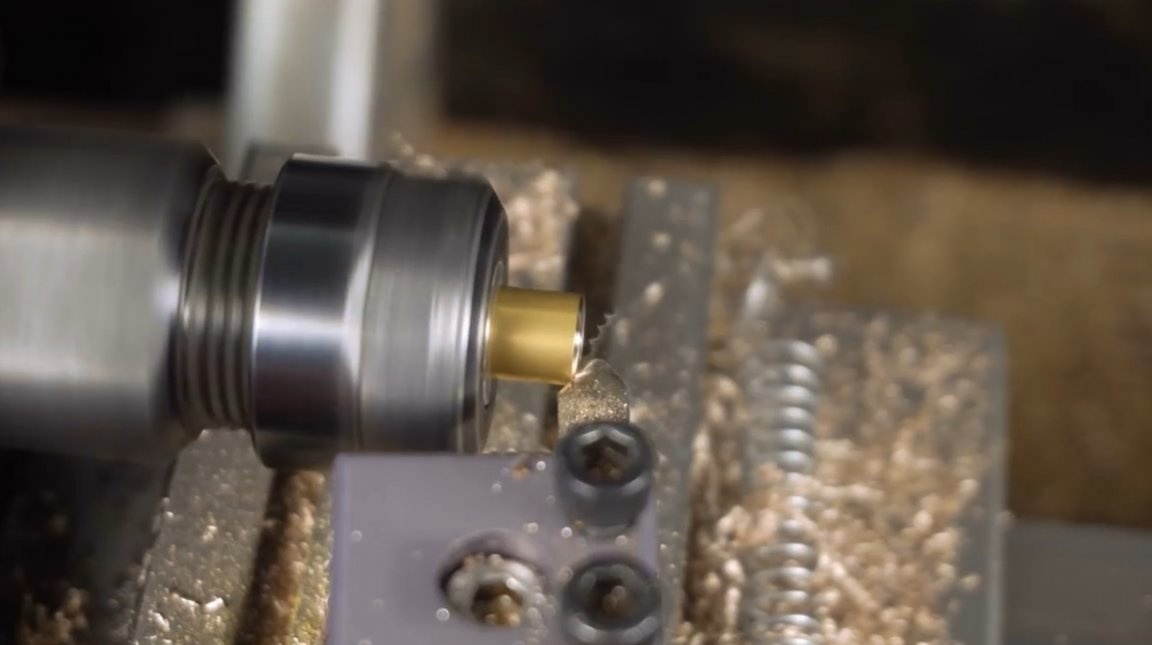
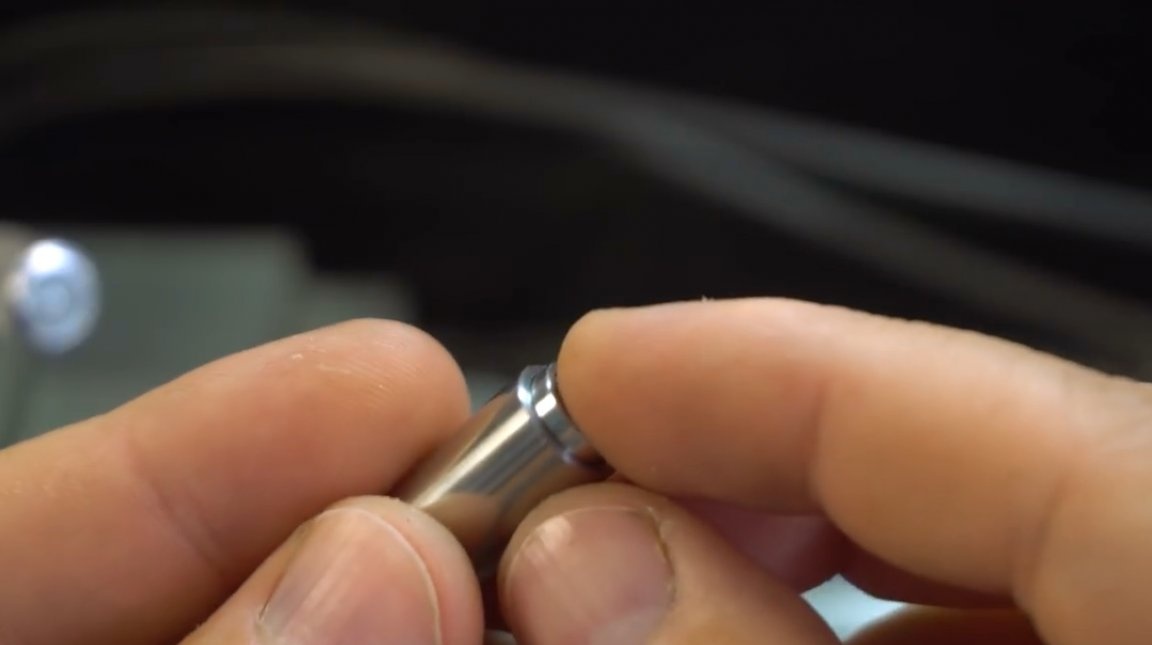
On the sides there will be two holes for the clamping screws.
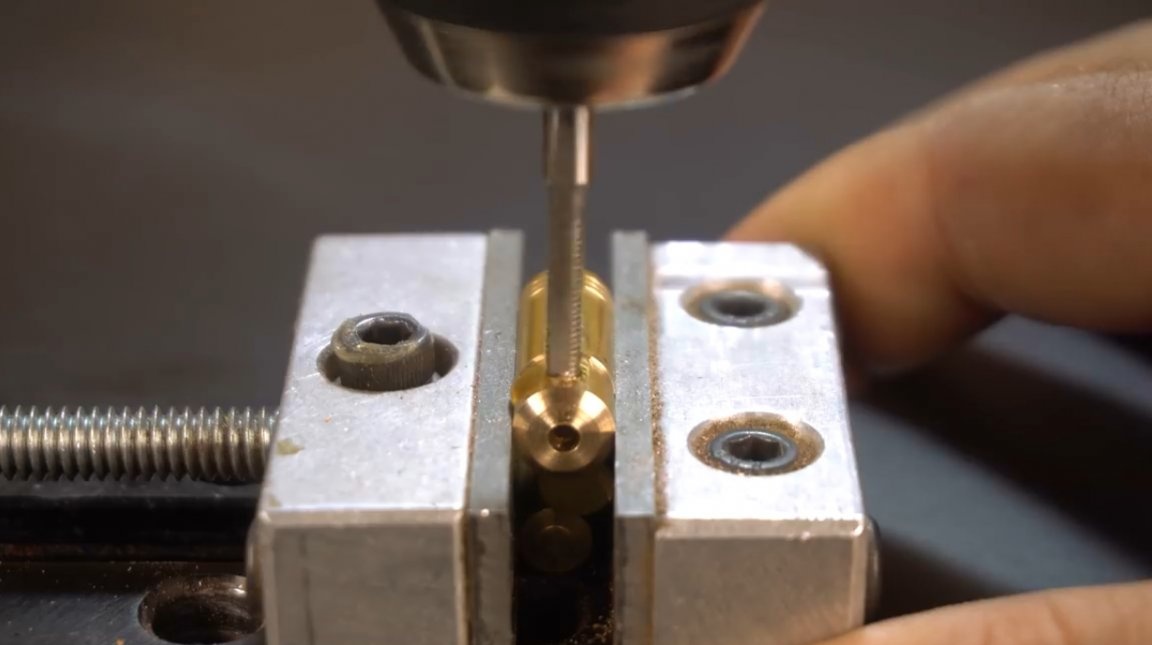
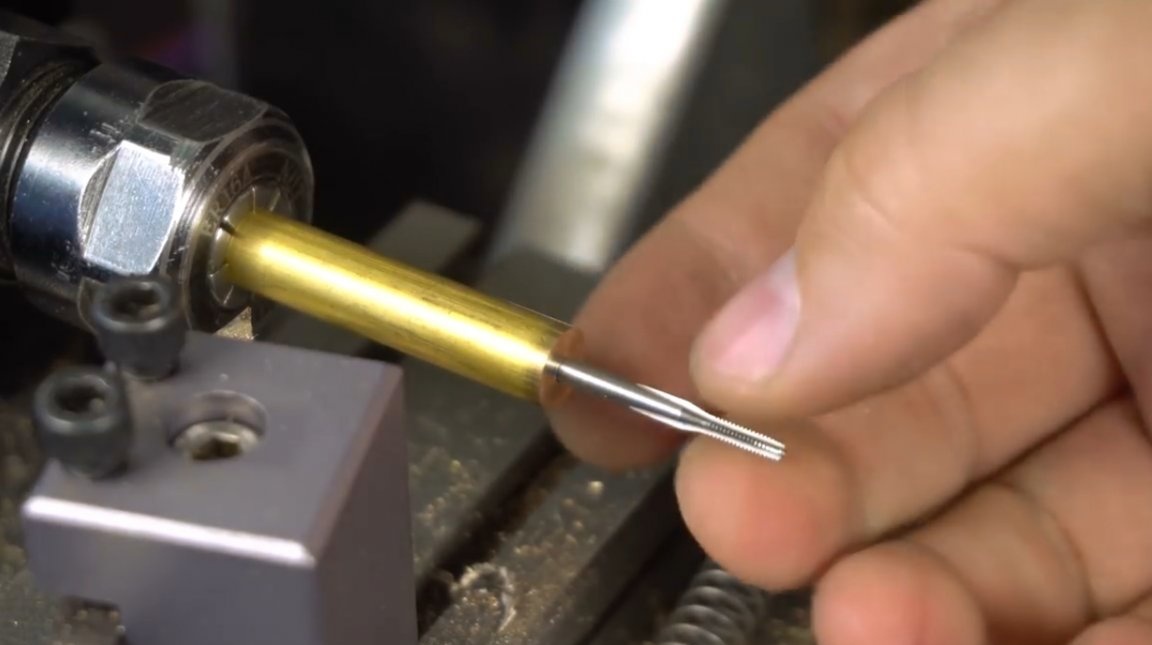
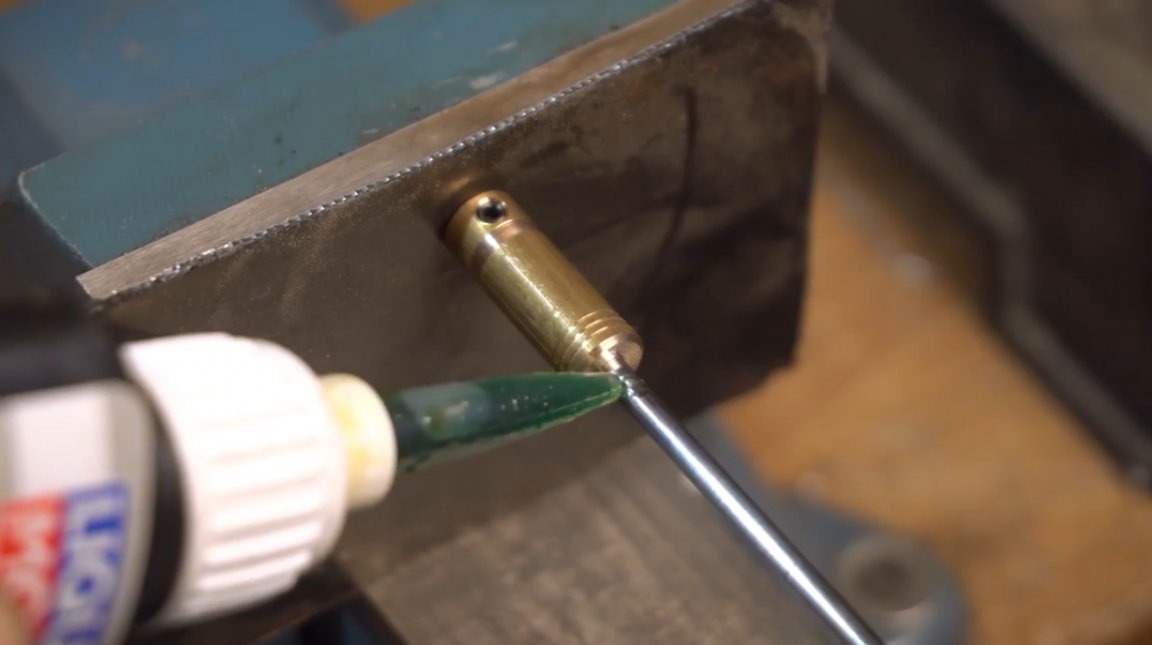
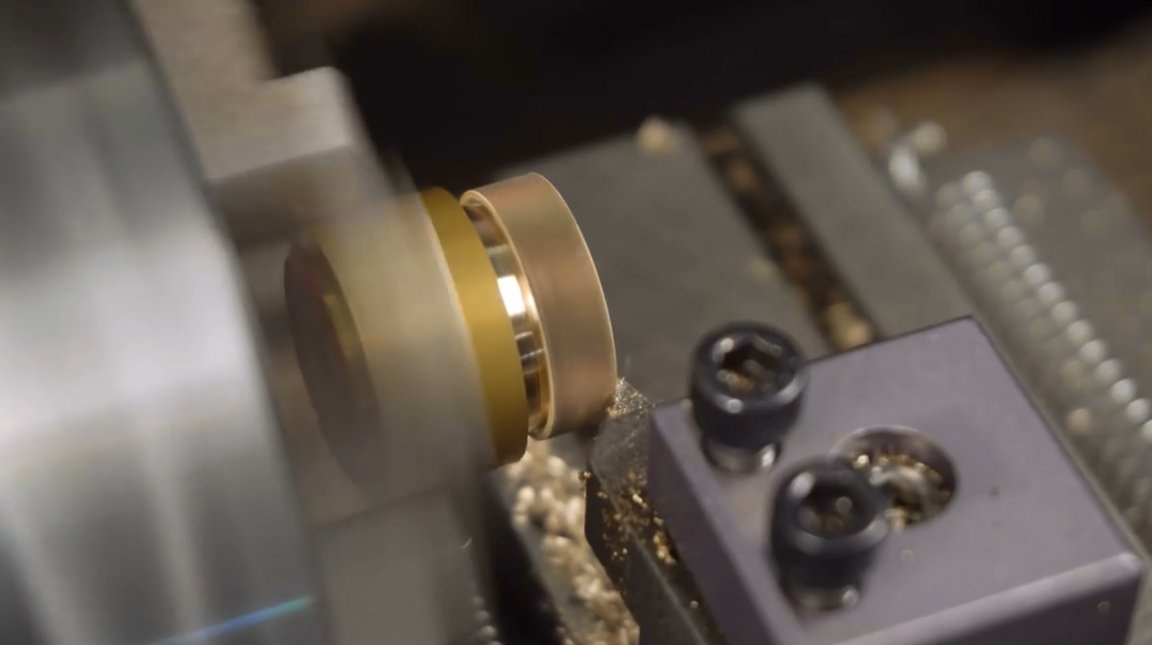
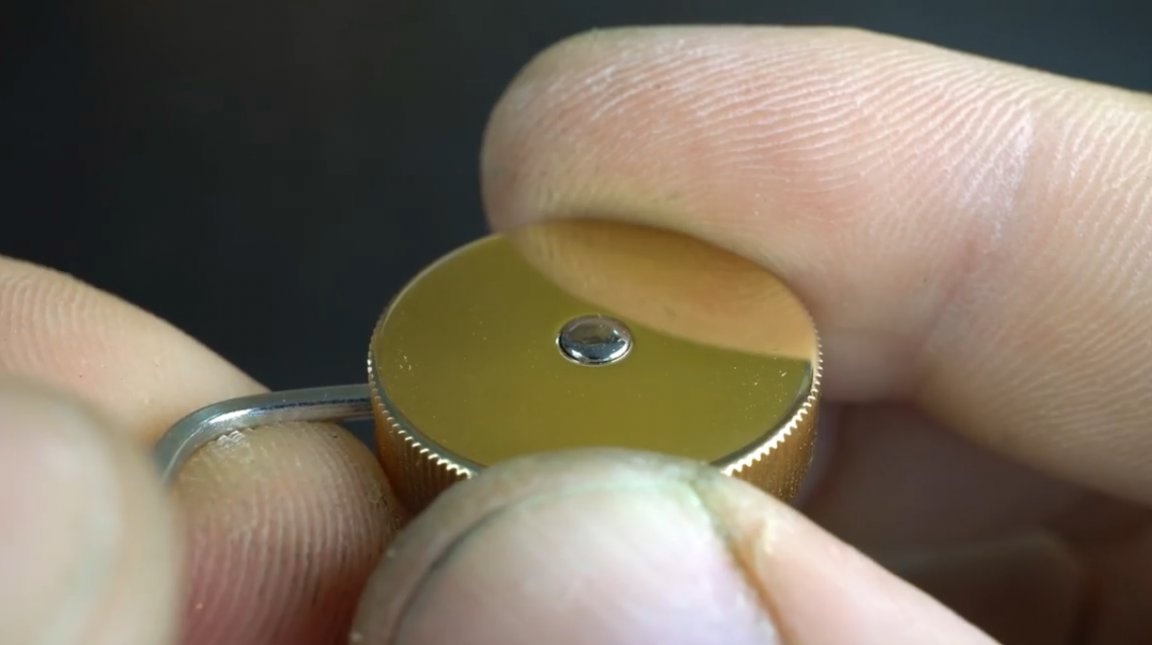
Cut the threads in the holes, countersink them, and screw in the hexagon screws.
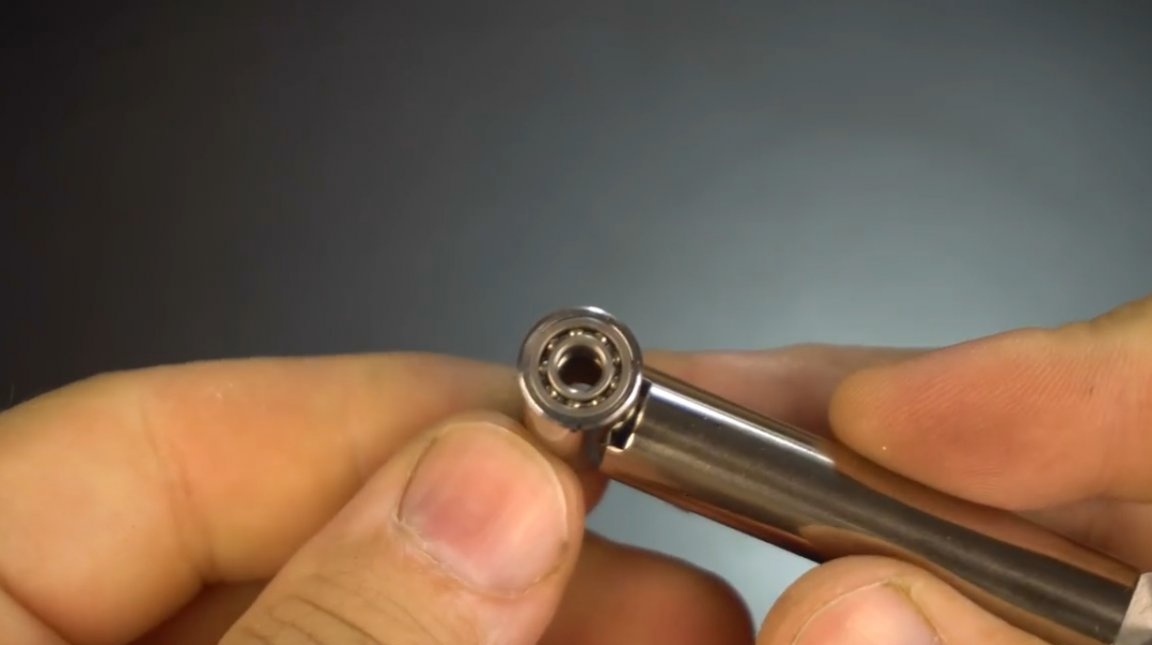
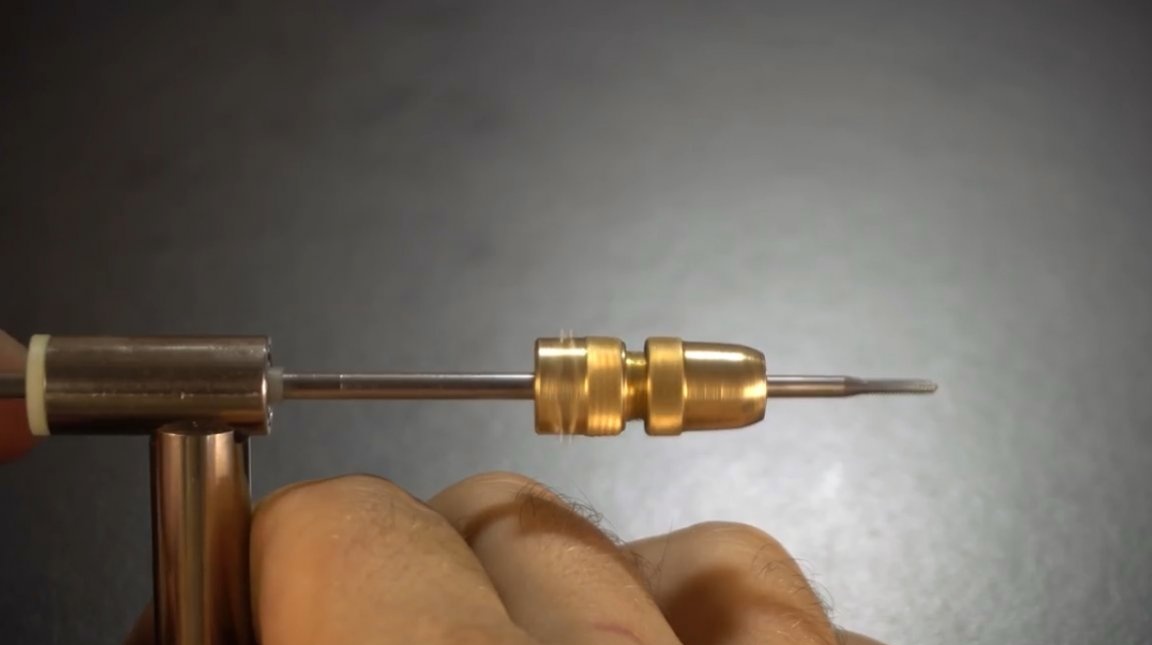
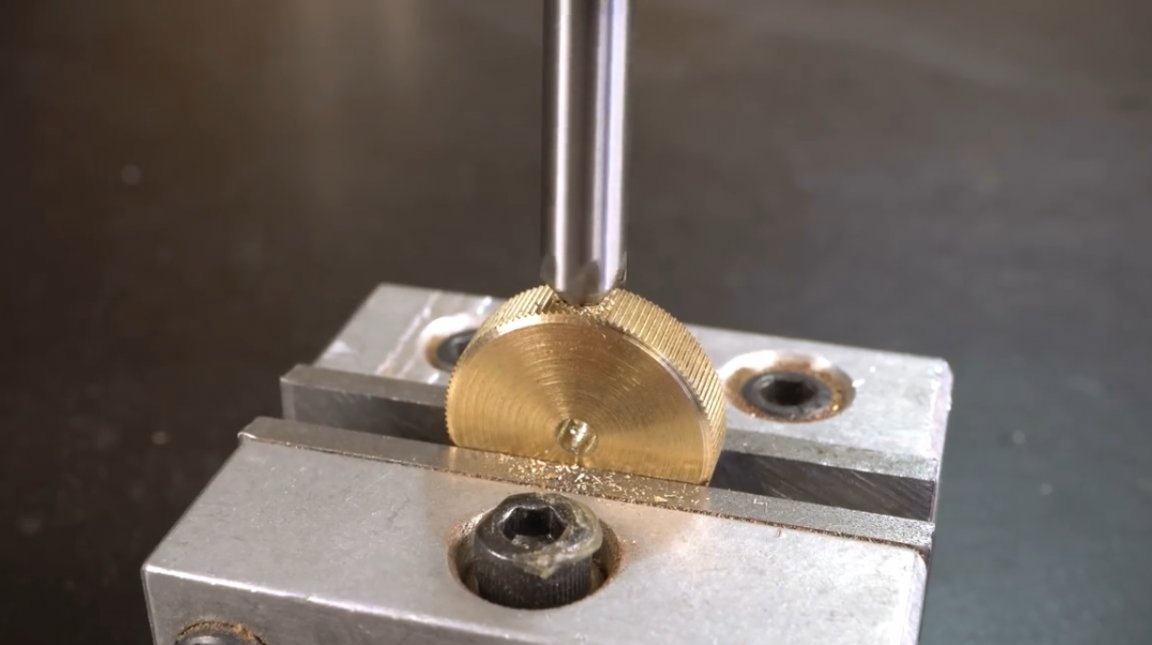
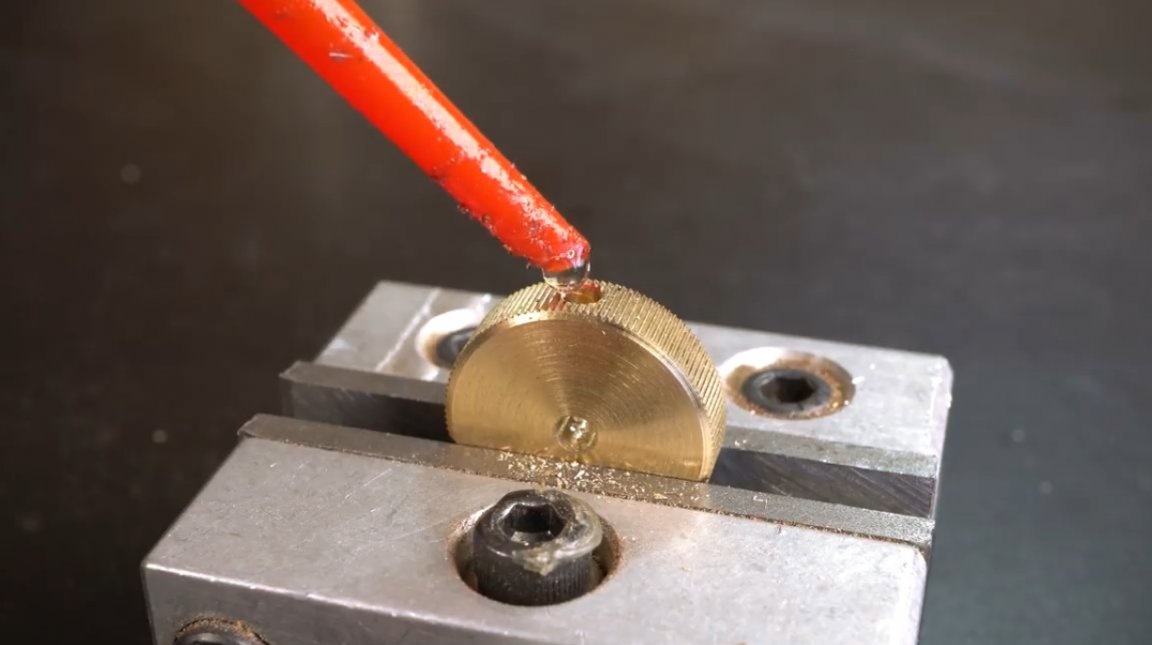
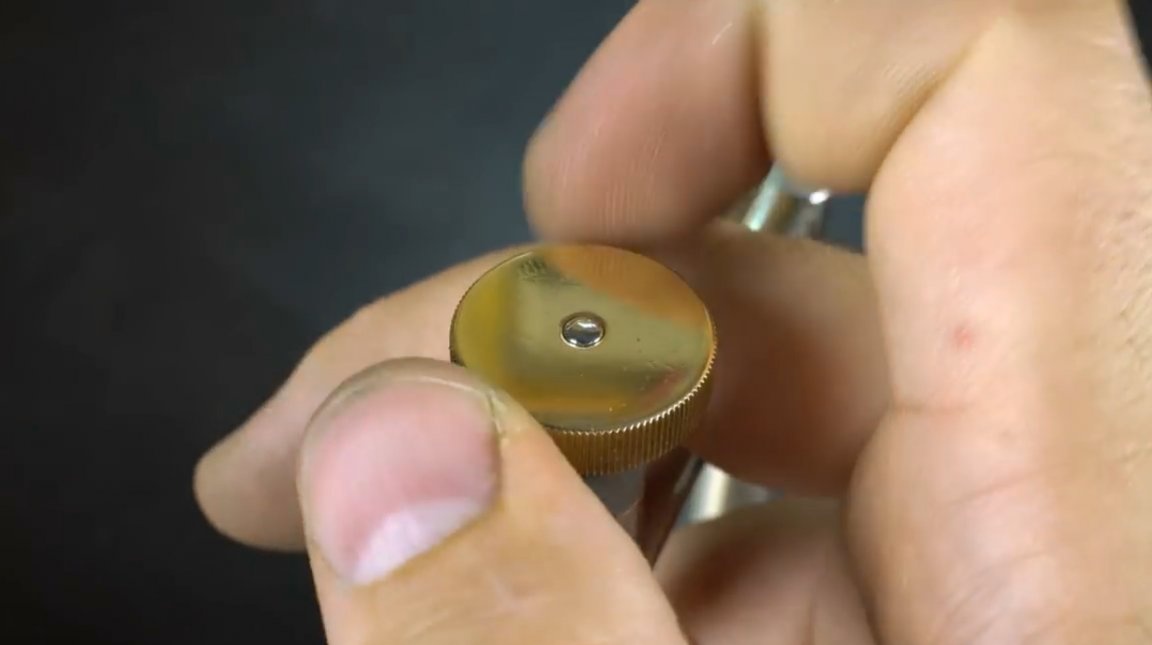
Now it is important to press the knob into the hole of the cartridge very precisely. The master applies glue for bearings to fix it.
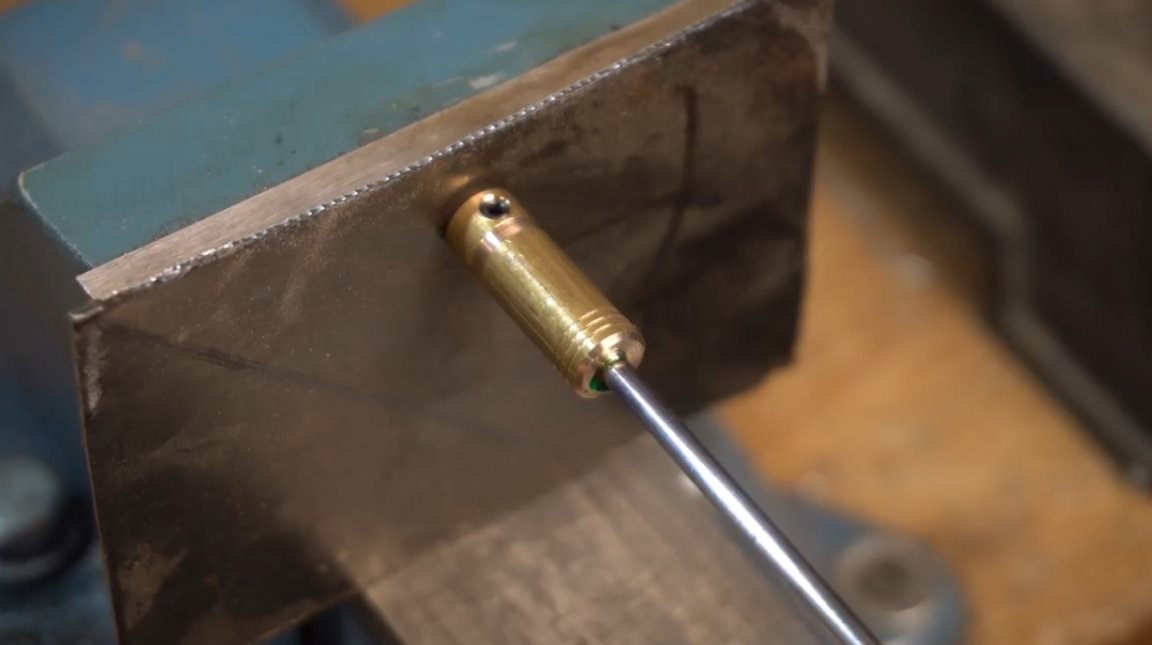
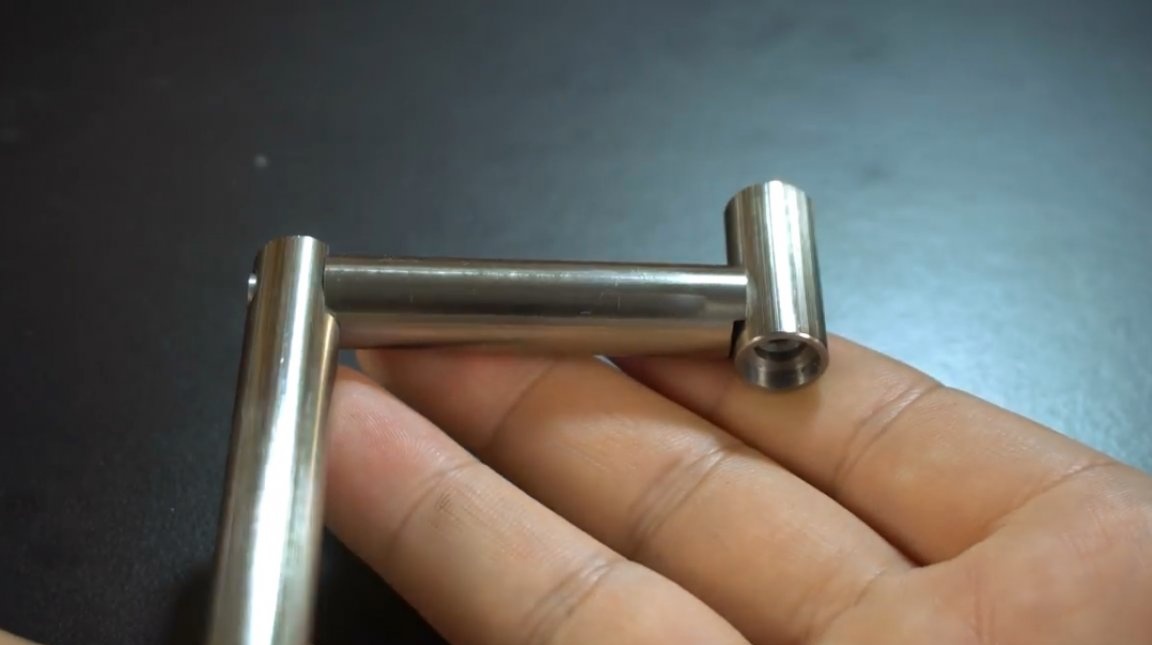
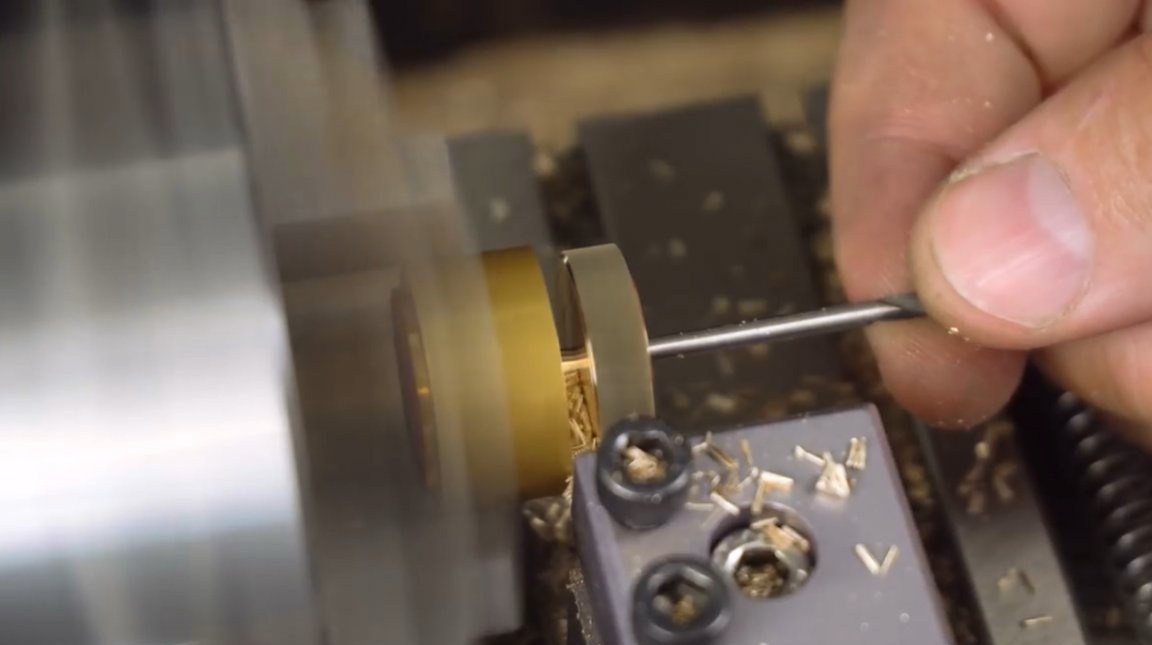
Verification check, there are practically no beats.
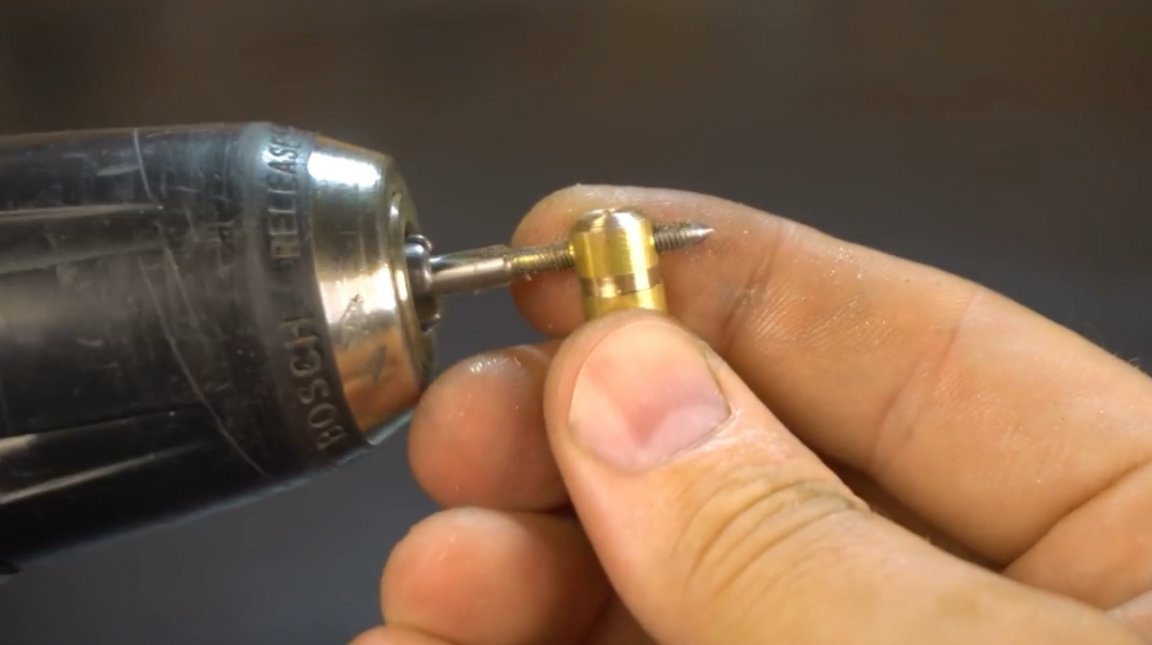
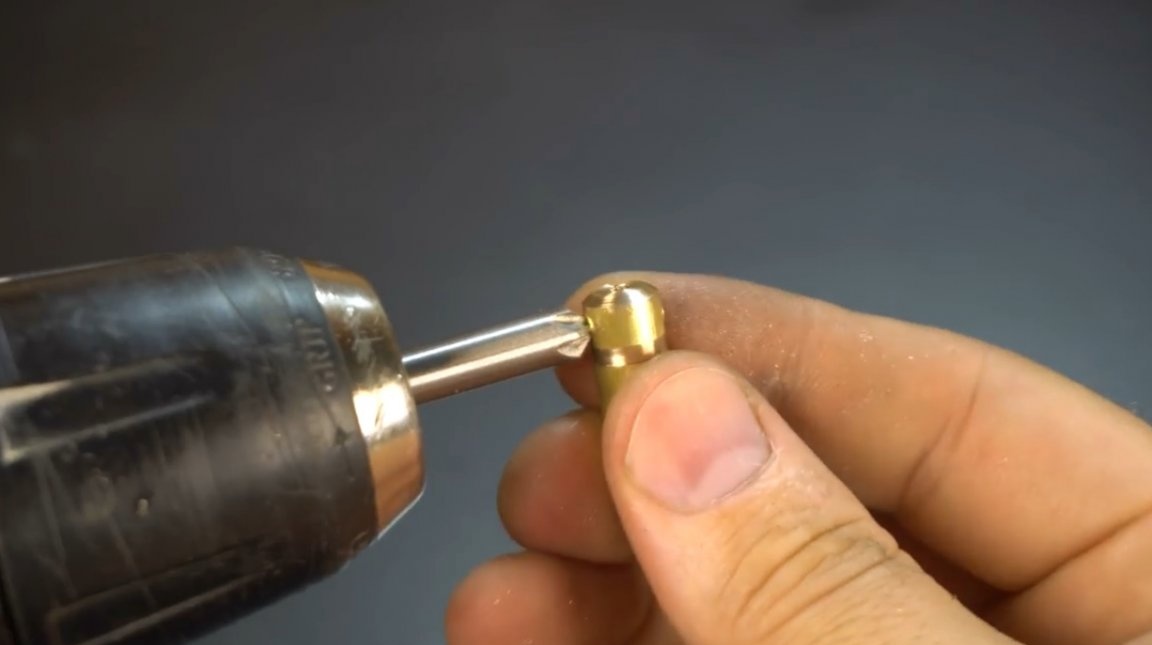
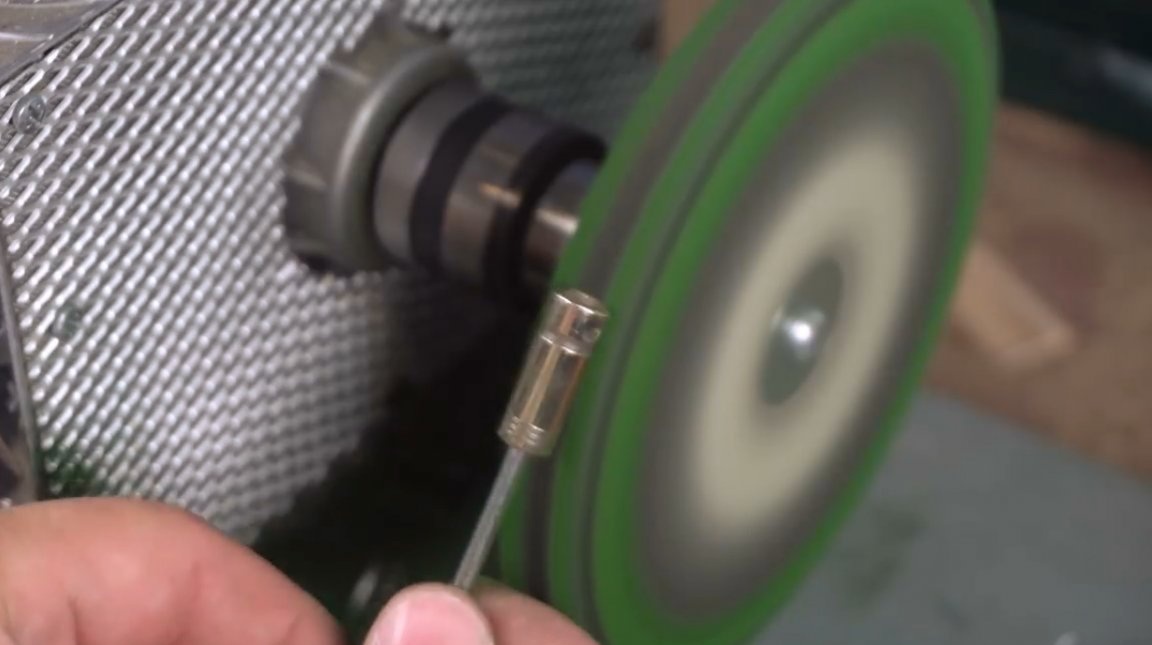
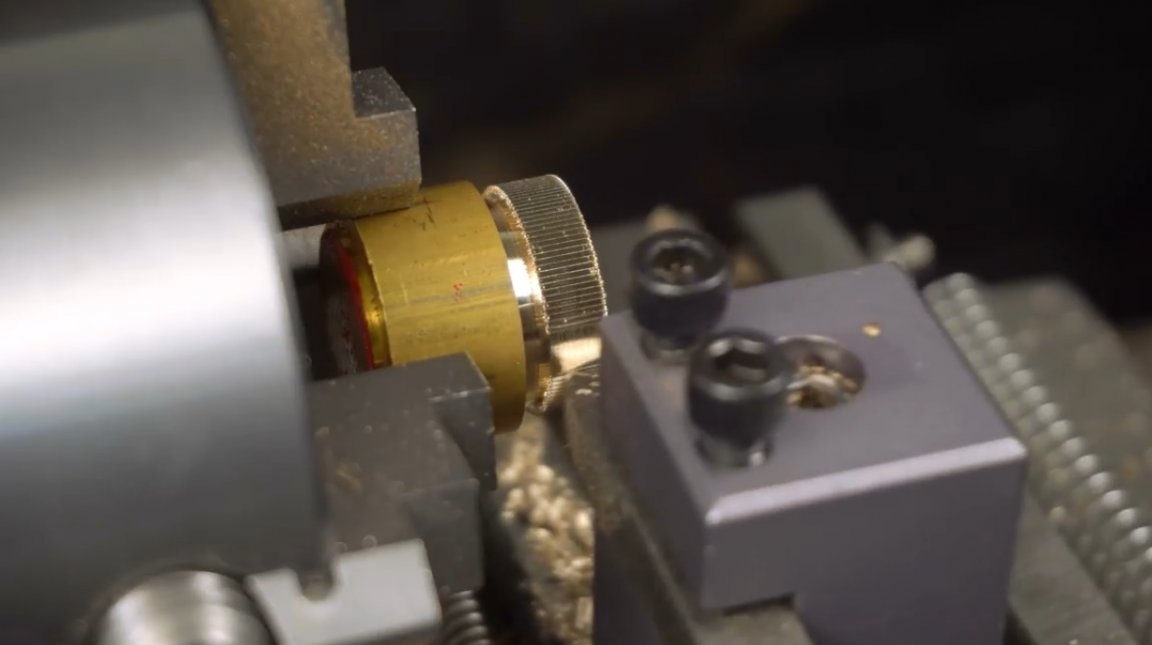
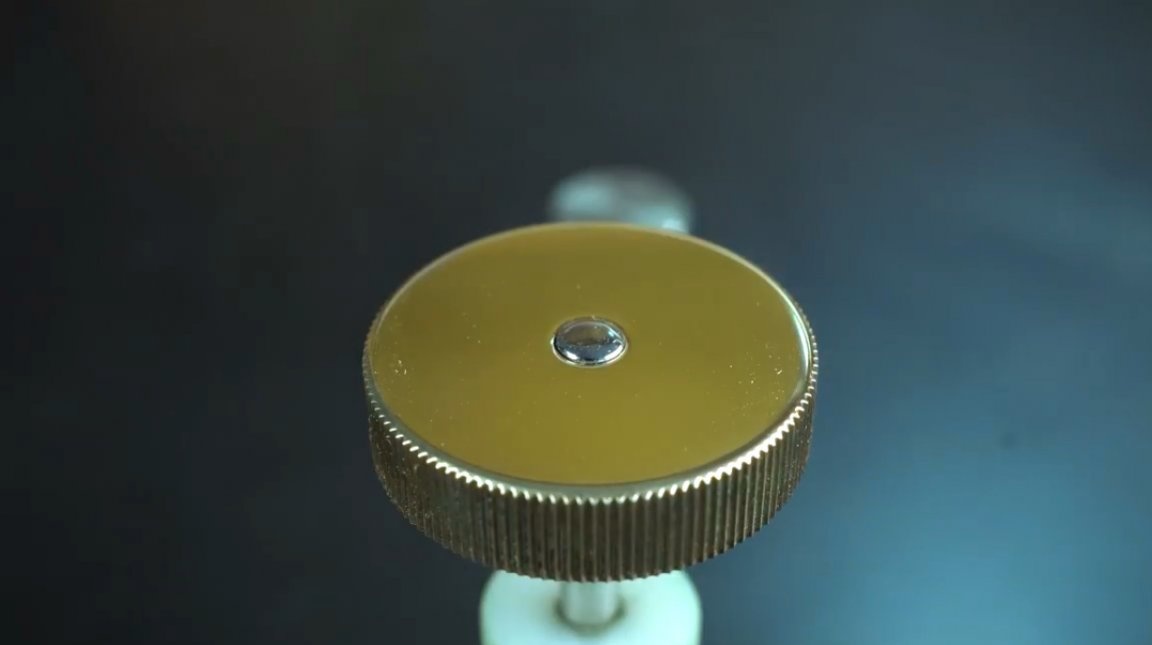
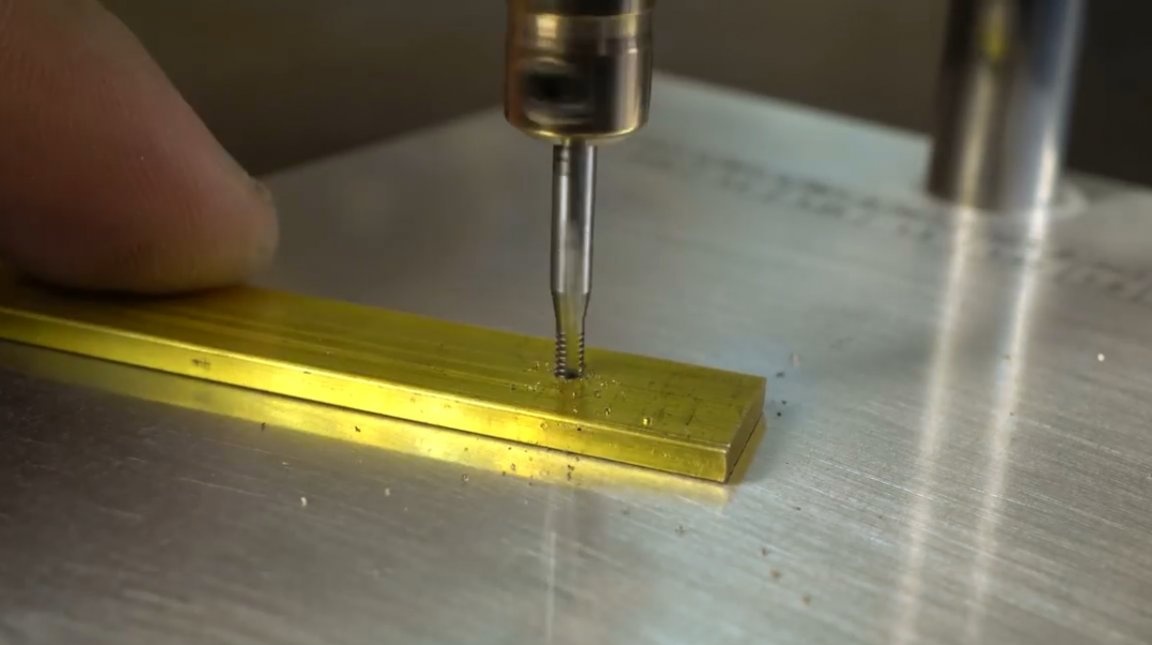
Polishes the cartridge on the machine using GOI paste.
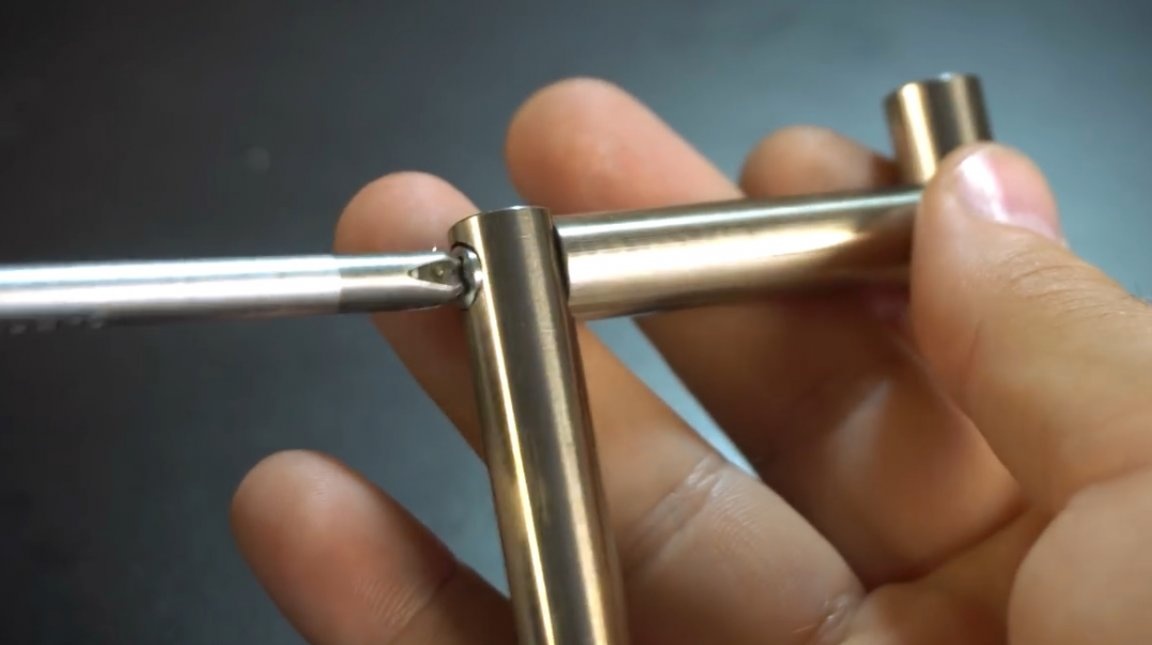
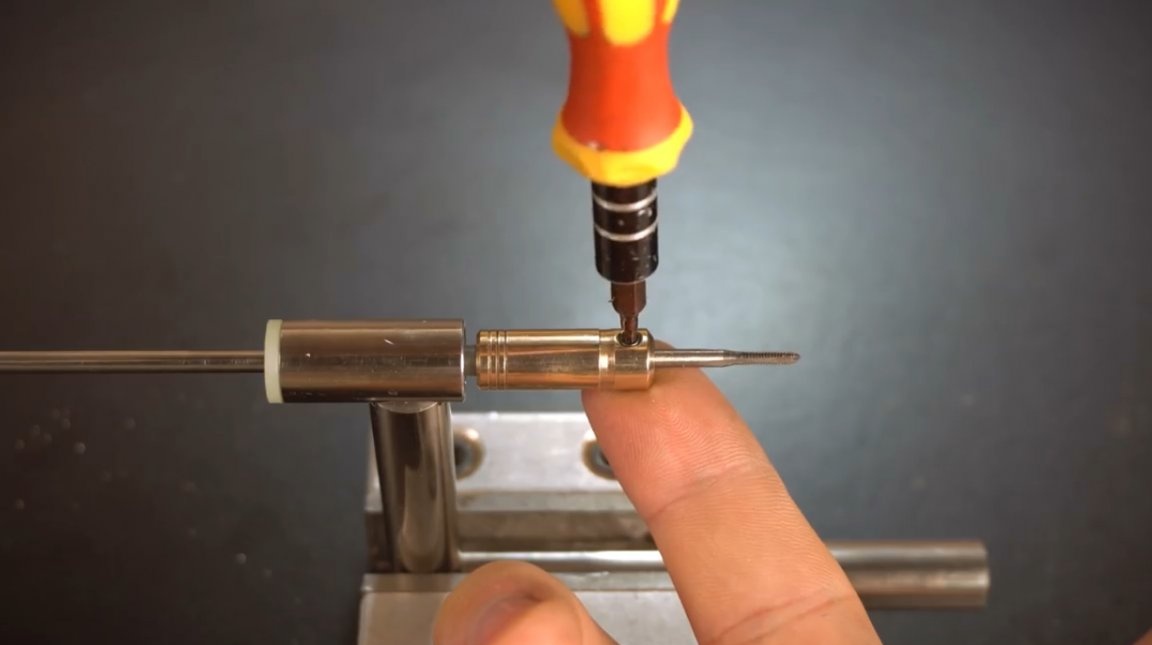
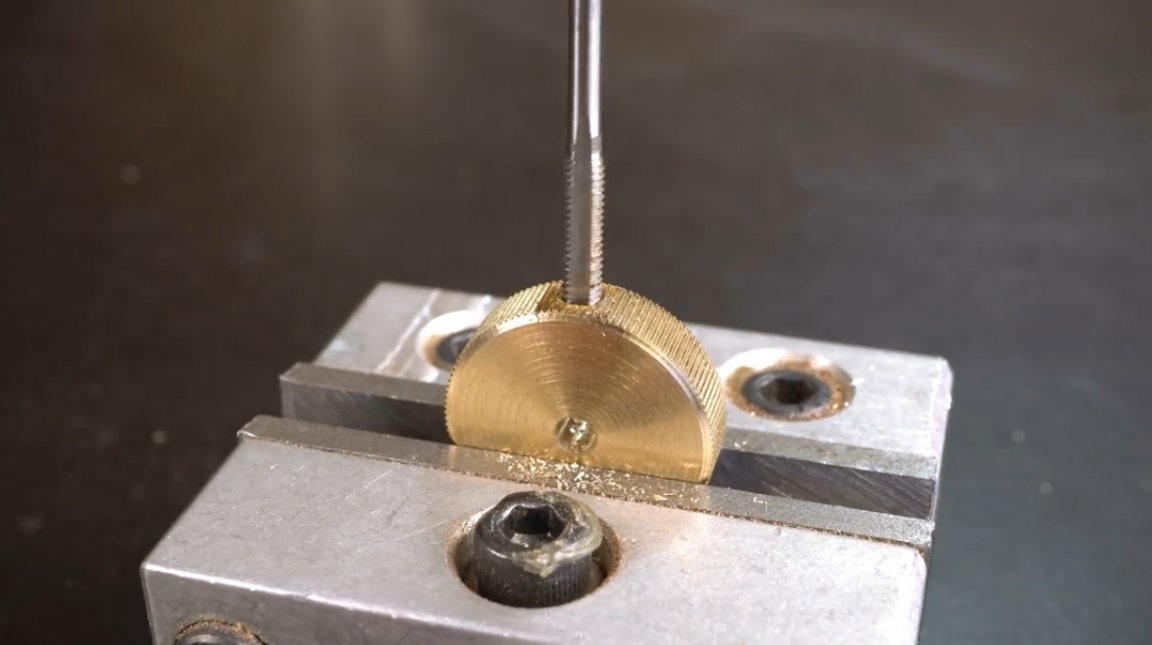
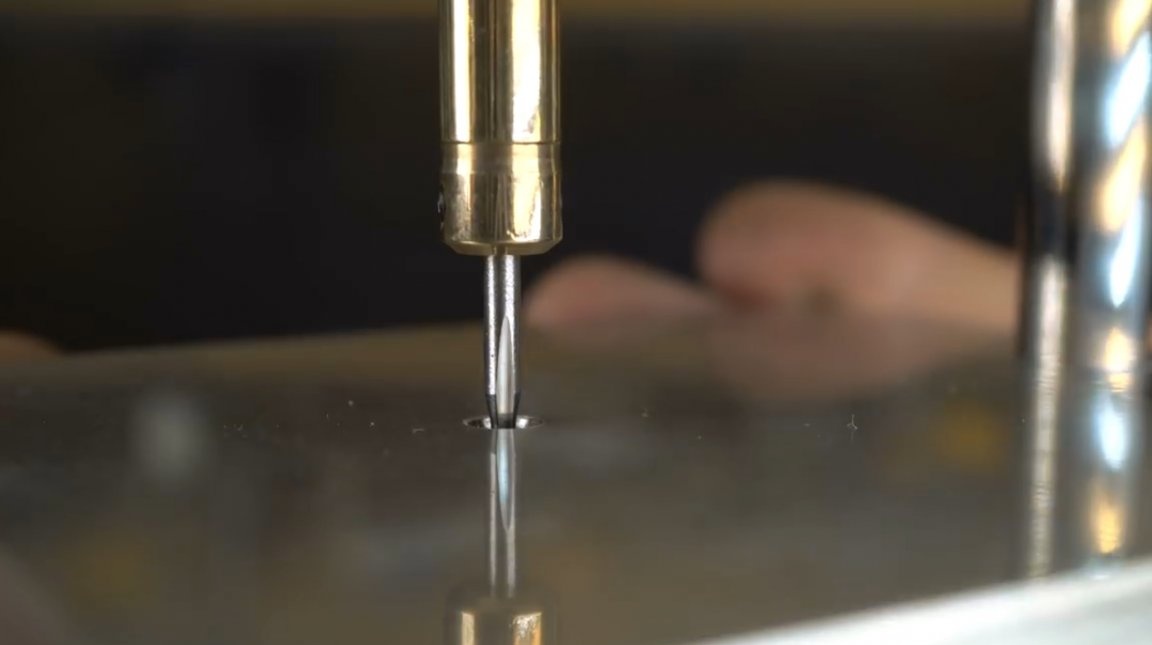
Installs the tap in its place, and fixes it with screws. Checks for a beat again, everything is fine.
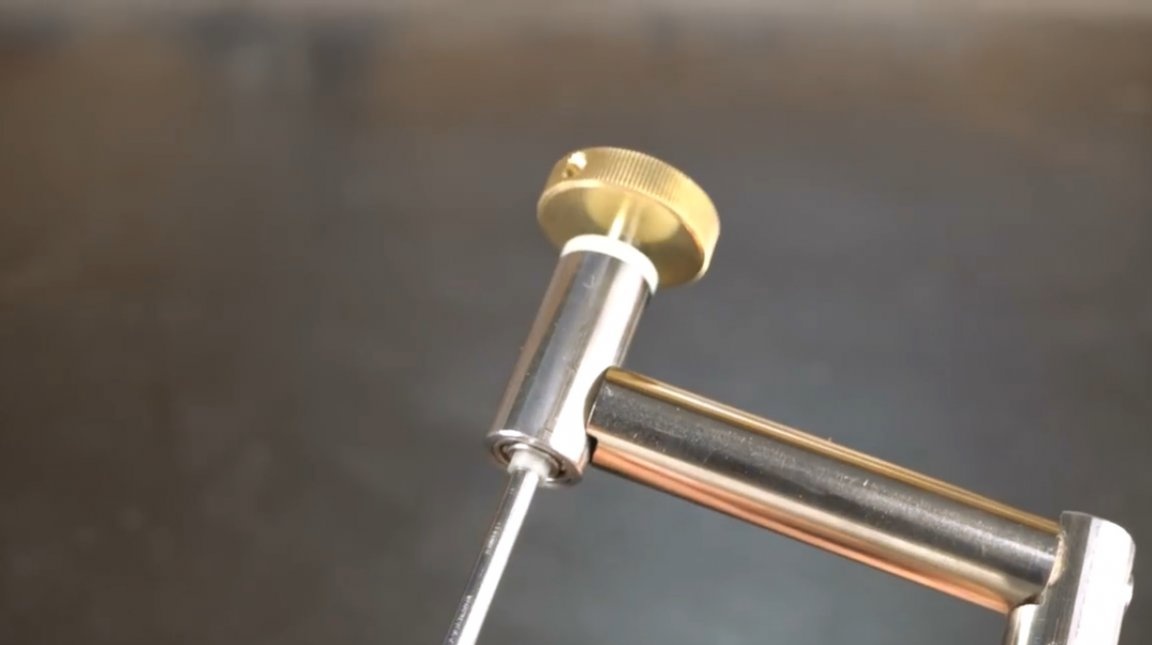
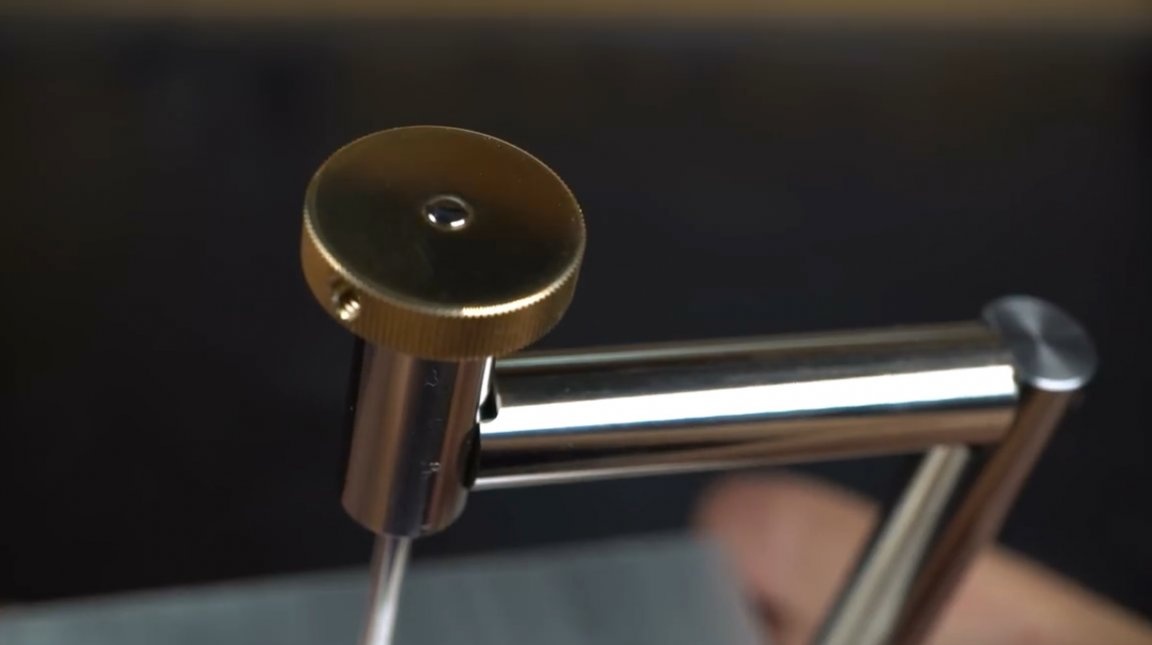
He makes a handle from a brass rod, makes a notch along the perimeter, and downs along the edges.
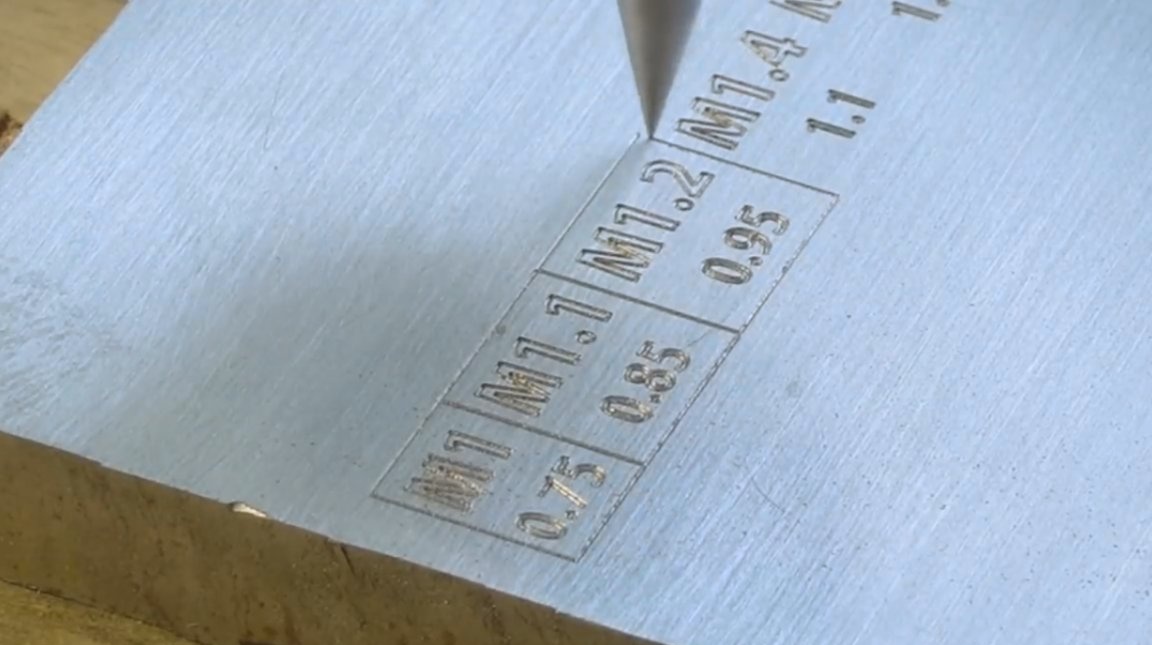
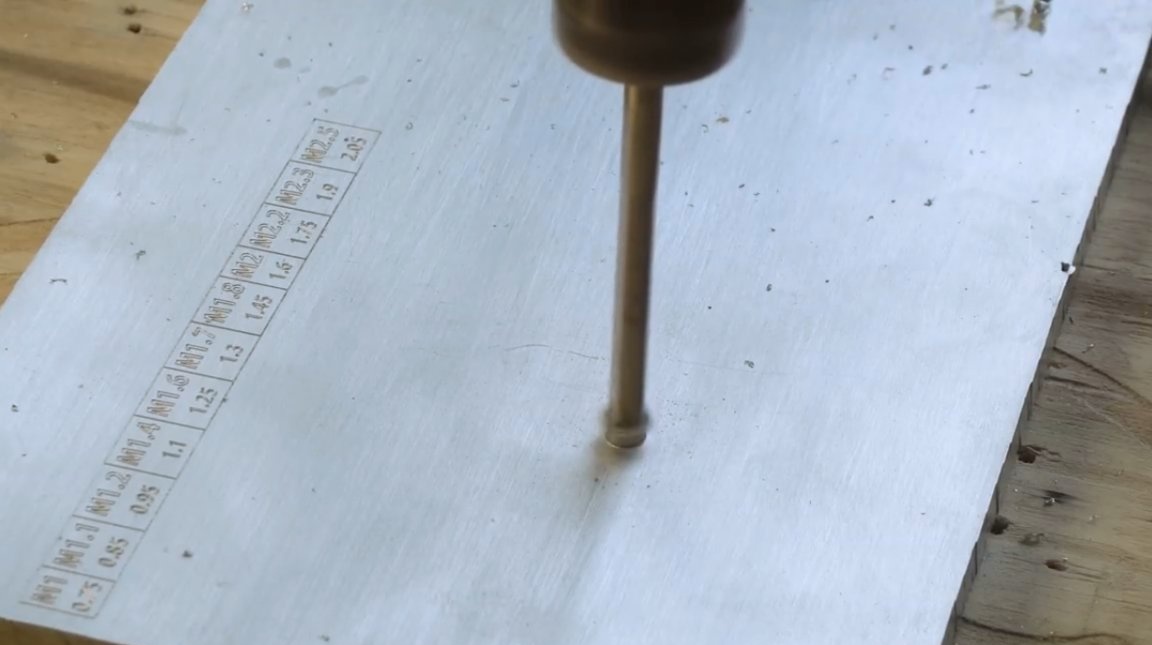
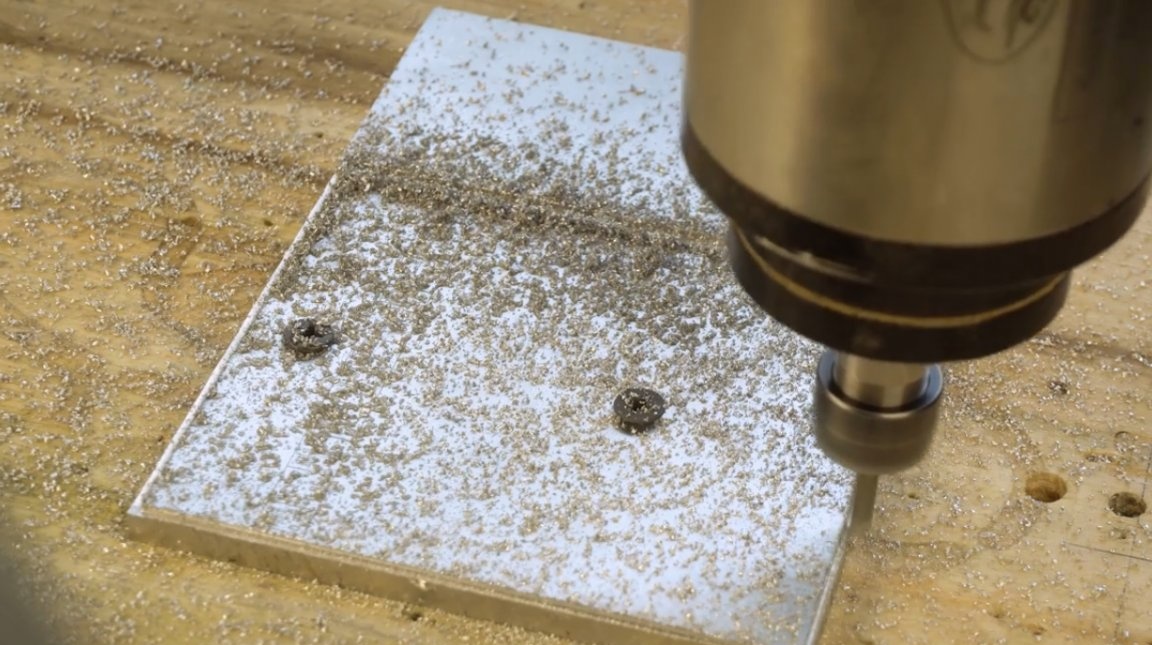
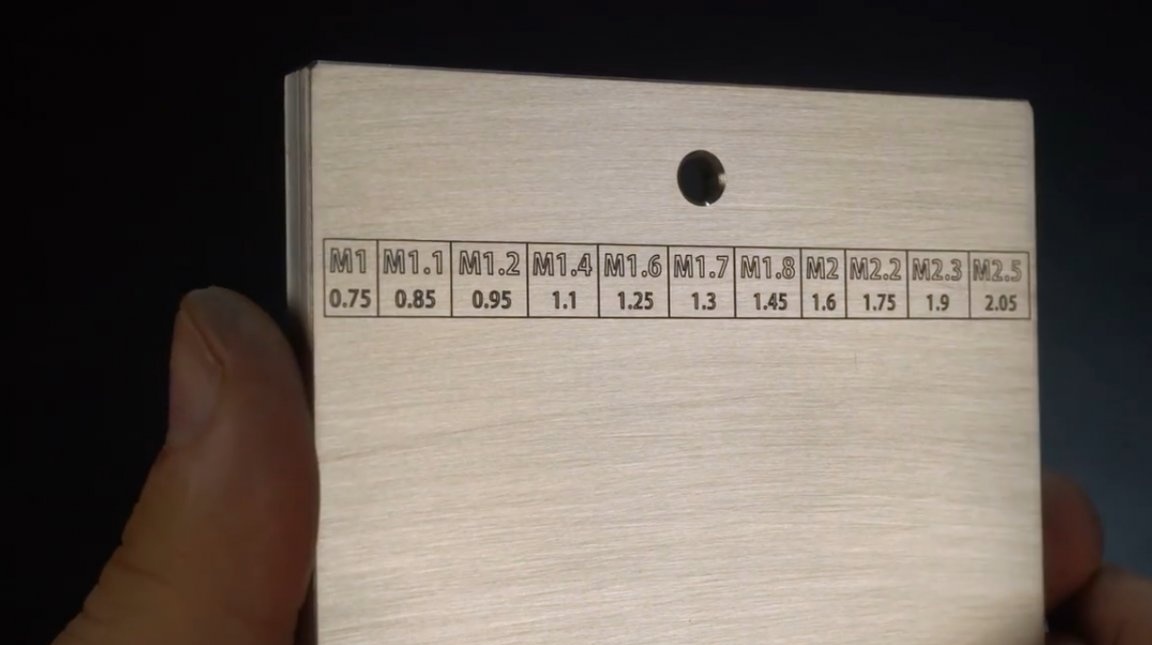
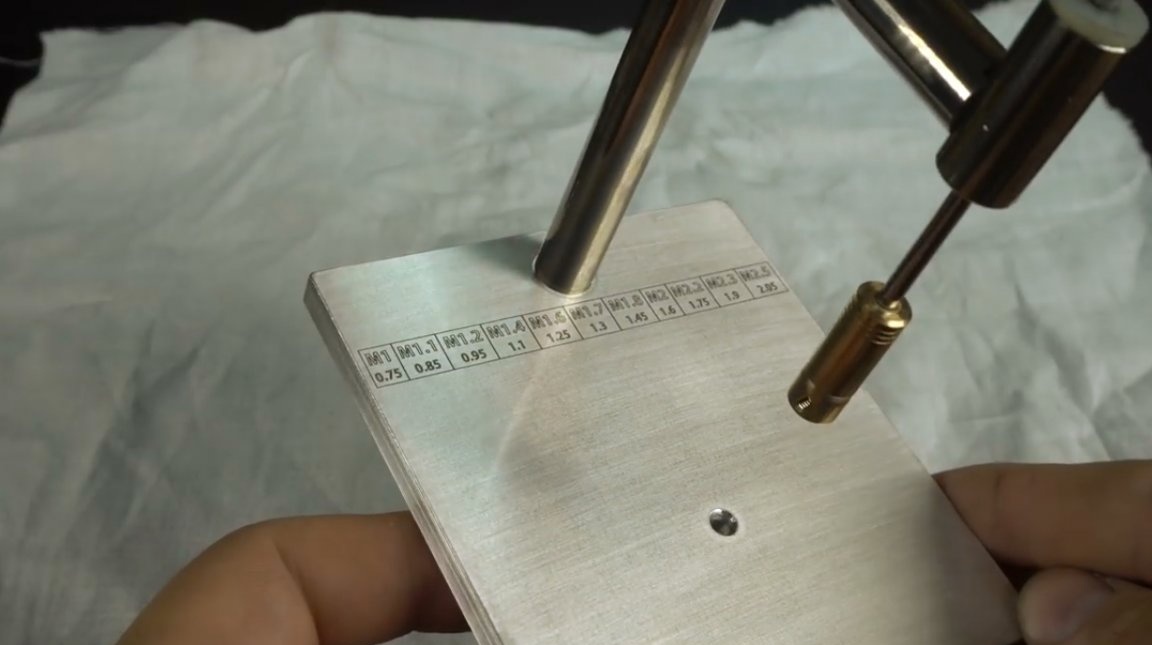
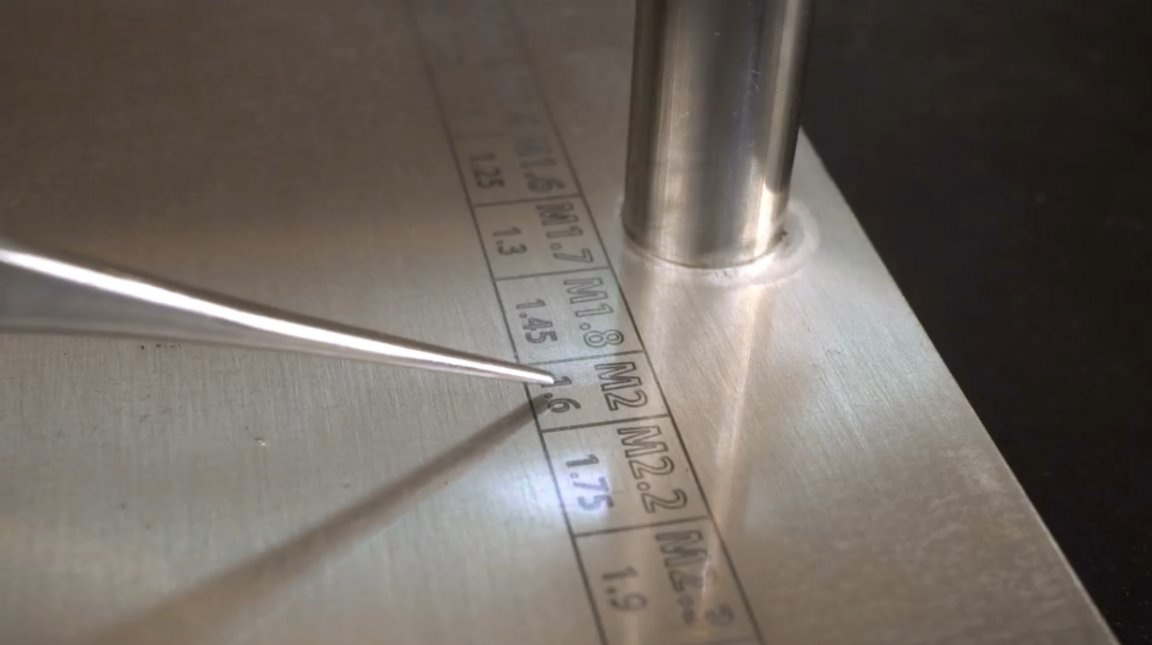
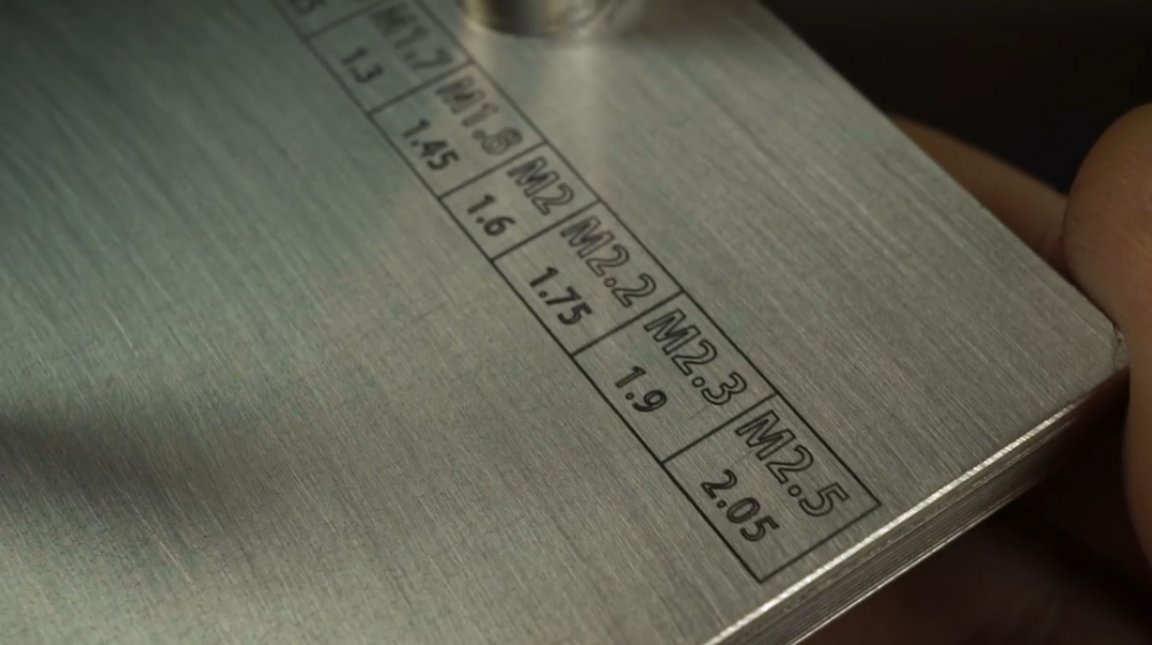
Using a CNC milling machine, the master applied a table of correspondence between drill diameter and thread on a bed of magnesium plate.
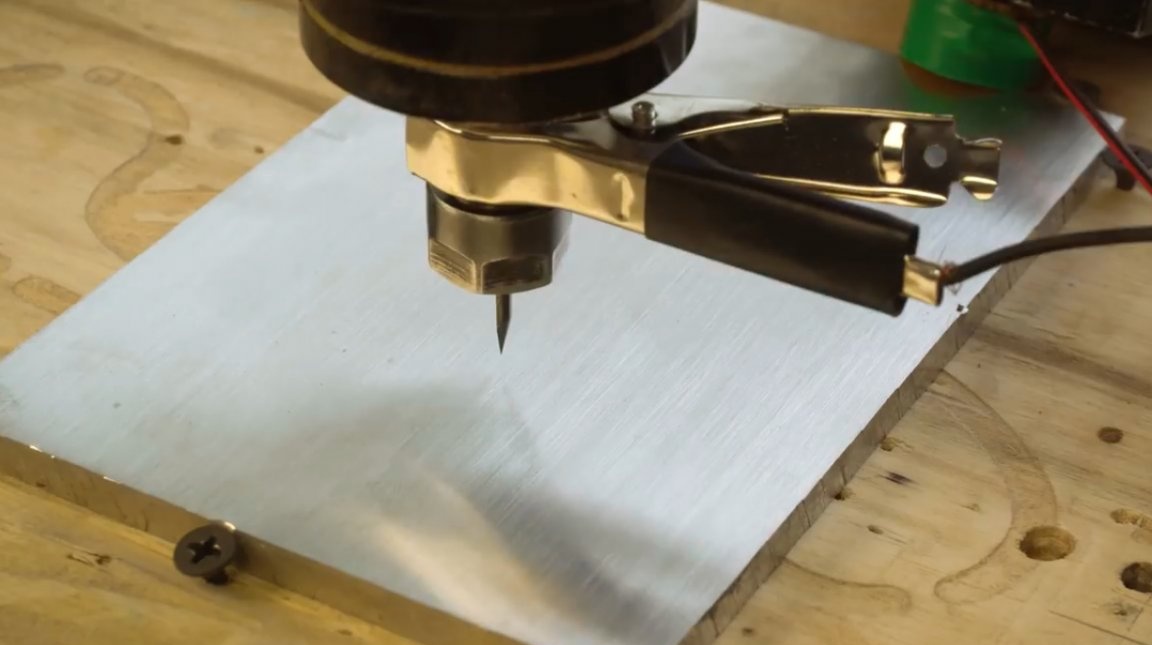
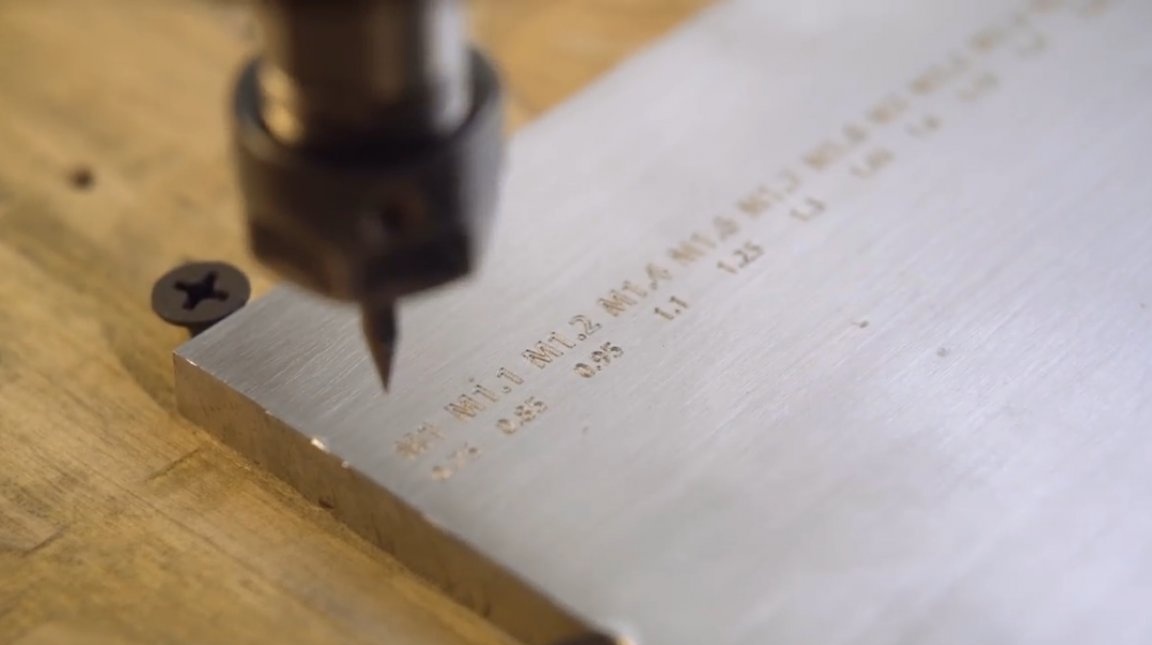
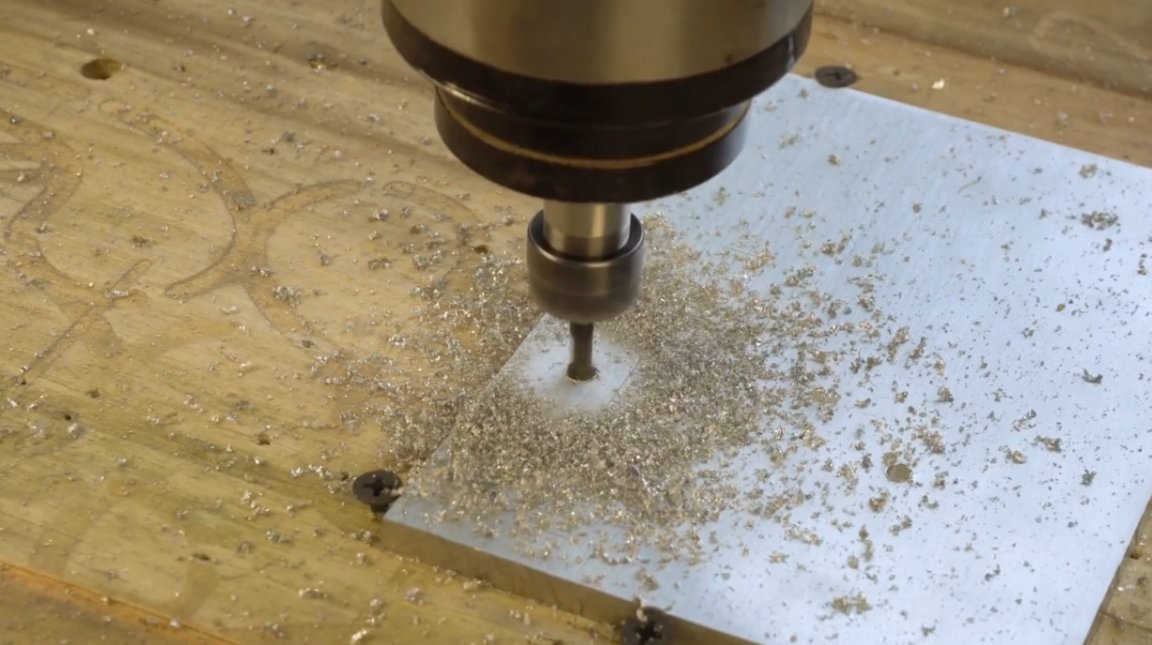
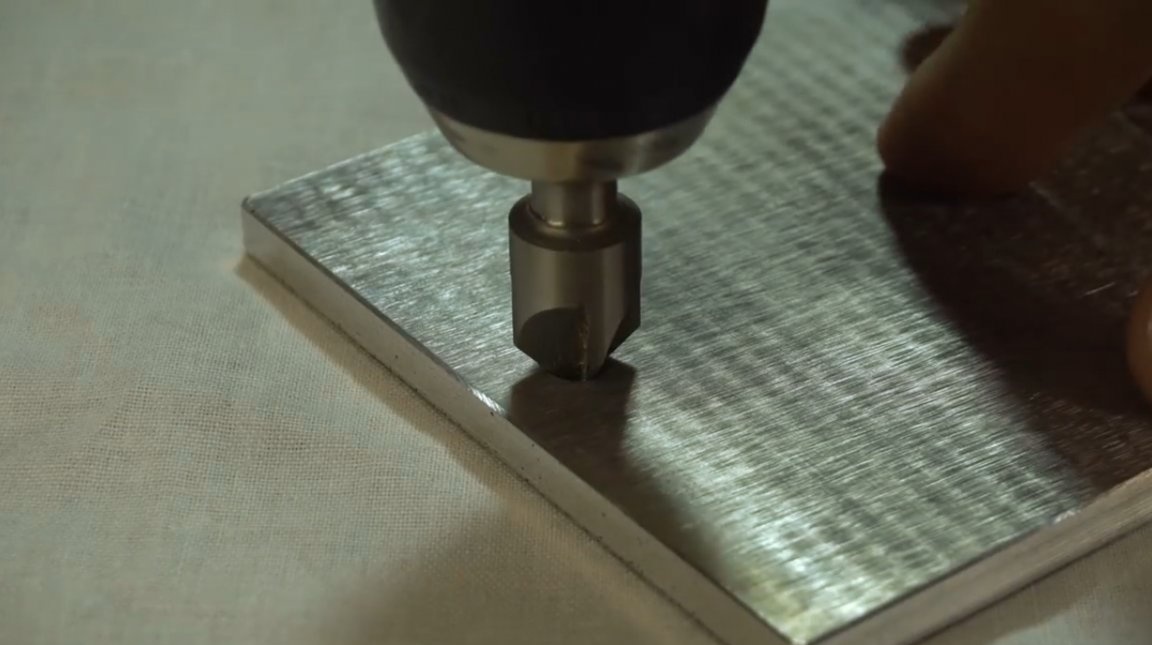
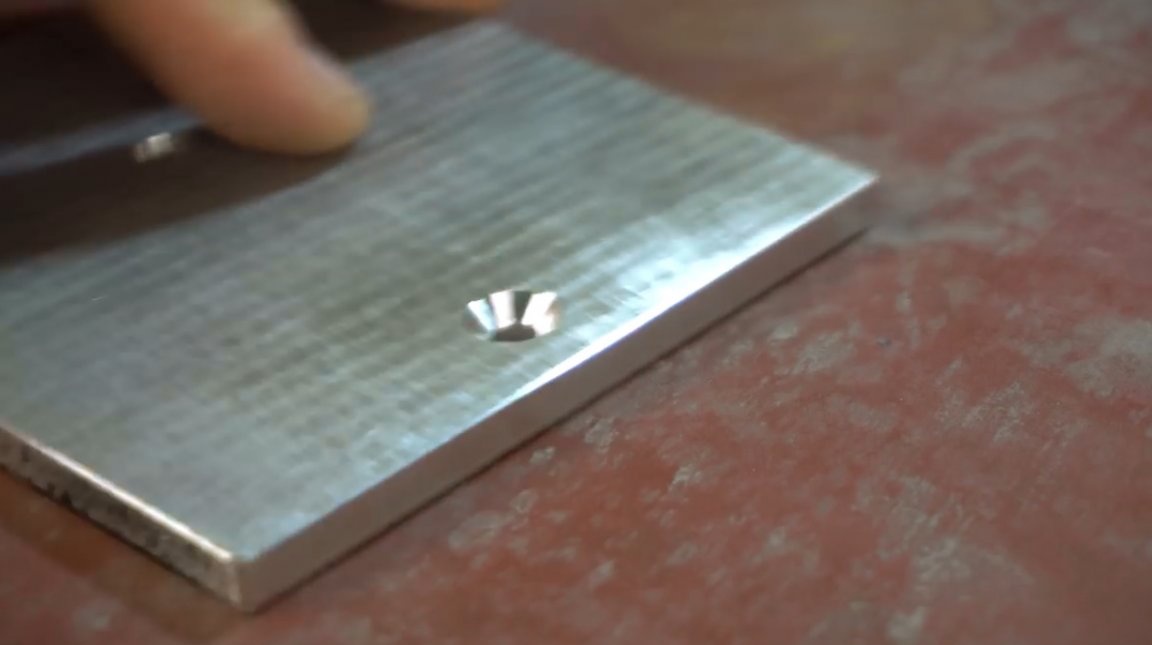
I drilled a hole in the bed for mounting the rack, and the passage of the tap. Then he cut out the plate with a milling cutter.
To improve the readability of the table, sprayed on it, and immediately removed the excess.

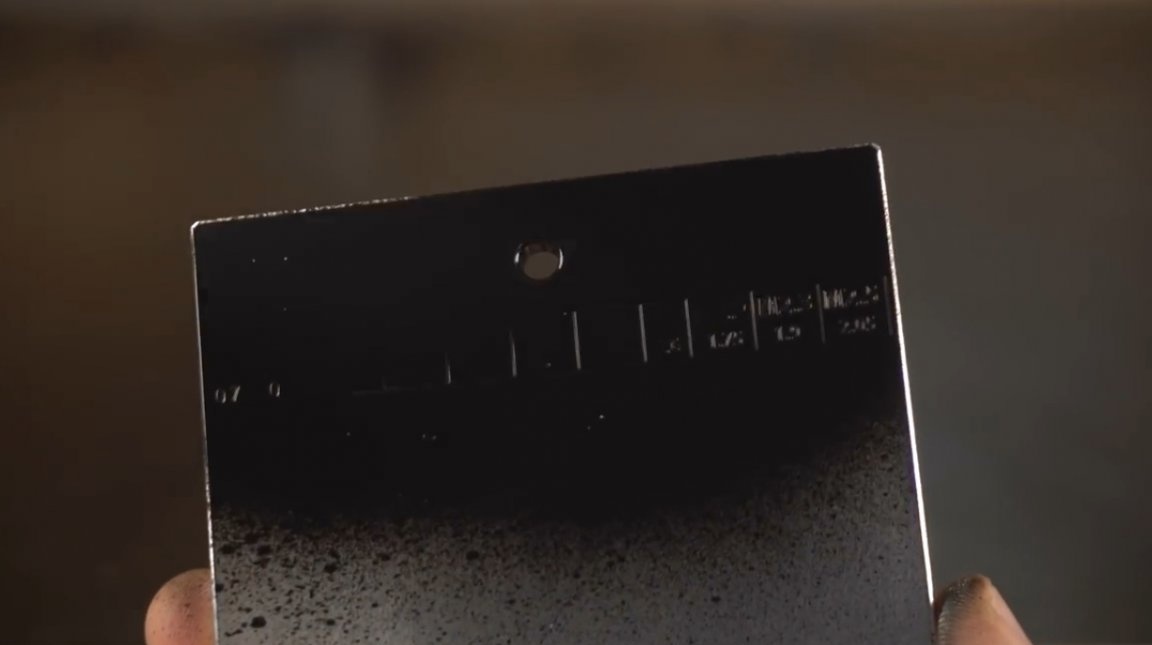
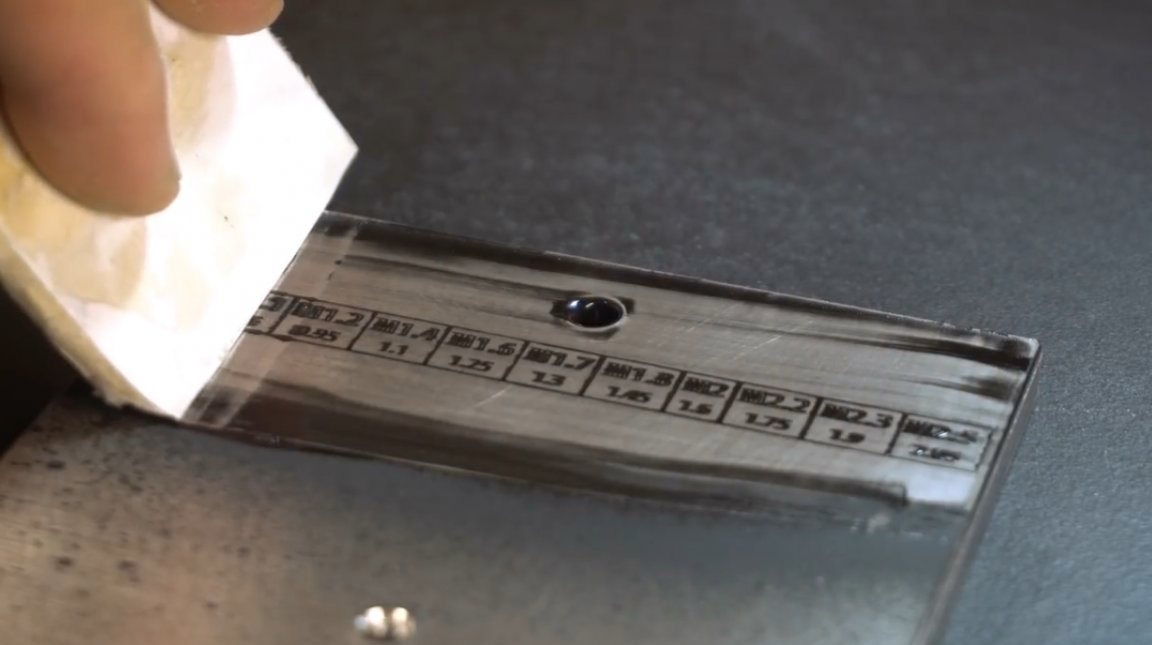
He countered the holes, and polished the remaining paint with fine sandpaper.
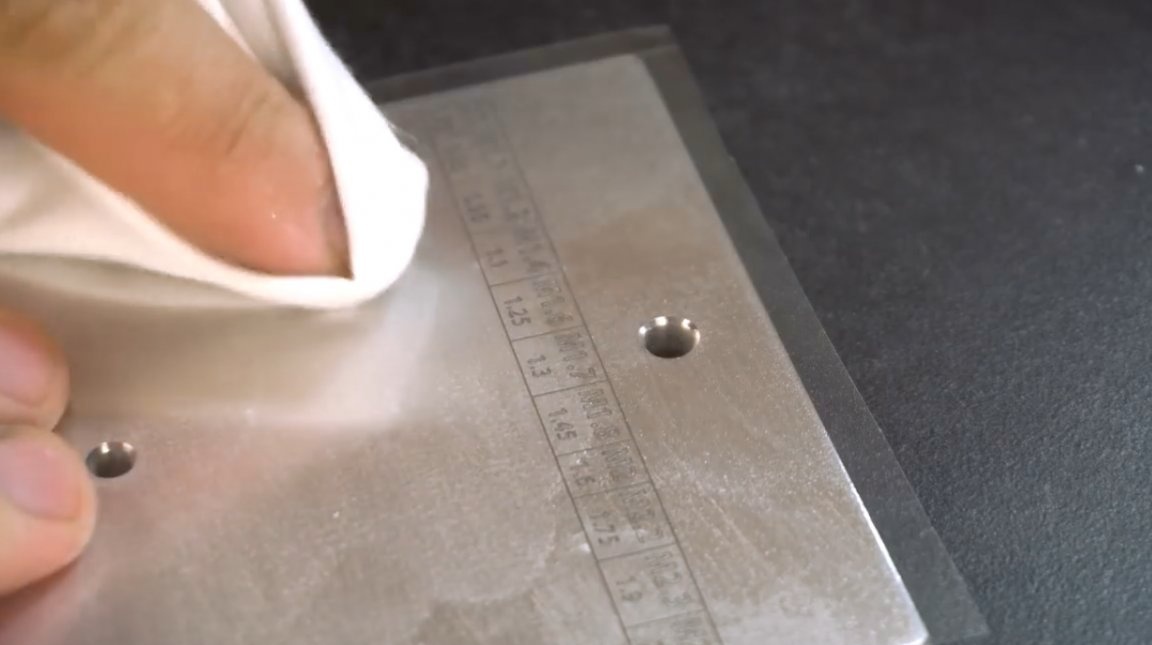
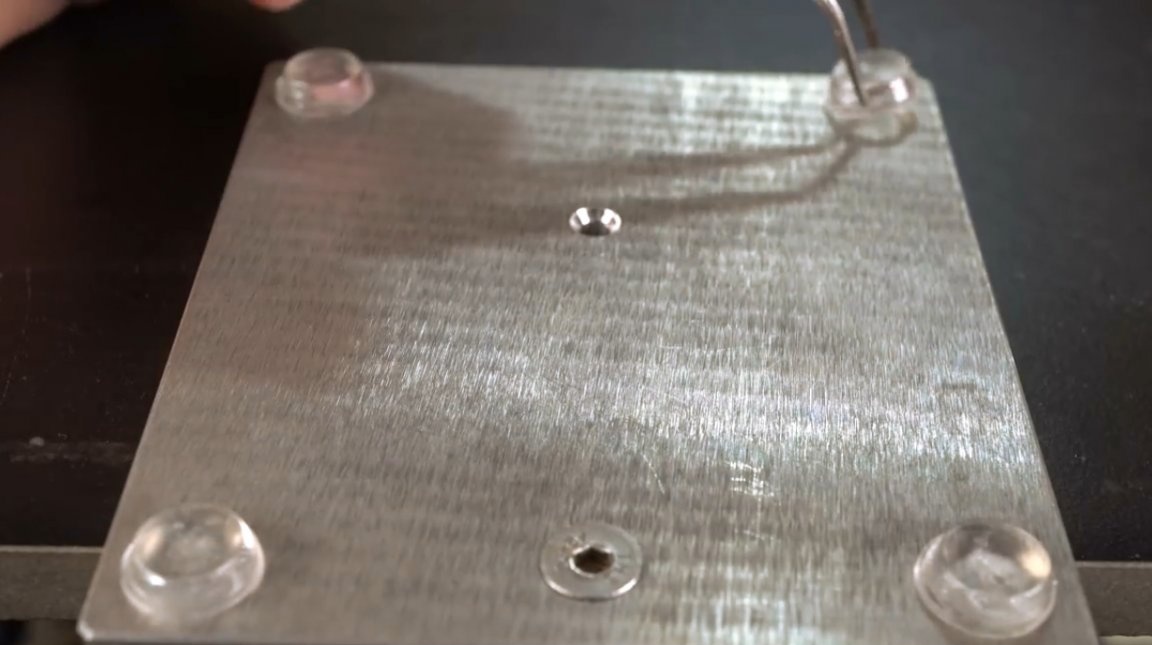
For additional surface protection, he glued a transparent film.
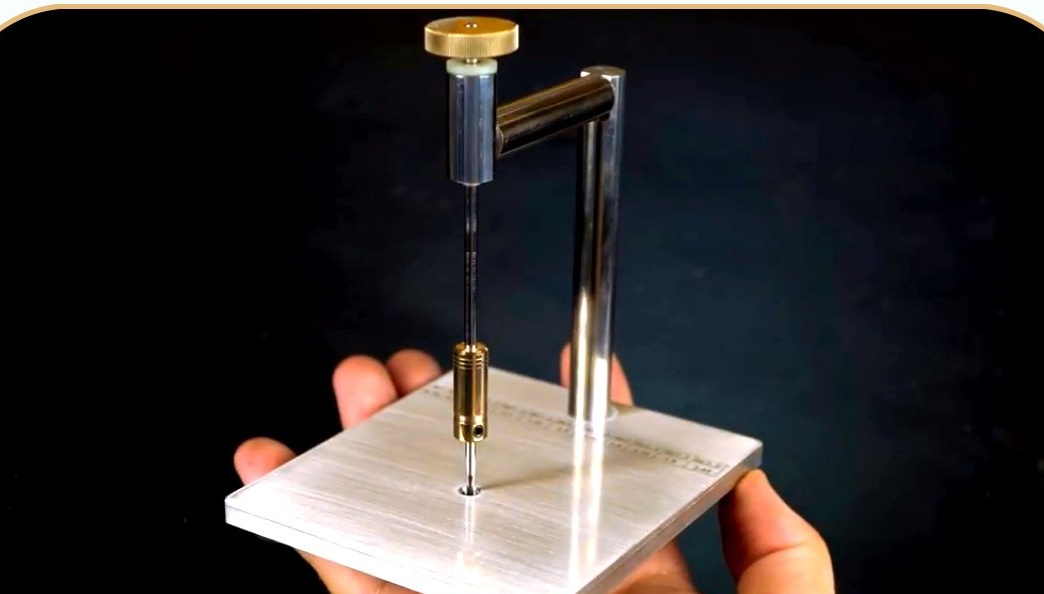
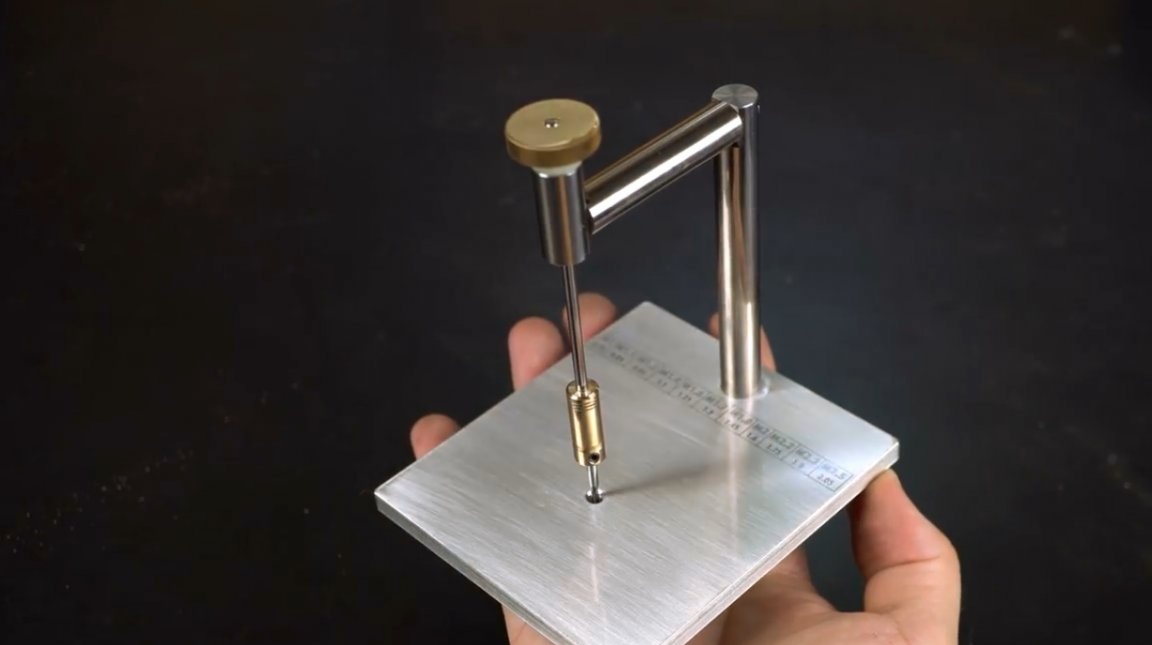
All details are ready, you can collect stanochka.
In addition, silicone legs need to be glued to the bottom of the bed; they were purchased at a fixed price.
I drilled a hole in the side of the handle, cut the thread for the clamping screw.
It remains to install the handle on top of the handle.
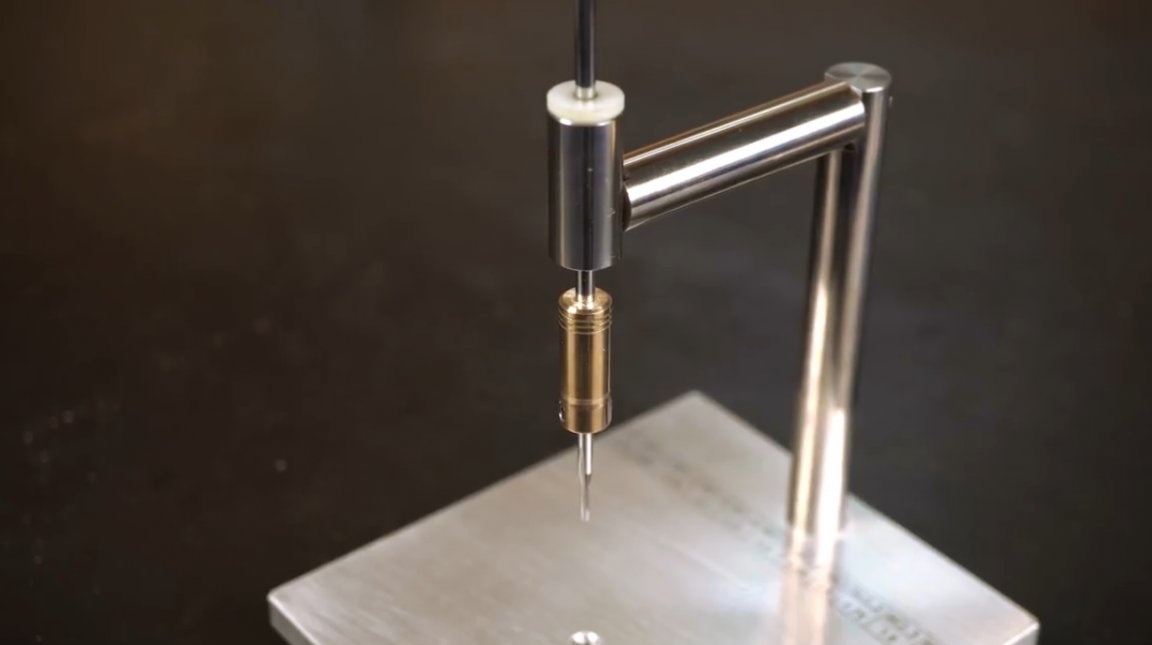
Checking the machine with an M2 tap.
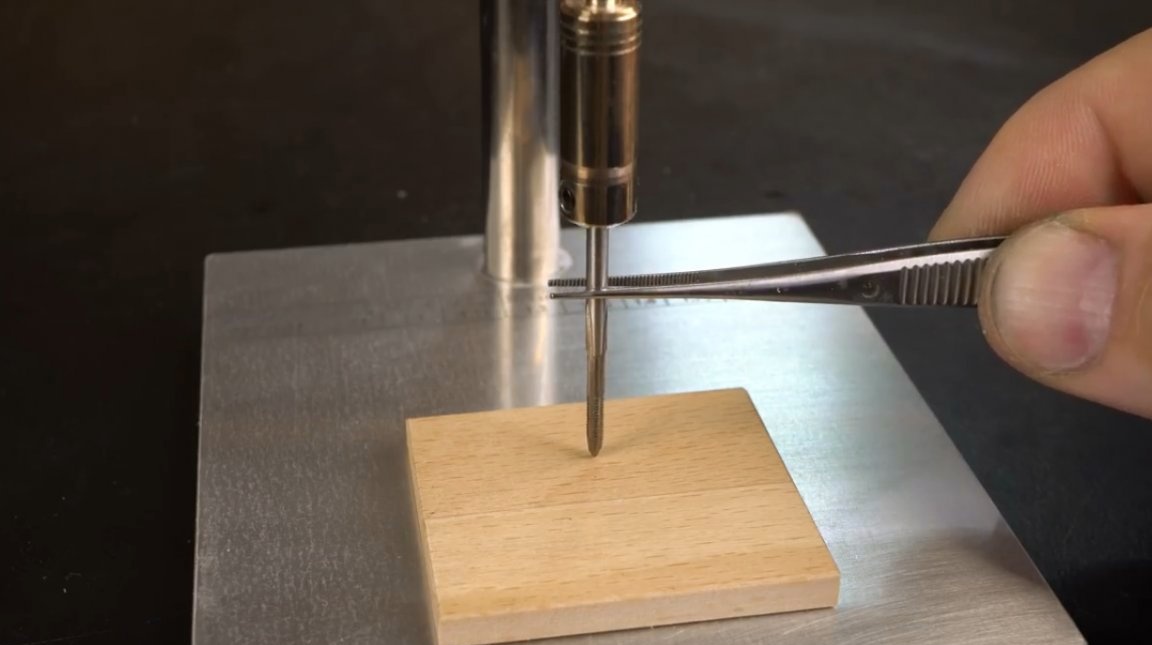
The result is almost perfect.
Here is a beautiful and functional machine turned out by the master. It is perfect for almost jewelry work.
Thanks to the author for the idea of a very unusual machine for the workshop!
All good mood, good luck, and interesting ideas!
Author video can be found here.