
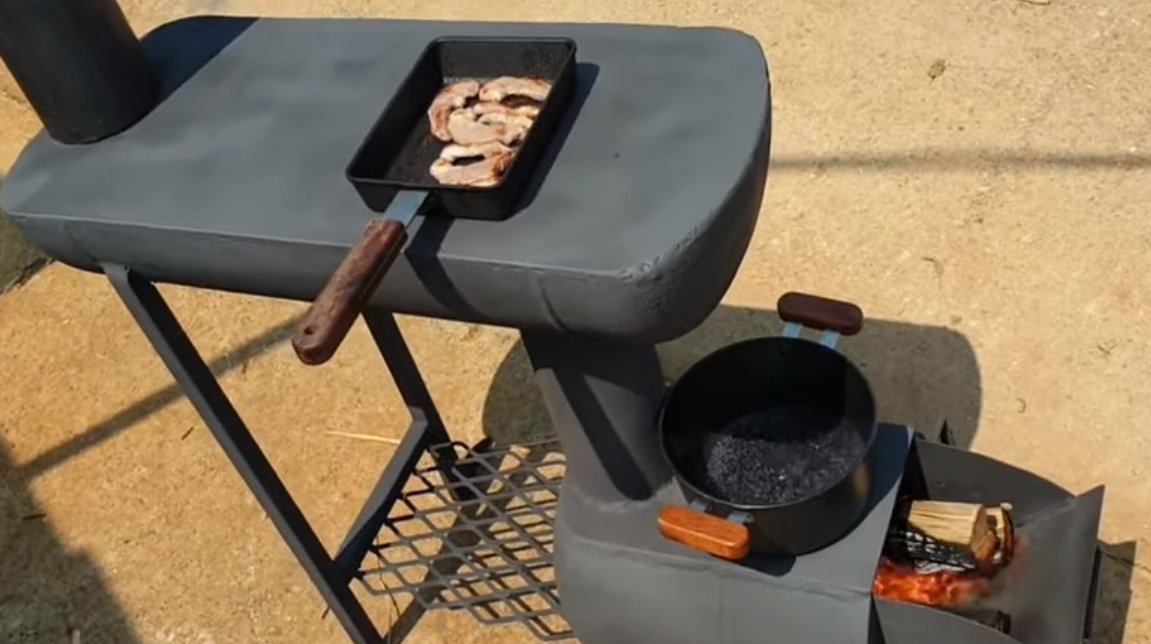
I welcome all fans to craft, today we will consider how to make a productive and convenient stove from gas cylinders. Such an oven can be heated garage or a workshop, it consists of two chambers that heat well. But that’s not all, the stove has two cooking planes, the lowest plane is above the firebox. This part of the furnace quickly heats up to high temperatures, it is convenient to boil water in large volumes and so on. The upper plane heats up not so much, but it has a large area. On the upper plane you can fry, dry something and so on. The stove was made of gas cylinders, the author arranged an interesting, simple and convenient firebox door. If the project interests you, I propose to study it in more detail!
Materials and tools used by the author:
Material List:
- a large gas cylinder for the upper chamber;
- a small gas cylinder for the lower chamber;
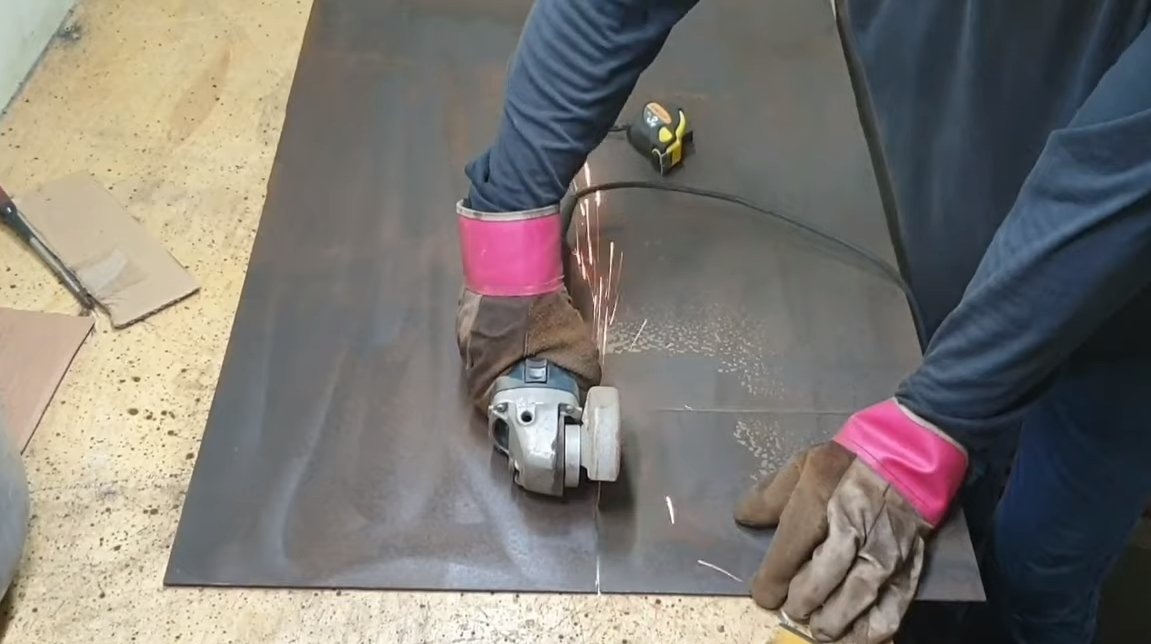
- sheet metal for cooktops;
- chimney;
- few profile pipes for legs;
- heat resistant paint;
- bolts and nuts;
- springs (for handles).
Tool List:
- plasma cutter;
- drill;
- grinder;
- welding machine;
- tape measure, marker.
Manufacturing process homemade:
Step one. Down Cam
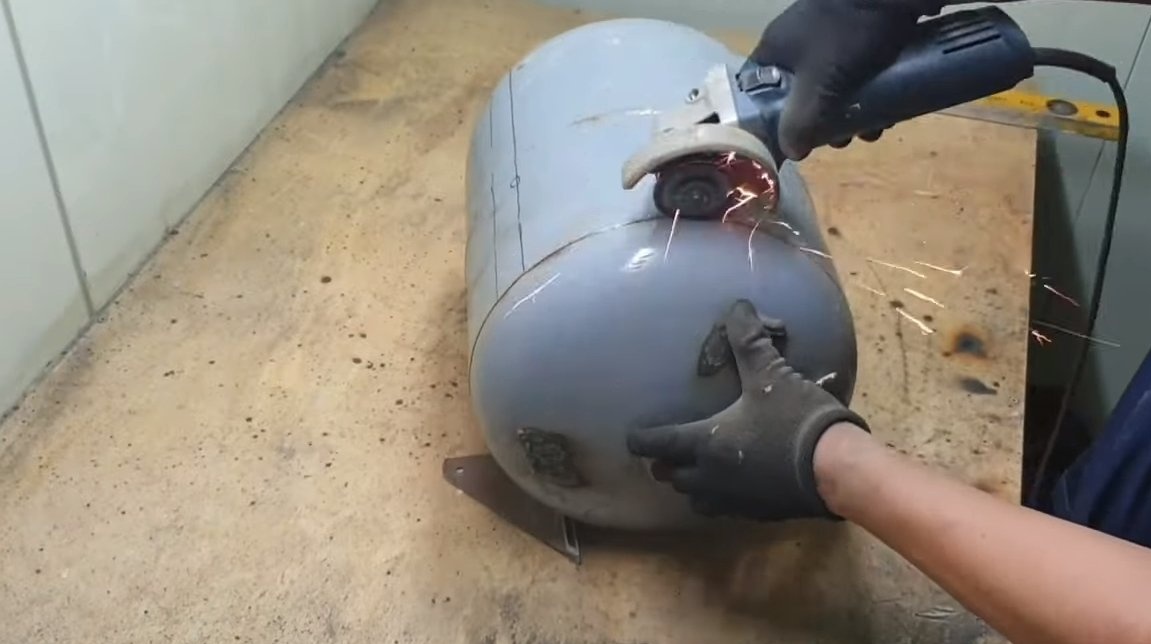
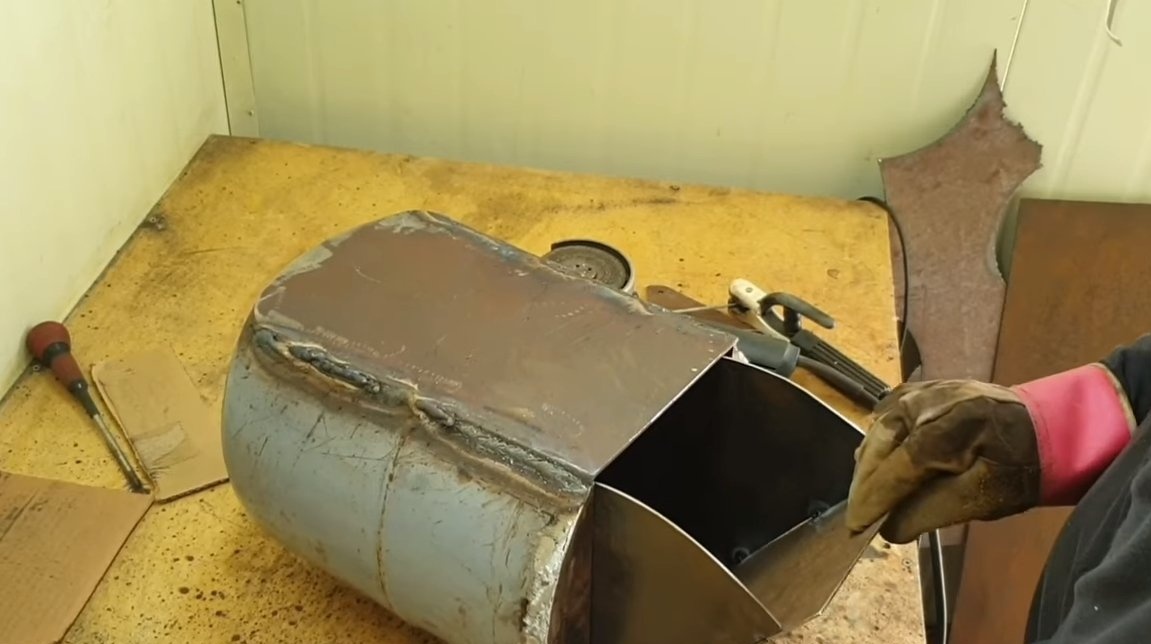
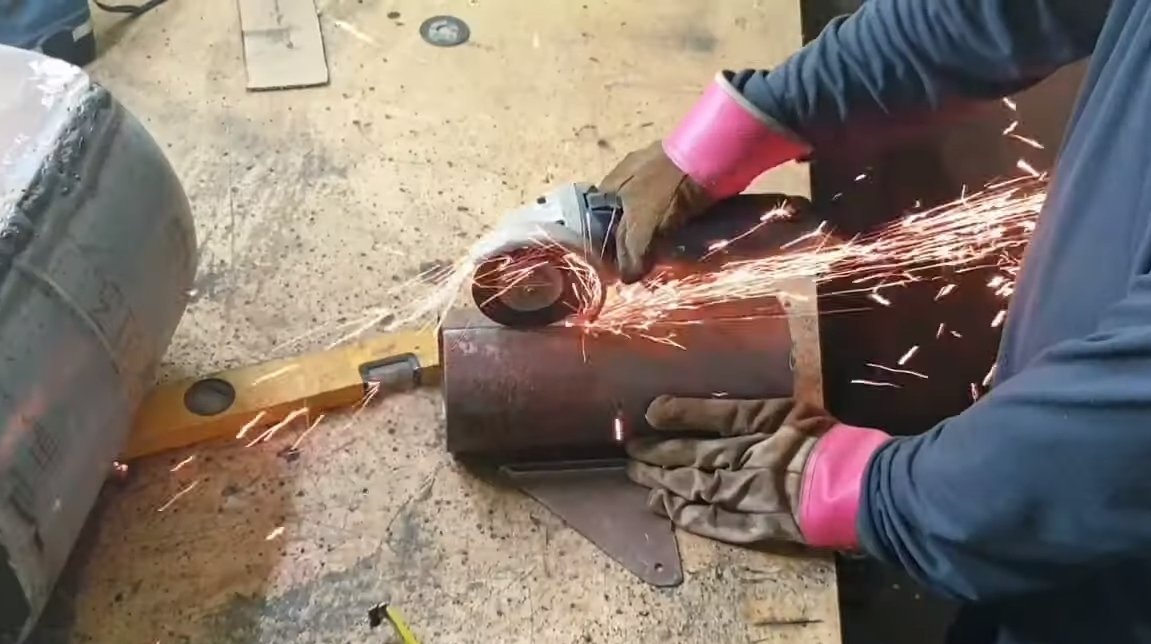
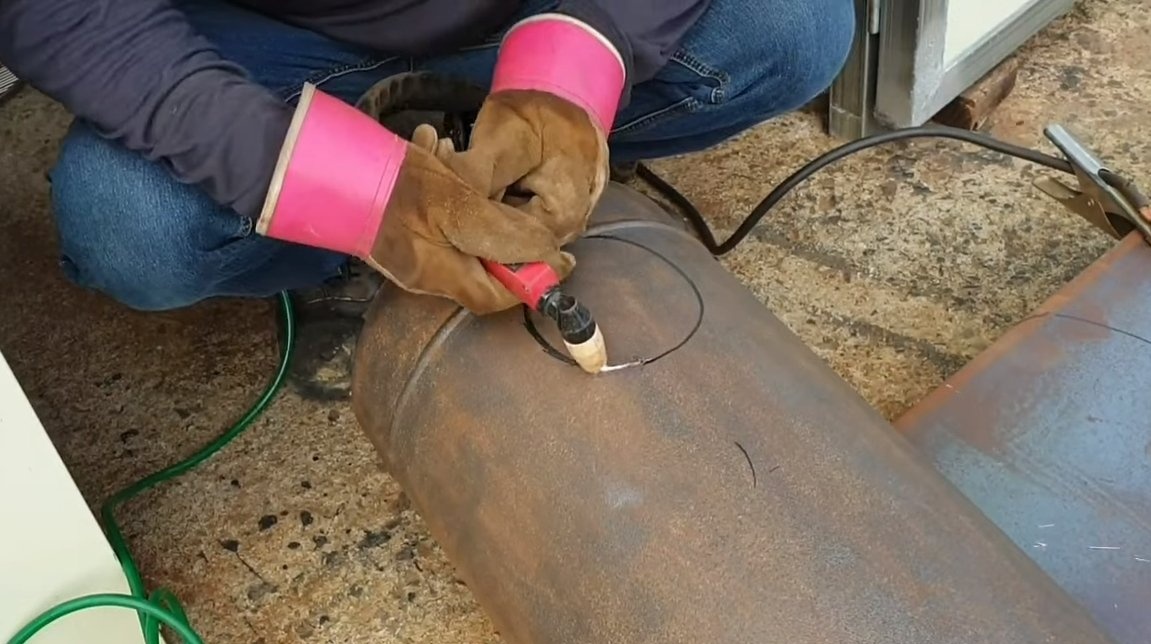
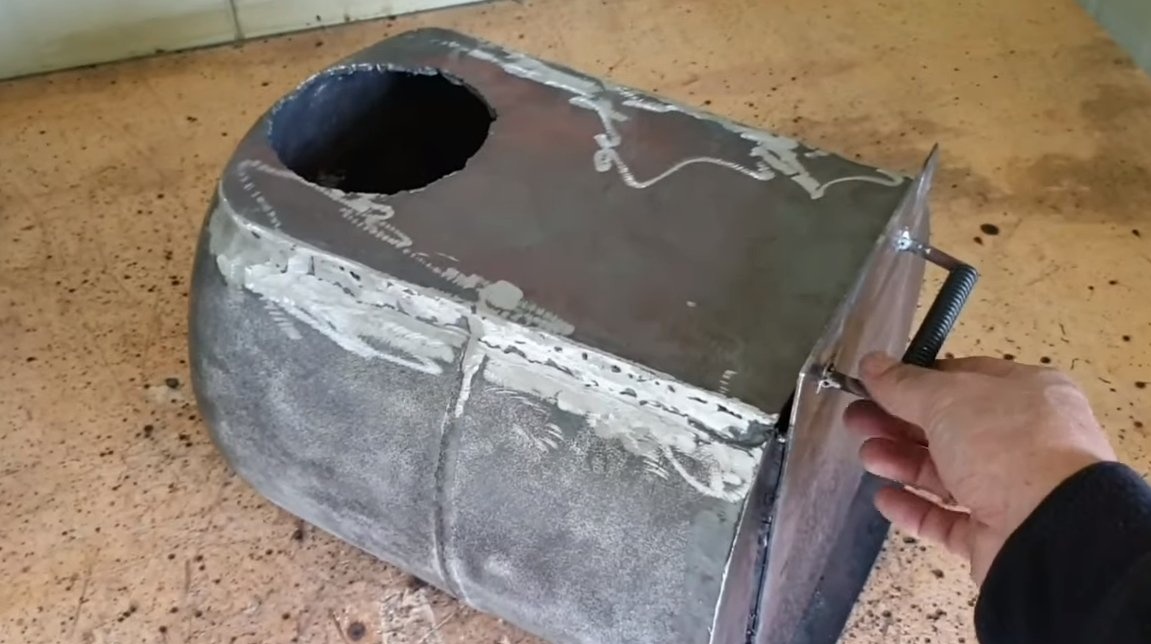
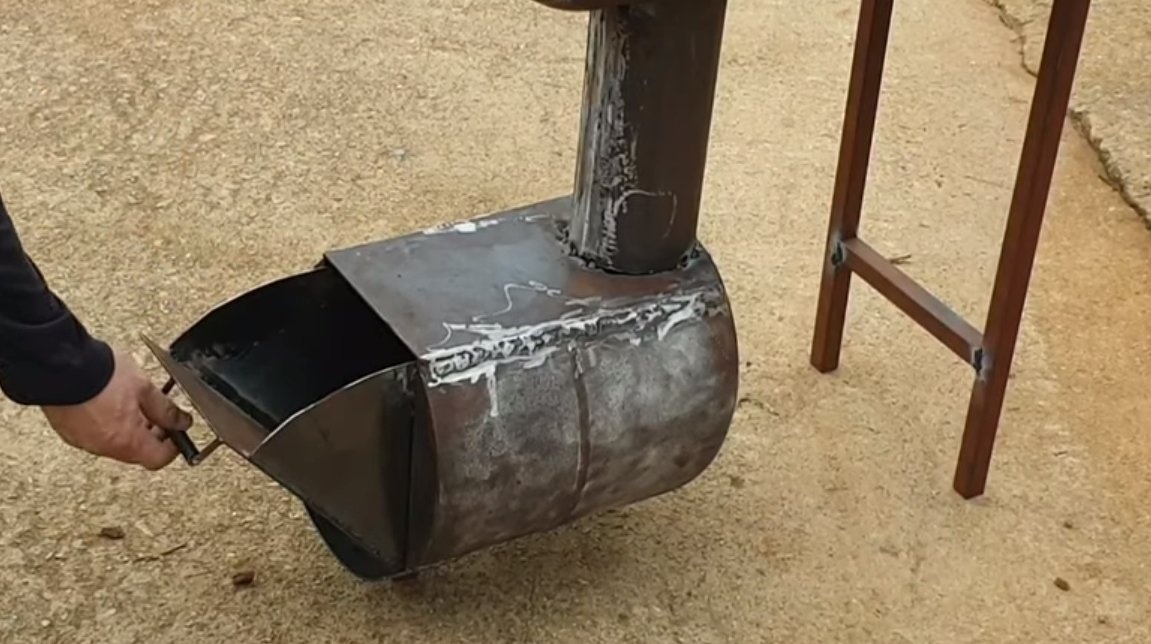
The lower chamber will act as a firebox, here it is advisable to use a gas cylinder with a thicker wall. First, you need to cut the neck from the cylinder, note that if there was combustible gas in the cylinder, the cylinder will explode when cutting. On the Internet there are lots of recommendations on how to make a cylinder safe for cutting. The easiest is to fill the can with water and start cutting.
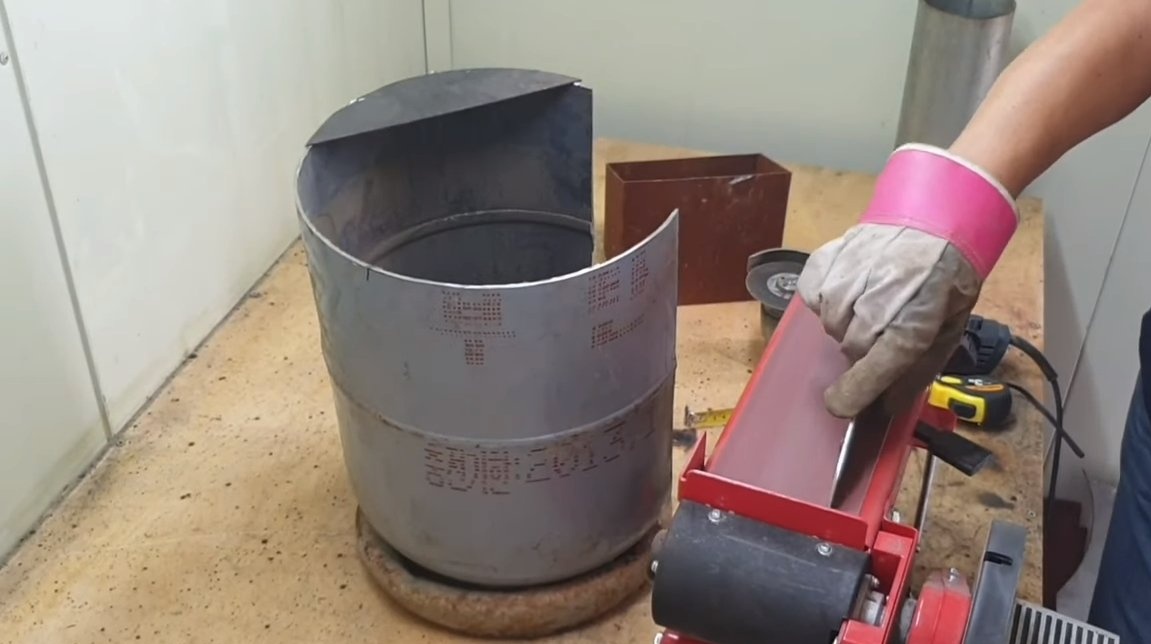
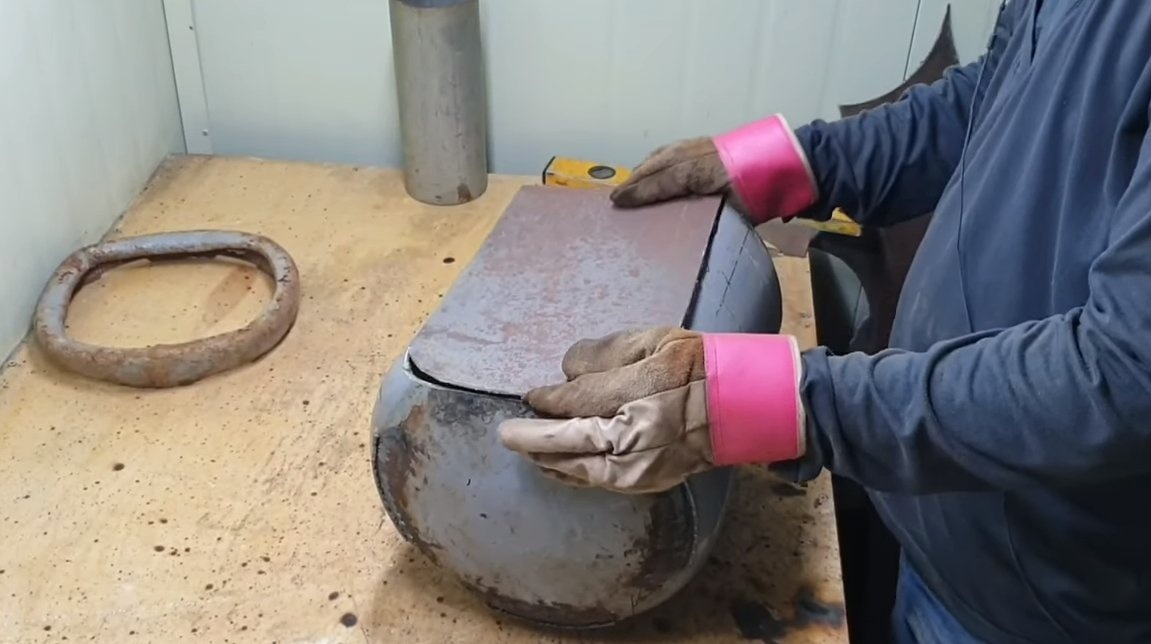
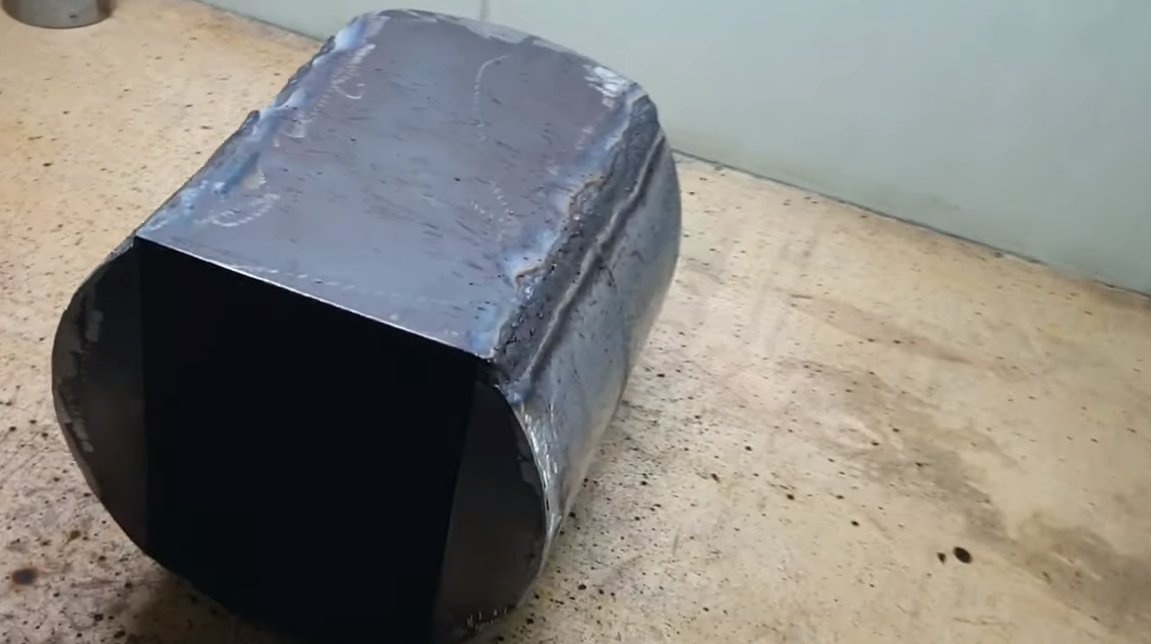
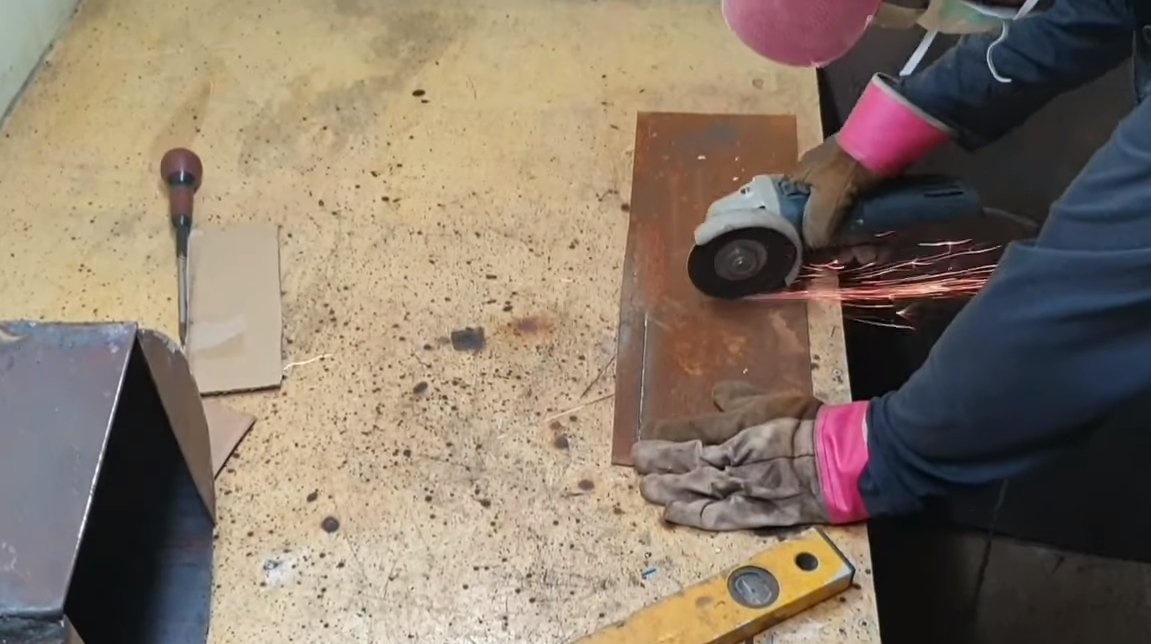
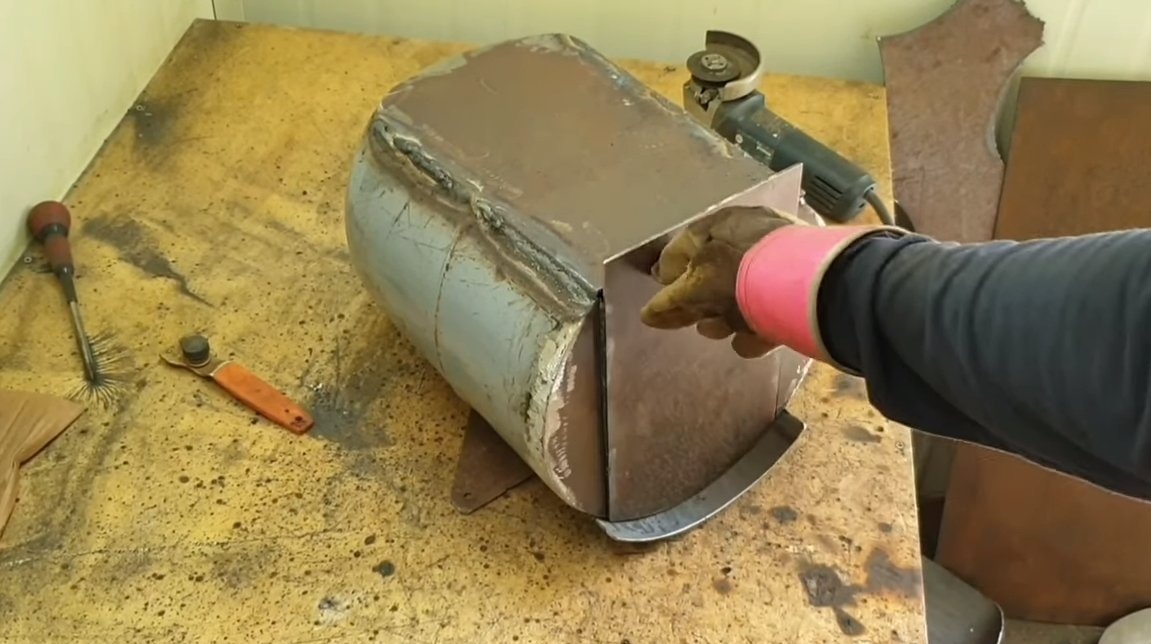
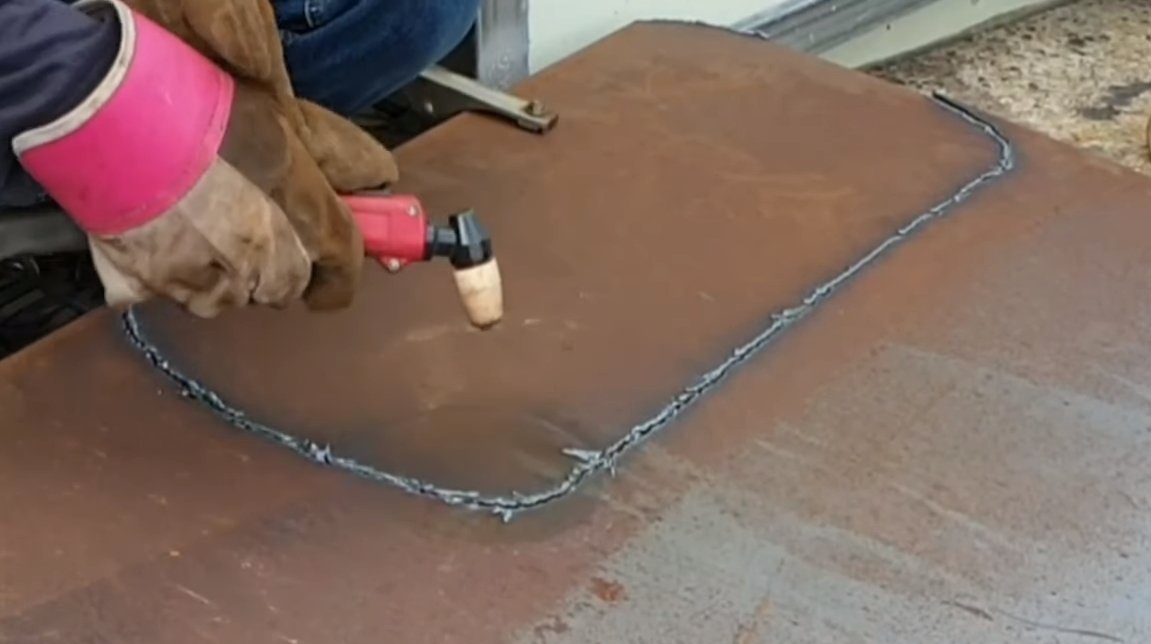
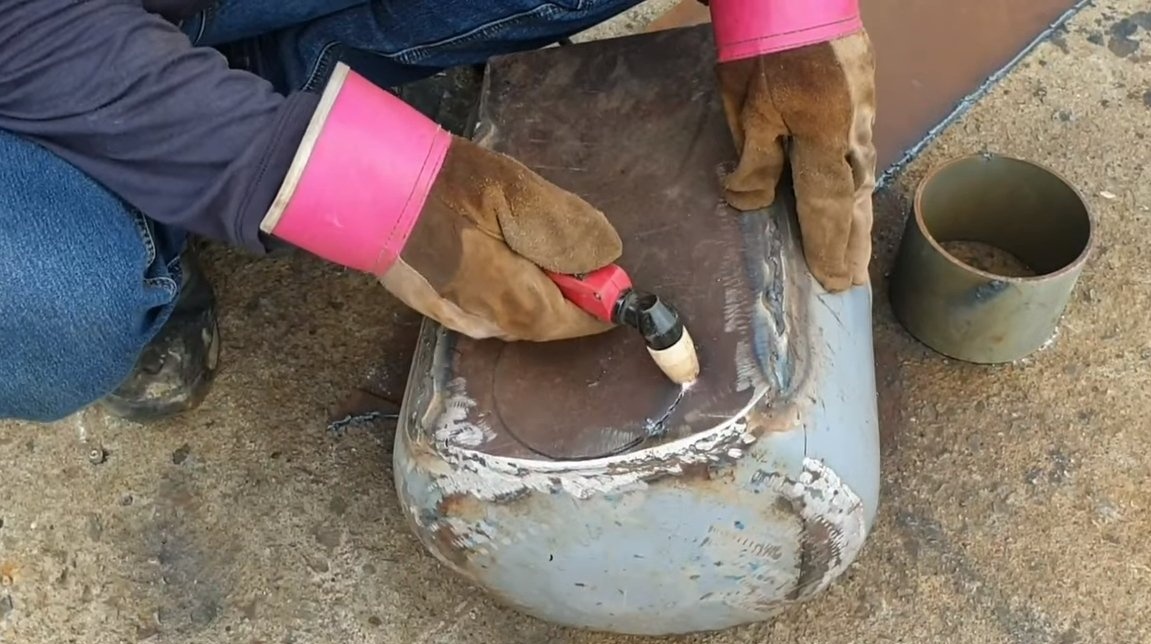
In addition to the neck, we also need to cut off the lateral part of the cylinder, into the place of which the cooking plane is welded. As the hob, we use thick sheet metal, and even better, stainless steel.
In conclusion, we will make a door for the furnace, it is hinged by the author. Thanks to this design, nothing will ever fall out of the oven, and it will be safer.
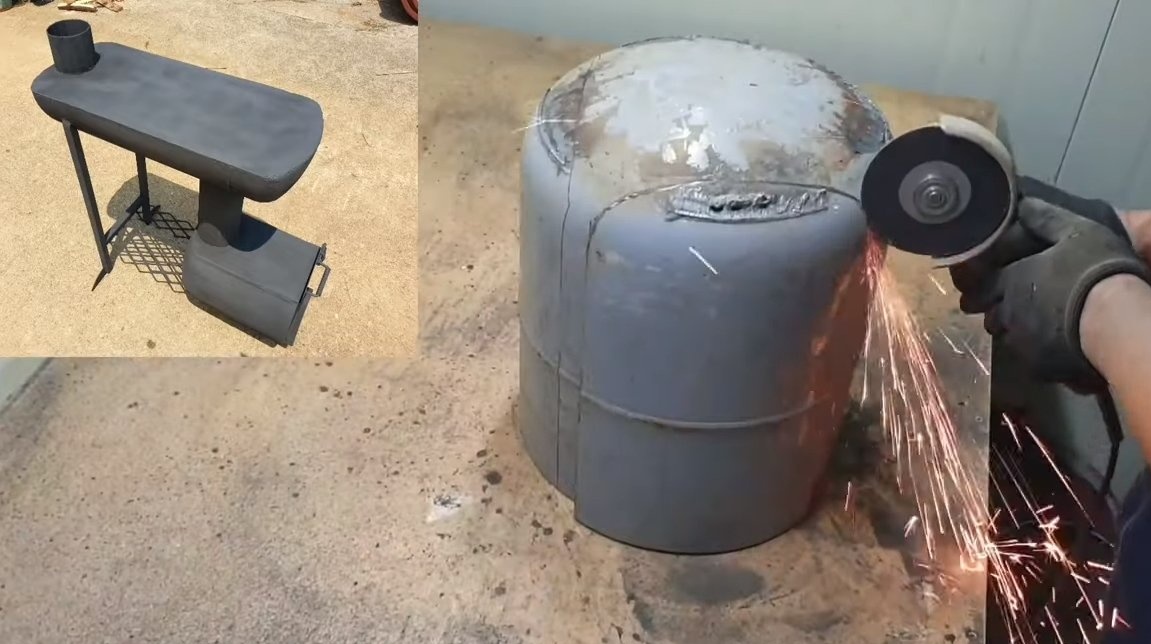


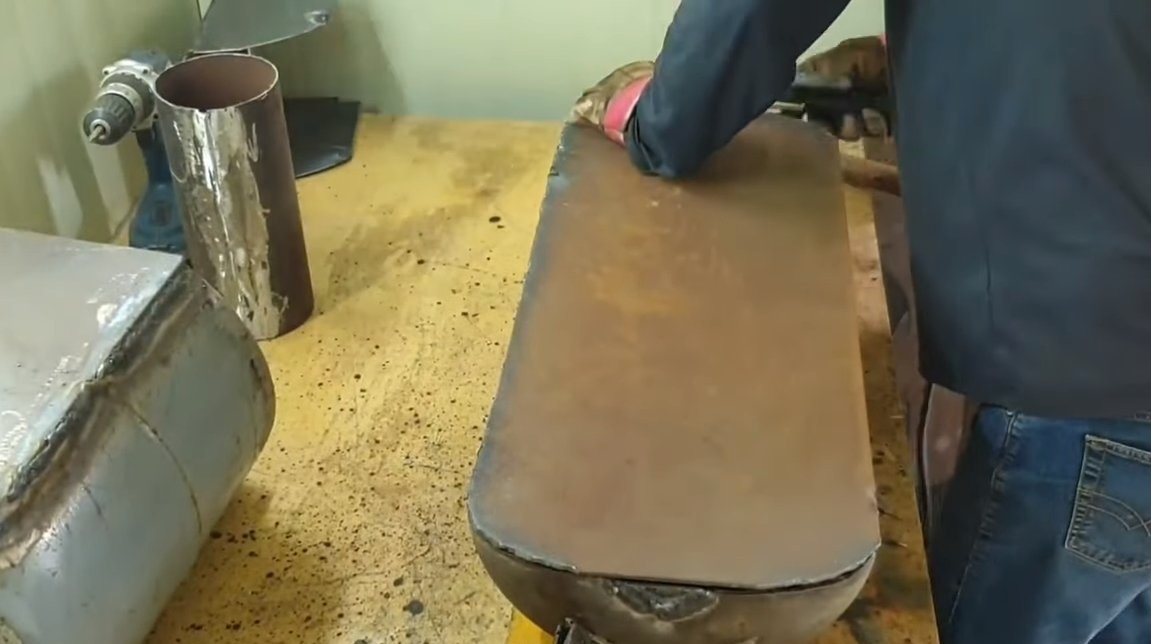
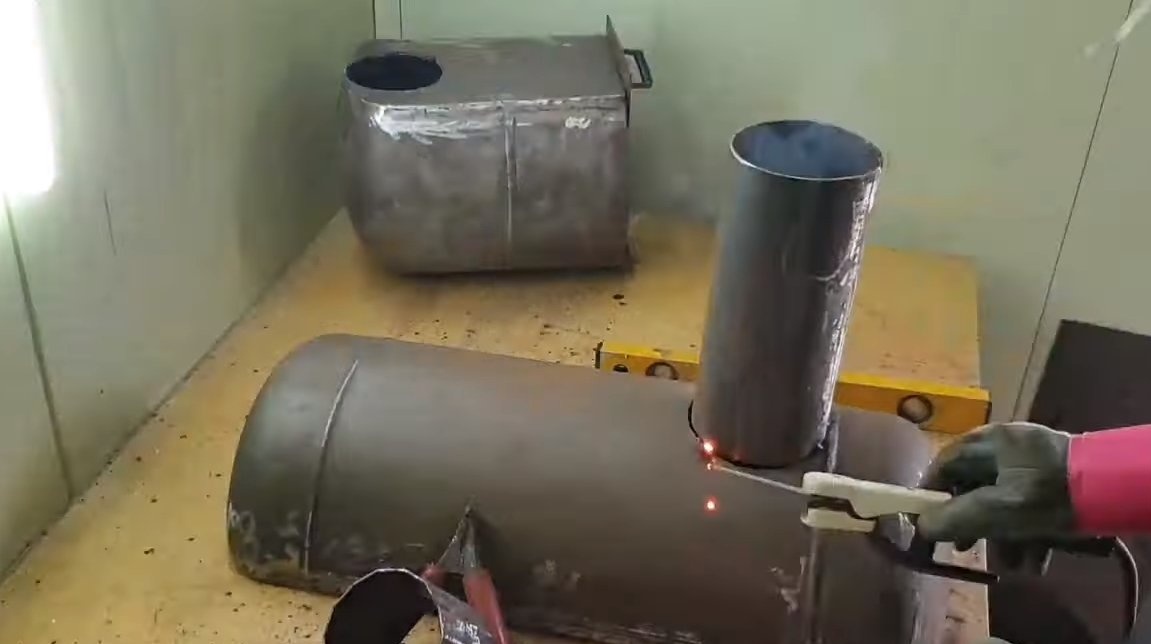
Step TwoUpper chamber and pipe
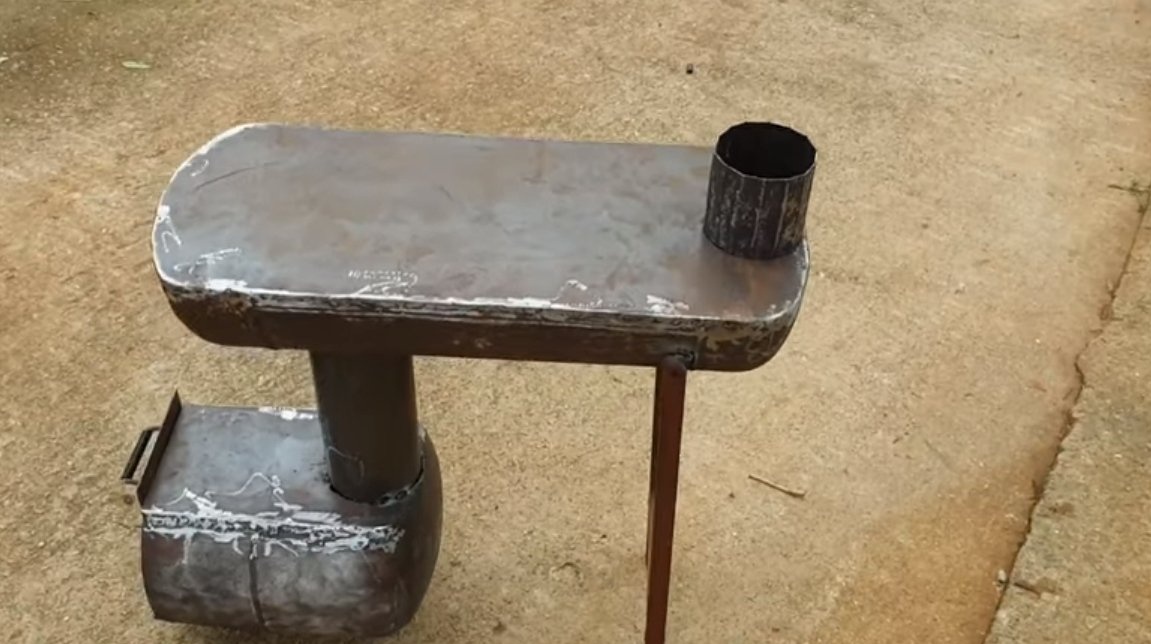
We make the upper chamber similarly to the lower one, but here the author uses a large gas cylinder.
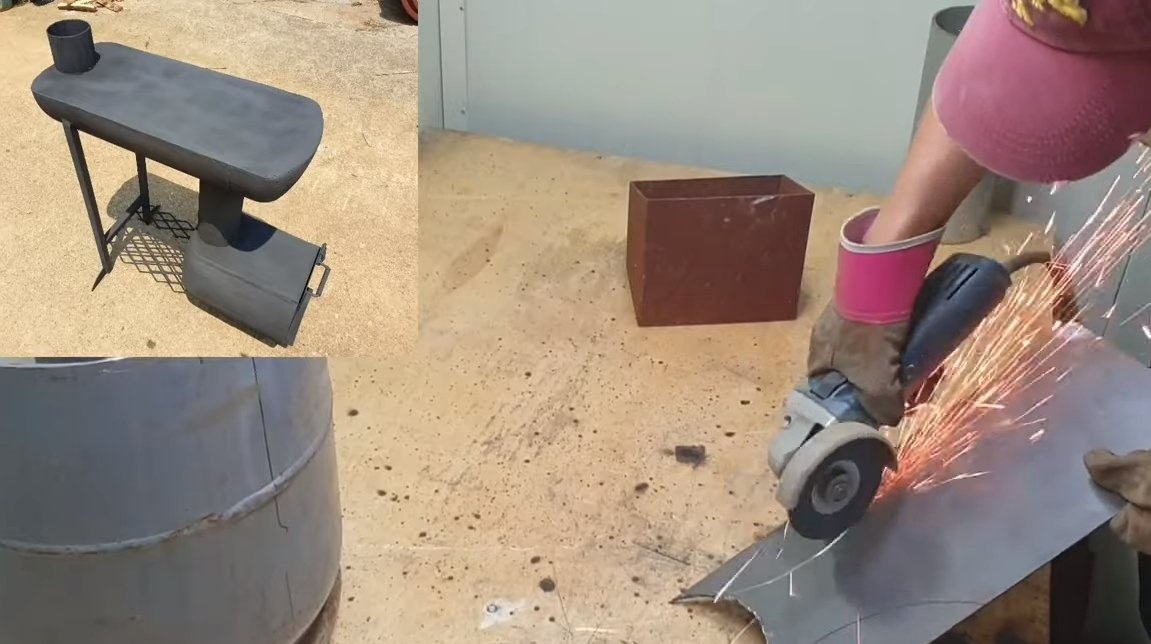
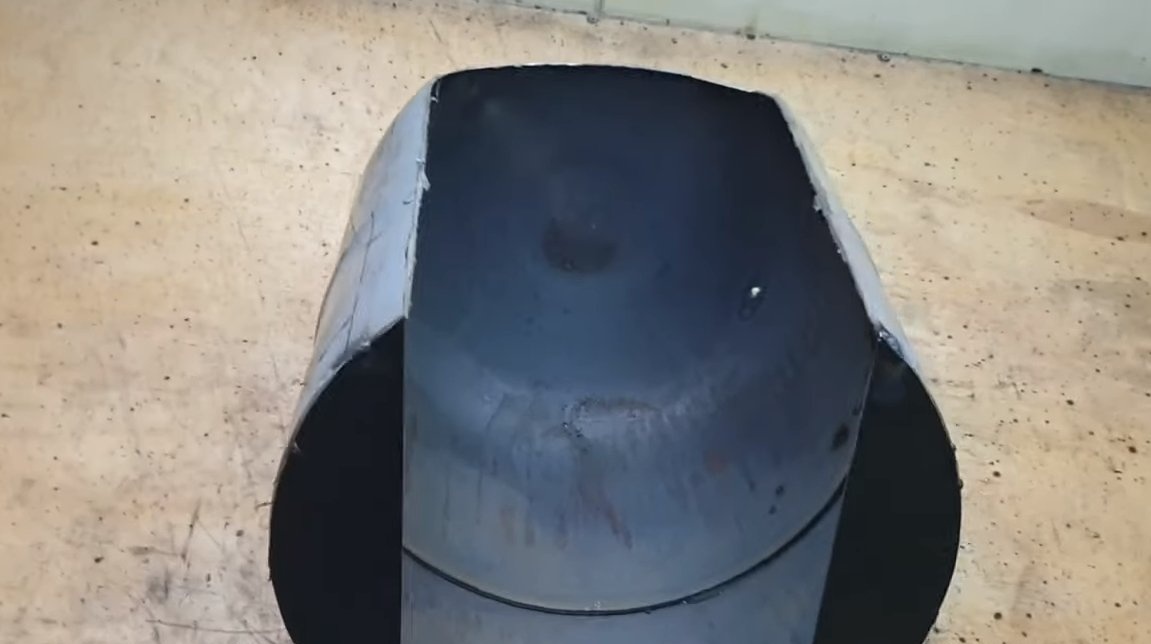
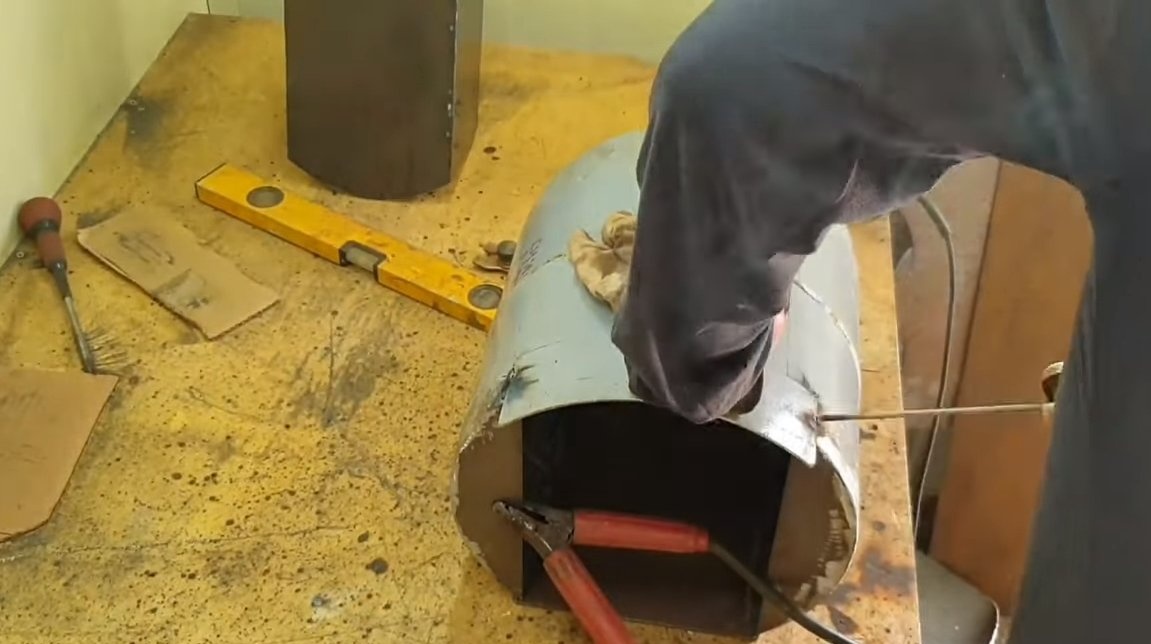
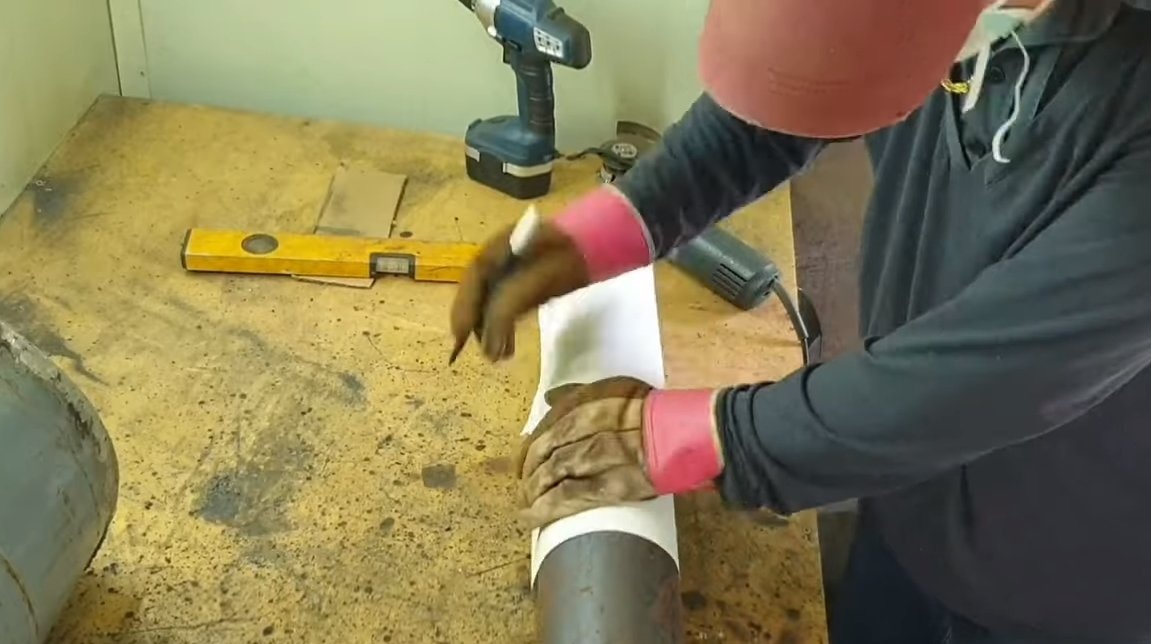
Next, in the lower and upper chamber, you need to cut holes for the pipe that will connect them. You can handle it completely with the help of a grinder. In the upper chamber, you also need to cut a hole under the chimney. The author makes a pipe for installing the chimney itself, from sheet metal. To bend the plate, we simply make cuts in the metal, and then weld the structure well.

Step Three Assembly and first launch
Before the first launch, we burn the upper and lower chambers, making a fire in them. As a result, the paint will burn and it will be very easy to brush it off with metal. However, you can burn the already assembled stove, but it will be more difficult to clean.
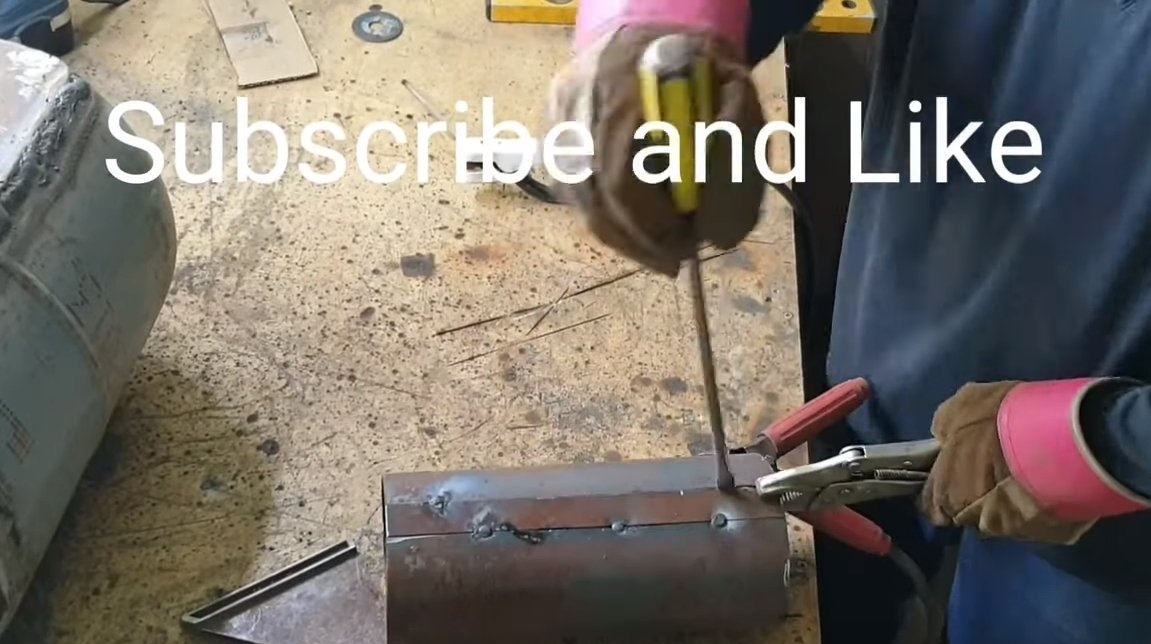
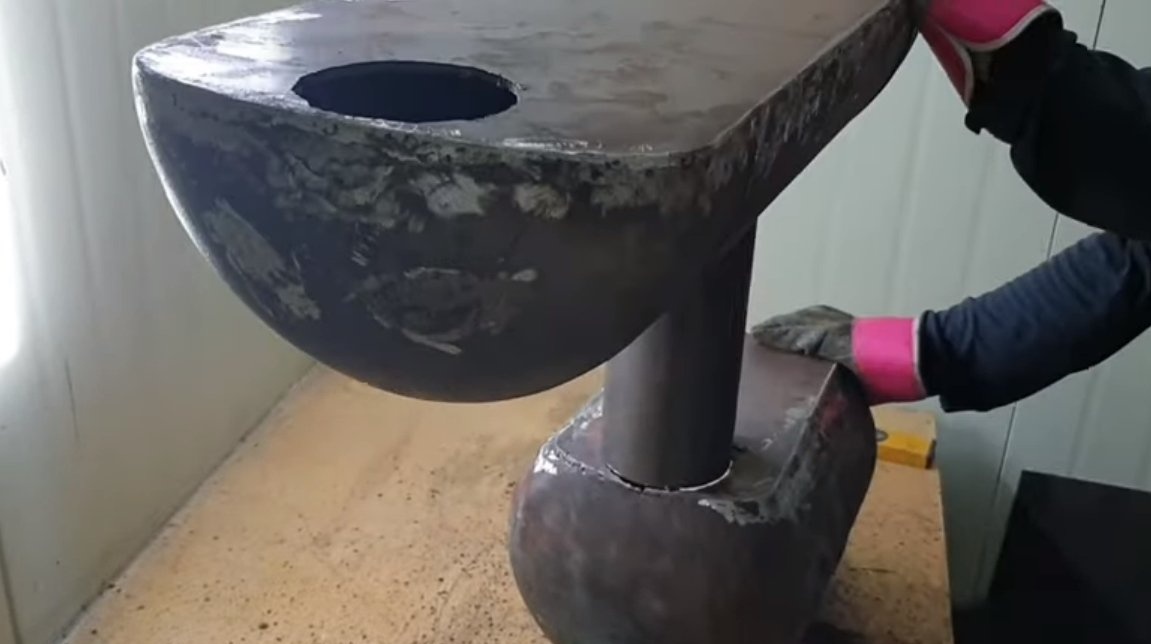
We connect the two chambers with the help of a piece of pipe, we weld the joints well so that there are no cracks anywhere, otherwise smoke and dangerous fumes will go into the room.
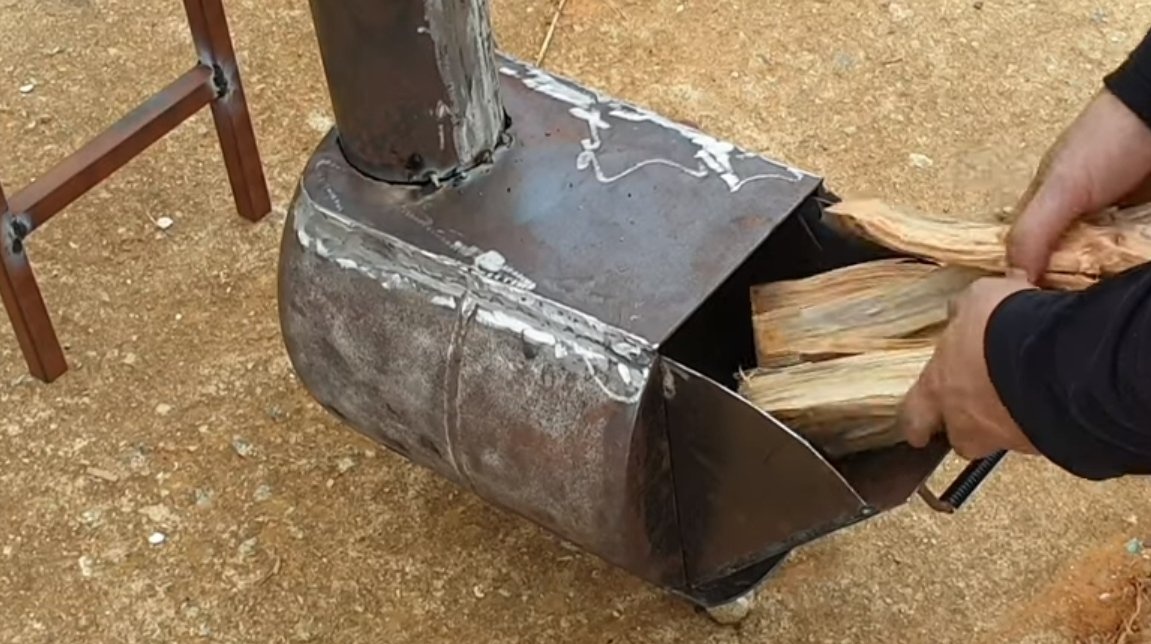
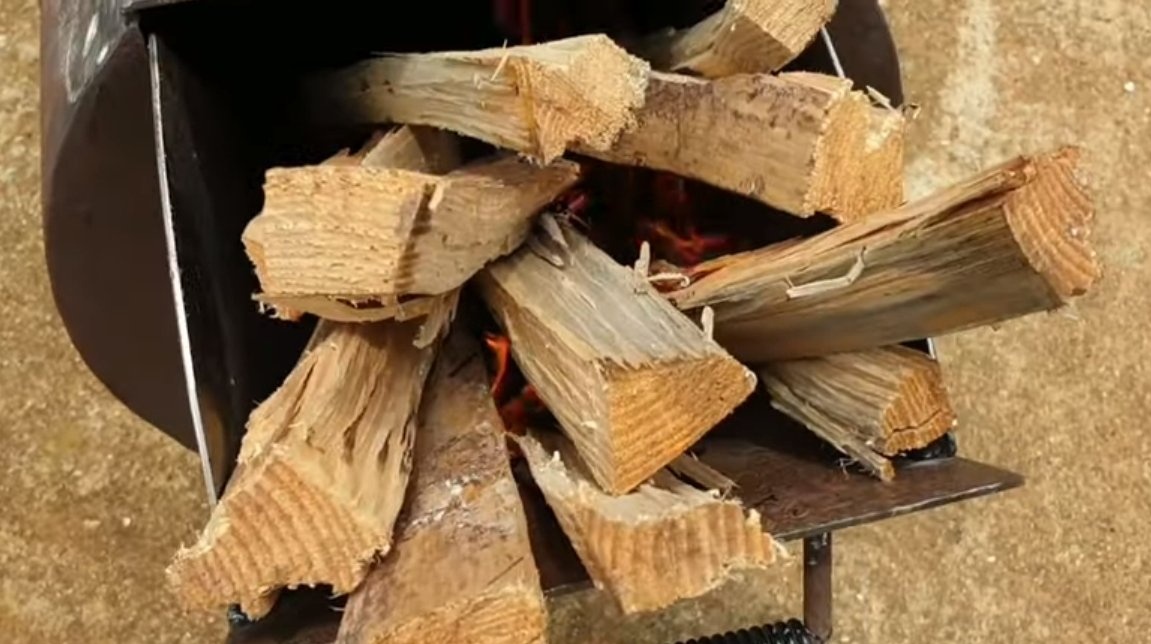
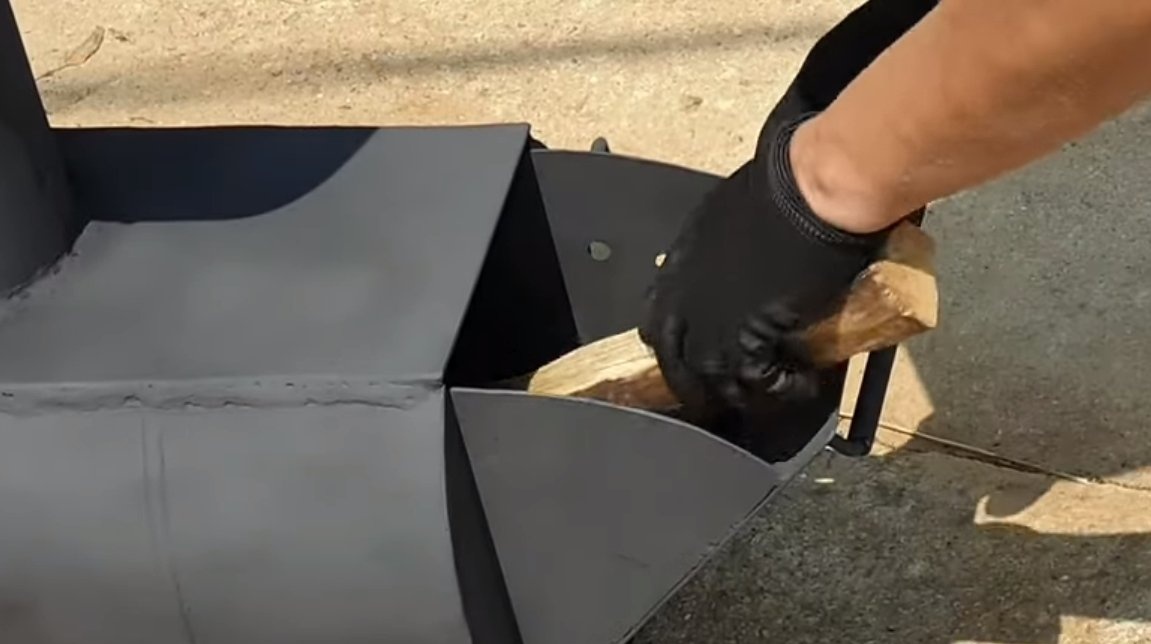
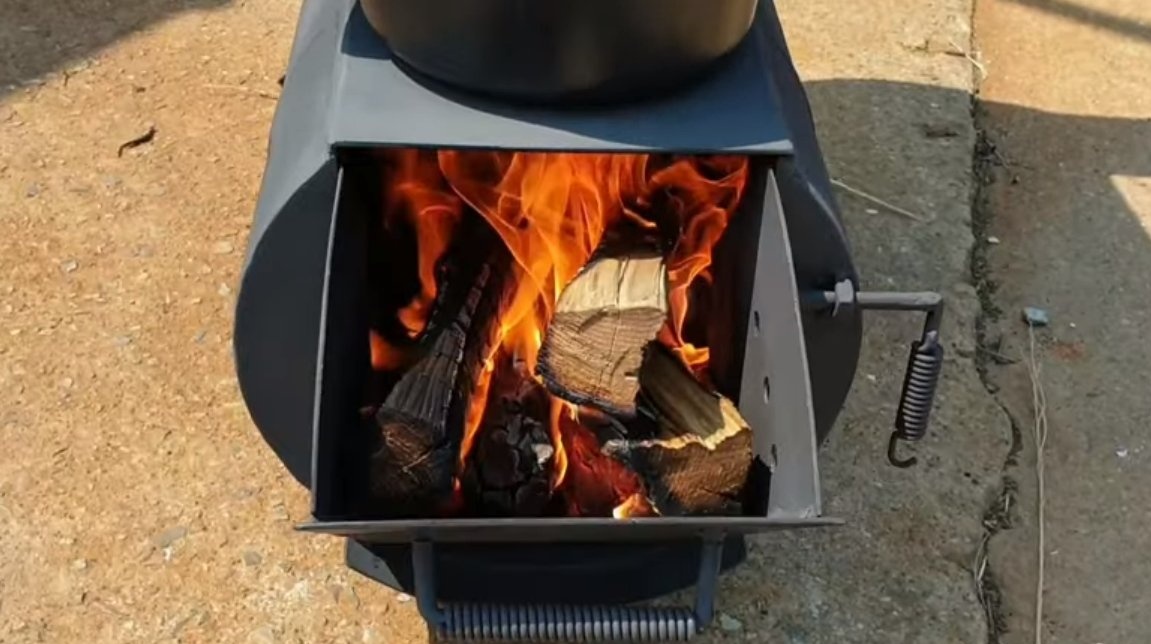
For the front of the furnace, you need to focus, the author made the legs of profile pipes. We weld a handle to the furnace door, and so that the handle is not too hot, a spring can be installed on it. After that, the furnace is ready for the first start. The stove burns perfectly, loading firewood into the furnace is very convenient.

Step Four Finishing touches and lunch
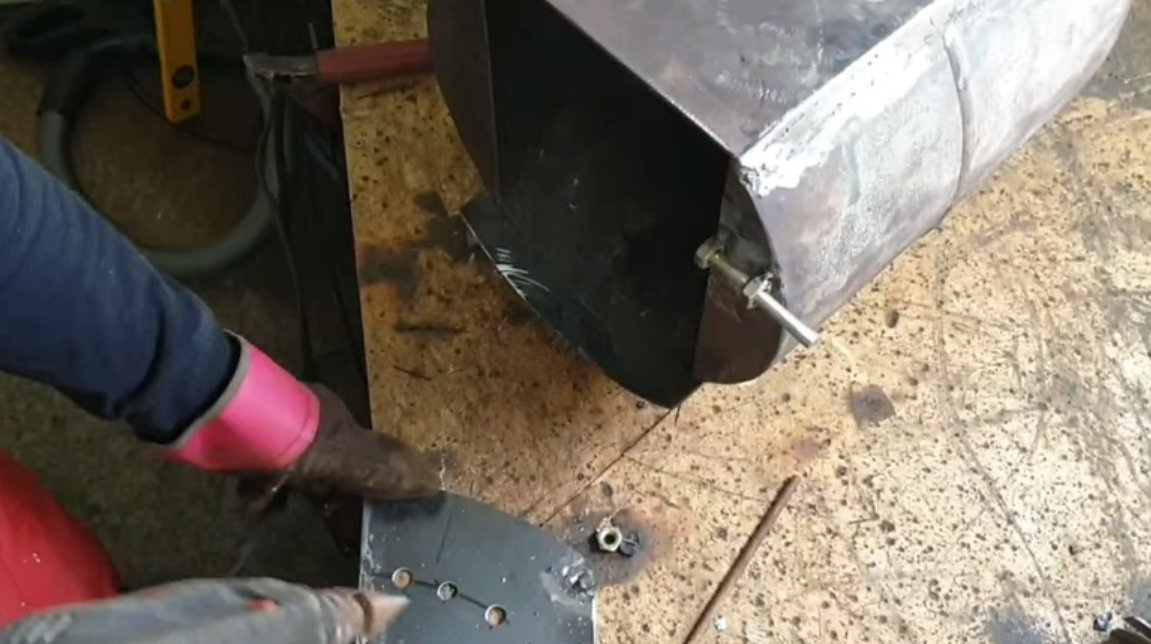
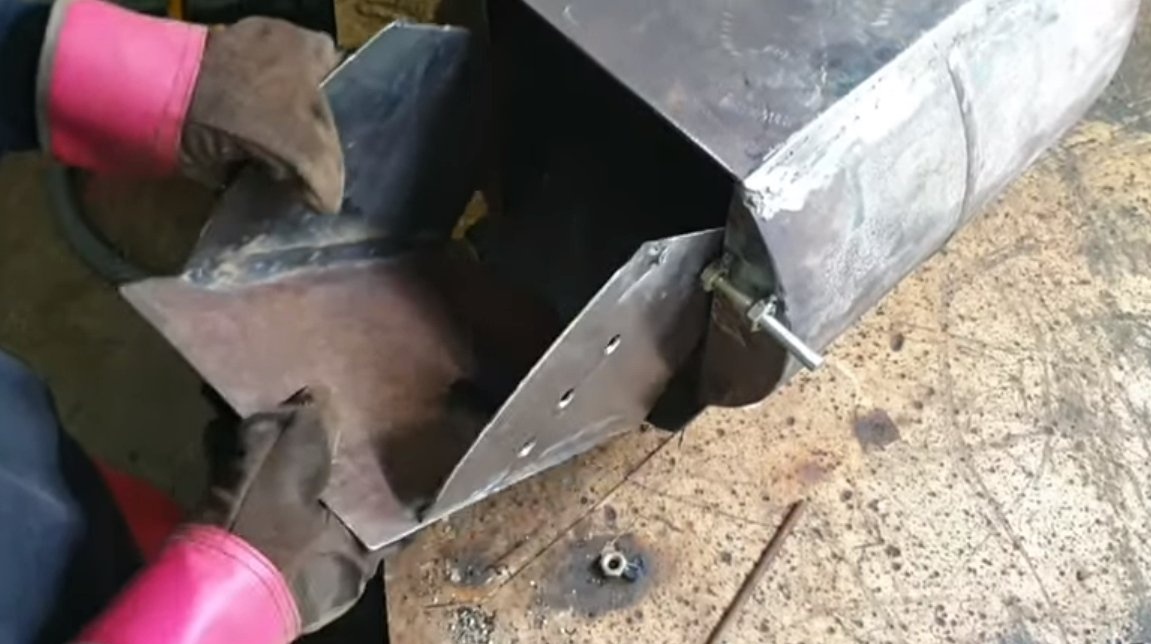
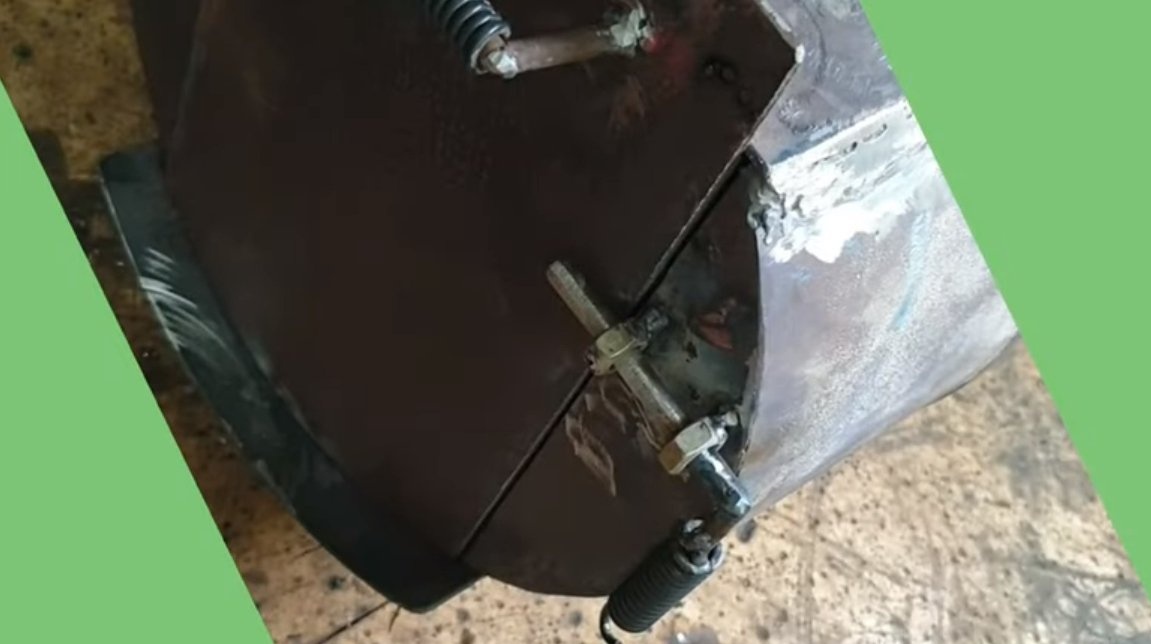
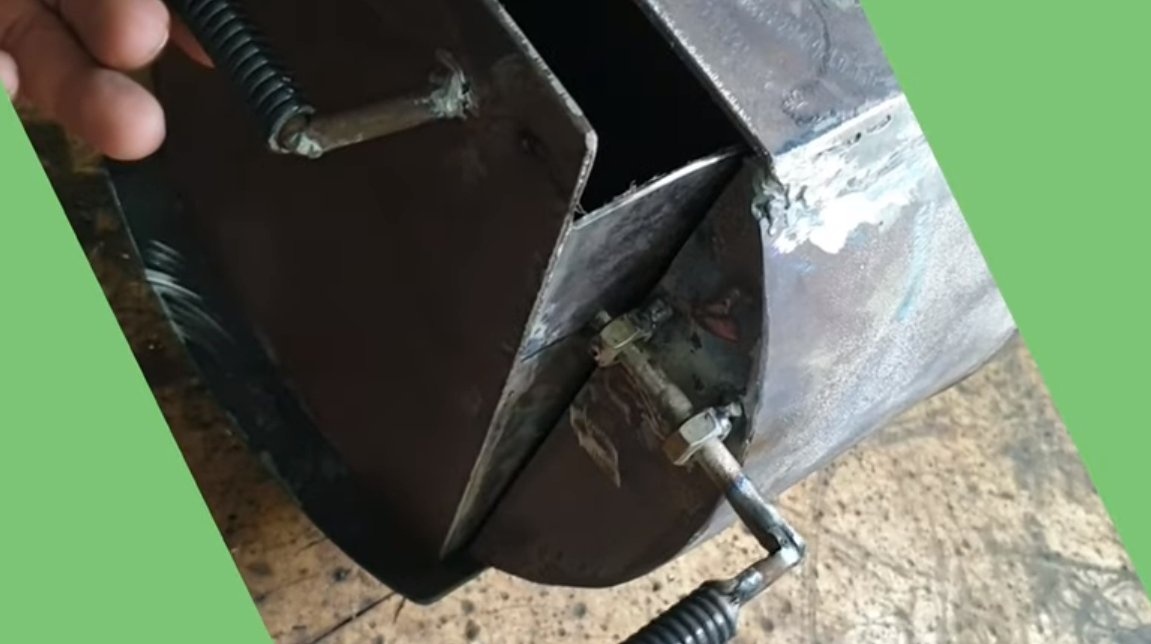
In the end, the author made a latch for the door, then it took two nuts, a round log and a spring. The result is a valve that reliably blocks the door. But it is important for us that the door is ajar during combustion, otherwise the air will not be able to pass. The author drilled holes on the side of the door, as a result, thanks to them, the door can be fixed with a bolt in the desired position.
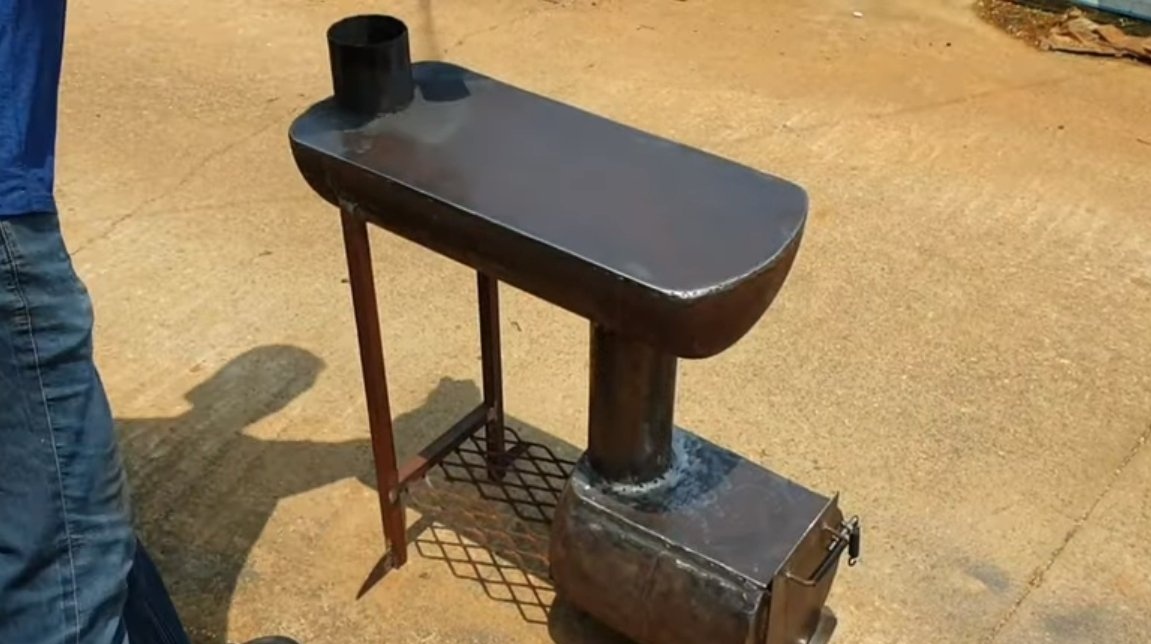

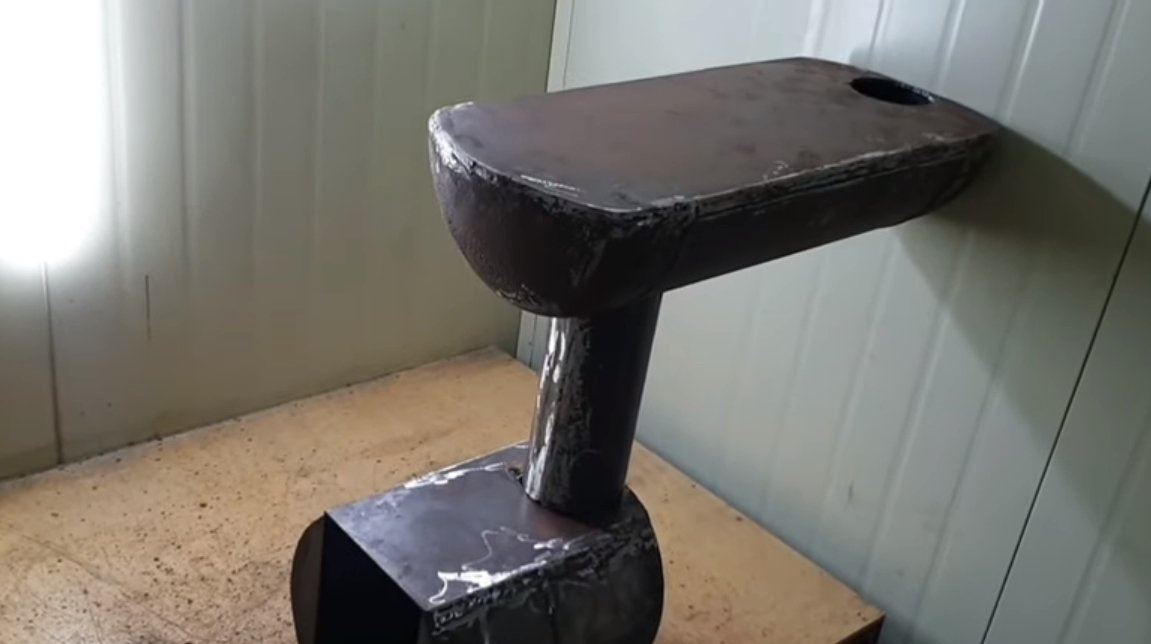
Between the legs and the body of the furnace, the author has welded a grate, here you can install dishes. The oven is ready, it remains to be painted, we need heat-resistant paint, the author uses a matte black one, the product looks great. If there is no desire to buy such paint, you can treat the furnace with an inexpensive primer for metal, it is also not afraid of heating.
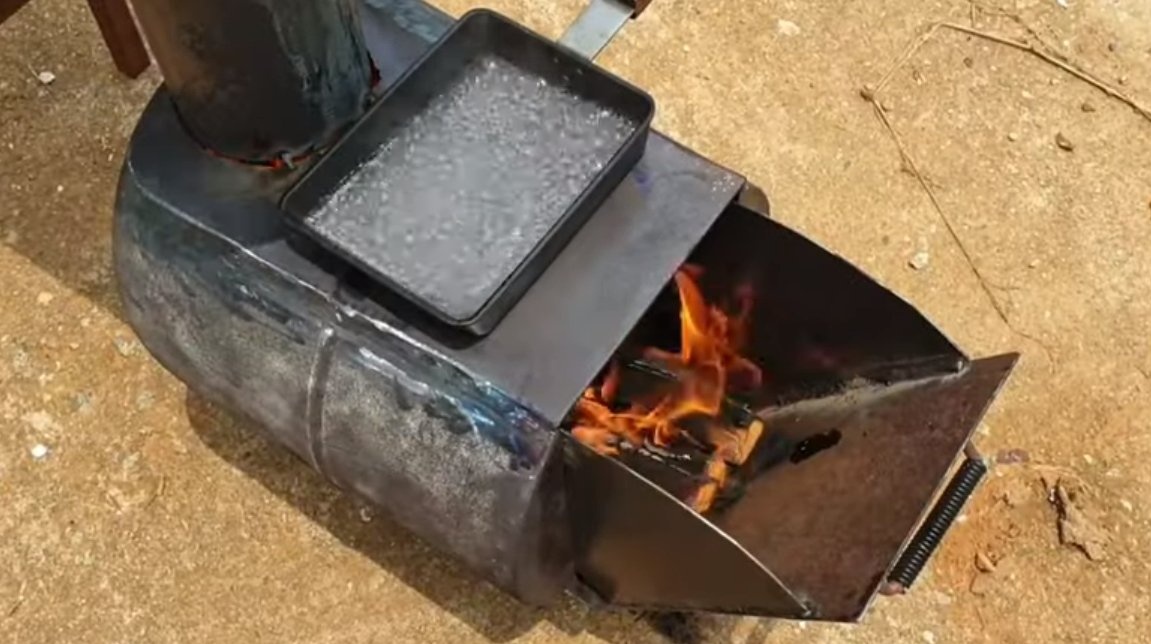
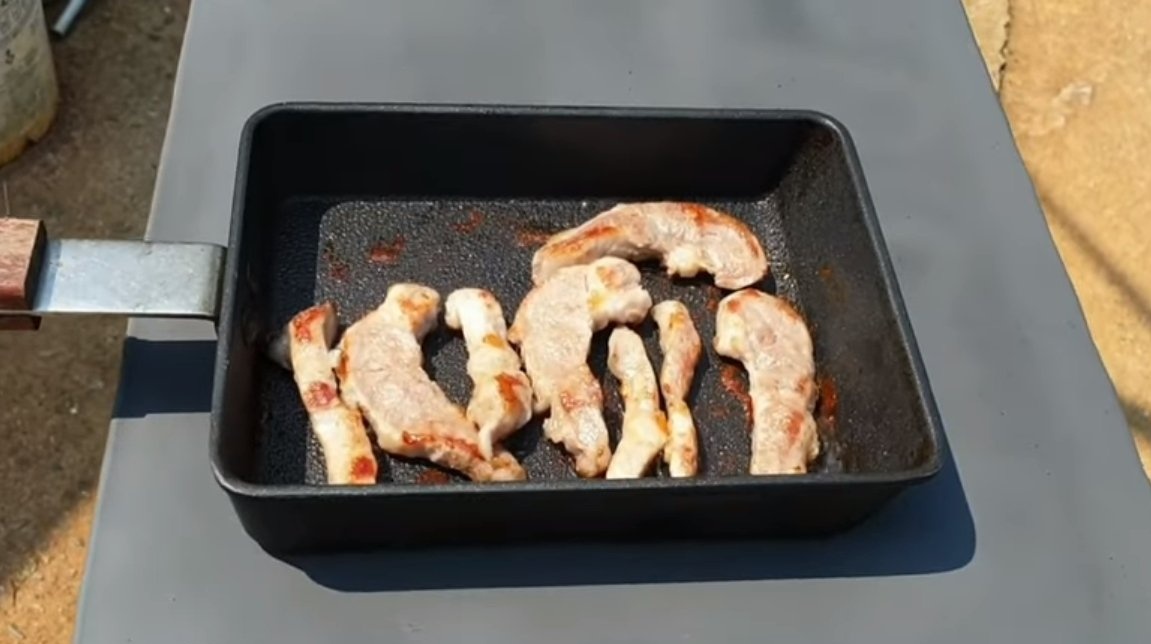
Kindle our homemade and you can cook. The water on the lower cooking plane boils quite quickly, here you can always cook borsch, ear and so on. It is convenient to fry on the upper plane, here the temperature is lower and the products will not burn, and you can always move the pan further away, to the cold edge.
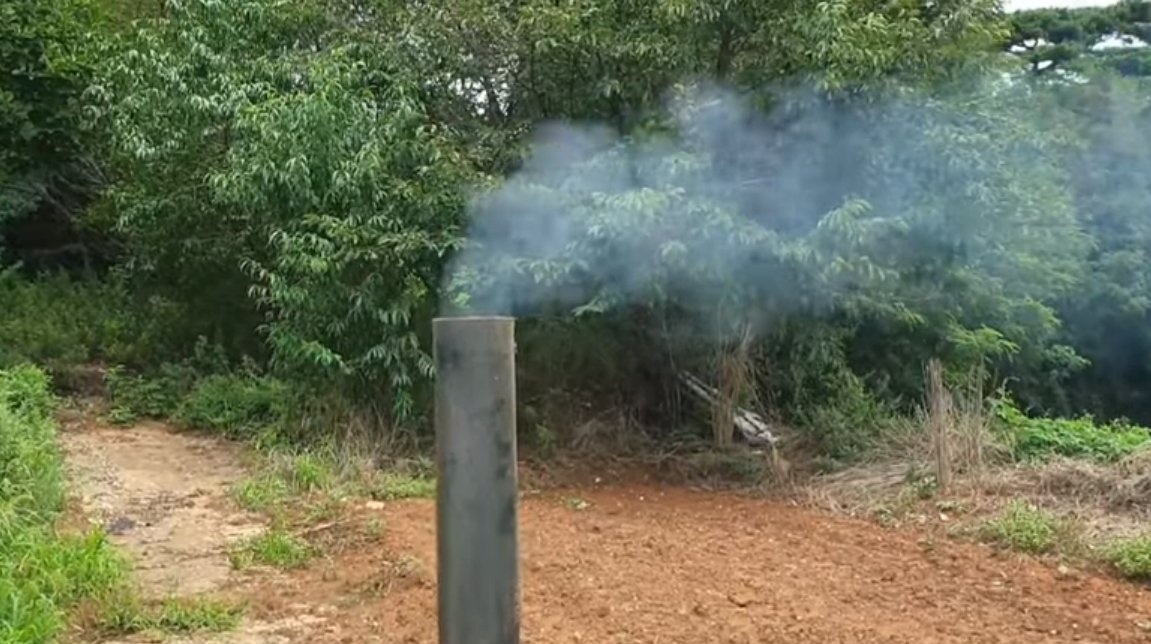
That's all, the oven passed the tests perfectly, I hope you liked the project, and you found useful thoughts for yourself. Good luck and creative inspiration, if you decide to repeat this, do not forget to share your ideas and homemade things with us!