I bring to your attention homemade author of the YouTube channel "Matthias Wandel".
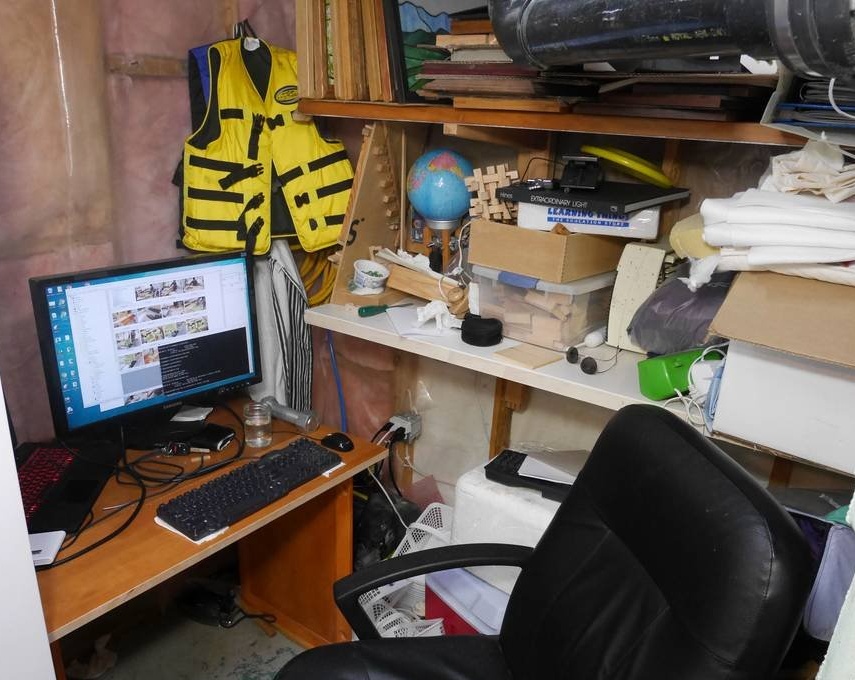
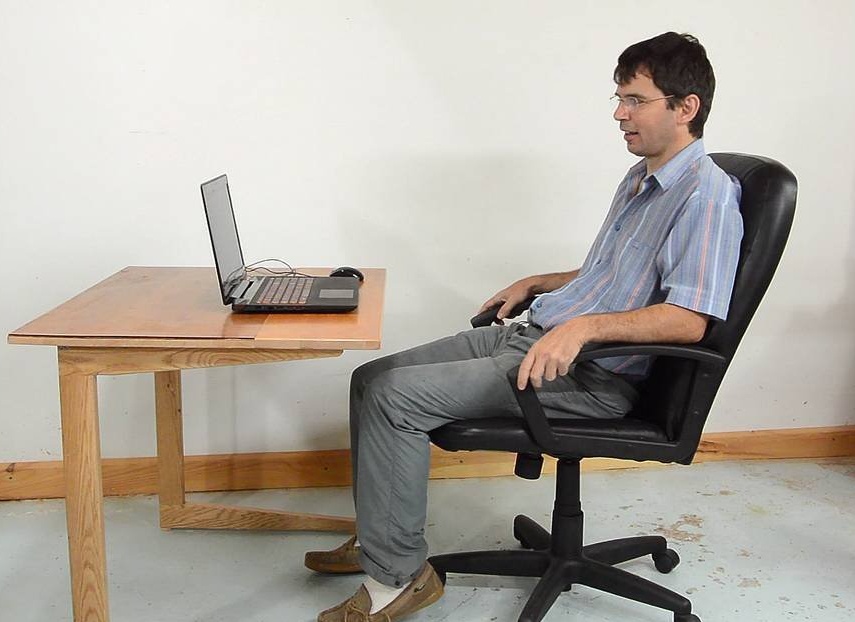
The master decided to make a small desktop, since he opened a small office in the laundry room. It is always quiet there and he can work there calmly.
First, he assembled a prototype home-made table, which consists of two parts of an old countertop, mounted on two doors from the cabinet. Based on this model the master understood what height and size of the table best fits.
For the manufacture of homemade products, the following tools and materials were required:
- roulette;
- a pencil;
- oak timber;
- table saw;
- planing machine;
- band-saw;
- knife;
- PVA glue;
- clamps;
- square;
- belt grinding machine;
- desktop milling machine;
- a round mill with a diameter of 6 mm;
- drilling machine;
- screwdriver;
- self-tapping screws;
- drill 5 mm;
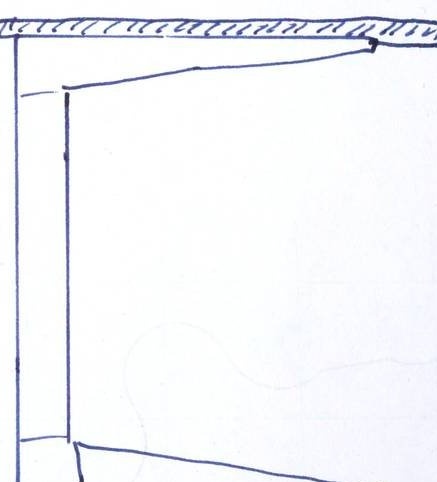
The master wanted to build a better table for his "office". The sketch shows the design of the legs for this table. Unfortunately, the master did not provide the table sizes. But in this homemade product, the main thing is the approach to the implementation of the idea.
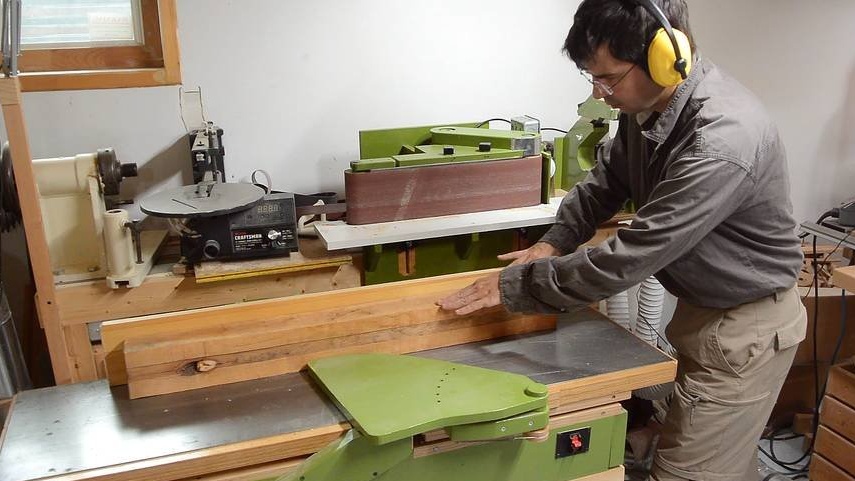


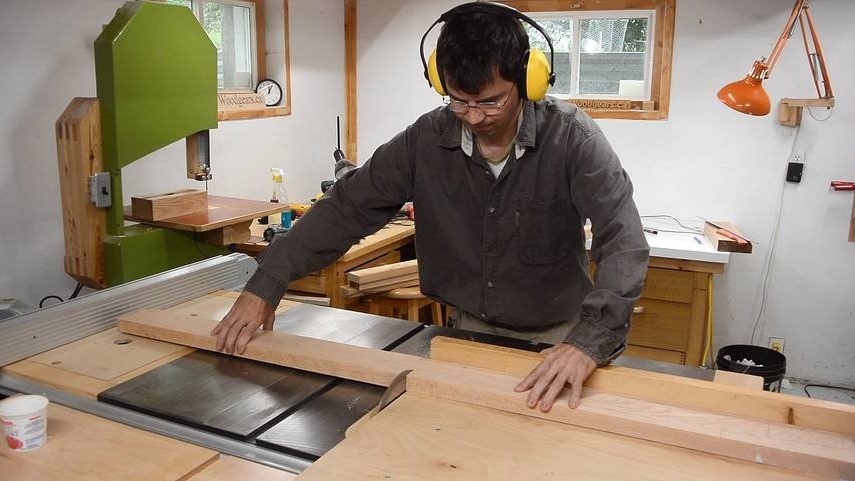
Most of the wood was obtained from oak timber, which was previously used as part of a shipping crate. After cleaning the dirt, the master sawed the timber into boards on a table saw.
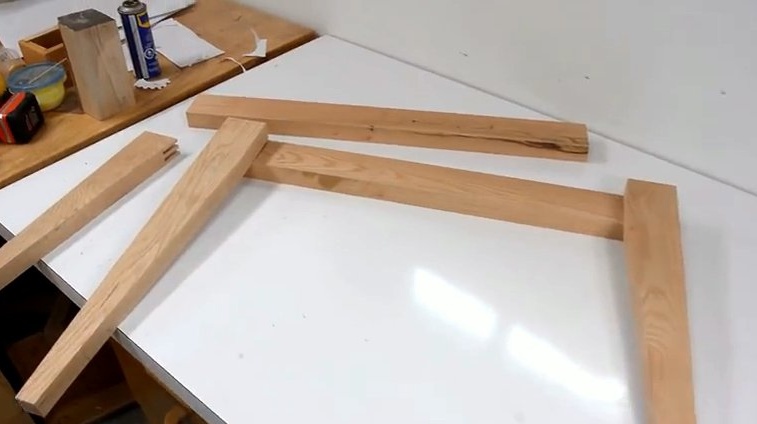
The conical shapes were made of the widest oak plank. The master marked the cones on the board opposite each other, so he was able to get two parts across the entire width of the board.

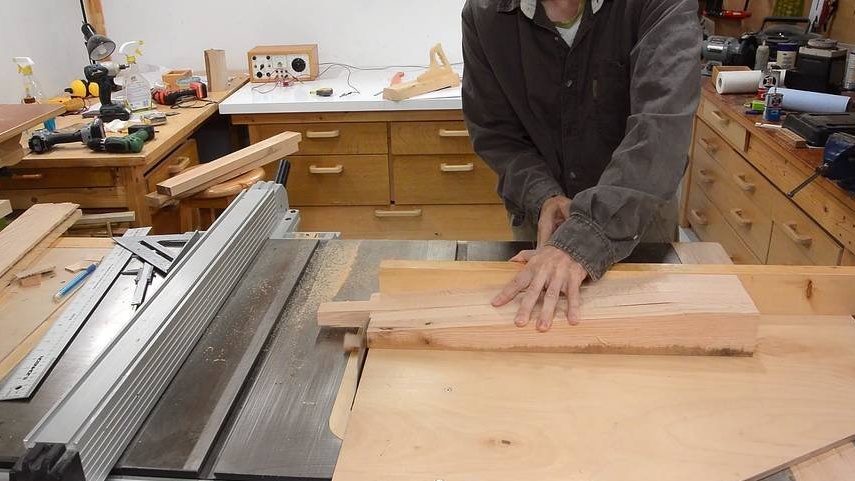
With the help of a table saw, the master brings the upper part of the cones into a rectangular state. And only then he cuts the cones to the same length.
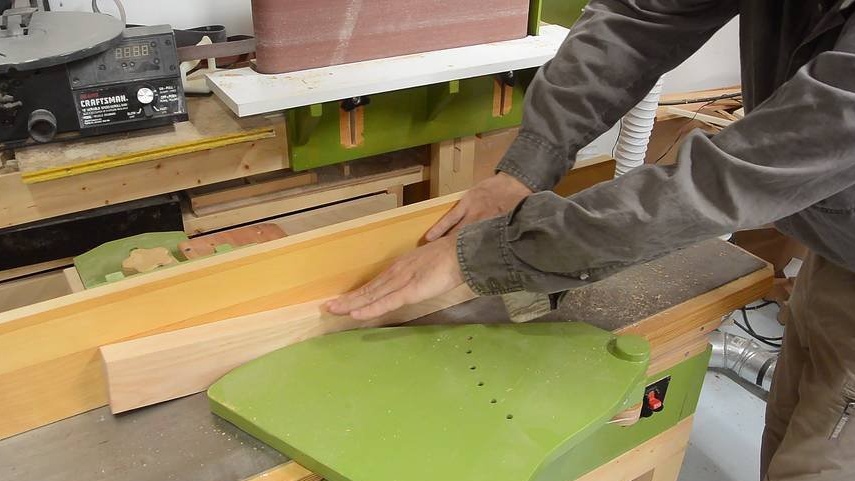
Then the master proceeds to planing the manufactured parts.
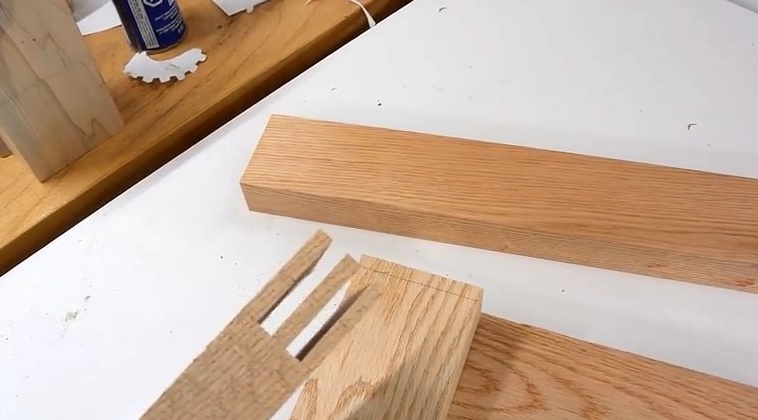
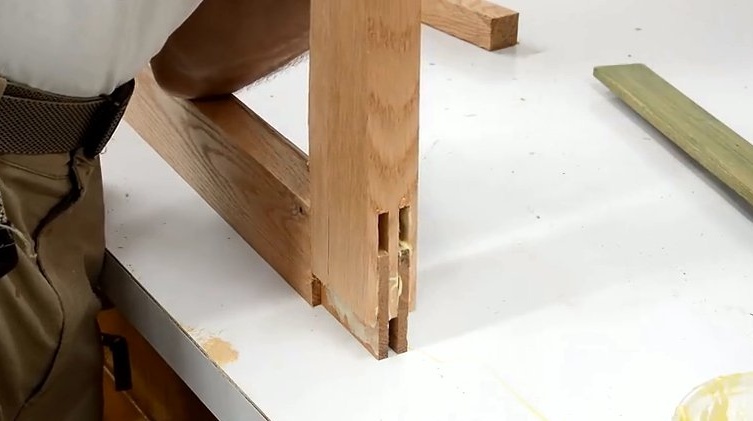
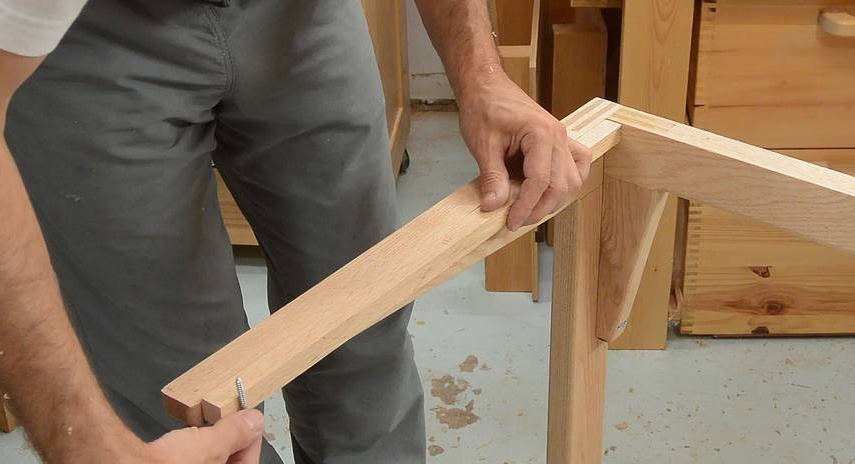
A very good way to connect the vertical and horizontal parts of the legs is a spike connection. However, the master preferred to make a connection with two spikes. For greater reliability.
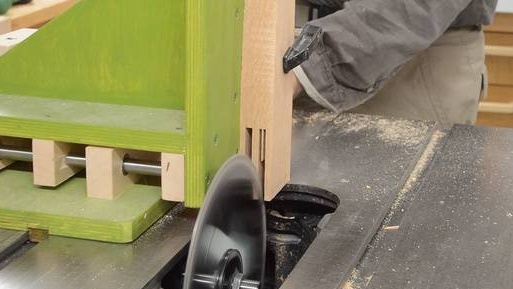
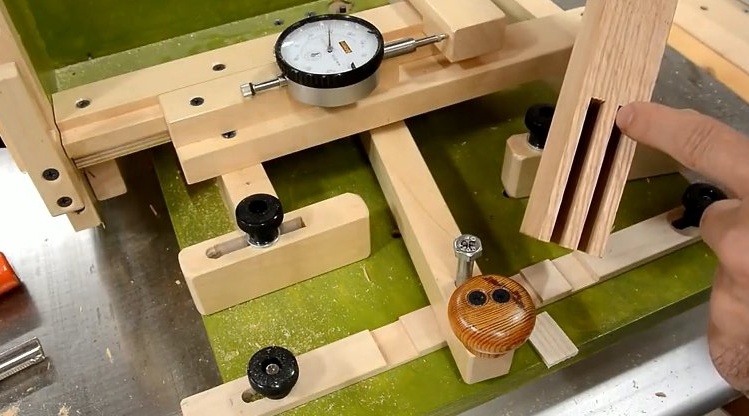
For precise grooving of grooves, the master used a template. Also, so as not to make a mistake, the master cuts the grooves first to half the depth, in order to facilitate the selection of grooves.
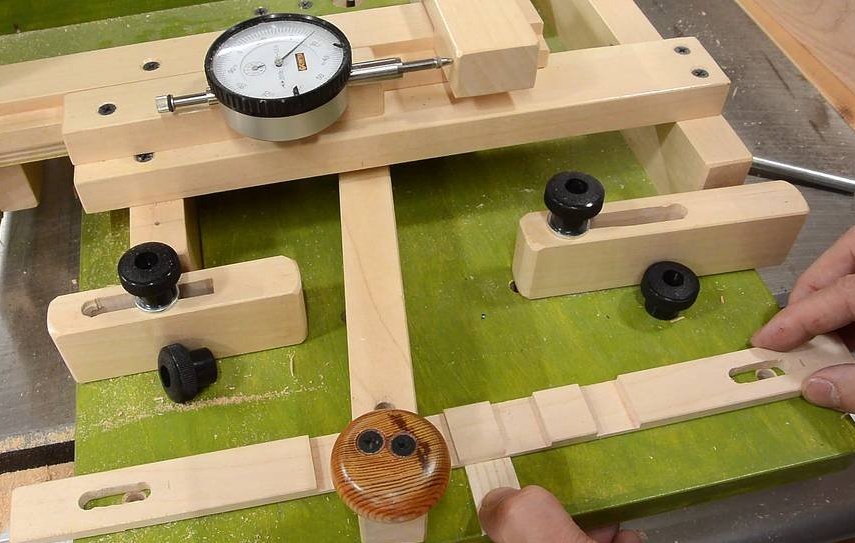
To cut the mating grooves, the master moved the pattern one spike wide.
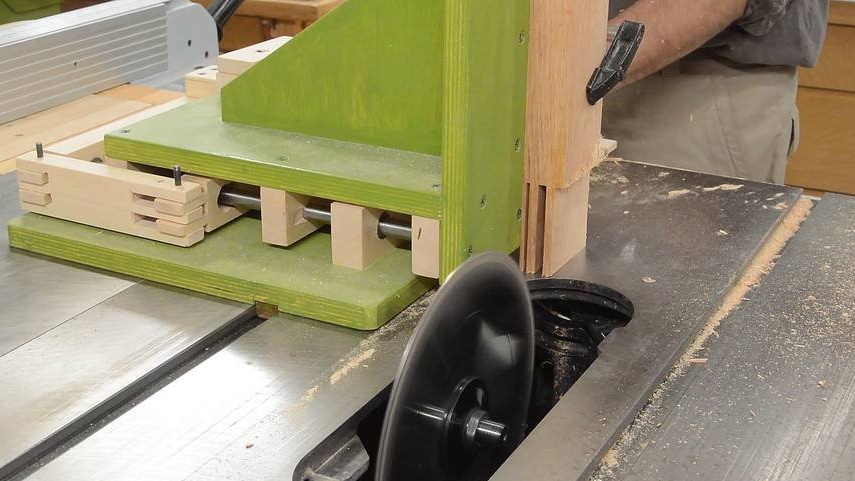
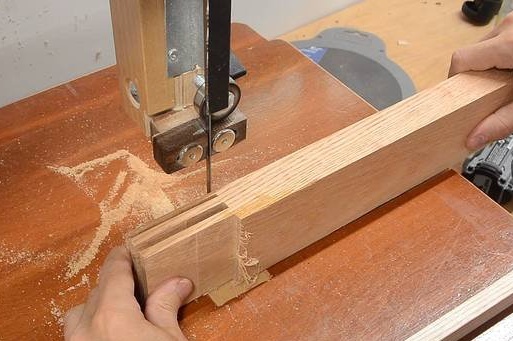
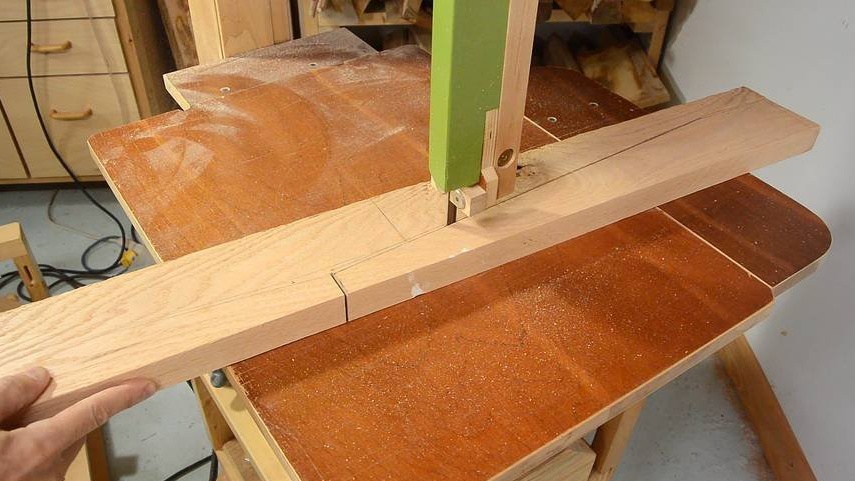
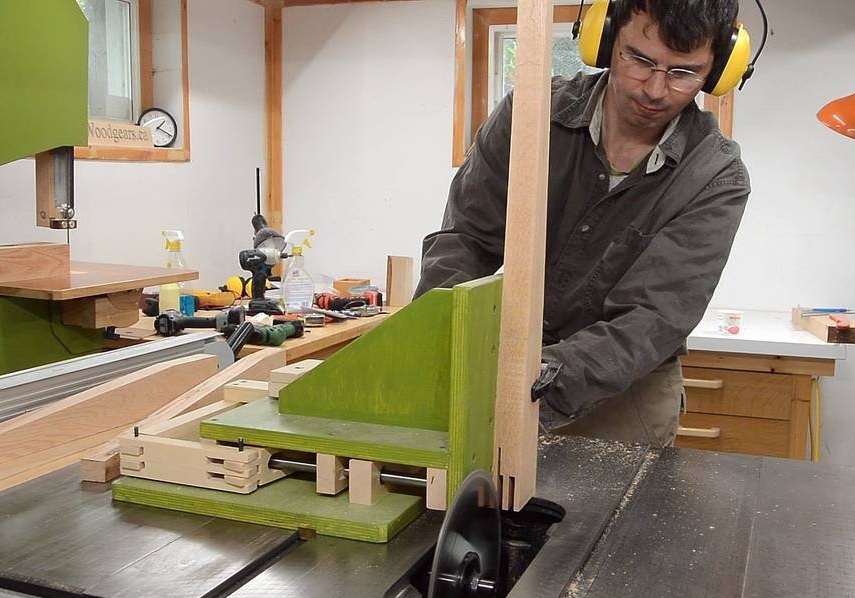
As for the parts with two spikes, the master made only one cut at the edge from the side of the template. The excess was sawn off with a band saw.
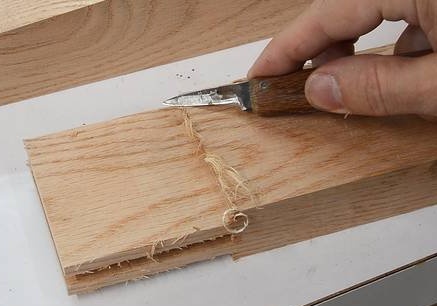

The master cut off the excess shavings with a knife.
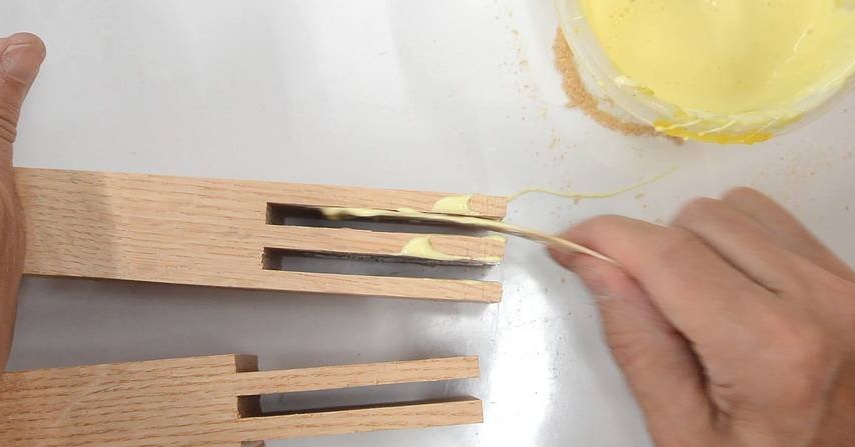
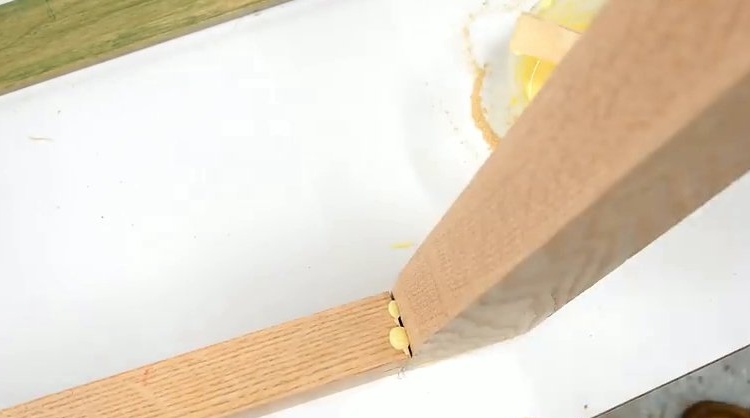
To fasten the parts together, the master missed them with PVA glue.To apply the glue from the inside, the master used a piece of wood chips.
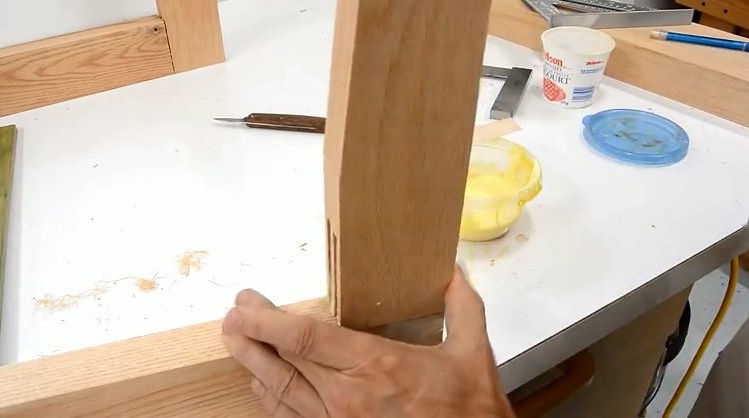
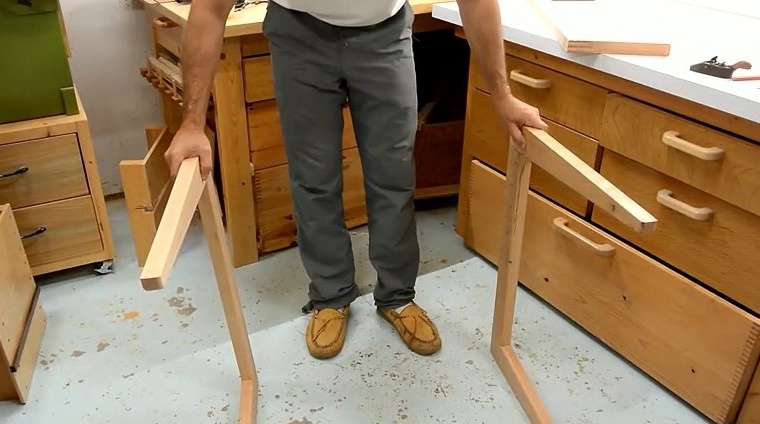
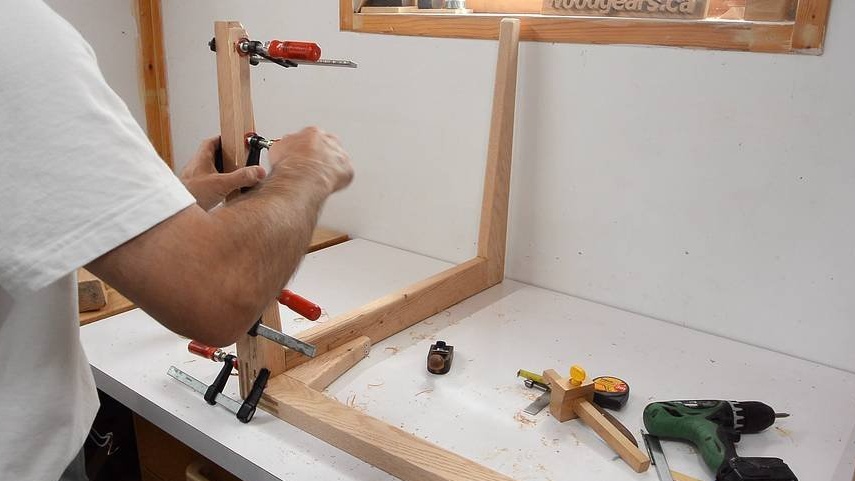
Then these parts are joined together and fixed with clamps. The result is two U-shaped structures.
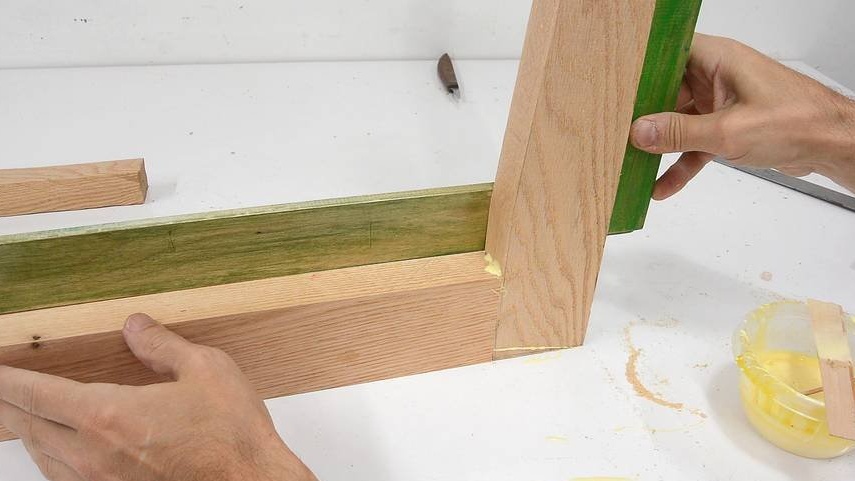
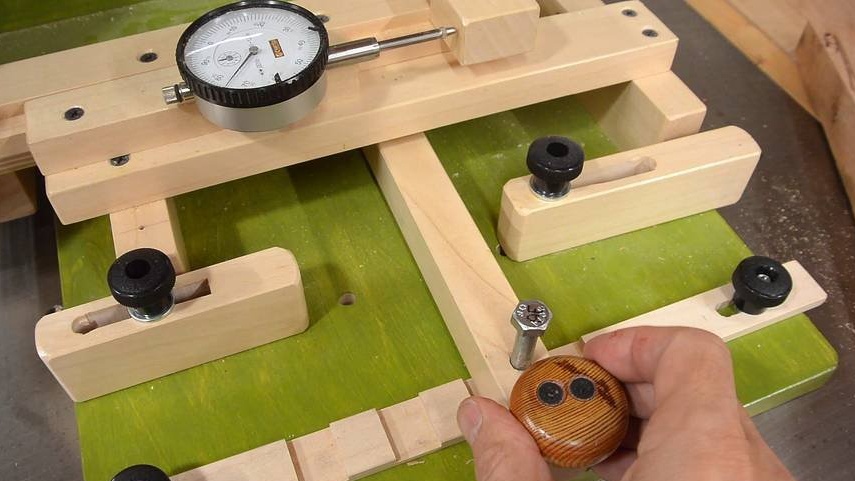
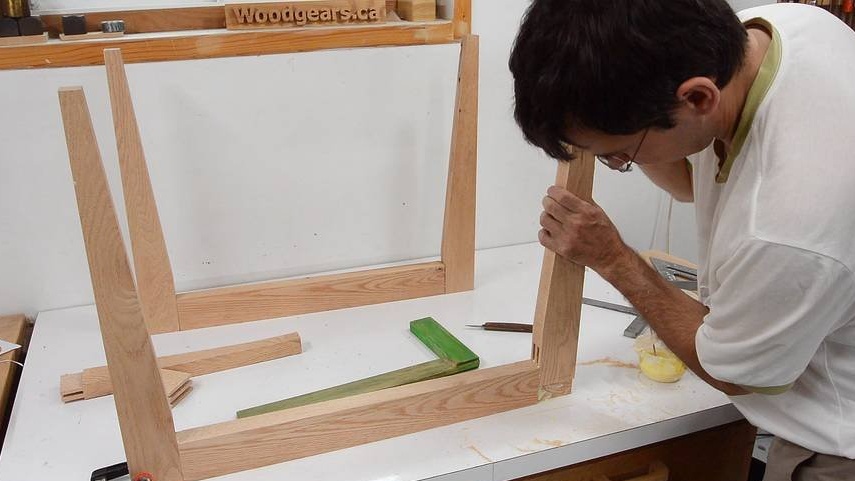
Before fixing, the master checks the angle of the connected parts.
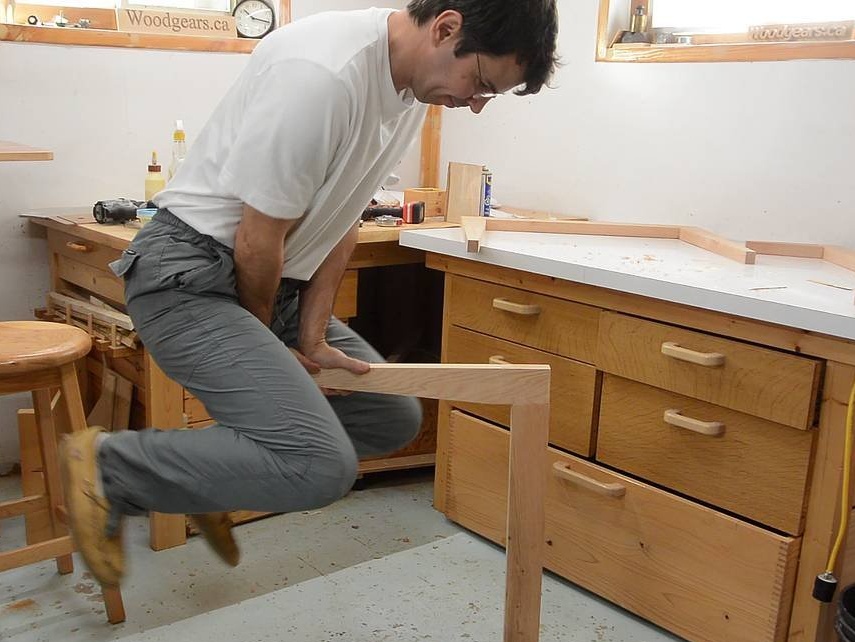
Checking the strength of the resulting product.
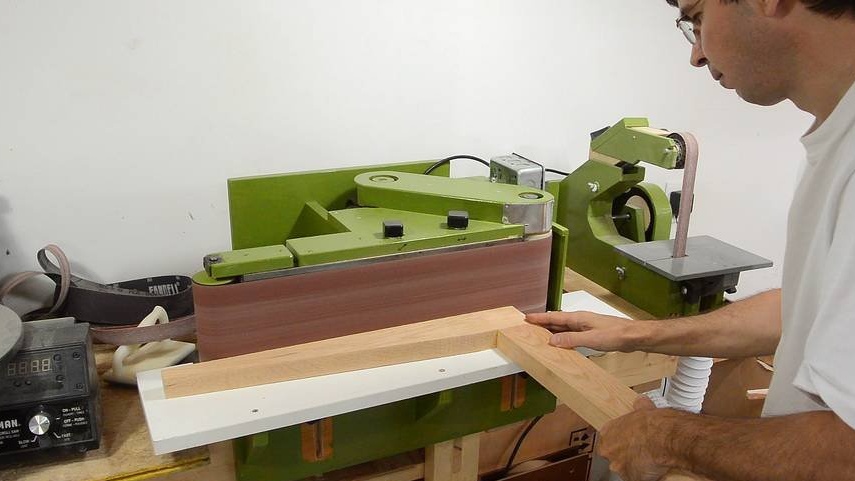
Grinding compounds.
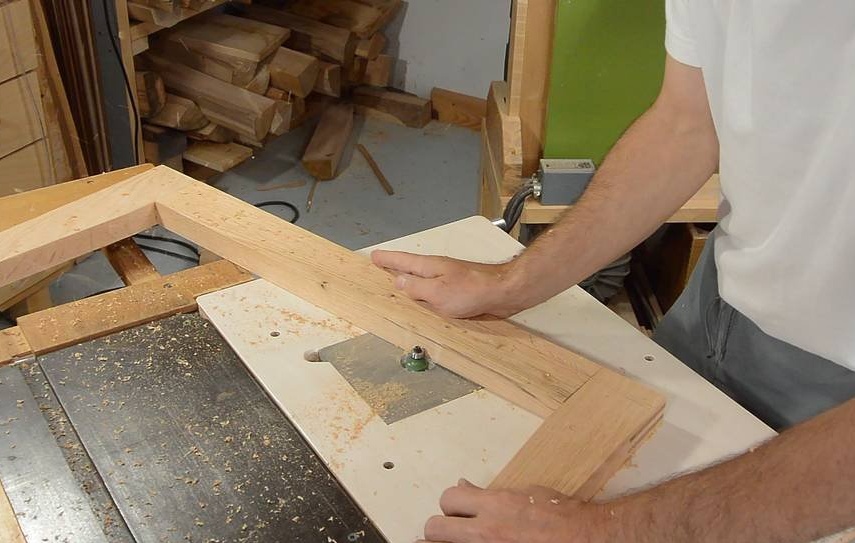
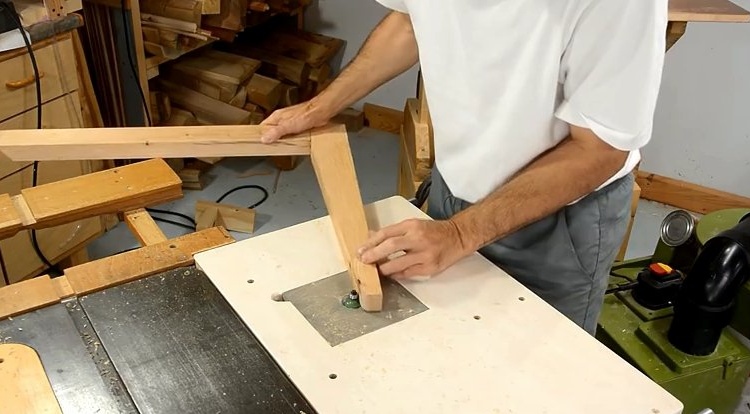
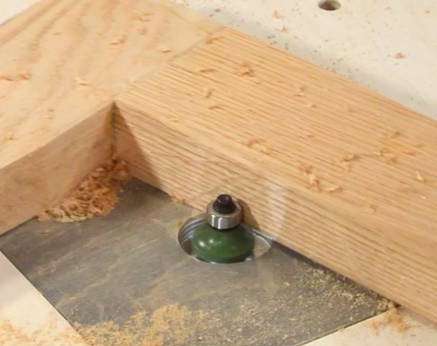
Then the master rounds the outer open edges with a circular cutter with a diameter of 6 mm.
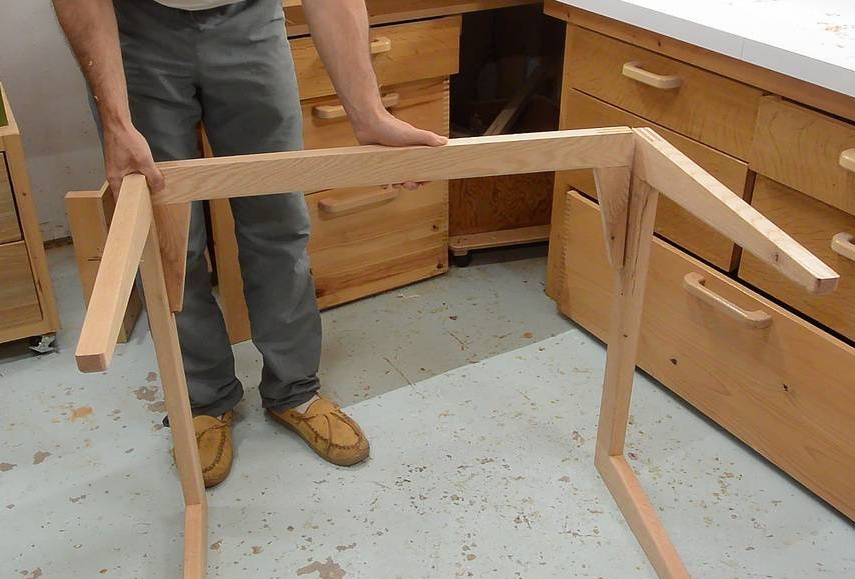
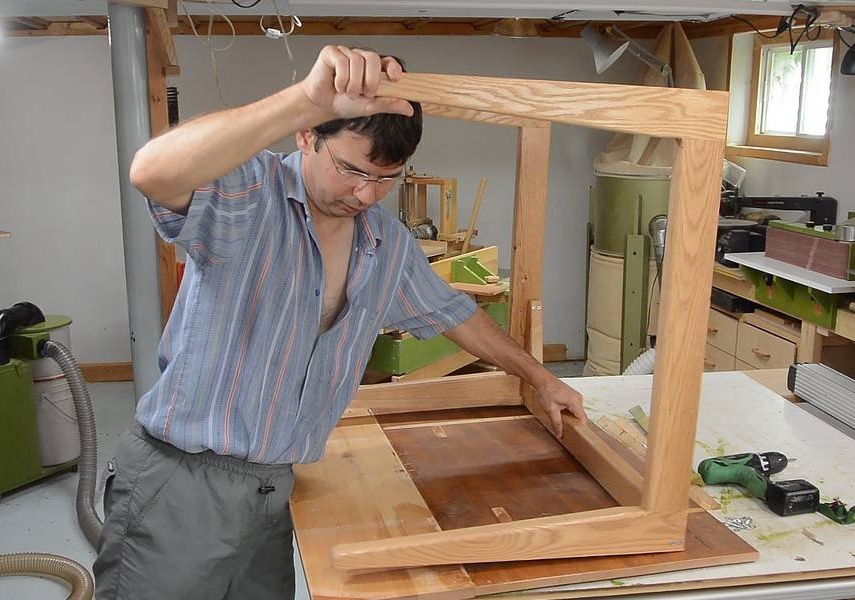
Two U-shaped frames form the left and right sides of the table. The master made another frame, which should stand between them to give the table lateral stability. This part is made in the same way as the legs.
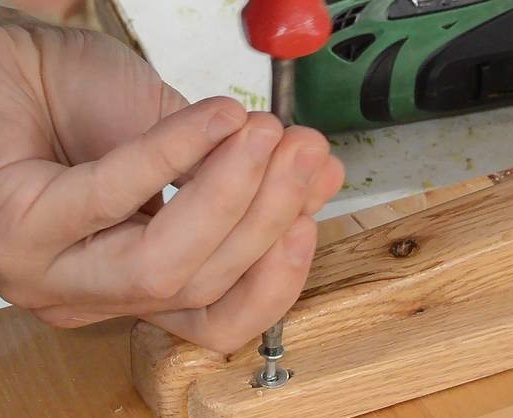
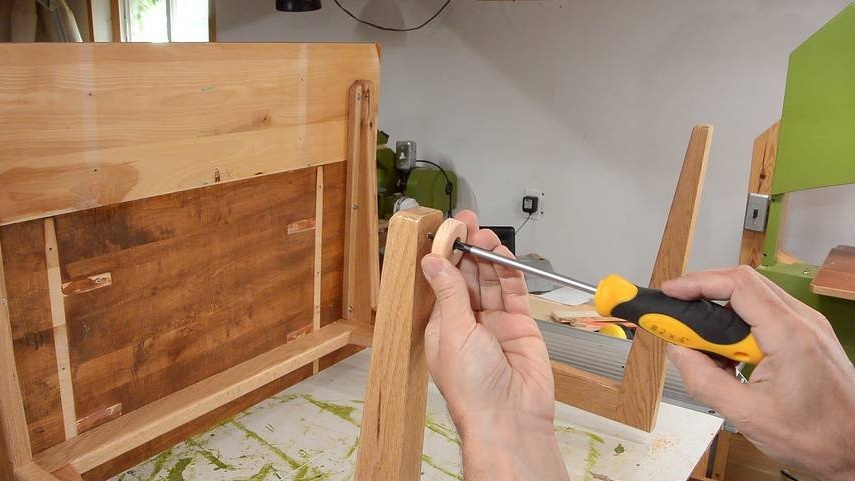
Then the middle frame is screwed to the legs. The upper screws are screwed on the outside, as they are very close to the upper part and basically they are hidden by the countertop. The lower screws are screwed inside.
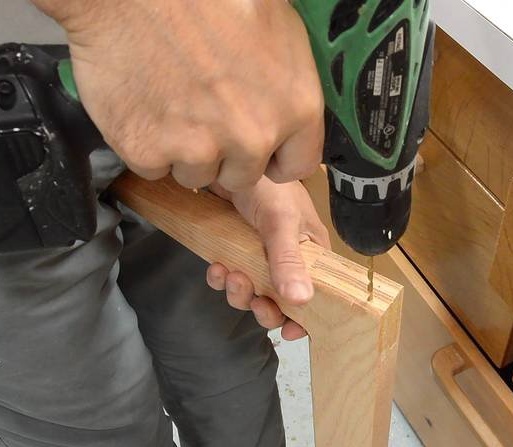
The middle frame is too long to fit under the drilling machine, so the master uses a hand drill.
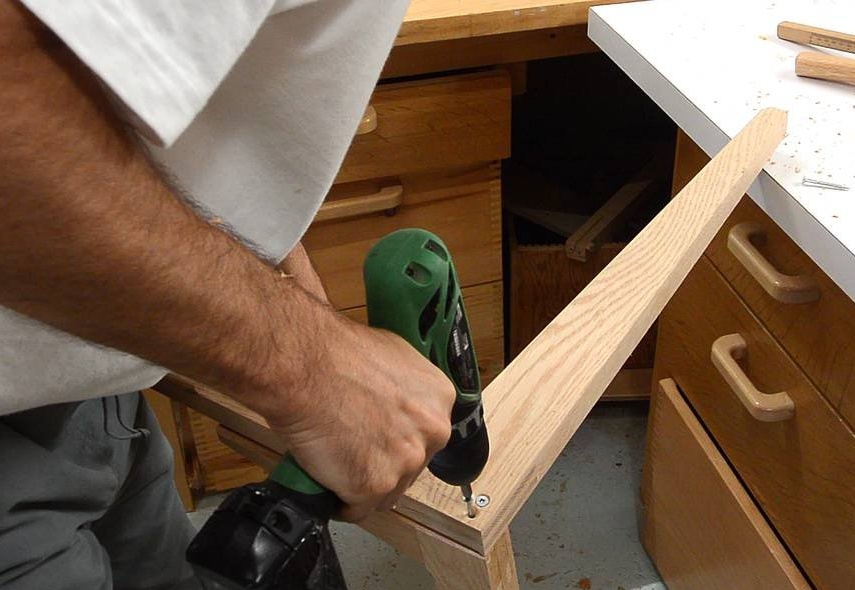
Then the master connects the parts together.
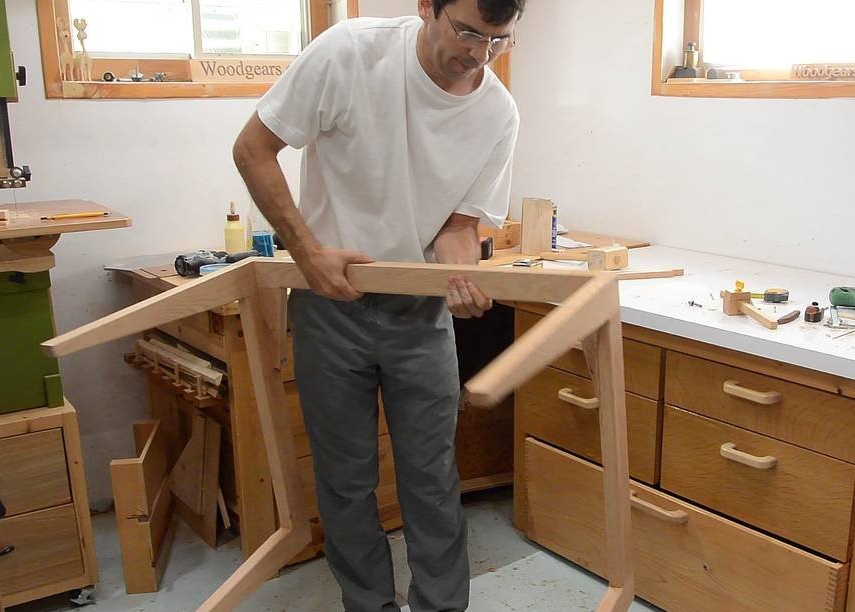
This is what ultimately came out.

The countertop will be screwed on from below. Since the frame is long enough, the master wants to increase its width by gluing an additional rail to the inner edge.
But since the master plans to use solid wood for the countertop, it is necessary to take into account the shrinkage and expansion of the wood from moisture changes. Therefore, the master wants the screws to be recessed into the grooves.
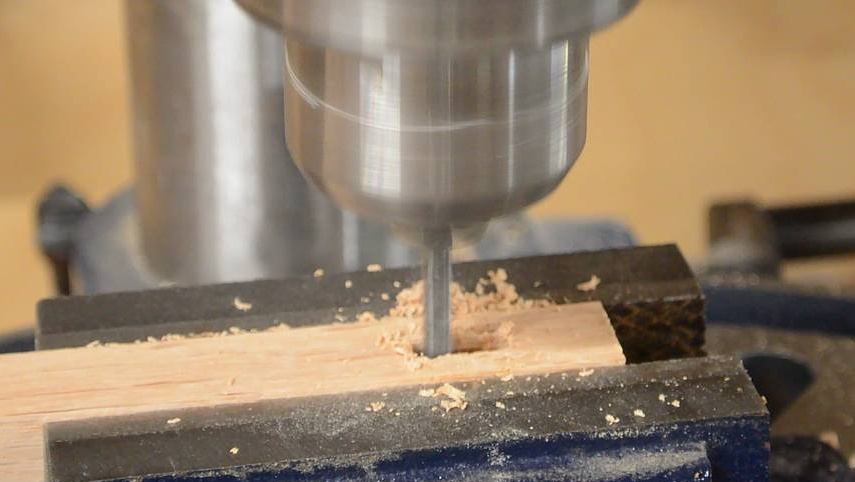
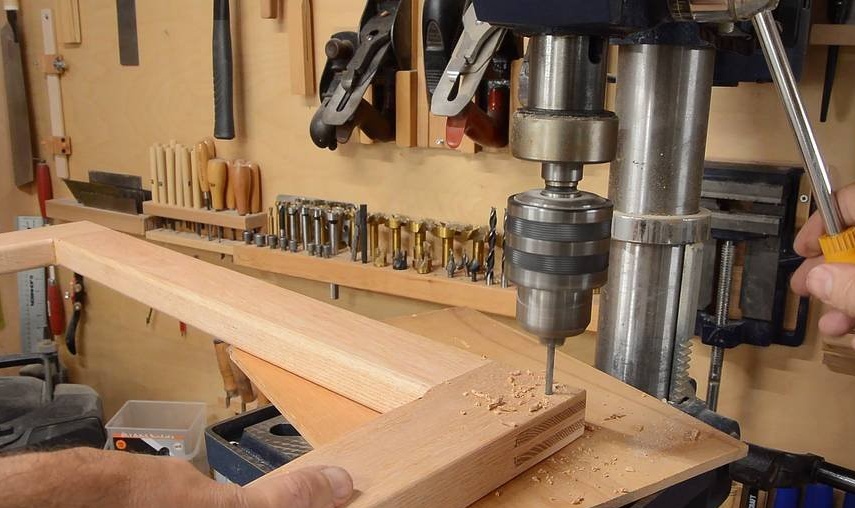
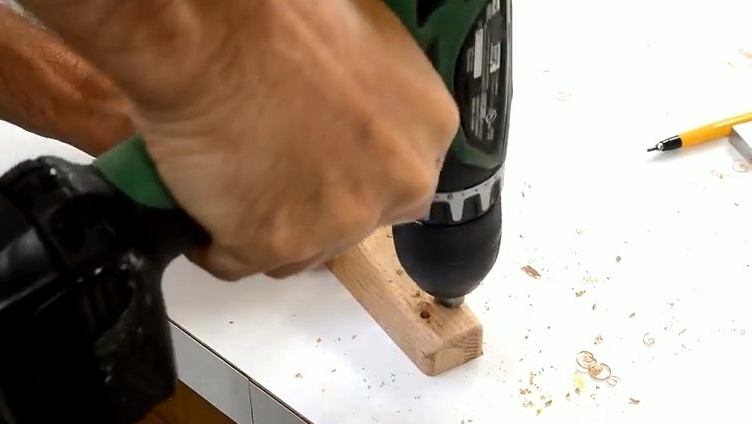
The grooves the master decided to choose a 5 mm drill on a drilling machine, holding the workpiece in a vice, to achieve maximum rigidity. He drills several closely spaced holes and then drills holes between them to make a groove.
Then it remains to glue the additional rail and fix it with clamps.
The countertop is made of two parts glued together. Both halves of the waste. This countertop was originally made for a temporary table.
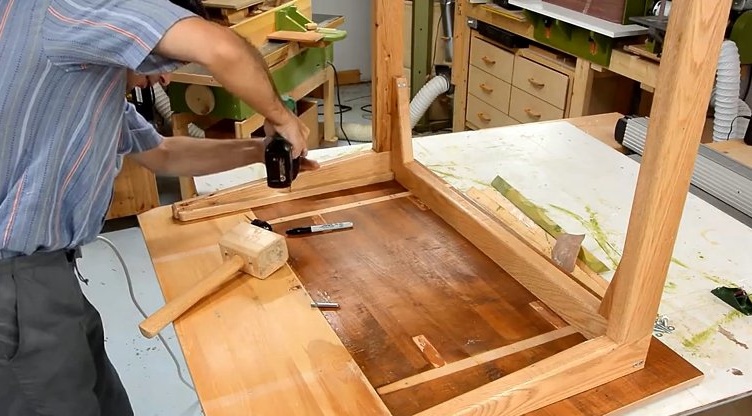
To fix the countertops to the base, the master drilled six holes and twisted the screws.
The master also added four wooden pads to the legs. They keep the table from swaying if the floor is uneven, and also prevent the feet from getting wet if water is suddenly spilled.
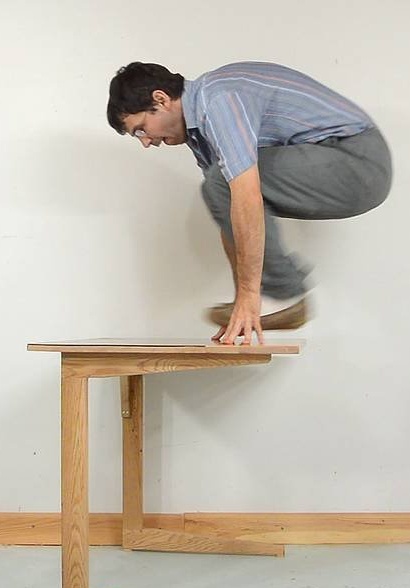
Another check of the reliability of the product.
The table bends slightly under load. The strength of these compounds is limited by the strength of wood.