

After disassembling the printer, many useful details remained, including several electric motors. It’s time to make a mini drill or a mini drill. Just came the package with Aliexpress with a keyless chuck.
Nowadays, making a home-made drill will not be a lot of work and material costs. To do this, you need to have an old inkjet printer, remove the power supply and the printer carriage electric motor from it. Power supply can be easily make adjustable.
Many inkjet printers use the same type of carriage electric motors. They are designed for DC power with a voltage of 24 V.
The shafts of these engines have a diameter of 3.2 mm or 2.3 mm. In my case, the engine was removed from a faulty Canon MP160 printer and the diameter of the motor shaft was 3.2mm. It remains to purchase a collet or cam cartridge with a landing diameter of 3.17 mm. The chuck clamps the tool up to 3.5mm. The cam cartridge consists directly of a three-jaw chuck and a brass adapter for mounting on the motor shaft. The set includes fixing screws and a key for them. This kit can be bought both online stores, and in hardware stores and markets at a price of 1.5-2 dollars.

Enumeration of tools and materials.
- DC electric motor-1pc;
- cam cartridge -1pcs;
-connecting wires;
- power switch -1pcs;
- a piece of plastic pipe;
- caps from an aerosol spray can-2 pcs;
- screws;
- power supply 24 V;
- soldering iron;
- tester.
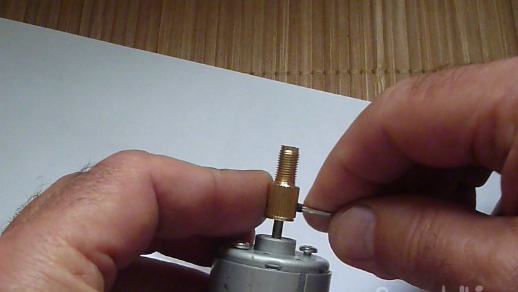
Step one. Installation of a cam cartridge.
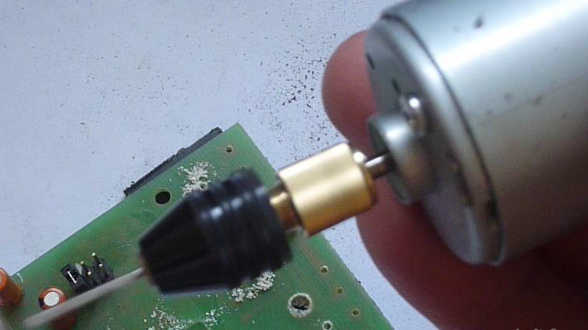
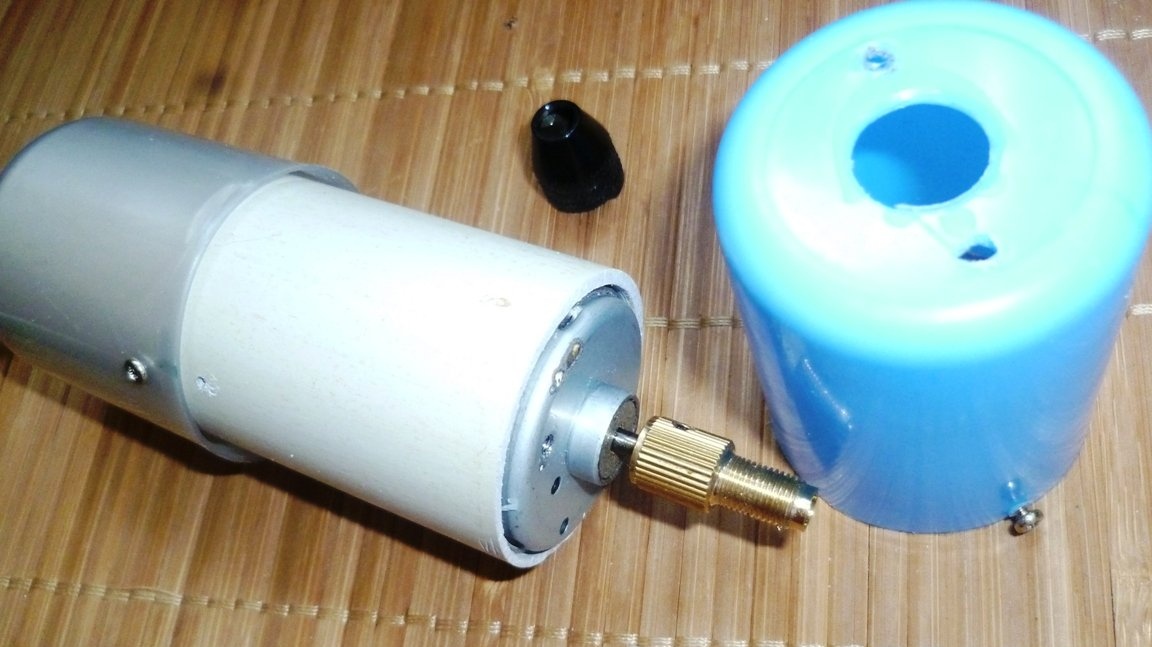
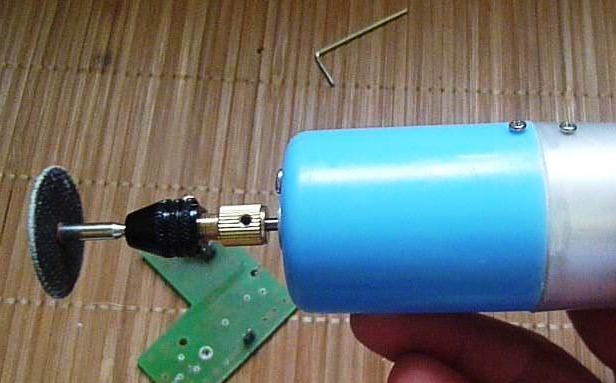
We put the cartridge adapter on the motor shaft, then with light strokes, preferably with a wooden hammer or spacer (so as not to damage the thread), we tightly put the adapter in place. If the shaft goes completely into the adapter, there will be no beats. It remains to fix the adapter on the motor shaft with two screws using a wrench.
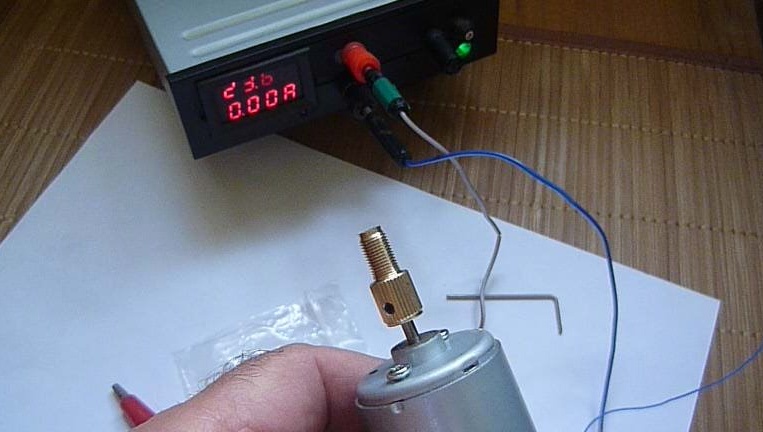
Step Two Food and work verification.
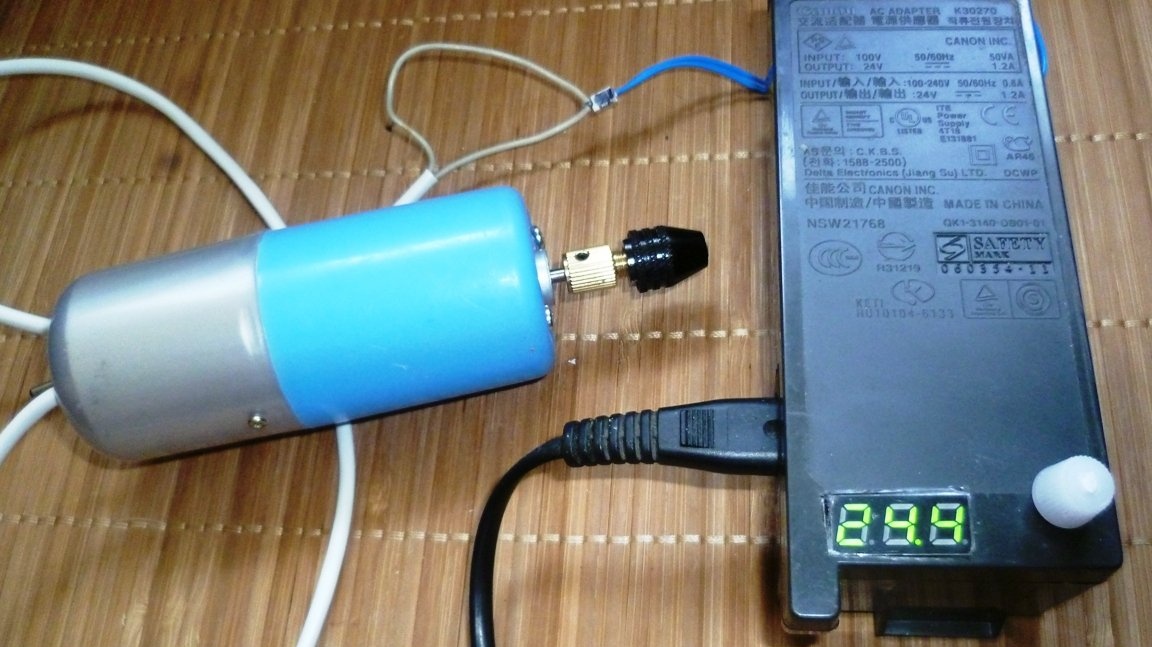
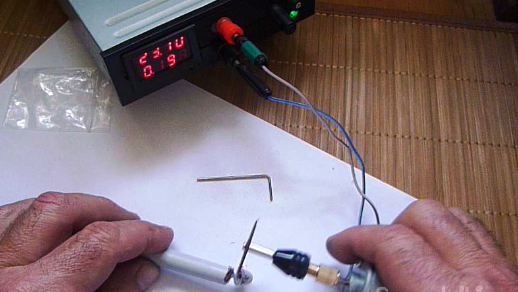
To power the mini drill, I used a power supply unit removed from the same printer. The circuit was slightly modified and a control voltmeter and a tuning resistor for changing the voltage were added. As a result, we get the opportunity to adjust the speed of a mini drill by changing the output voltage of the power supply.
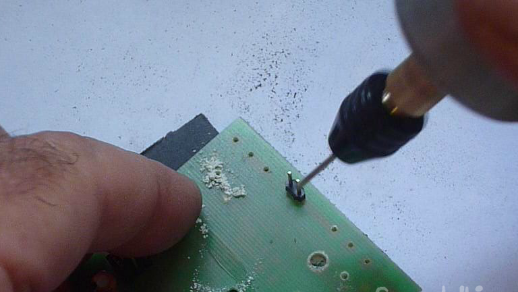
Small tests of the drill were conducted. Drills printed circuit boards with ease. Cartridge runout is missing.
Using a nozzle with sandpaper, I cleaned an old rusty tool.
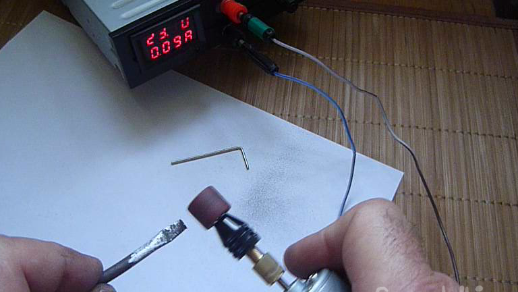
The cutting disc quickly cut off a piece of plastic. The electric motor heating during operation is minimal, the consumption current at a supply voltage of 24 Volts was a maximum of 0.3 A.
Step three. Final assembly.
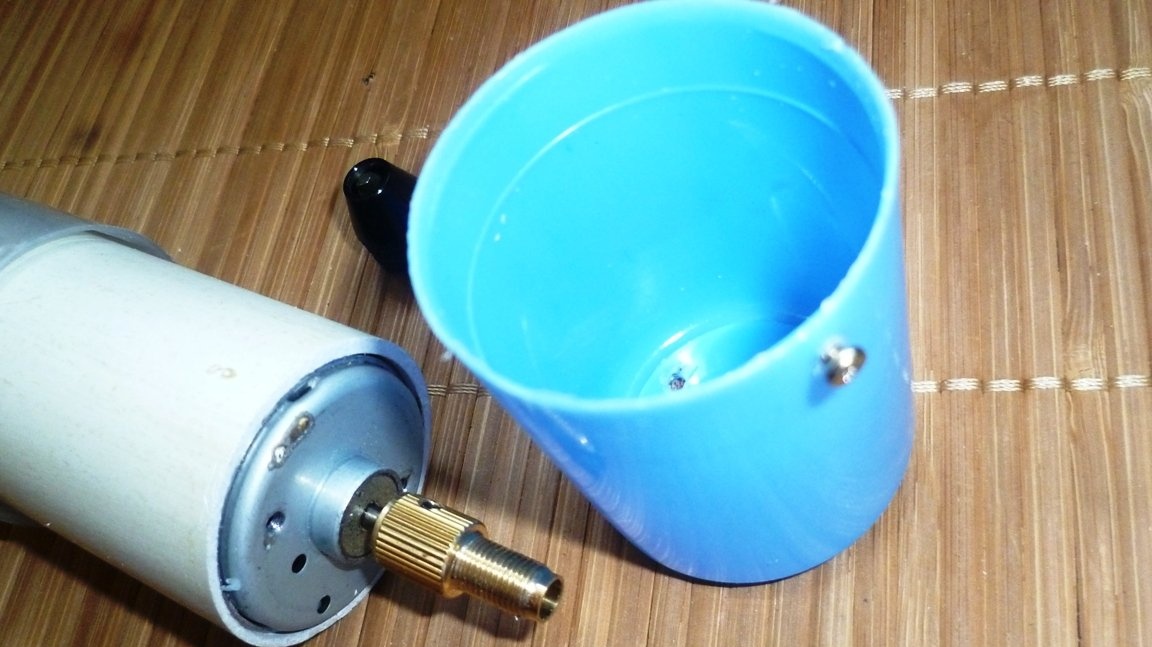
It remains to install a mini drill in a suitable case, connect the connecting wires and the power switch. I picked up a piece of plastic pipe that matches the diameter of the electric motor for the tool body. The engine enters it tightly. As the front and back covers came caps from aerosol cans. In the front cover, we drill a hole for the central part of the engine and two holes for fixing with the screws of the engine case.
In the rear cap, we drill holes for the power switch and wires.

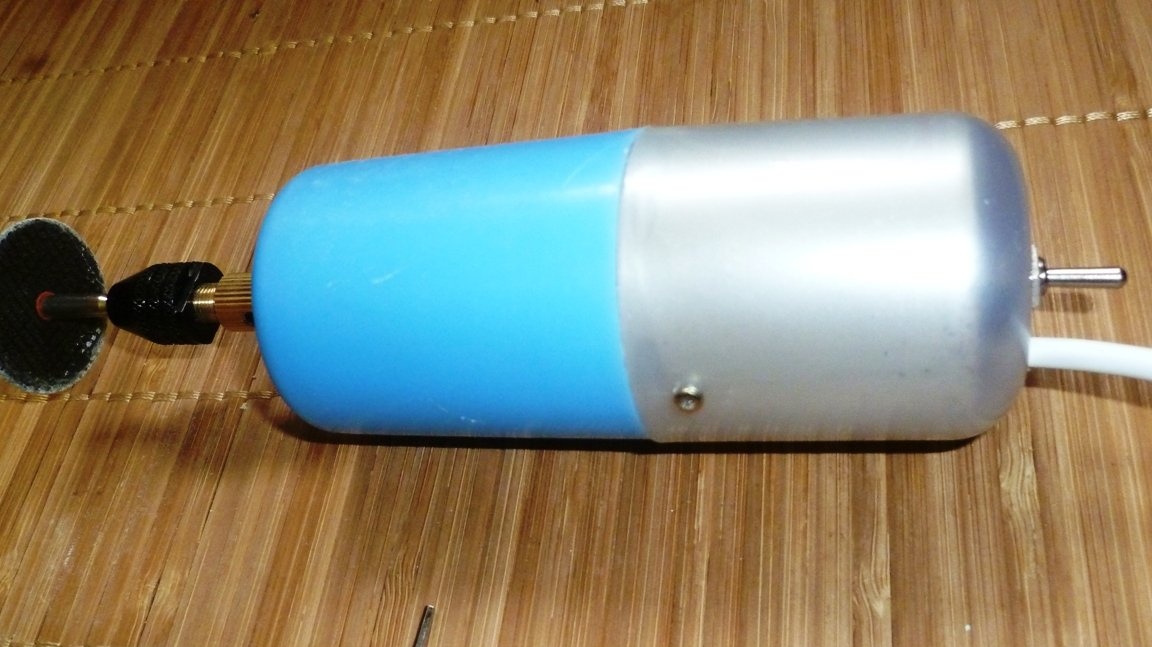
Both caps are attached to the plastic pipe with screws.
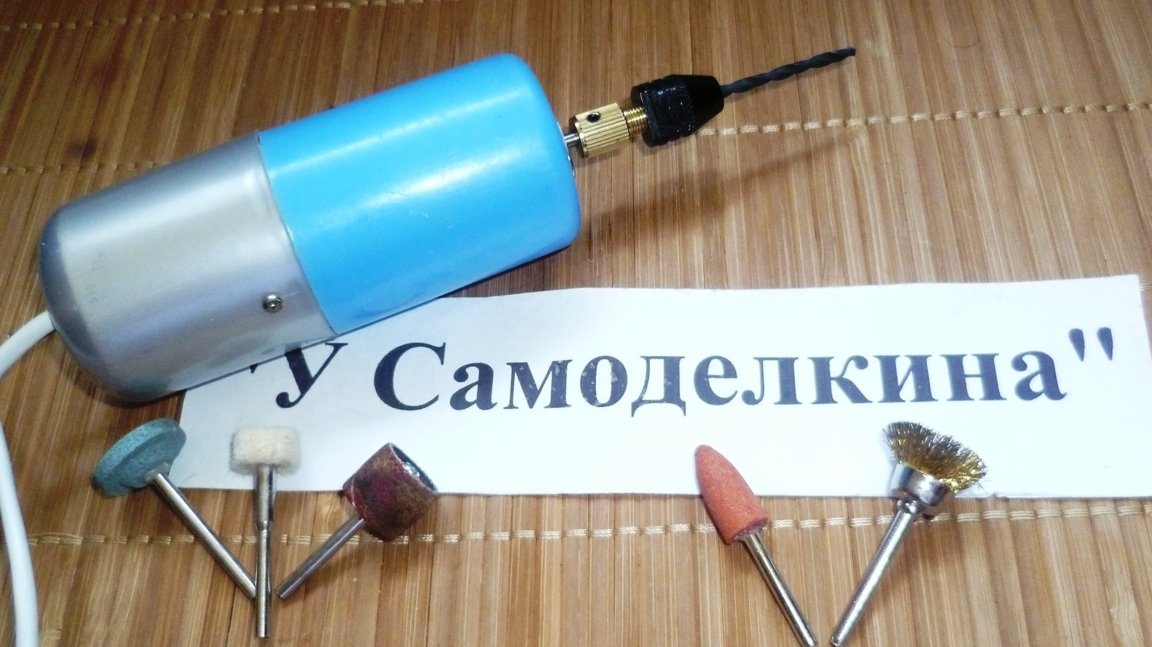
Now the tool is finally ready for use.
In the video you can see the manufacturing process and testing mini drills to perform small jobs.
Summary:
1. The materials took 120 rubles (cartridge), the power supply is free from the printer (the same unit can use the power of others homemade).
2. It took about 2 hours to assemble the tool.
3. Easy and quite useful tool for small home works.
4. Pleasure from the manufacturing process do it yourself useful homemade.