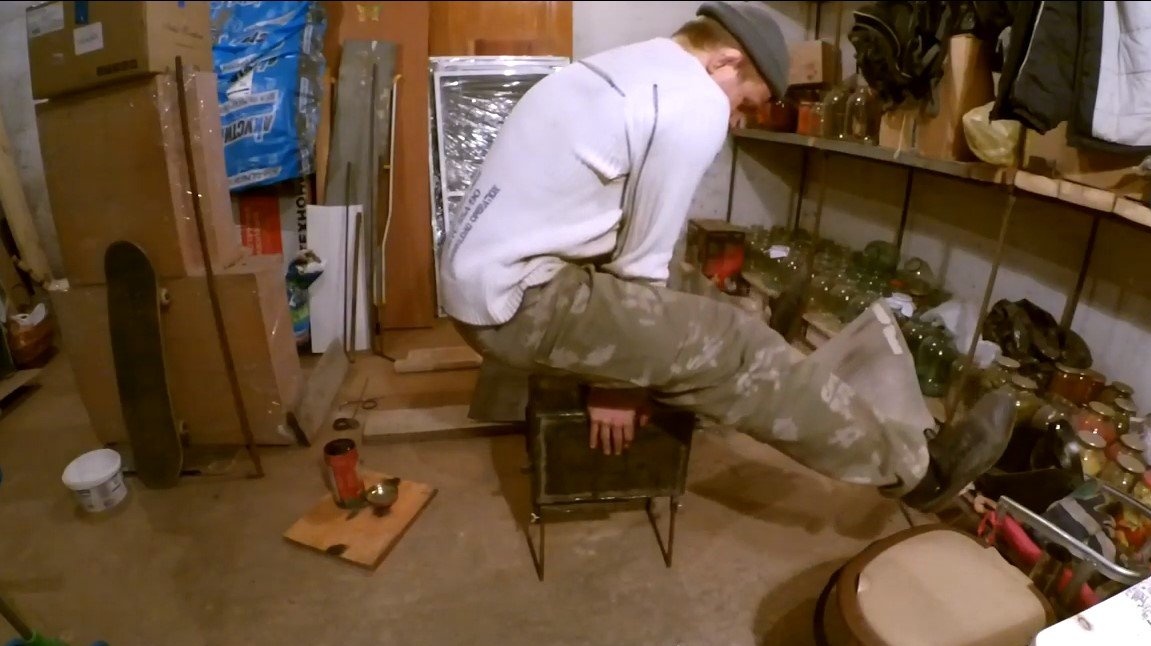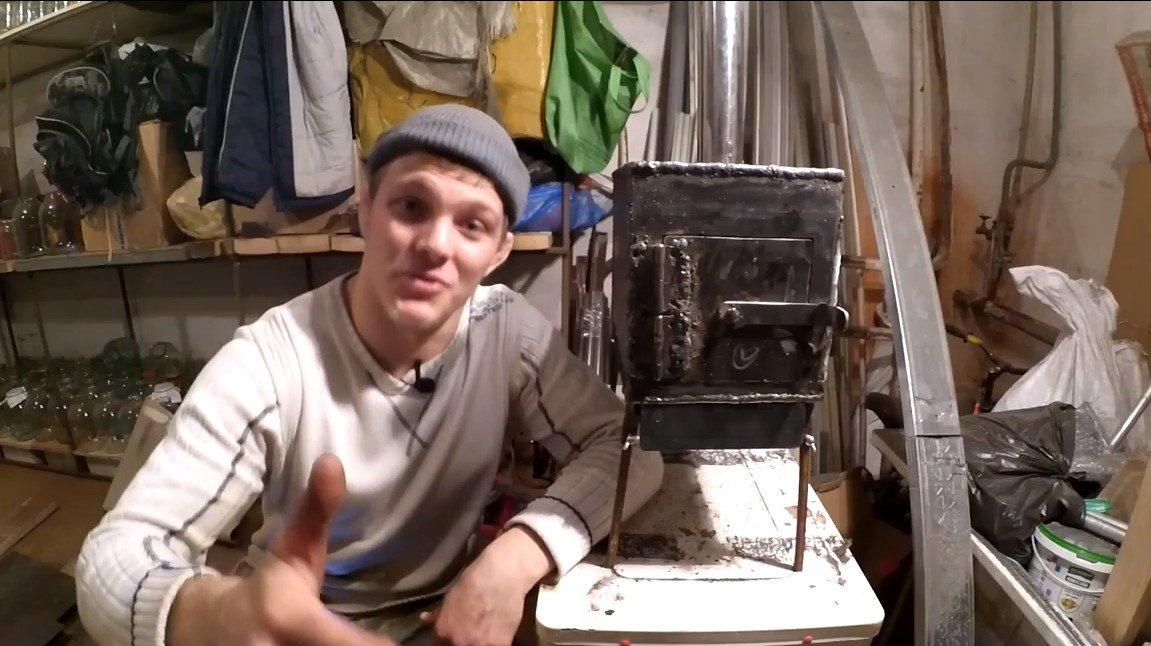
Hello everyone, summer is coming to an end, which means that it is time to prepare for the cold. Today we will build a small metal stove, which can heat a small house or tent. Homemade made of sheet steel with a thickness of 3 mm, the length of the furnace is only 35 cm, and the width and height are about 20-22 cm. With such dimensions, the weight of the furnace is 9 kg, as a result, it can be transported without any problems car. The homemade product is equipped with a convenient ash collector, which is a drawer. In addition, the grates and legs of the furnace are removed. The author made a smoke outlet under a 65 mm stainless pipe. If you weld the seams well and paint the oven, it will look great. If you are interested in the project, I propose to study it in more detail!
Materials and tools used by the author:
Material List:
- sheet steel 3 mm thick;
- door hinges;
- thin profile pipes or rods for legs;
- a piece of a round pipe for a chimney;
- bolts, etc.
Tool List:
- grinder;
- welding machine;
- welding squares;
- measuring tool, marker;
- drill;
- a vise.
Furnace manufacturing process:
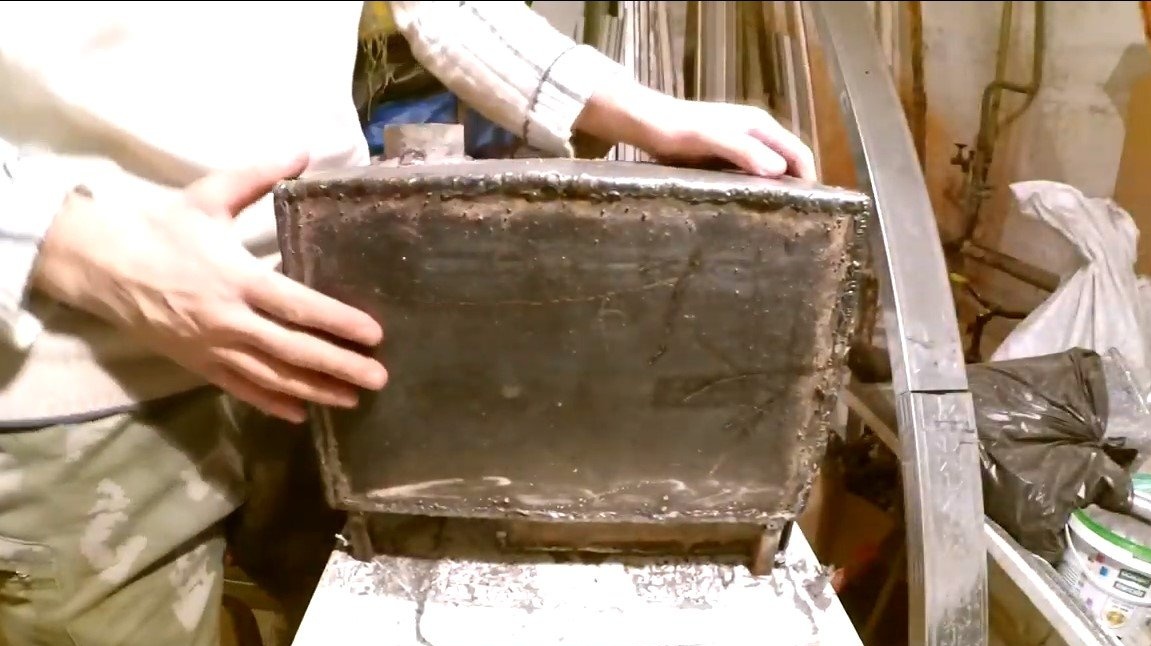
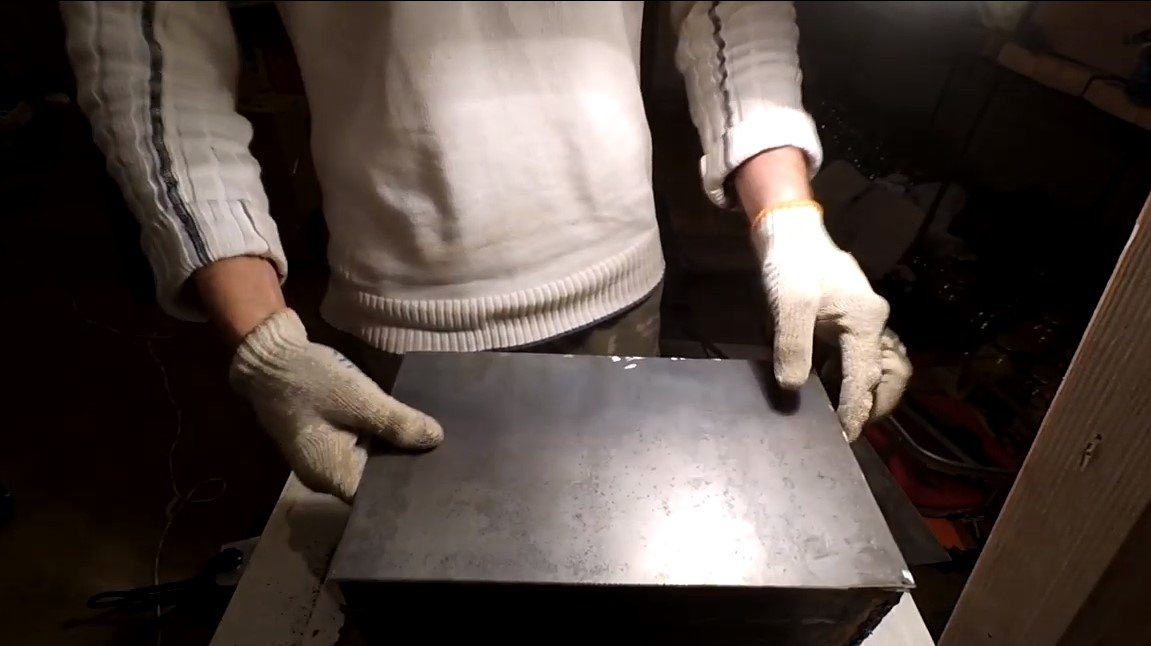
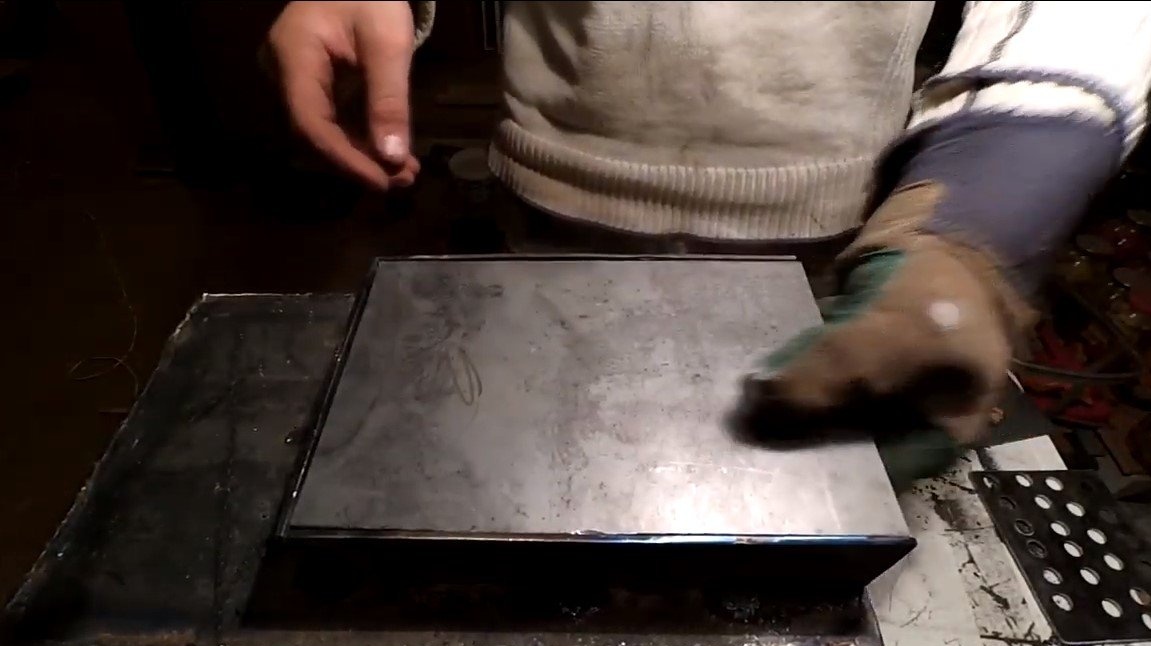
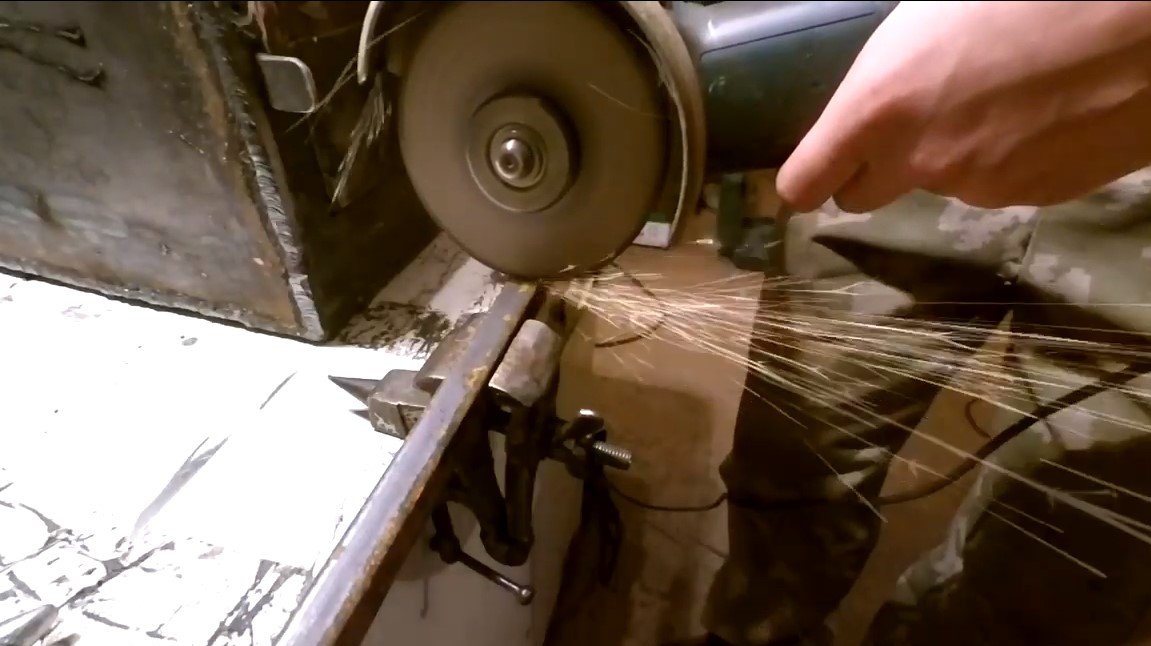
Step one. Weld the body
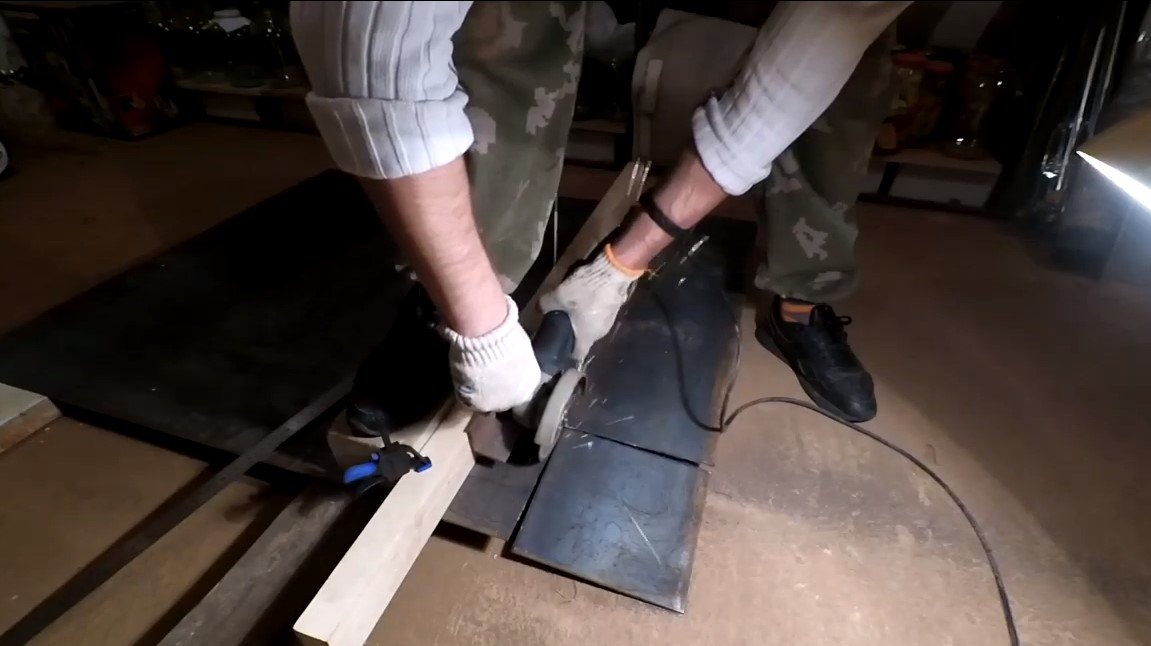
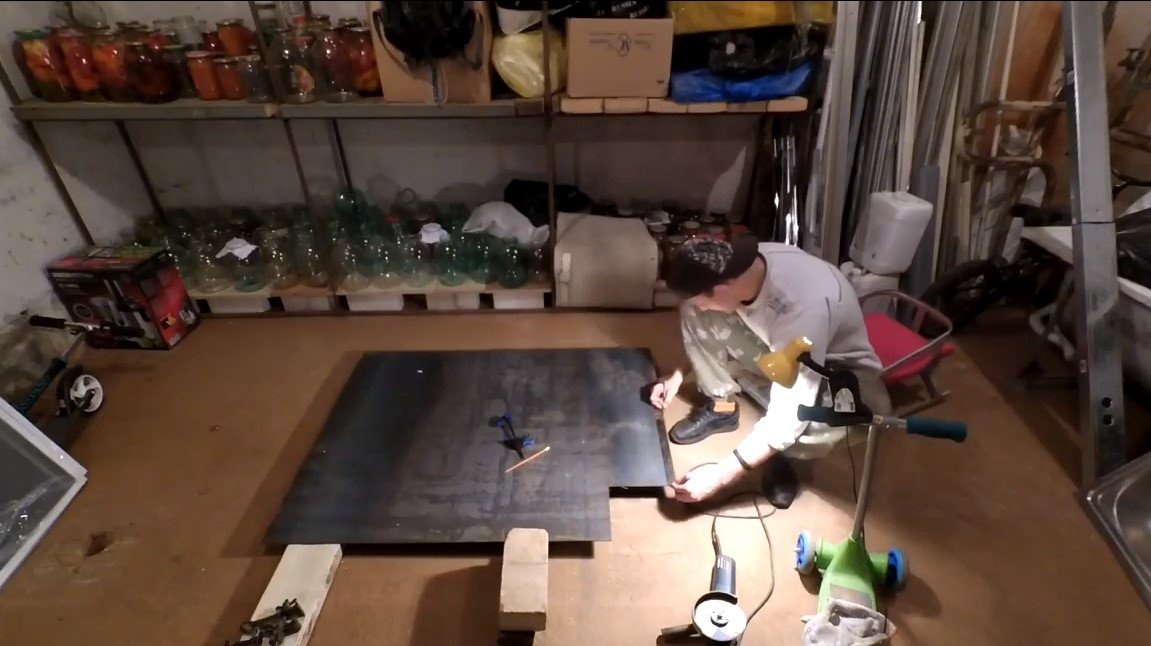
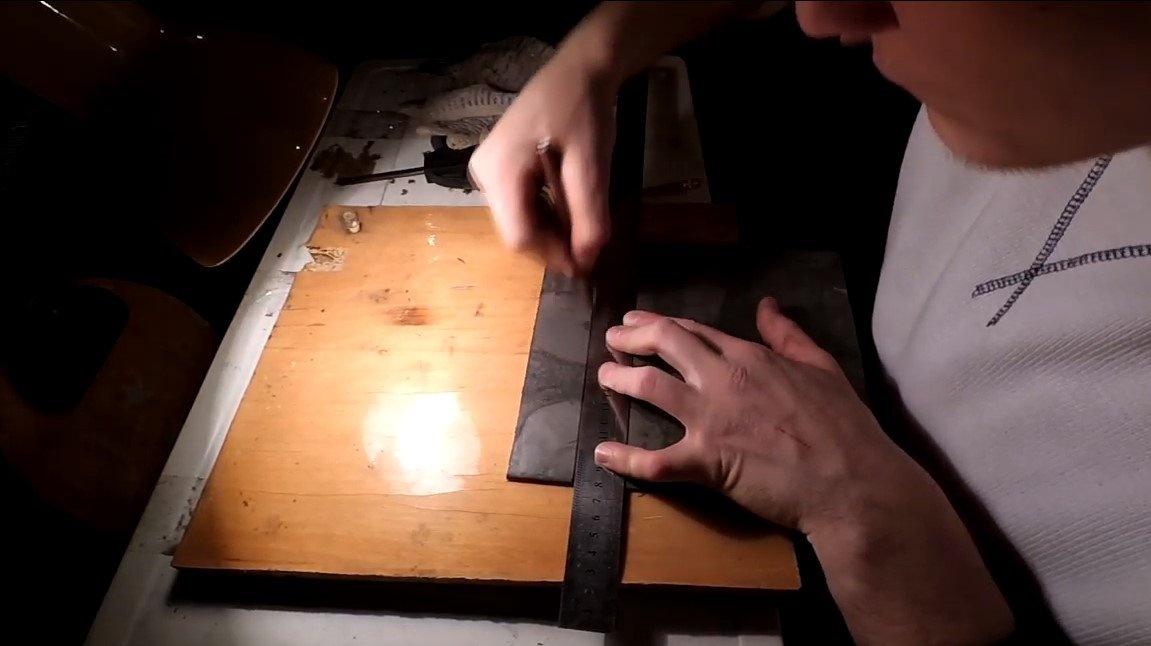
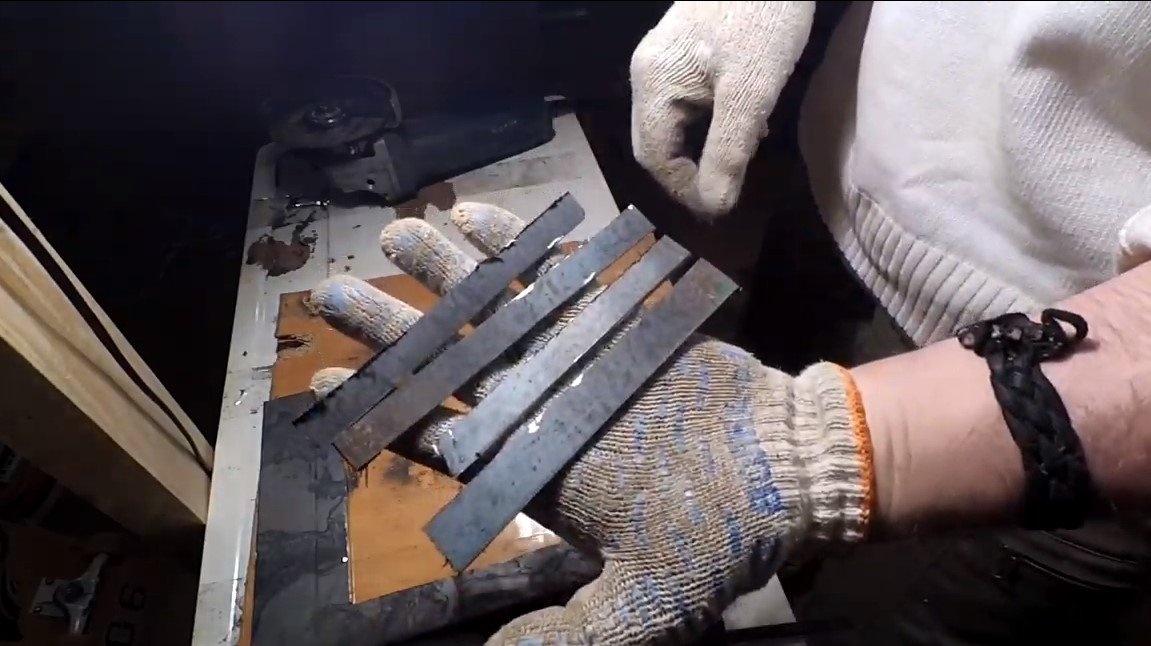
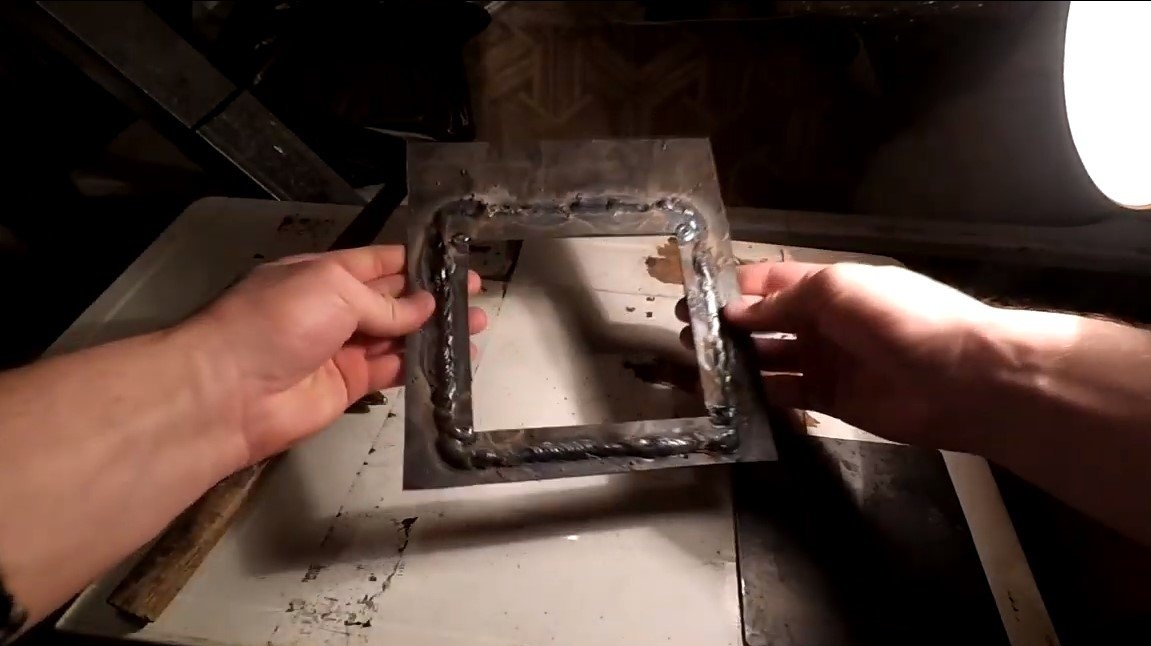
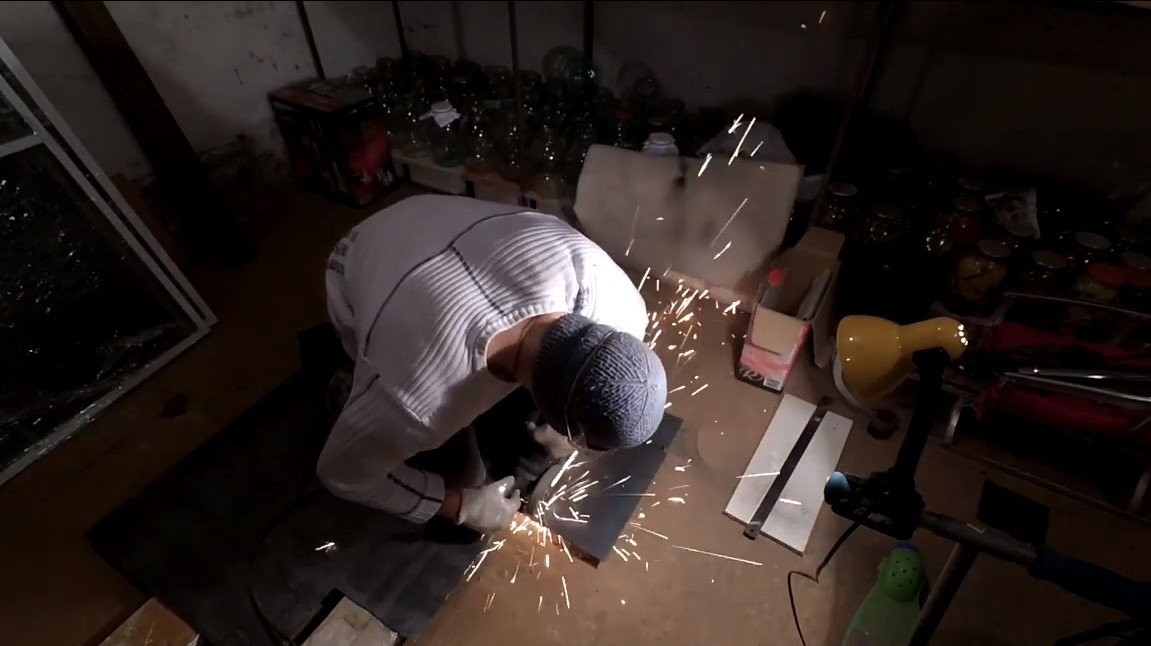
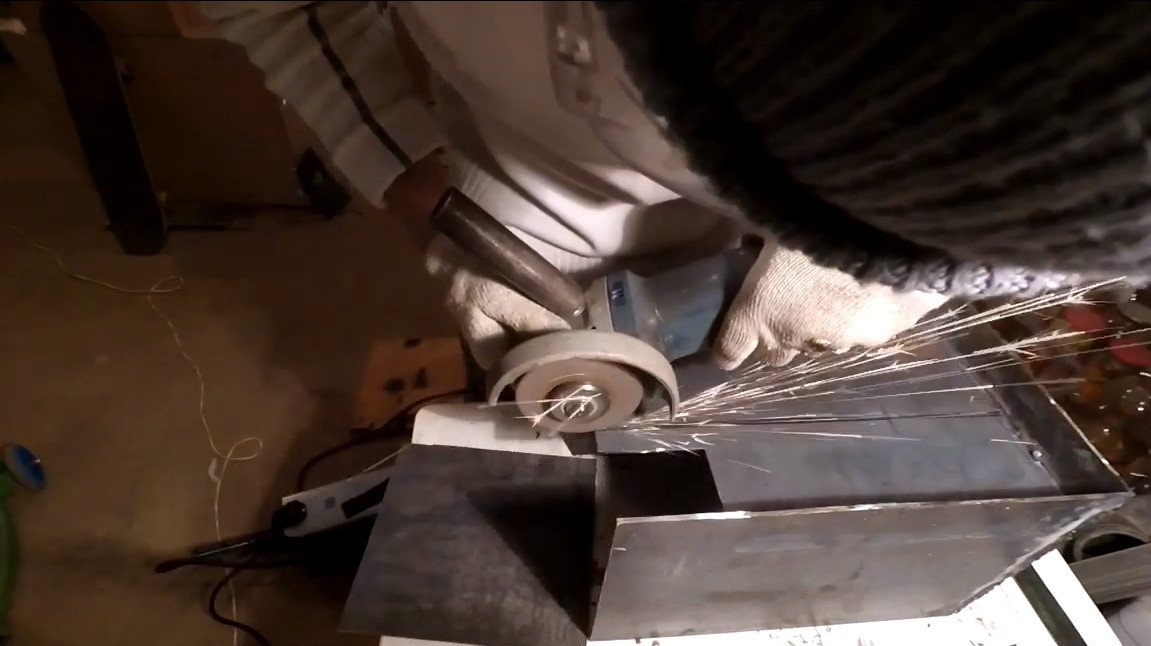
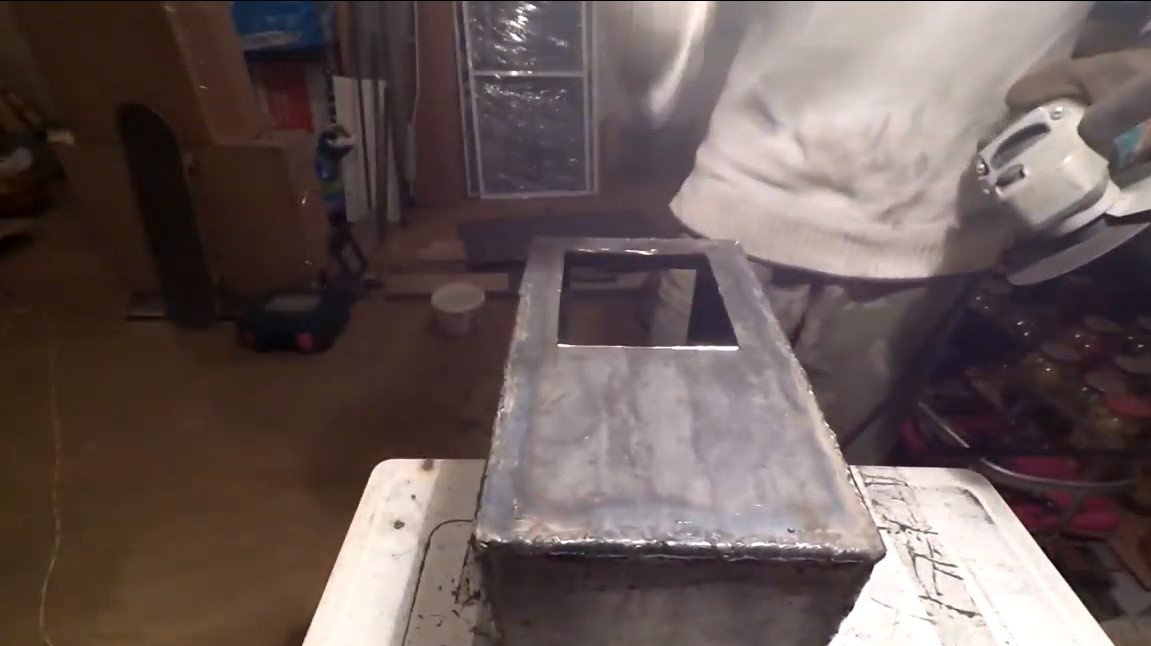
To begin with, we think through everything, mark it out and cut sheet steel with a grinder. Well, then it remains to weld the furnace body, so that welding is carried out at a right angle, it is useful to have magnetic squares.
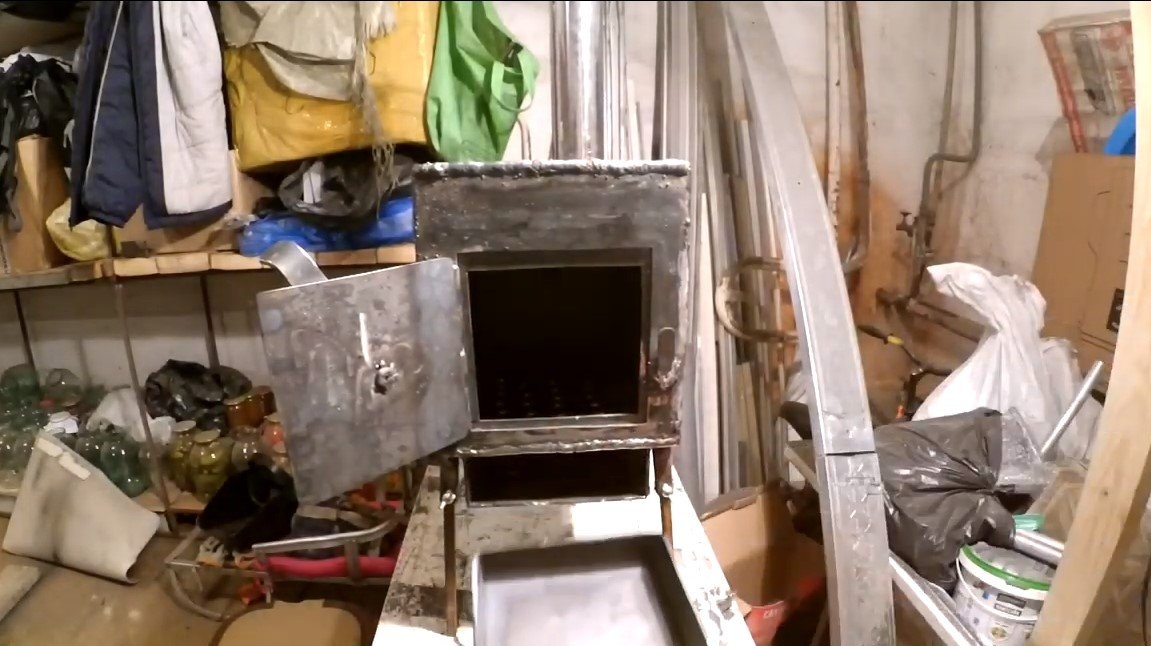
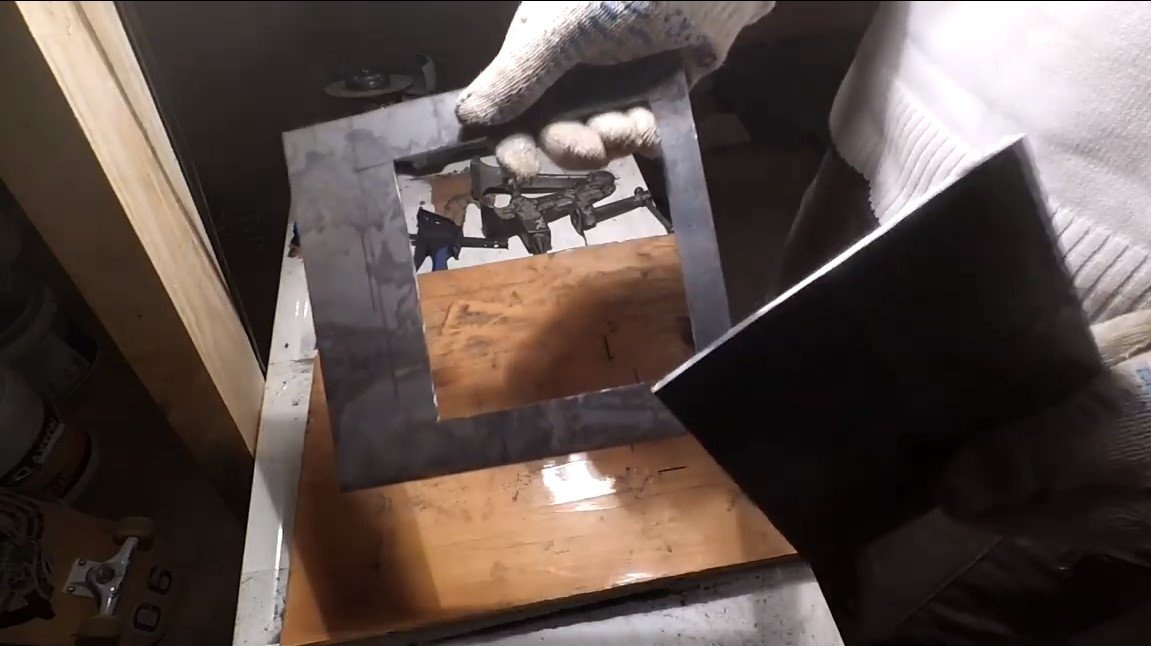
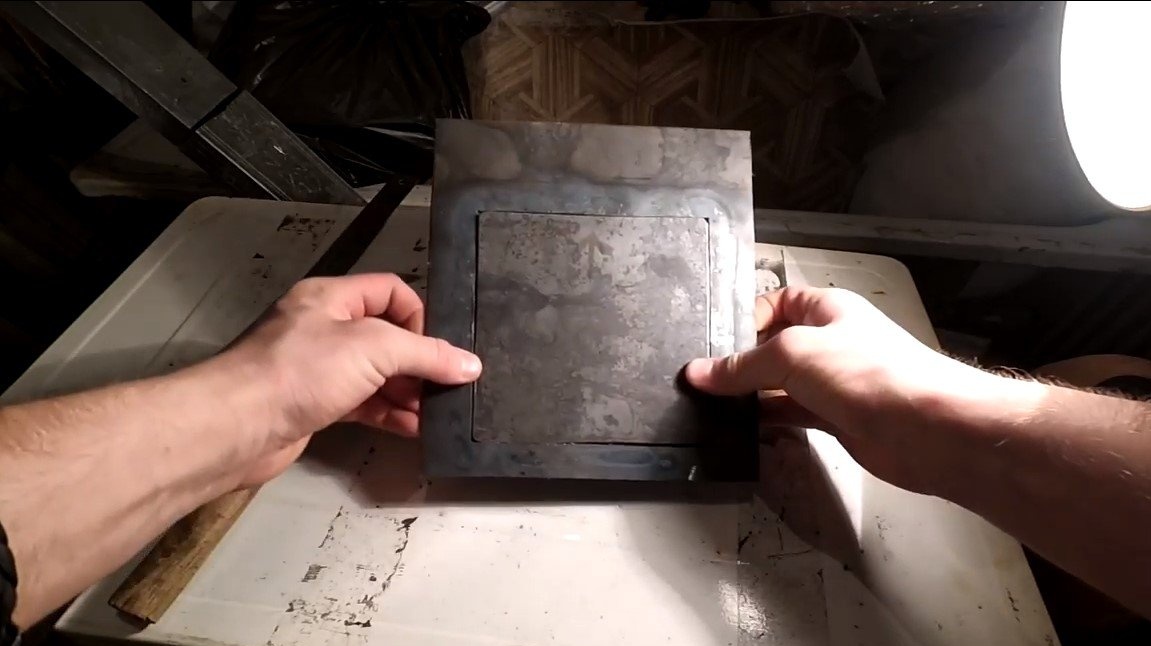
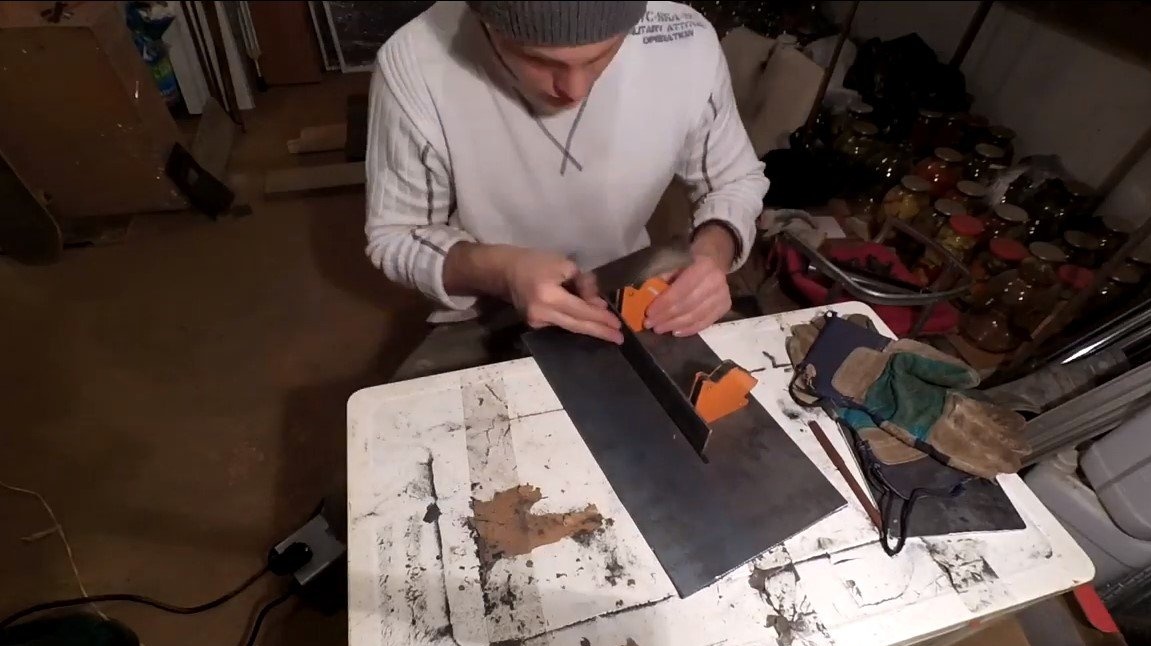
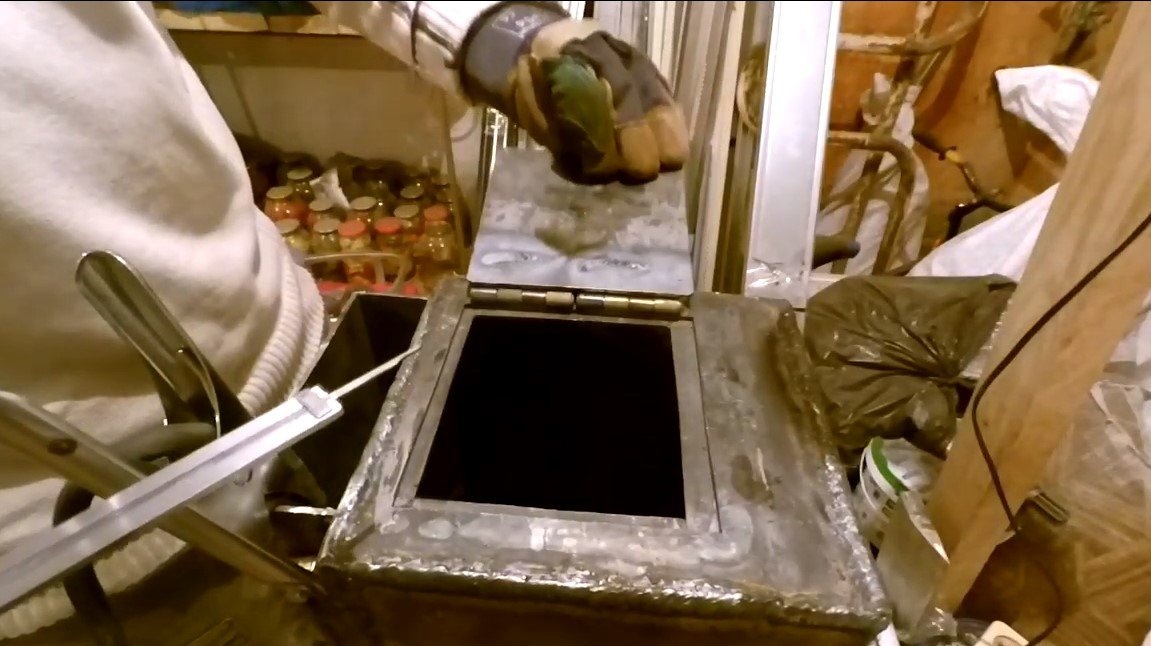
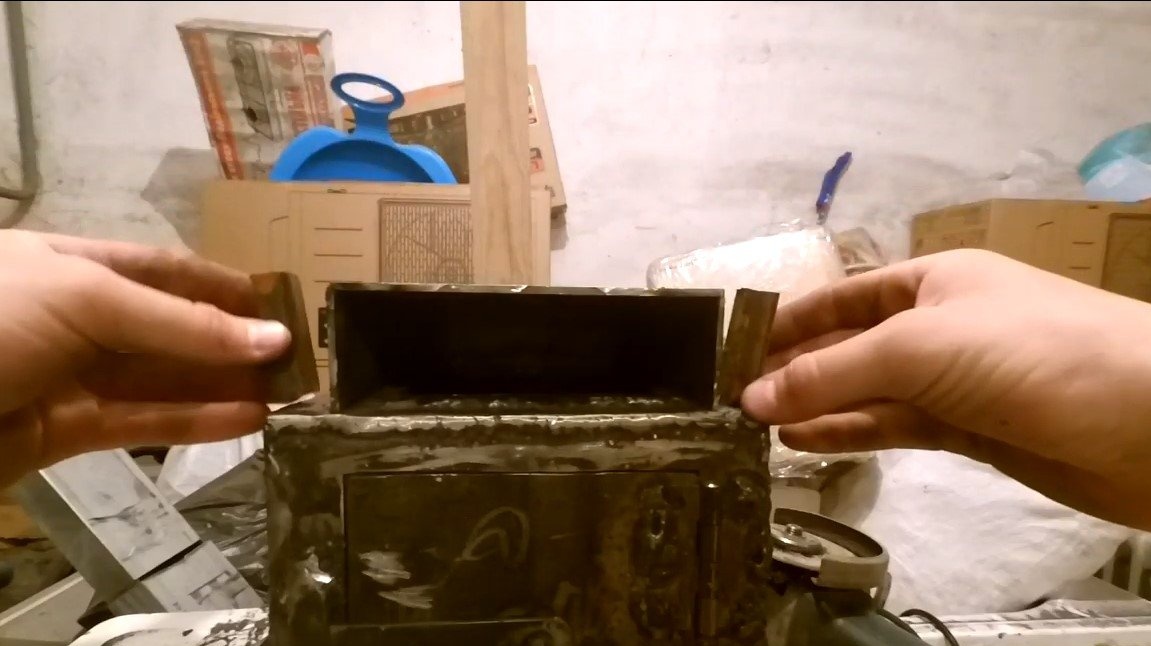
The author also immediately cut a rectangular hole in the front of the door, the cut piece will serve as a door. We weld the window from the inside with steel plates to ensure tightness.
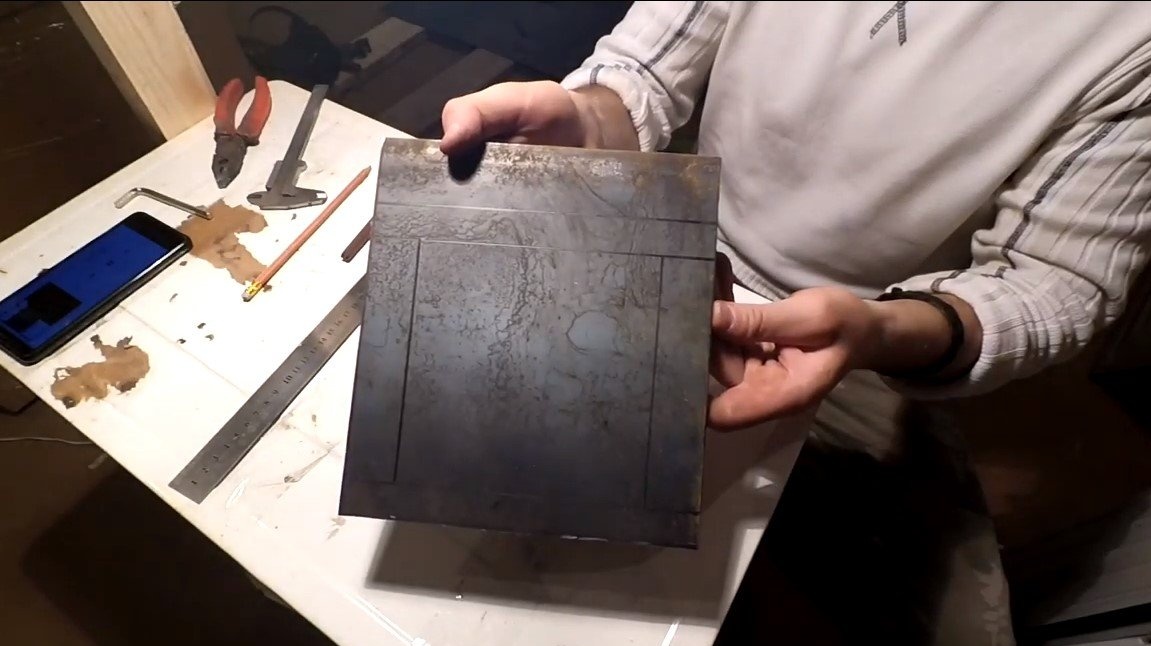
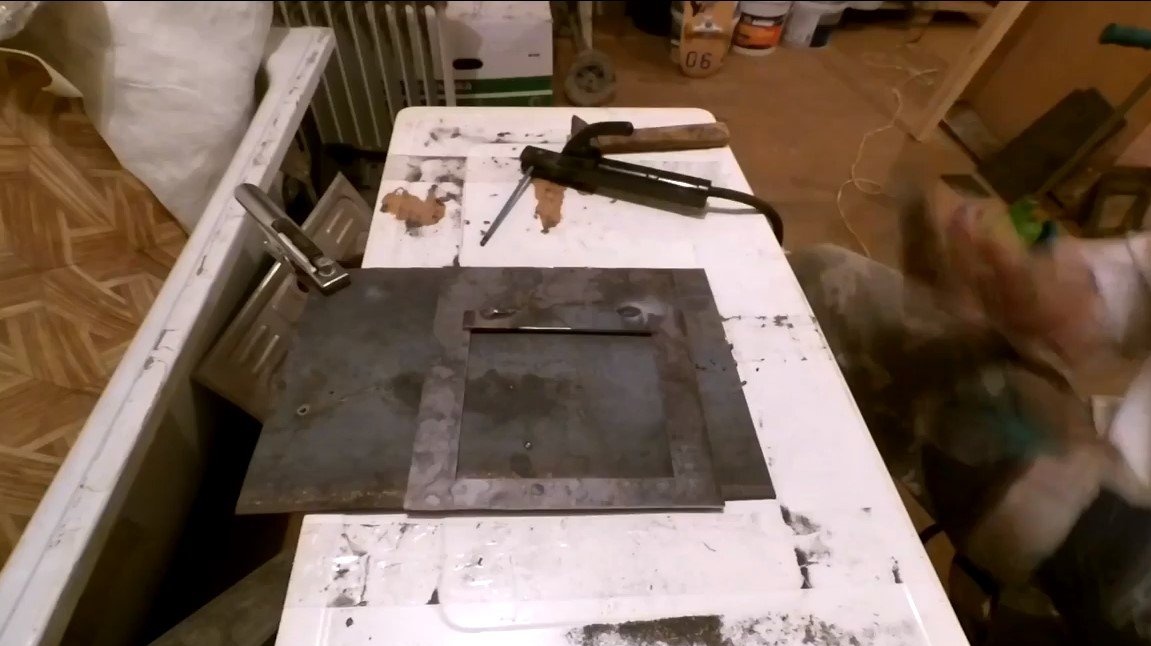


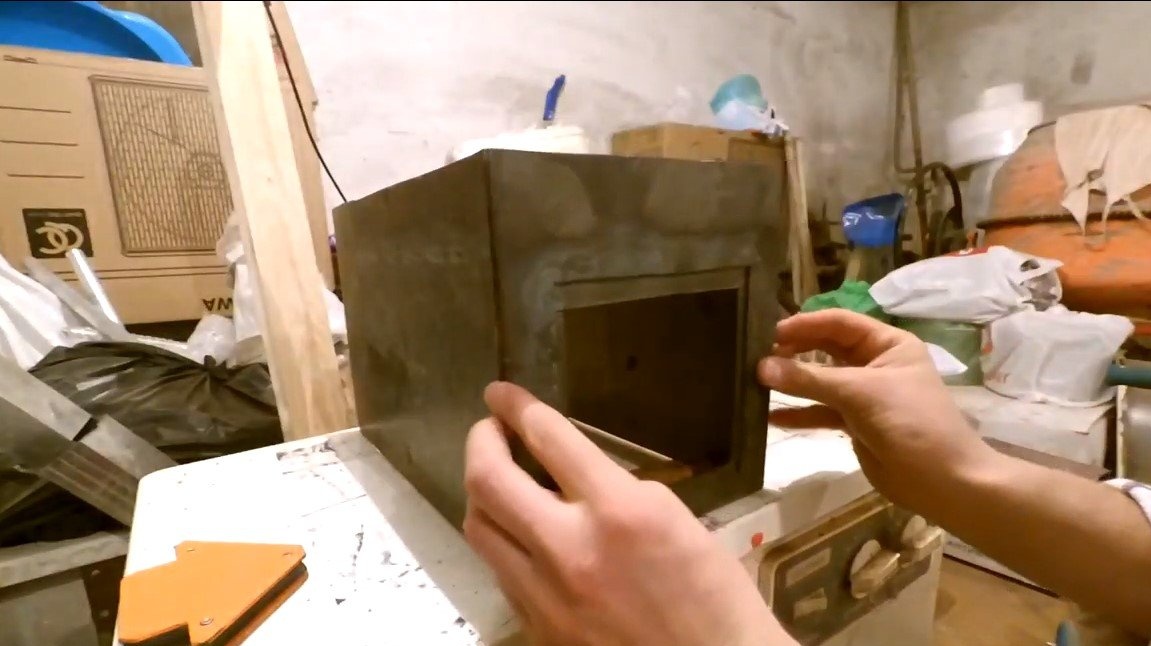
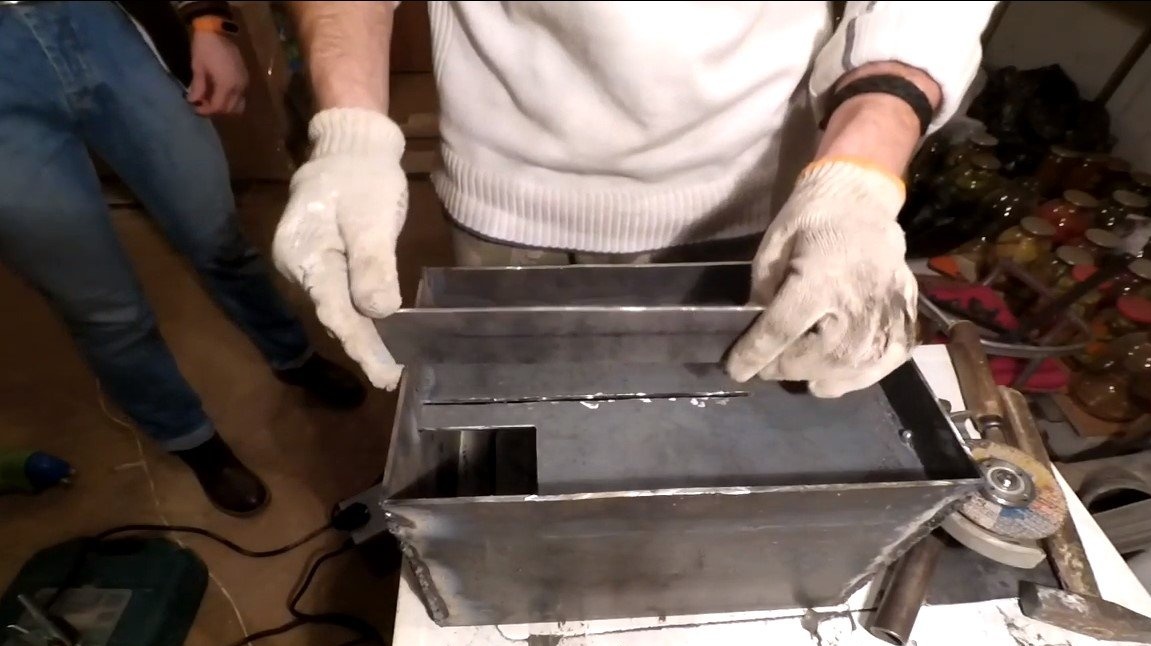
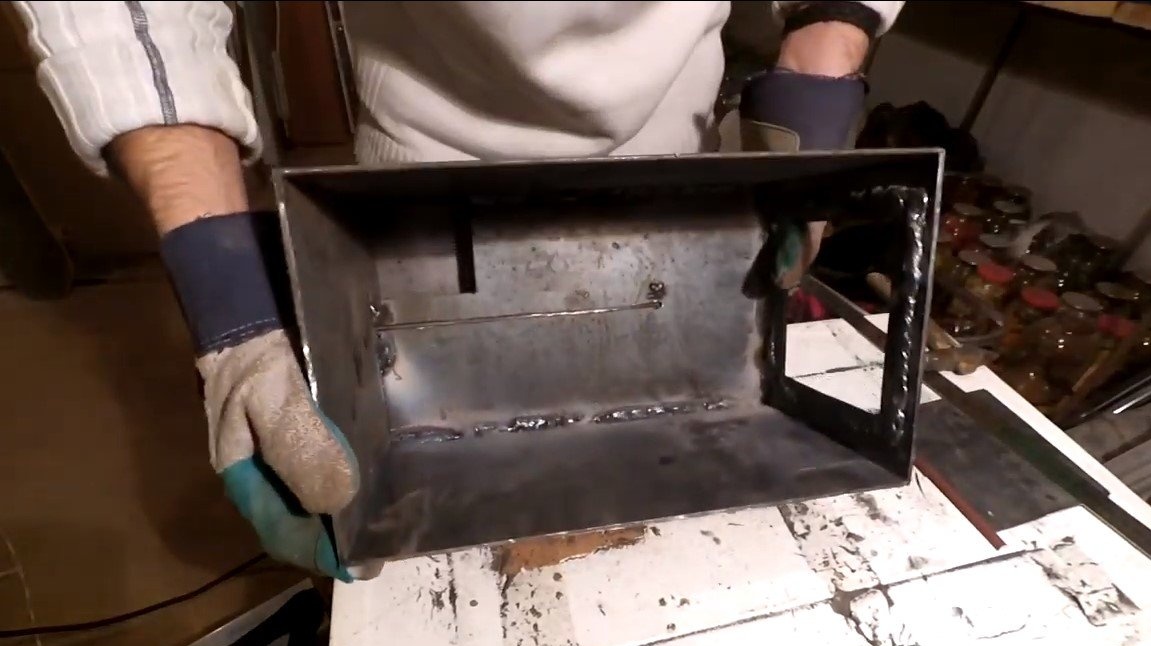
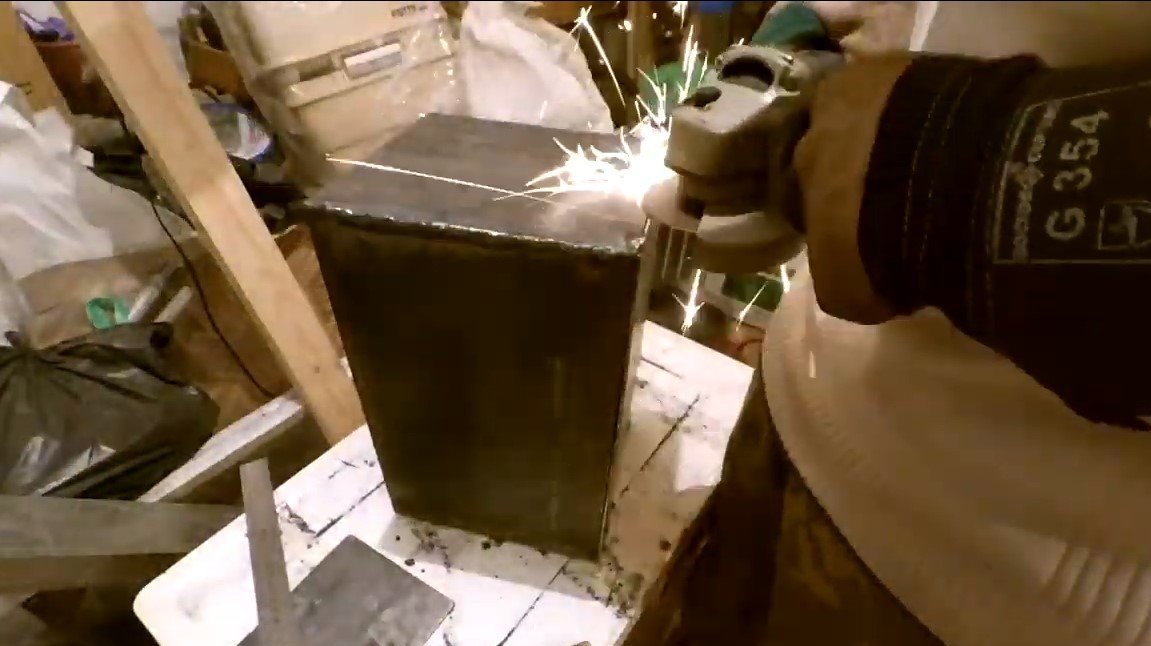
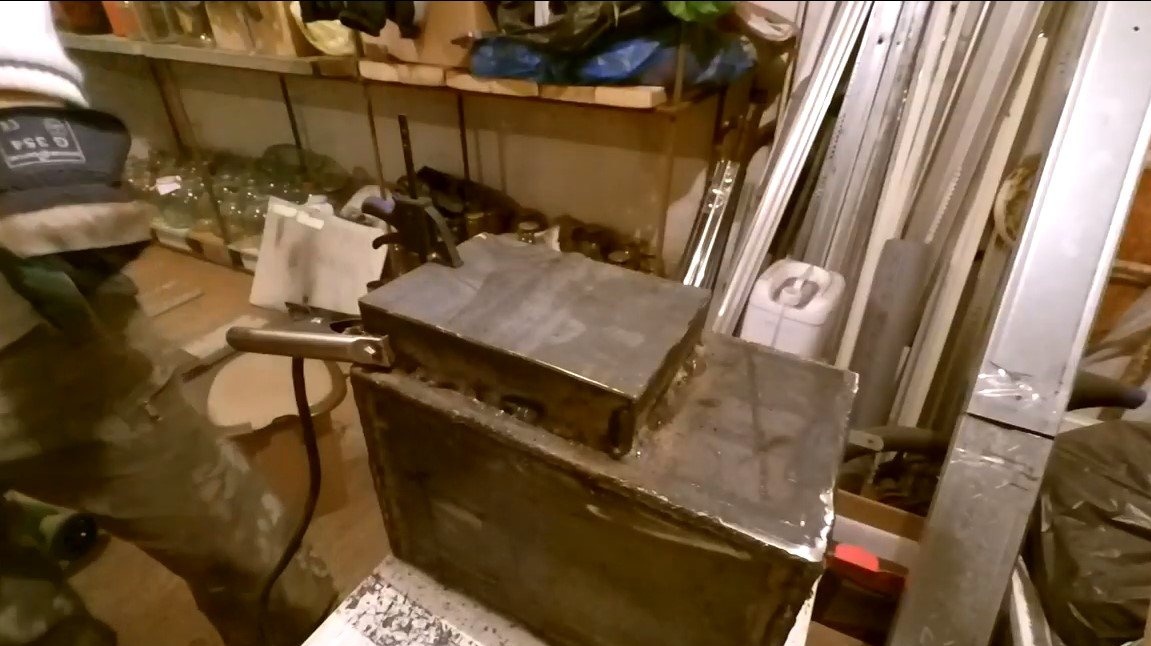
Inside, the furnace volume is divided into two parts, in the upper part there is a small chamber with a partition. All this has been done in order to get a coil through which hot gases will go. Thanks to this design, the upper part will heat up well, and the efficiency of the furnace increases.
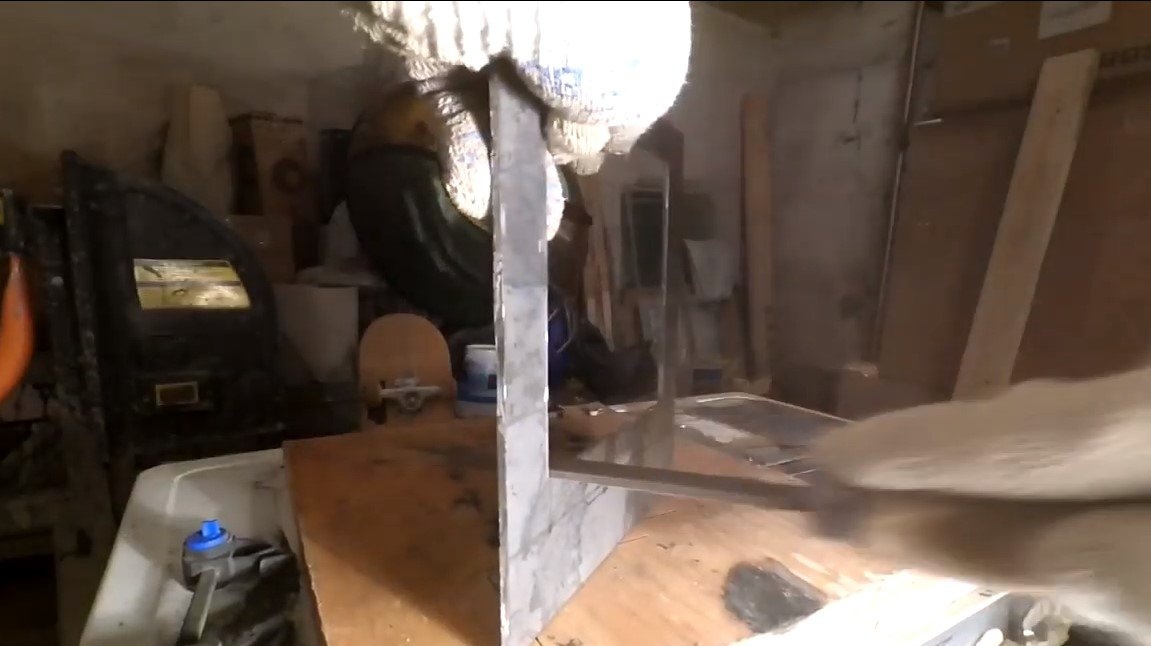
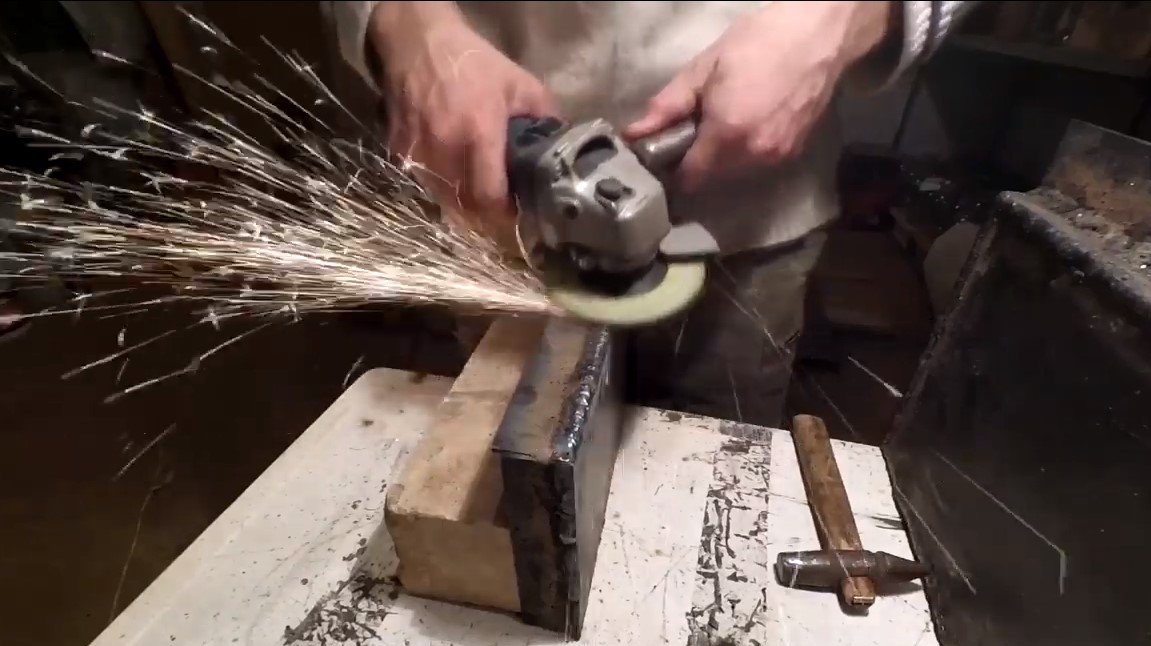
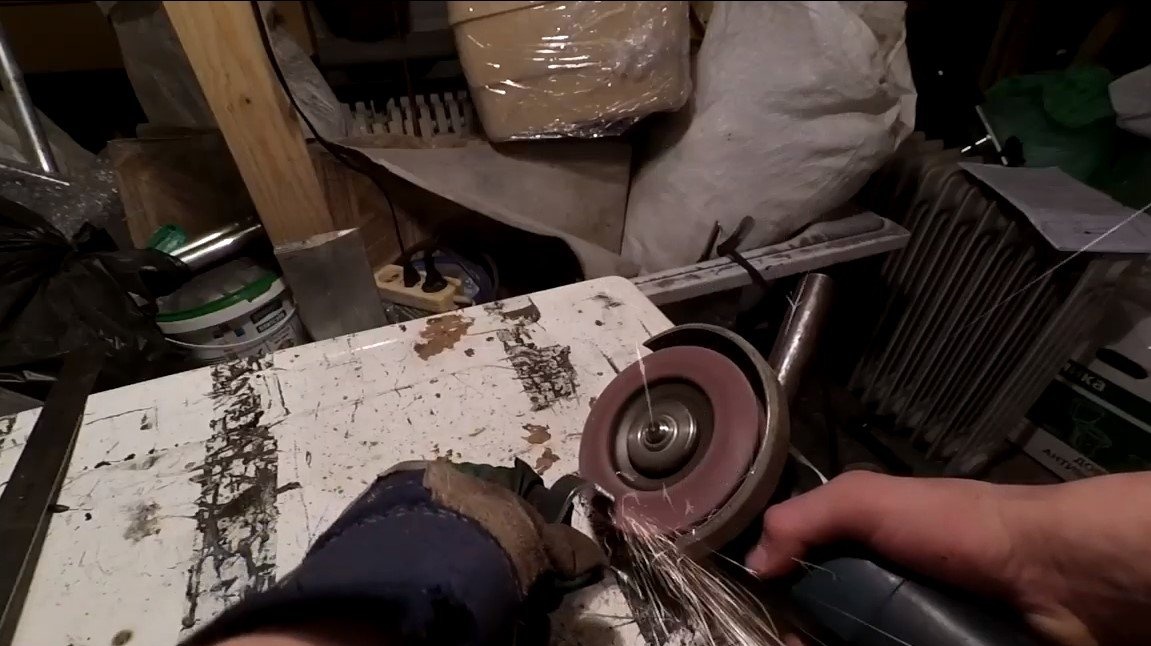
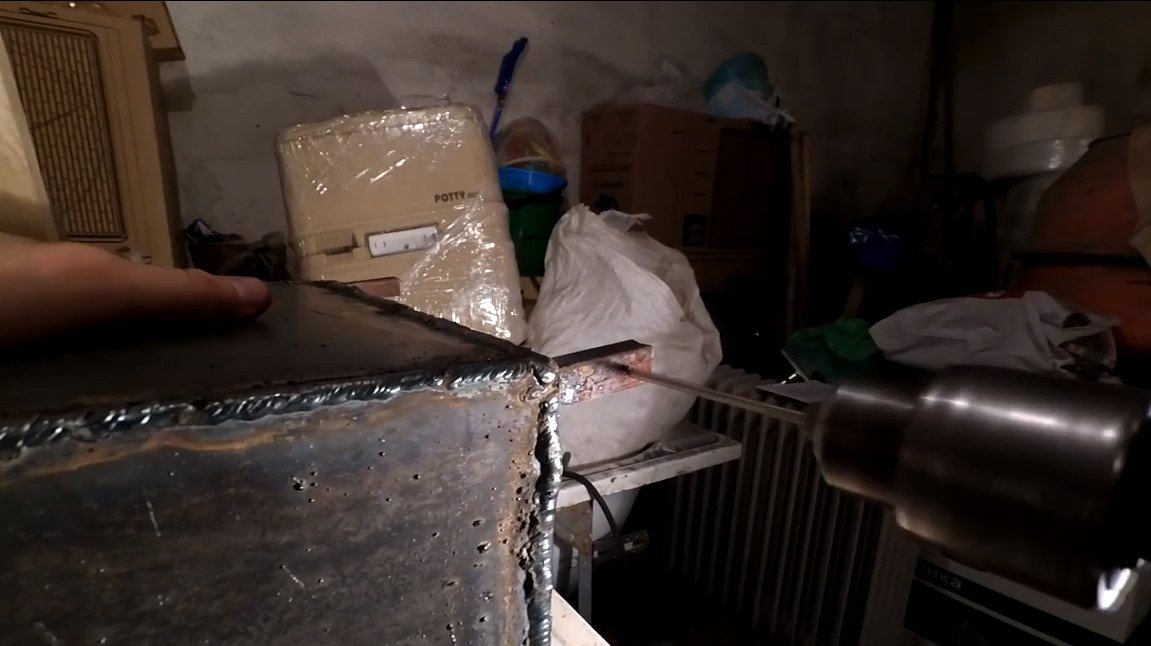
Having welded the body, we clean the welds well with a thick grinding wheel.Of course, cracks and holes need to be welded so that smoke does not come into the room.
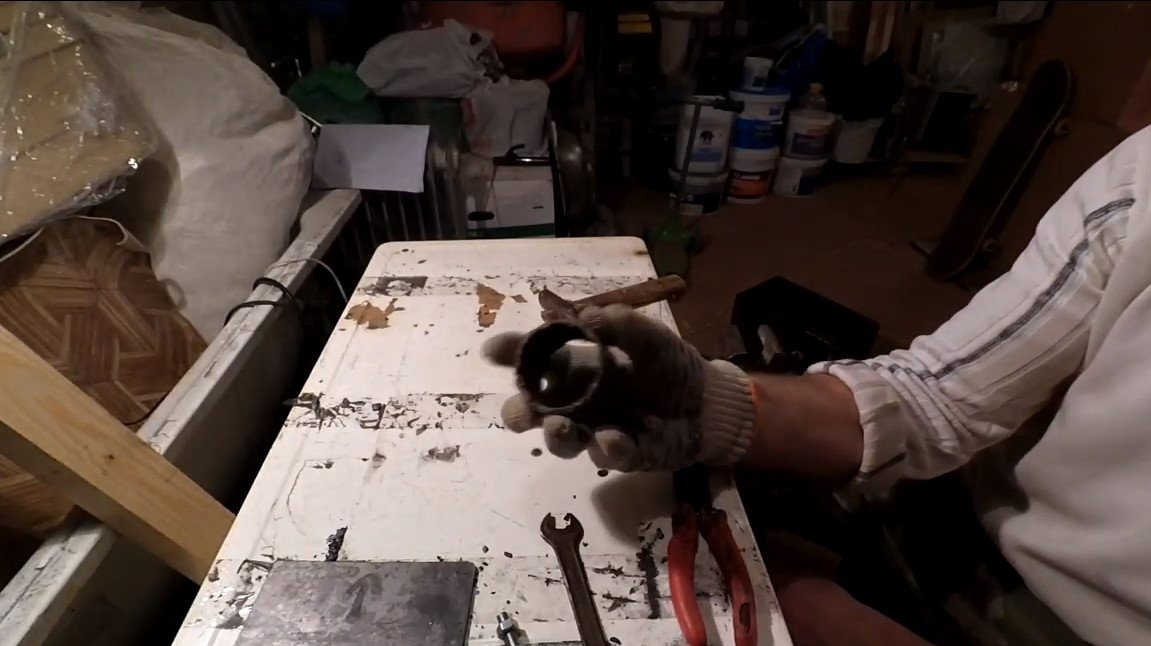
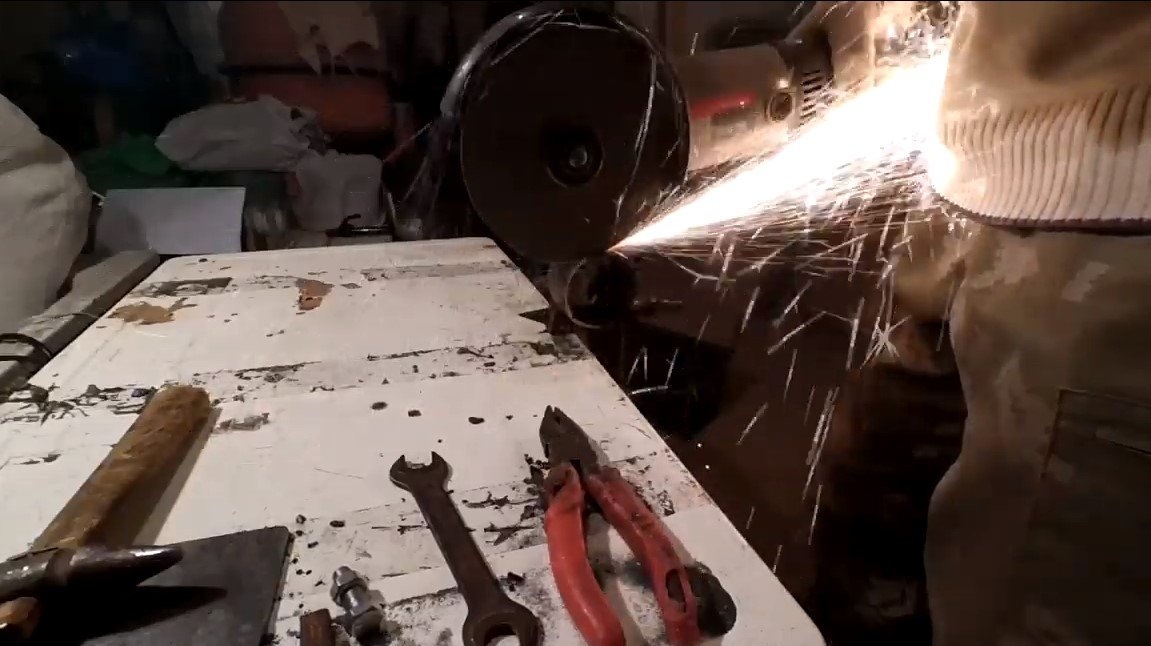
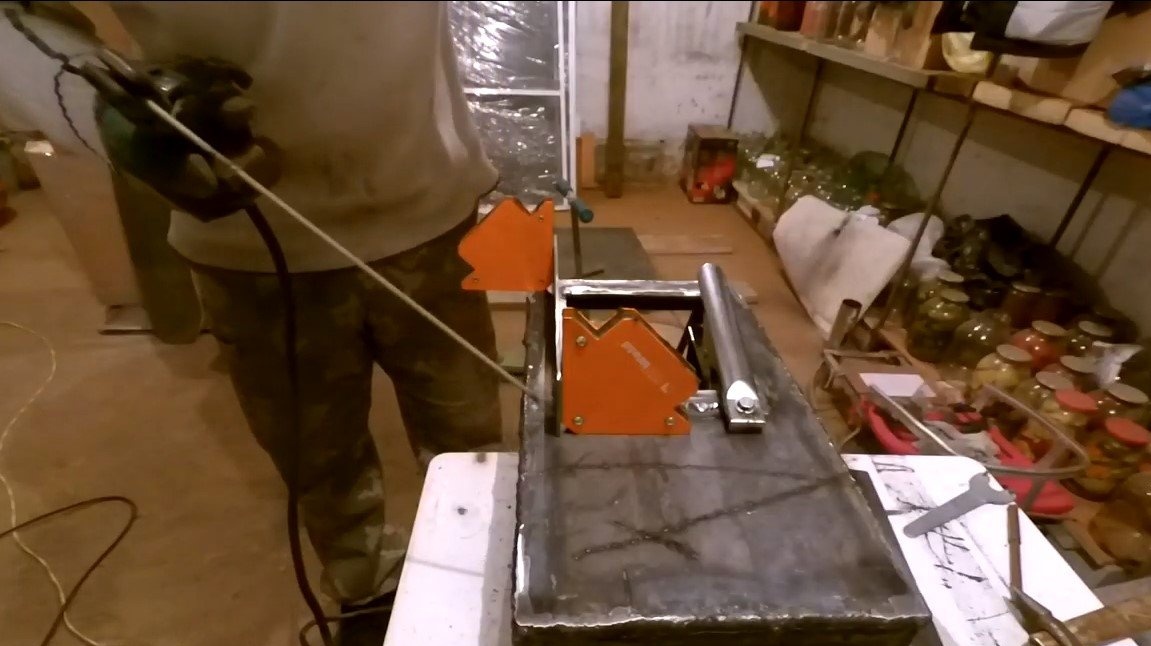
Step Two Smoke pipe
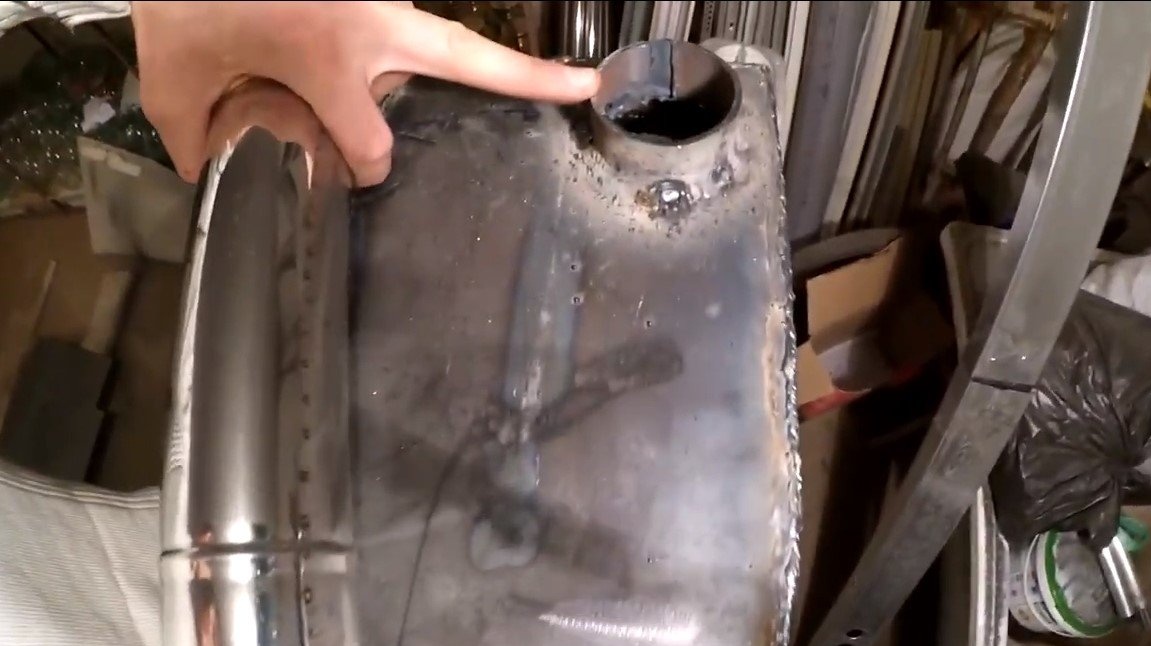
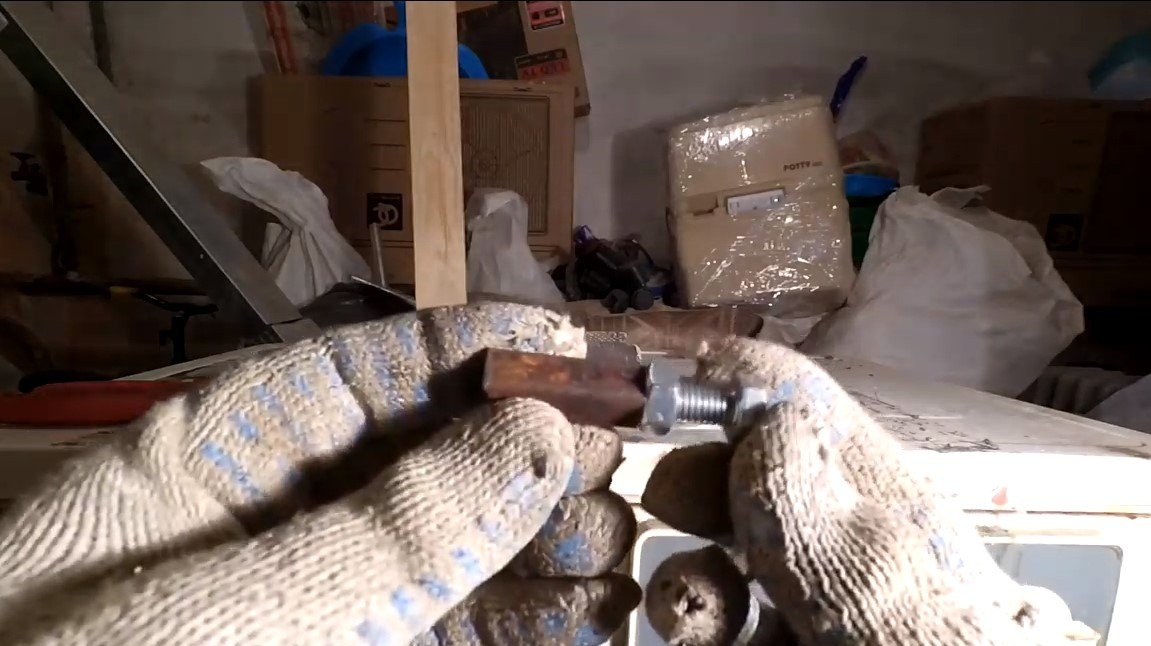
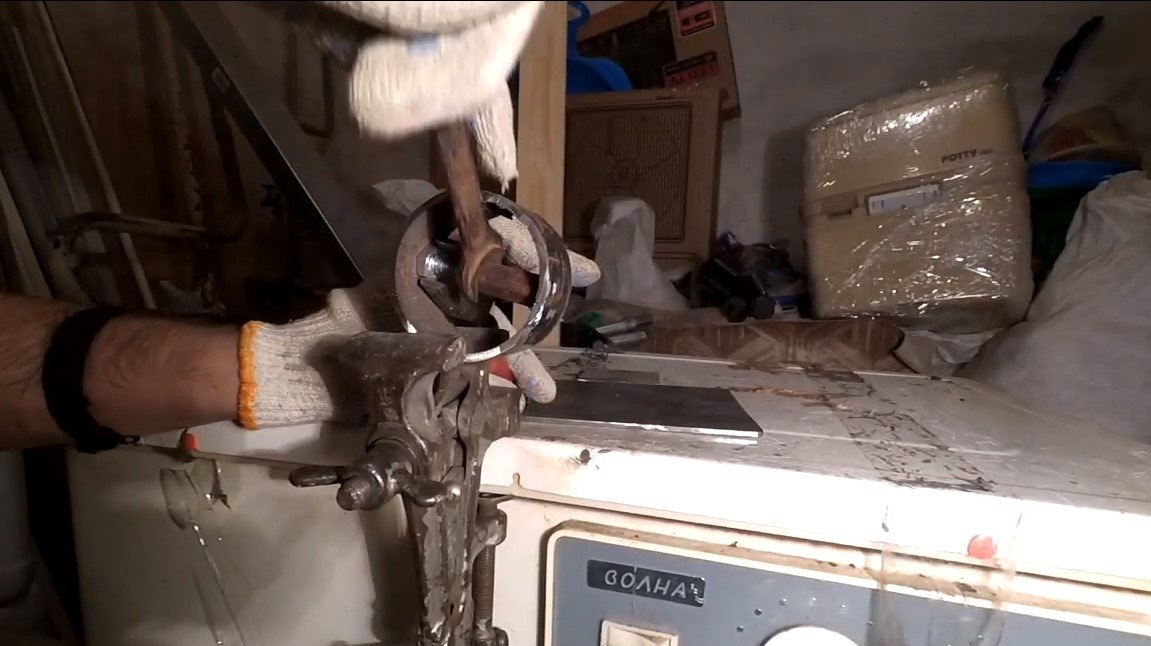
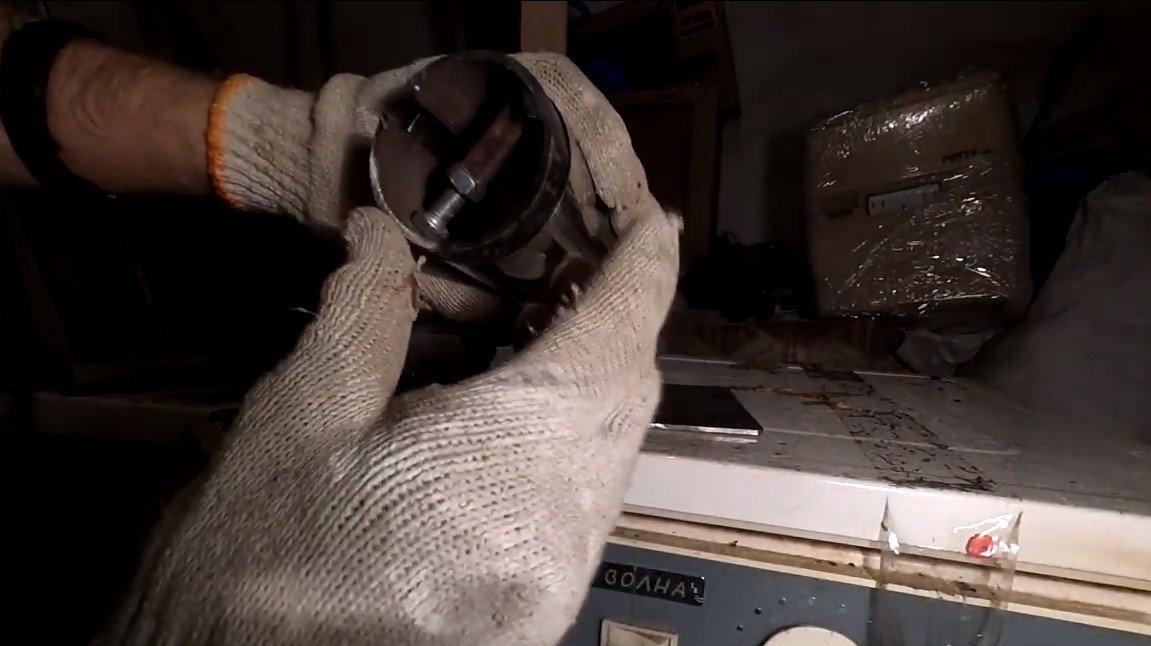
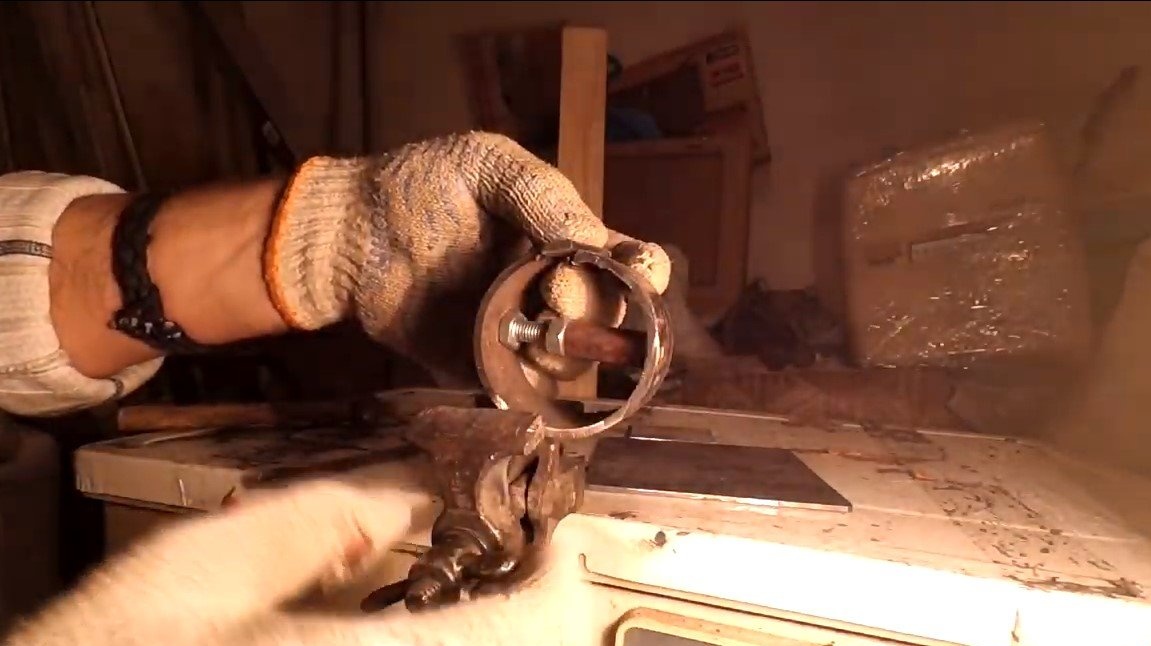
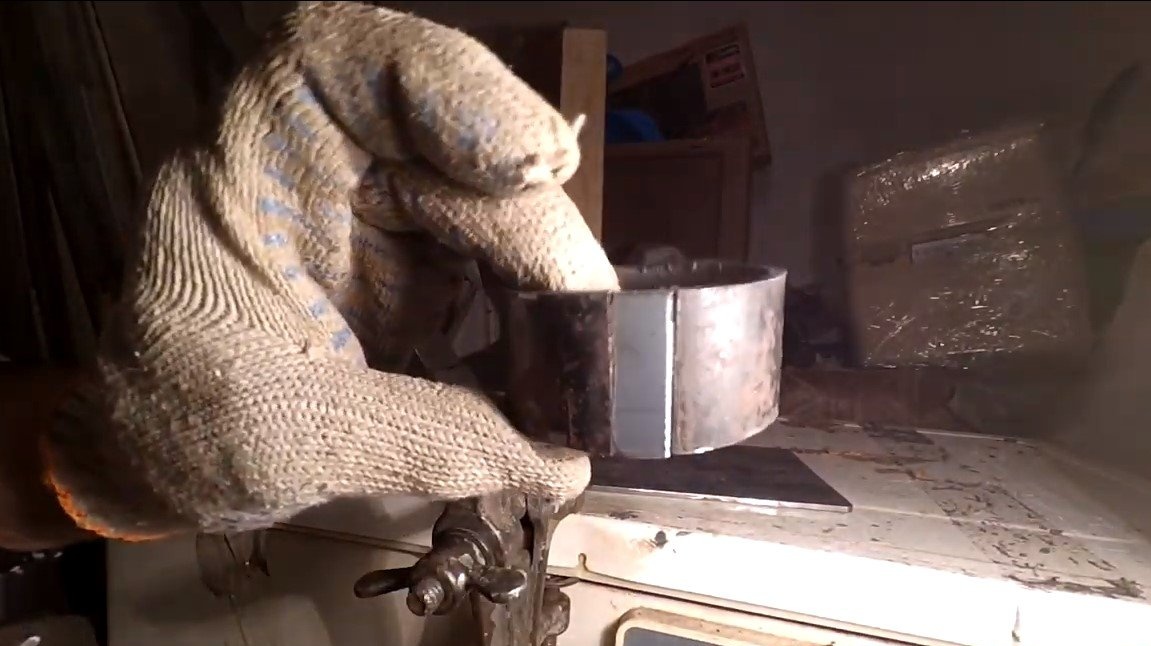
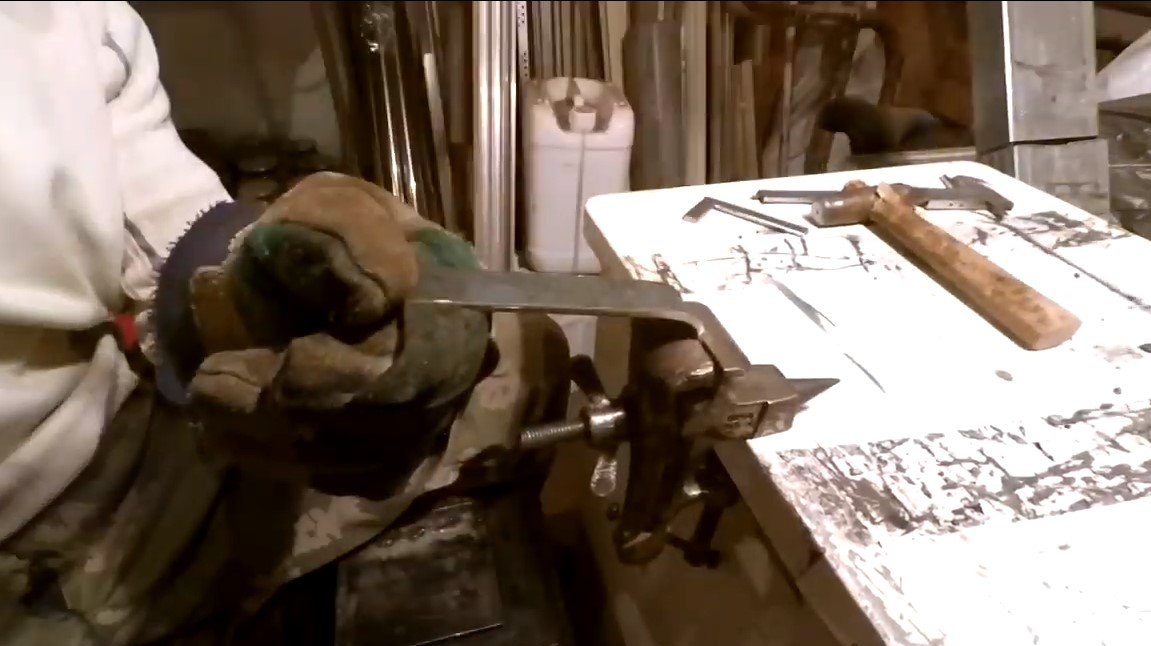
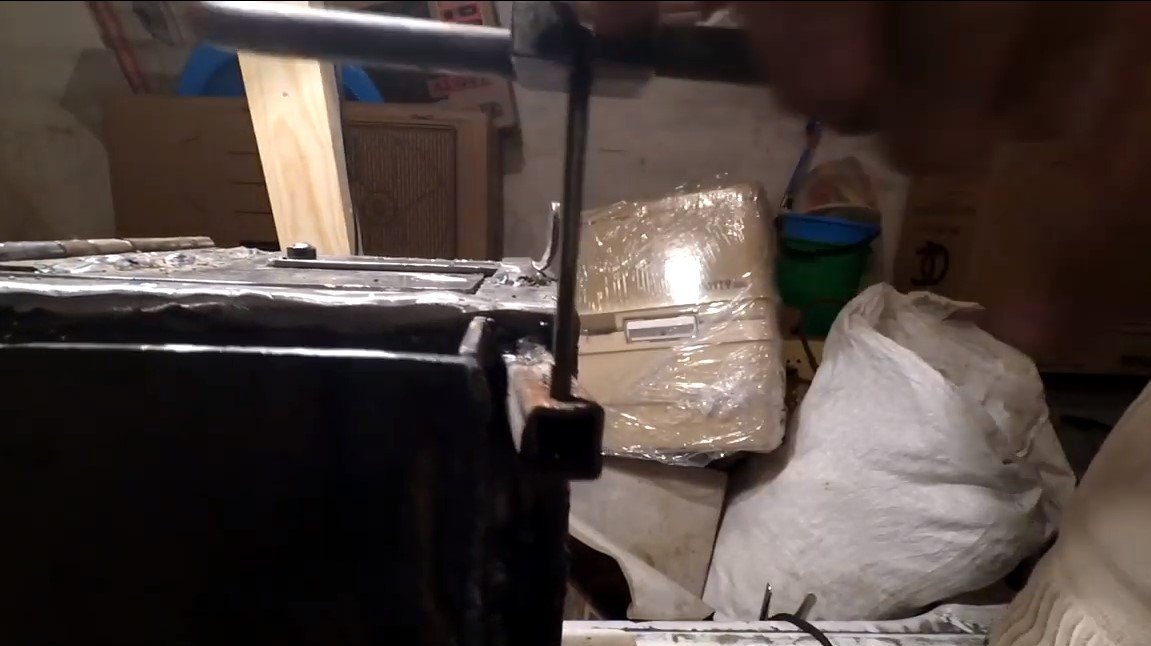
We make a smoke pipe, as planned by the author, it should be 65 mm in diameter. The author had a pipe of a smaller diameter, and he increased it. We cut the pipe across and then expand it with a bolt, nuts and a piece of steel pipe. Having opened the pipe, we try on everything and weld a piece of metal into the place of the formed gap.
The pipe remains to be installed on the furnace, do not forget that there is a coil inside the furnace and the smoke outlet should be at its very end. The author drilled a hole with a drill and welded a pipe.
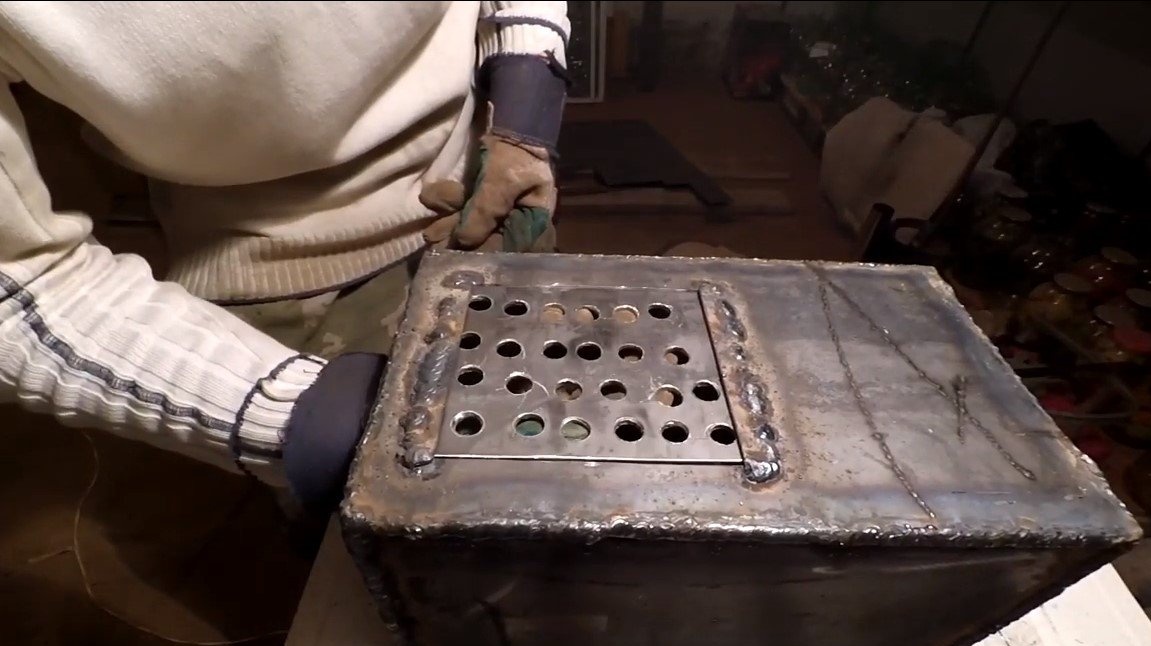
Step Three Grate, blower and ash collector
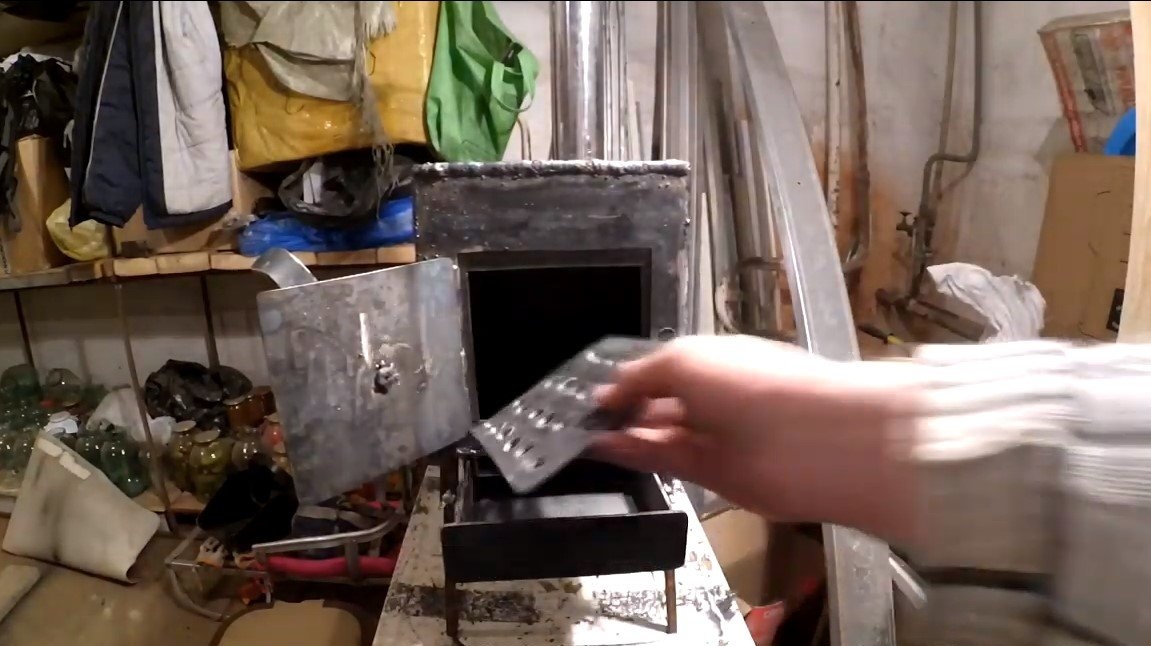
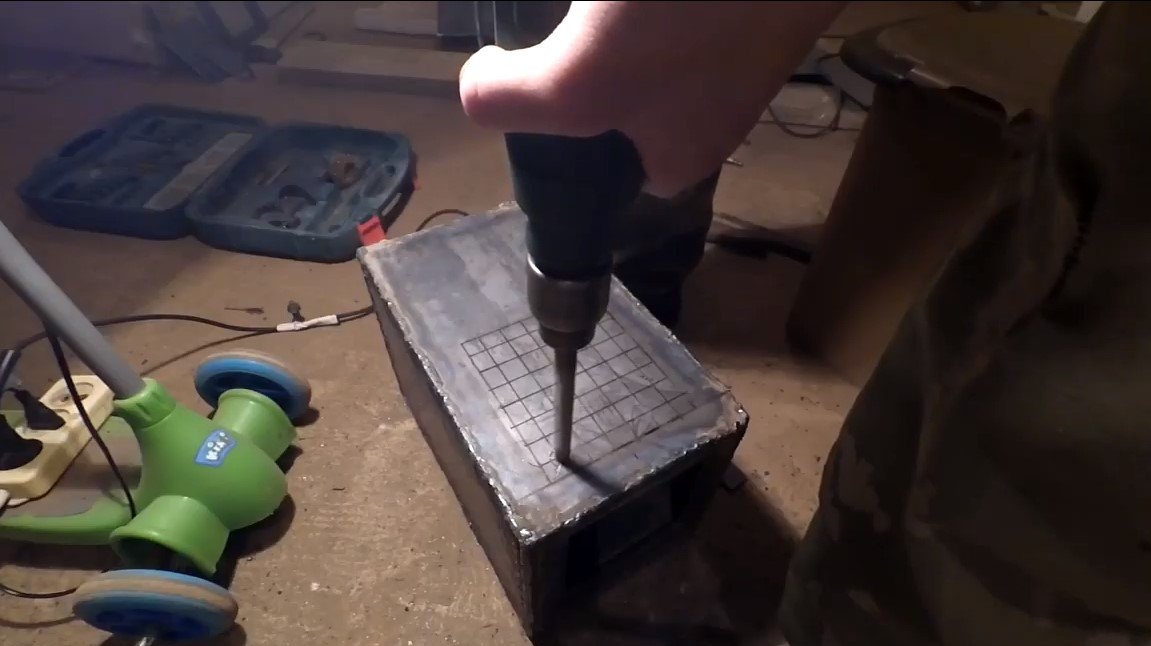
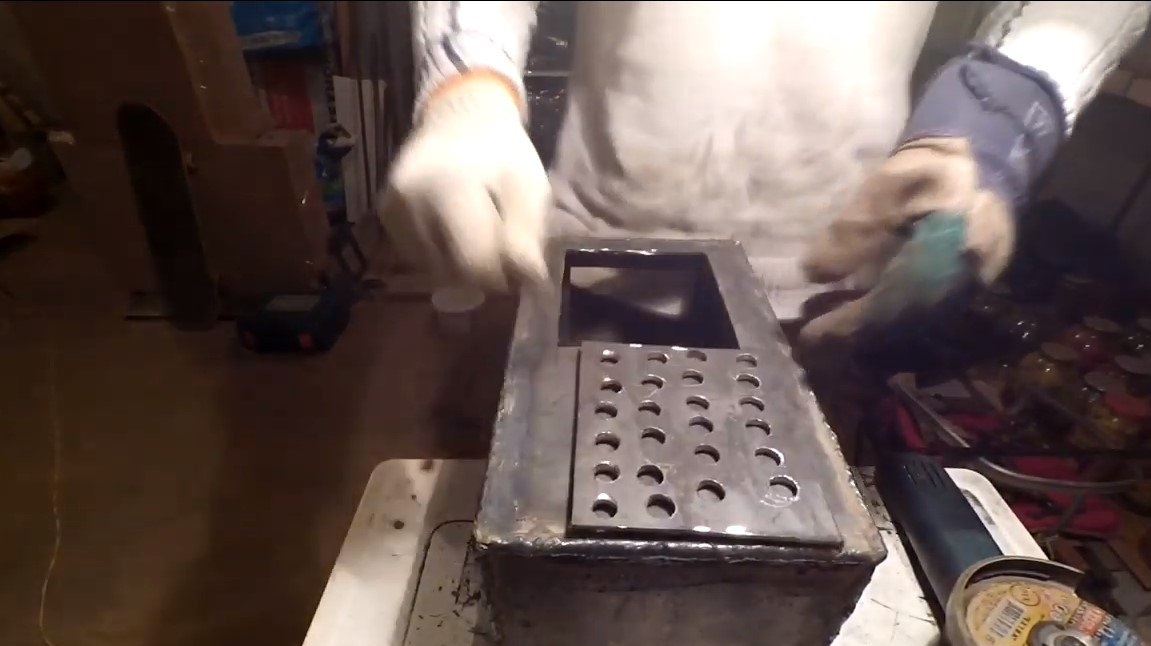
We mark the lower part and outline the places for the holes. We drill more holes through which air will go into the furnace. Well, then the finished grate remains to be cut using a grinder.
To grate lay inside the furnace, weld strips of steel.
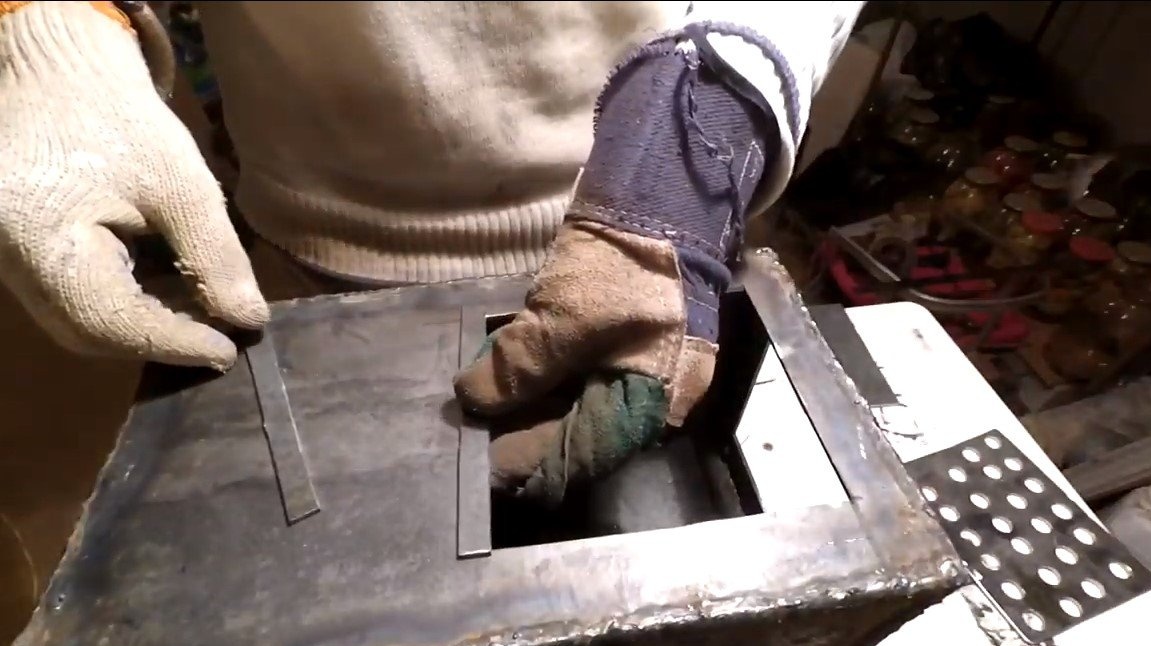

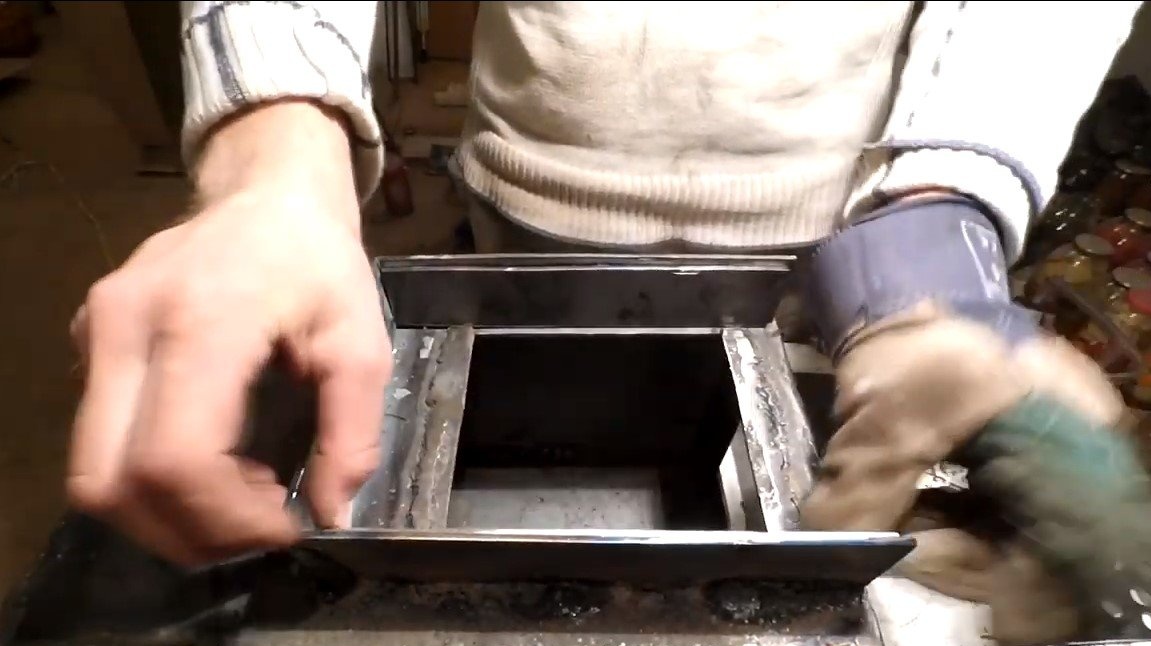
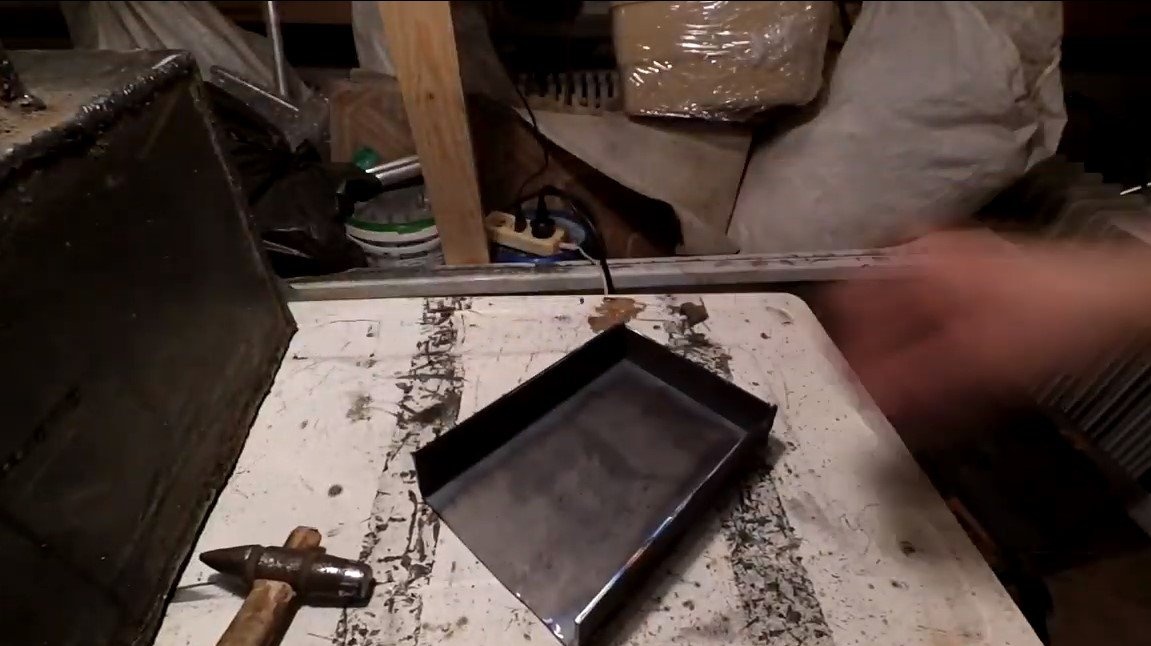
We also weld a chamber under the grates, into which the box will go. As for the ash drawer, it can also be welded from sheet metal, but to lighten weight, steel can be used thinner.
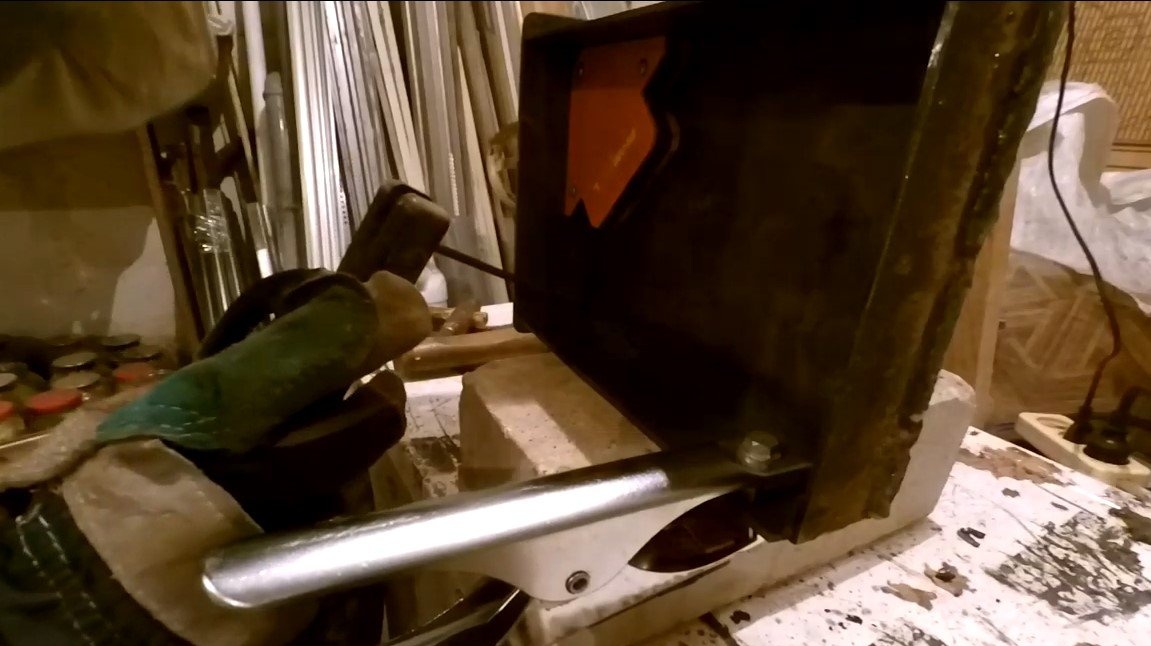
Step Four Door
We hang the door on good door hinges or on bolts with nuts, as many craftsmen do. It is extremely important for safety reasons to make a reliable gate valve for the door; its design is quite simple. As a hinge we use a bolt with a nut. So that the valve does not fall when the door is opened, it would be nice to weld an emphasis under it.
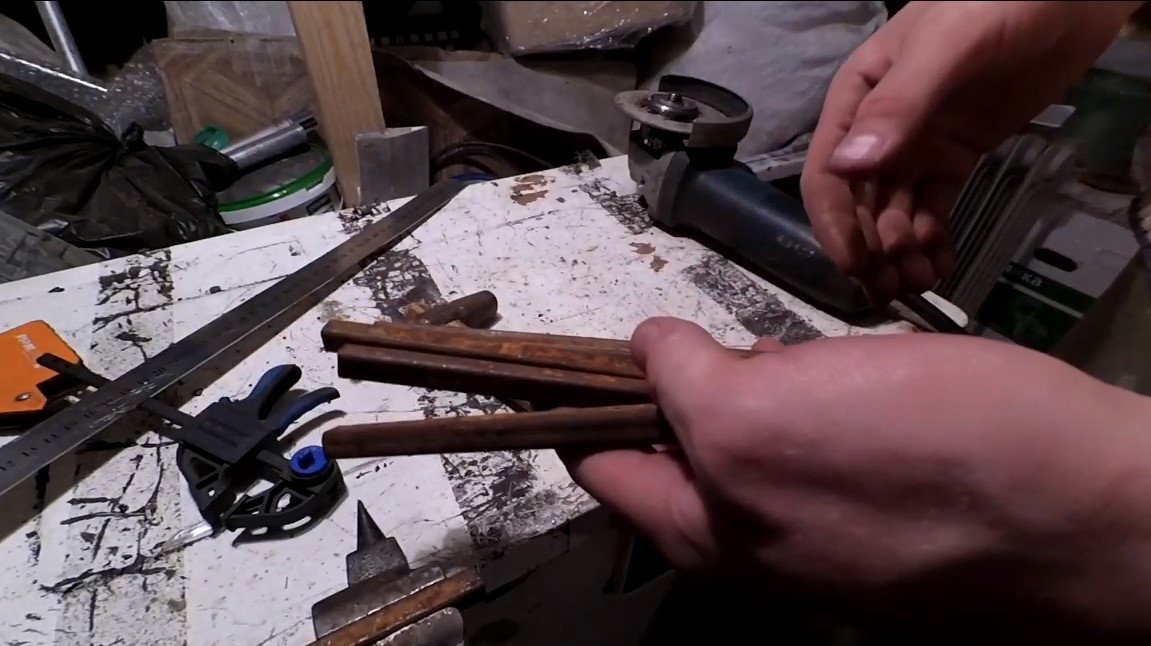
Step Five Legs
We make legs for the furnace, they are removable from the author, which is convenient about transportation. For the legs you will need pieces of a square profile pipe that are welded to the furnace. Pipes of a smaller diameter, which are legs, are inserted into these welded pieces. In the fasteners we drill holes and cut the threads for screws. So that everything can be untwisted by hand, wing nuts can be welded to the screws.
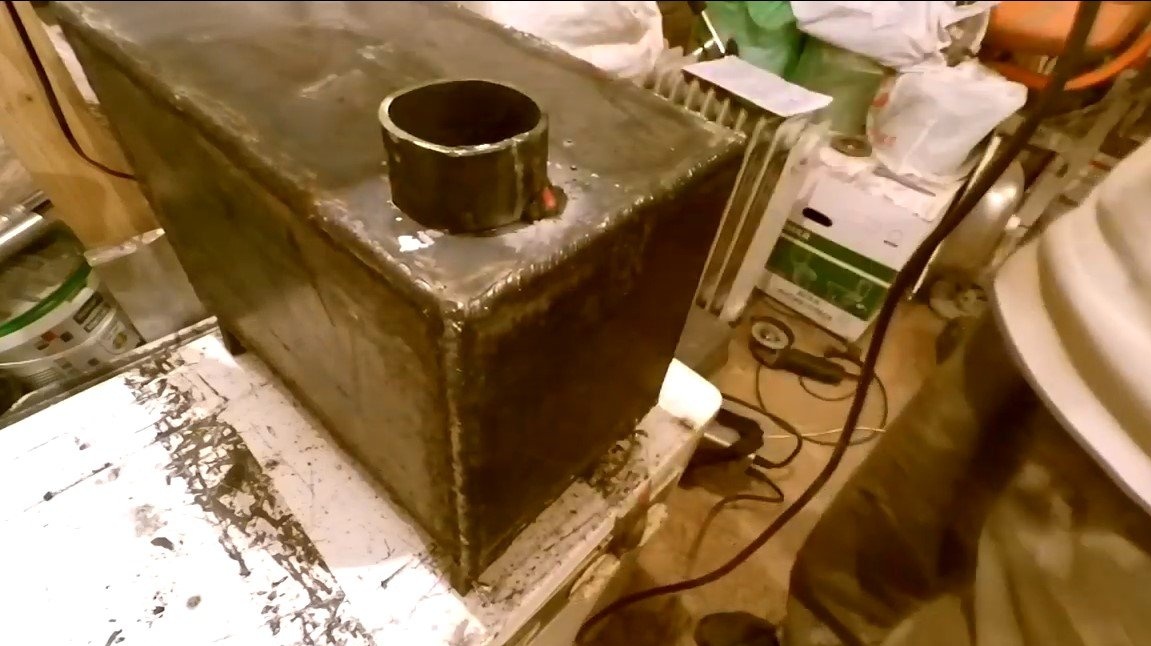
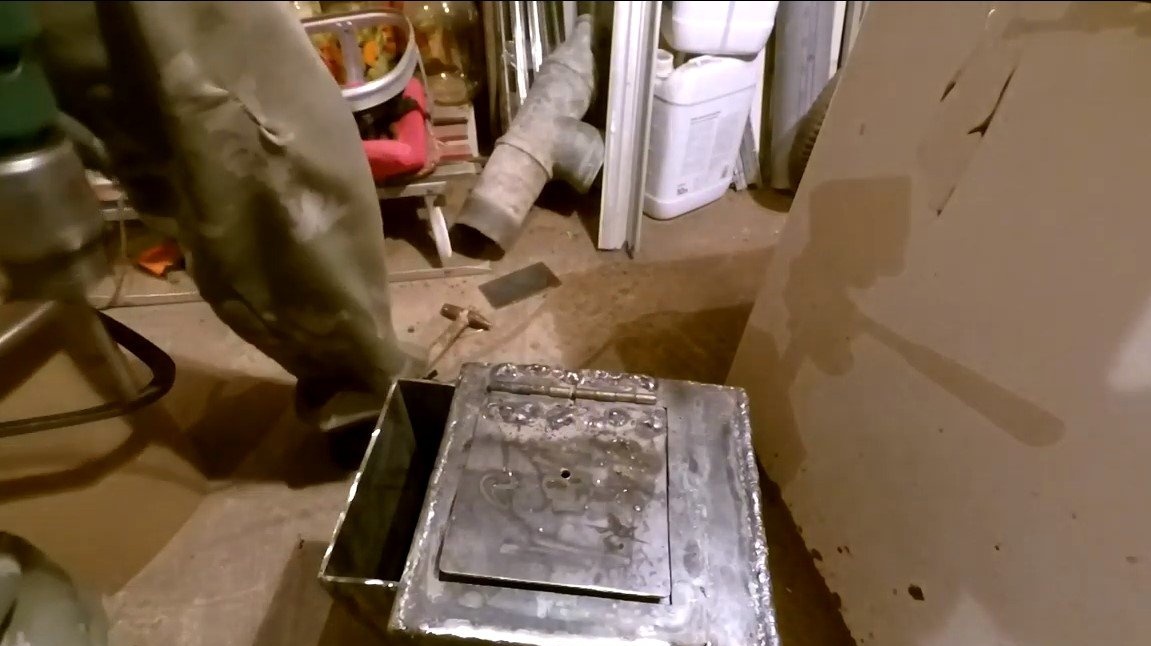
That's all, after that the oven is ready, it remains to clean the welds well and paint everything with heat-resistant paint. We put a pipe from stainless steel at 65 and the furnace is ready to please you with warmth. Such a homemade product will consume little fuel, and will burn well due to the coil in the upper part. You can control the air supply by pulling out the ash drawer.
This is the end of the project, I hope you liked the homemade work, and you found useful thoughts for yourself. Good luck and creative inspiration, if you decide to repeat this. Do not forget to share your ideas and homemade things with us!