Hello everyone, today we will consider a simple design of a blacksmith furnace. Such a furnace works on gas, it can be fed from a gas pipeline or cylinder. Such a furnace is good in that the steel heats quickly, and the furnace instantly reaches the desired temperature when compared with electric furnaces. Homemade assembled like a table, the stove is equipped with legs with wheels that will allow it to be moved to the right place. Burners for the manufacture of the author used ready-made. If you are interested in the project, I propose to study it in more detail!
Materials and tools used by the author:
Material List:
- corner;
- round pipes;
- castors for trolleys;
- Sheet steel;
- heat resistant cement;
- refractory brick;
- gas hoses, valves, fittings, etc .;
- two gas burners.
Tool List:
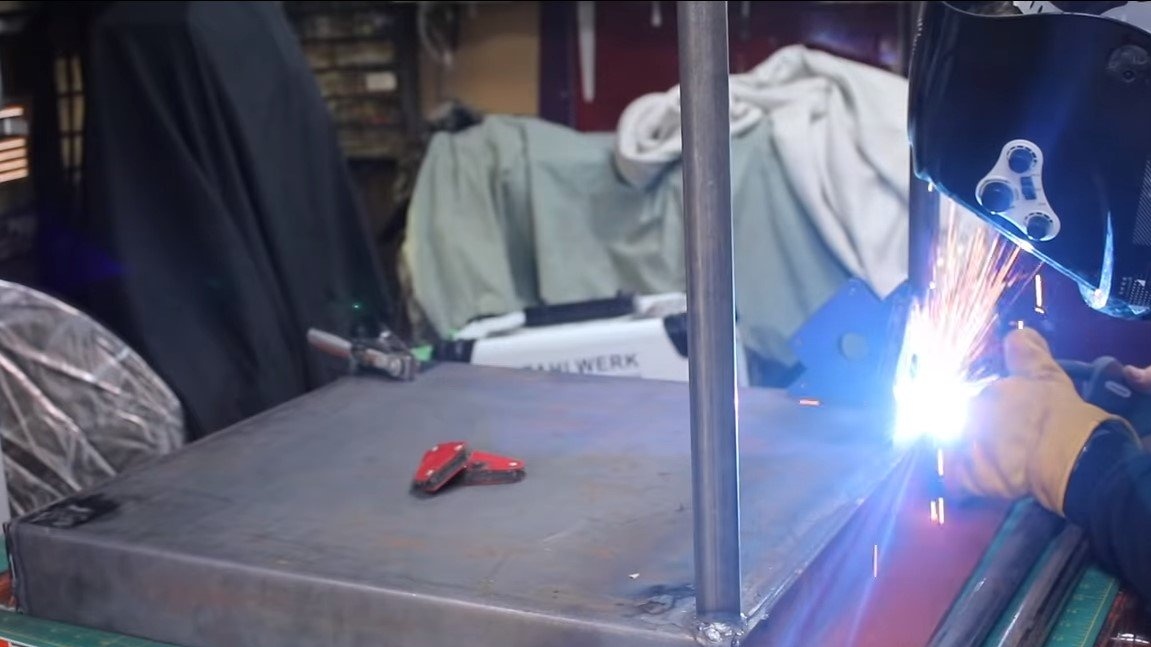
- welding machine;
- vise;
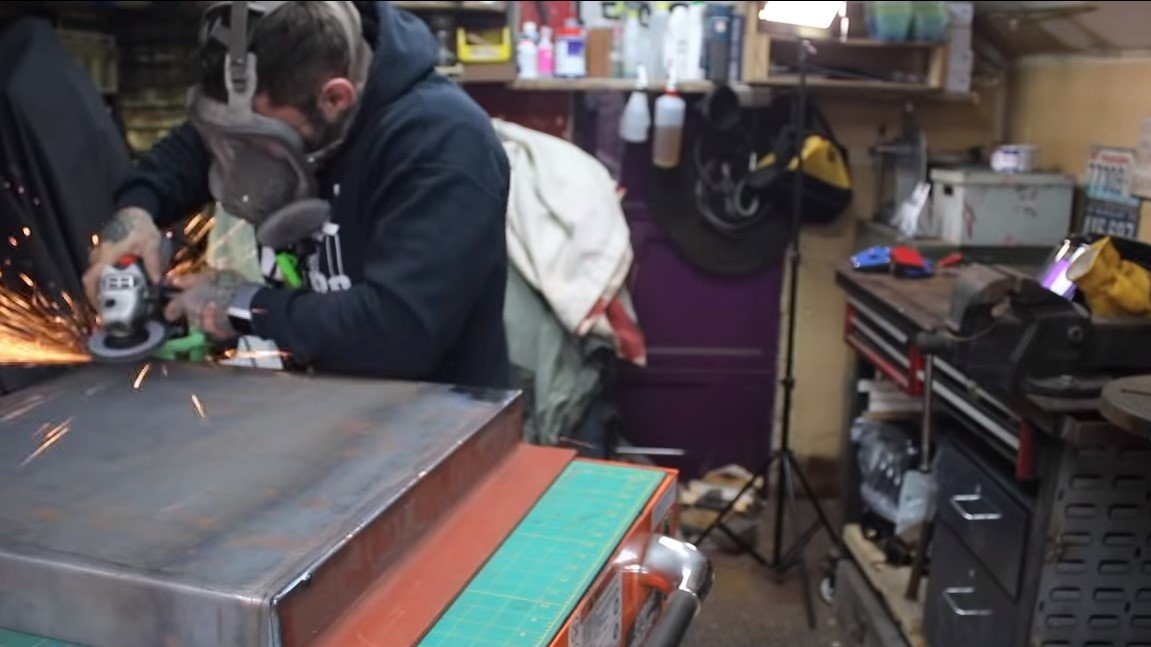
- grinder;
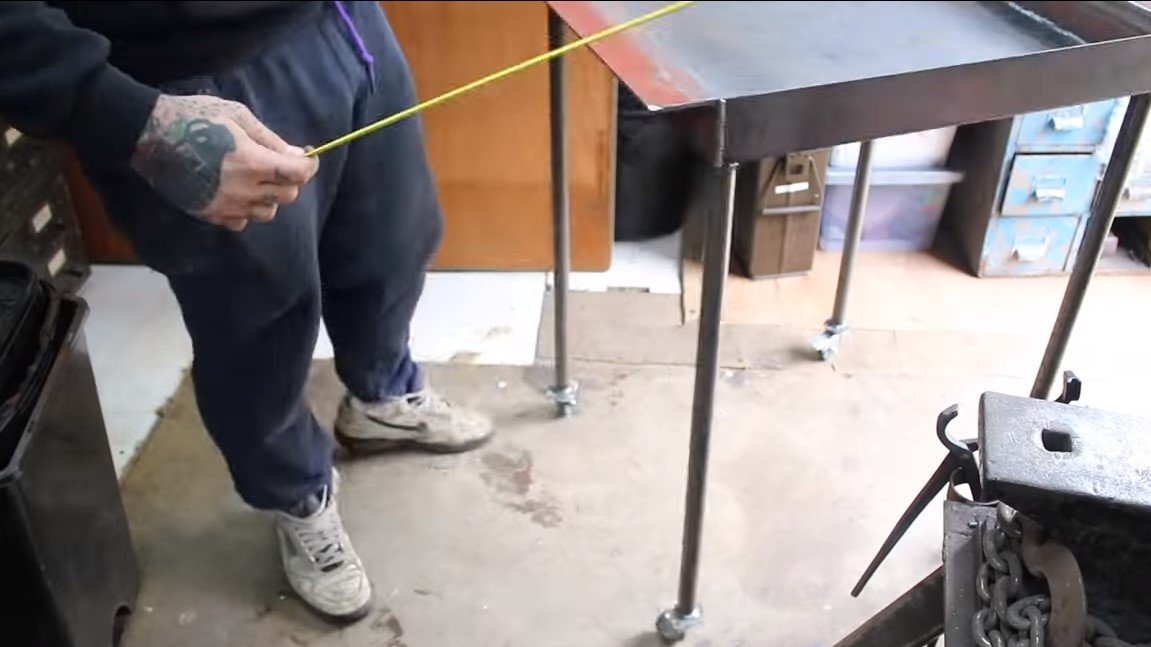
- roulette;
- tape cutting machine.
Furnace manufacturing process:
Step one. Legs
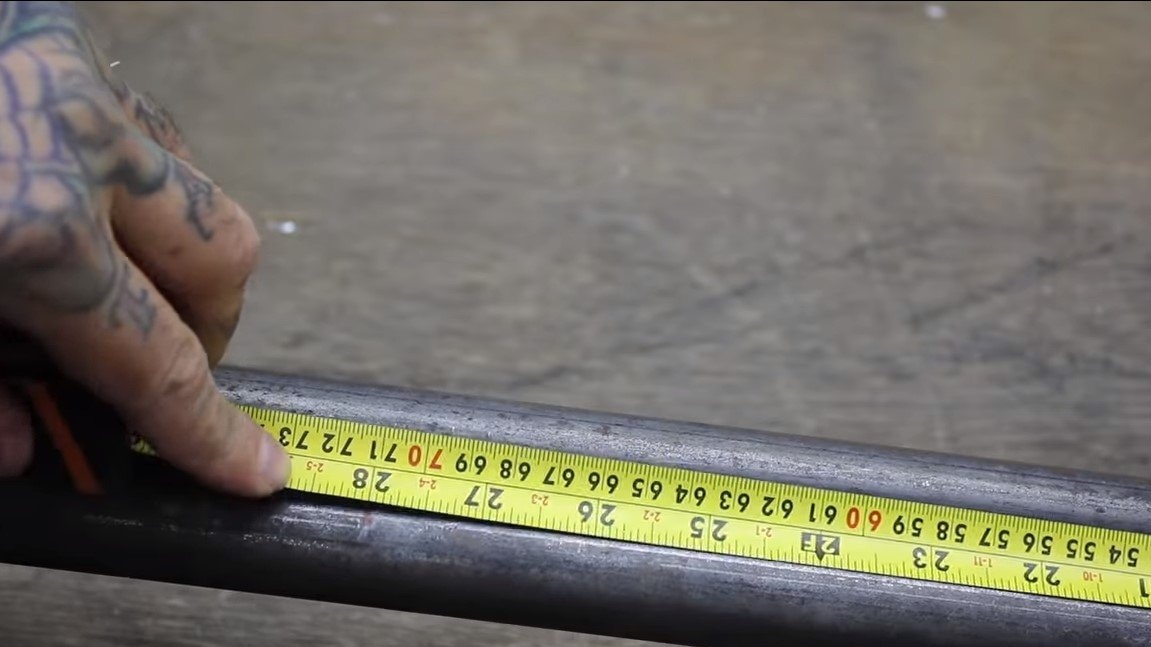
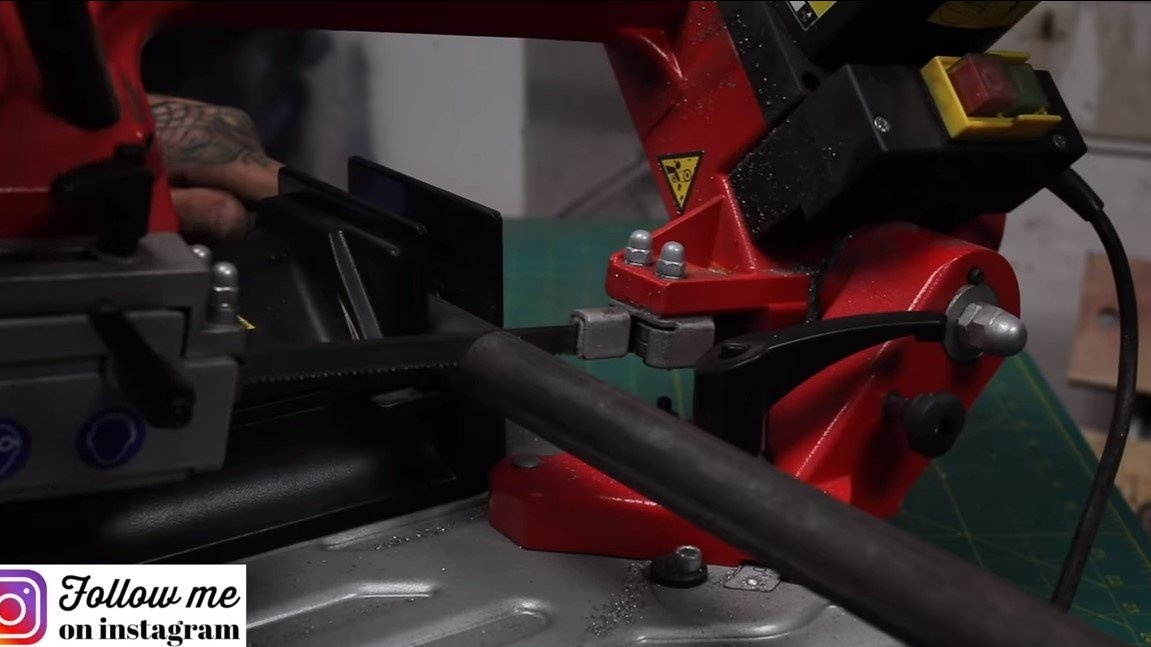
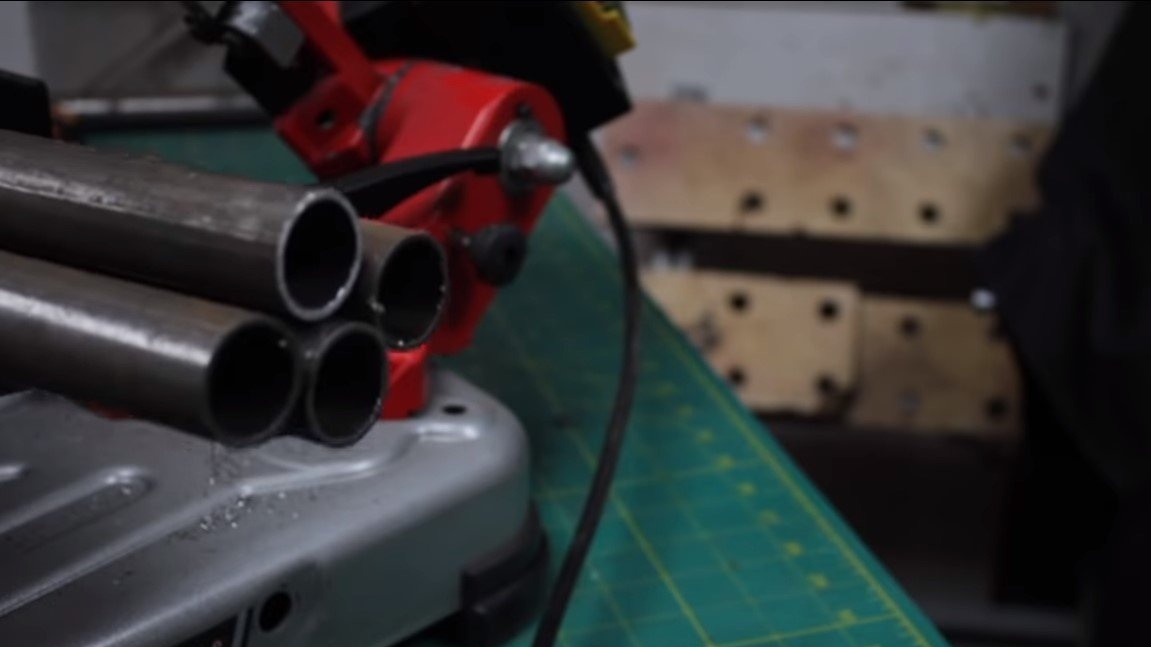
First thing auto I decided to make legs for homemade work, pipes will be needed as a material, the author used round ones, but profile ones who have something are quite suitable. We cut pipes at right angles to the same length, the author used a tape cutting machine, but if you want, you can handle it with a grinder. To the ends of future legs we weld the wheels from the cart, which can rotate around its axis 360 degrees. So that the wheels can be replaced, it is better to make brackets for them and fix them with screws and nuts.
Step Two Putting the foundation together
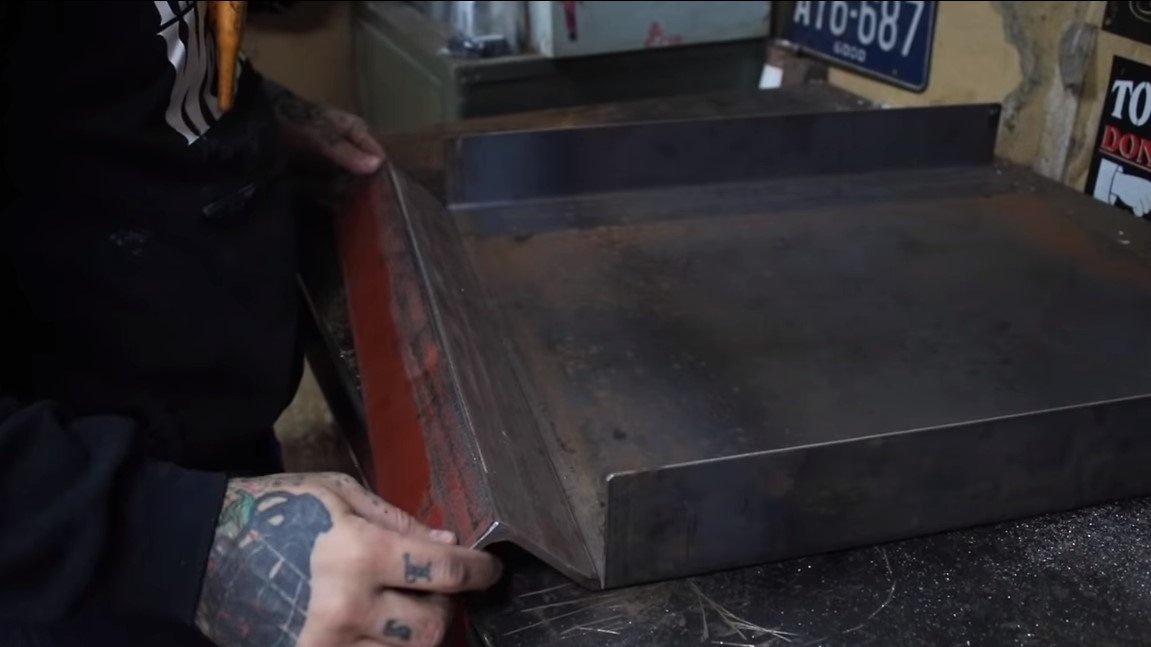
Next, we collect the base, the author used sheet steel as the main material, its edges can be bent to make a box. If you do not want to bend, you can cut steel and weld. As two side walls of the box, the author welded pieces of a massive corner. As a result, thanks to the corner, the oven turned out to be an excellent shelf.
Having made the box, we weld to it at a right angle the legs made earlier.


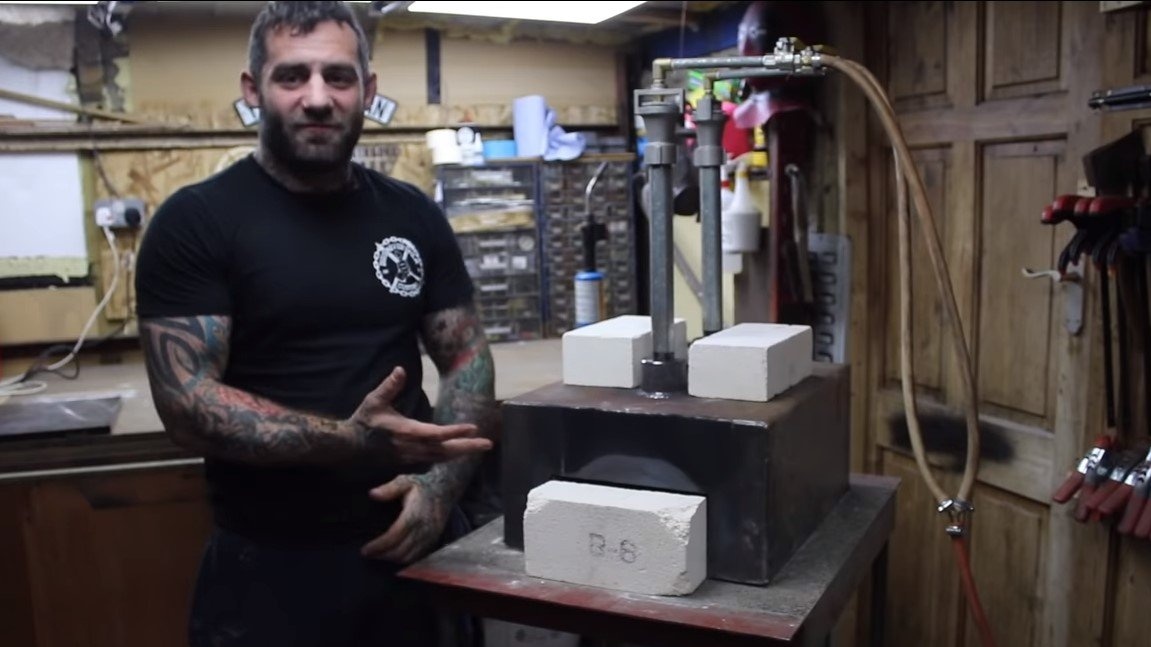
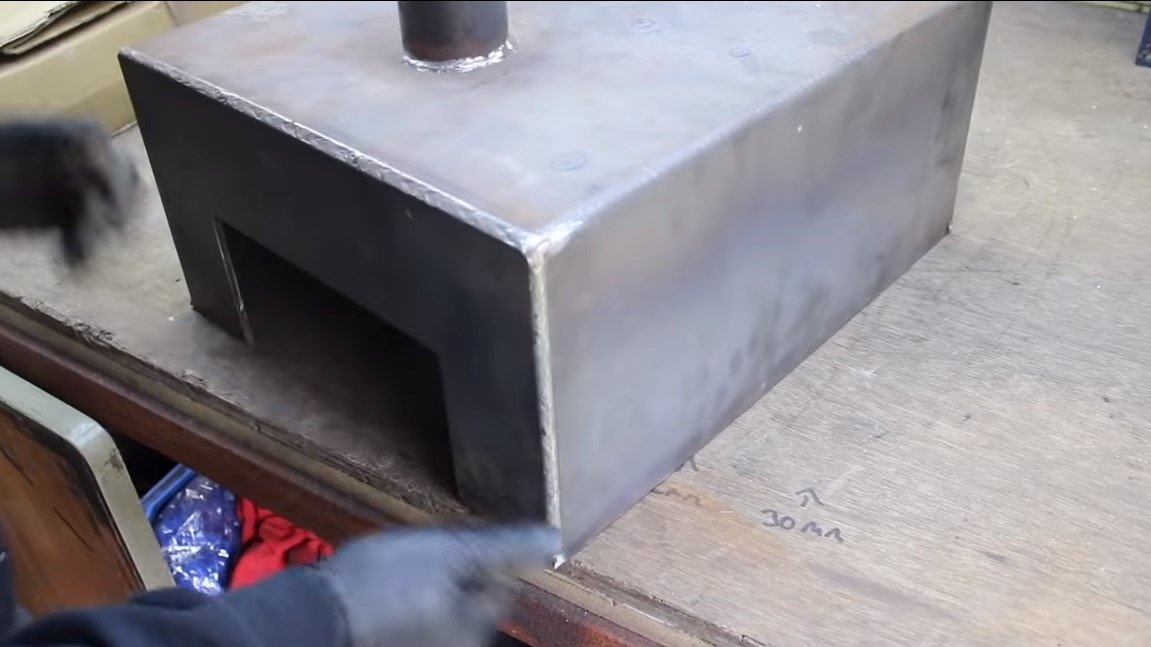
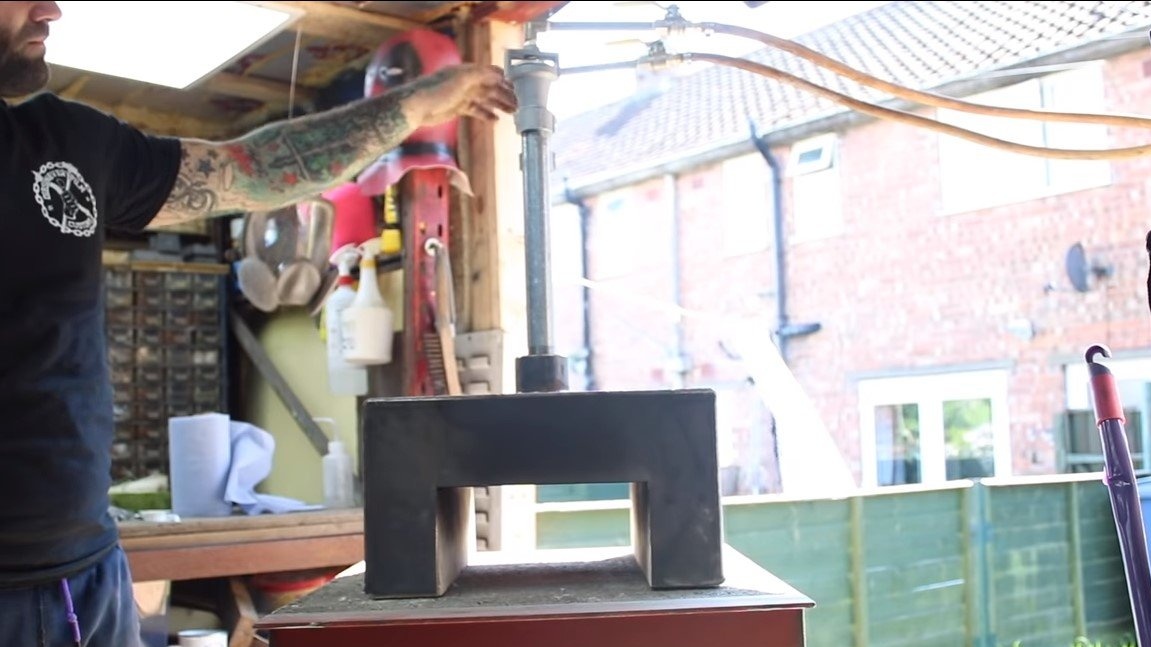
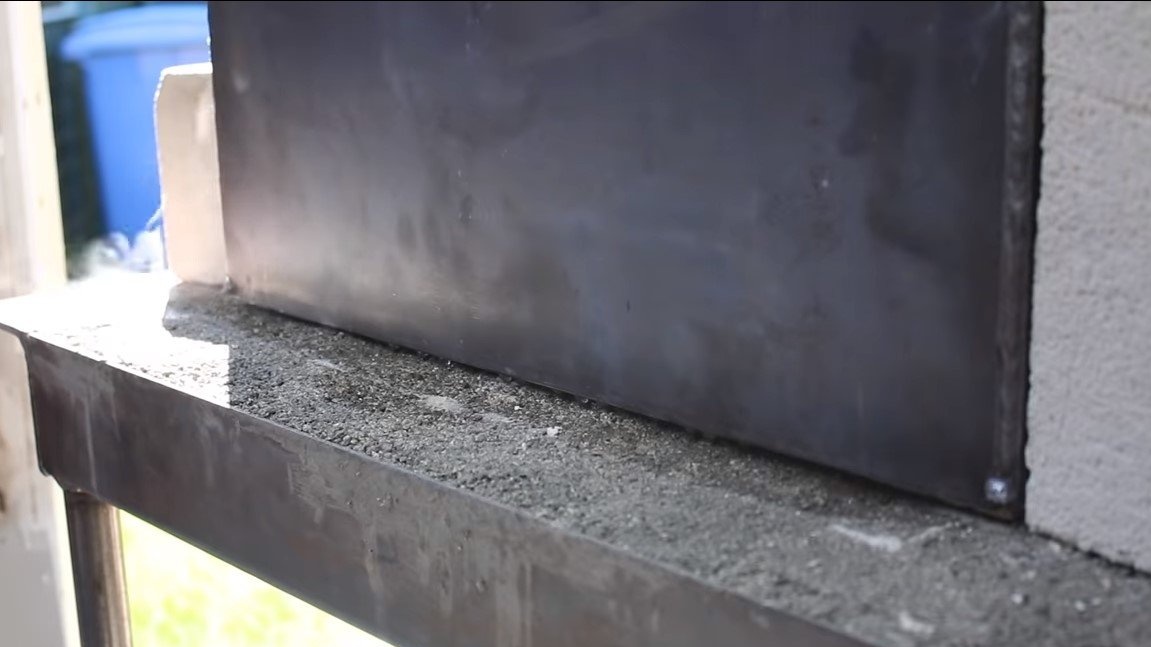
Step Three Making the top of the furnace
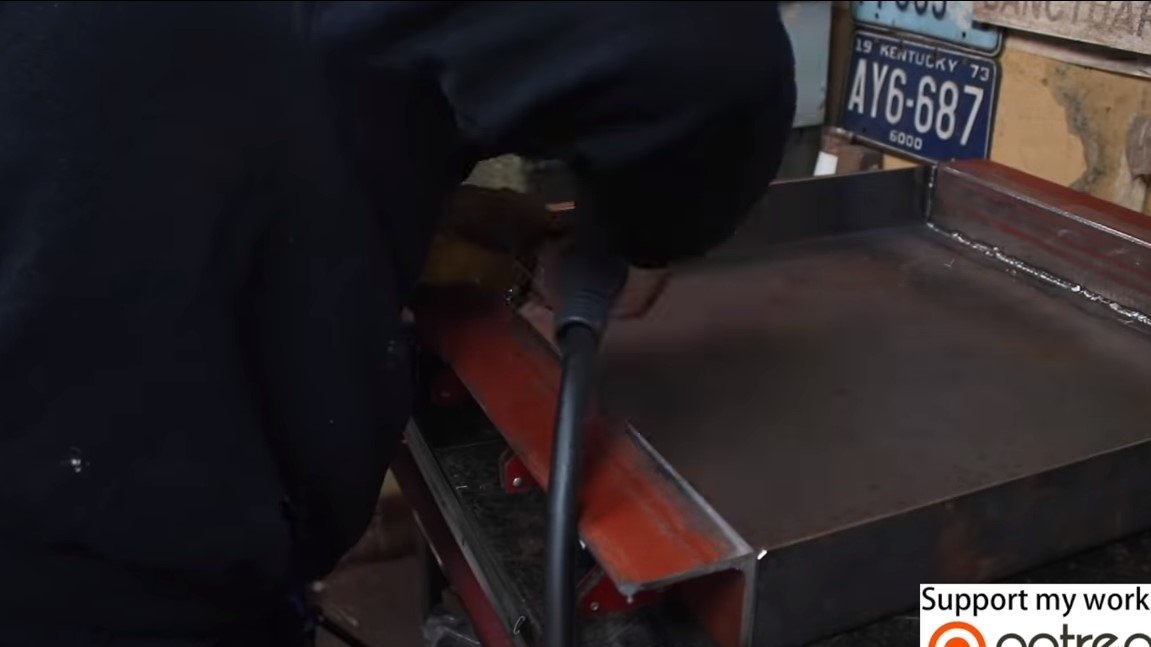
Next, we make the upper part of the furnace, its author also welded from sheet steel. The length of the structure is such that two refractory bricks can be laid in a row in it. There should also be room for pouring heat-resistant cement.
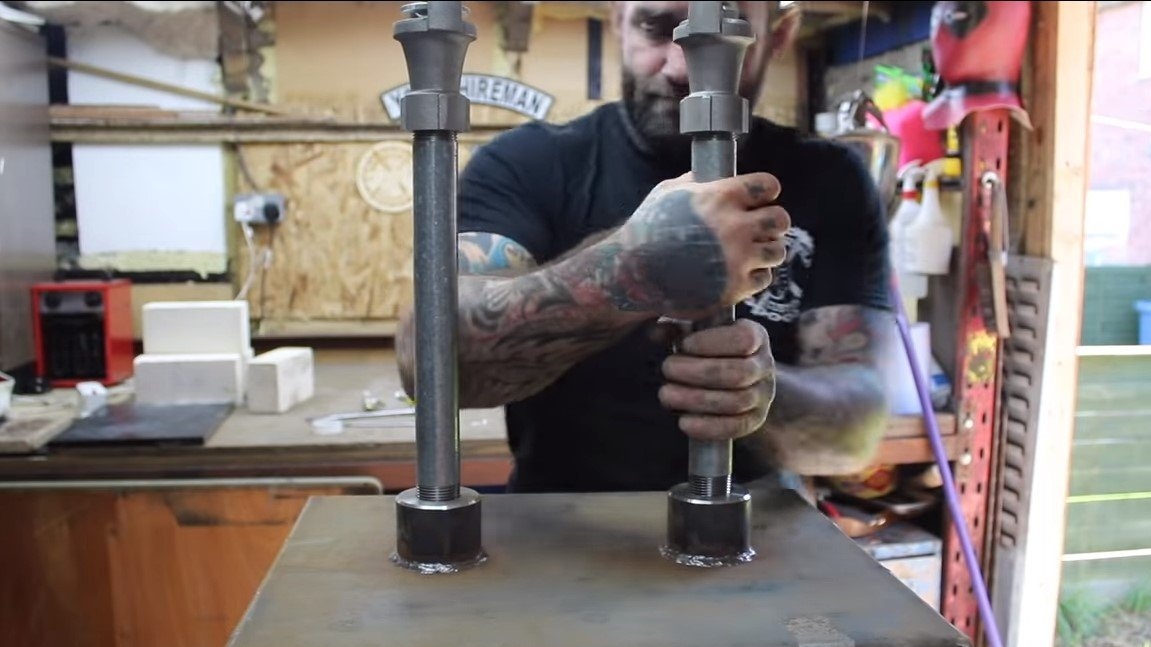
In the upper part we vertically install two pieces of steel pipe, through them a combustible mixture will be fed into the furnace.

Step Four Thermal insulation
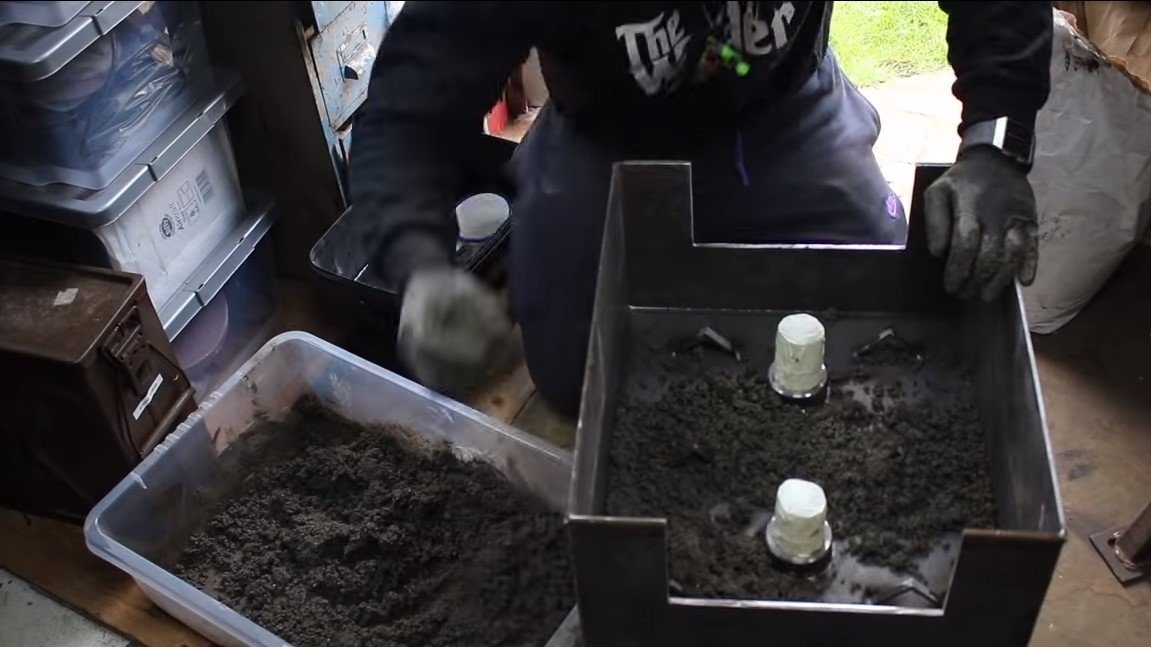
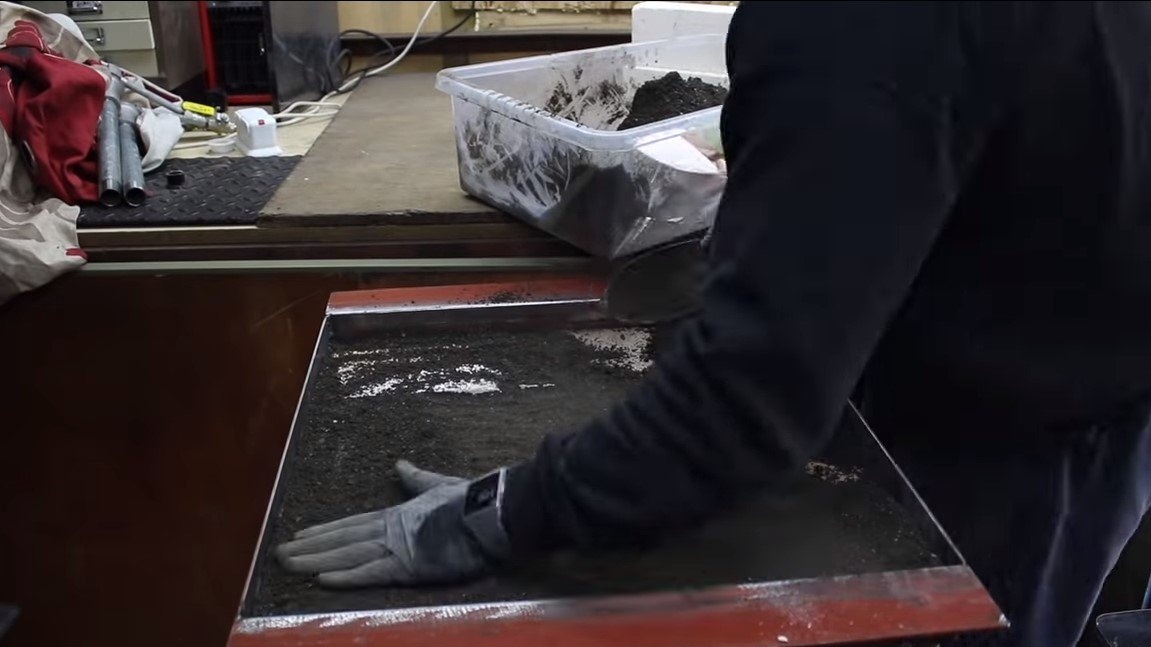
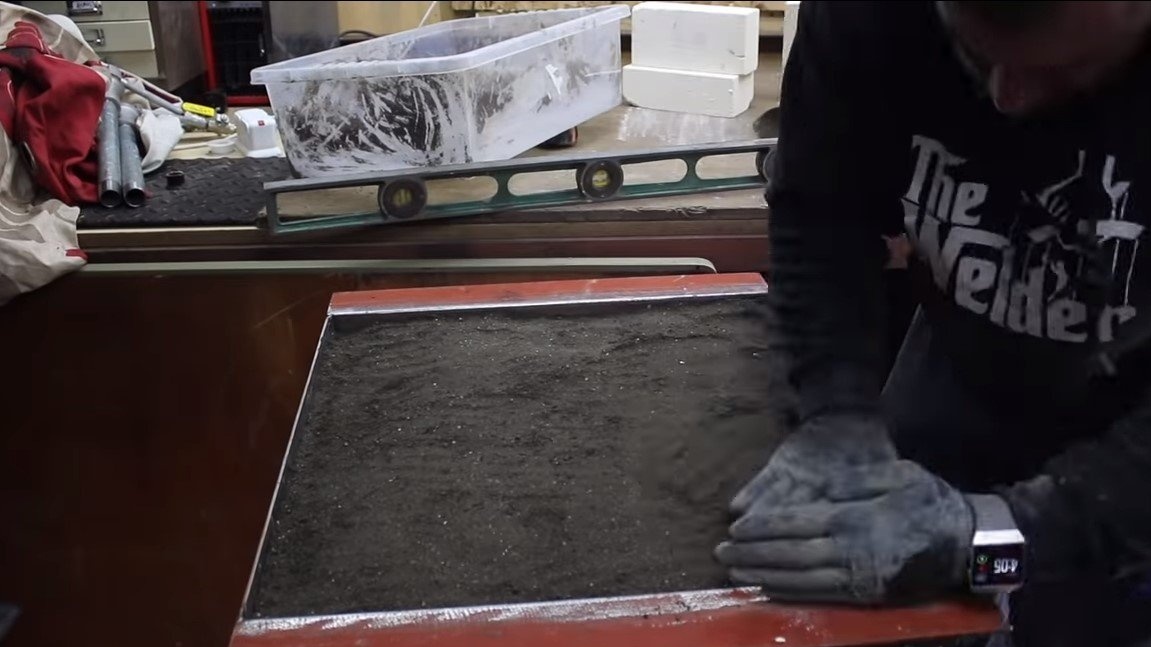
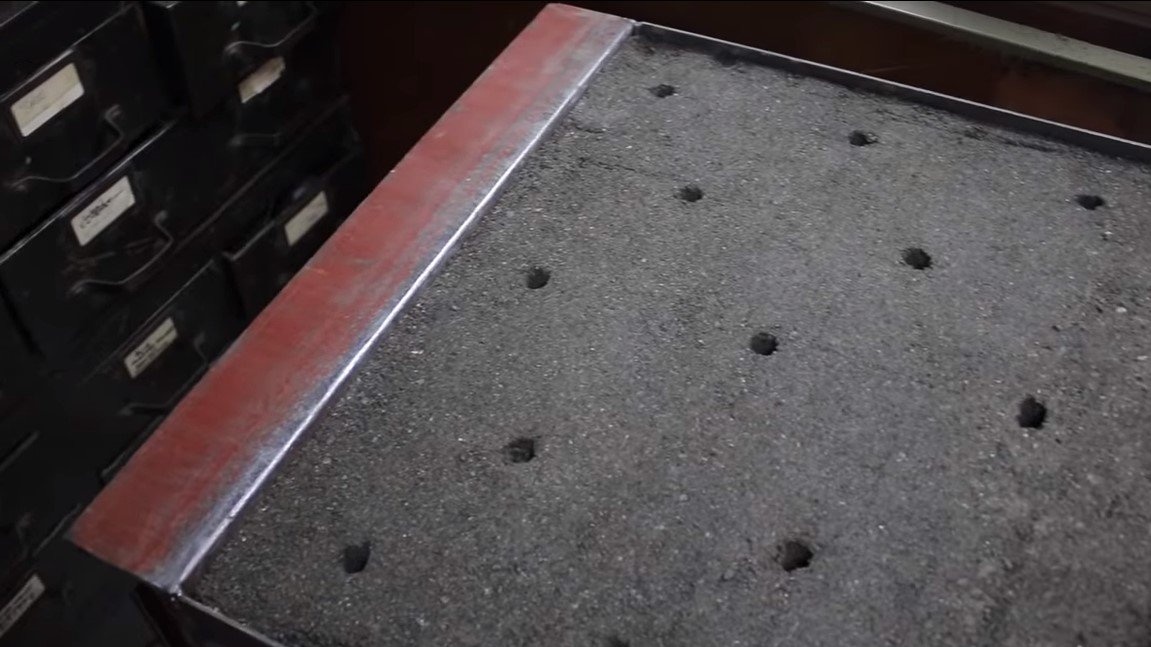
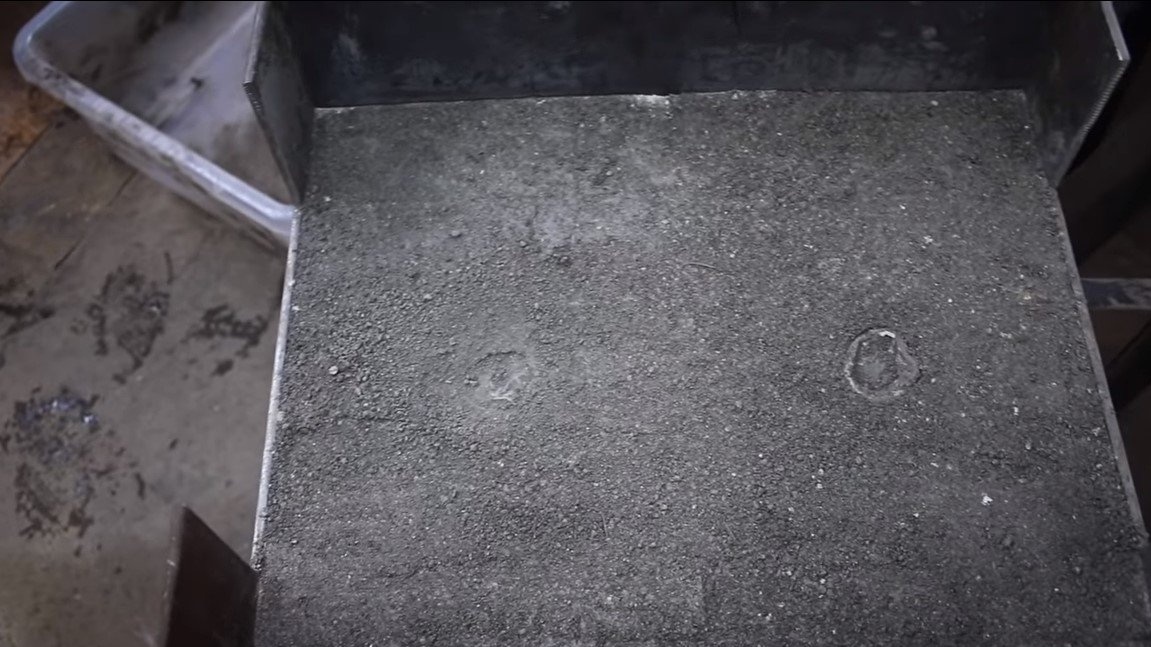
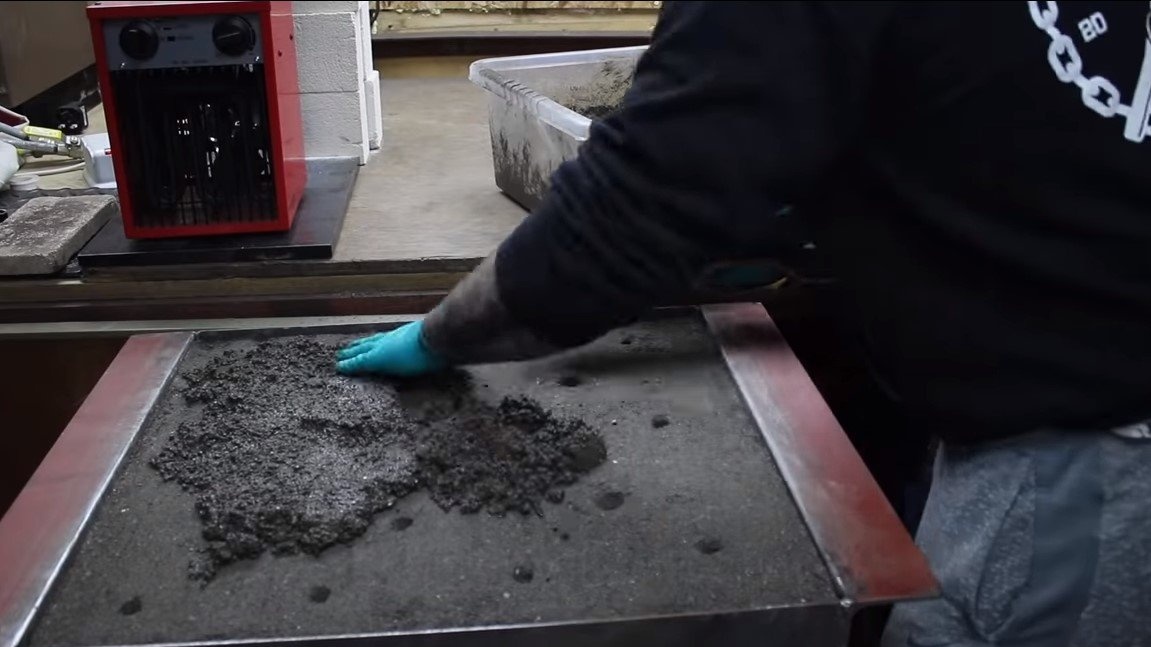
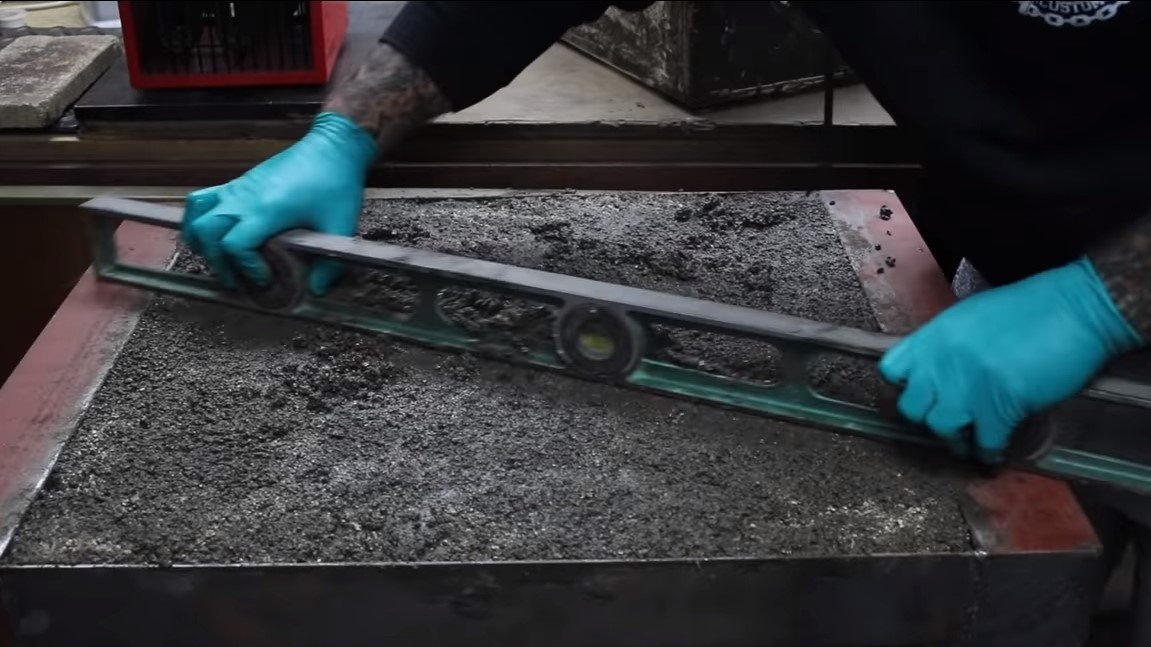
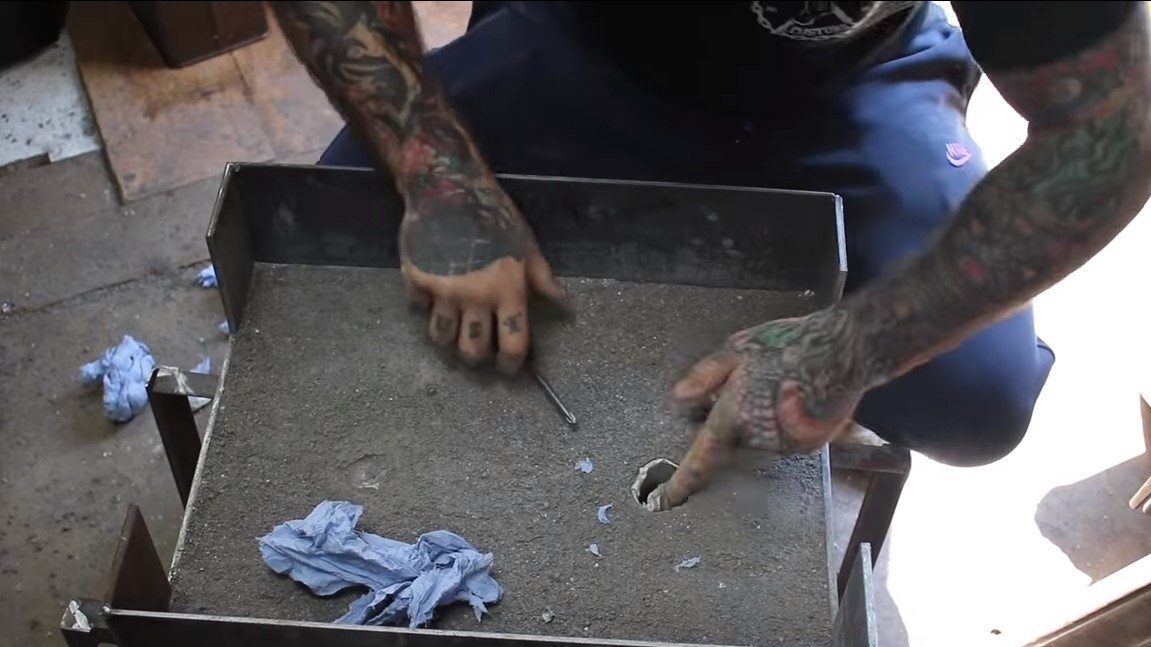
Thermal insulation is placed in the upper and lower part.We open the gas inlet openings in the upper part of the furnace with paper or rags so as not to block them. Well, then we put heat-resistant cement into the body, the mixture must be evenly distributed and well compacted.
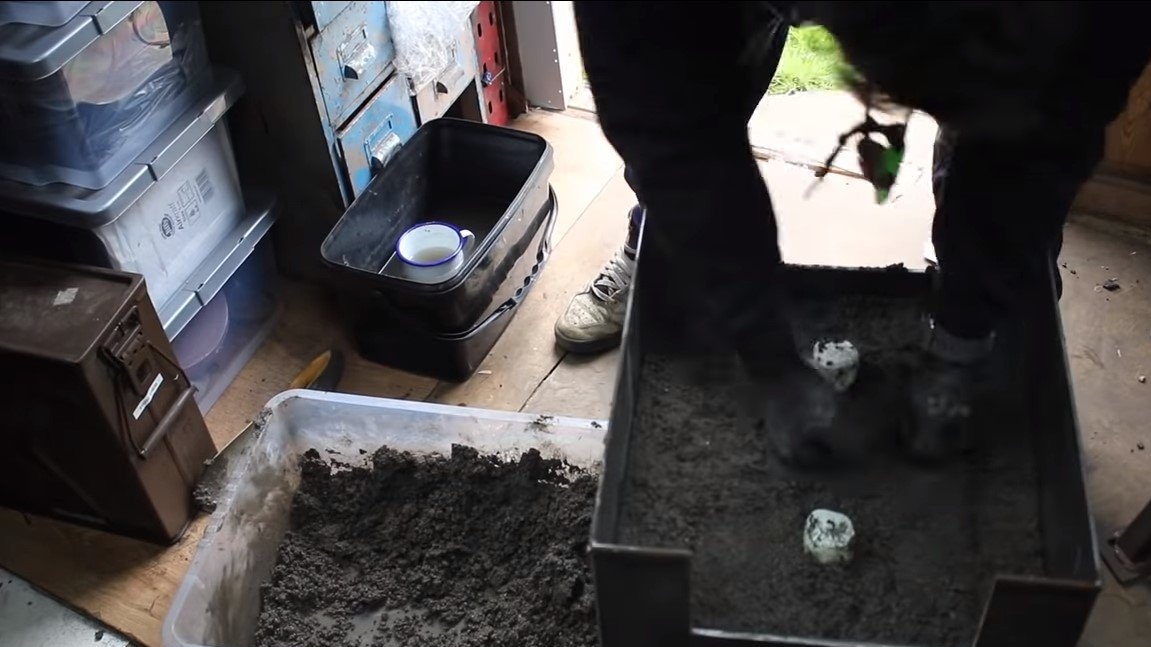
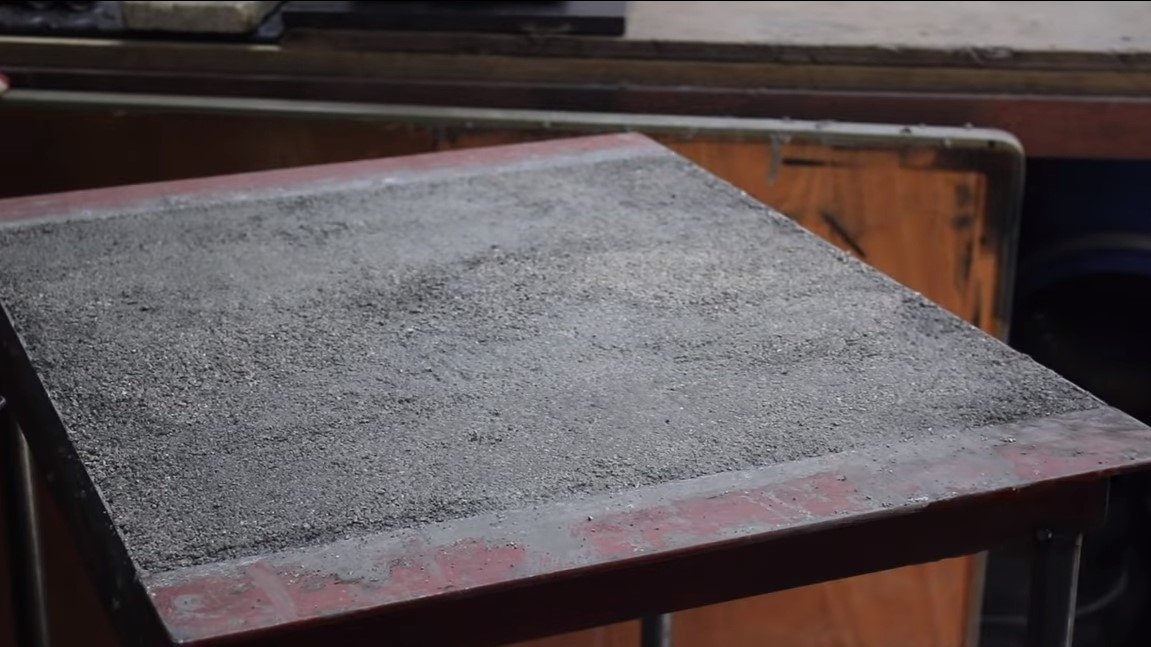
As for the base, we also put in it a heat-resistant composition. In order to save money, you can put a suitable dry insulator like mineral wool on the bottom of the case, and then we make a screed from a heat-resistant composition on top. Align everything well and leave to dry.
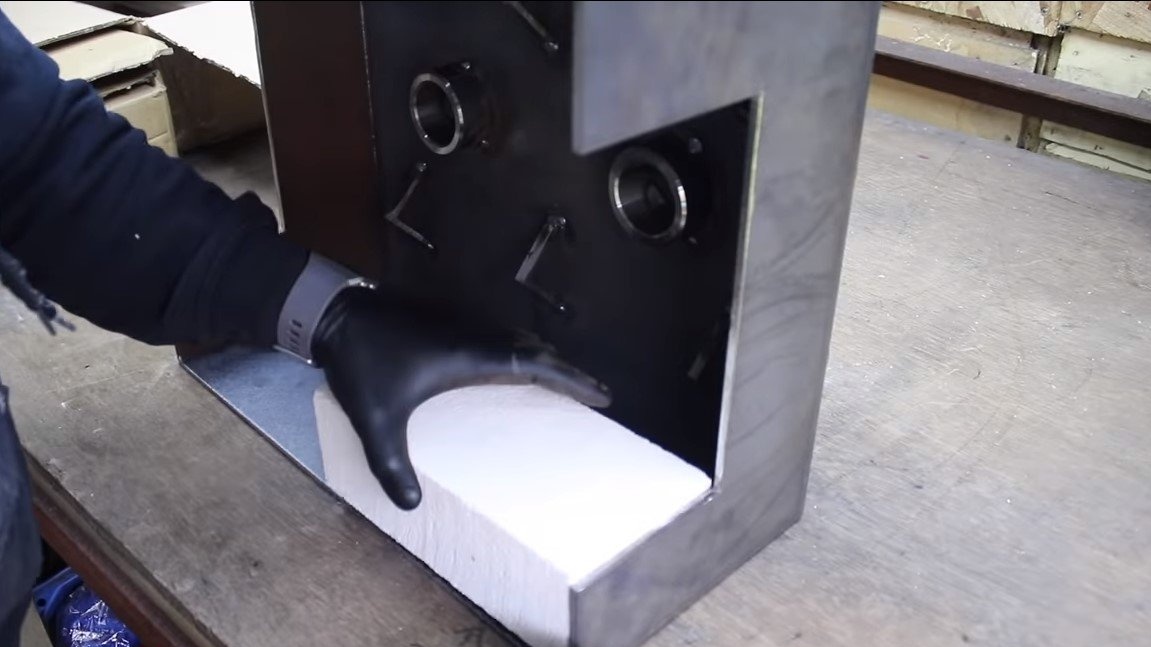
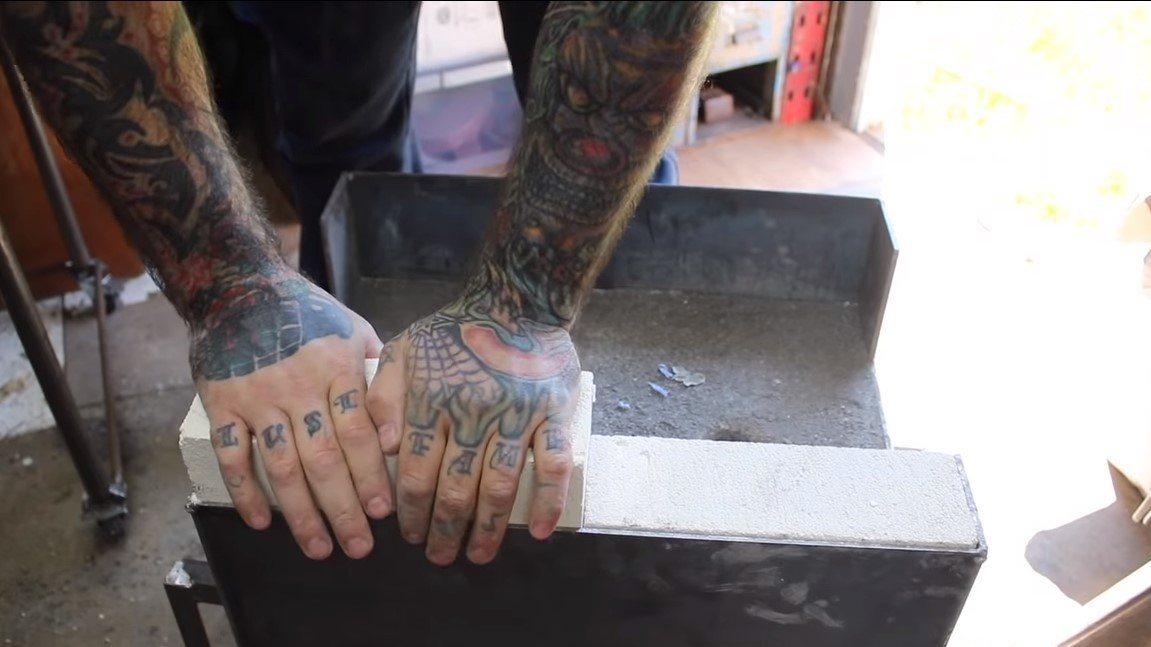
At the end, the author laid a heat-resistant brick in the upper part on the sides, which holds the insulating layer and also insulates the side parts. For bricks, stops can be welded to the body so that they do not fall out. After that we put the halves one on the other and now the oven is ready.


Step Five Connection and testing
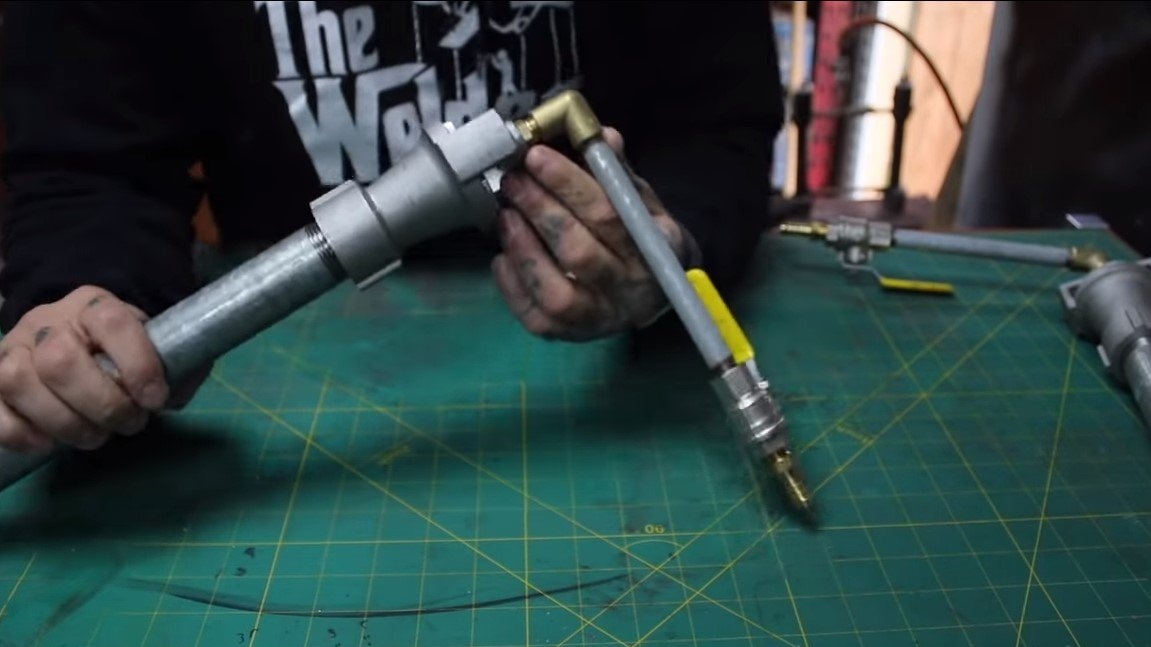
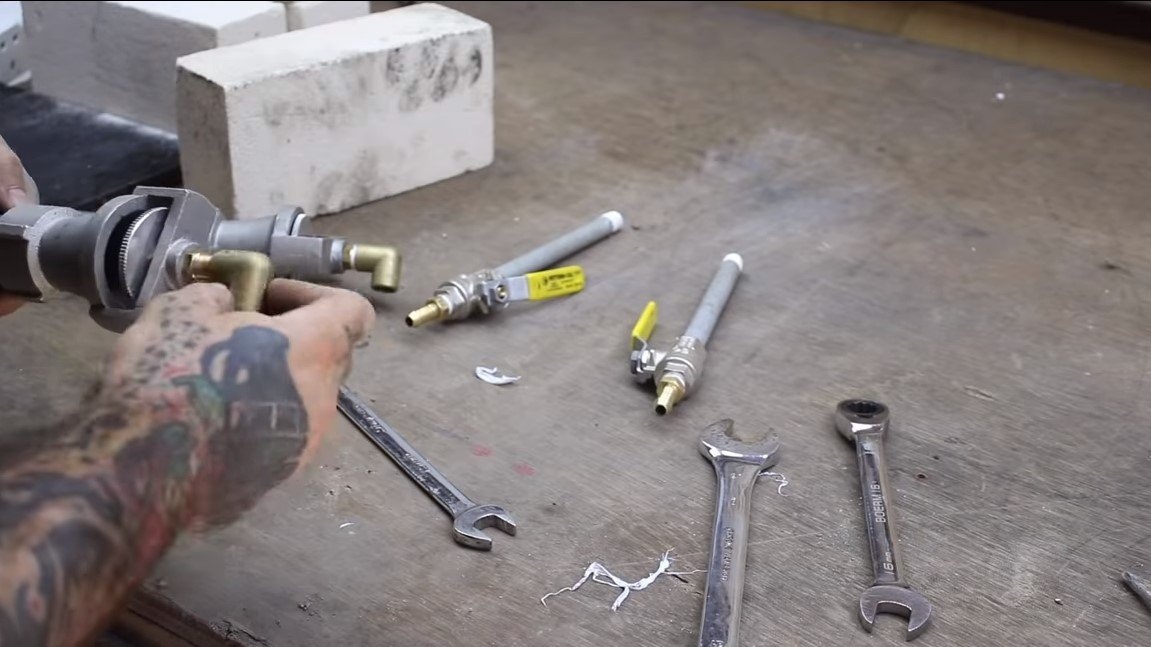
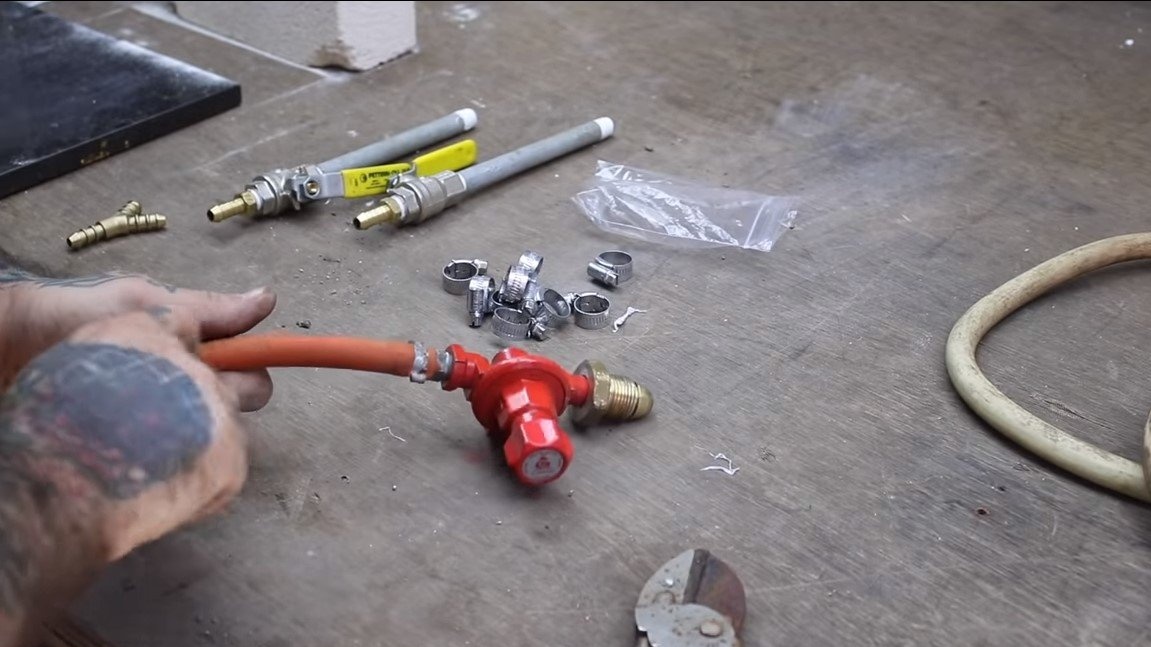
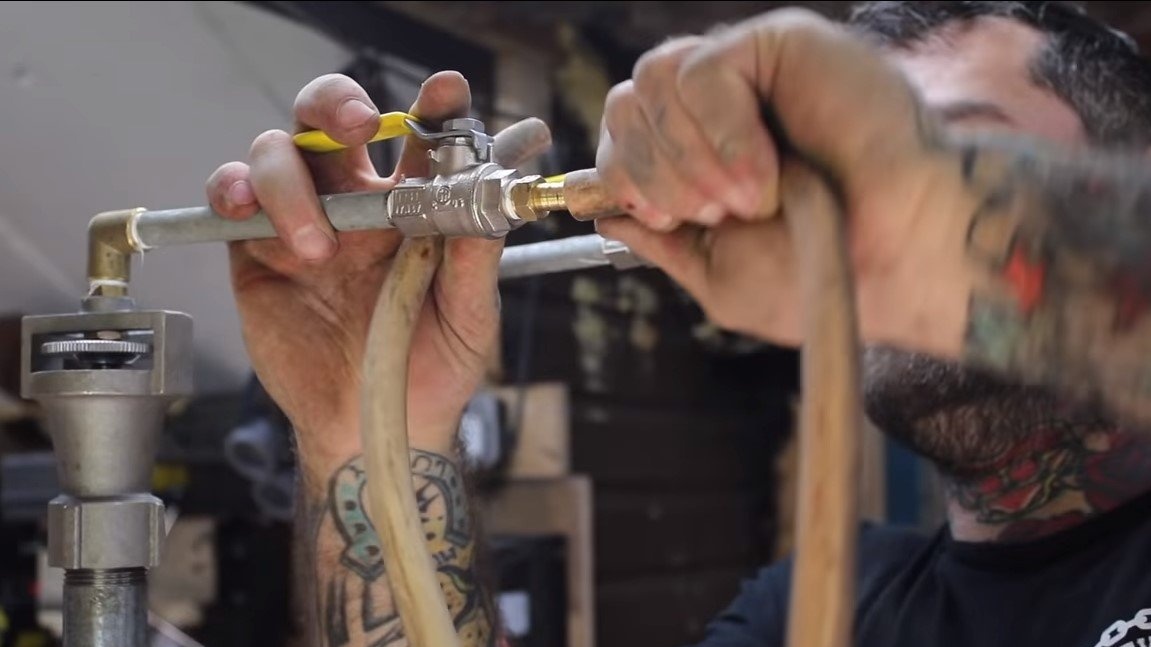
We install burners through the pipes to the furnace, and connect the gas pipeline to them. Each burner has a separate valve; if desired, only one burner can be turned on. We also definitely put one common emergency valve in front of the burners.
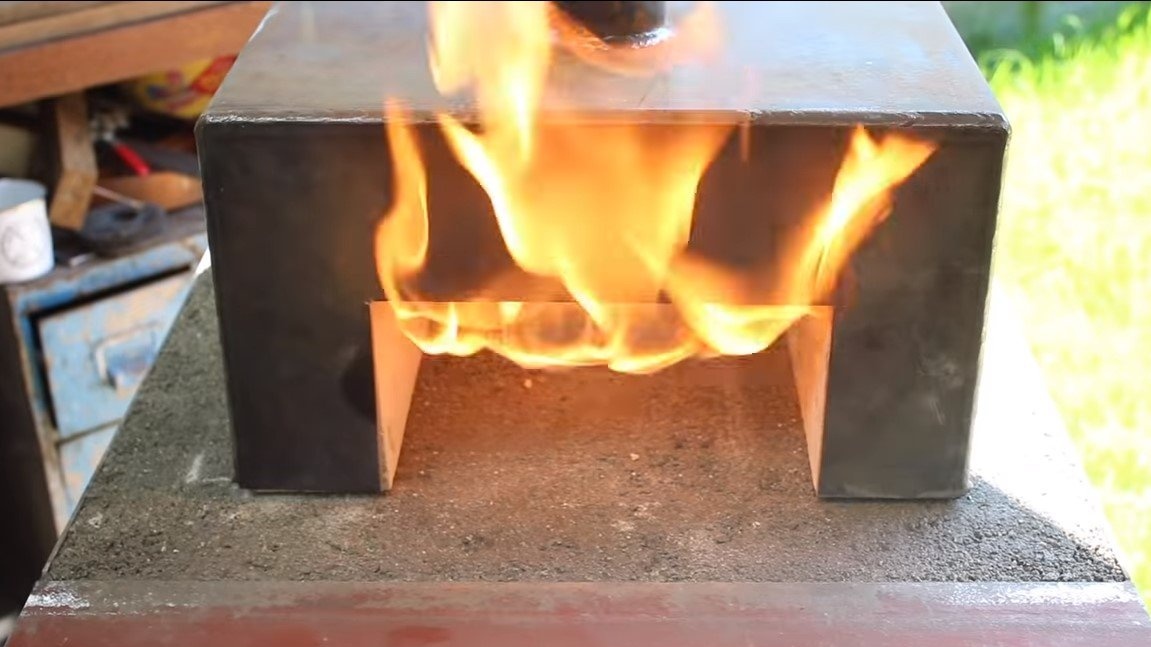
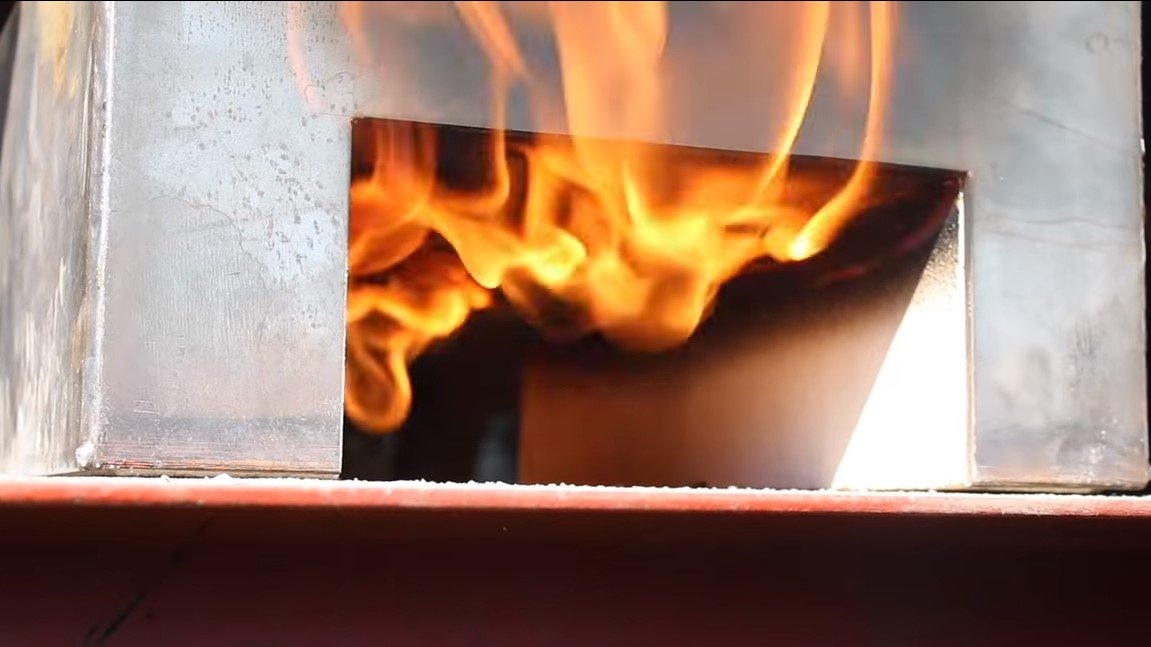

You can light the stove, at first the author made the mixture rich so that the fire burns slowly and smoothly. In this mode, steam began to be released from the cement, the stove began to dry out. Well, then the furnace can be gradually brought to full capacity. The author’s torches turned out to be of such a color that in the daytime they are not even visible, only a rumble is heard.
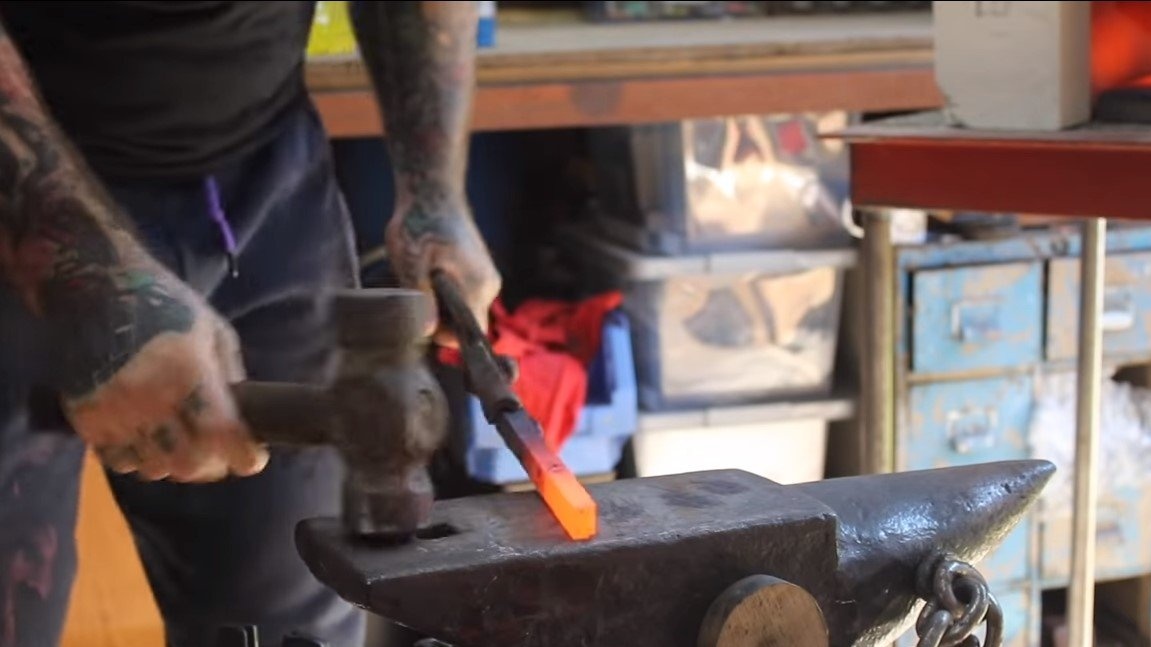
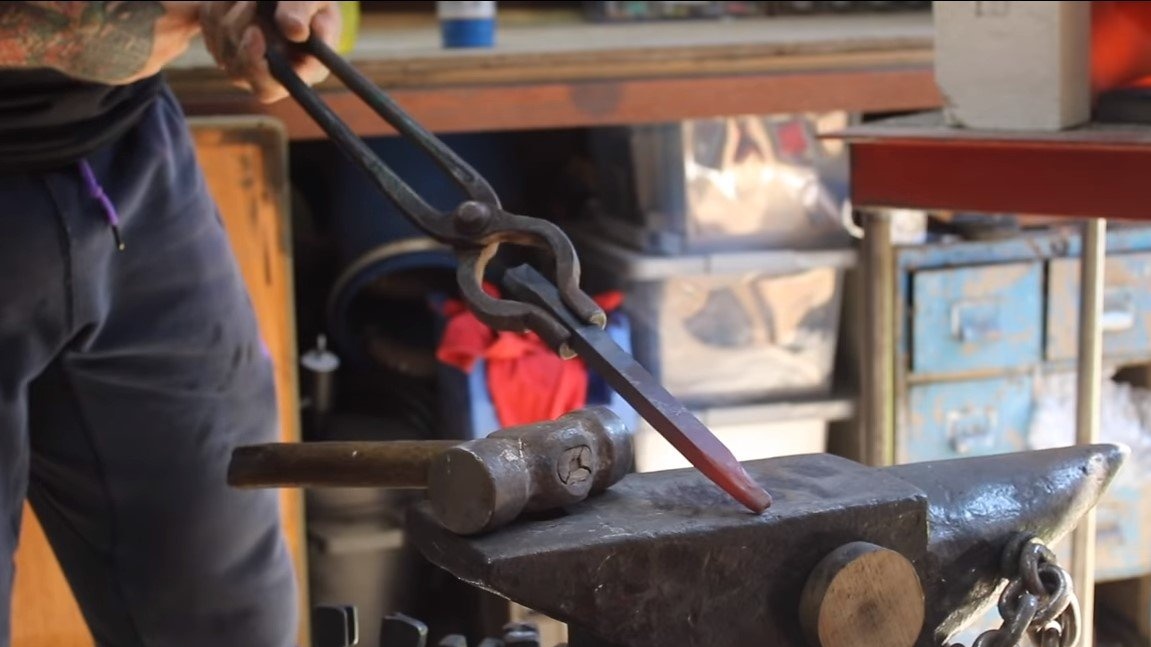
We try to heat steel in the furnace, the author succeeds easily, that's all, the homemade product is ready. In such a furnace, you can easily melt aluminum, anneal steel and much more.
Do not forget to paint the oven with heat-resistant paint, because with frequent changes in temperature, the metal quickly oxidizes.
I hope you enjoyed the project and found useful thoughts for yourself. Good luck and creative inspiration, if you decide to repeat this, do not forget to share your ideas and homemade things with us!