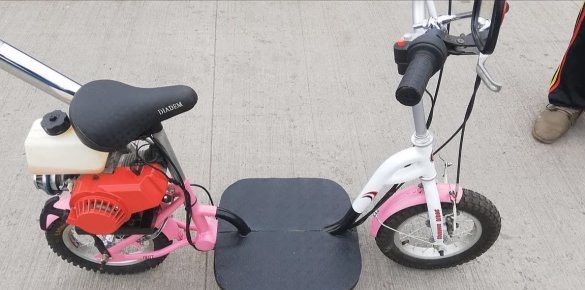
I welcome fans to craft, I propose to consider instructions for making a scooter from a children's bicycle. On the homemade the author installed a gasoline engine with a variator of 50 cubes. The project is not complicated to manufacture, the most difficult task here is to remake the bicycle frame. Given the small weight and size, such a homemade product should ride quite fast. It will be a great gift for a child, however, you can ride such a homemade product only in villages and so on. If you are interested in the project, I propose to study it in more detail!
Materials and tools used by the author:
Material List:
- round pipes;
- galvanized sheet or other material for cladding;
- bolts and nuts;
- ;
- Sheet steel;
- corner;
- steel plates;
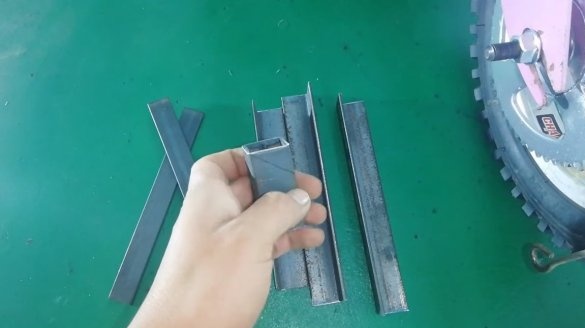
- rectangular profile pipe;
- primer and paint.
Tool List:
- grinder;
- welding machine;
- pipe bending machine;
- vise;
- marker, tape measure.
Homemade manufacturing process:
Step one. We remodel the frame
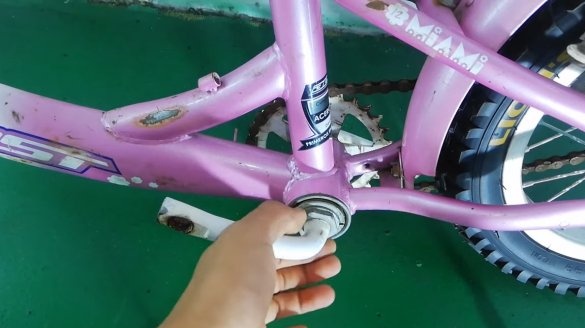
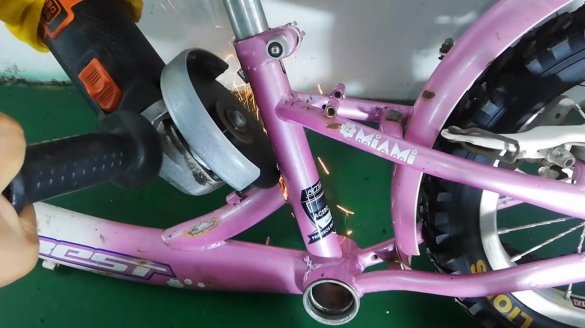
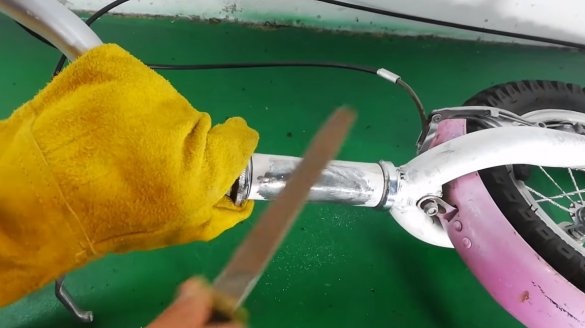
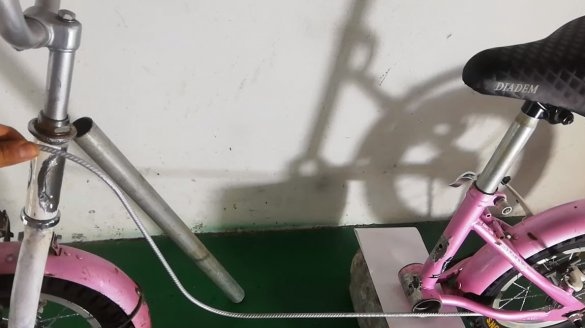
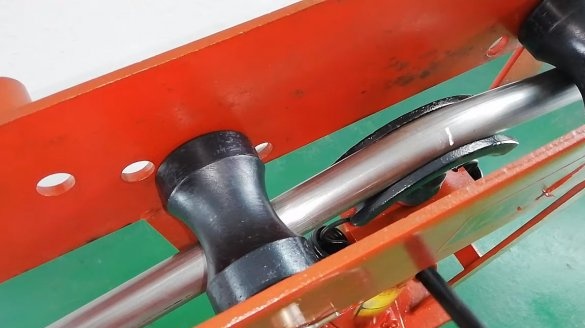
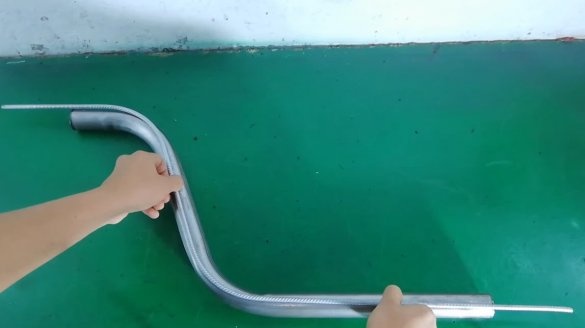
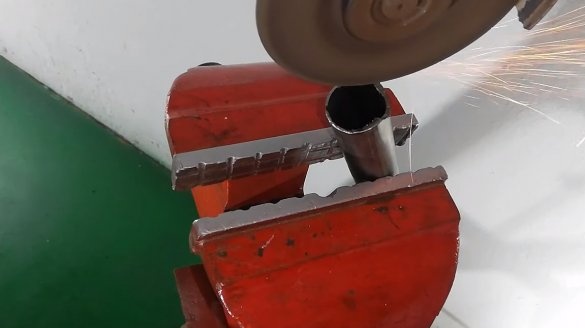
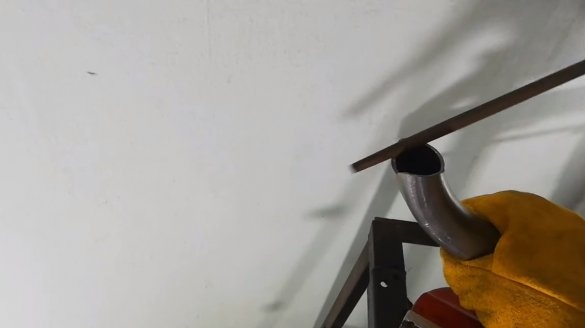
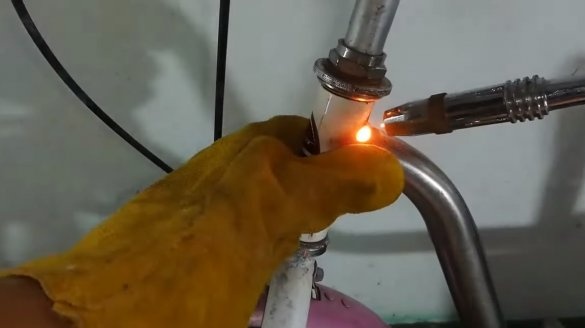
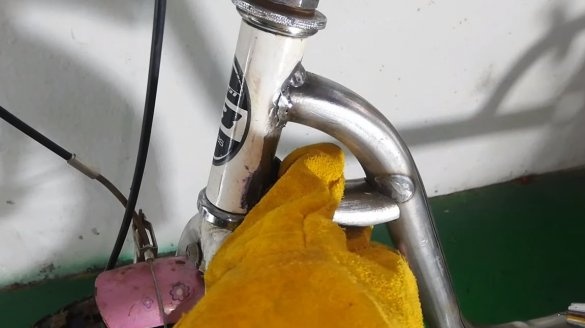
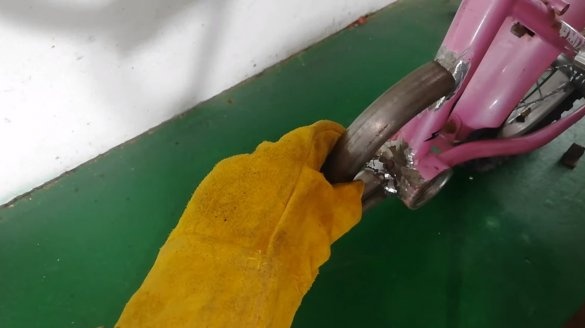
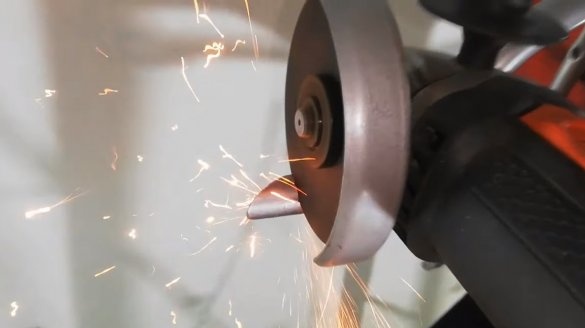
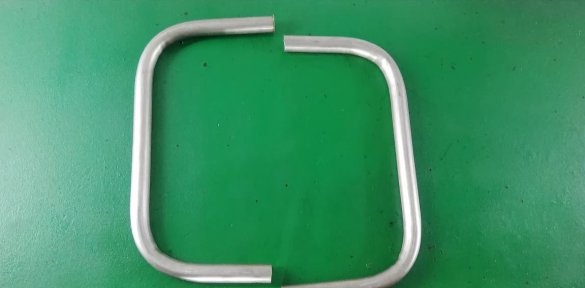
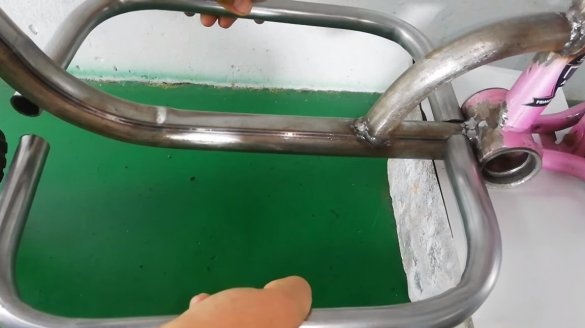
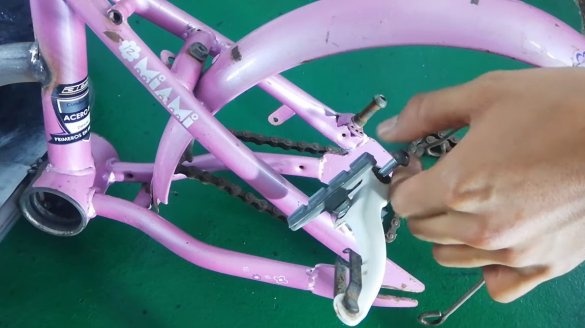
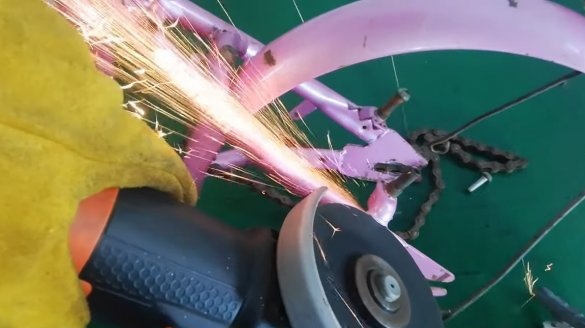
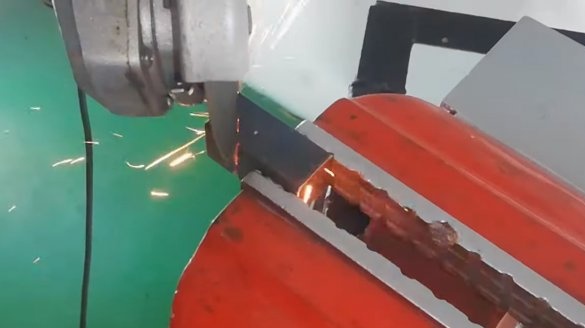
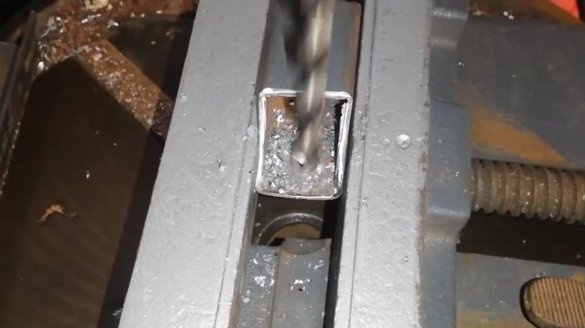
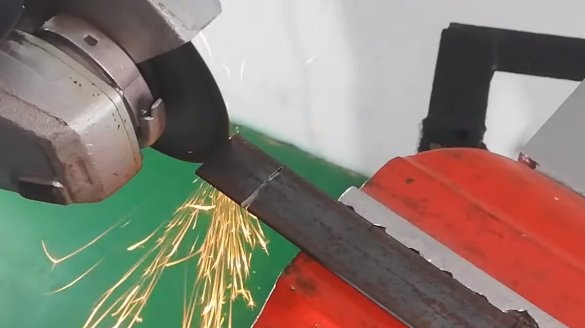
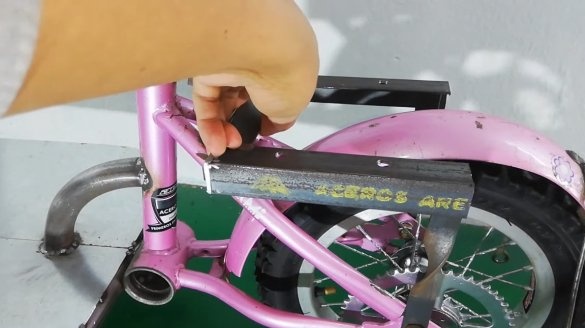
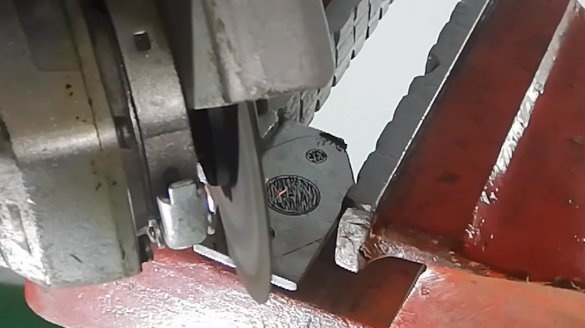
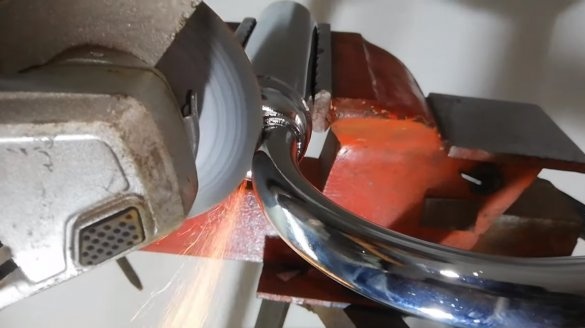
First of all, you need to redo the frame, arm yourself with a grinder and cut out the central part of the frame, which connects the steering wheel and the area where the seat is located. Next, we need to make such a frame so that we get a platform where you can put your legs, bag and so on. To assemble a beautiful and concise frame from a round pipe, the author used a pipe bending machine. The author, as a template, first assembled a frame of reinforcement. In addition to the main part of the frame, we also bend small segments that will strengthen the connection of the frame. The author’s frame turned out to be quite interesting, if it is good to clean the welds, everything is done as at the factory.
Step Two Steering wheel
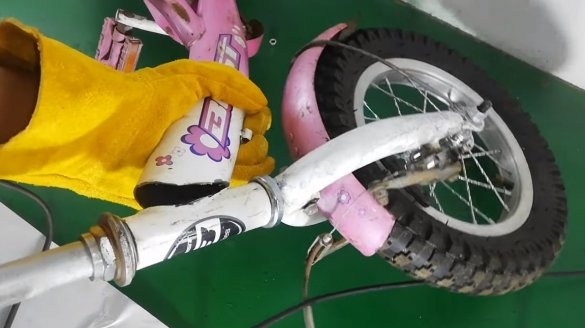
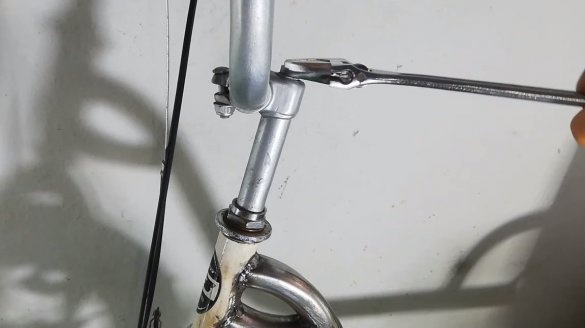
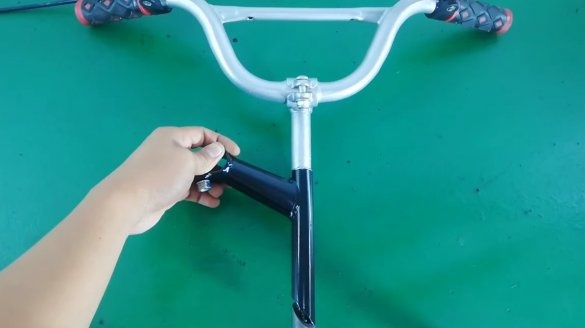
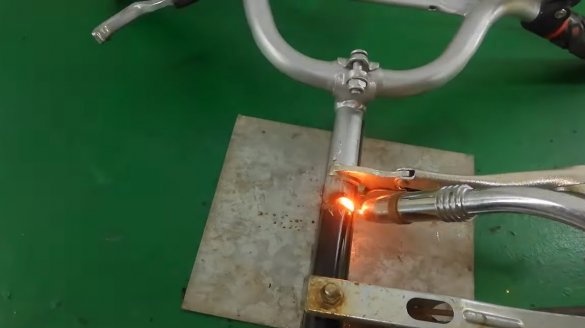
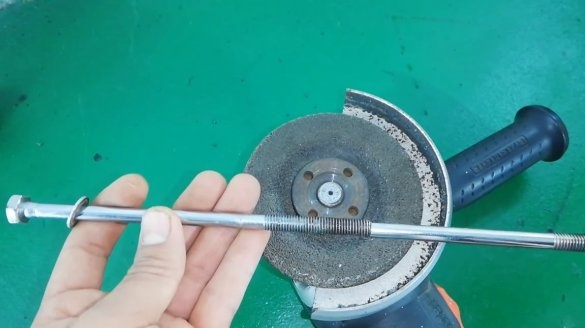
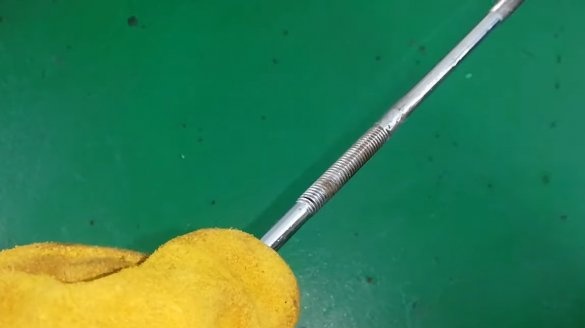
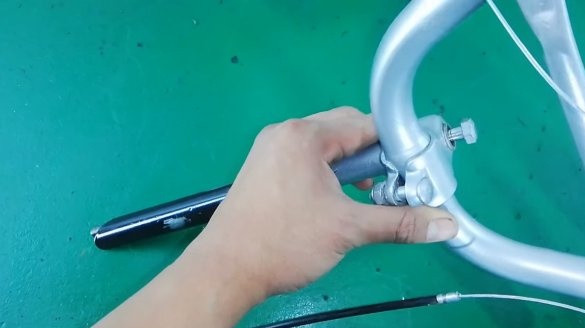
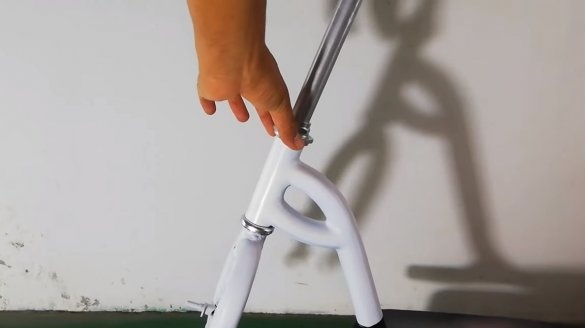
I had to redo the steering shaft, it needs to be lengthened. We cut off the sharp end of the shaft and weld a piece of pipe of the desired length to it. Of course, you will need to lengthen the bolt that secures the steering shaft to the fork.
Step Three Foot pad
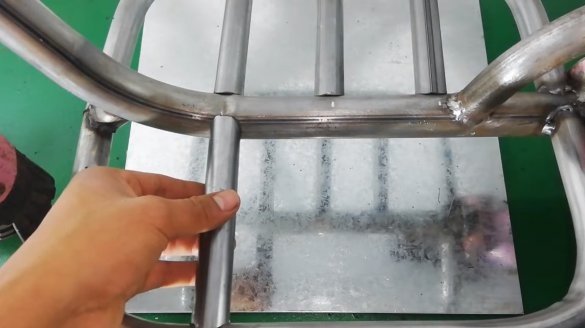
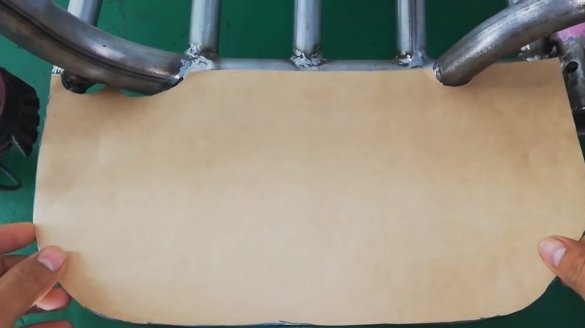
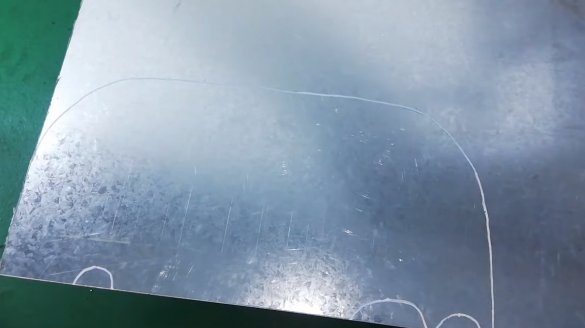
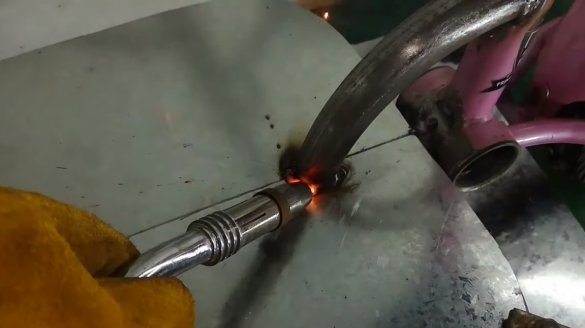
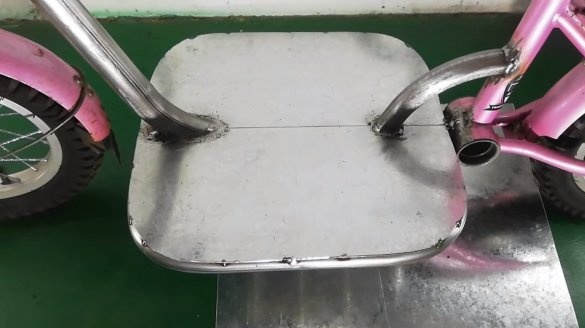
We weld a foot platform from round pipes, the author used a pipe bender, and again he got a chic and durable design. Thin galvanizing can be used as cladding, plywood or similar material is also excellent. The author simply scald the base with metal.
Step Four Driven asterisk
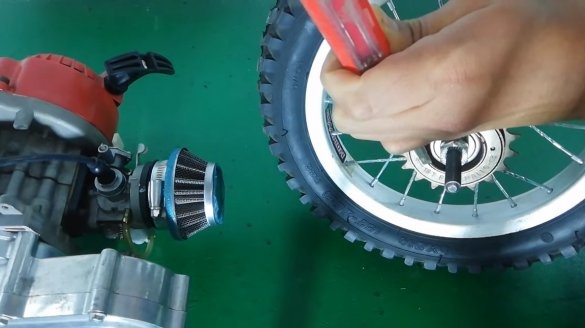
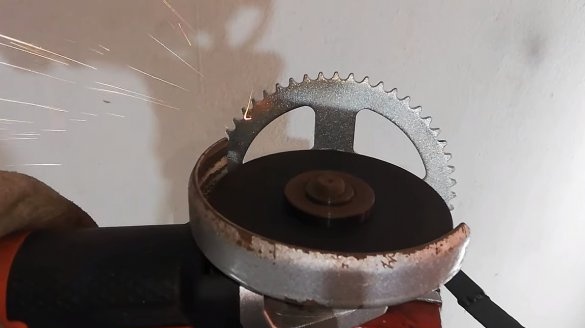
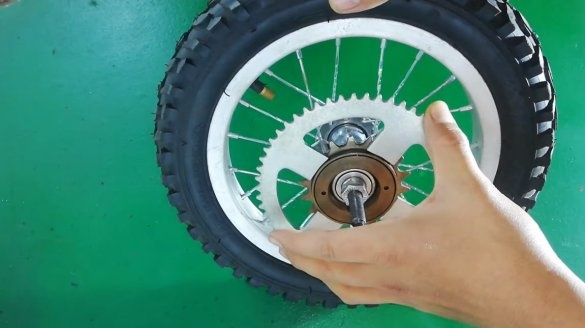
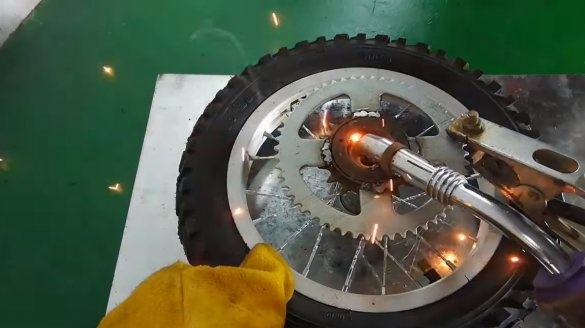
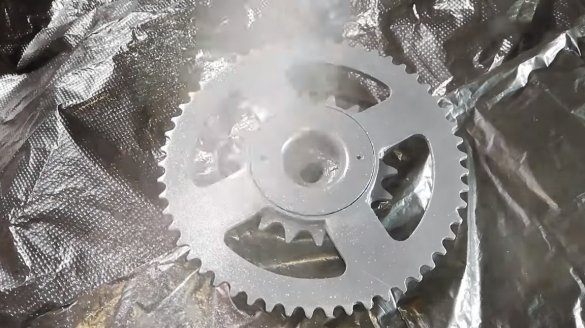
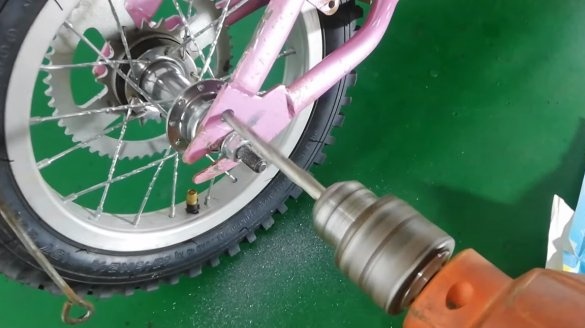
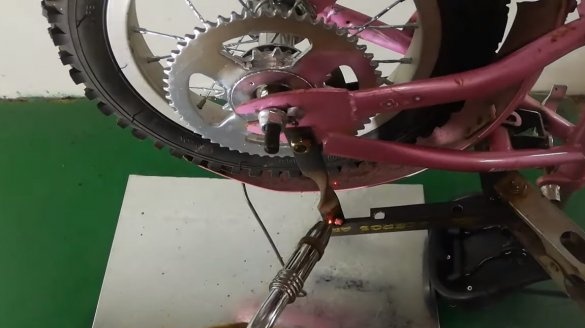
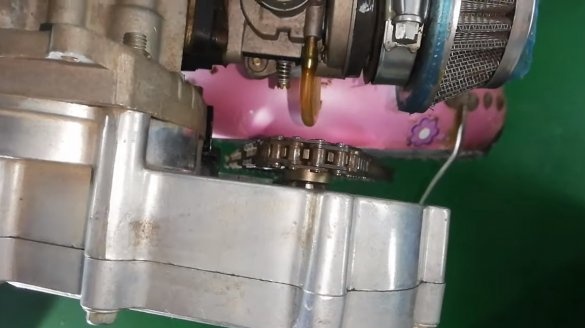
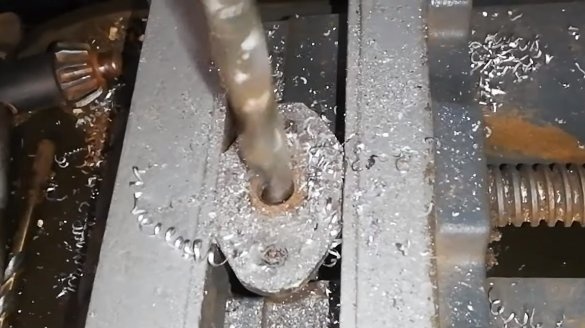
We produce a driven sprocket; it is made large in size to obtain large torque. We use an asterisk for a moped, cut off the excess and weld to the ratchet star on the wheel.Of course, the driven sprocket will now be on the left, and the ratchet will work in the wrong direction. Turn the ratchet mechanism over, if possible, and weld the thread. As a result, the scooter will be able to go coasting like a scooter, which is a pretty useful feature.
However, if the variator motor with centrifugal clutch, the ratchet mechanism on the rear axle is not needed at all, you can brew it. At the end, we paint an asterisk so that everything looks neat and does not rust.
Step Five Engine installation
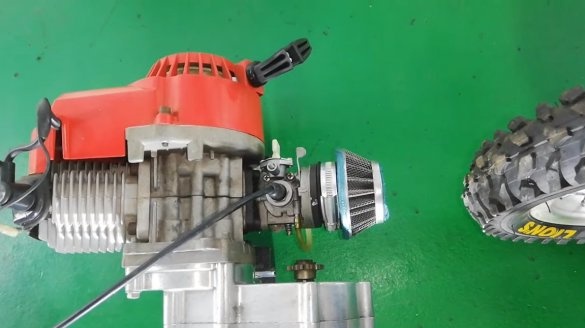
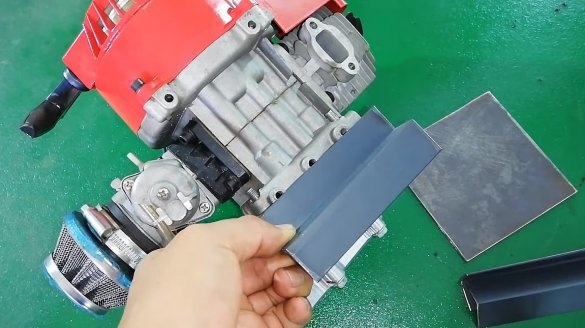
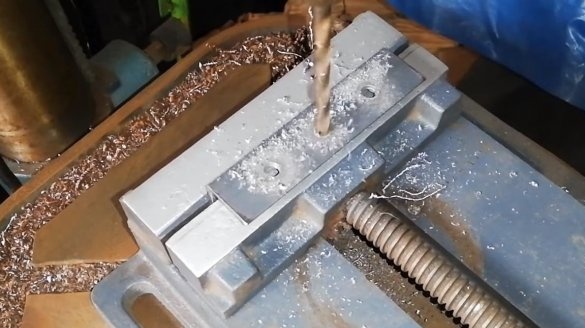
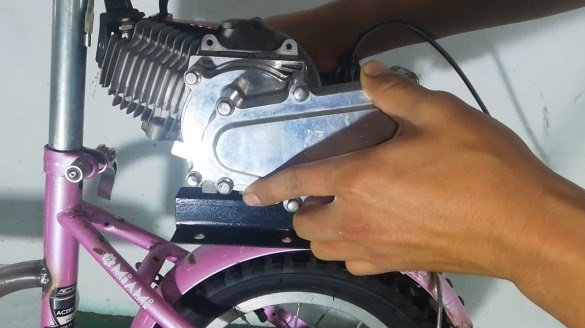
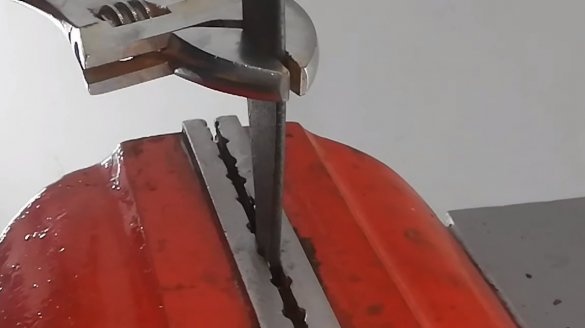
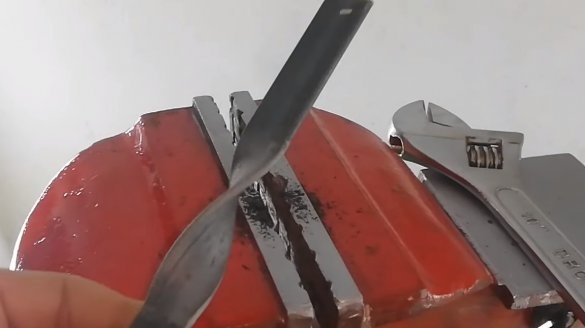
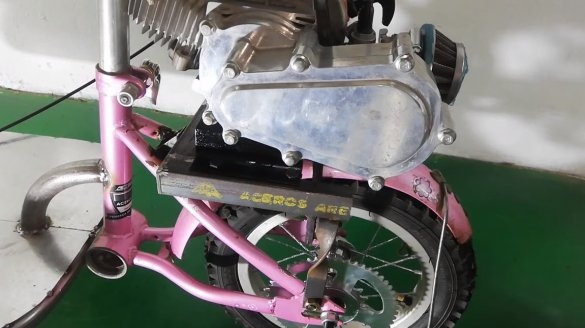
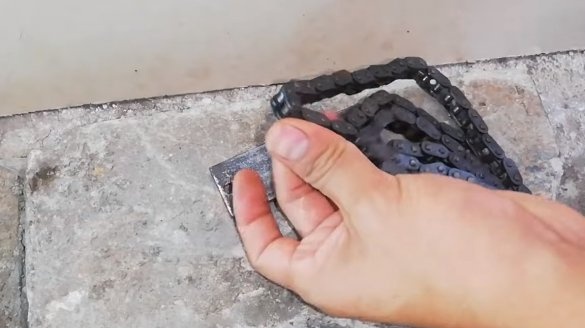
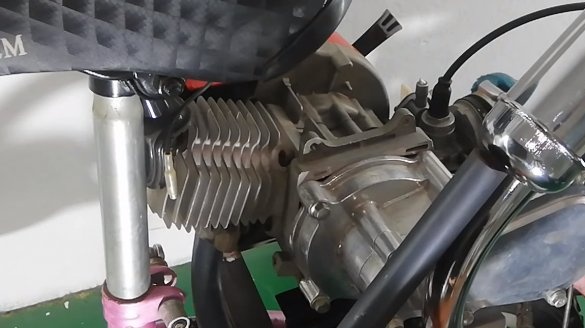
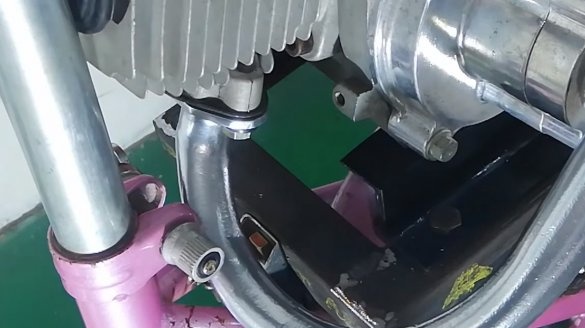
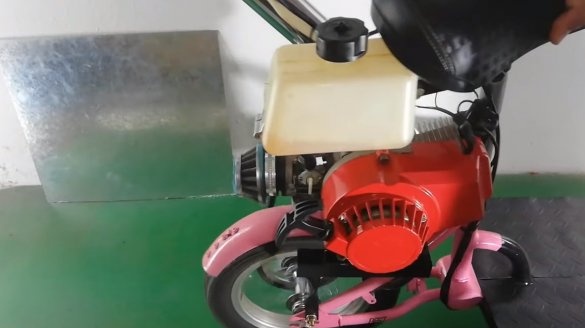
We install the engine, it will be in the back, as on two legendary cars - "Zaporozhets" and "Porsche". Under the engine, we make a solid frame that resembles the rear trunk of a bicycle. The author made the boot racks from a steel plate, twisting it into a spiral, which ensures high rigidity of the structure. The author herself welded the frame from corners and shaped pipes. We paint the frame, install it in its place and you can install the motor. It is advisable to be able to pull the chain, it will sag as it wears.
Step Six Exhaust
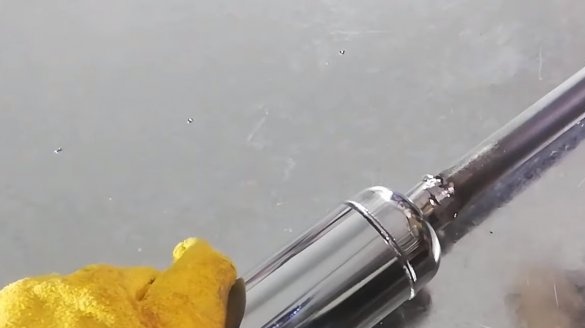
We proceed to install the exhaust pipe, here the author had some difficulties, the pipe bend did not fit. As a result, the pipe was cut and digested to the desired bend. Although the muffler is lightweight, it would be nice to screw it additionally to the frame, otherwise, in the event of a scooter falling, the pipe may crack or worse.
Seventh step. Gas tank
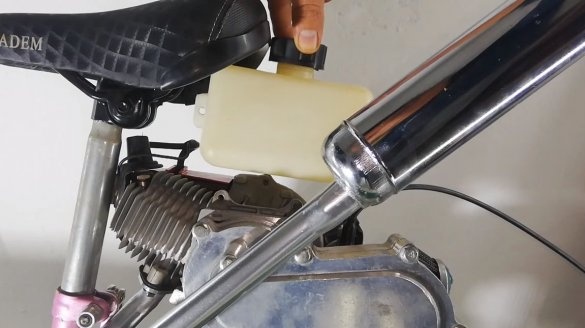
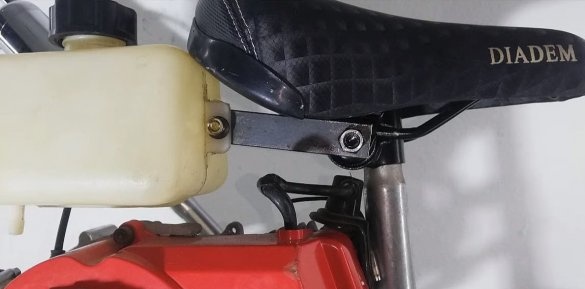
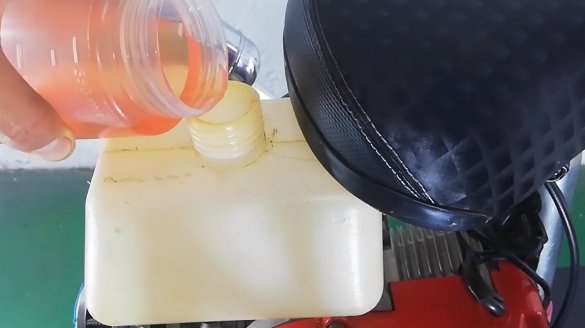
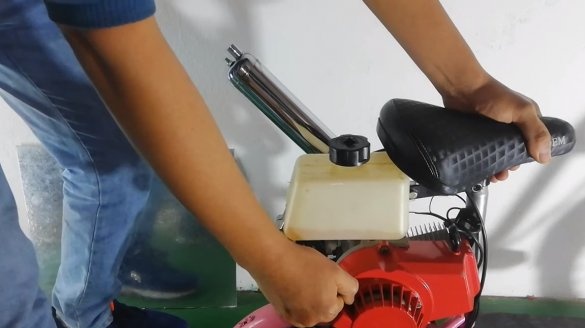
We make fasteners from a steel plate and fasten the gas tank to it, it is located above the engine. As a result, gasoline will flow into the motor by gravity, filling up the homemade product should be quite convenient, but you need to use a watering can so as not to douse the motor with gasoline.
Step Eight. Painting and assembly
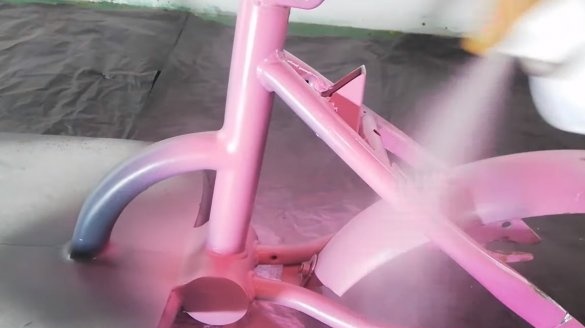
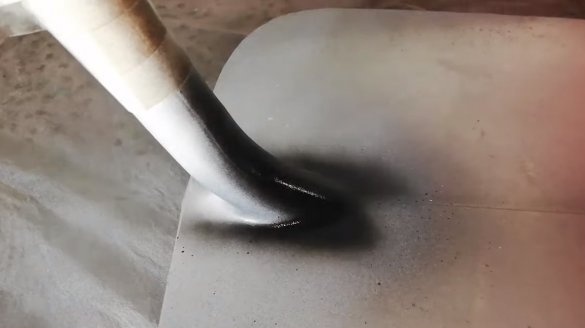
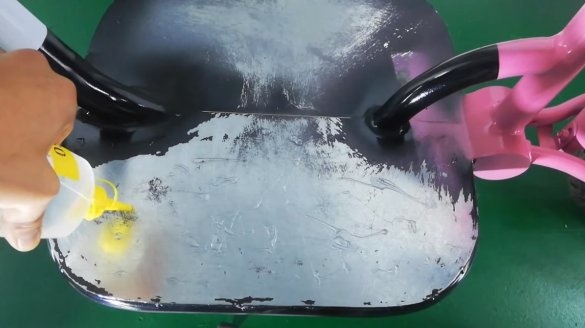
We paint the frame so that everything looks beautiful. To keep the paint well, first apply a layer of soil on the metal.
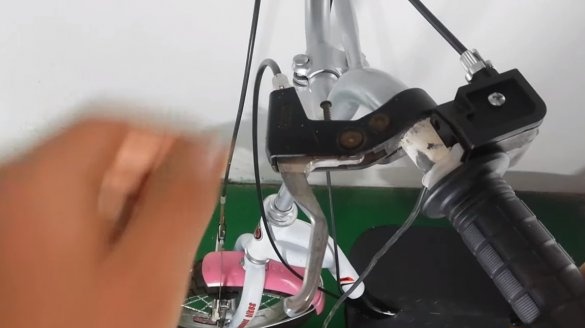
As for the footrest, be sure to glue it with rubber or other material that will not slip, this is a safety issue. As for the controls, we connect the throttle handle, and in order to turn off the engine, the author installed a button on the steering wheel. As a result, while the button is not pressed, the motor is in the on state by default. So that even children will not hijack home-made products, it would be nice to provide a well-protected ignition switch.
Step Nine. Test
We refuel the gas tank and you can experience homemade work. The author pulls away quite easily, a motor of 50 cubes is more than enough for such a small homemade product. The homemade clearance was also not very small, so you can ride on moderate off-road. The main advantage of the design is that you can go coasting, thereby significantly saving fuel.
This is the end of the project, I hope you liked the homemade work, and you found useful thoughts for yourself. Good luck and creative inspiration, if you decide to repeat this. Do not forget to share your ideas and homemade things with us!

