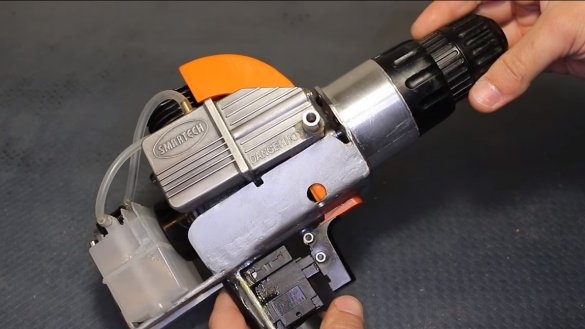
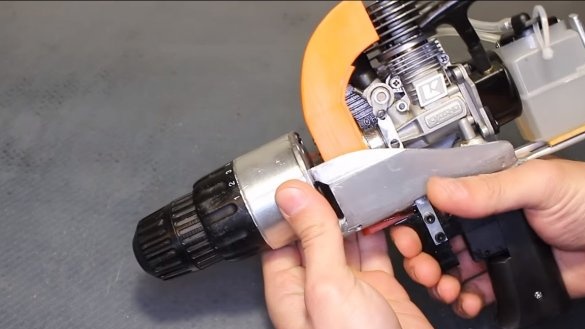
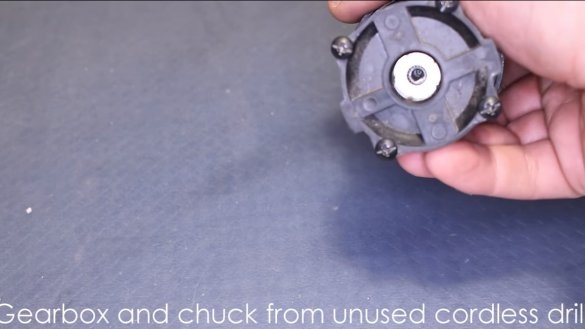
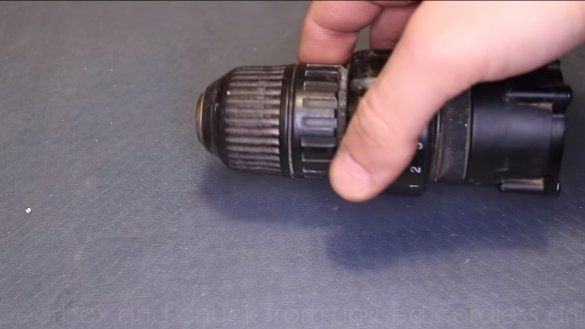
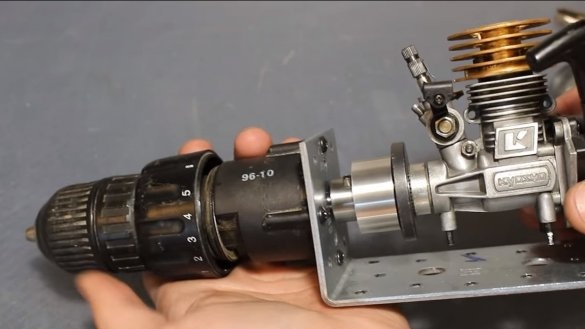
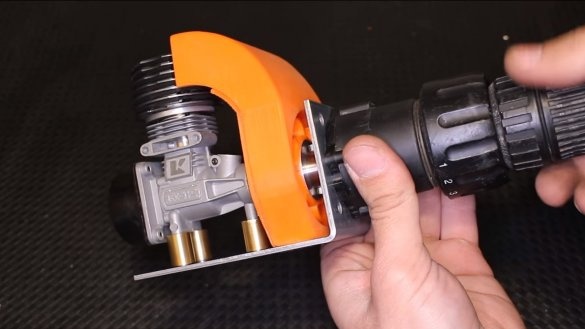
I welcome all fans to craft, today we will consider how to make a useful tool for repair work in places where there is no electricity. It's about such a thing as a drill on an internal combustion engine. The author used a nitromotor as a basis, and the gear part was used from a screwdriver (the author redid it). Homemade it turned out pretty powerful, with such a drill you can not only easily drill, but even work like a drill. In the manufacture of homemade is not particularly difficult, but requires a lathe.
Of course, many will say that you can use a screwdriver away from civilization, but do not forget that its capabilities are not so wide, and the battery will last for a short time. If you are interested in homemade work, I suggest studying the project in more detail!
Materials and tools used by the author:
Material List:
- gear part from a screwdriver;
- ;
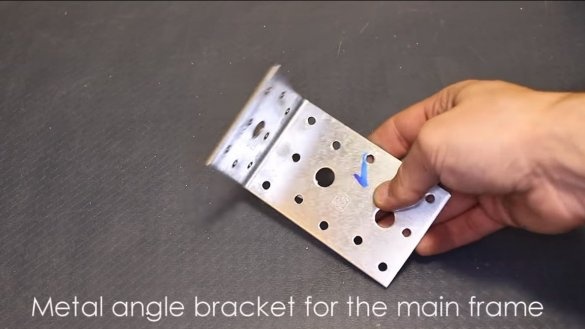
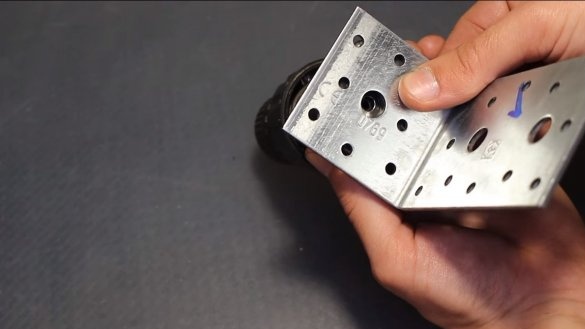
- steel mounting bracket (main part of the frame);
- round timber for turning;
- “trigger” from the screwdriver, possibly faulty;
- cold welding;
- paint;
- a little sheet metal for shields.
Tool List:
- 3D printer (the author made an impeller and a sleeve);
- lathe;
- welding machine;
- grinder;
- screwdriver;
- vise;
- a drill.
Homemade manufacturing process:
Step one. Sleeve and base
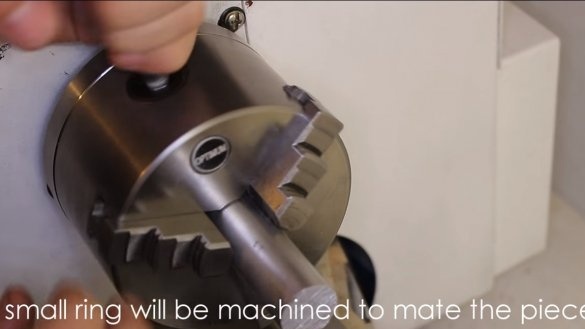
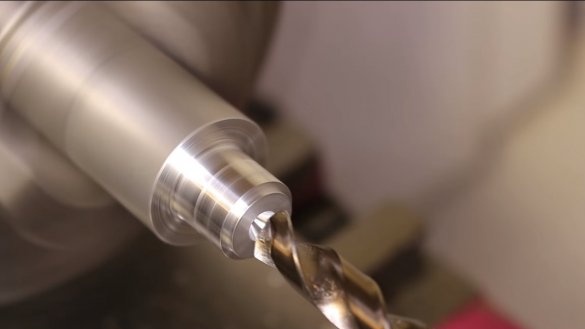
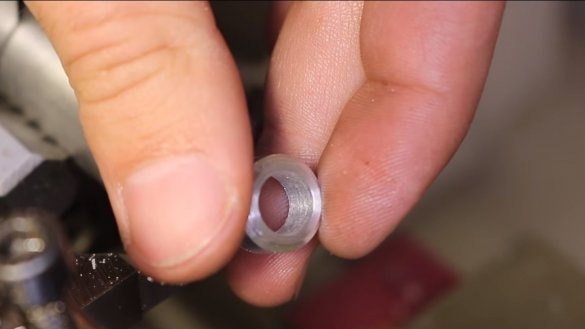
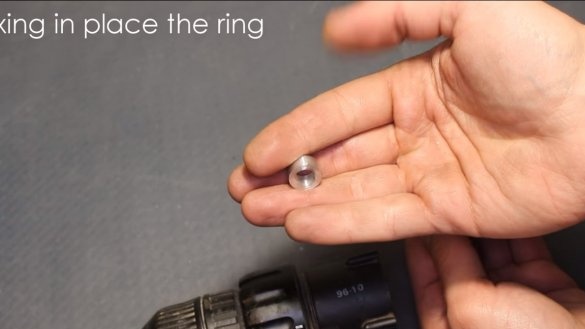
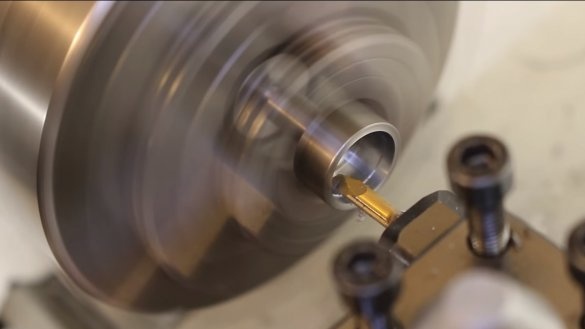
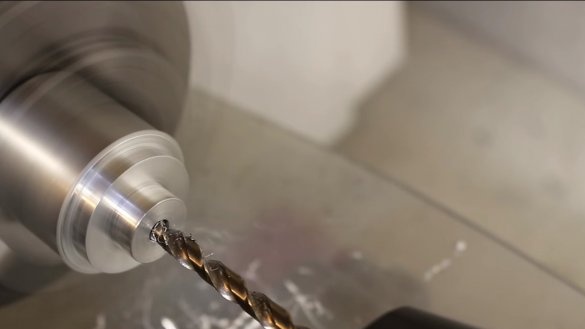
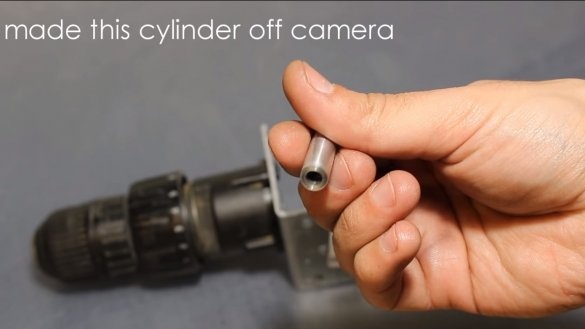
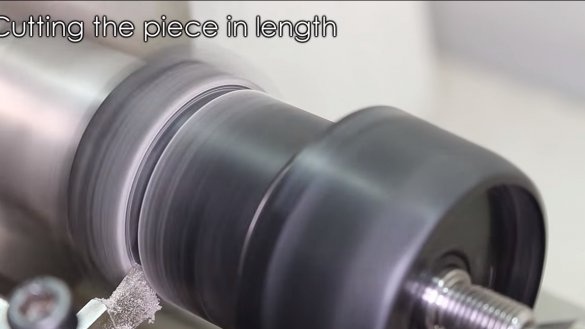
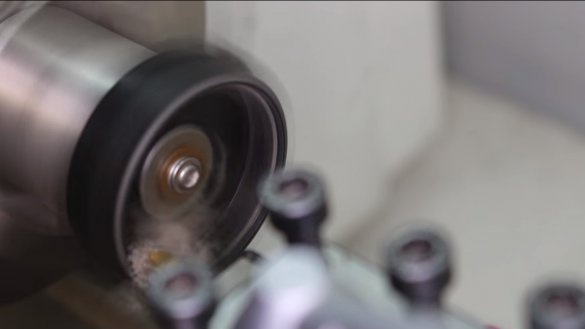
First, we turn the sleeve for the drill chuck. It is needed to block the hole in the drill chuck through which dust and dirt will pass. And also this sleeve will act as an additional support for the shaft. The author turned a sleeve of steel using a lathe.
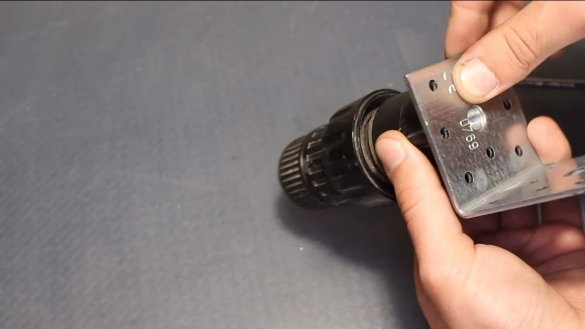
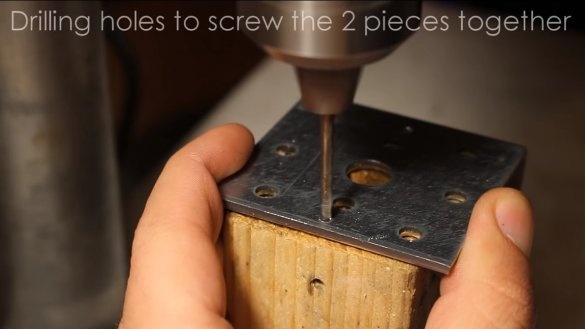
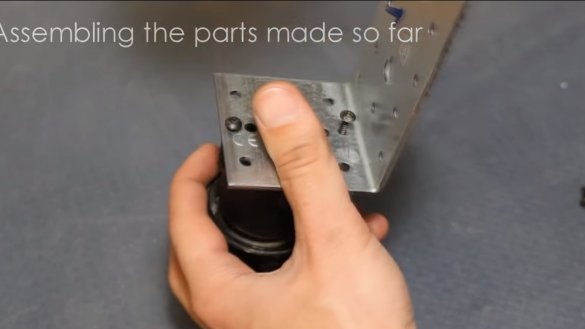
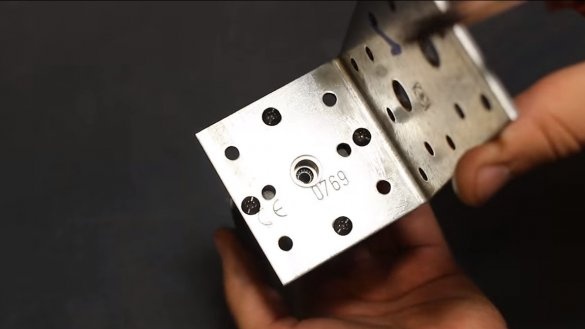
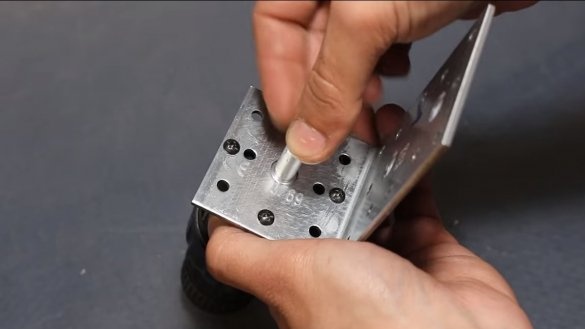
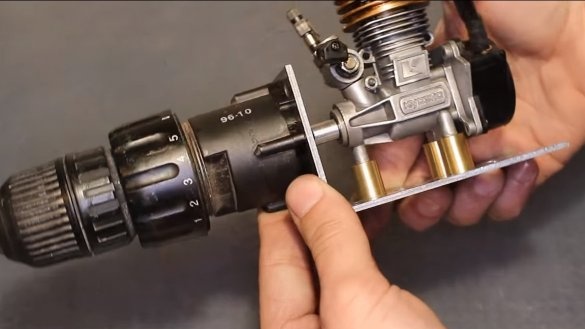
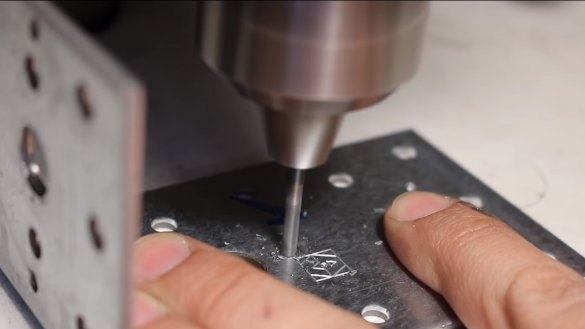
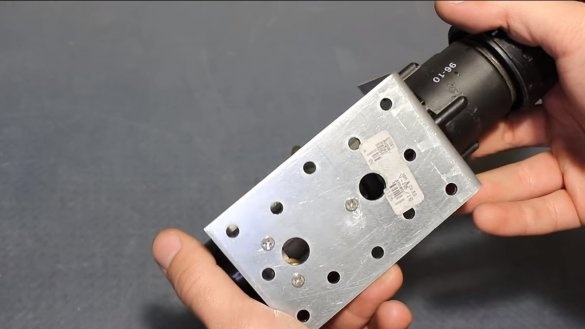
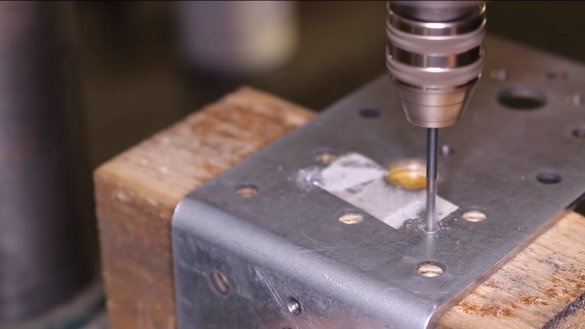
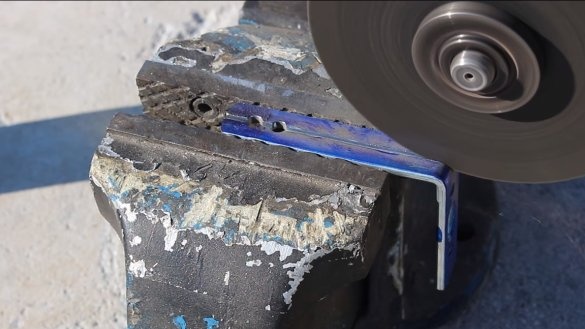
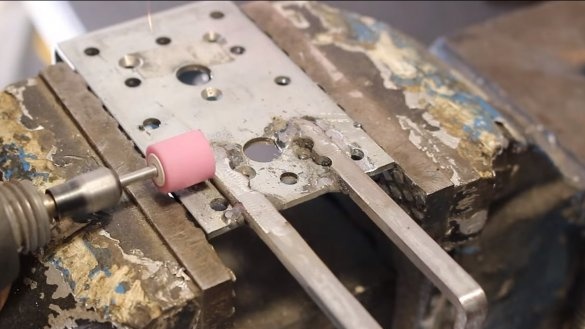
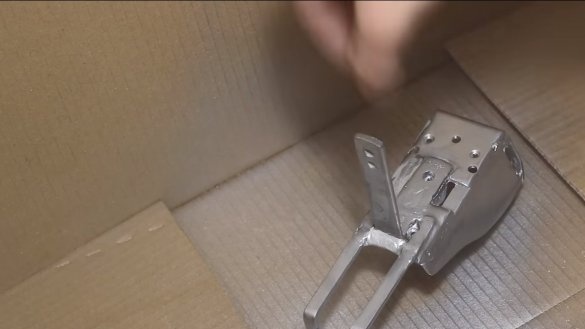
As the main part of the frame, a piece of the mounting bracket is used, the author drilled holes in it and screwed the cartridge in with screws.
Step Two Coupling
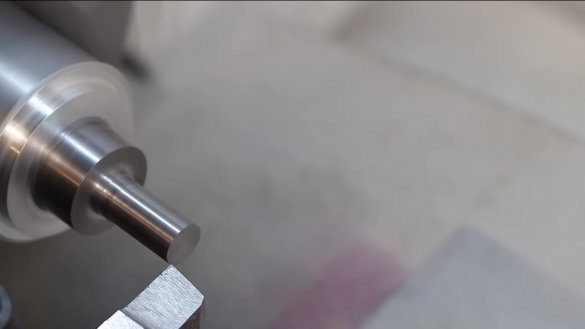
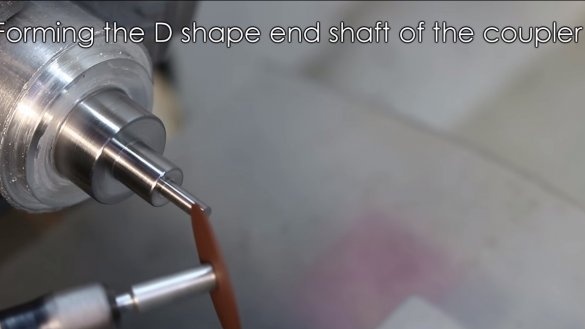
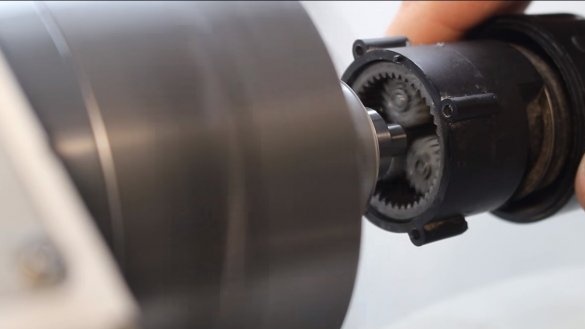
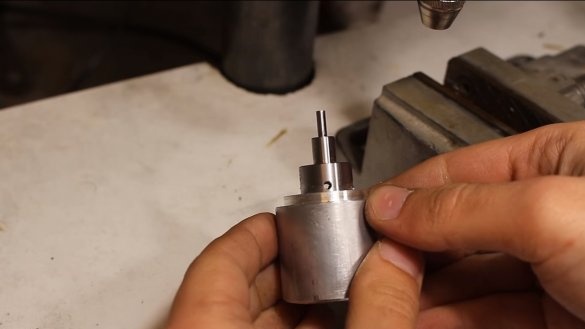
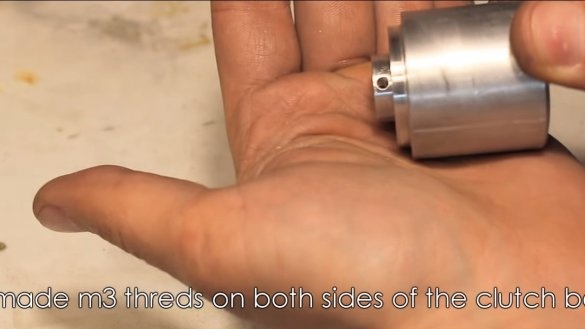
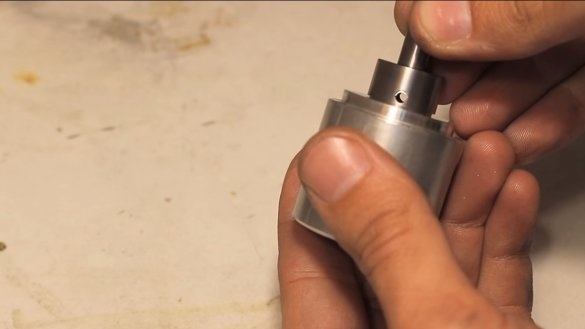
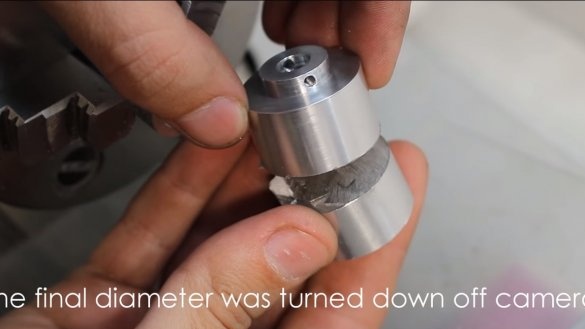
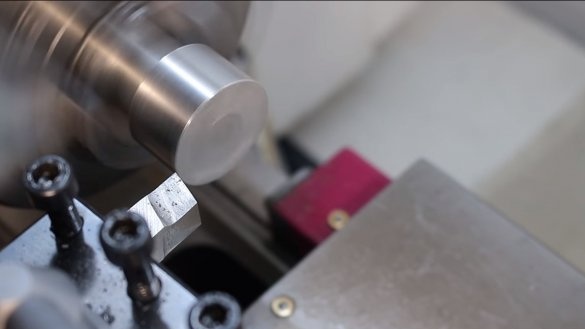
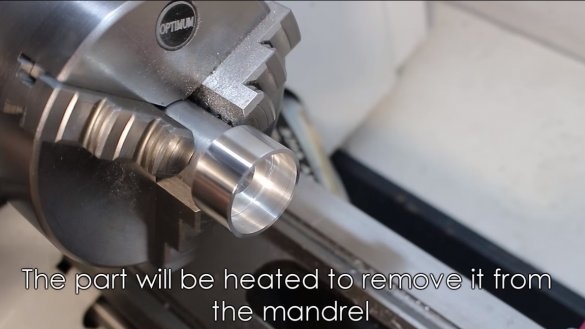
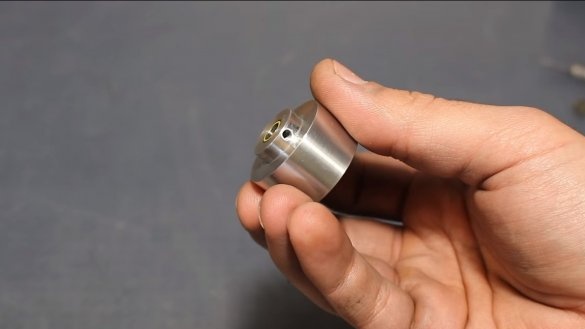
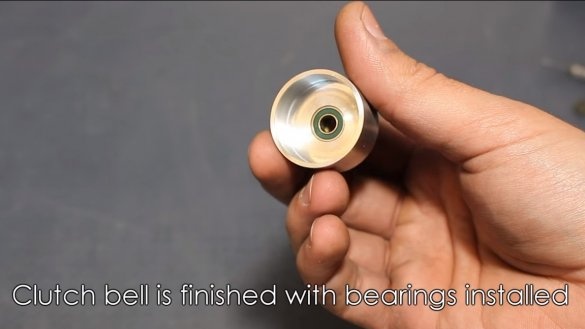
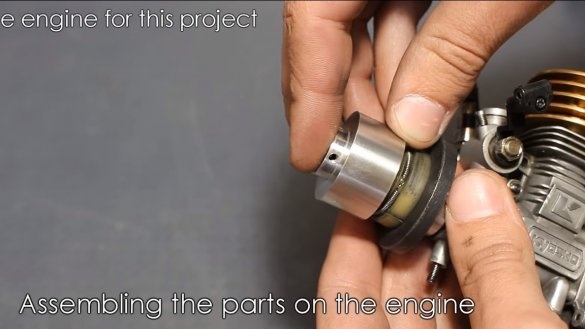
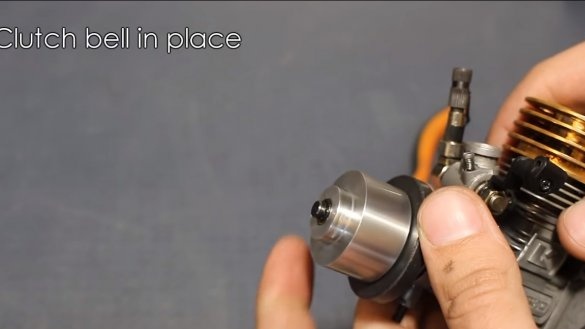
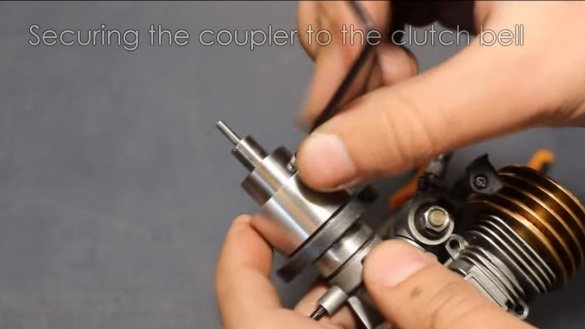
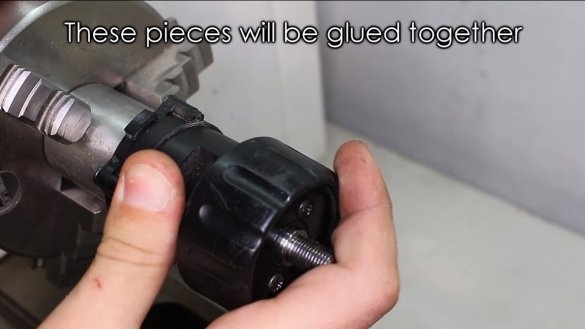
Next, we have to make a coupling with which we can transmit torque from the motor shaft to the drilling gear. The author has machined two parts, one part has a thin axis that inserts into the gearbox, the connection is due to the slot.
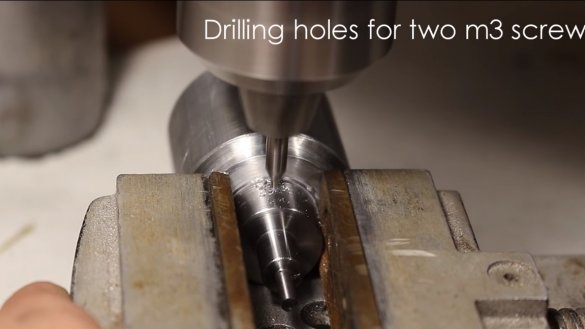
And the second part is the new centrifugal clutch cup. Both parts are then interconnected by screws. Of course, the parts should be made of quality steel, especially the thin axis should be as strong as possible. If you have a lathe, you can handle such work without any problems.
Step Three Motor installation
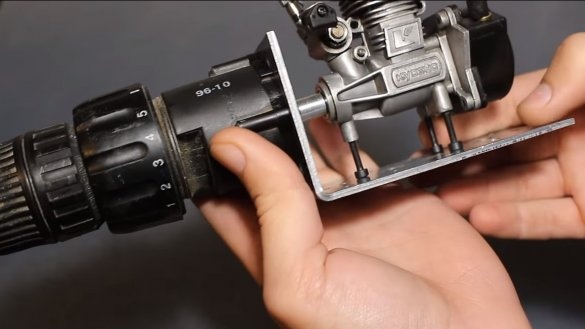
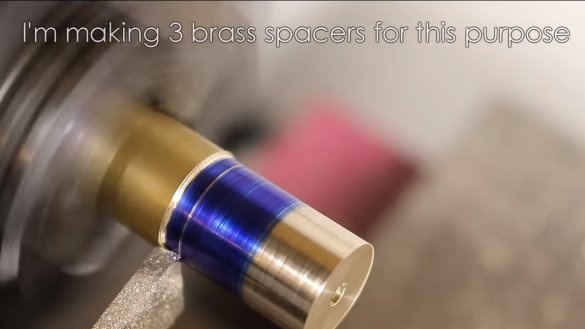
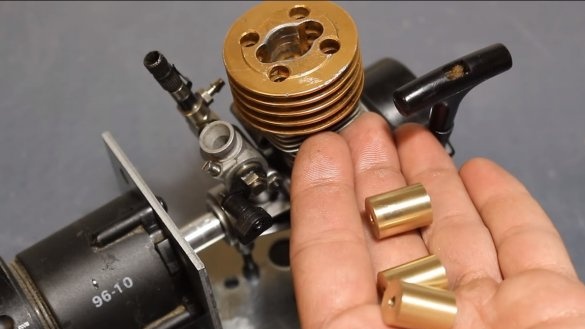
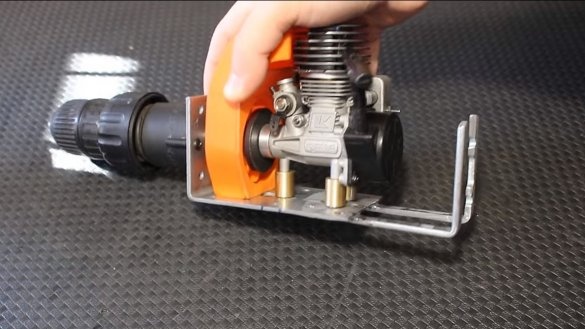
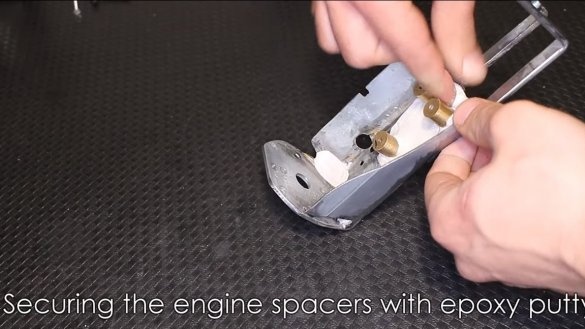
We install the engine on the base, for fixing the author uses screws. To install the motor at the desired height, you will need to make special spacers. The author has machined parts using a brass lathe. If there is no such material, the tubes can be fully adapted.
As a result, the motor will be perfectly and reliably fixed on the basis of screws.
Step Four Cooling system
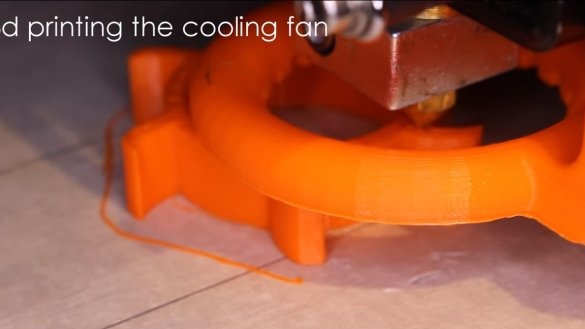
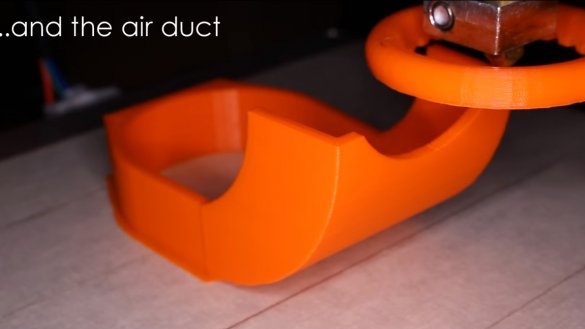
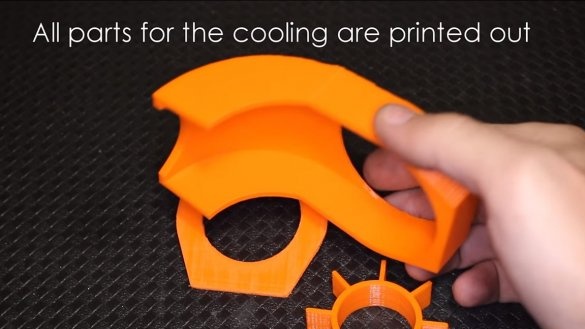
Be sure to make a cooling system for the engine so that it cools well and can work at high speeds for a long time. The air cooling system, the motor will blow around the impeller, its author made of plastic using a 3D printer. In addition to this, the author also printed a sleeve that directs air to the ribs of the cylinder. We fasten the sleeve to the frame with the screws, and put the impeller on the coupling.
Step Five Gas tank
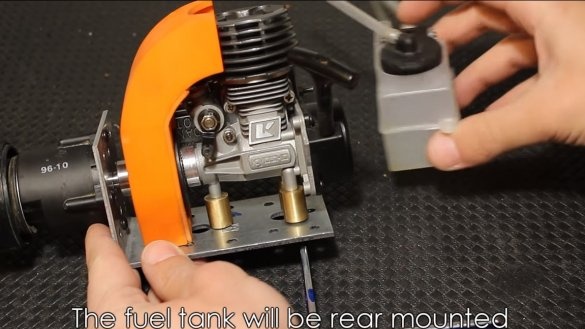
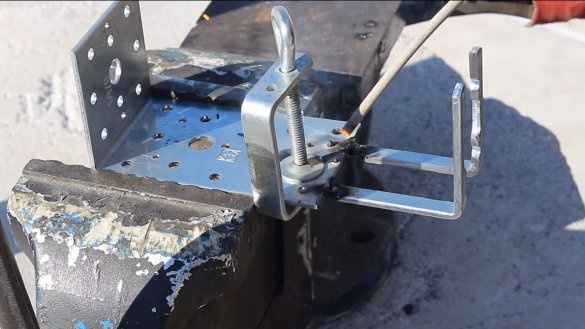
We make fasteners for the gas tank, it is in the homemade product in the back. With such a design, homemade work is convenient to refuel, and yet such an arrangement of the gas tank is quite safe.
Step Six Throttle
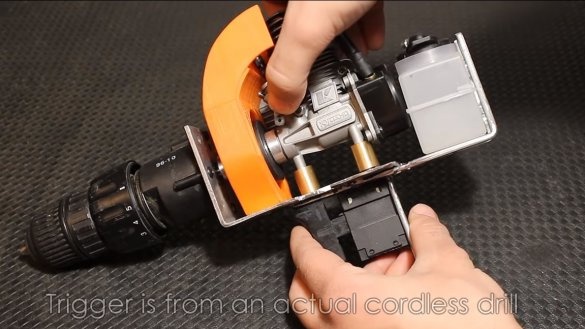
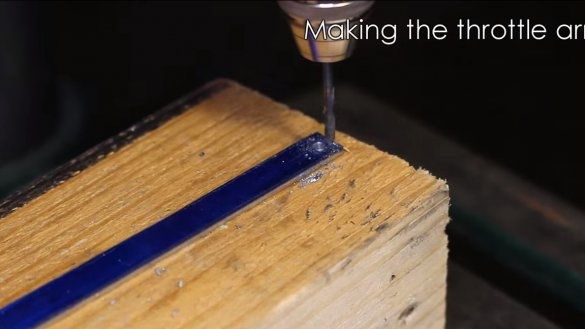
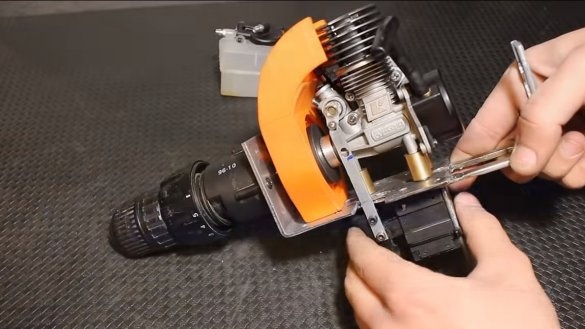
It is important for us to be able to control engine speed. As a governing body, the author adapted the "trigger" from a screwdriver. The electrical device was converted to a mechanical one. A thrust is connected to the “trigger”, which transmits movement to the throttle axis.
Seventh step. Shields and painting
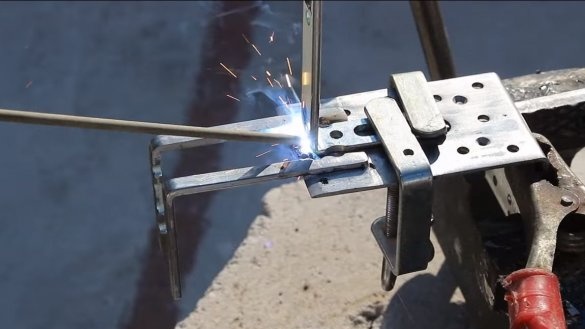
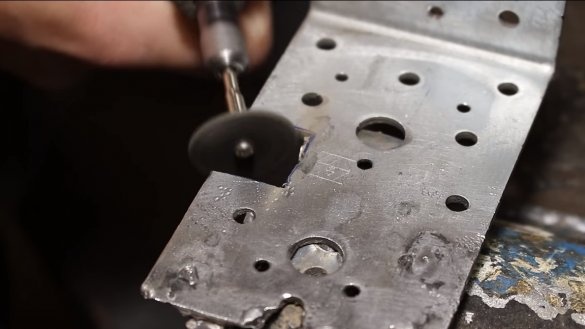
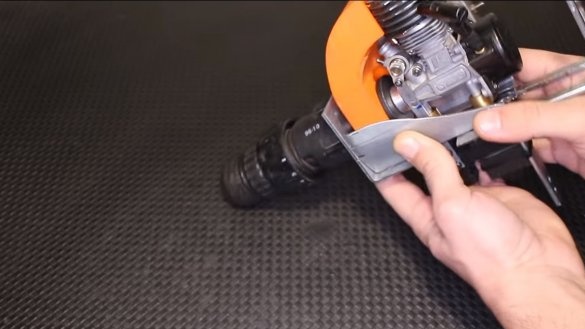
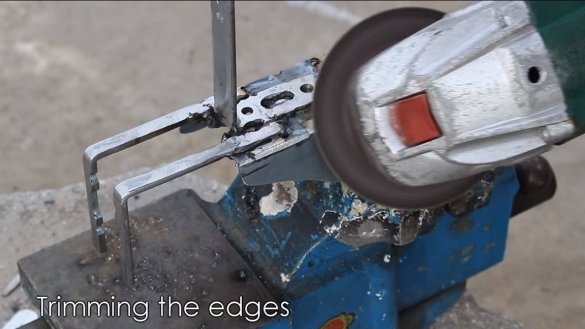
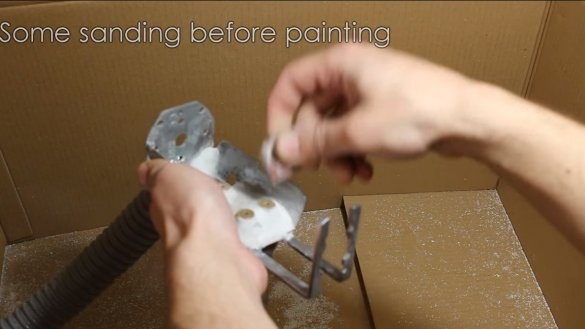
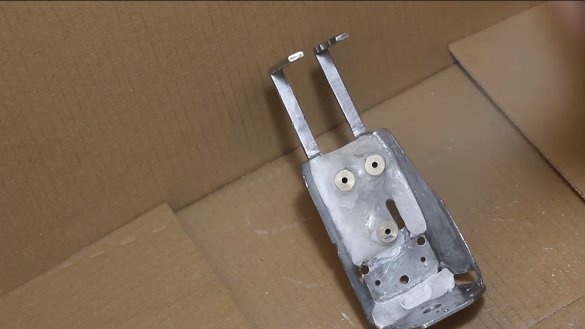
We make side shields, the author made them of thin sheet metal. Shields can be welded or soldered to the frame. The author also recorded brass bearings for the motor using cold welding so that they would not be lost when removing the engine. In the end, we carefully clean everything, grind sharp edges and paint the frame from the spray can.
Step Eight. Alteration of the gearbox
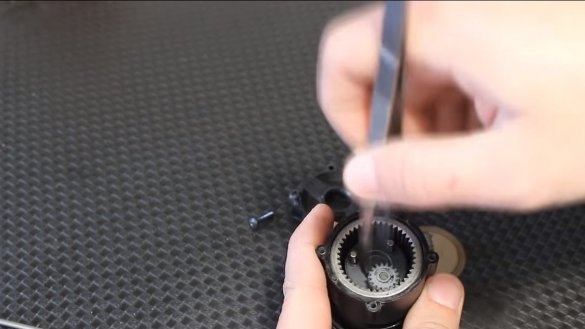
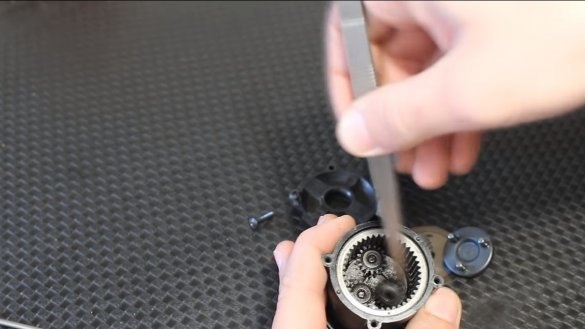
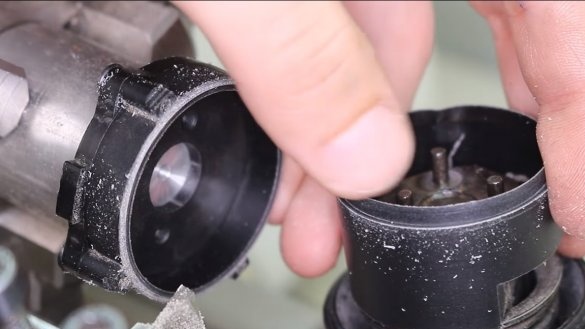
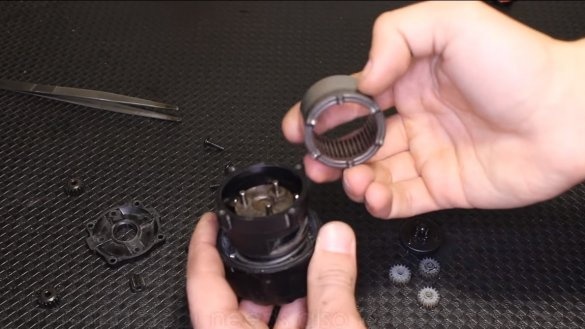
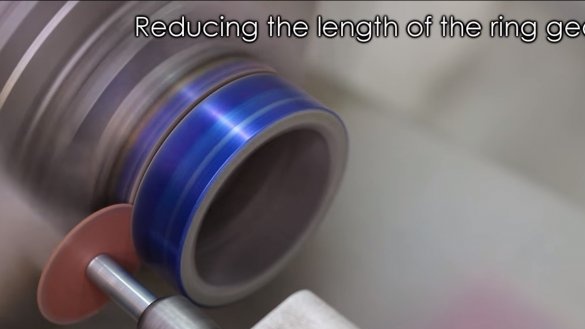
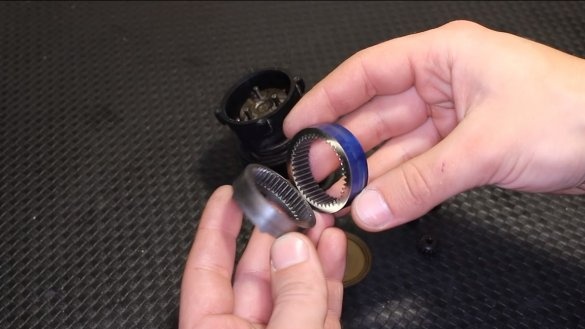
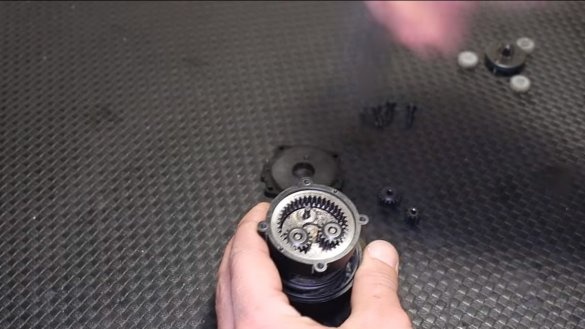
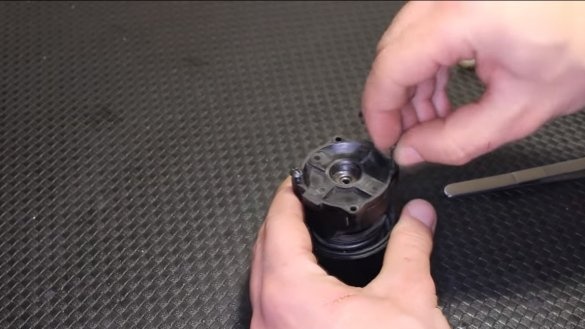
The gearbox was used from a screwdriver, which means that the output turns will be quite low, and since we will have so much torque, you can increase the speed. The author redid the gearbox by removing the upper plastic gears. As a result, the shaft is inserted into the central metal gear, and the reduction in speed is low. As a result, the case had to be shortened, and the author cut into two halves a round gear with internal teeth.
Step Nine. Assembly
All parts are ready and you can assemble home-made. Before assembling, do not forget to grease the gear unit well with grease. Pour nitro fuel into the tank and the engine can be started. The homemade work perfectly, the speed is regulated, the torque is excellent, and the speed can be huge if necessary. How the tool works, look at the video.
The project is completed on this, I hope you liked the homemade work, and you found useful thoughts for yourself. Good luck and creative inspiration, if you decide to repeat this, do not forget to share your ideas and homemade things with us!

