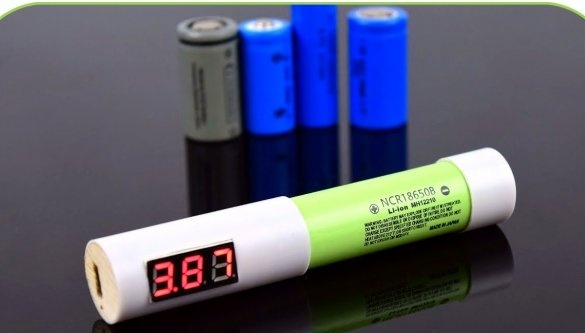
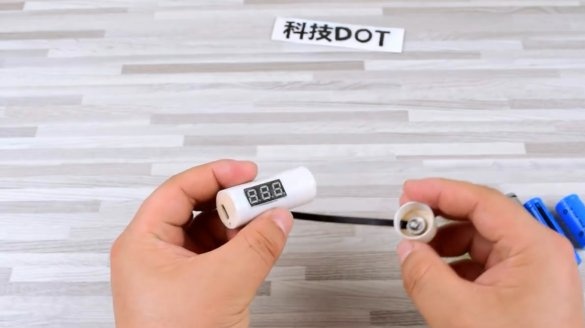
Surely many of you have devices that use 3.7 V batteries to power, but do not have a built-in charger fixtures.
In this article, the author of the KJDOT YouTube channel will tell you how he made a simple charger with a built-in voltage indicator.
Homemade is very easy to manufacture, and can be easily repeated by you in home conditions. This simple device can not only charge the batteries, but also quickly find out the current charge level.
Materials
—
—
- Flat cable trim
- Round neodymium magnets
- sheet plywood
- PVC tube
- solder
- Second glue
- Sandpaper.
Instruments, used by the author.
- A hot knife for cutting plastic (about its manufacture is described in this article)
—
- tweezers
- Marker, knife, wire cutters, compasses.
Manufacturing process.
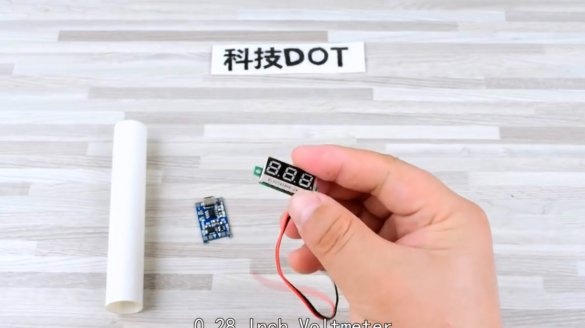
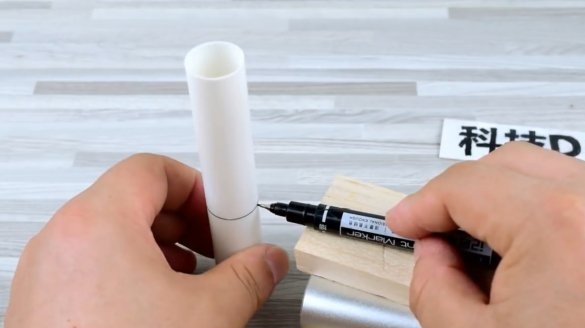
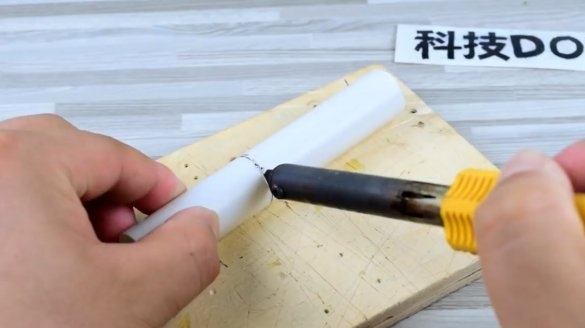
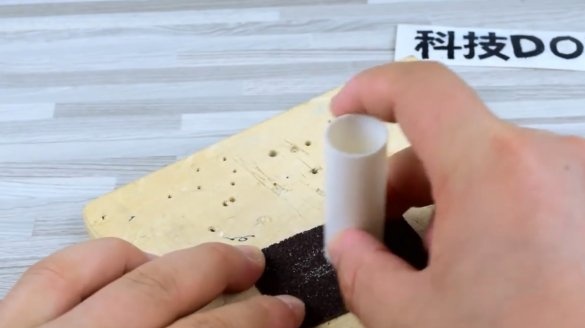
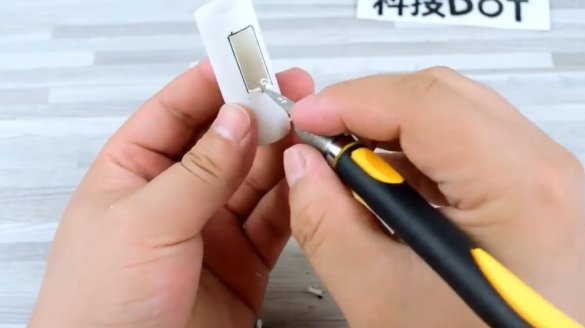
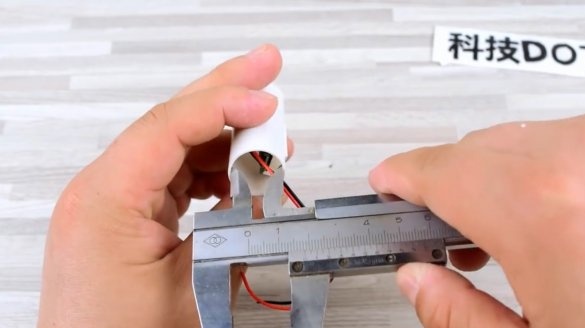
First of all, the master notes the necessary tube size with an inner diameter of 18 mm for the main body, in which it will be located electronics. He cuts off the tube with a hot knife, and strips the ends of the tube with sandpaper.
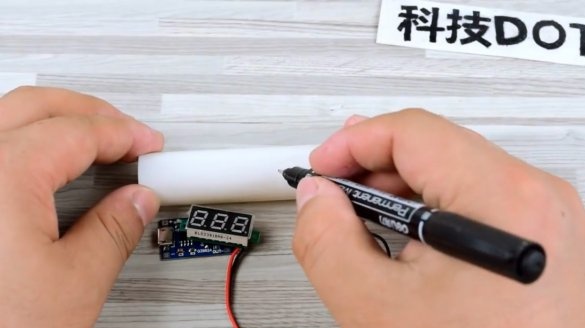
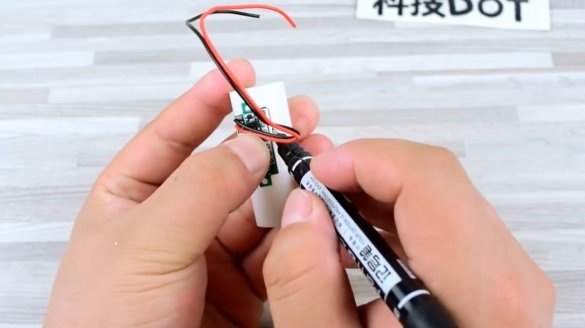
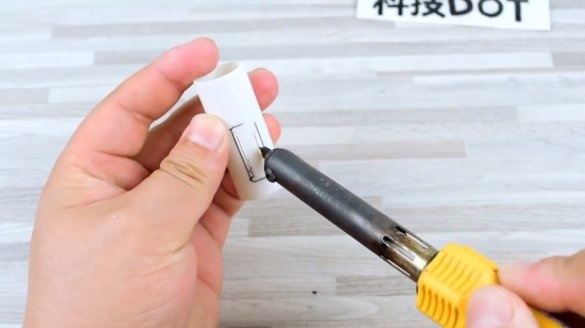
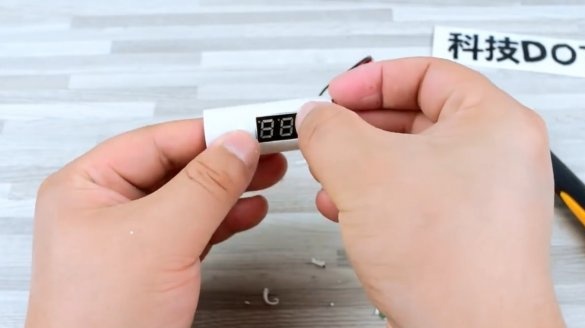
Now he needs to mark and cut a hole in the housing for the screen of a digital voltmeter.
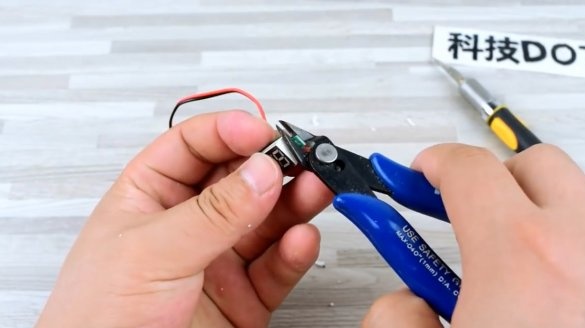
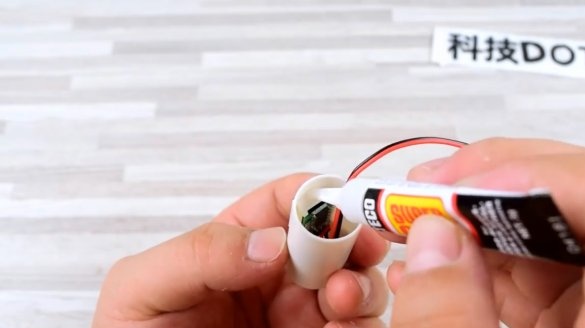
The ears of the voltmeter are not required, they can be bitten. Then the screen is installed in its place, and fixed with a second glue on the inside of the case.
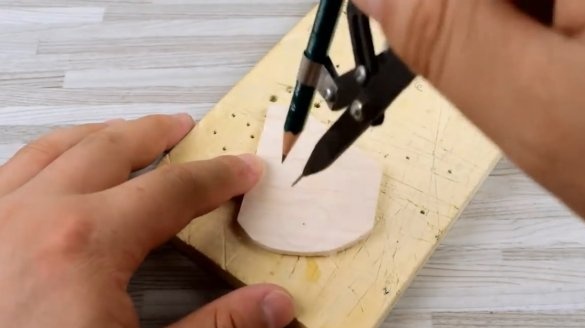
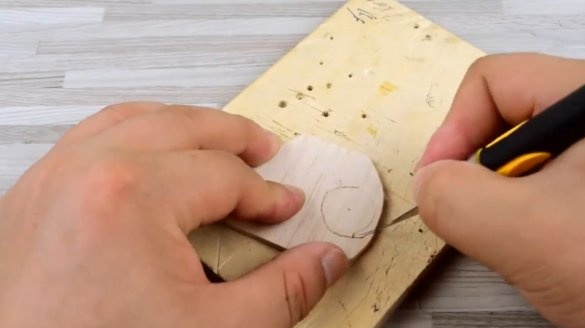
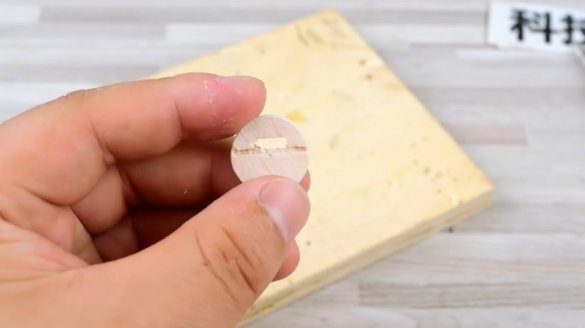
Then, having measured the exact diameter of the tube, the master cuts a circle from a piece of plywood. Its external sides are ground.
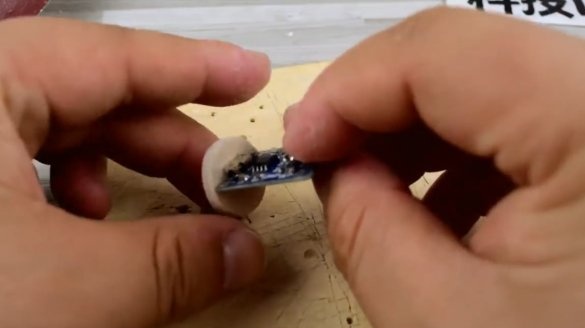
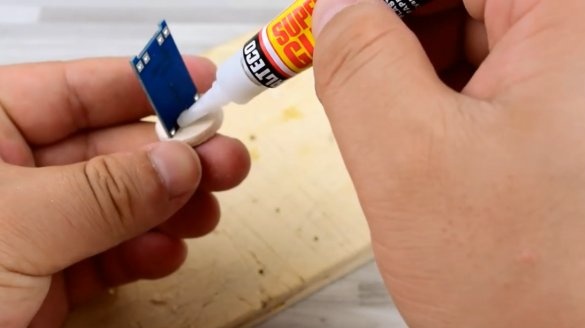
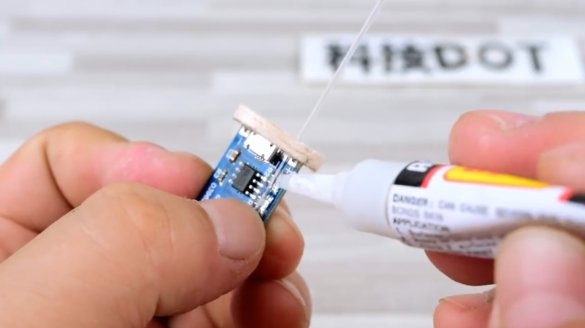
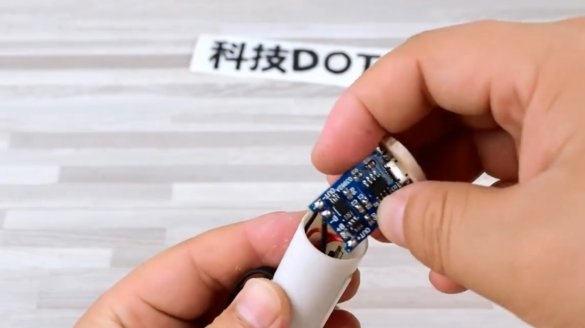
A hole for the MicroUSB connector and a shallow groove for the board are cut out in the mug. The charge controller board is glued in place. It is important to prevent glue from entering the connector.
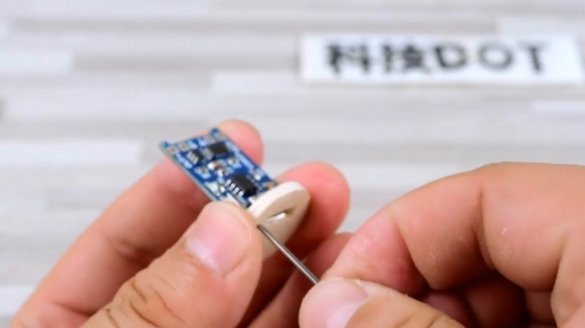
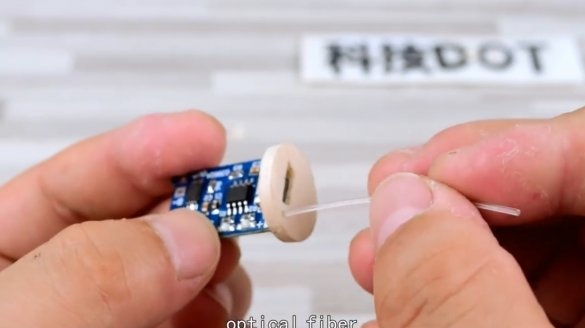
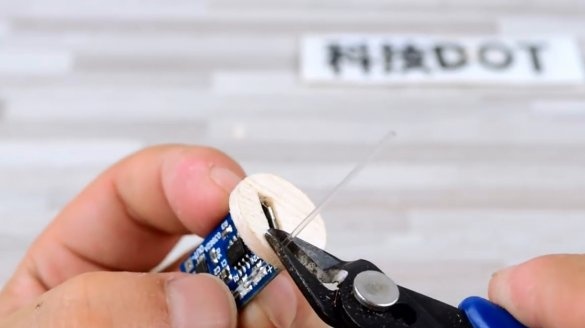
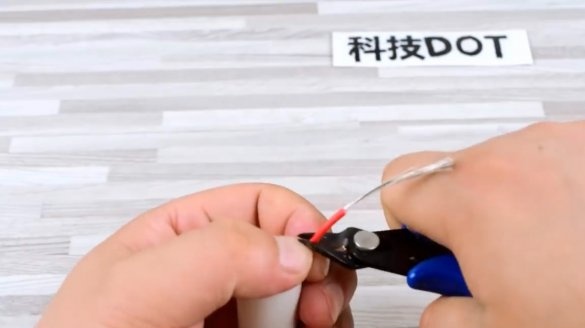
To the left of the connector, the master pierced a small hole, and inserted a light-conducting fiber into it. Its edge is fixed with a second glue directly to the LED, which shows the charge mode.Excess fiber is cut off with wire cutters.
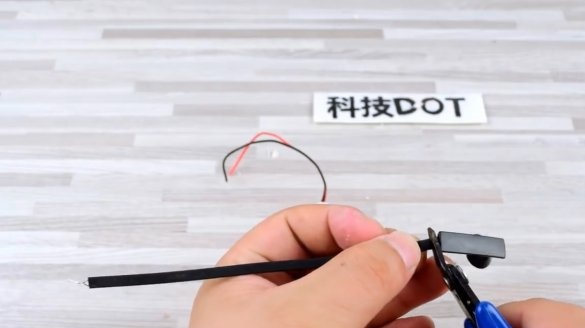
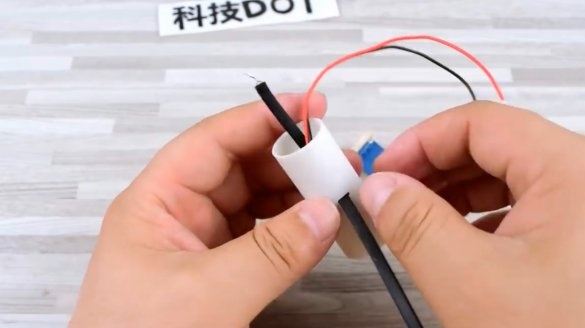
As a connecting wire for the response terminal, the author uses a flat cable from old headphones. Makes a slot in the case, and pulls the cable through it.
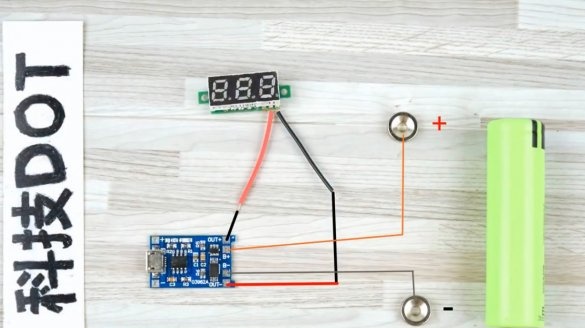
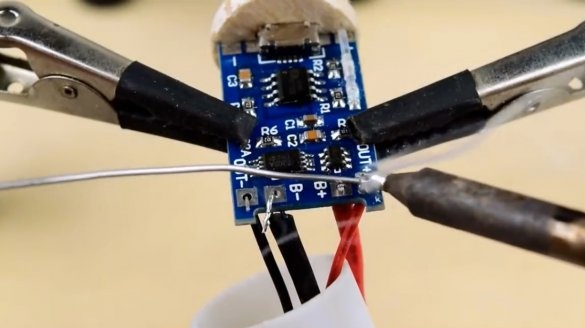
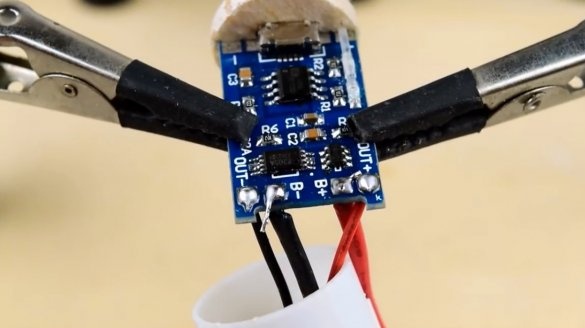
Now it is necessary to solder the simplest circuit by connecting a voltmeter to the “OUT” terminals, and the contact pads to “B +” and “B-”.
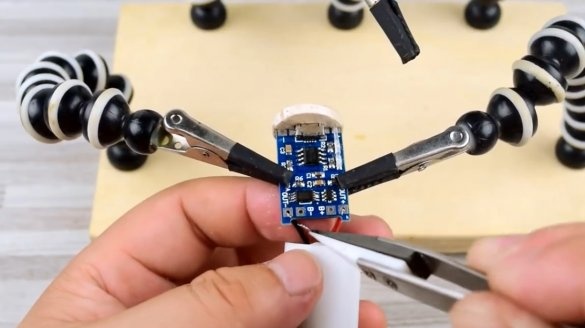
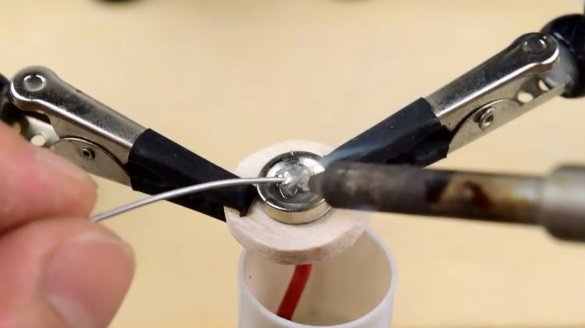
The wires are carefully peeled and soldered into place. It is convenient to use a "third hand" for this.
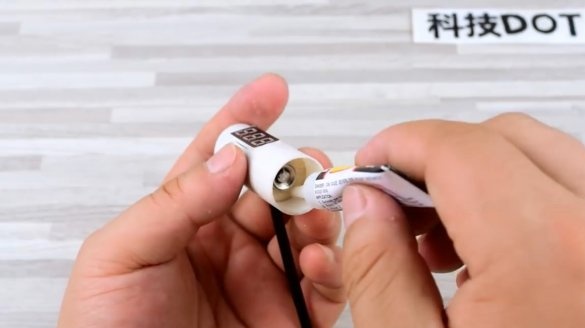
The charge controller with a plug is inserted into the case, and is fixed with glue.
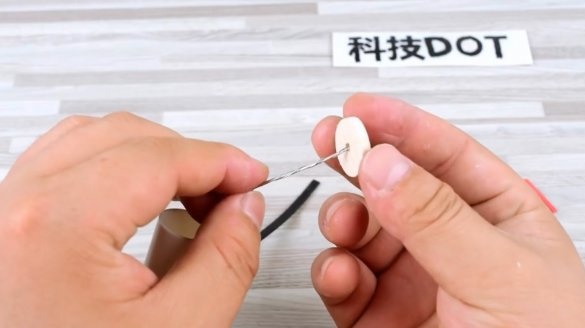
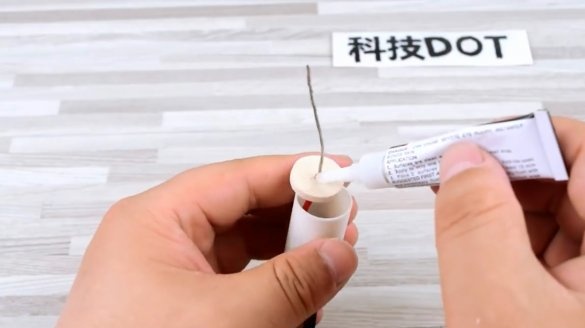
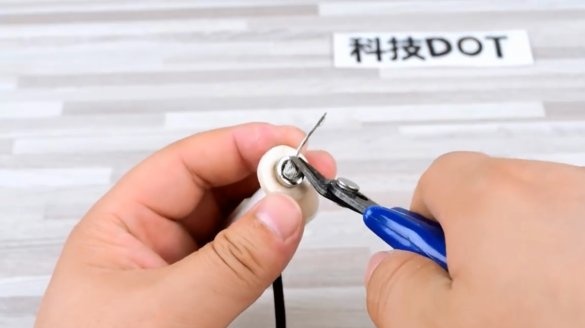
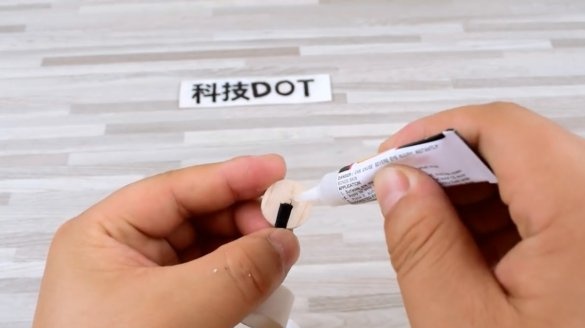
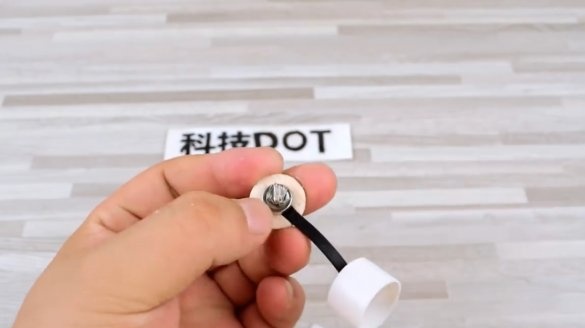
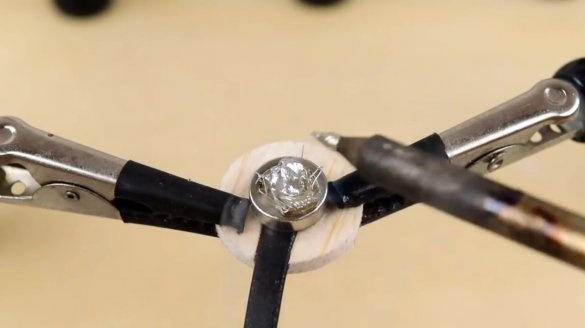
The wire is stripped and inserted into the prepared disk. Then a magnet is glued, and a contact is formed inside it.
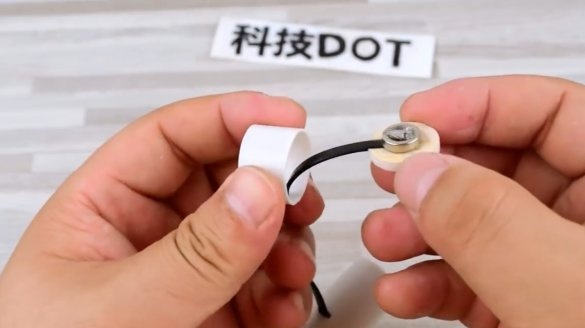
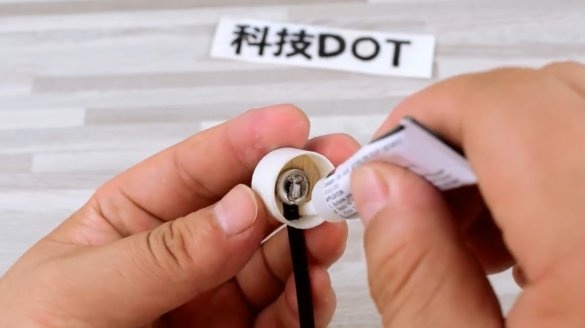
The contact area slides into the body and adheres.
In a similar way, the master made the return terminal.
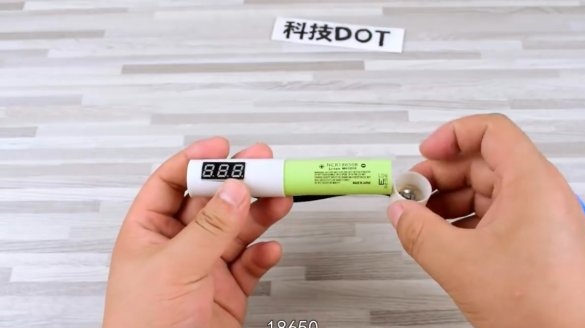
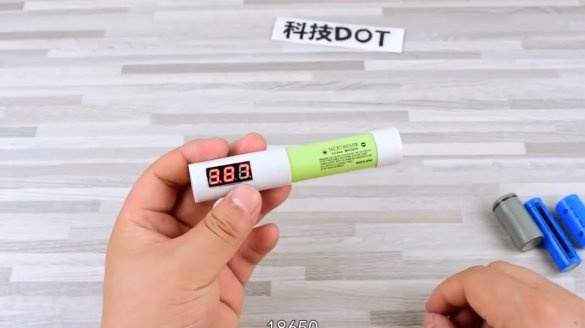
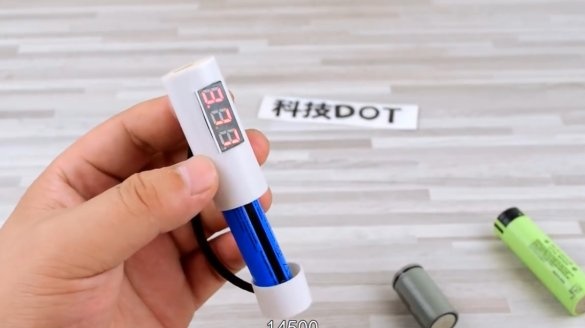
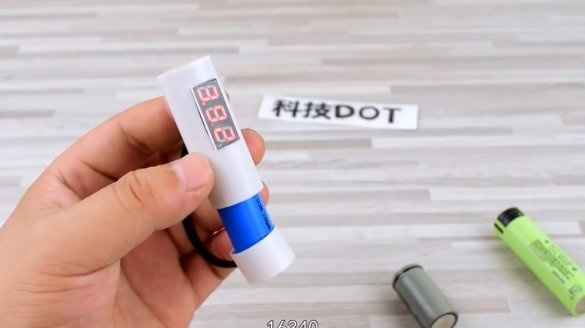
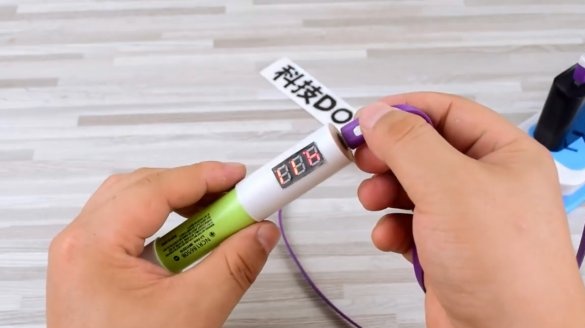
That's all ready, now, just by inserting the battery, you can check its charge level. The first author to experience the most common 18650.
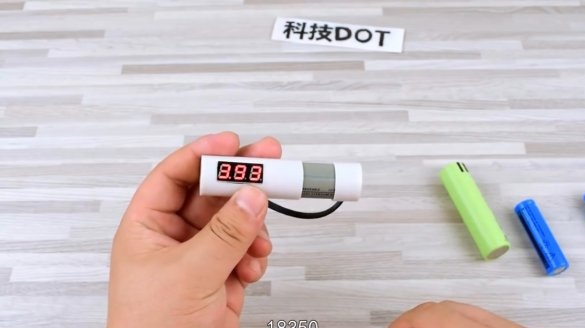
Then the batteries of other sizes. Namely 18350, 14500, 16340. All of them have the same rated voltage of 3.7 V.
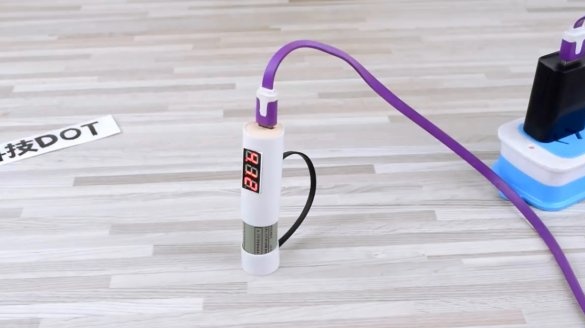
Now you can connect the power supply, or use a computer USB connector.
I thank the author for a simple but useful device for charging batteries!
All good mood, good luck, and interesting ideas!
Author video can be found here.

