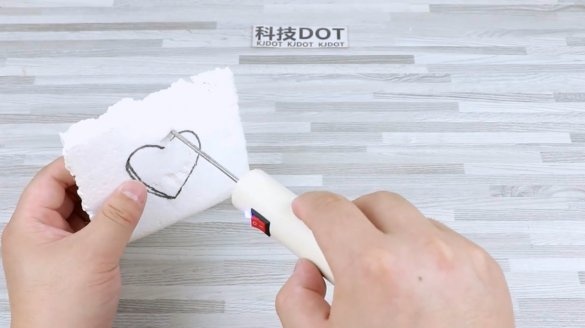
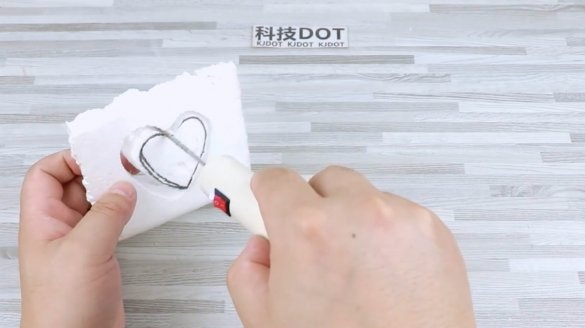
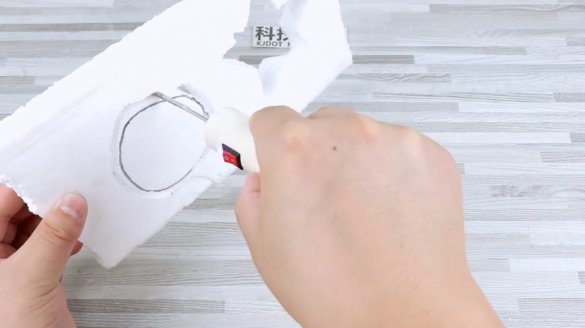
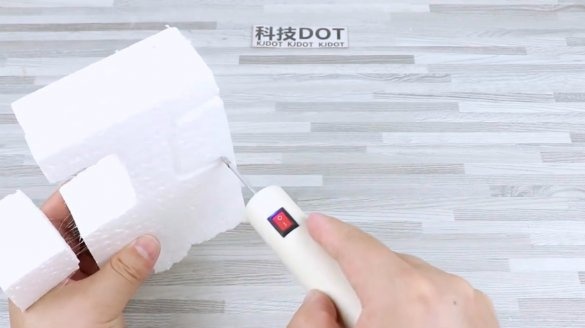
Surely many of you at least once in your life were engaged in cutting polystyrene or expanded polystyrene.
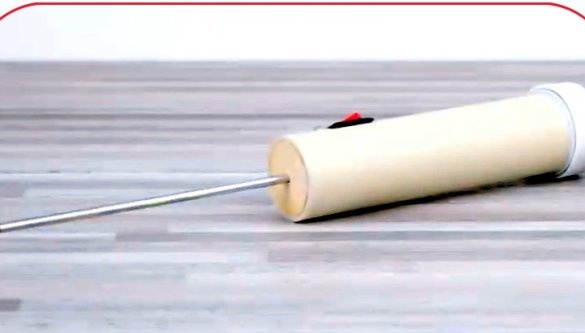
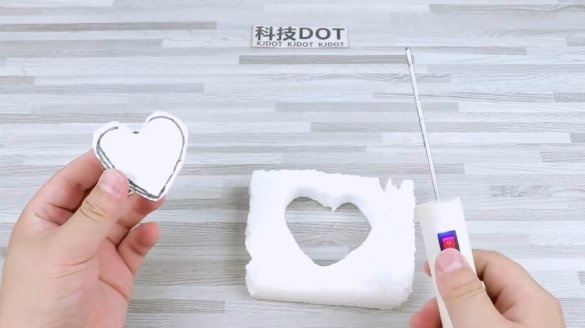
In this article, the author of the KJDOT YouTube channel will tell you how to make a portable cutter for these materials.
This homemade product is very simple to manufacture, and can be repeated in home conditions.
Materials
—
—
—
- Copper foil, sheet plywood, plexiglass
- Plastic bottle
- Blue LED
- switch
- 150 ohm resistor
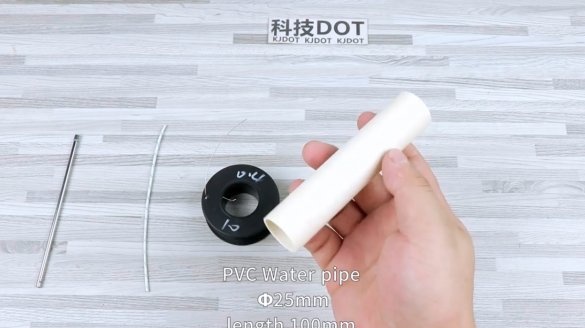
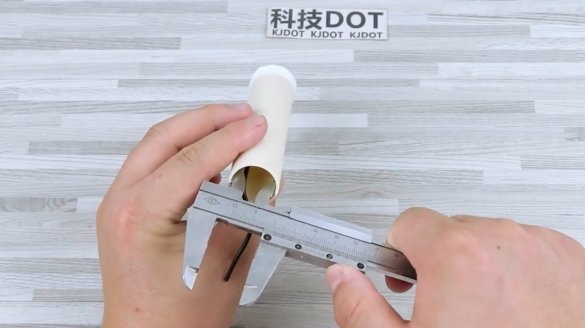
- PVC tube with a diameter of 25 mm
- telescopic antenna
—
- Wires, solder, second glue, heat shrink tube
- Sandpaper.
Instruments, used by the author.
—
—
- Hacksaw, scissors, pencil, marker, compass, jigsaw
—
—
- Pliers, screwdriver, nippers, knife, tweezers.
Manufacturing process.
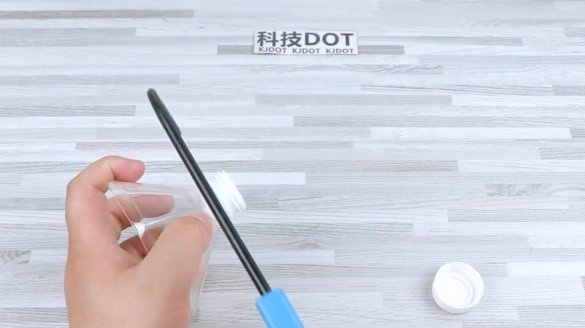
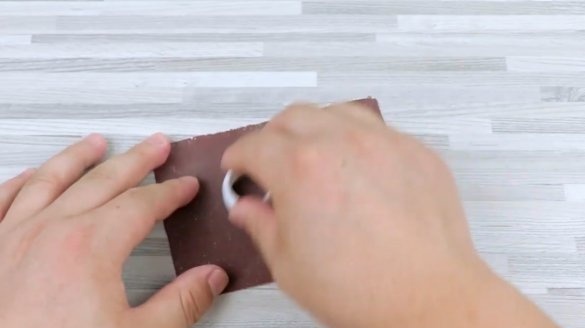
First of all, the master cuts off the neck of the bottle with a hacksaw. It will come in handy, and the cover from it. The place of cut is polished with sandpaper.
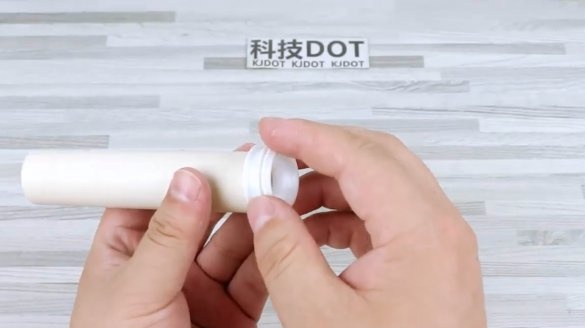
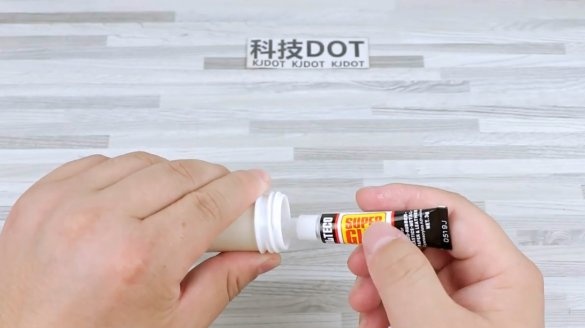
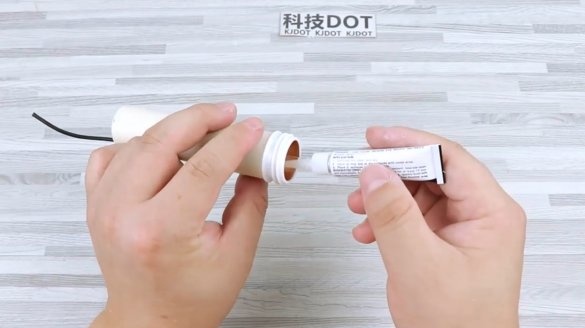
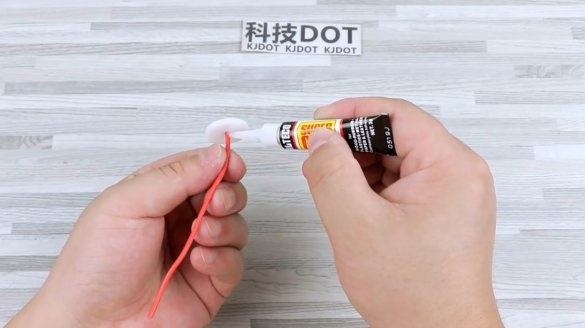
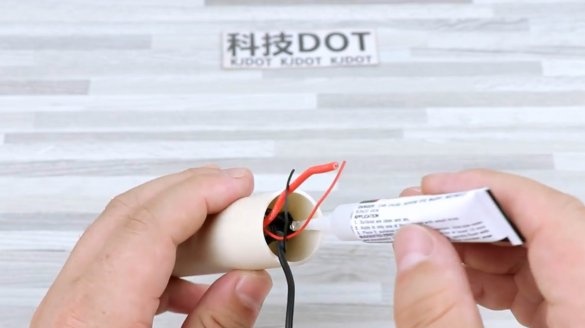
Now the neck is glued to a PVC tube with a diameter of 25 and a length of 100 mm. Second glue is perfect for this task.
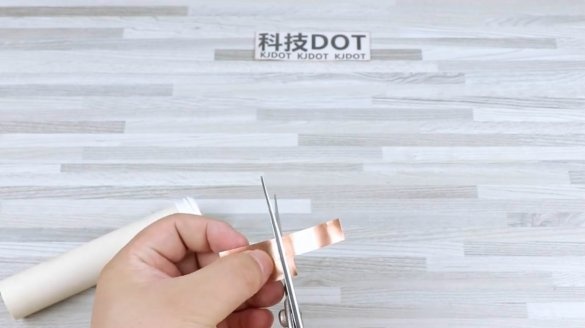
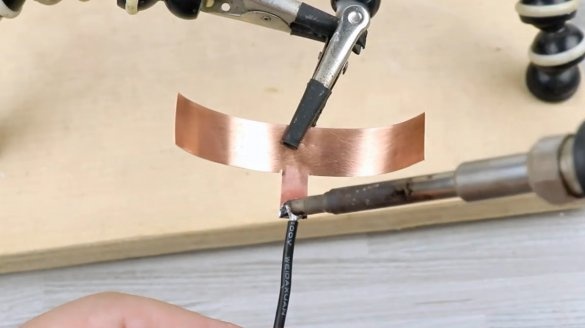
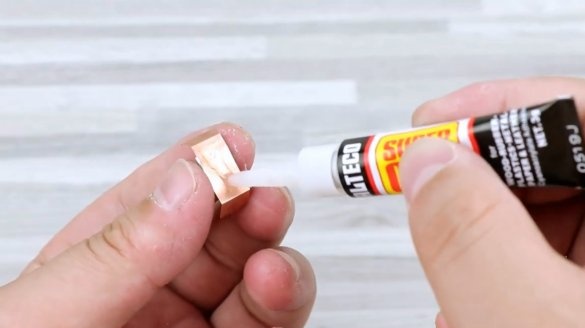
A T-shaped contact is cut out of copper foil and a piece of wire is soldered to it. This ring is glued to the edge of the tube.
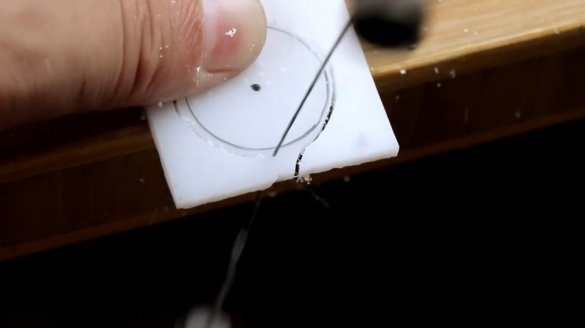
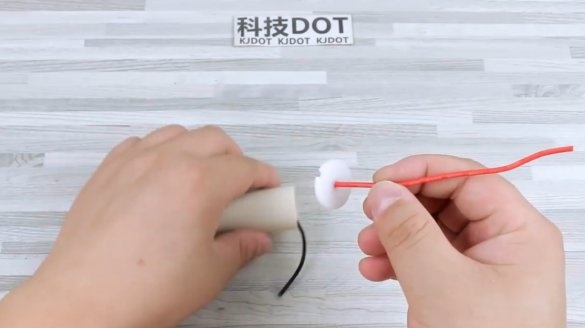
From plexiglass, the author cuts out the insert for positive battery contact.
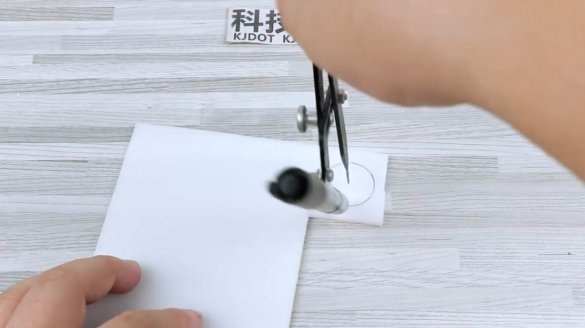
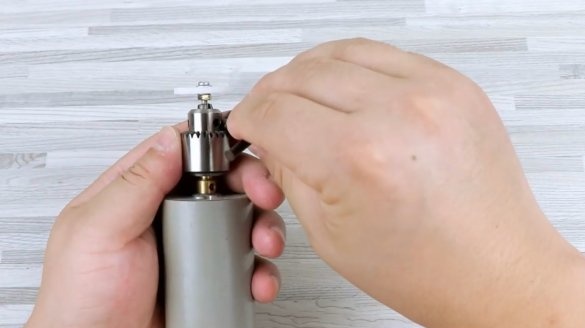
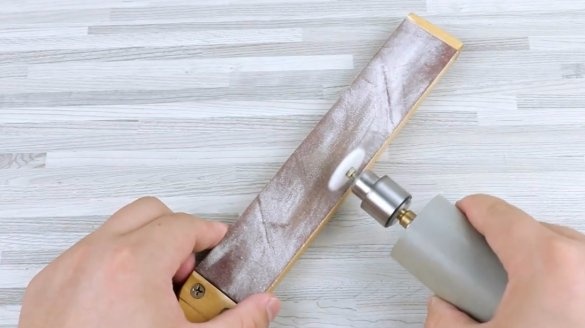
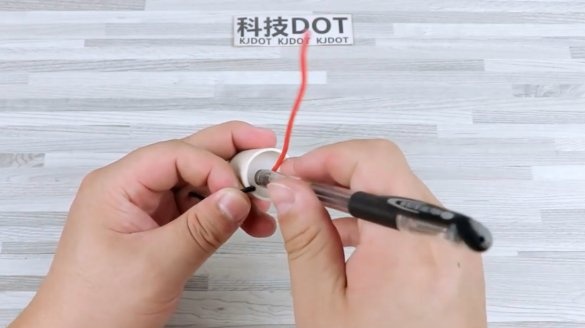
To align the outer edge, he uses this simple method.
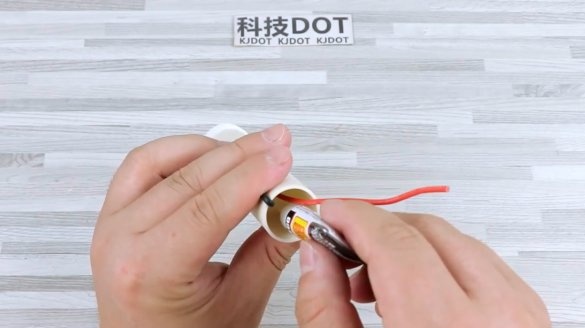
The wire is fixed in the liner, and glued into the body at a small distance from the edge.
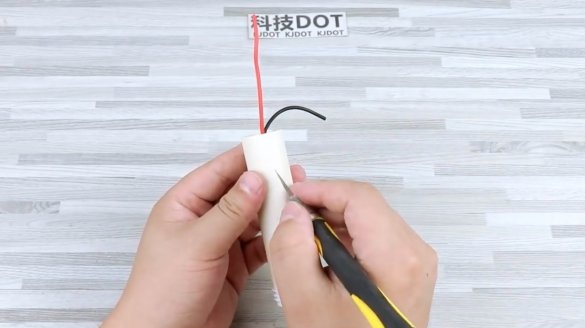
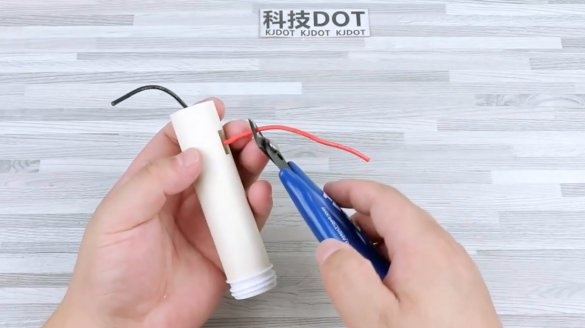
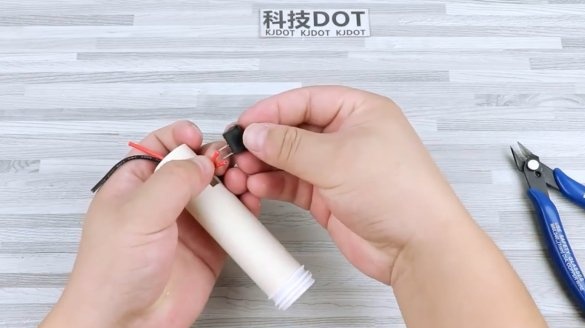
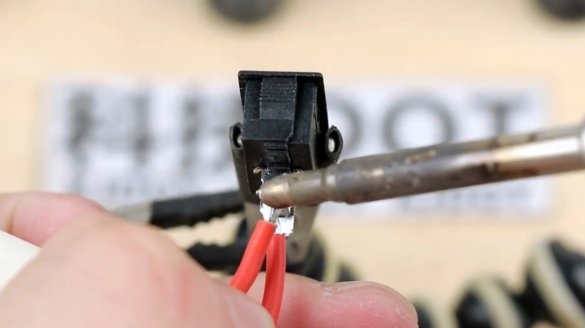
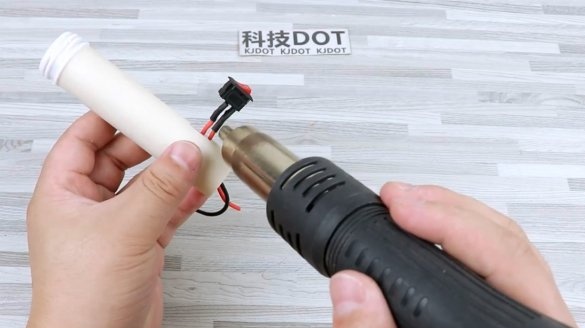
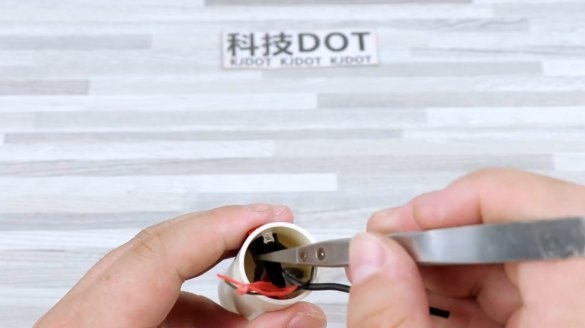
For the switch in the case, a rectangular hole is cut out and wires are drawn into it. Then the switch is soldered into the gap of the positive wire.
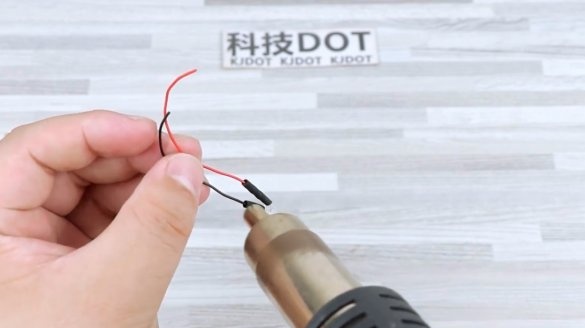
Contacts can be insulated with heat shrink tubing.
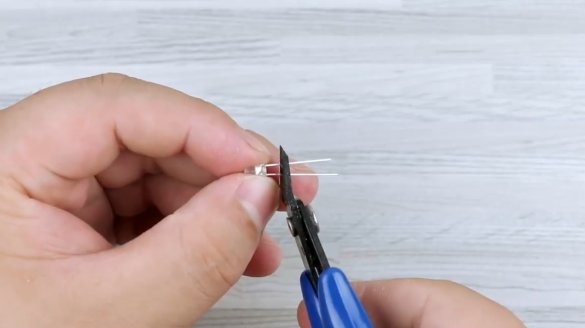
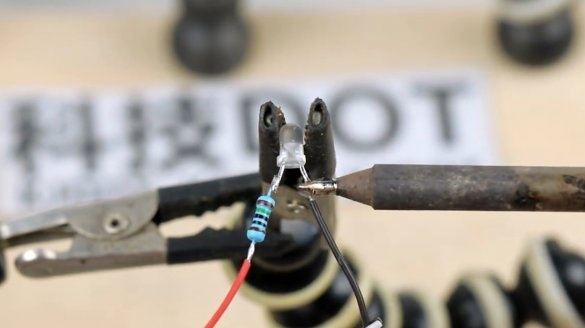
Now the master makes a power indicator by soldering a 150 Ohm resistor to the LED. Contacts are also isolated.
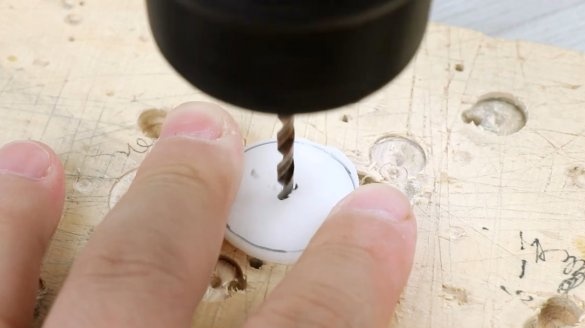
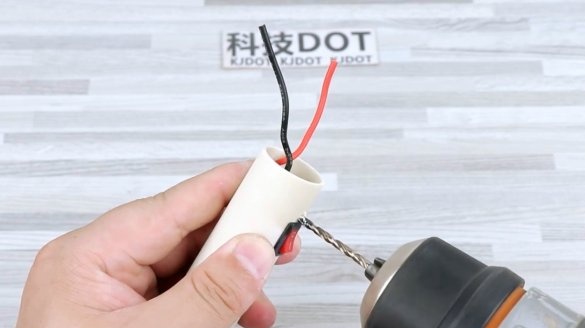
A hole with a diameter of 3.5 mm is drilled near the switch. An LED is glued into it.
The power and LED wires are twisted together.
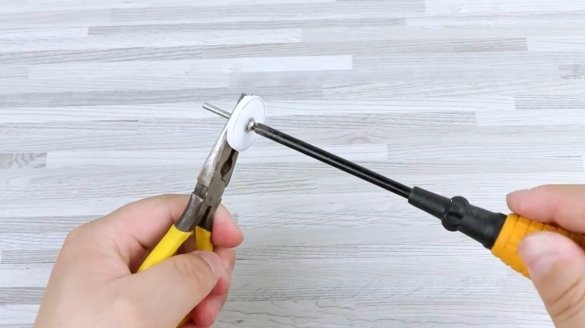
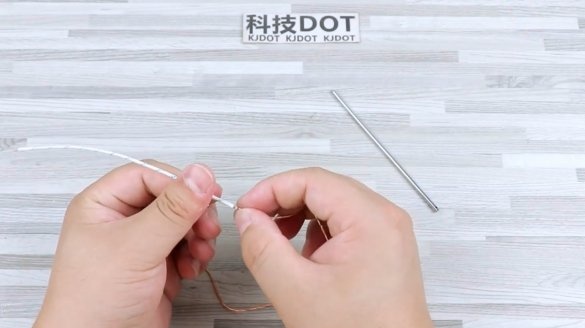
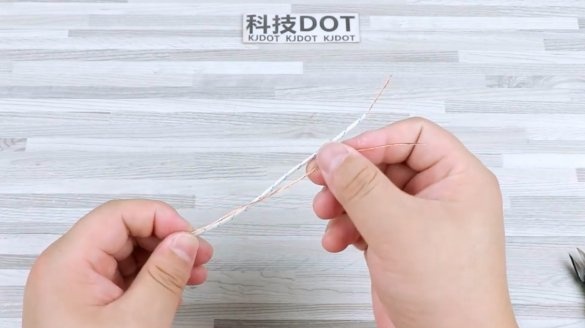
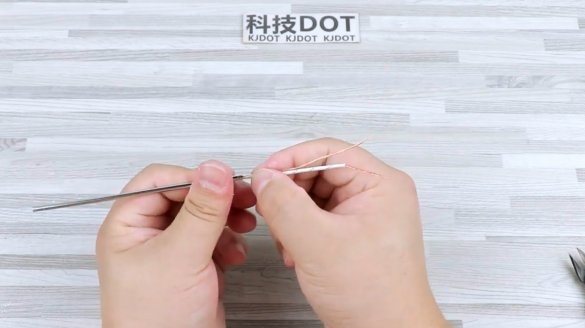
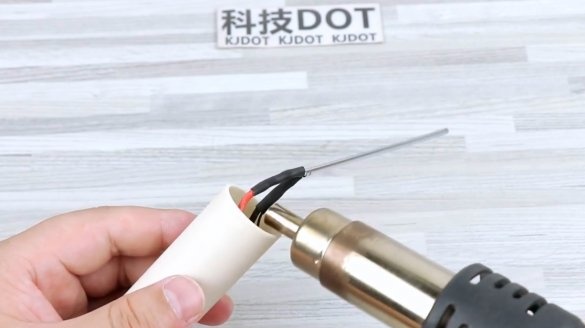
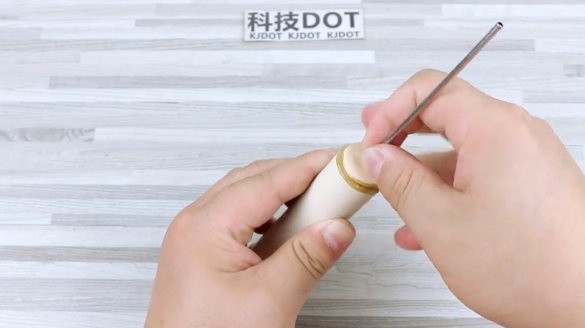
Next, the master makes the most important element of this device. This is a heating pipe.For the outer casing, he uses a telescopic antenna trimmer, into which a nichrome thread 0.4 mm in diameter is inserted. To isolate the thread from the body, the author inserts it inside a fiberglass sleeve with a diameter of 1 mm. Pieces of copper wire join the edges of the thread.
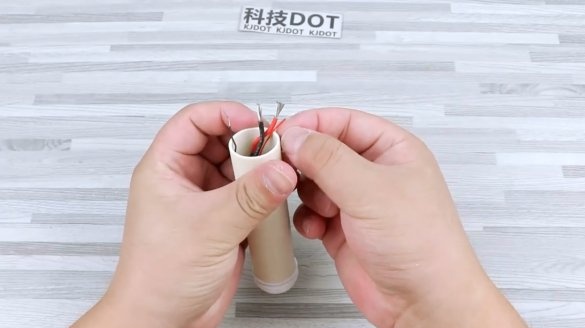
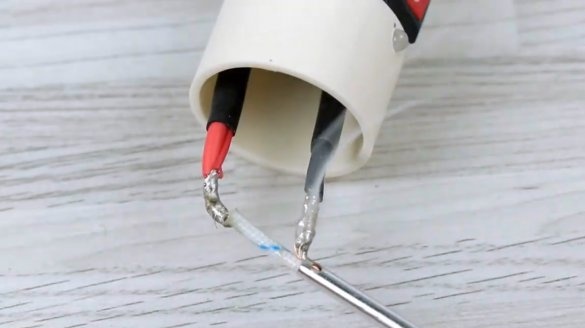
Heater contacts are soldered to power wires and insulated.
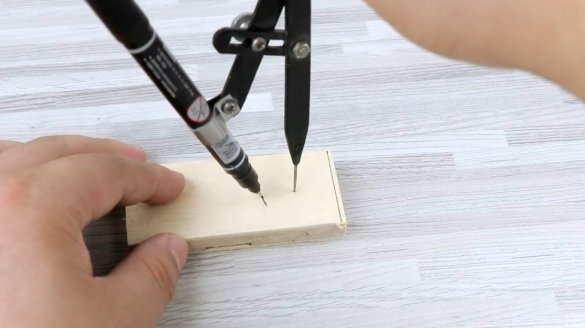
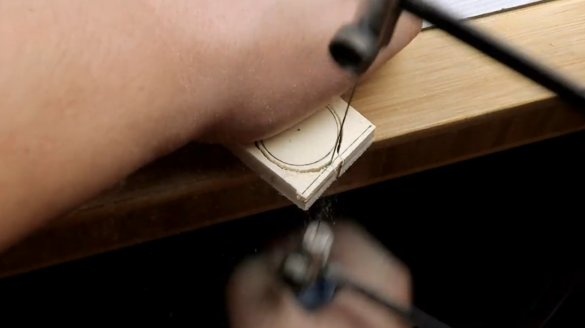
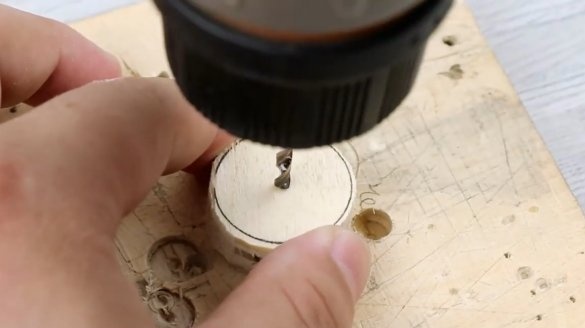
For the holder of the heating element, the author cuts a circle out of thick plywood.
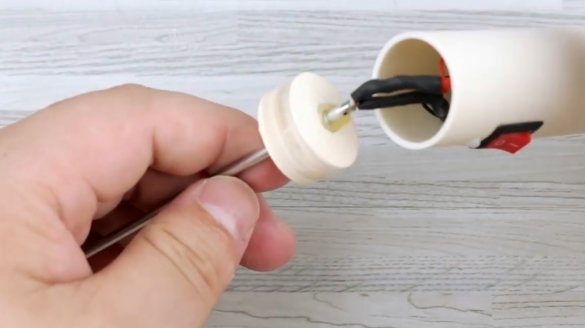
A heater is glued into the holder and installed in the housing. For this, the author used two-component acrylic glue.
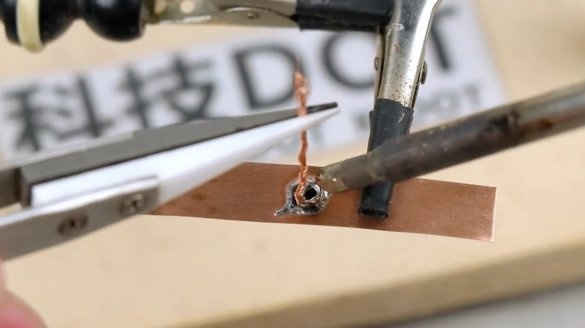
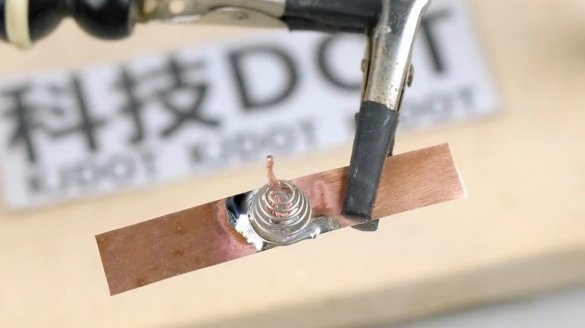
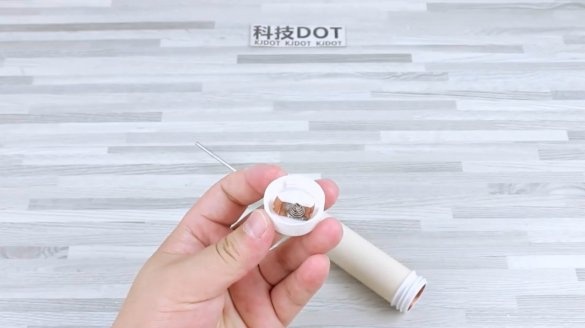
It remains to make a contact pad, solder a spring to its center, and glue it into the cork.
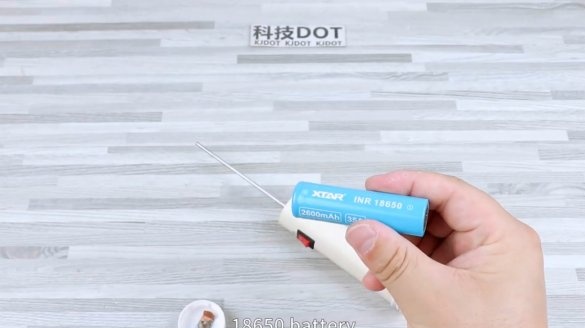
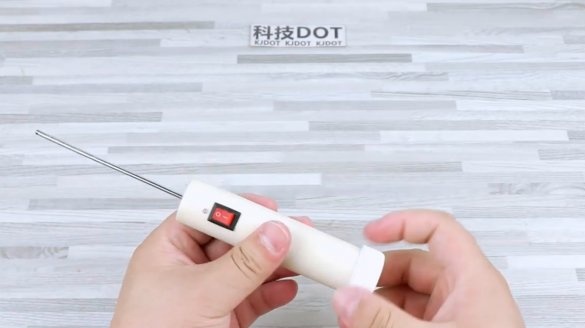
The device is ready, a 18650 battery is installed in the case.
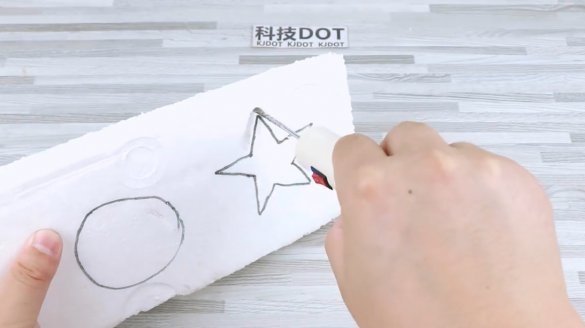
Warm up fixtures happens very quickly, literally in 5-7 seconds. Now this device can cut polystyrene even when working at heights.
Thanks to the author for a simple but useful tool for cutting polystyrene foam!
All good mood, good luck, and interesting ideas!
Author video can be found here.

