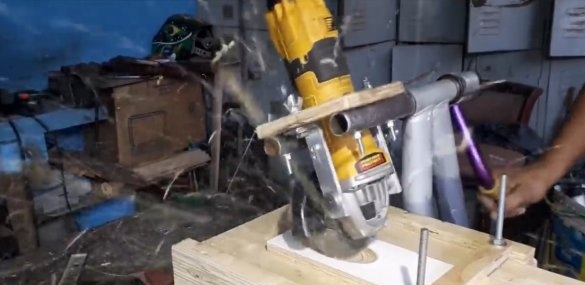
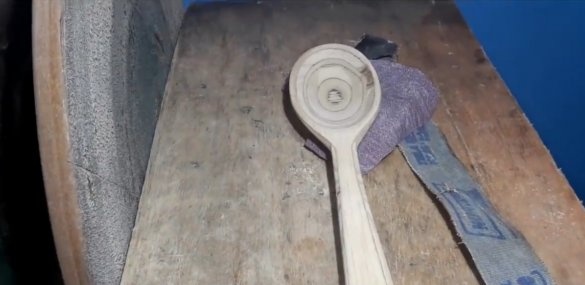
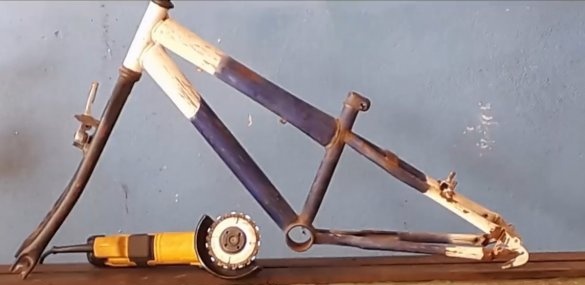
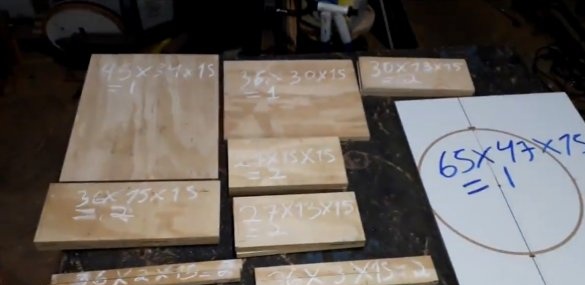
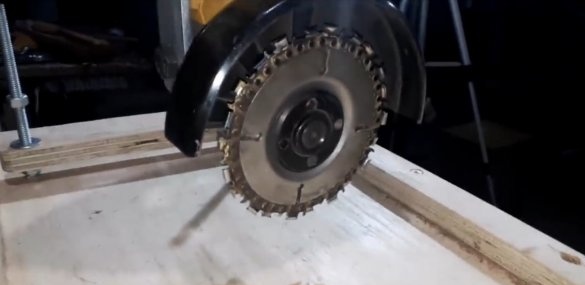
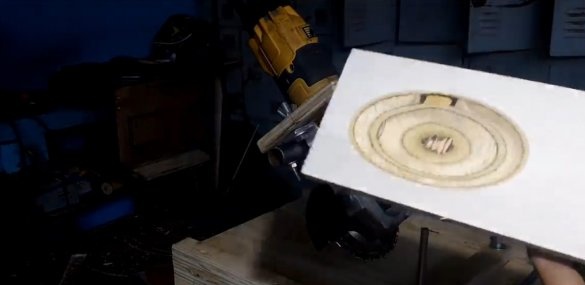
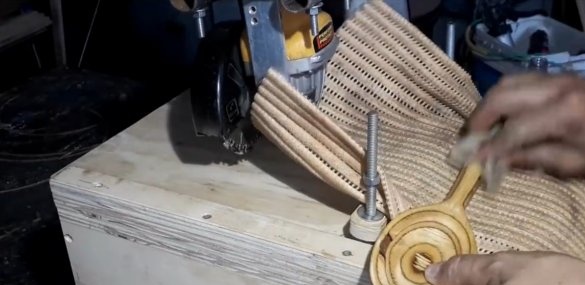
Hello to all fans of craftsmen, today we will consider how to make an interesting machine from a grinder. The author puts a chain disc on such a machine and easily cuts holes in the material, and then cuts out wooden spoons. Of course, the capabilities of such a machine are wider than the manufacture of spoons, here is what anyone needs. The support table is able to rise upward, thereby lifting the material towards the groove. As the rotary hinge on which the Bulgarian is held, the author used part of the bicycle frame. All other parts of the machine are made primarily of plywood. If you are interested in the project, I propose to study it in more detail!
Materials and tools used by the author:
Material List:
- plywood;
- threaded rod, washers, nuts;
- the front of the bicycle frame;
- bolts and nuts;
- ;
- Sheet steel;
- fixing corners.
Tool List:
- grinder;
- welding machine;
- circular saw or jigsaw;
- marker;
- roulette;
- drill.
Manufacturing process homemade:
Step one. Fasteners for grinders
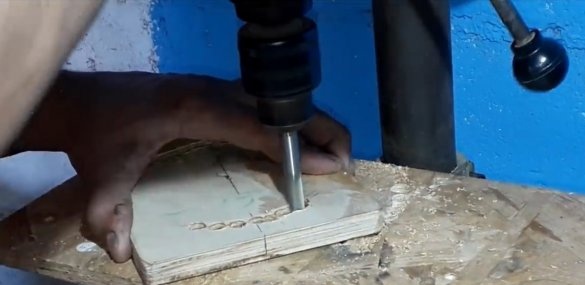
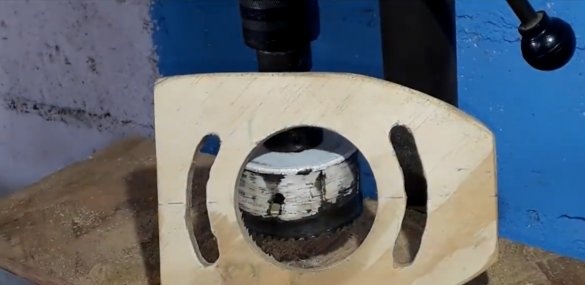
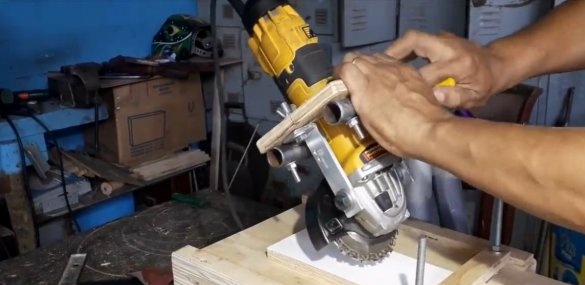
First of all, we will produce fasteners for the grinder. The author used plywood as a material. We drill a hole in the plywood along the diameter of the grinder body, and the grinder is fastened using two angles.
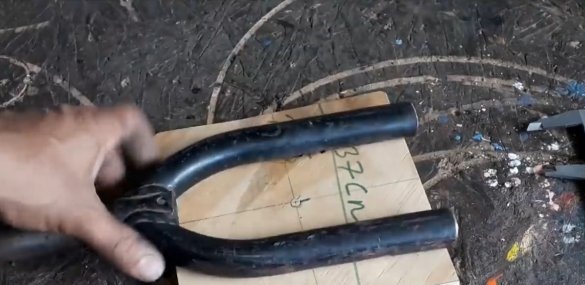
The design of the fasteners is provided so that the mounting angles can be rotated, thereby changing the position of the cutting disc. The fastener itself is screwed to the bicycle fork with bolts and nuts.
Step Two Swivel joint
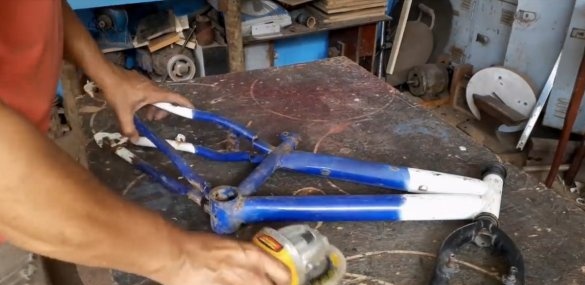
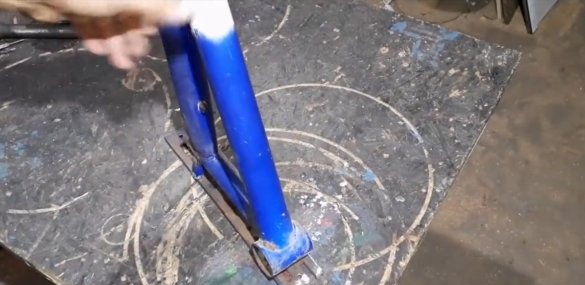
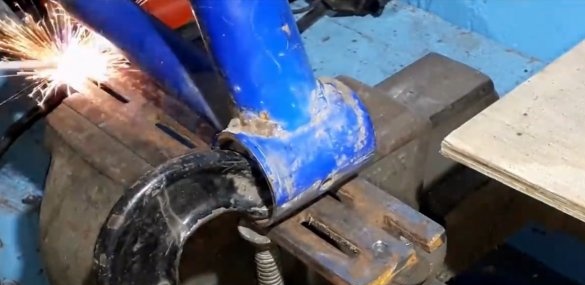
The author used a ready-made swivel joint - this is the front of the frame from the bicycle, the steering unit. We cut off the excess part of the frame from the bicycle and weld fasteners for attaching the frame to the table. As a fastener, a thick steel plate is suitable, we drill holes in it.
Step Three Work table and lifting unit
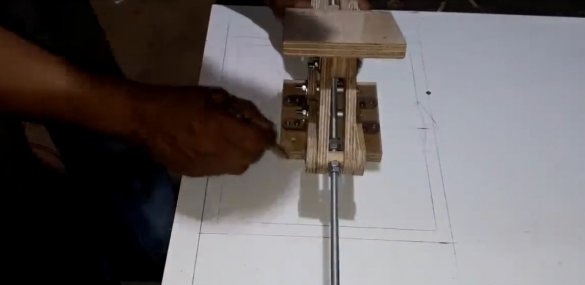
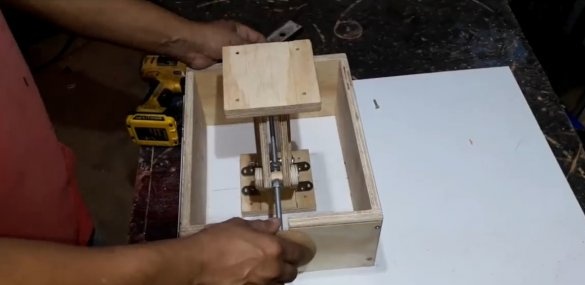
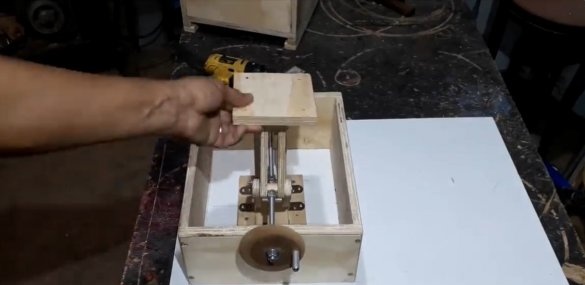
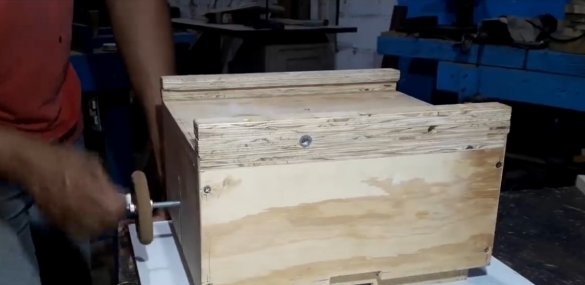
The author made a working table and, on the whole, the whole foundation of plywood. First, we assemble a box of plywood, inside which we place a lifting unit. The author himself assembled the lifting unit from plywood, washers and a long threaded rod.The lifting unit lifts up the platform, on which the material from which the spoon is cut is located.
Of course, there should also be a latch on the table that will hold the board or other material. The latch can be made of threaded rods and a piece of plywood.
Step Four Assembly and testing
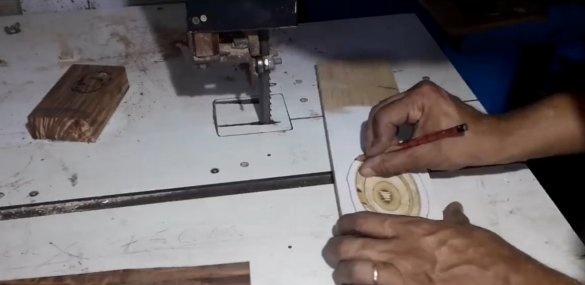
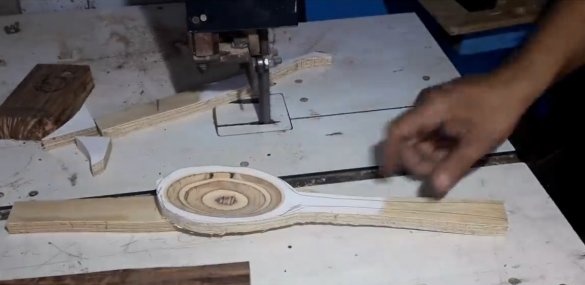
We set the material on the table, adjust the desired height and you can make a spoon. The machine cuts a recess in the material, everything turns out quickly and efficiently. Next, draw the silhouette of the future spoon and cut it out using an electric jigsaw, a tape machine, and so on.
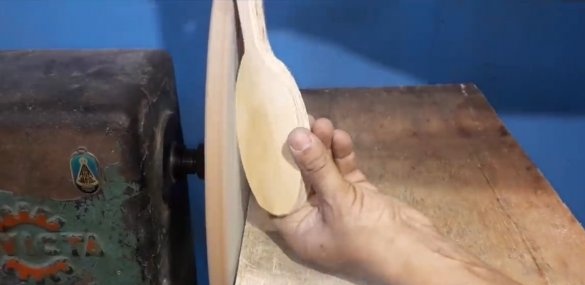
As a result, the spoon will be properly sanded and soaked in wood. On this the project is completed, the machine turned out simple and useful. I hope you enjoyed your homemade work and found useful thoughts for yourself. Good luck and creative inspiration, if you decide to repeat a similar project, do not forget to share your ideas and homemade things with us!

