
They say that the construction of a good aerobatic model is the pinnacle of craftsmanship.
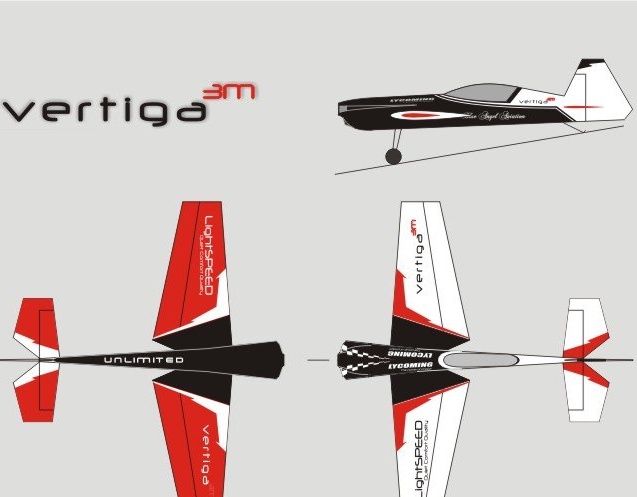
Today I suggest that you look and learn from the author of this article the skills, basics and subtleties of creating the Vertiga 3M aerobatic model.
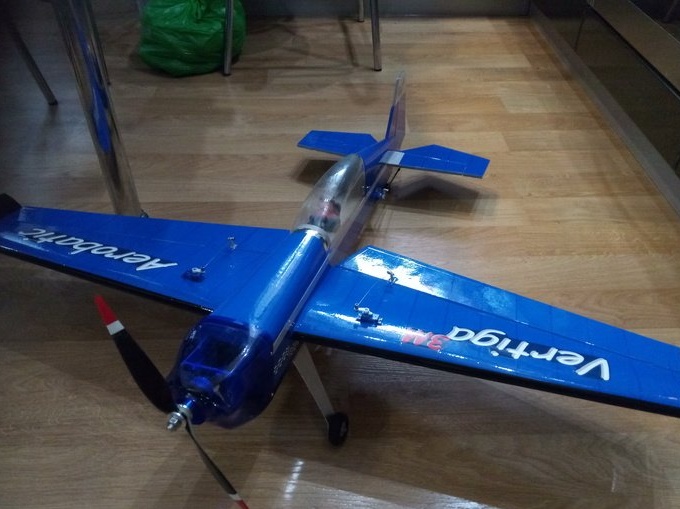
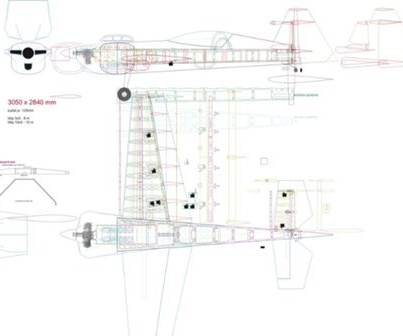
The author kindly provides us with the drawings of this model and claims to build such model not at all difficult, and the materials for its construction are not scarce.
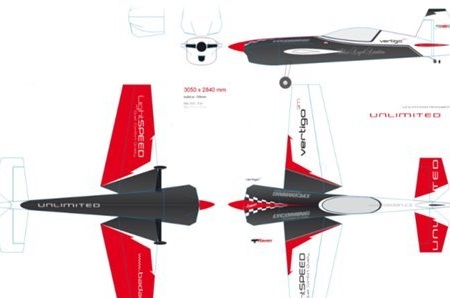
The author did not pay attention to printing and gluing drawings, believing that you can cope with this task yourself. I agree with him.
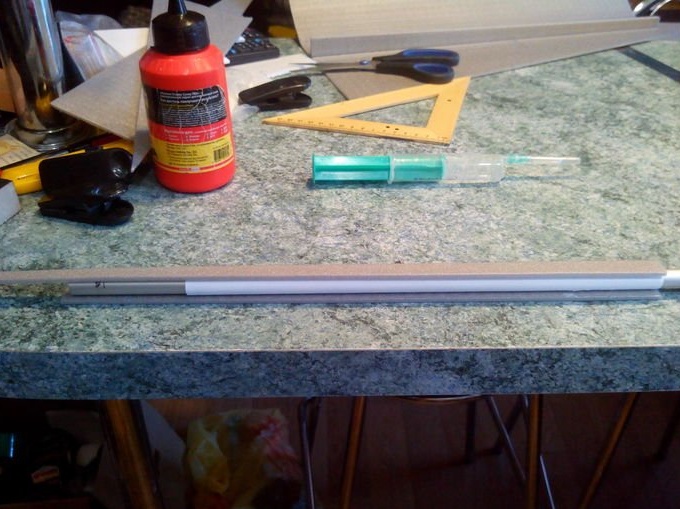
Depron was used to build the model, but I think that it can be completely replaced with a simple, sheet substrate for the laminate.
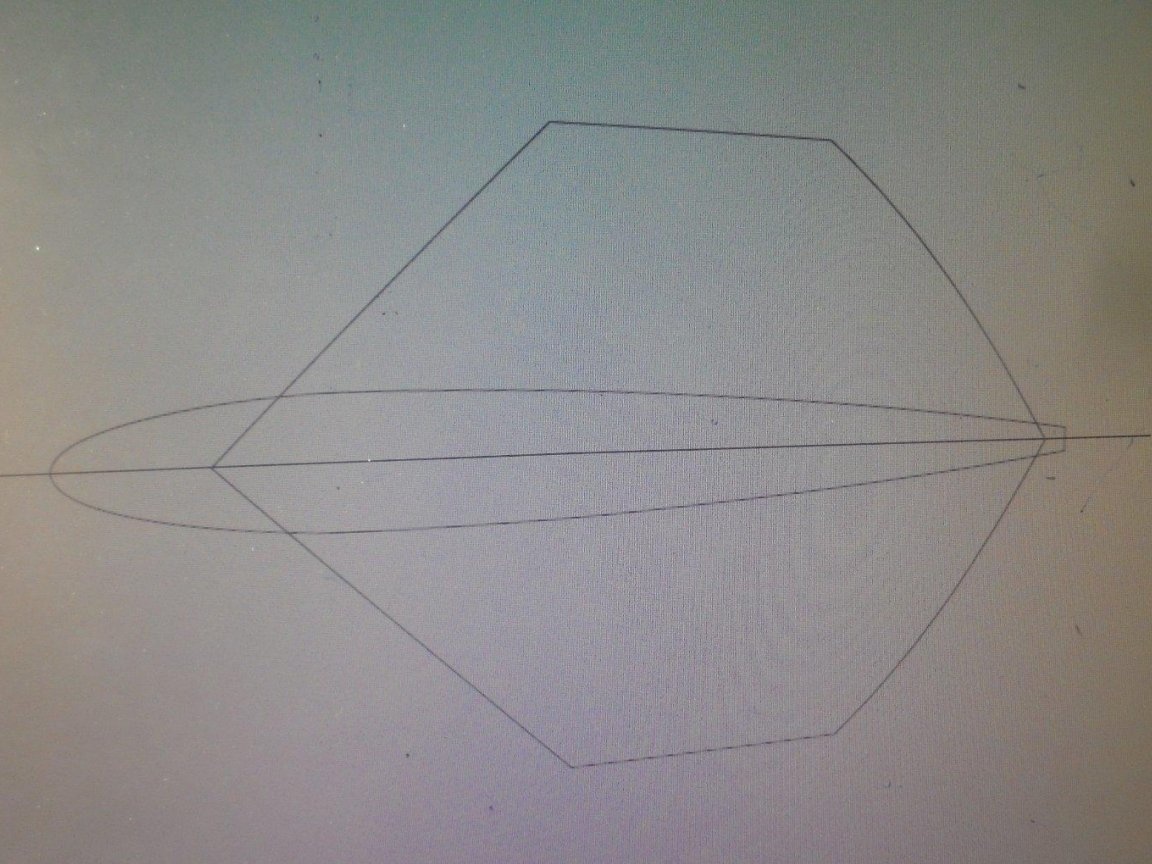
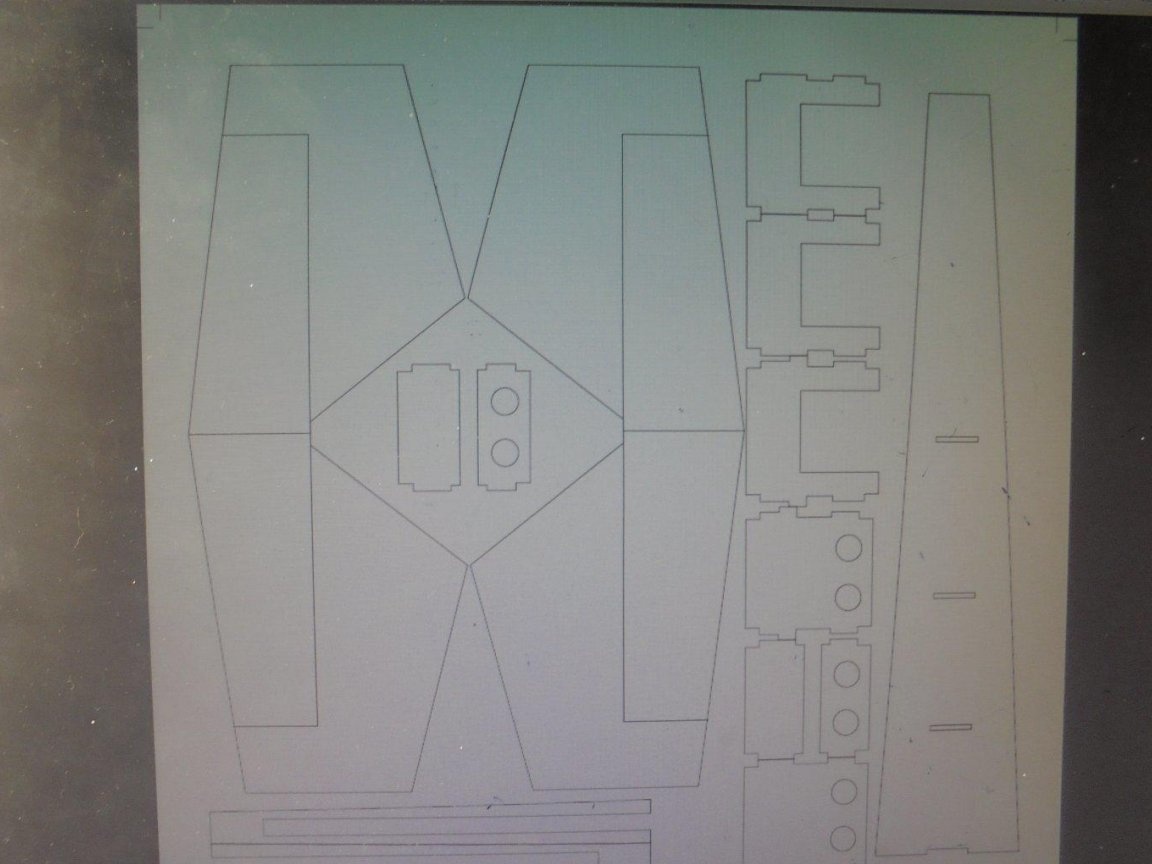
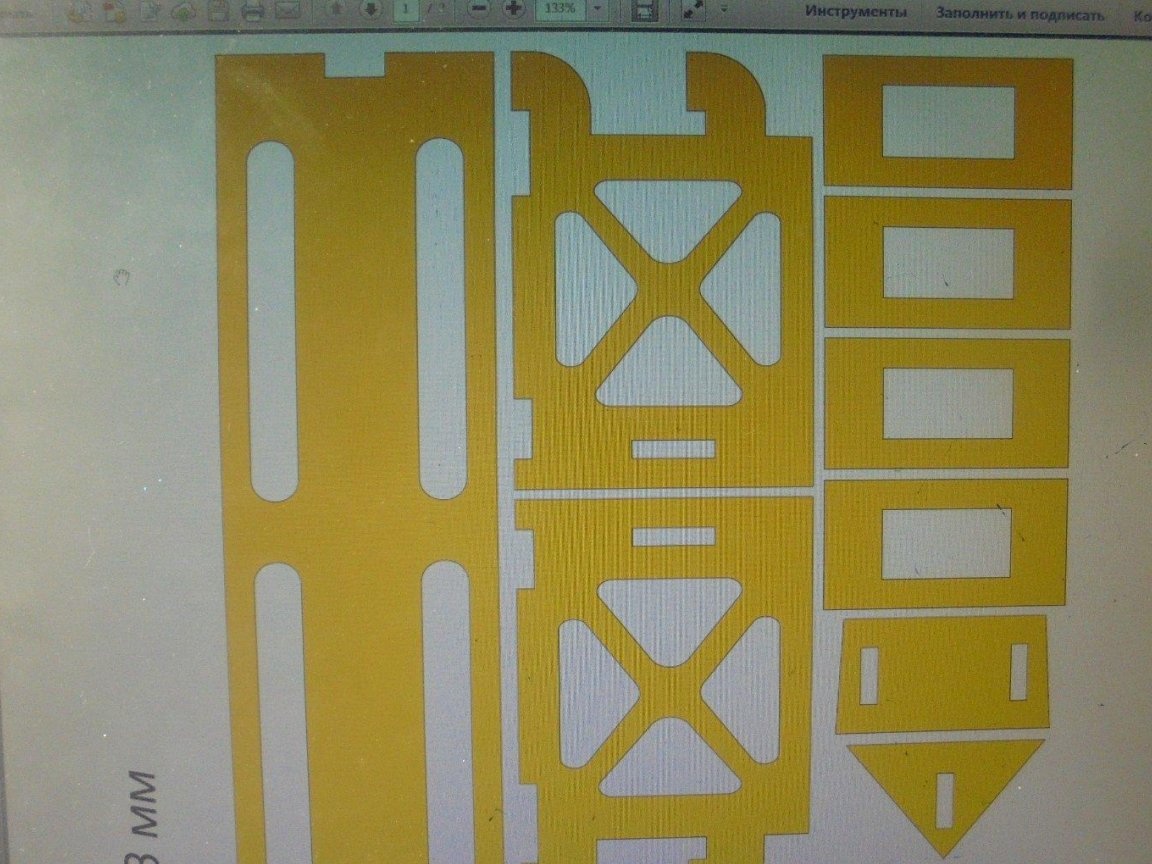
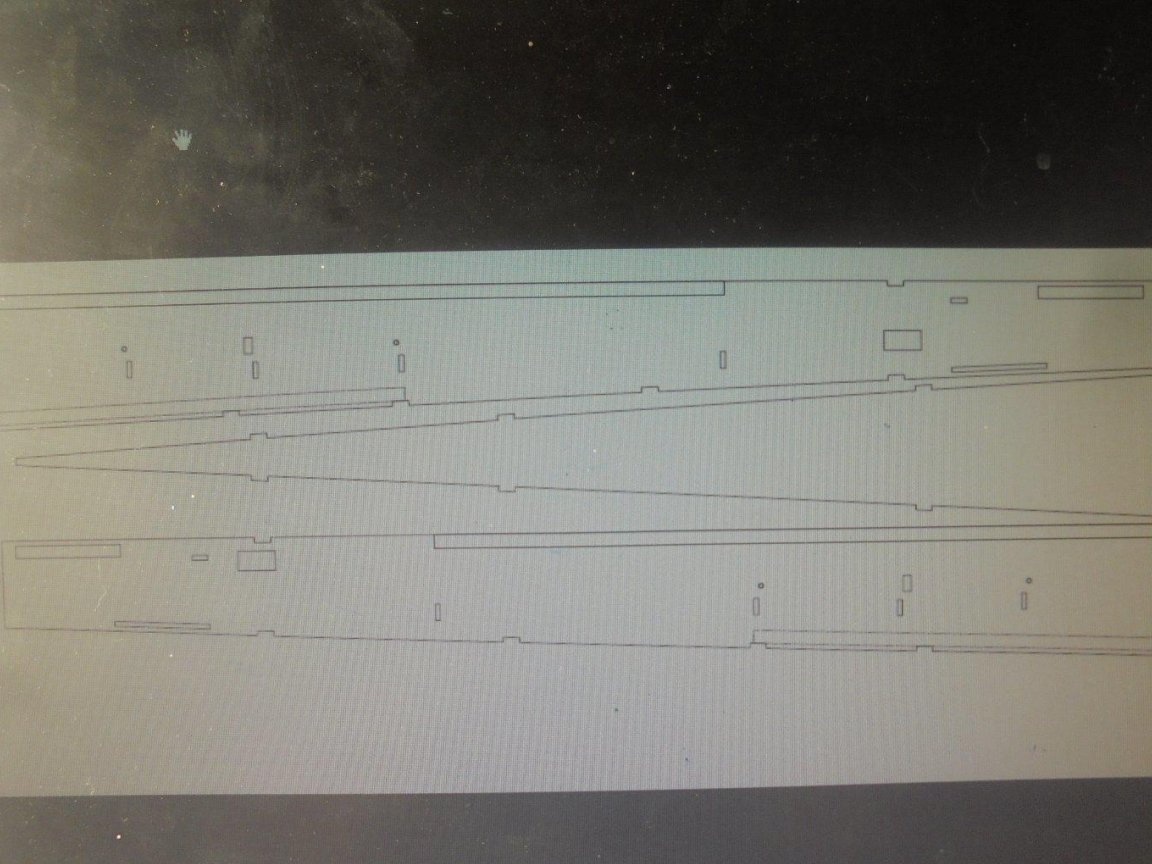
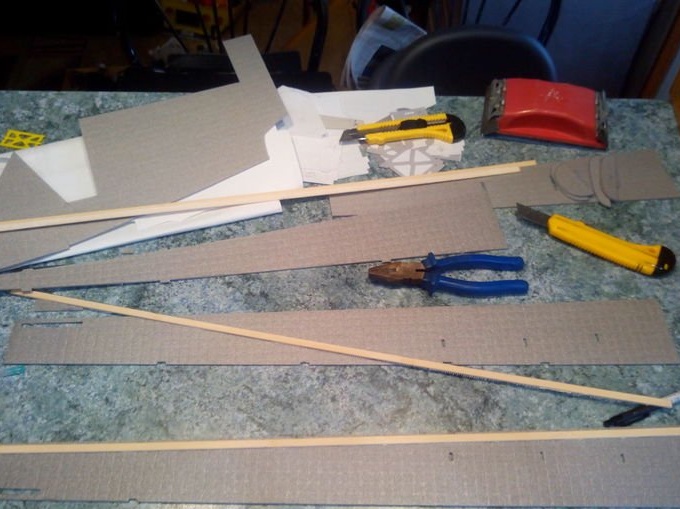
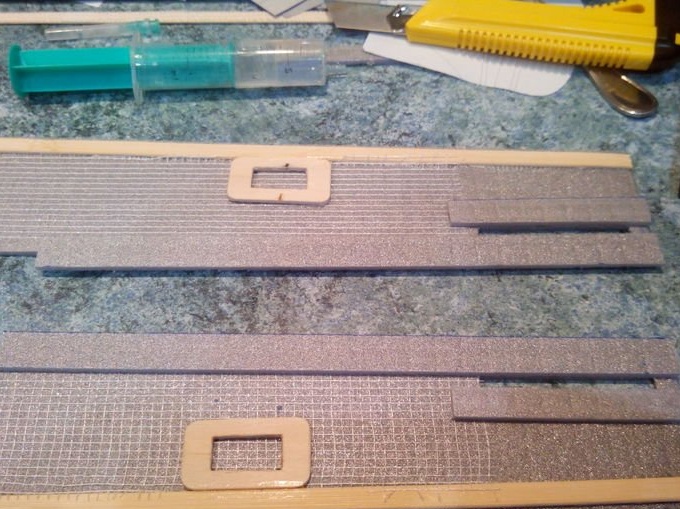
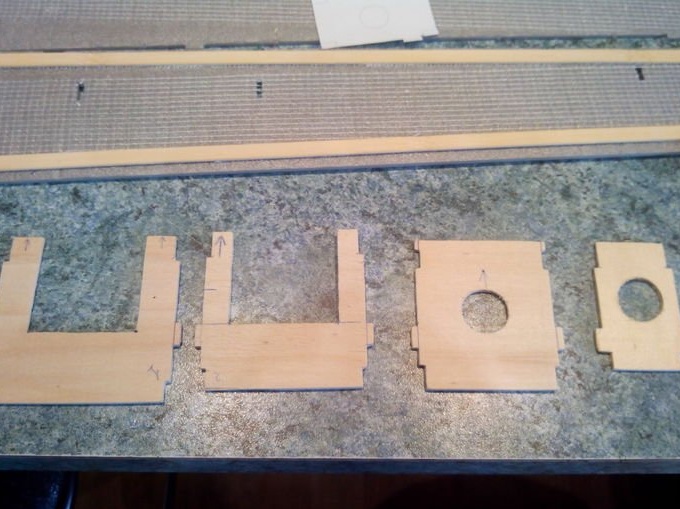
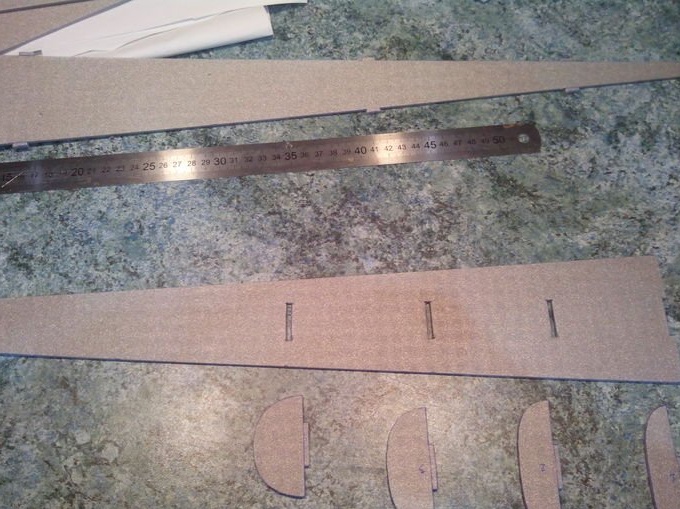
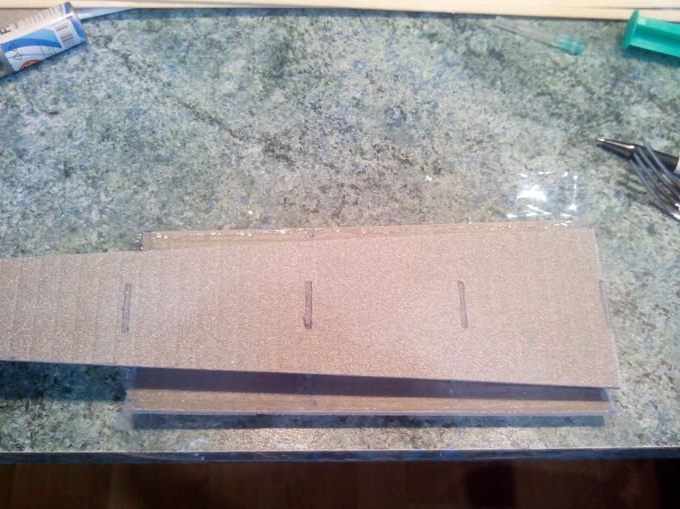
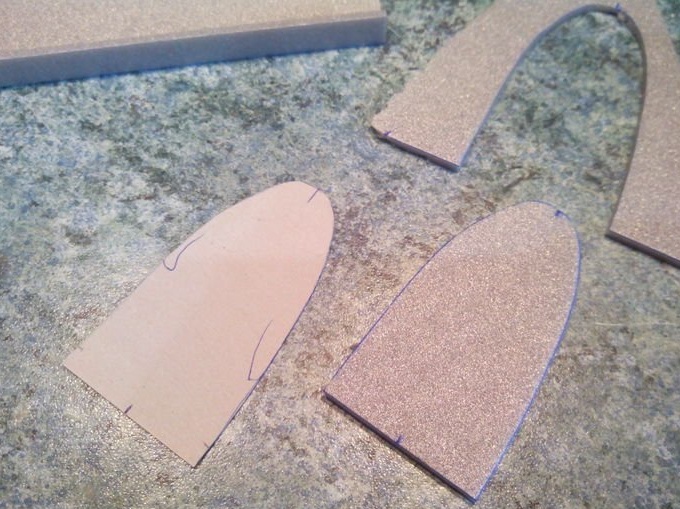
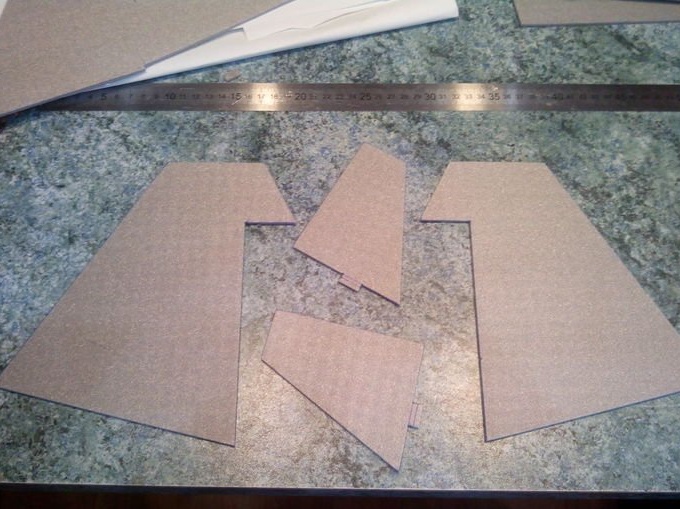
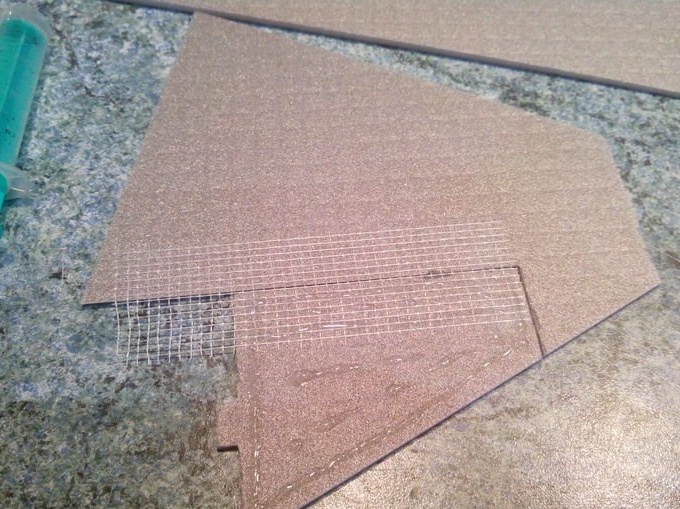
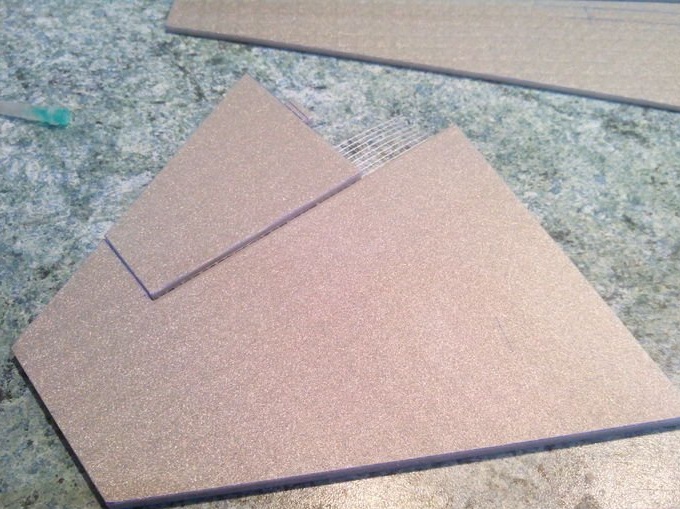
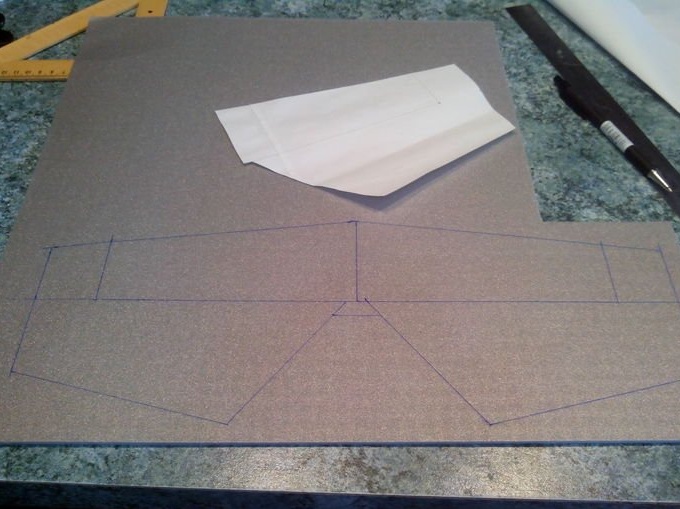
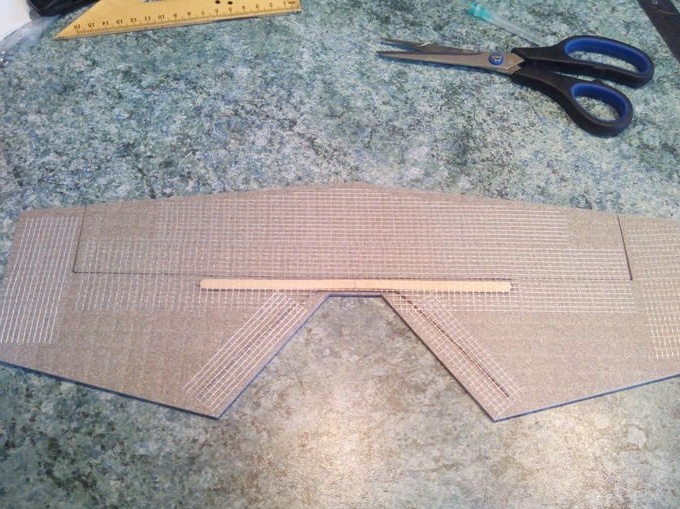
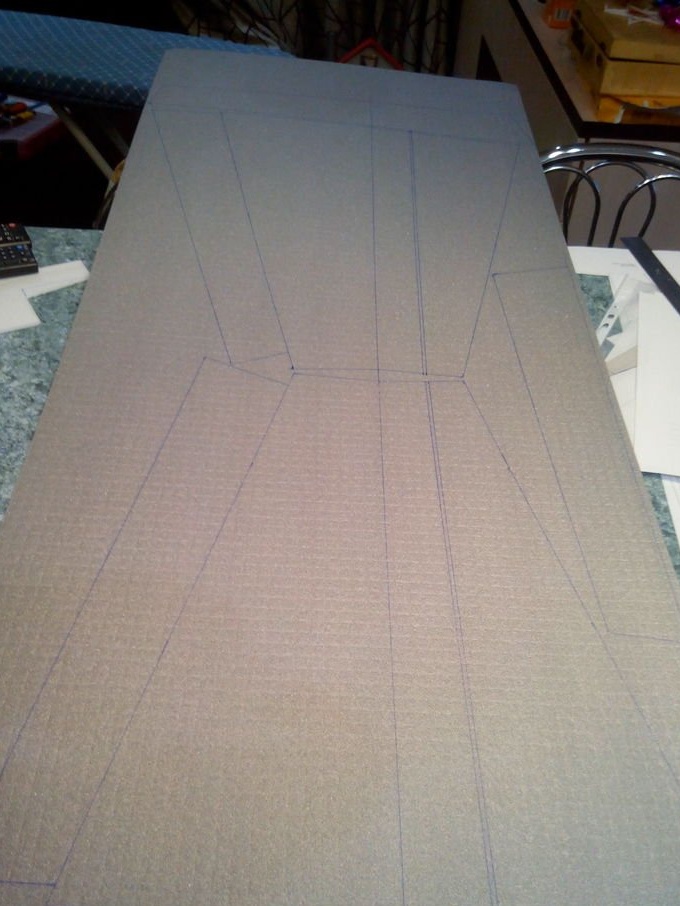
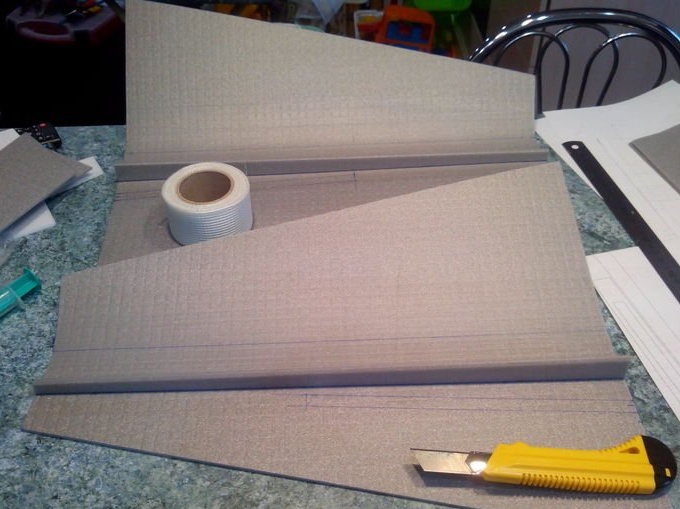
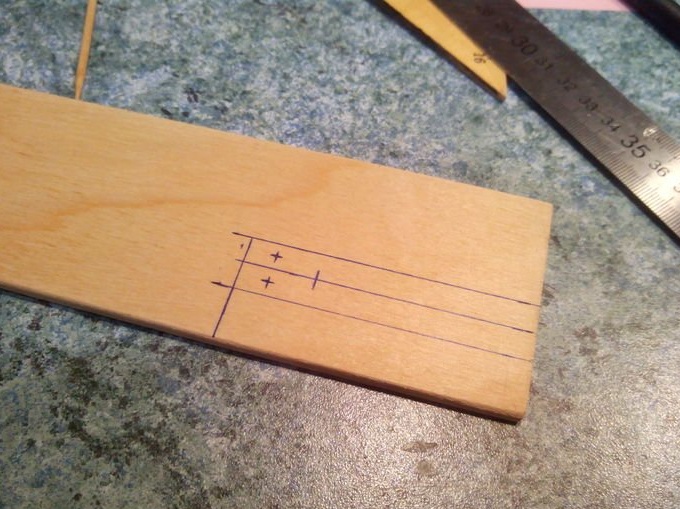
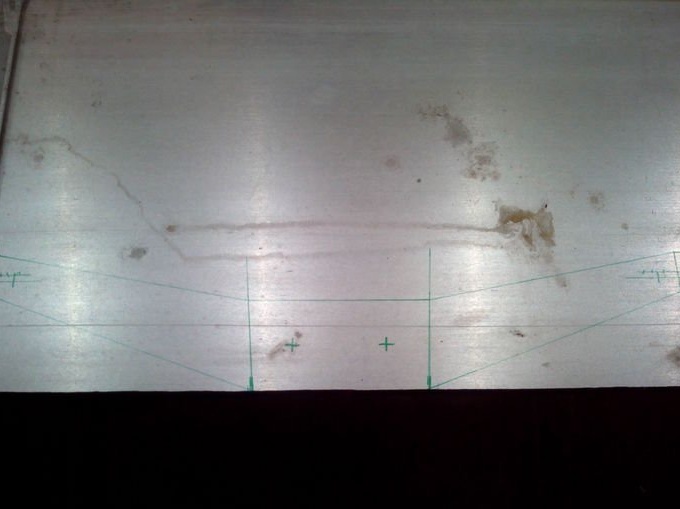
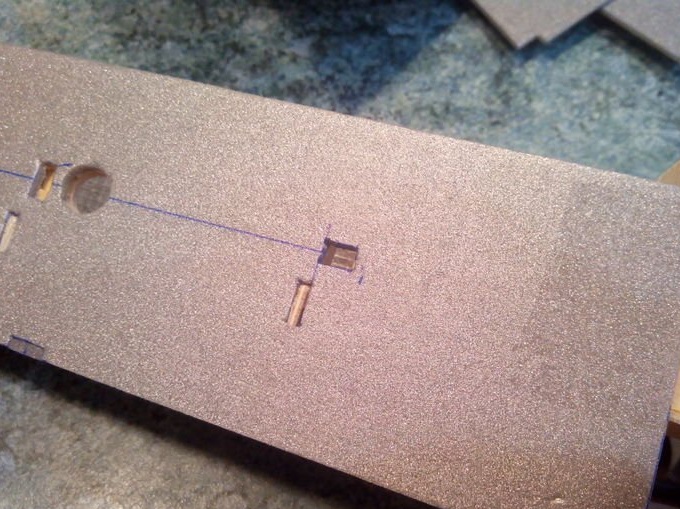
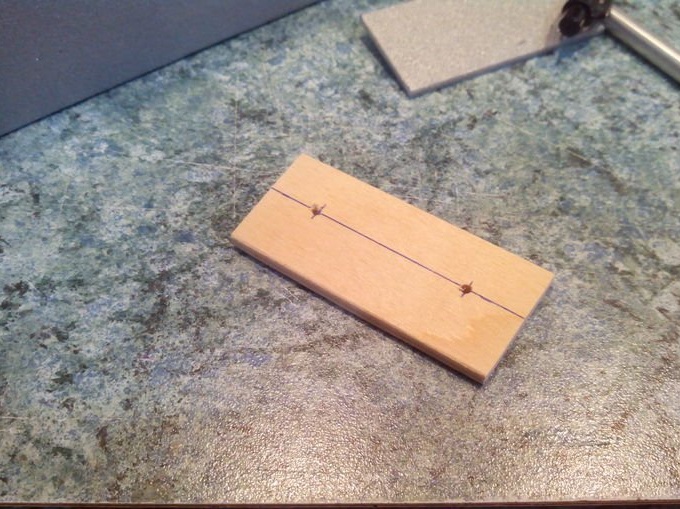
Work begins with transferring the drawing from the template to the depron or substrate of the fuselage parts.
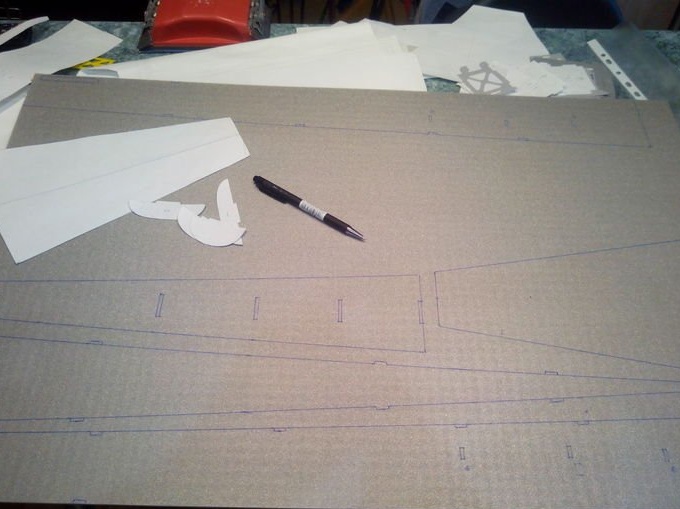
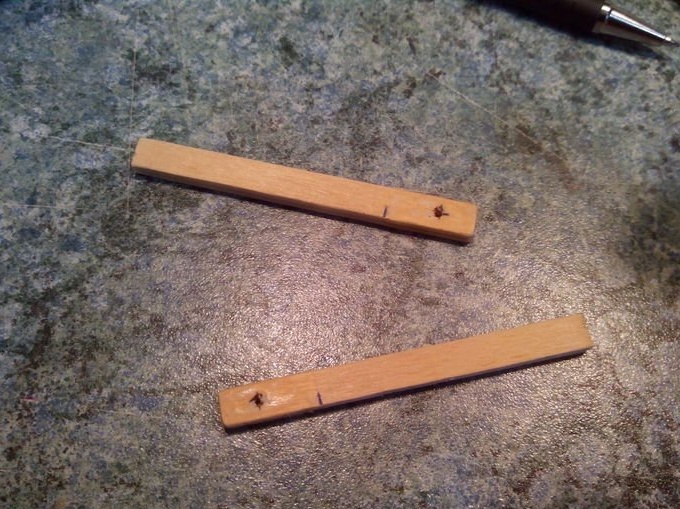
Starting the construction, the author gives advice that all the frames installed in the fuselage should be cut out from fruit plywood, and the sides of the fuselage should be reinforced with bamboo slats.
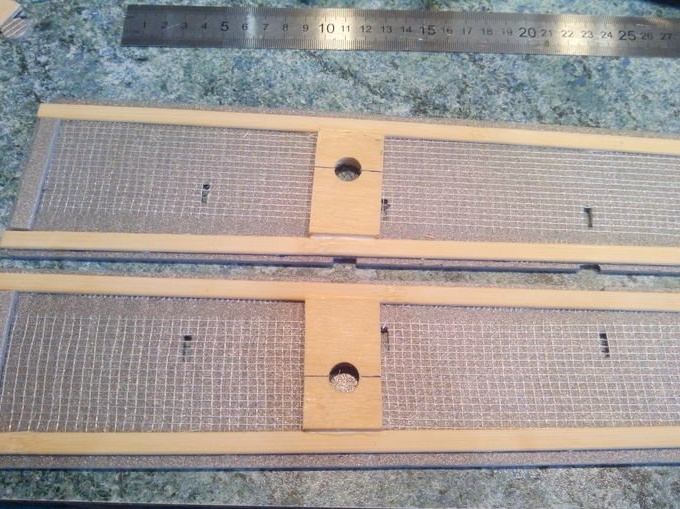
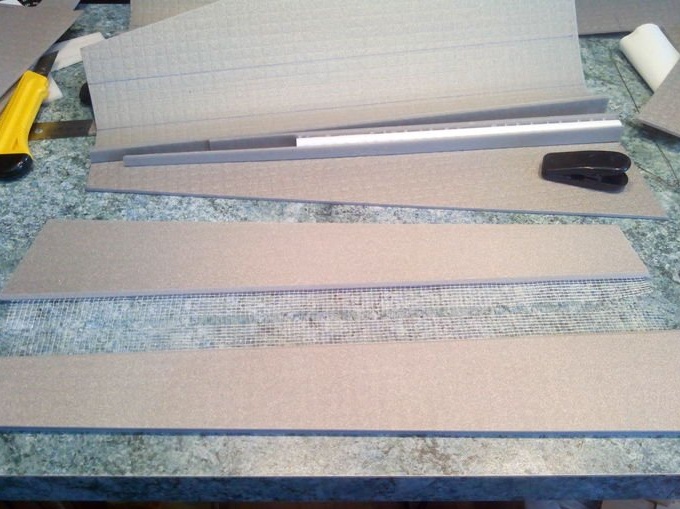
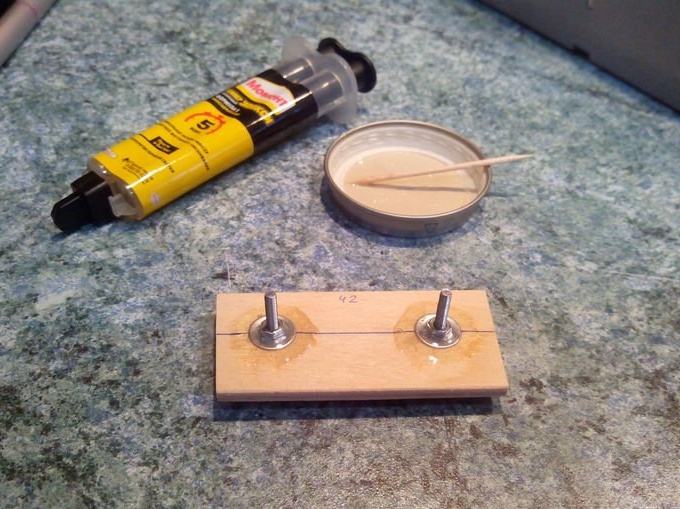
Bamboo slats are glued to the side walls of the fuselage for strength, as well as glued with a titanium glue in serpentine.
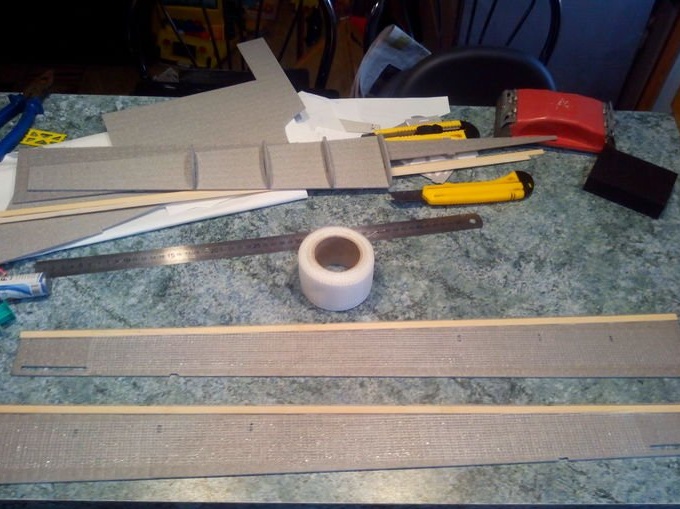
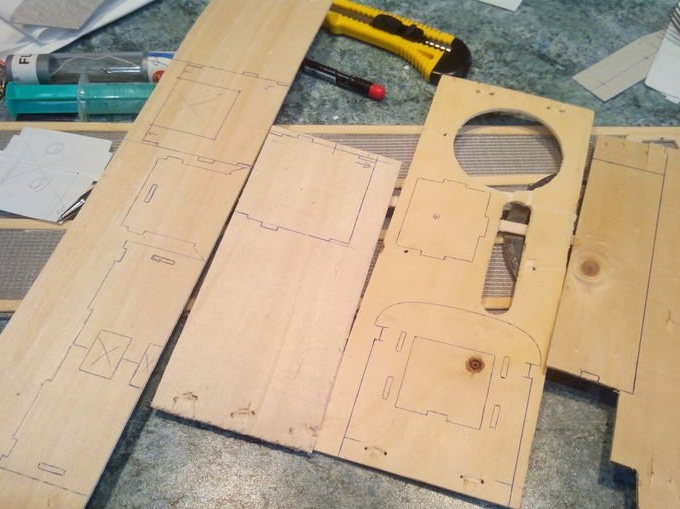
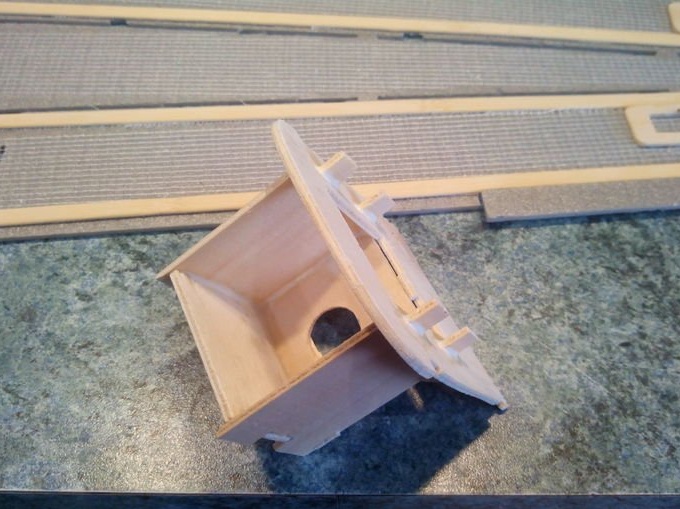
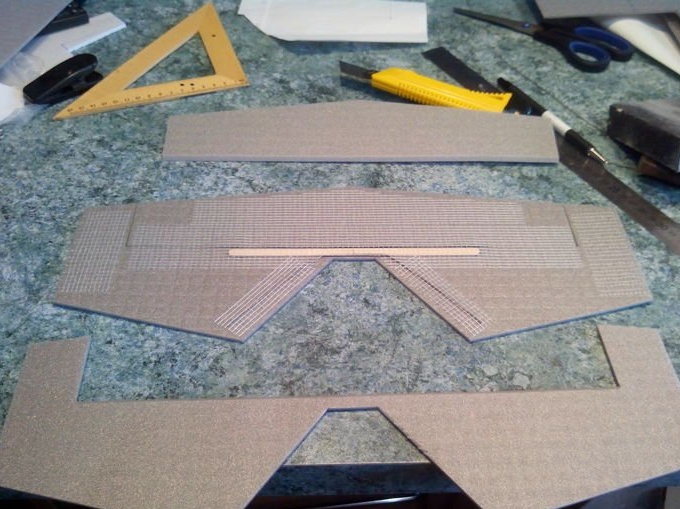
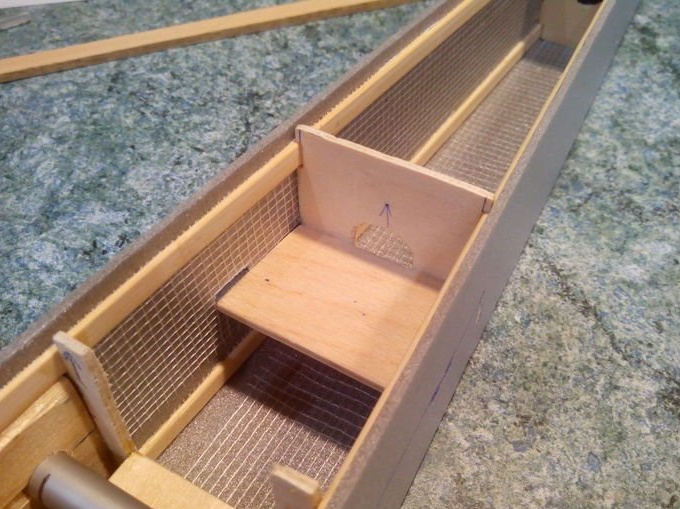
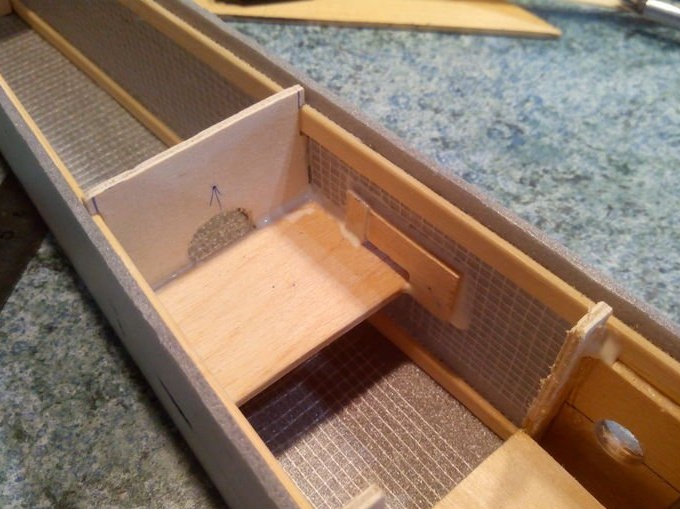
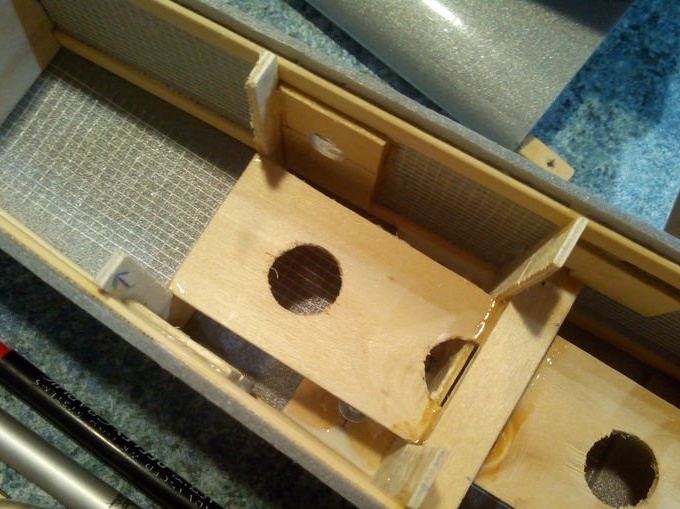
Places for installing servos in the rear of the model are cut from plywood and glued from the inside to the sides of the fuselage.
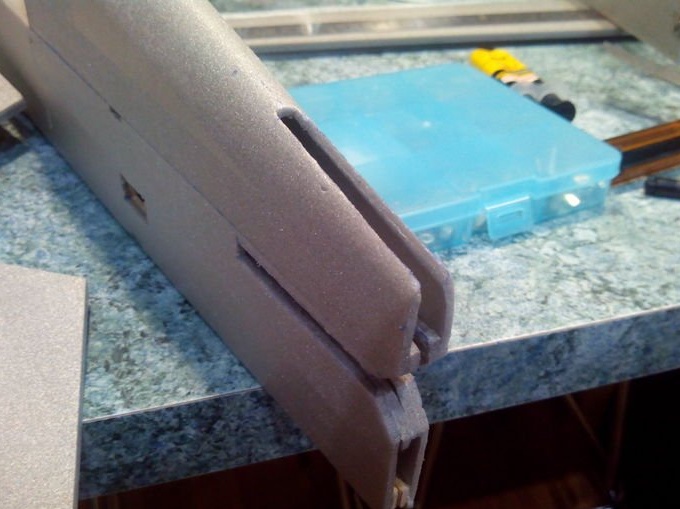
For ease of installation of the gargot and stabilizer in the rear of the fuselage, strips of depron or substrate are glued.
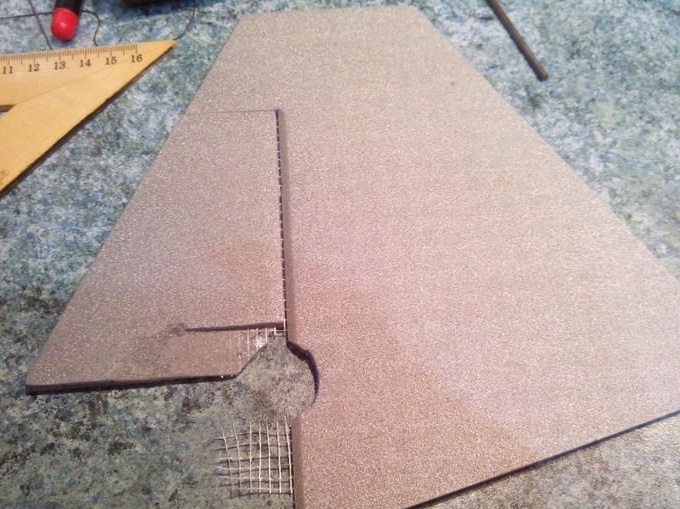
Additional racks are glued into the side walls of the fuselage.
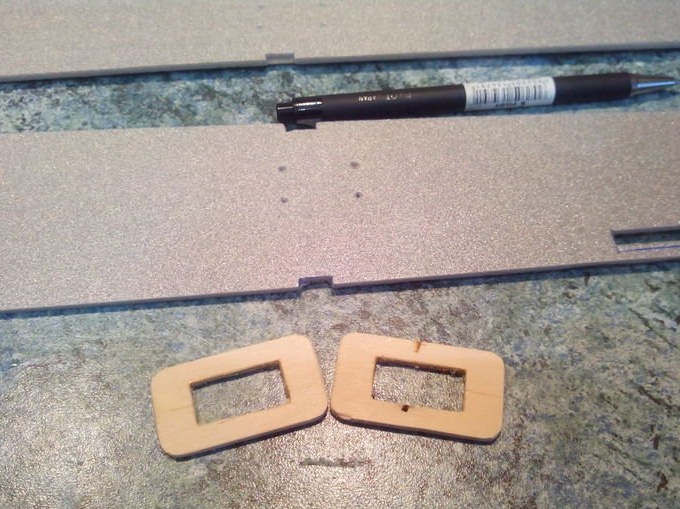
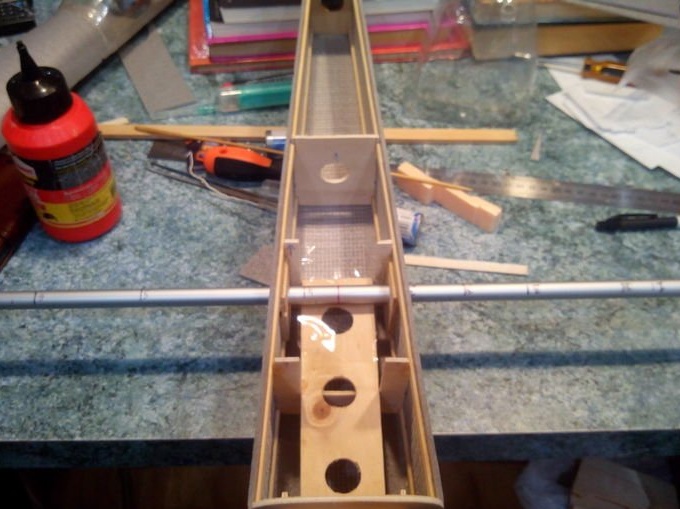
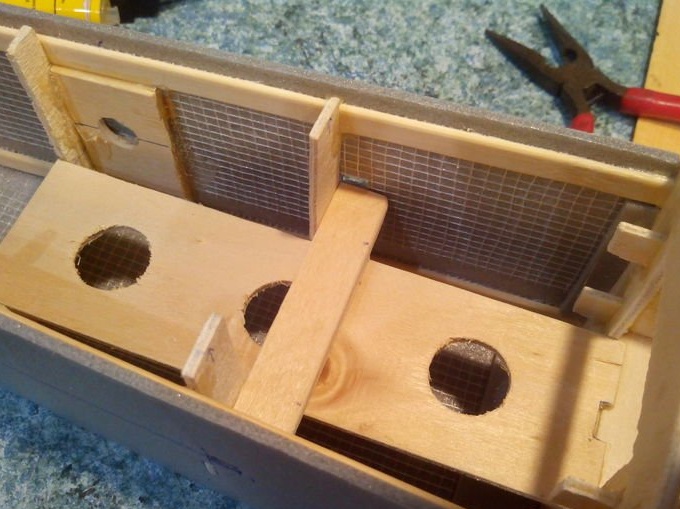
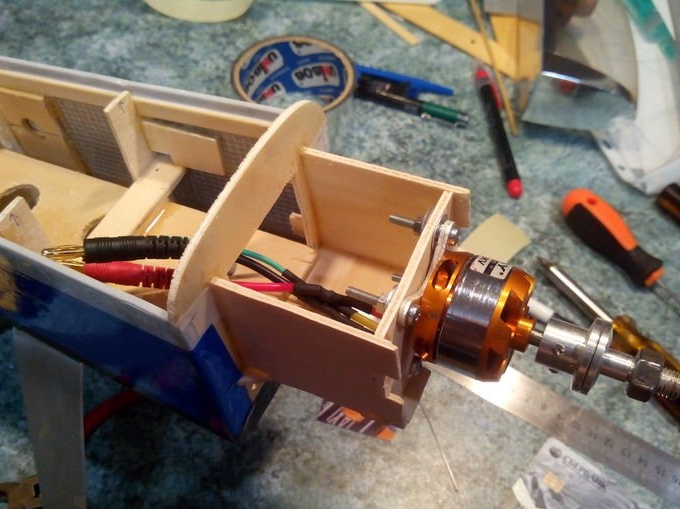
To install a motor, a motor frame is cut out and glued from fruit plywood, in which holes are made to facilitate.
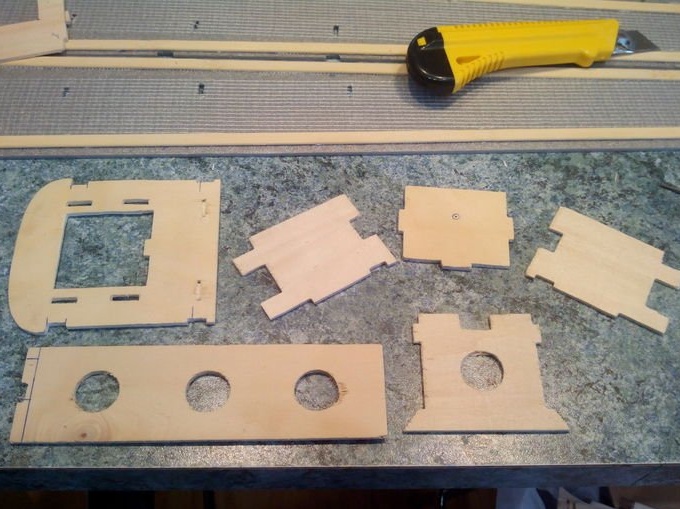
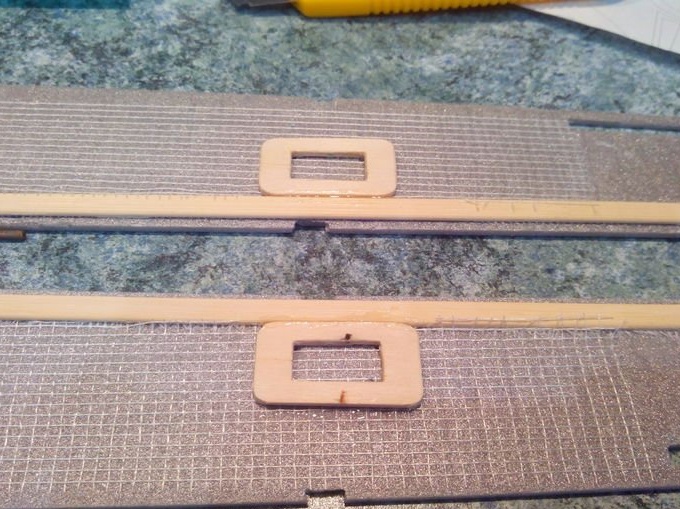
In places of installation of tubular spars on the sides of the fuselage glued plywood.
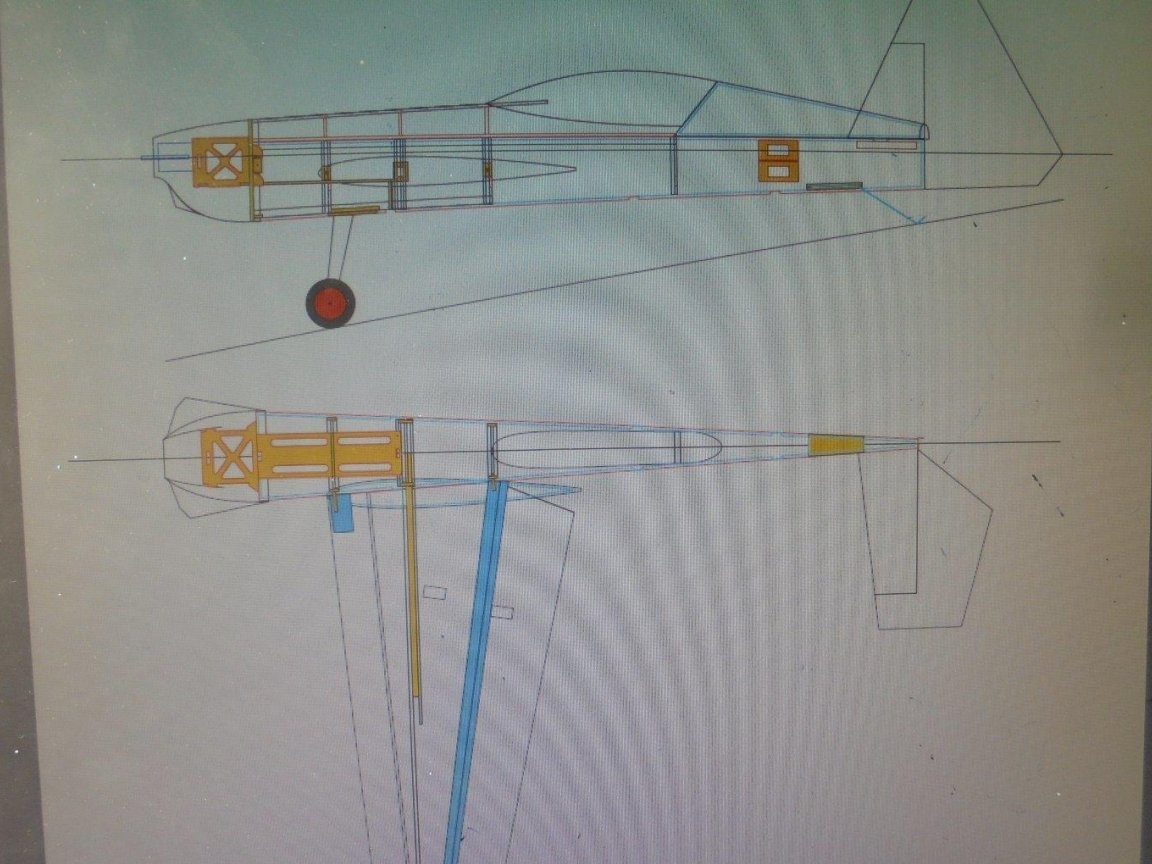
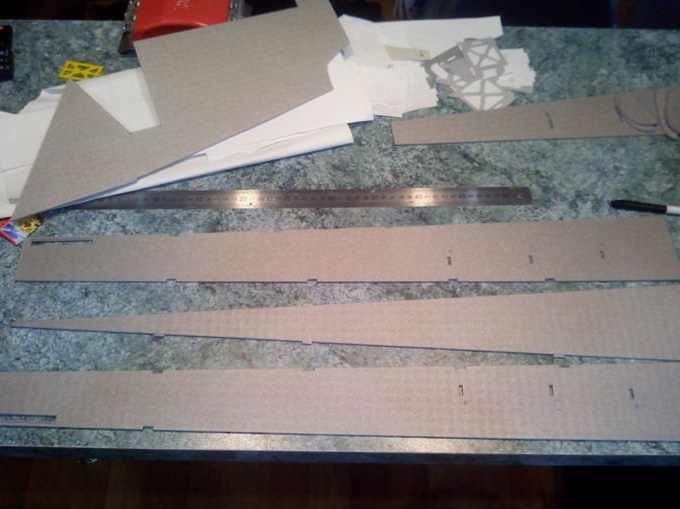
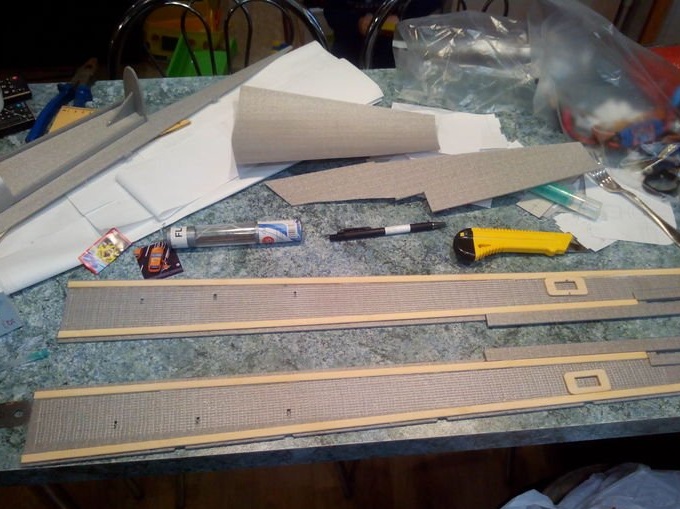
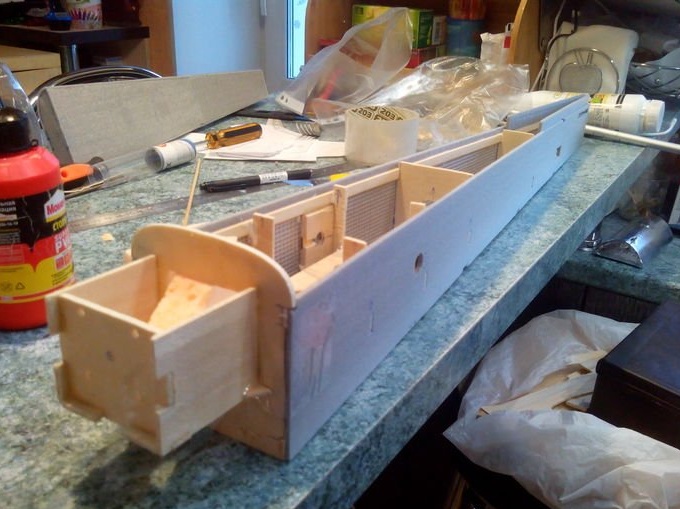
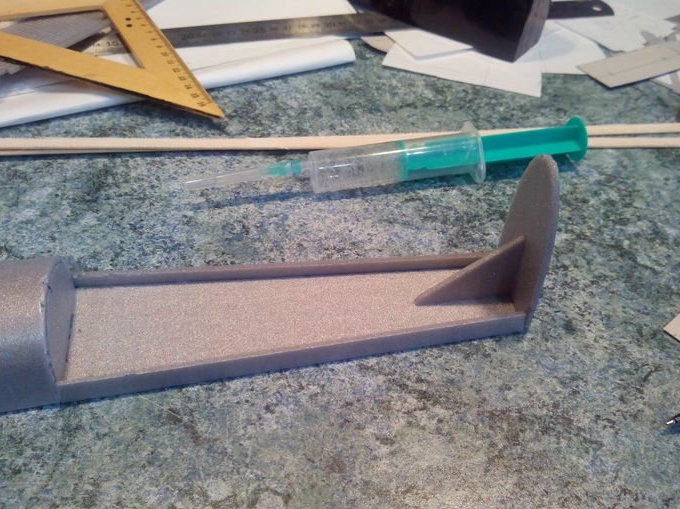
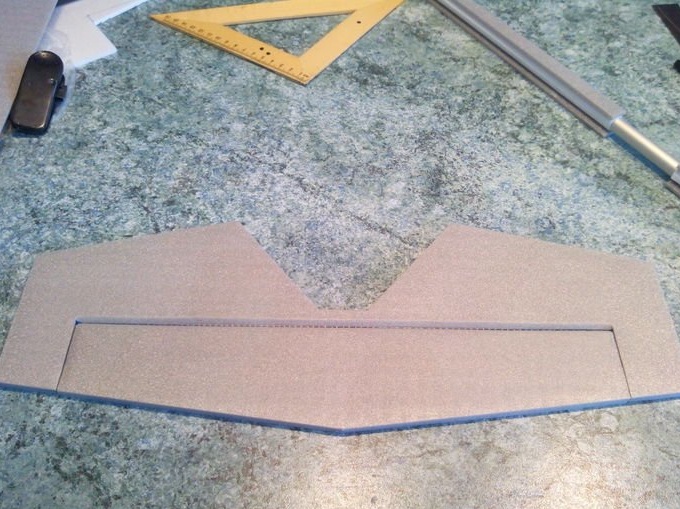
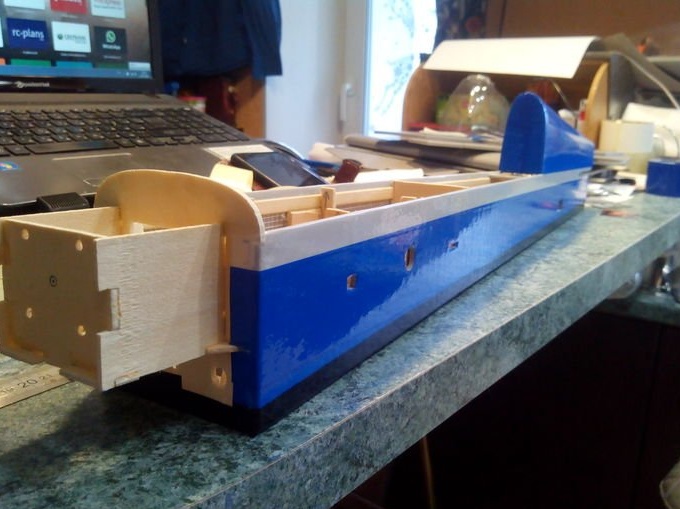
All individual elements of the fuselage are mounted in place.
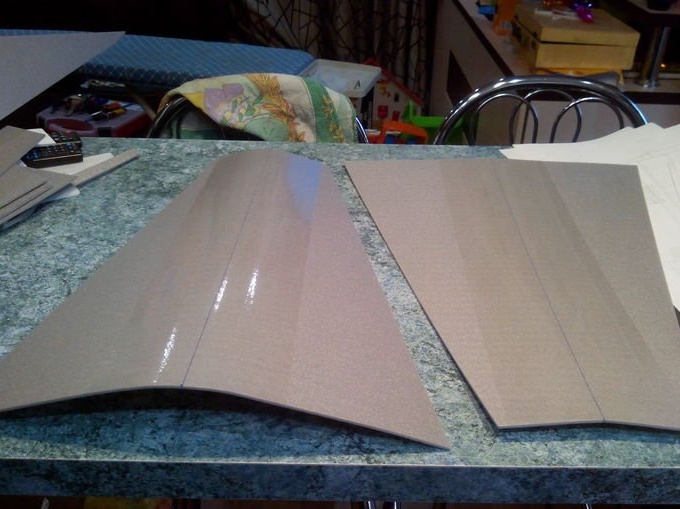
The bottom wall of the fuselage is also glued with a serpentine.

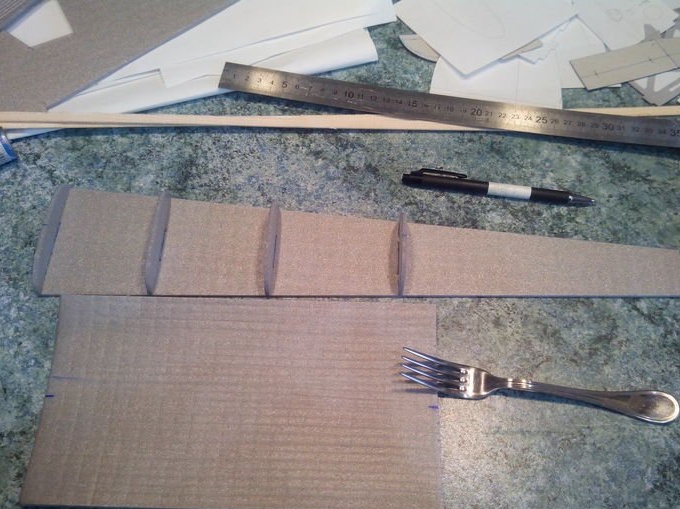
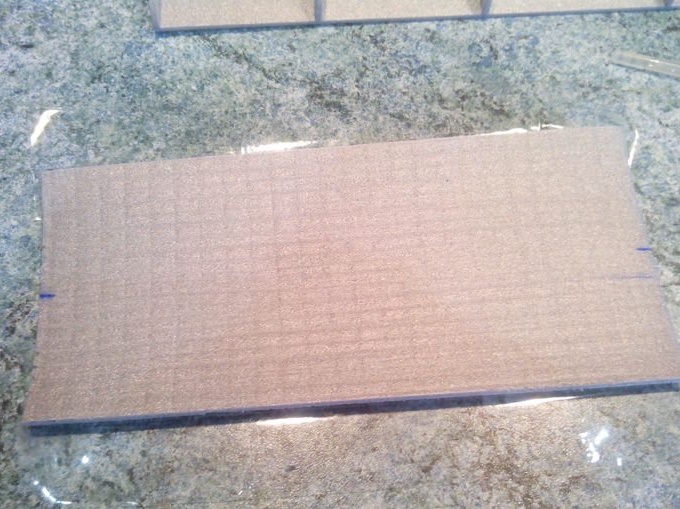
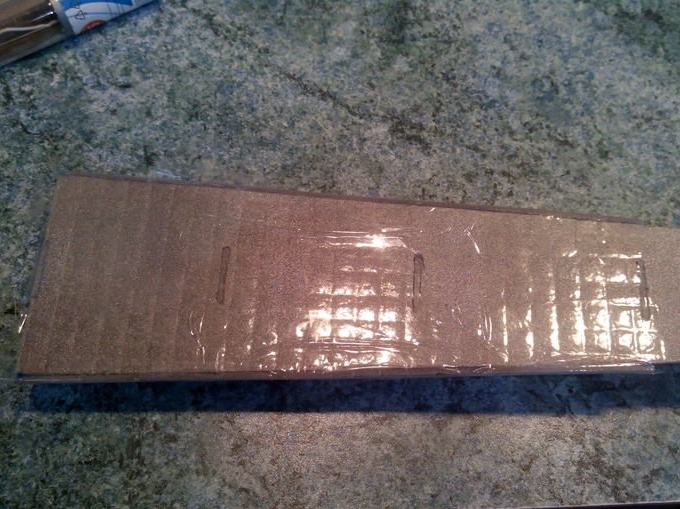
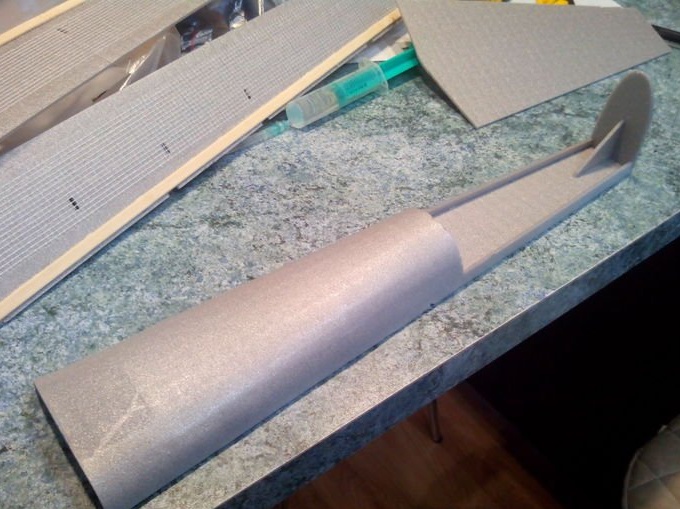
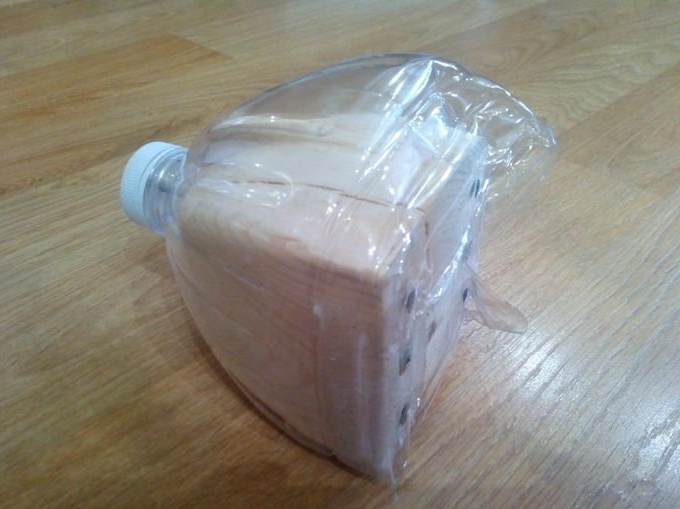
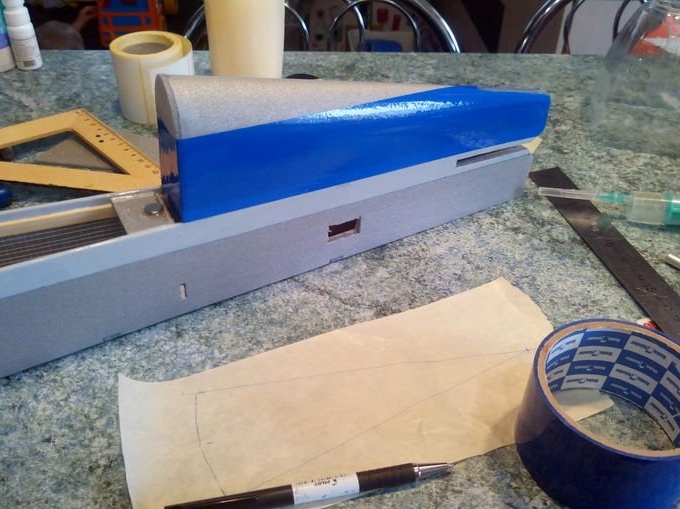
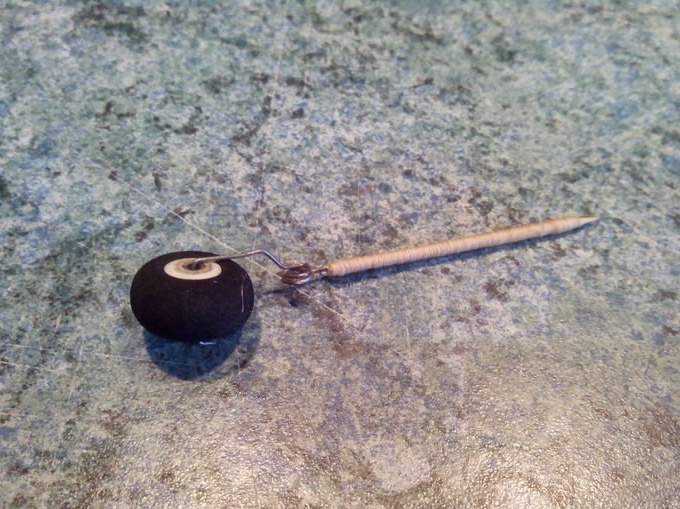
In the manufacture of gargot, the workpiece is covered with tape and pressed with a fork - proven technology.
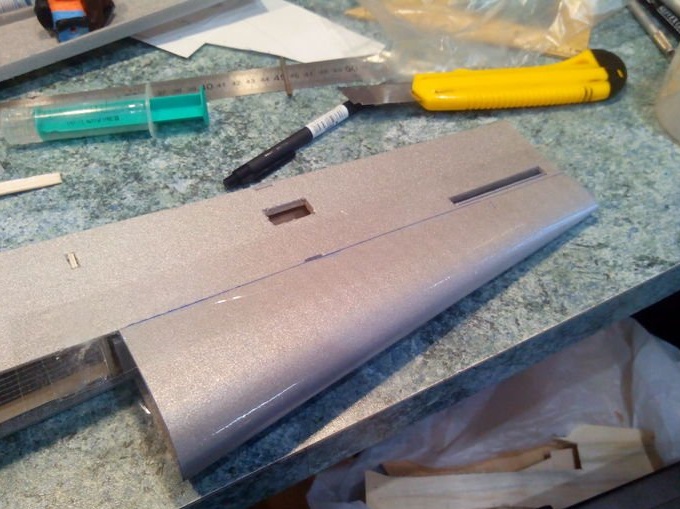
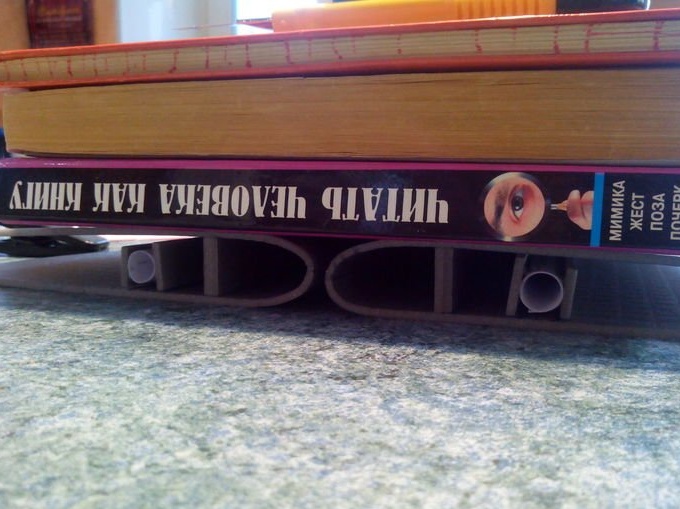
During drying of the gargot, a “press” is applied, and heaviness is placed.
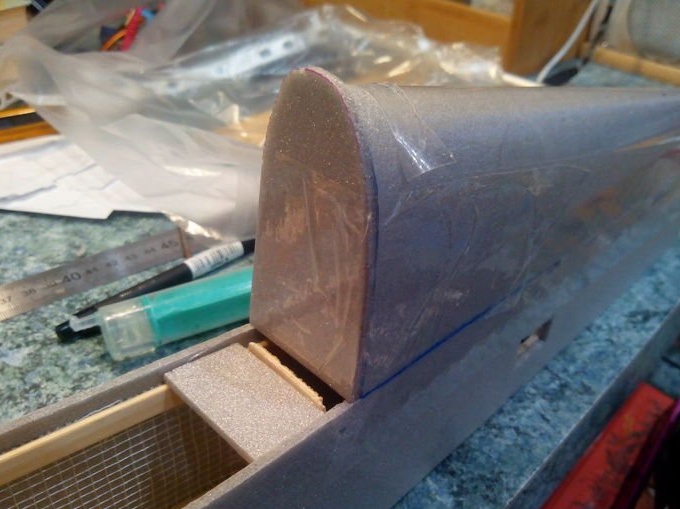
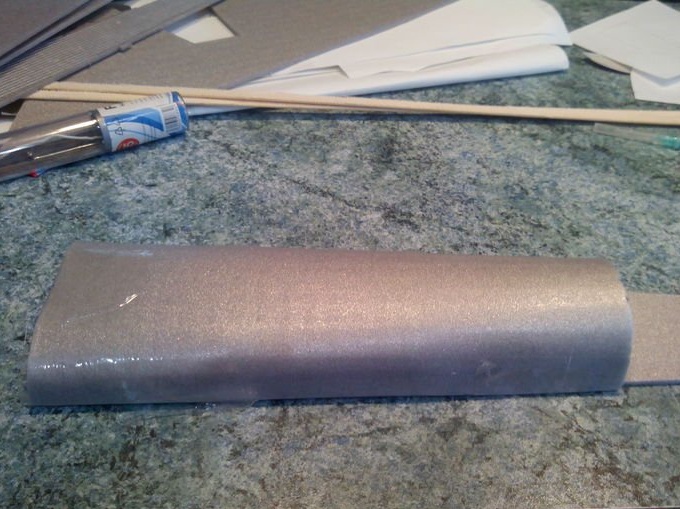
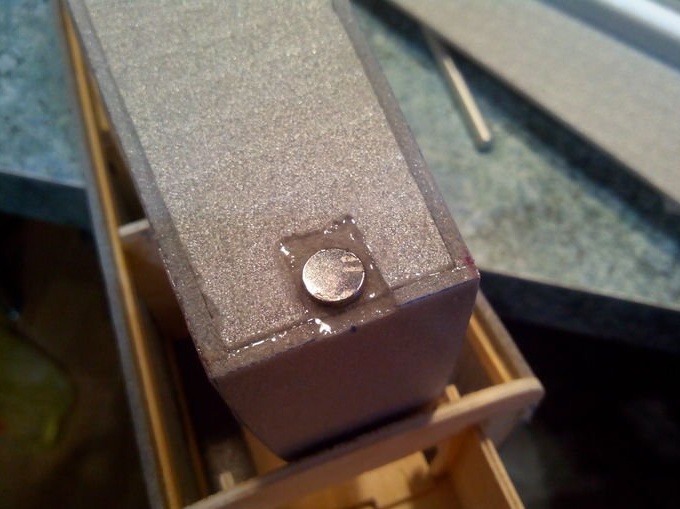
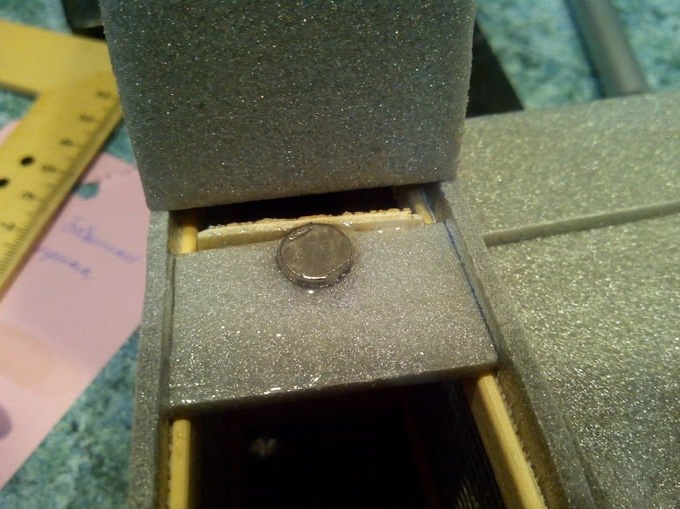
At the front, a cap is glued and a pad for the magnet fixing the cover is mounted.
After polymerization of the glue, everything is processed with sandpaper.

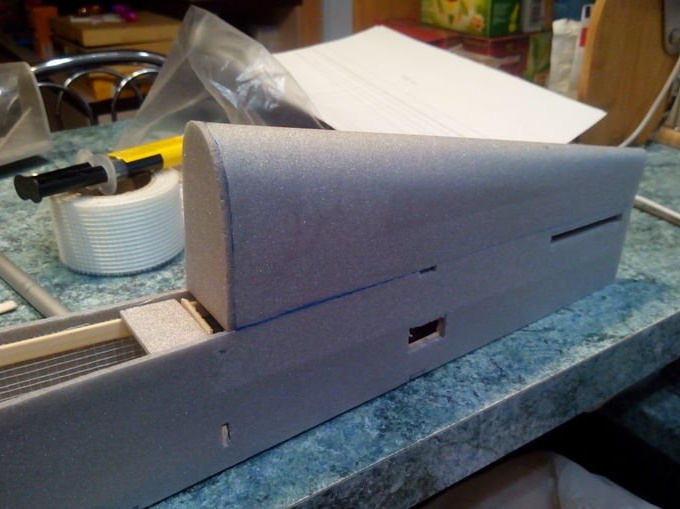
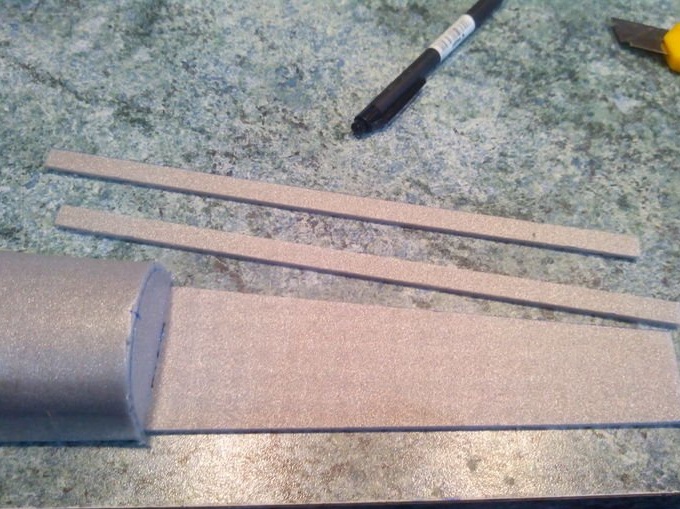
A lid is made in the upper wall of the fuselage, which is also covered with tape and pressed with a fork. Half frames are mounted. For durability and for installation of a lamp of a cabin strips are glued.
The back of the cab is being made.
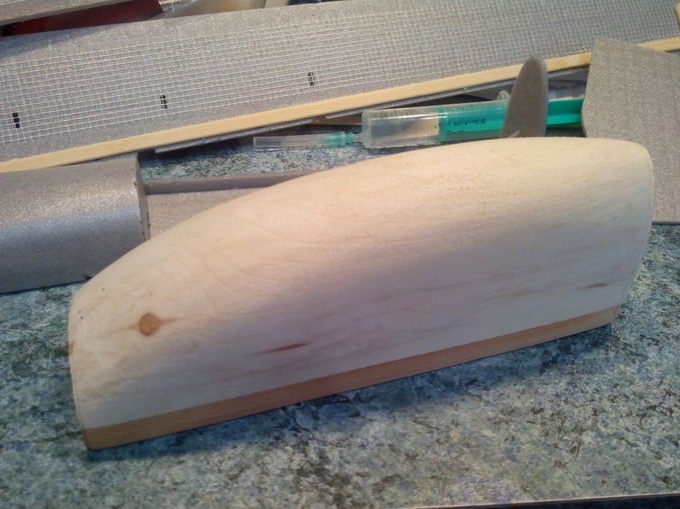
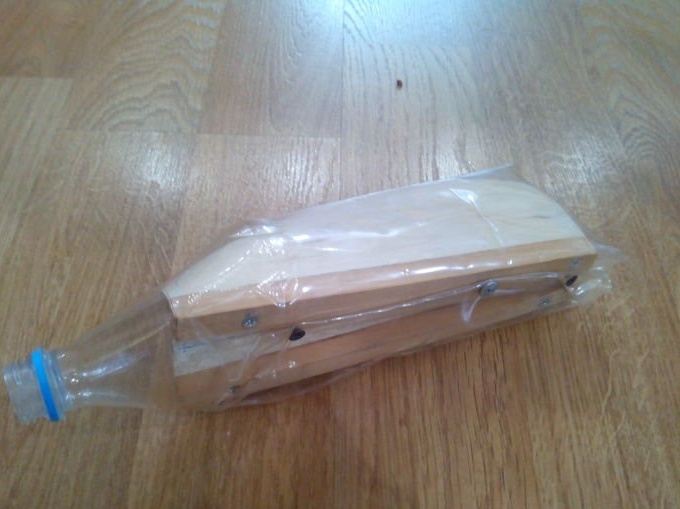
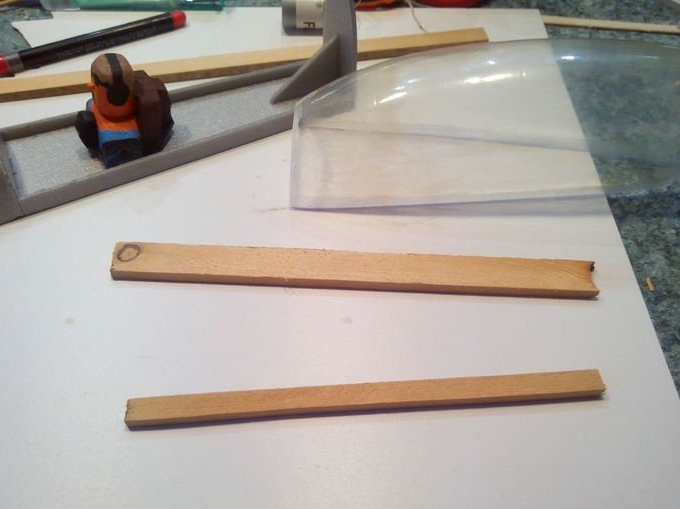
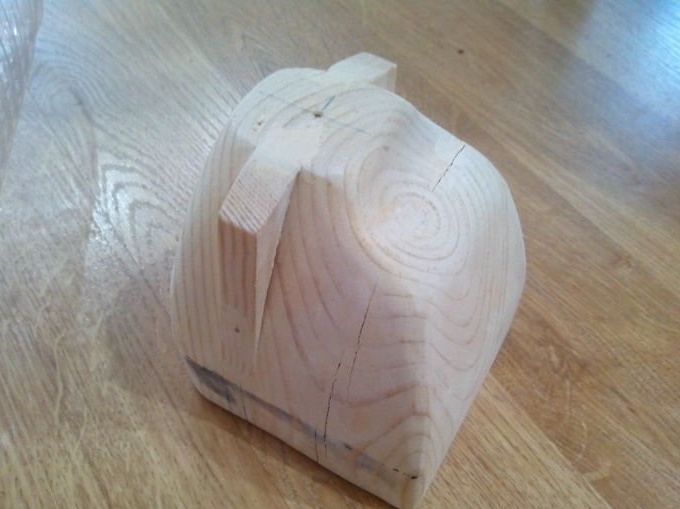
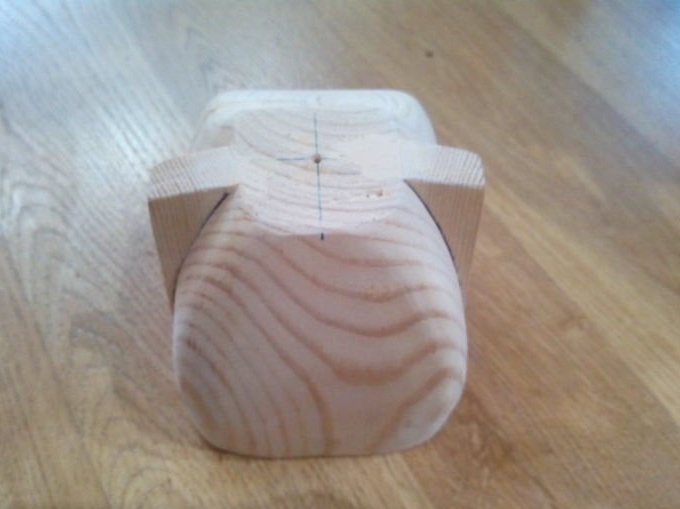
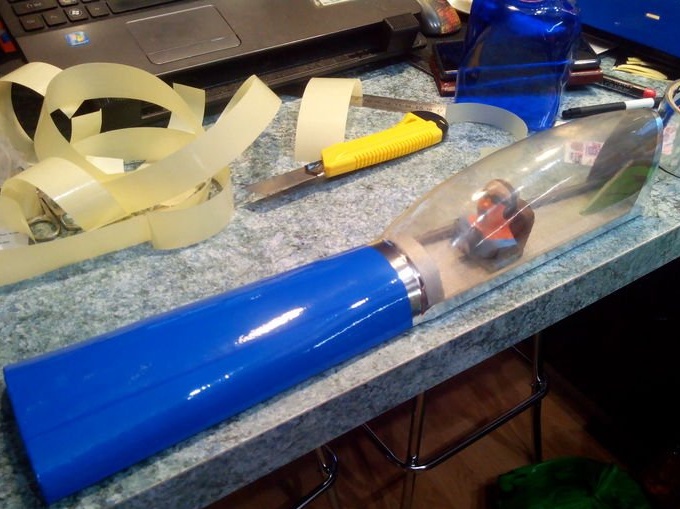
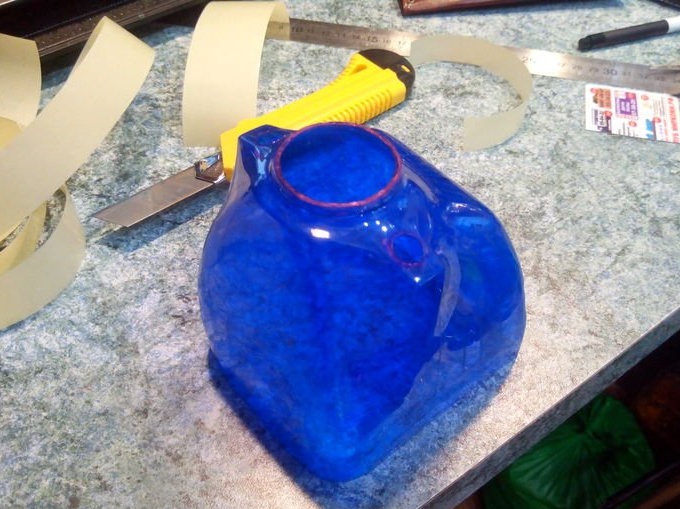
The lantern of the cabin is made of a plastic bottle which, by heating with a hairdryer, is crimped onto a blank made of wood specifically for this.

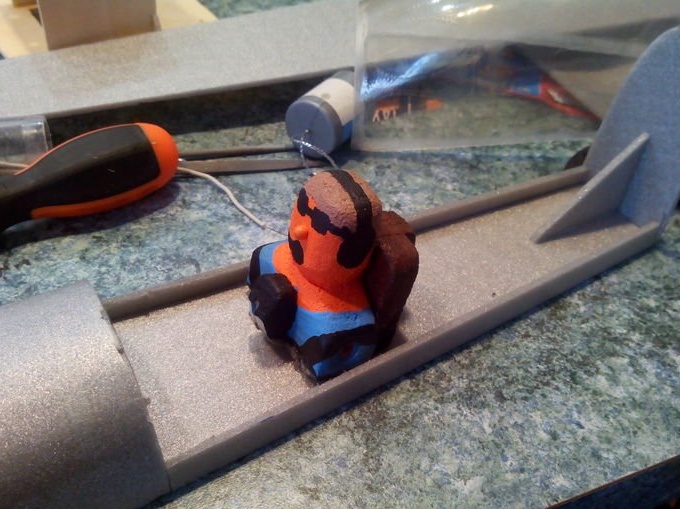
The figure of the pilot is taken from another model.
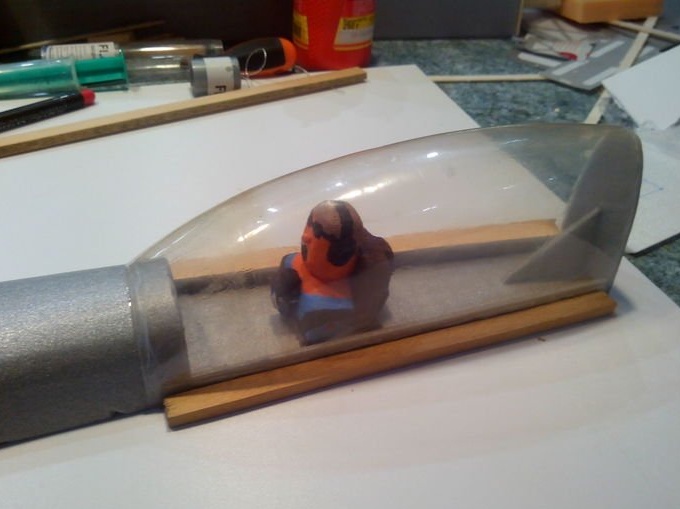
So the lamp of a cabin is mounted.
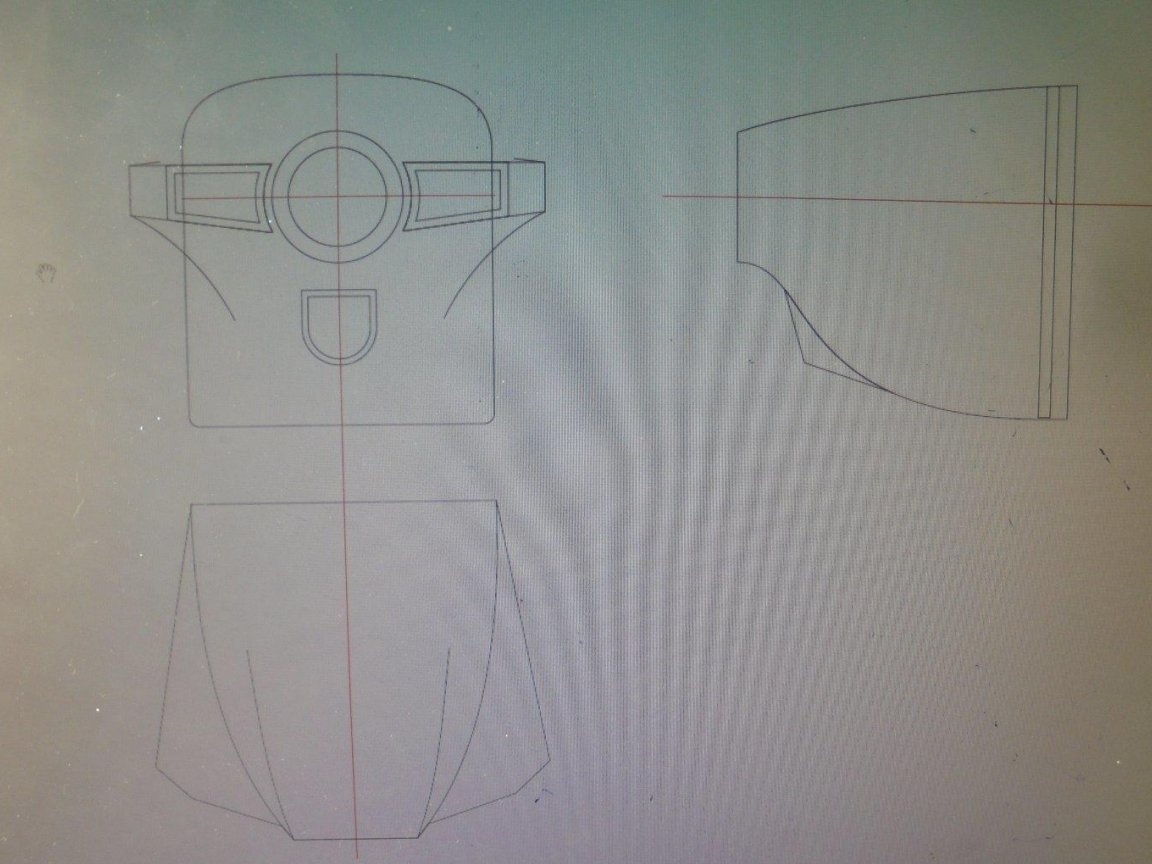
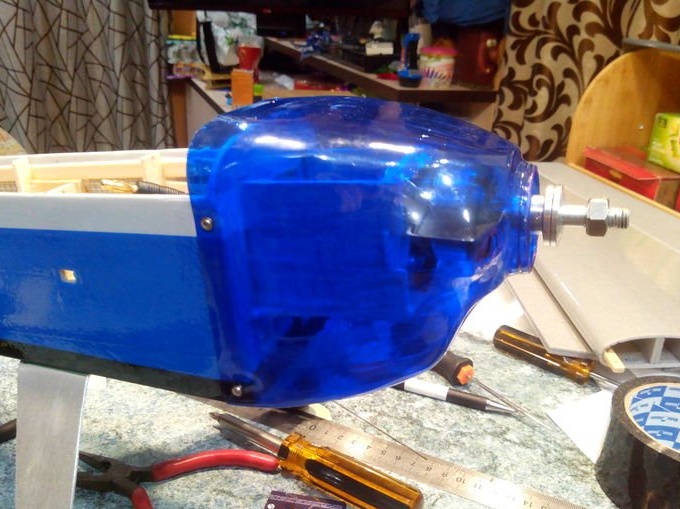
For the manufacture of the hood is a special blank of complex shape.
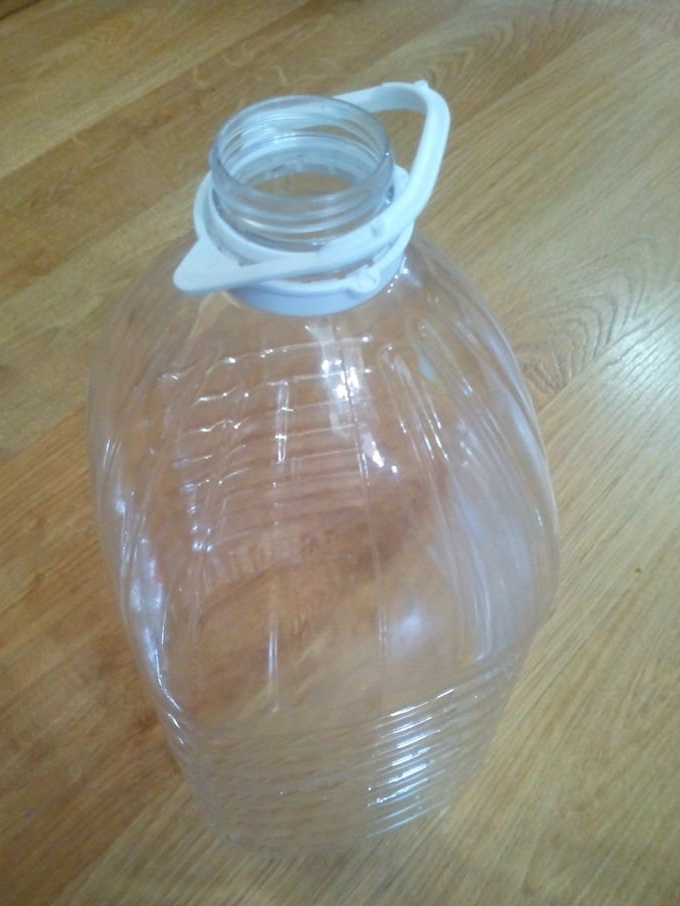

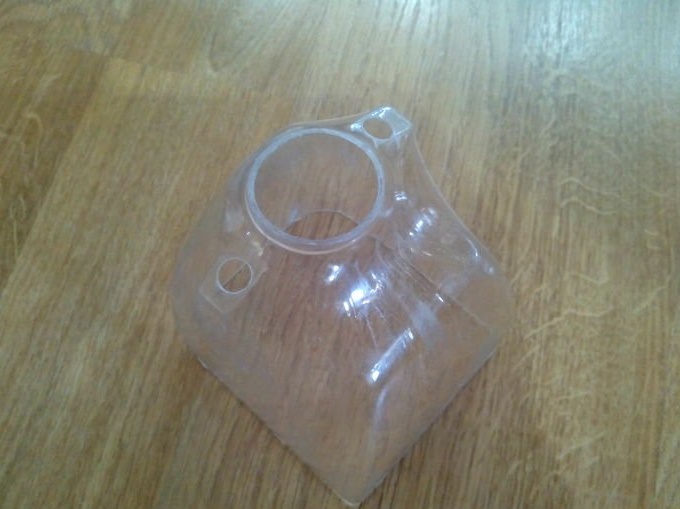
For the manufacture of the hood itself, a plastic bottle of non-freezing liquid was used.
The sitting was carried out using a building hair dryer.
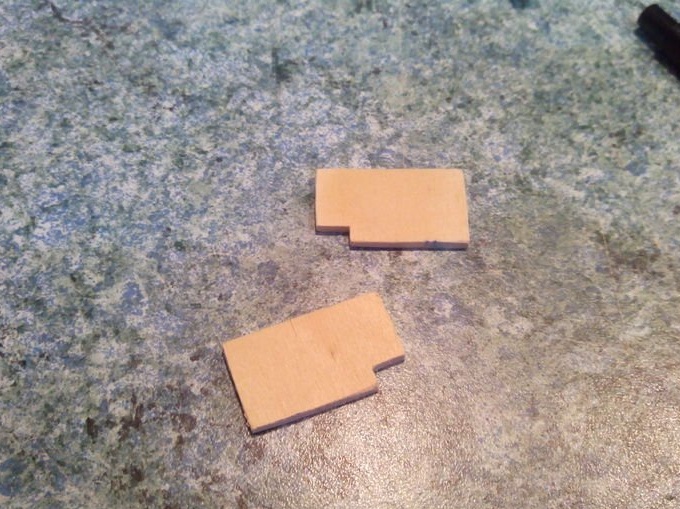
Details are being made for the manufacture of tail units.

Hinges for hanging are made of serpianka.
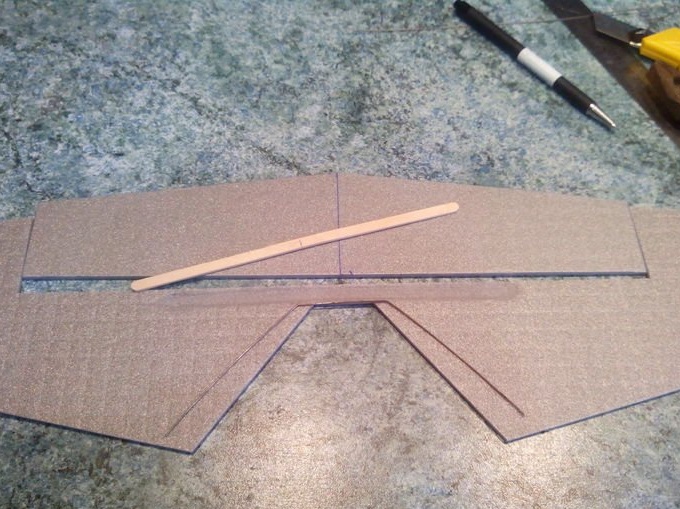
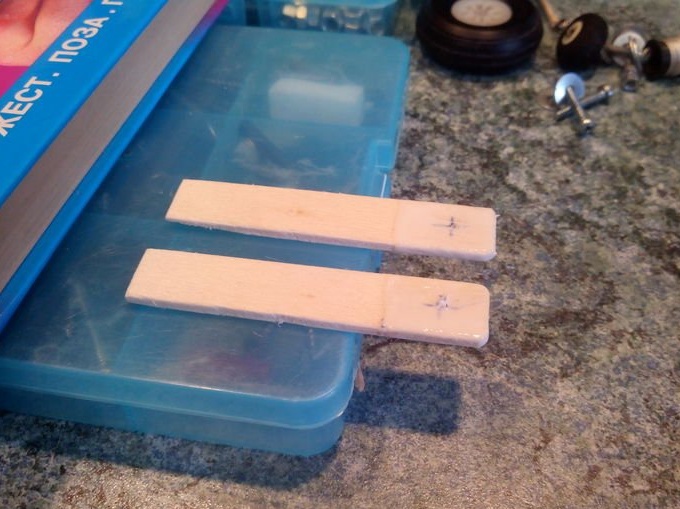
For strength, a coffee stick is glued. A wire synchronizer is glued.
Serpyanka reinforced all steering surfaces.
Cutouts for the stabilizer and keel are made in the rear of the fuselage.
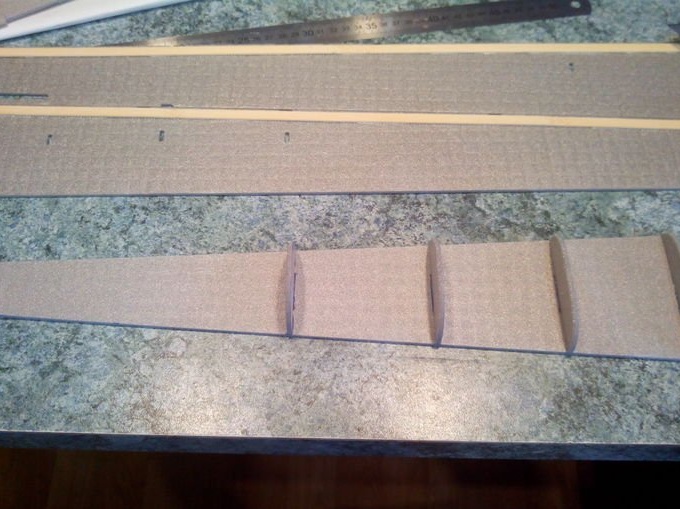
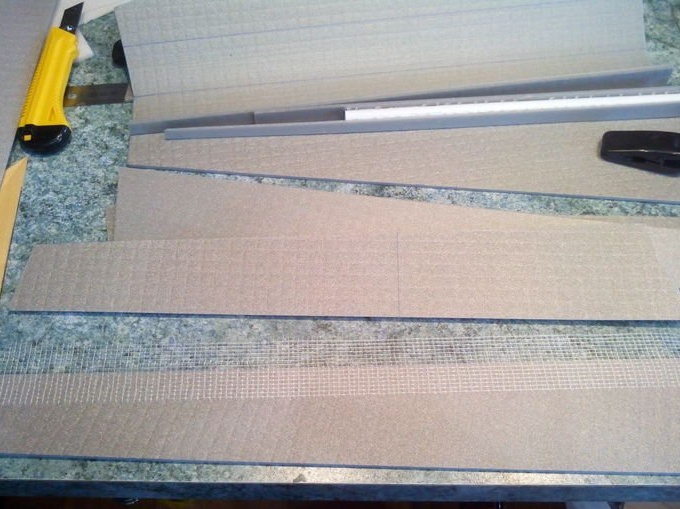
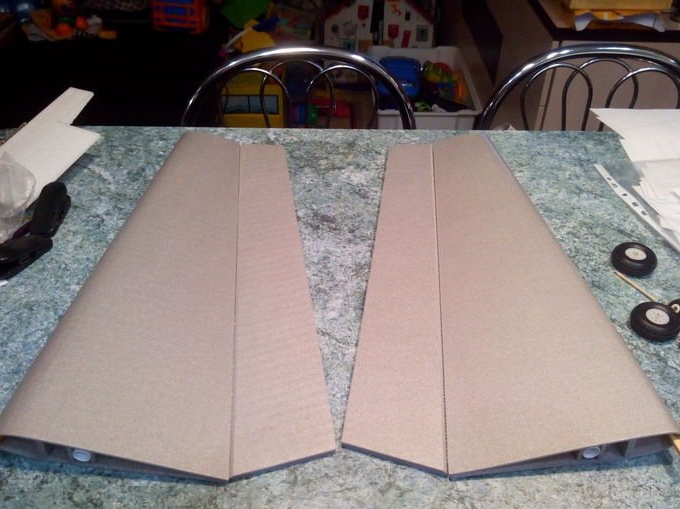
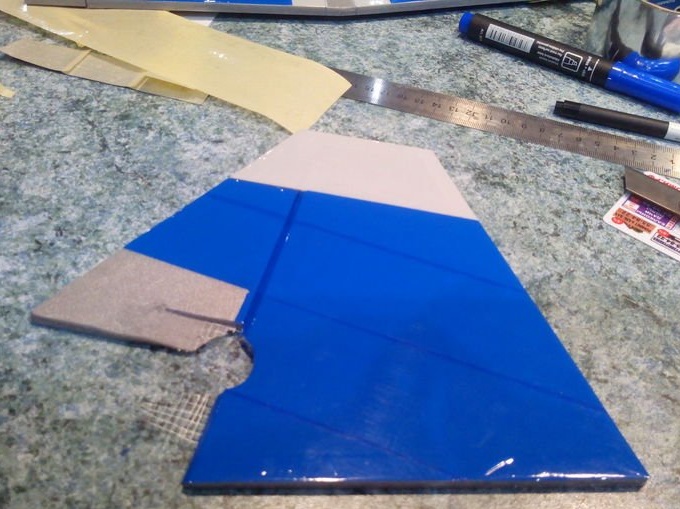
The manufacturing of wings begins.
The necessary elements are cut out and tightened with adhesive tape so that they do not burst. . Inside the surfaces of the consoles are pushed with a fork.
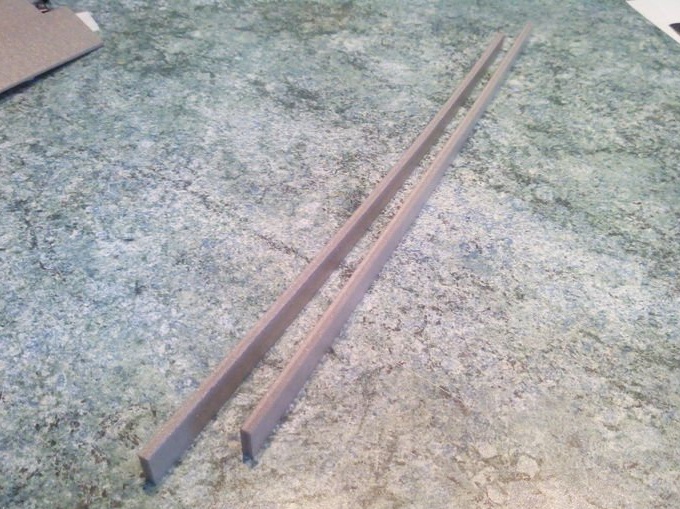
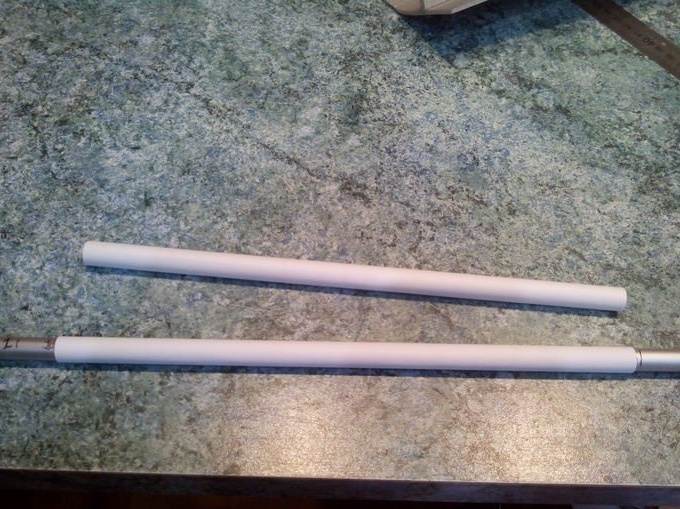
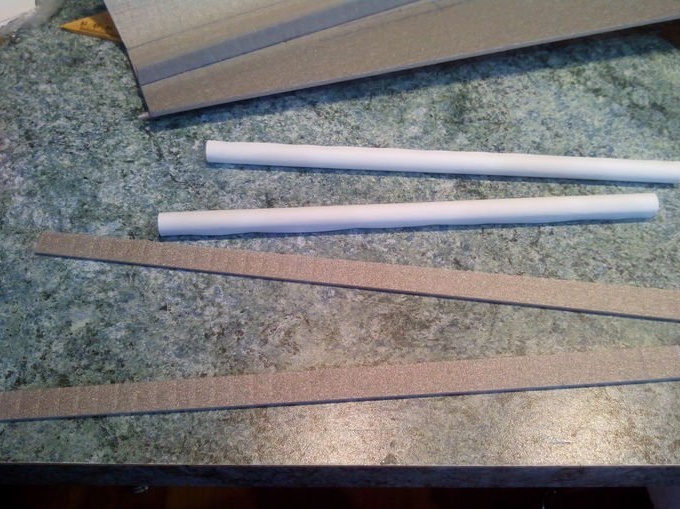
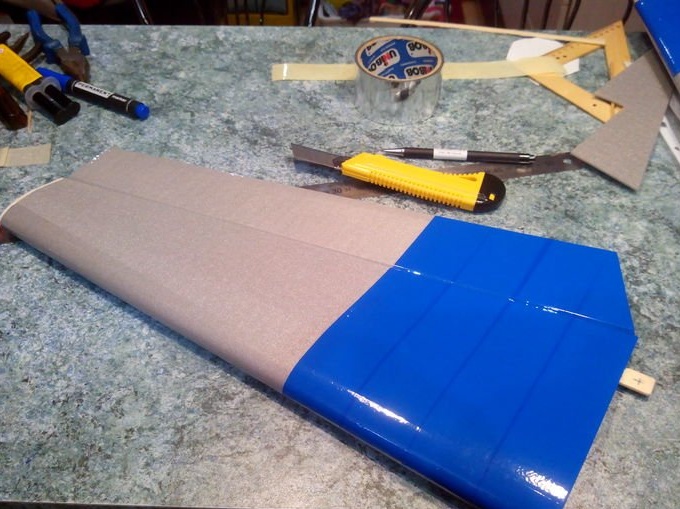
Spars are made of two layers of depron or substrate.
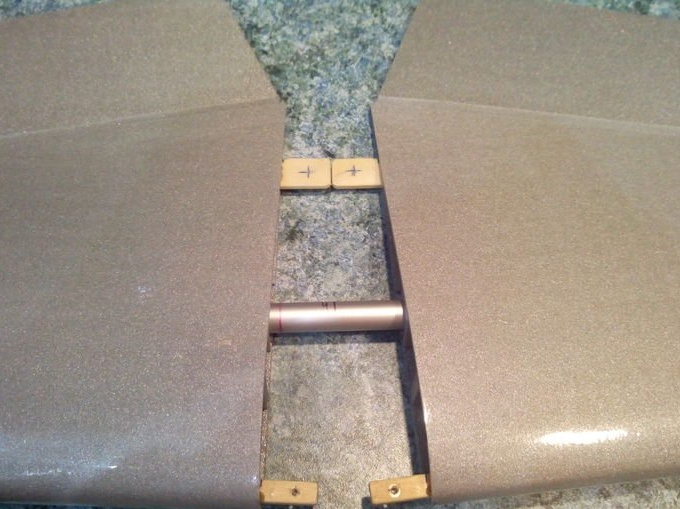
Paper cases for a connecting dural tube between consoles are glued together. Pencil cases are glued from A4 paper.
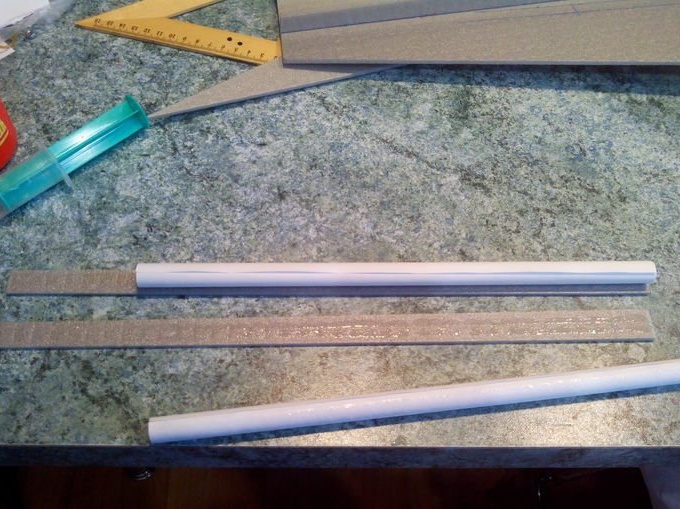
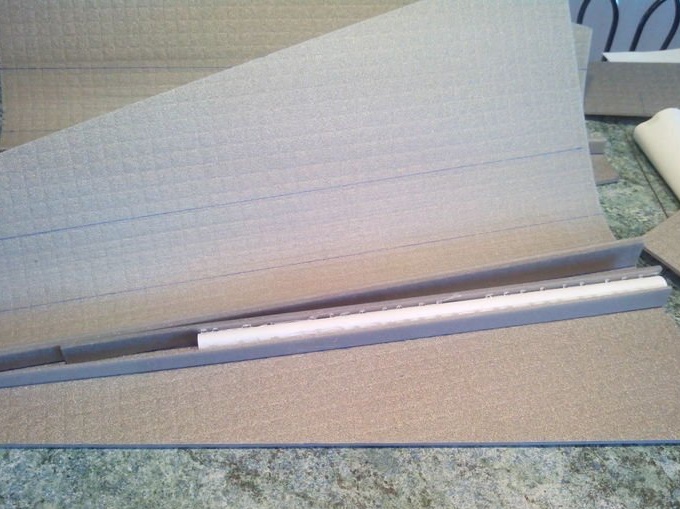
All this is mounted on the wing blanks.

Ailerons are made of two layers and strengthened with a serpentine, and loops for hanging are made from it.
The wing is attached with self-tapping screws.
The wing is fully mounted.
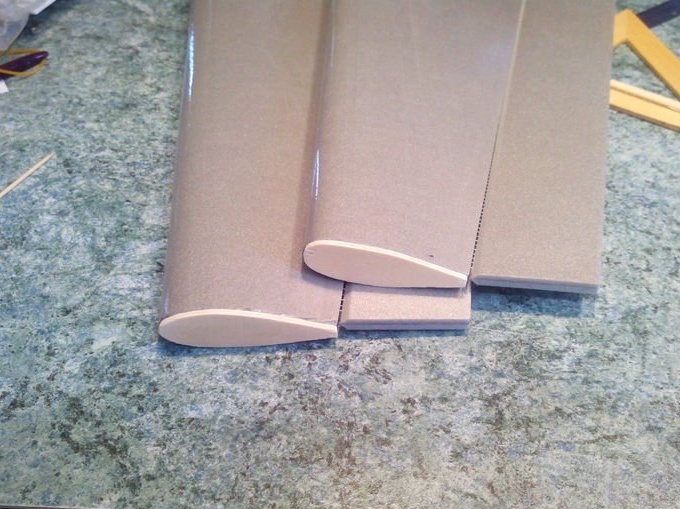
The wingtips are made of plywood, to which the winglets are screwed, cut from plastic from the packaging and covered with colored tape.
The wing mounting points in the fuselage are being strengthened.
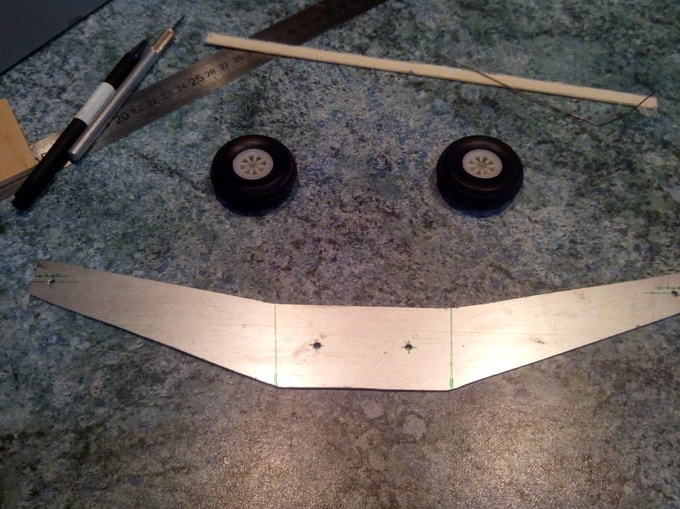
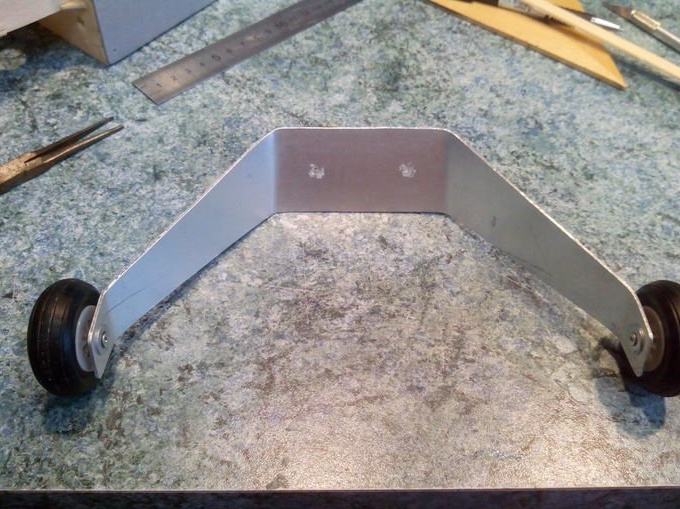
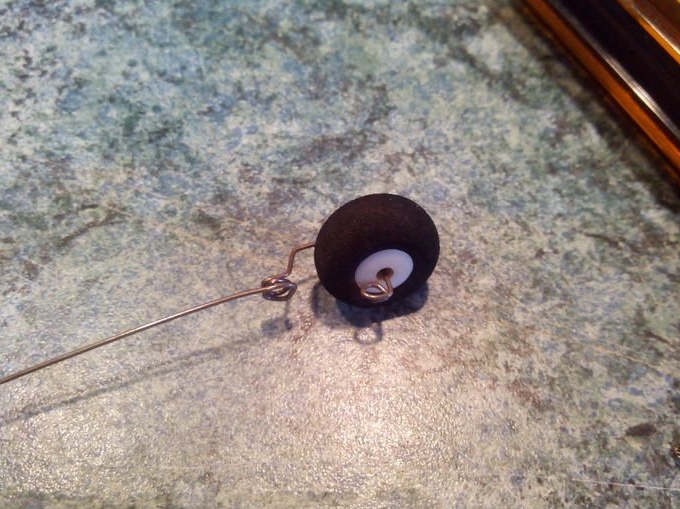
The front landing gear is made of duralumin strips, the wheel is from the old model.
Fastened to a glued piece of plywood.
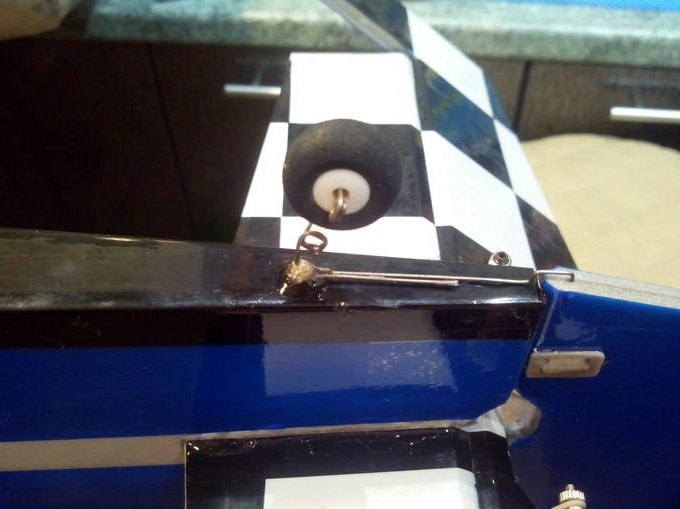
Mounted the rear wheel.
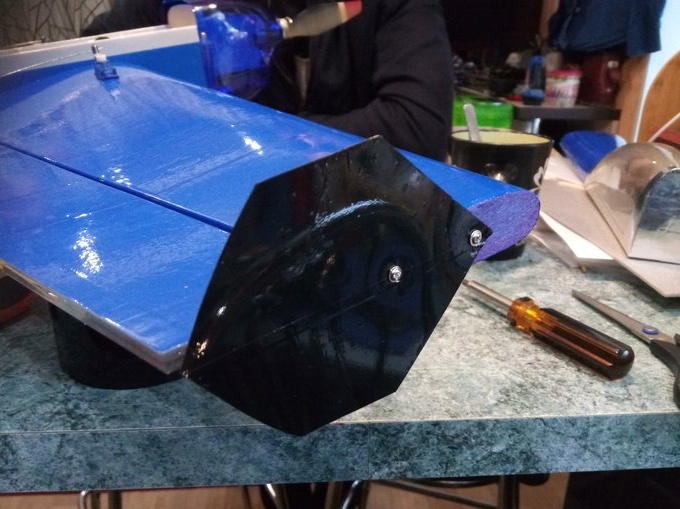
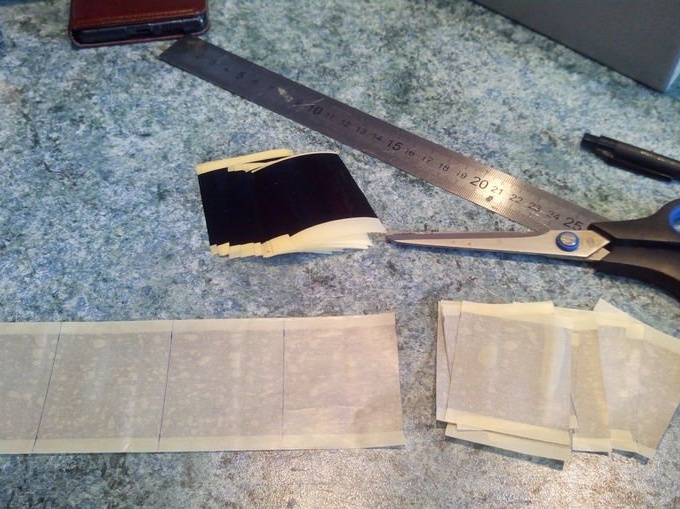
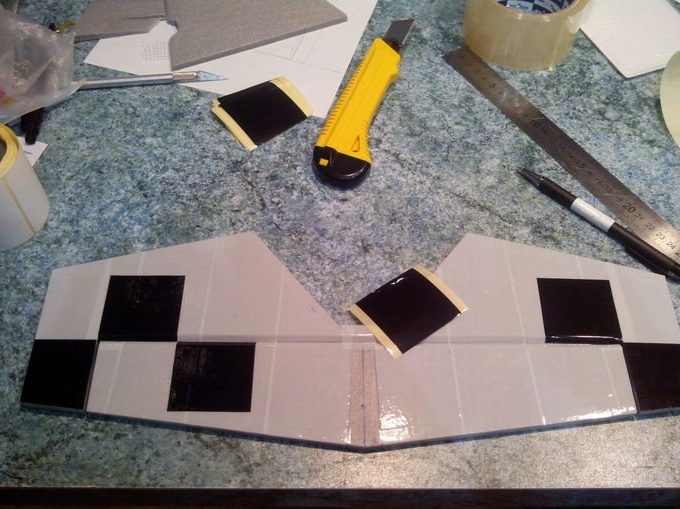
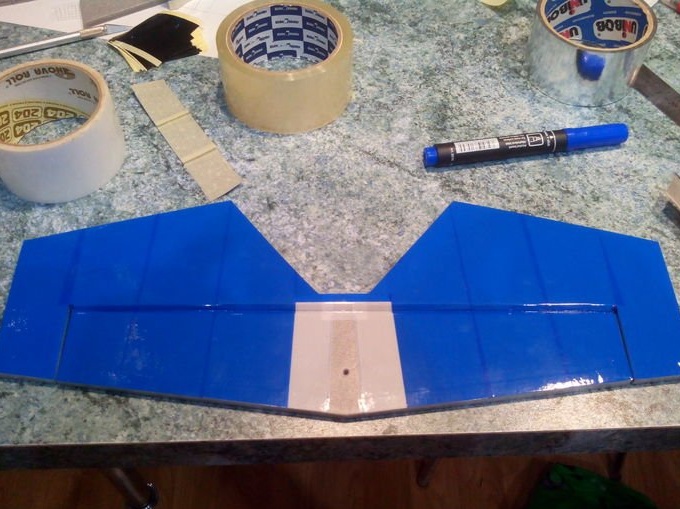
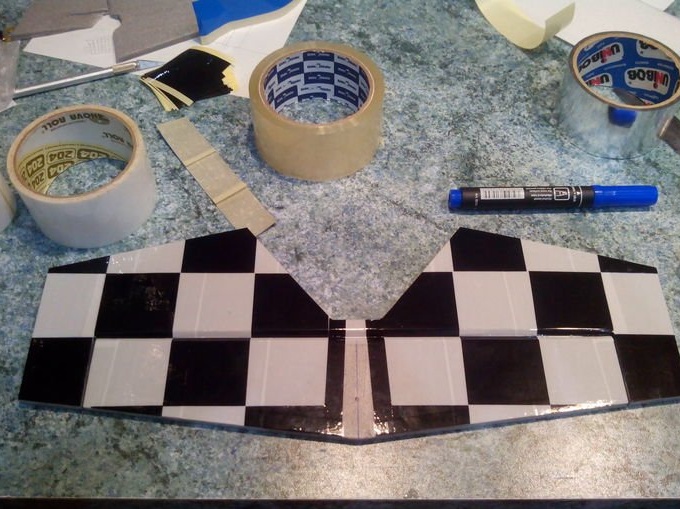
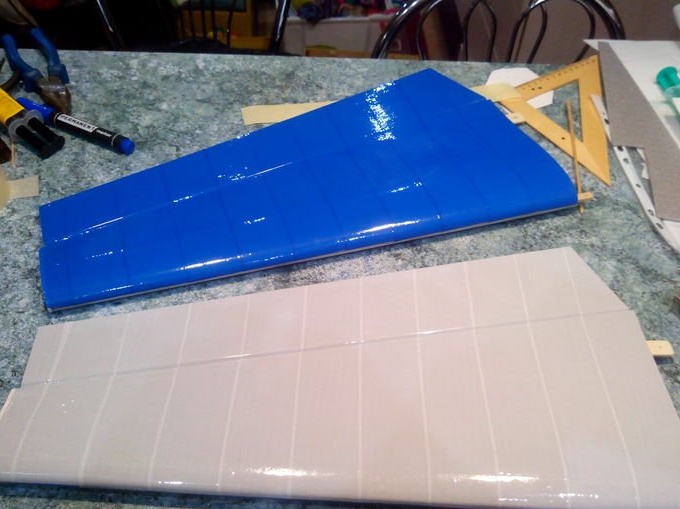
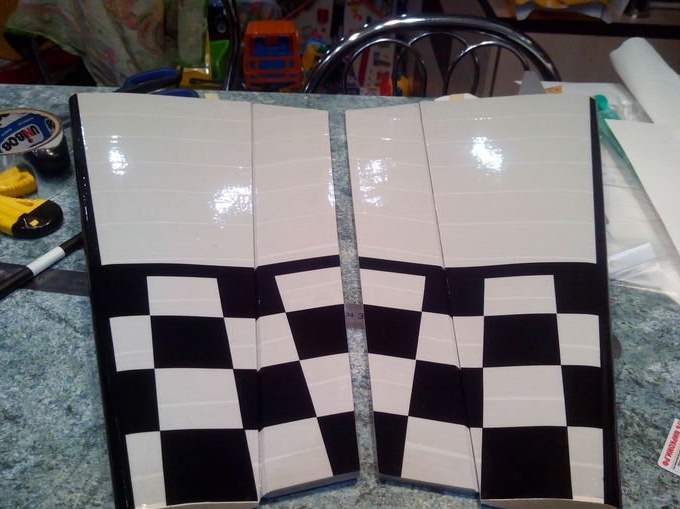
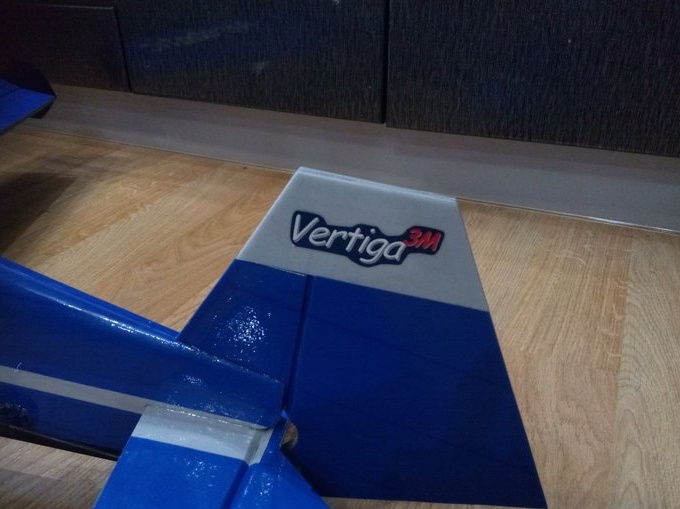
The covering of the model with colored tape begins.
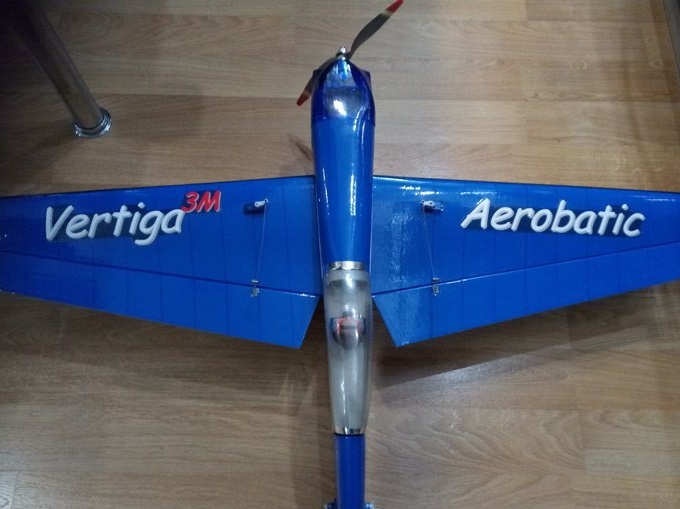
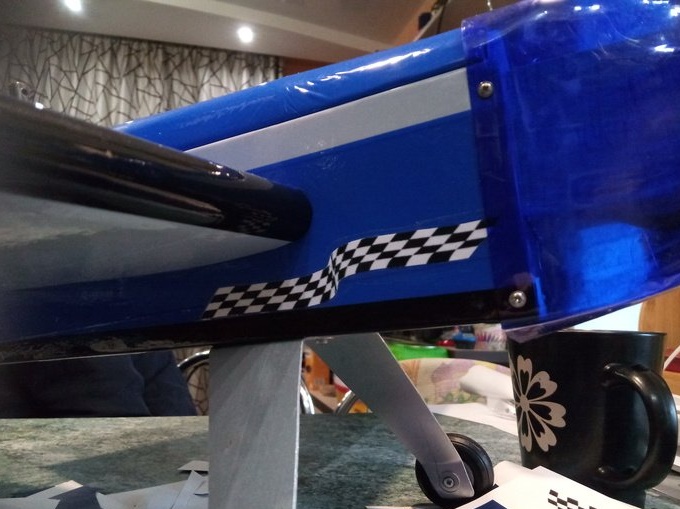
Final assembly of the model is underway.
Mounted tail.

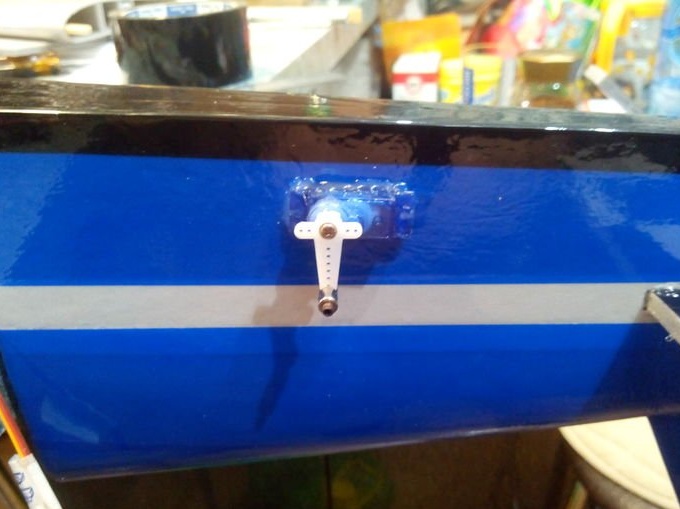

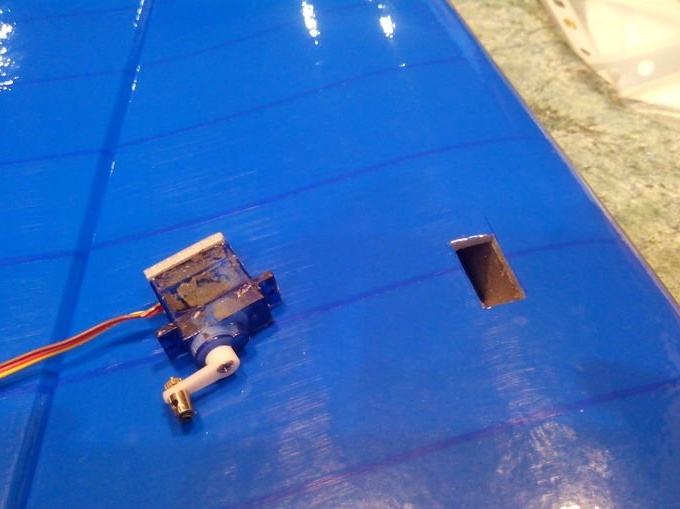
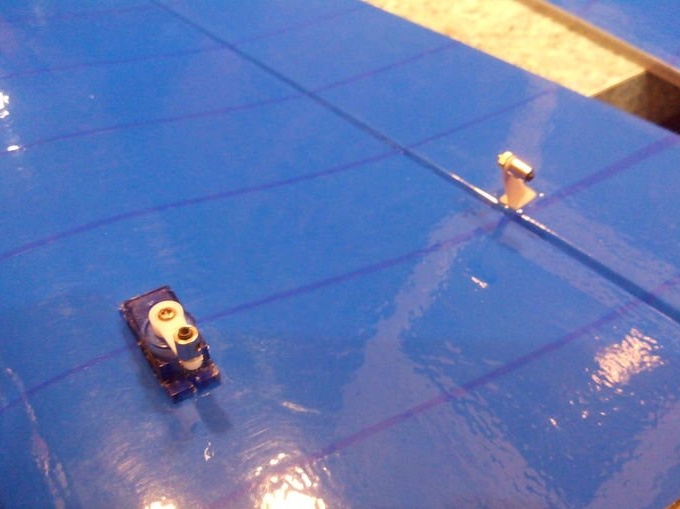
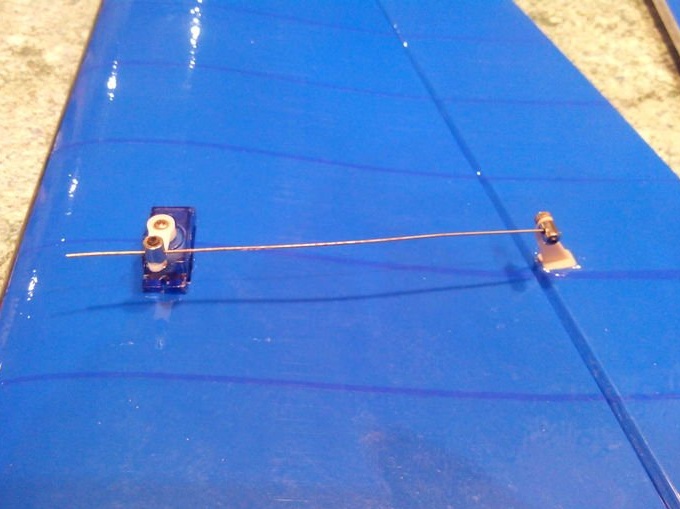
Mounted hogs and servos.
The rear chassis is glued to epoxy.
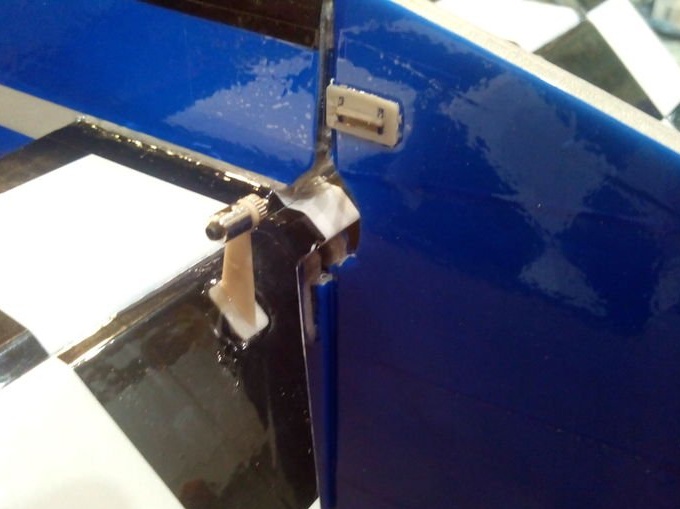
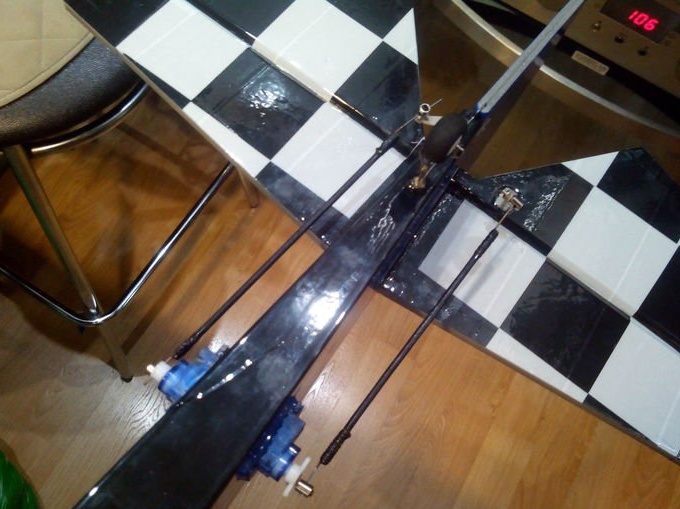
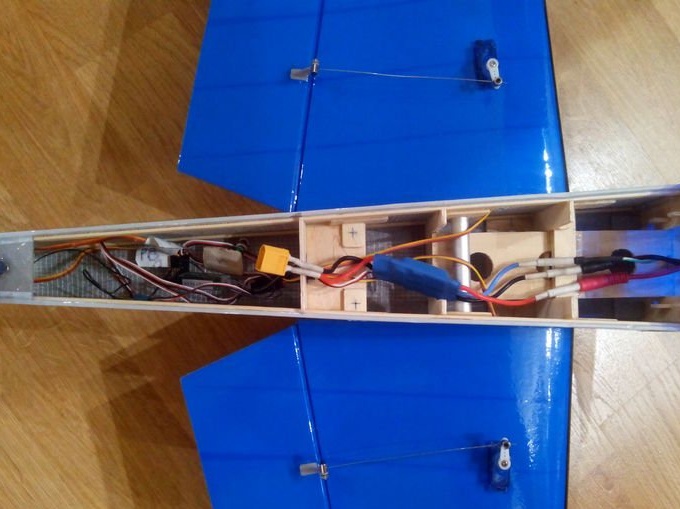
Traction mounted.
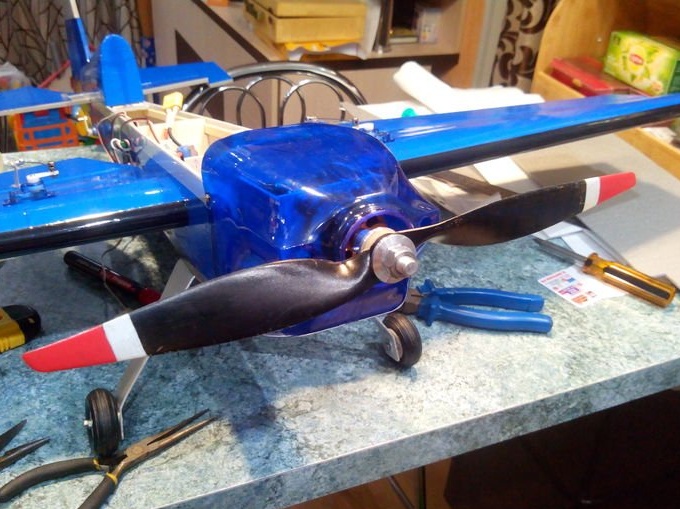
Mounted chassis and motor.

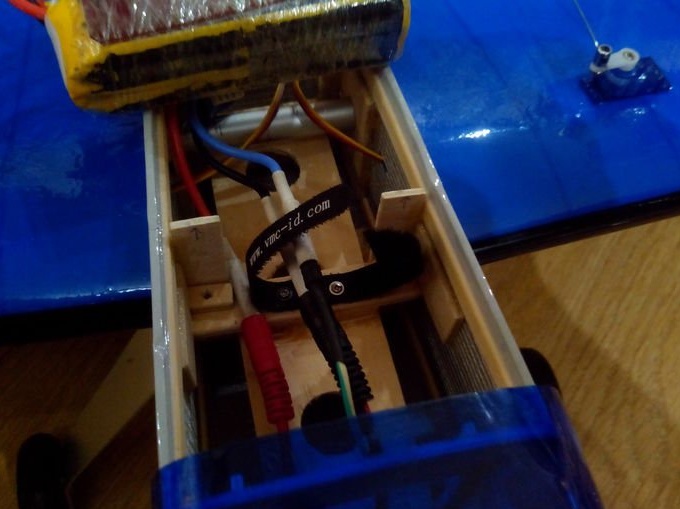
To be installed electronics.
Video about the flight of the model.
Motor - D3530 | 14 1100KV.
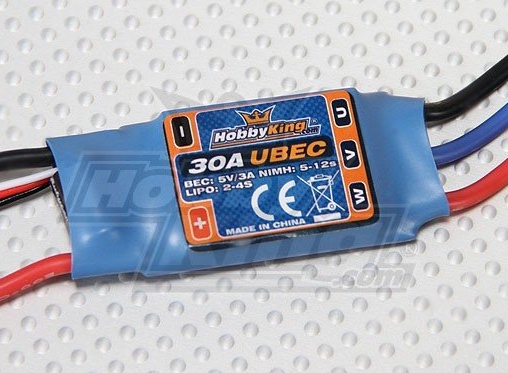
The regulator is 30 A.
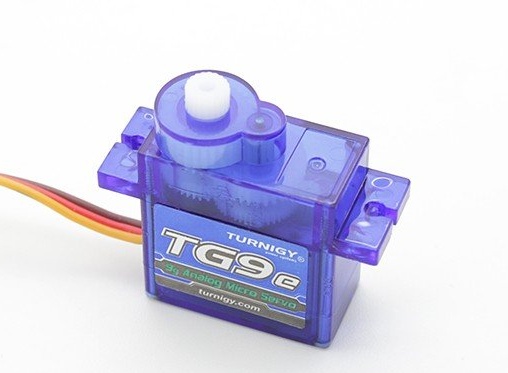
Servos - TG9e, 9g
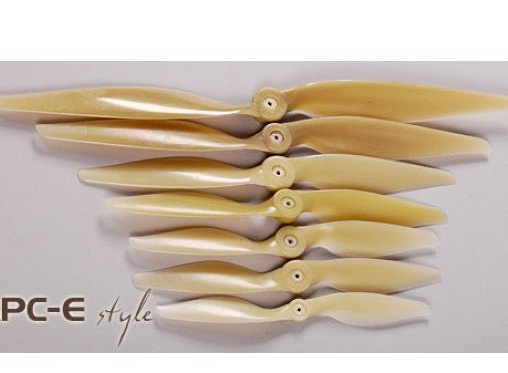
Screw - 12 X6 –E
Battery - 3S 2200mAh.
Dear friends, I have nothing more to add. The model is built, which flies beautifully and I wish you.
Goodbye, your Valerian.