
Very often, the most important element in interior design is the lighting fixtures.
In this article, the author of the YouTube channel “GRINwood” will tell you how to create a very simple design for background lighting.
This home-made is very budgetary, and does not require very sophisticated material processing techniques. If desired, it can be repeated even using ordinary hand tools.
Materials
- Oak planks
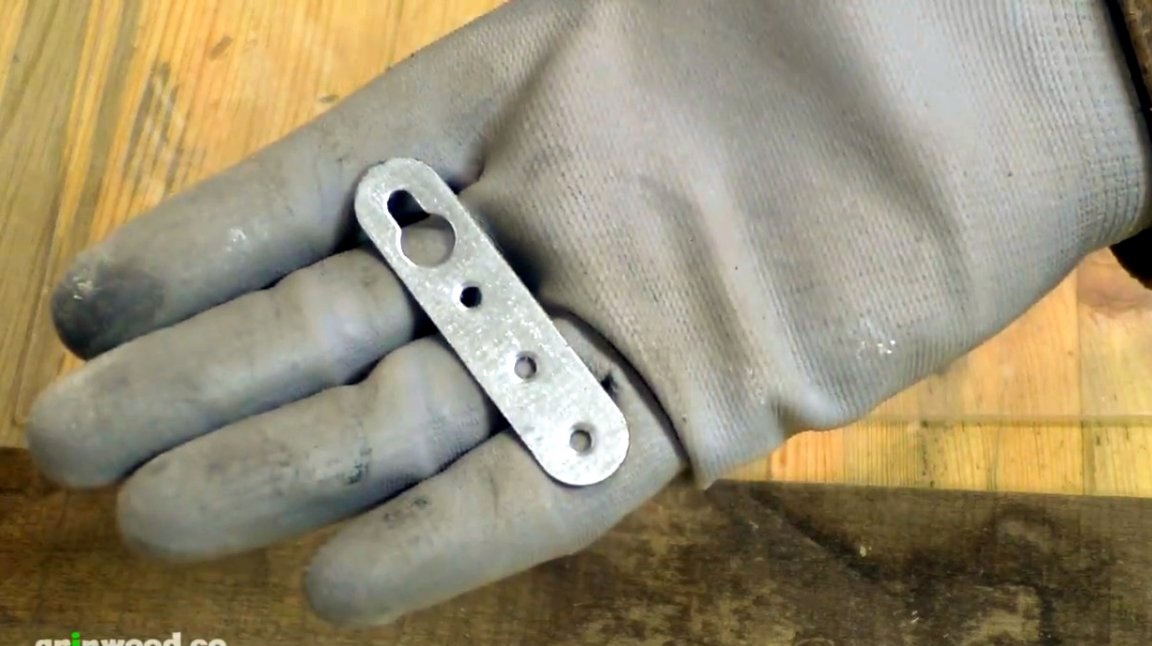
- Furniture hinge
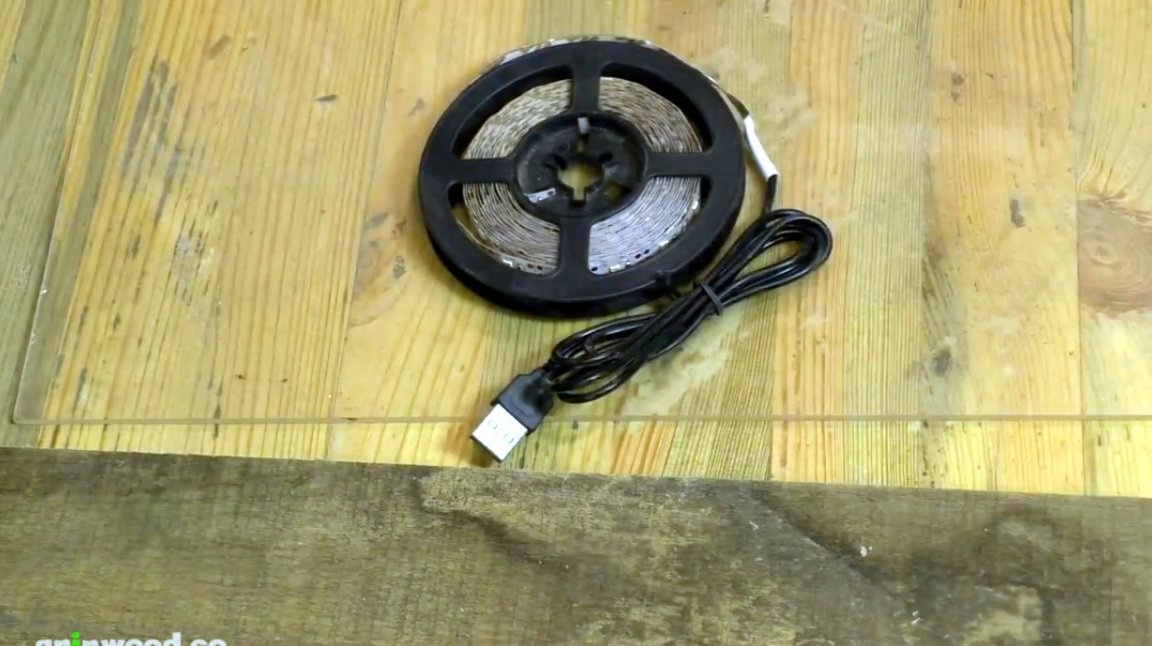
- LED Strip Light
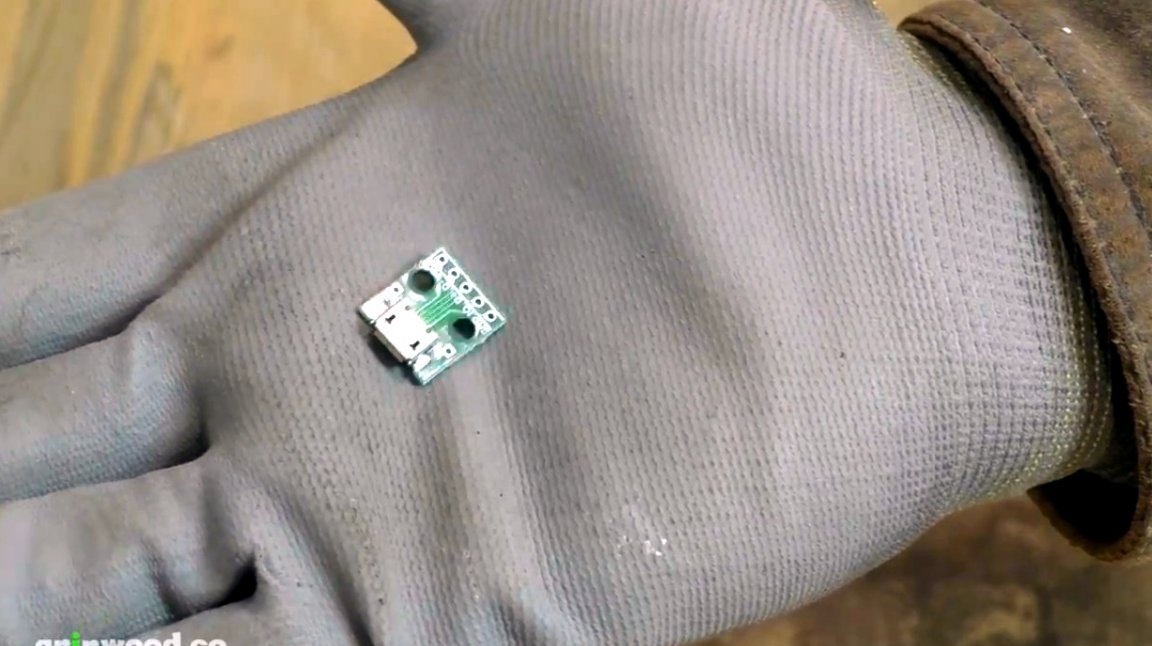
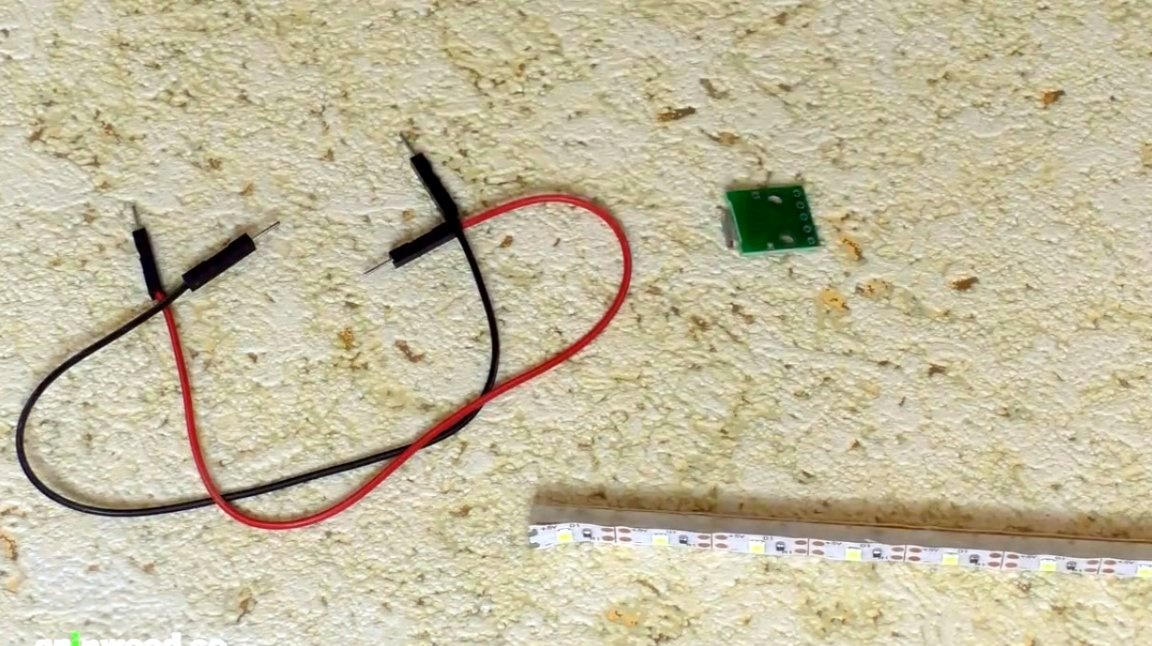
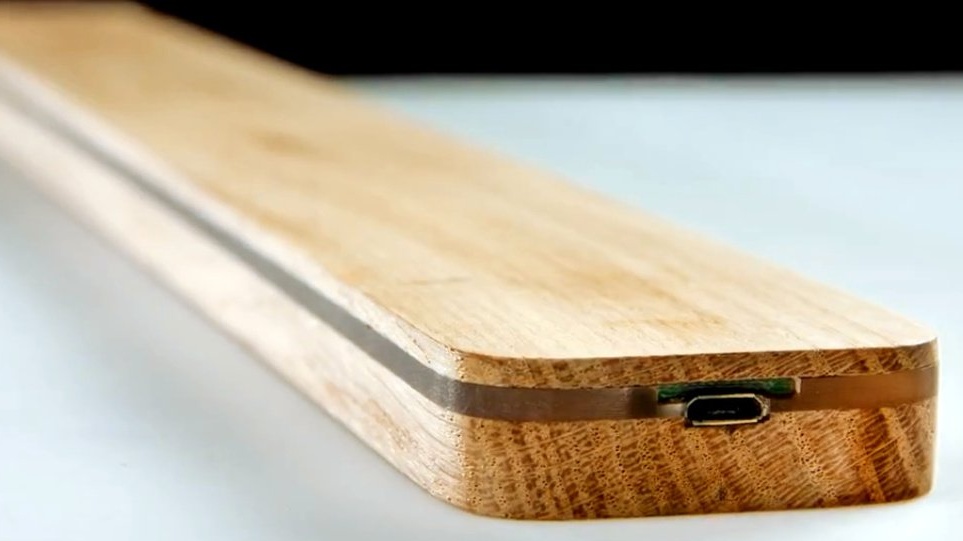
— Micro USB To DIP 2.54mm
- Plexiglass 4 mm thick
- Impregnation for wood, acrylic varnish
- Second cyanoacrylate adhesive.
Instruments, used by the author.
— A circular saw
— Orbital sander
— Clamps
— Milling machine
- Belt sander
- Scissors, pencil, ruler, square, screwdriver.
Manufacturing process.
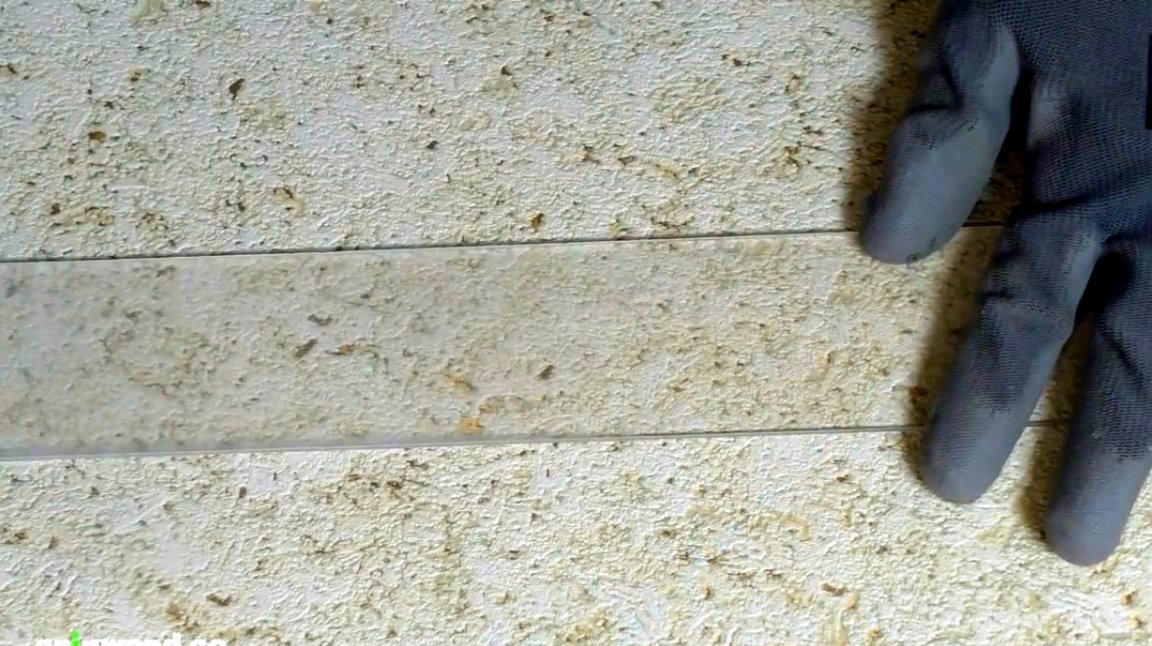
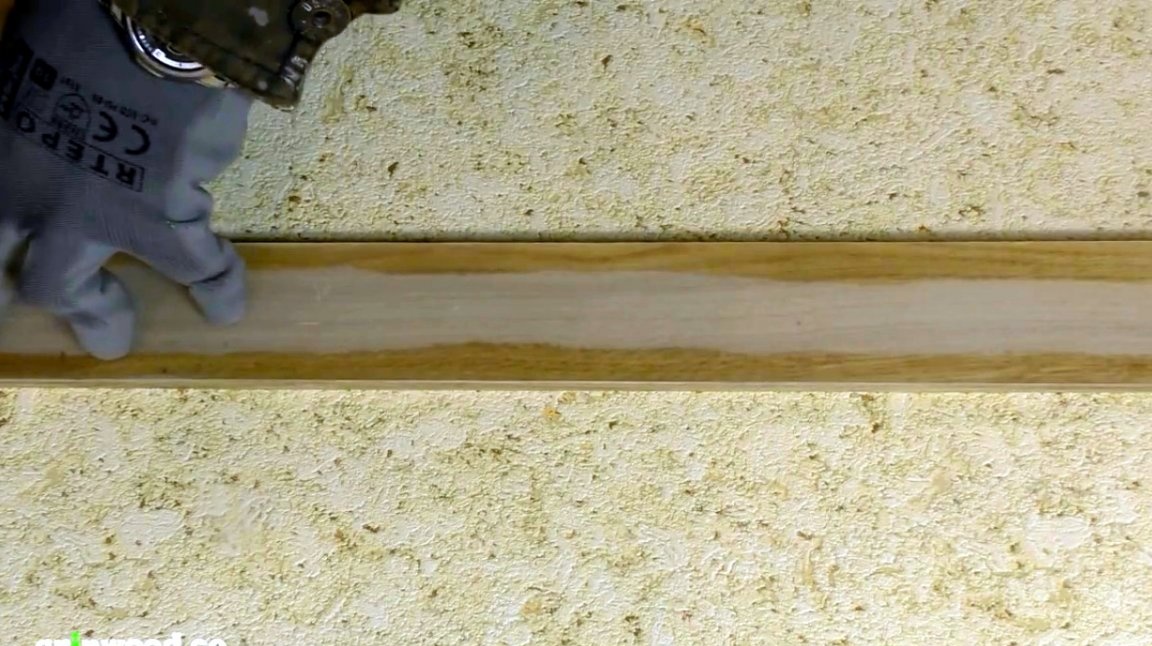
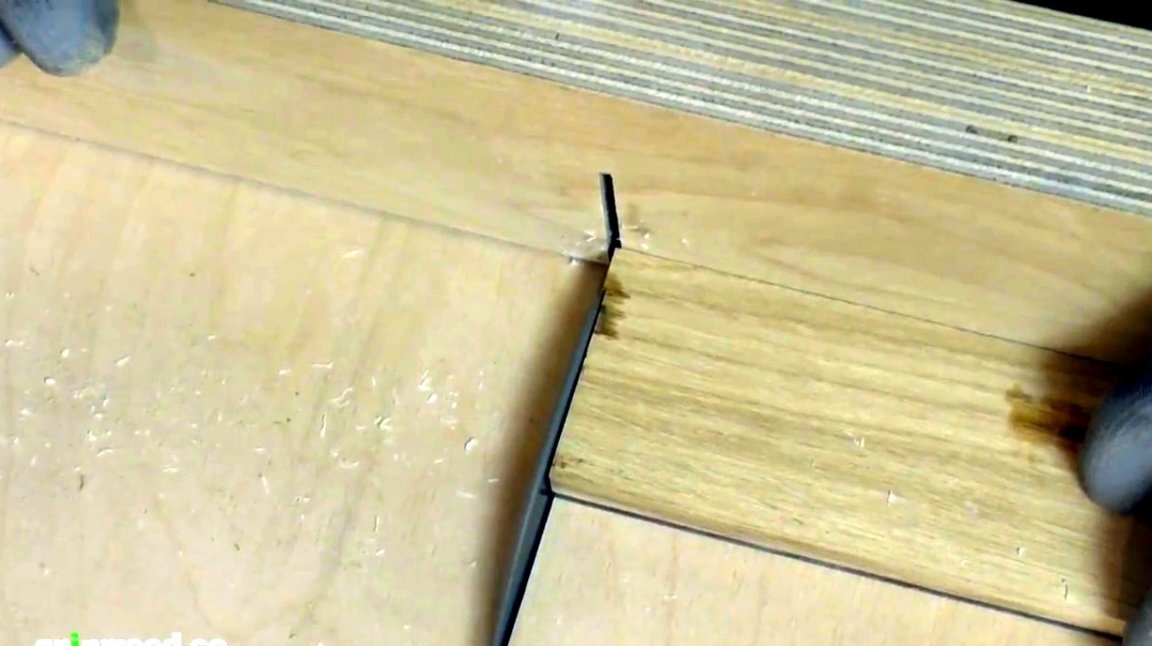
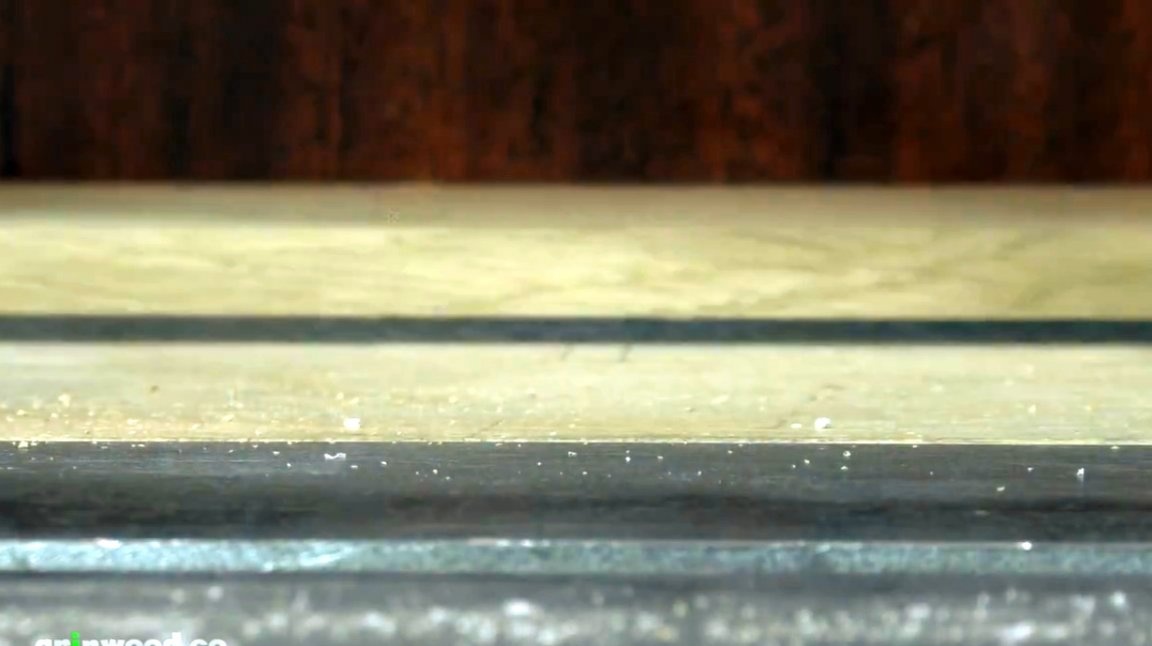
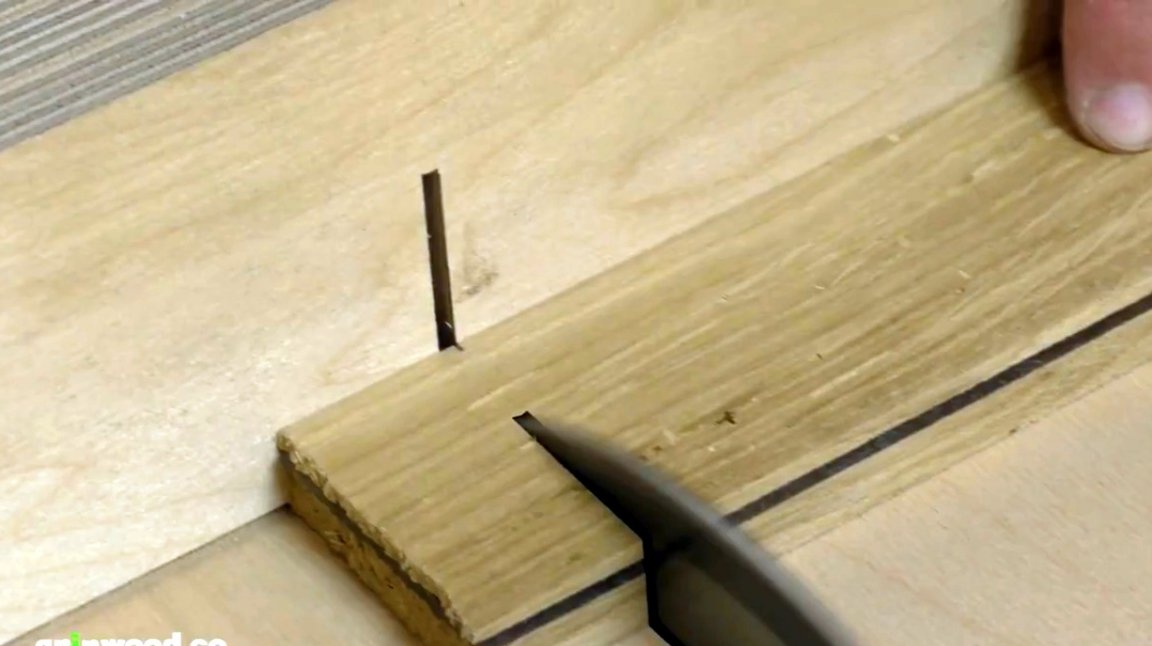
First of all, the master cuts old oak boards on a circular saw.
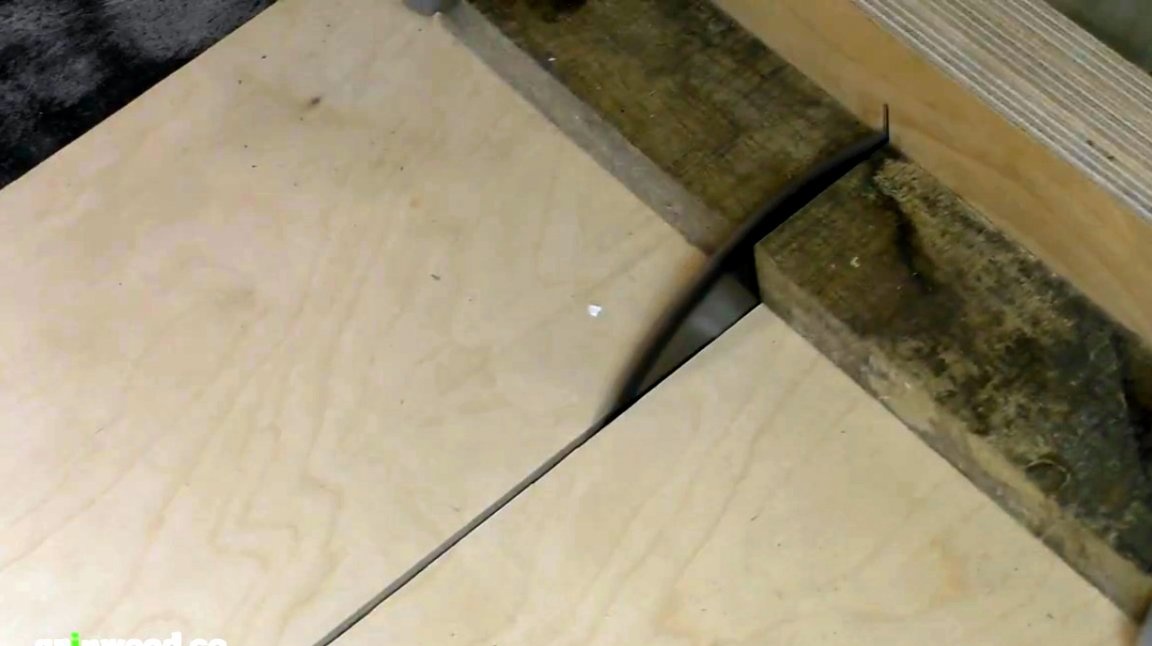
Also, with its help, spoiled layers of wood are removed, and a thin bar is sawed off.
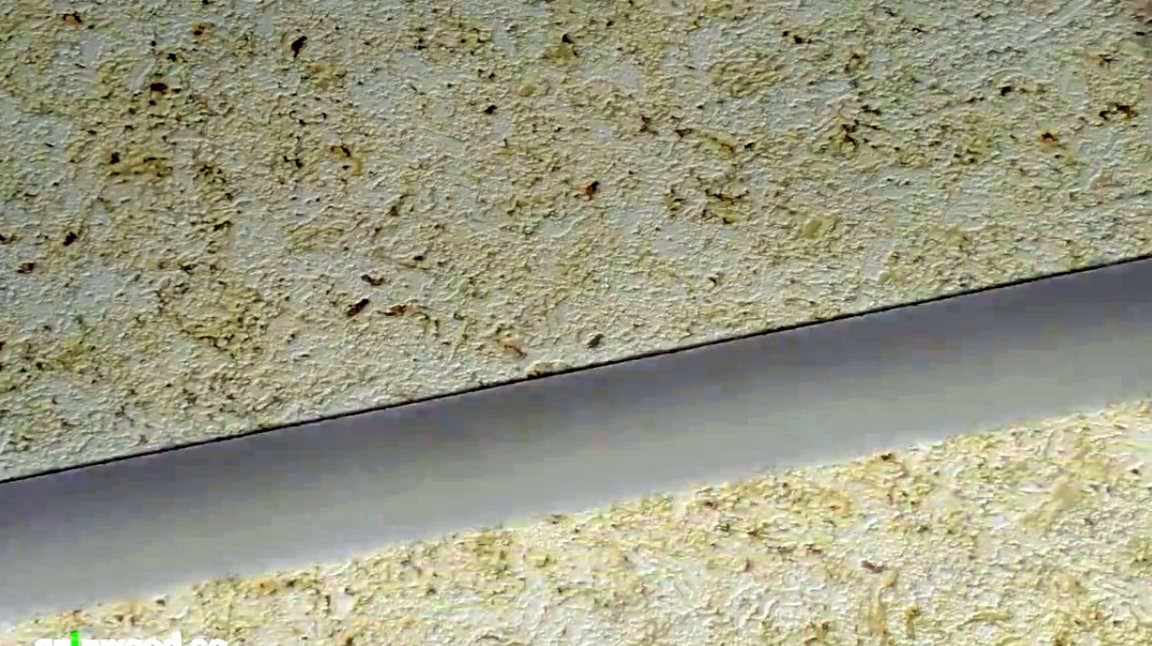
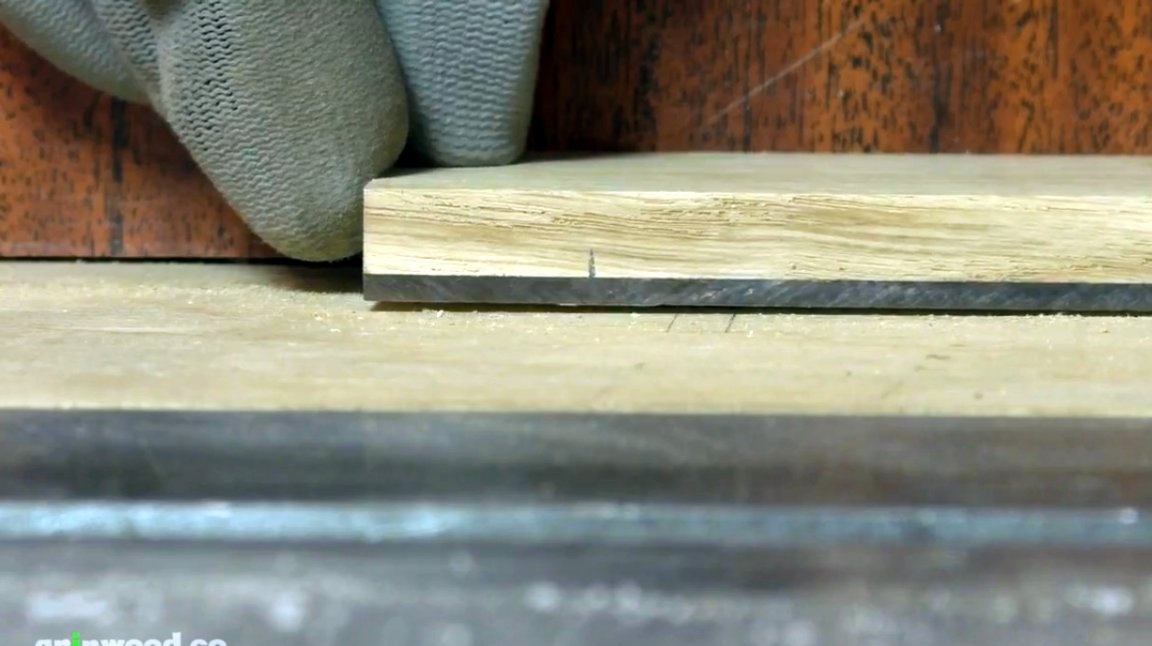
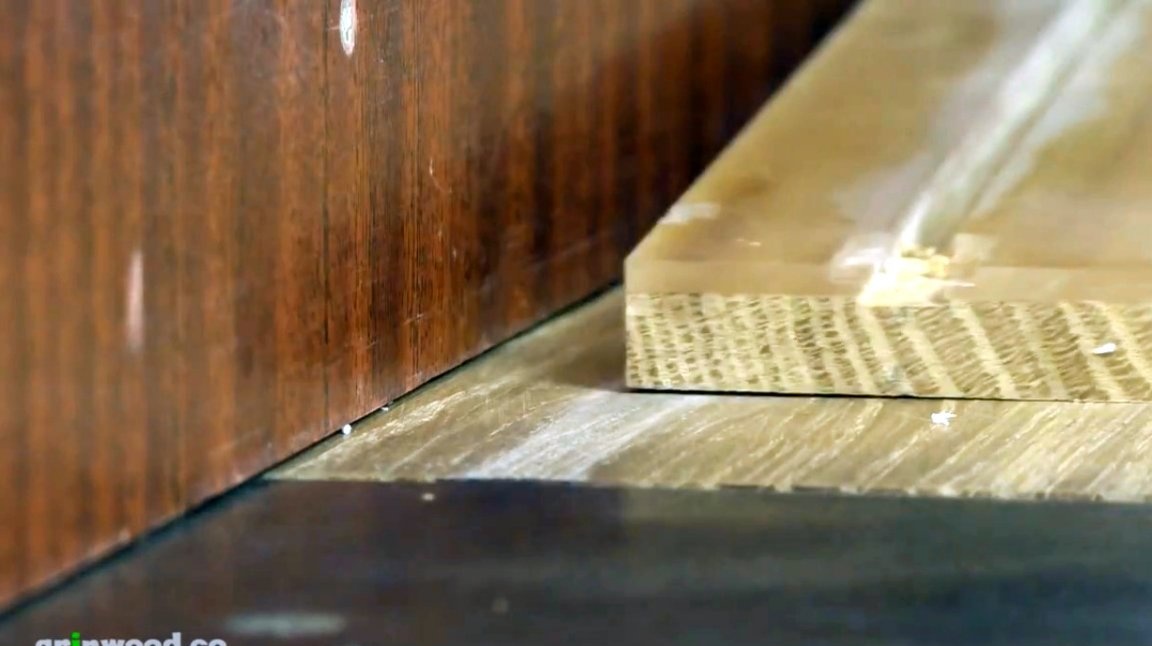
Next, you will need to make a gasket between two wooden blanks. For this, sheet plexiglass or plexiglass with a thickness of about 4 mm is perfect. It should be cut to the width of the wooden blanks.
After that, the plexiglass blank is degreased with acetone, and then matted with an orbital sander.

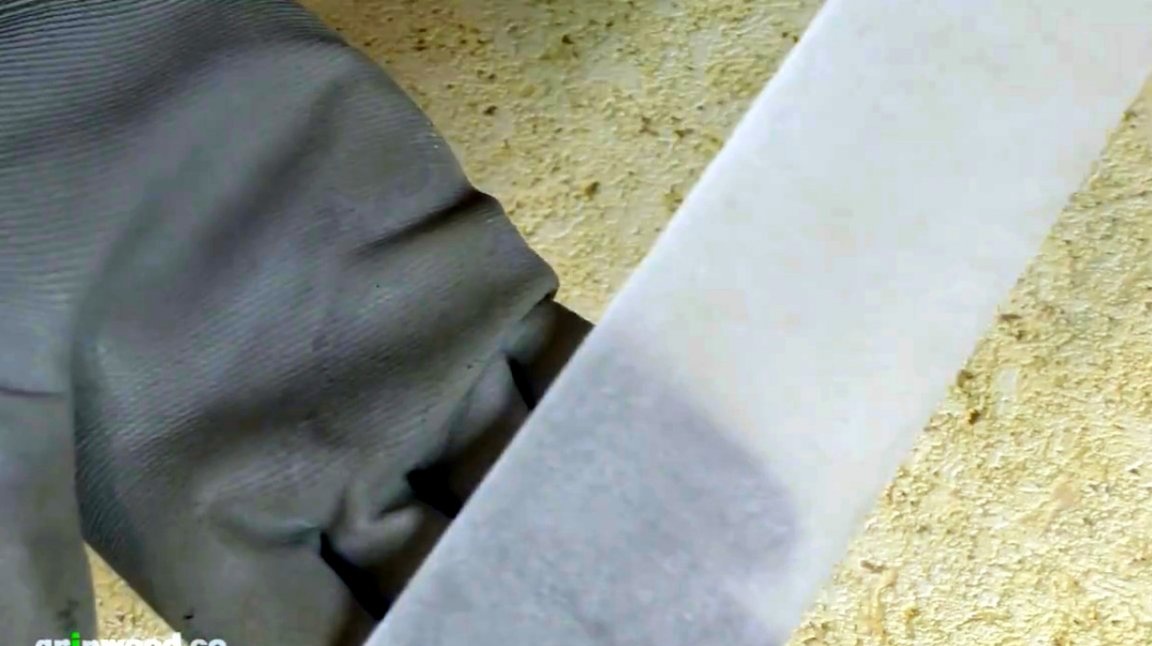
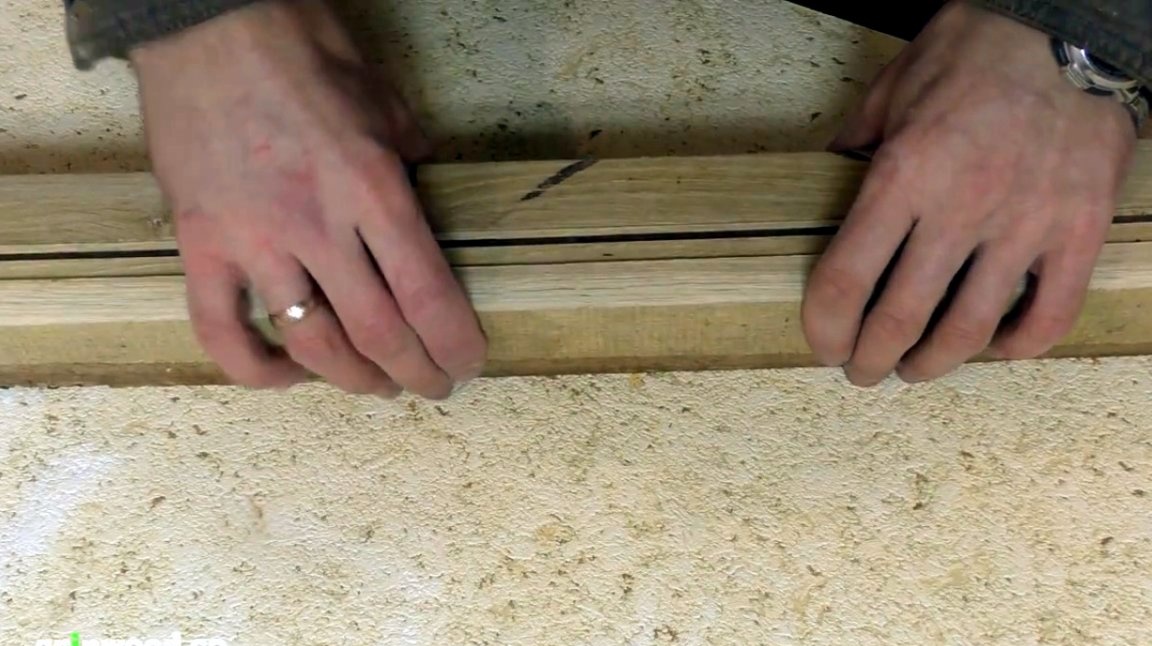
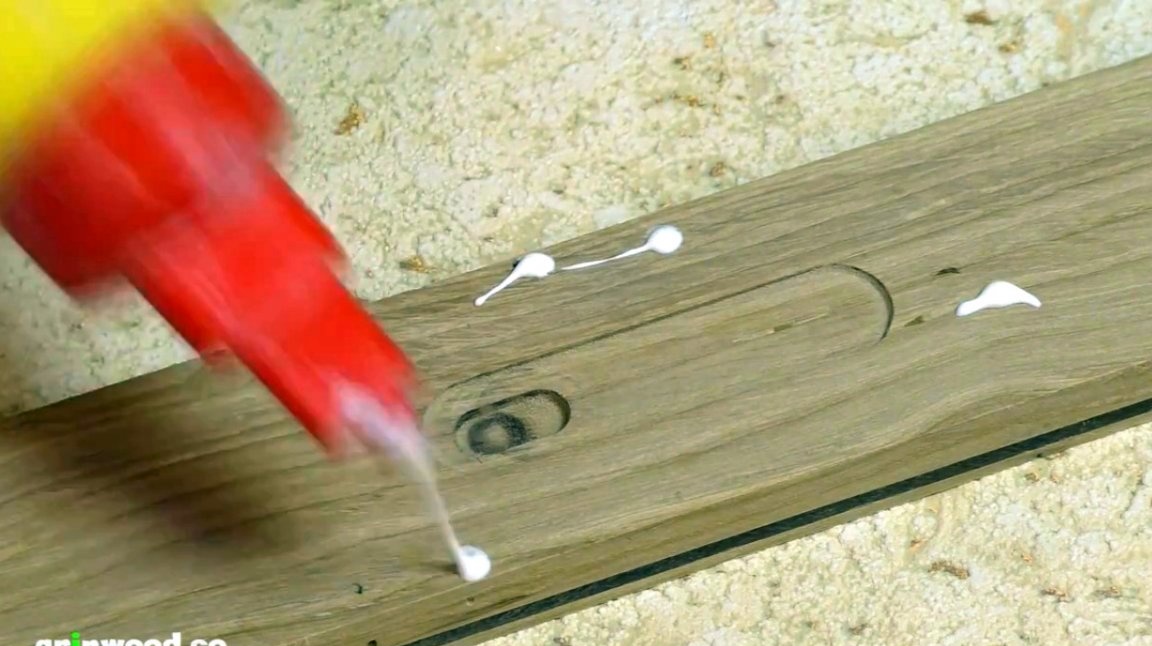
The first plaque, which has the largest thickness, is glued to the Plexiglas strip using cyanoacrylate second glue. This must be done around the perimeter of the parts, being careful not to touch the central part.
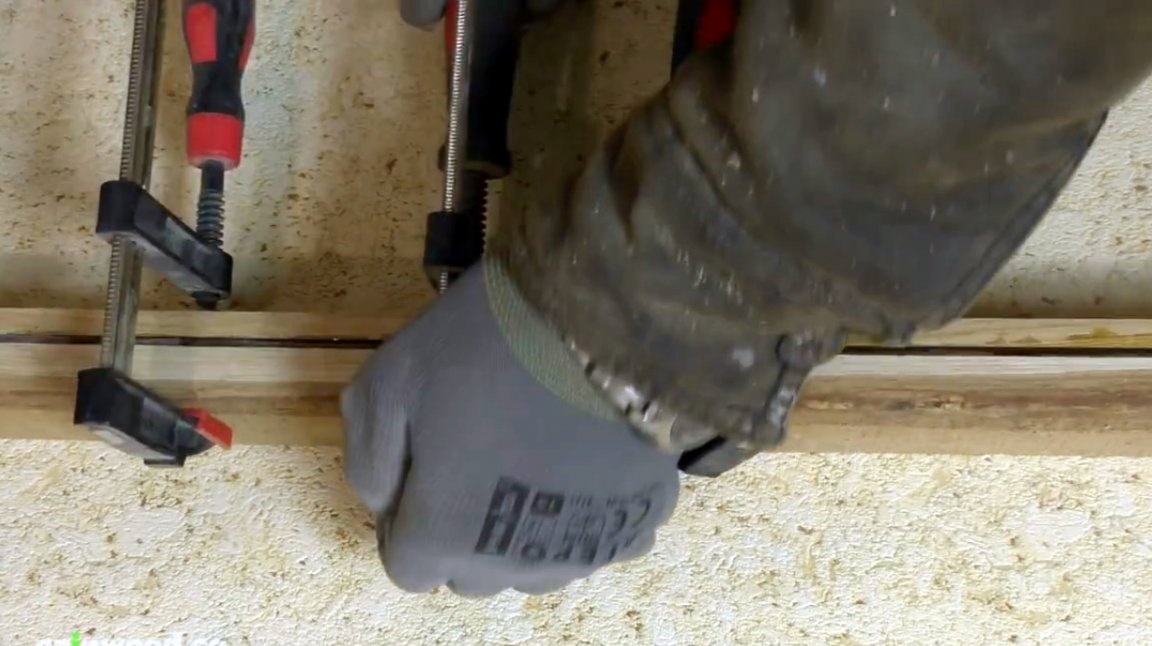
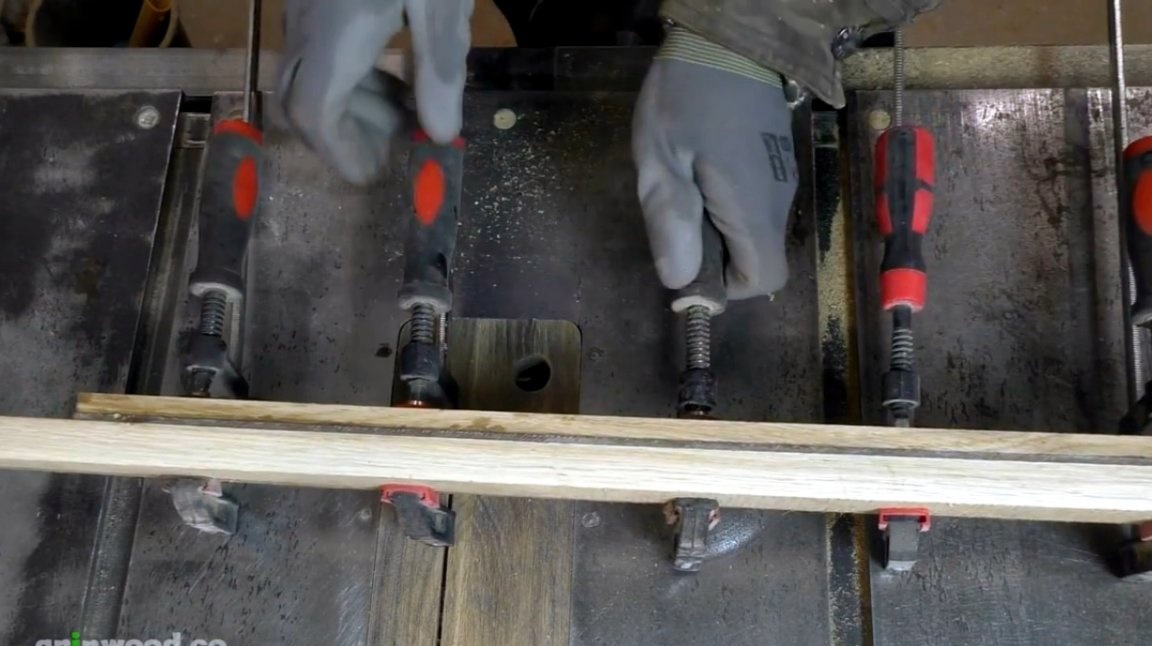
The first part of the body is fixed between the boards with clamps.
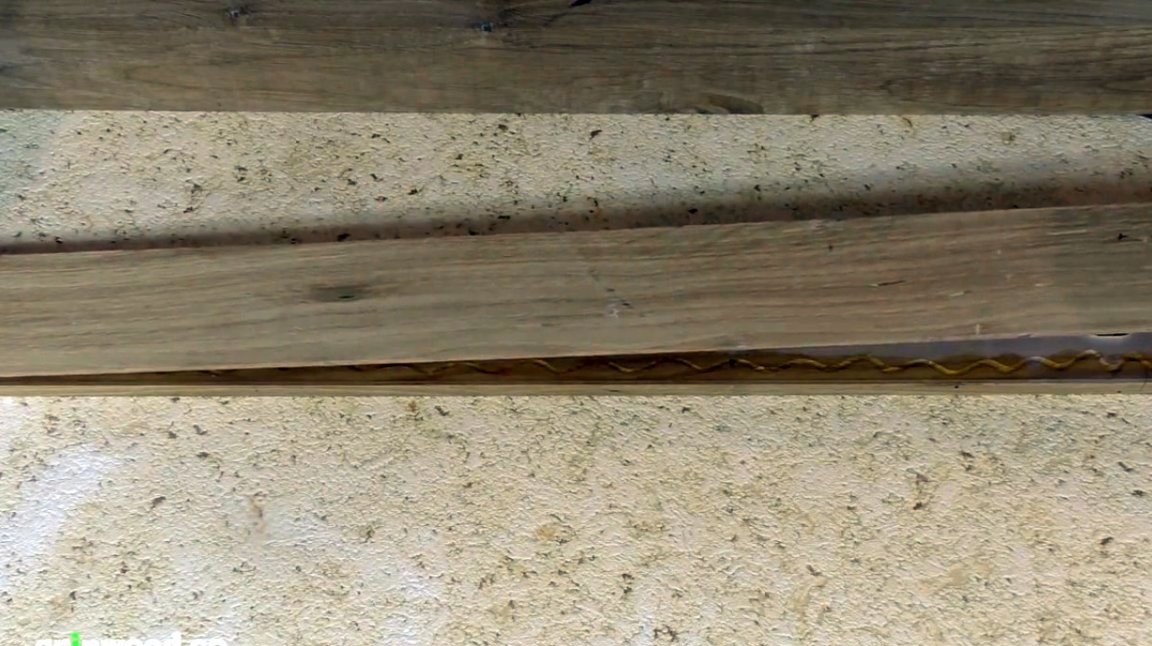
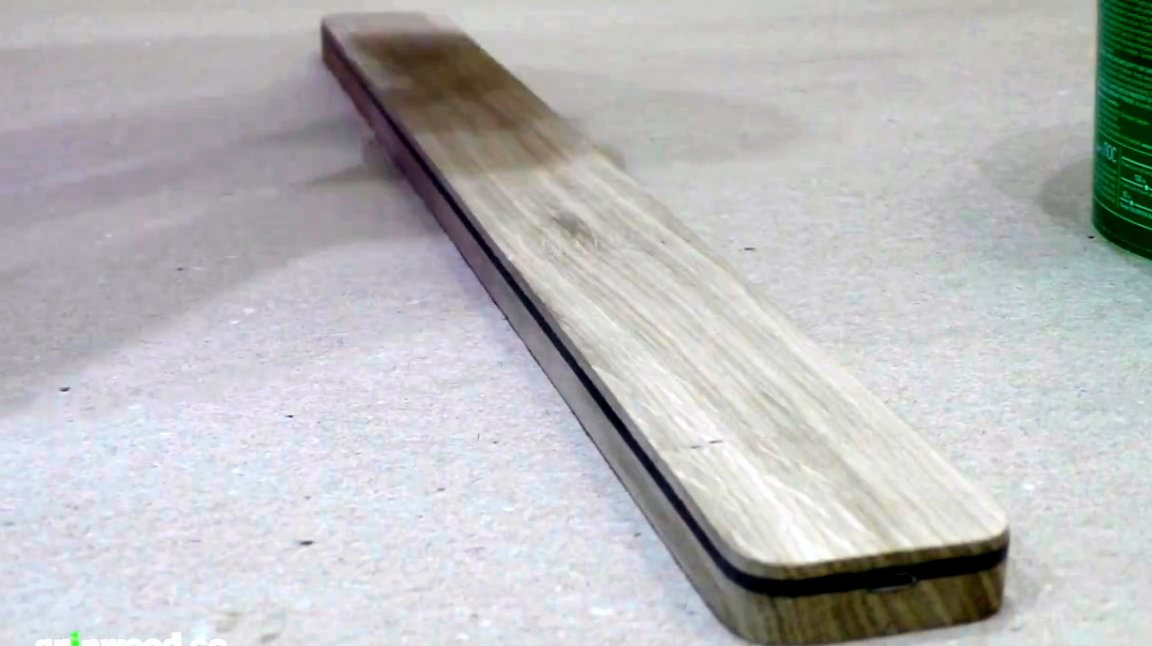
After the glue dries, the blank with the light guide layer looks like this.

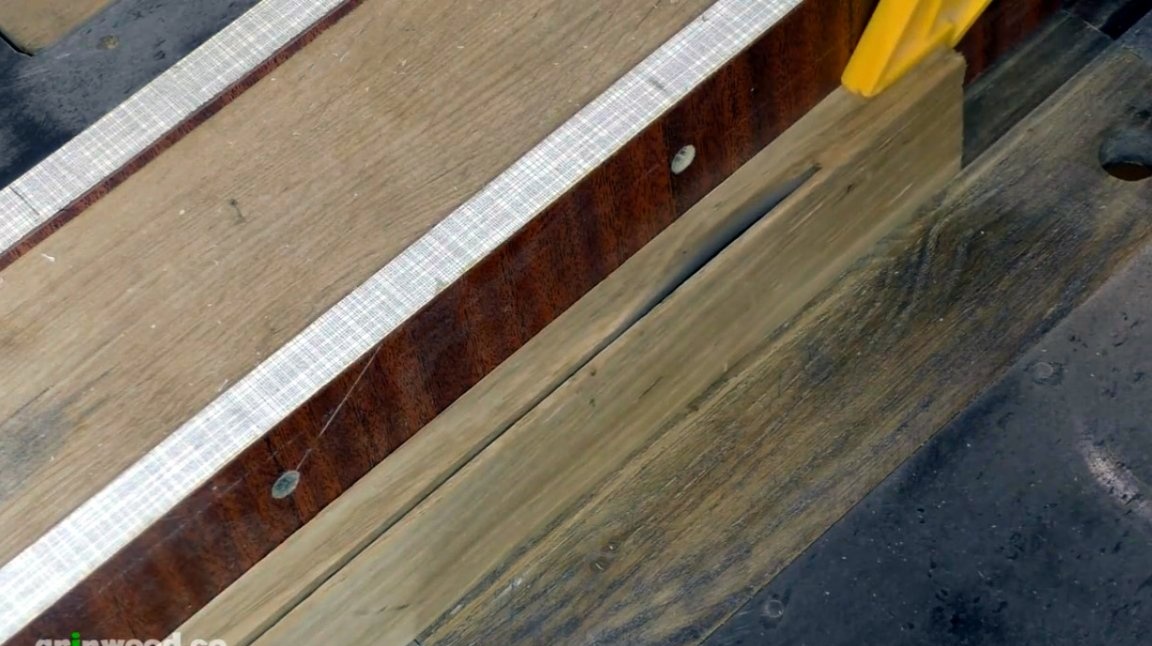
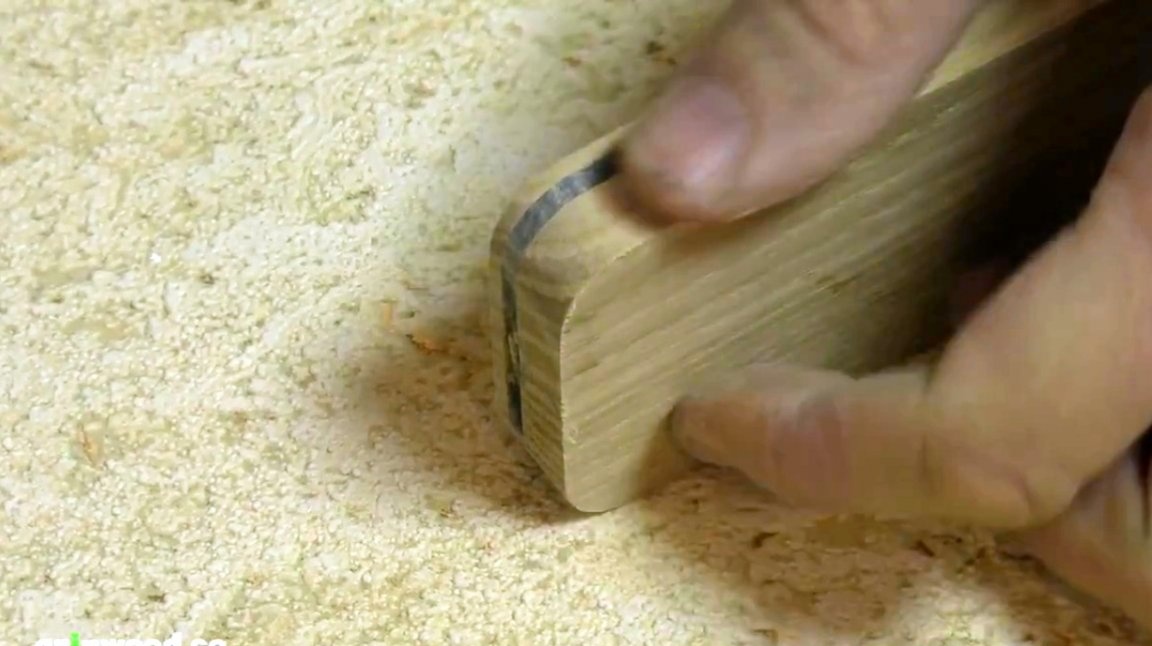
Now you need to cut off its ends.
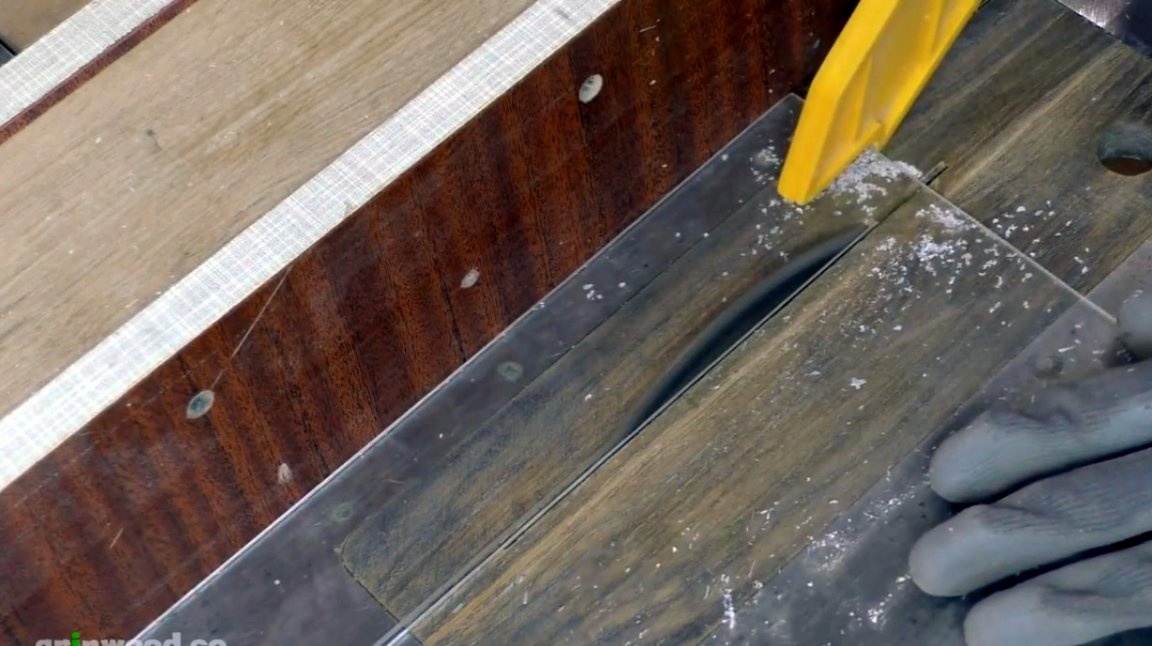
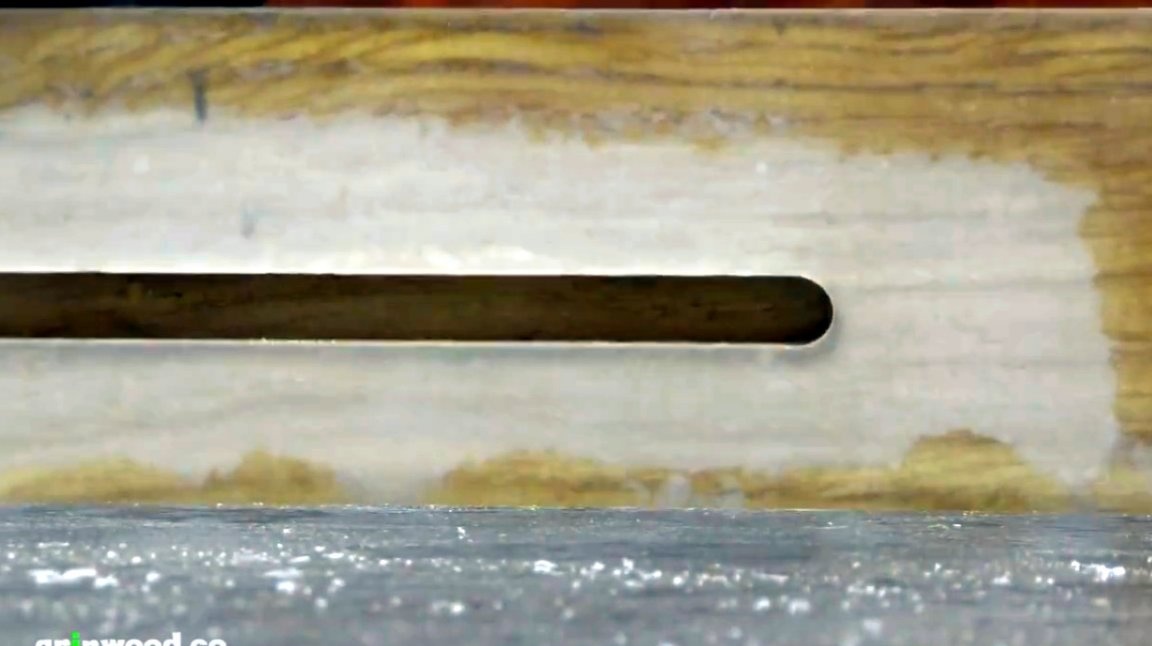
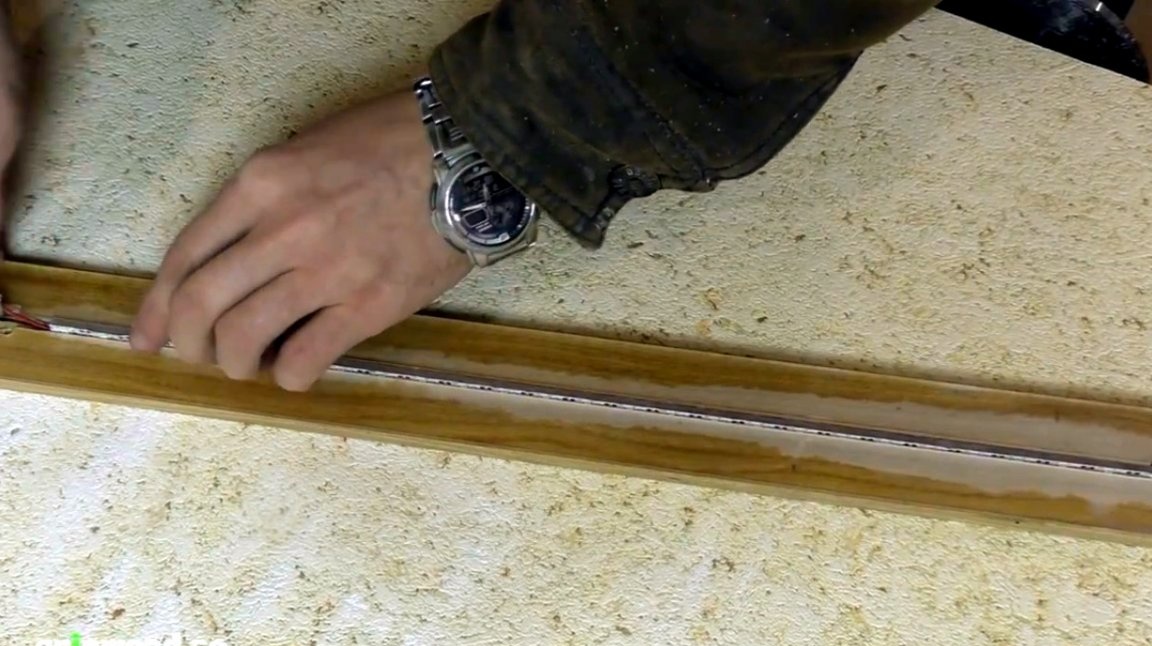
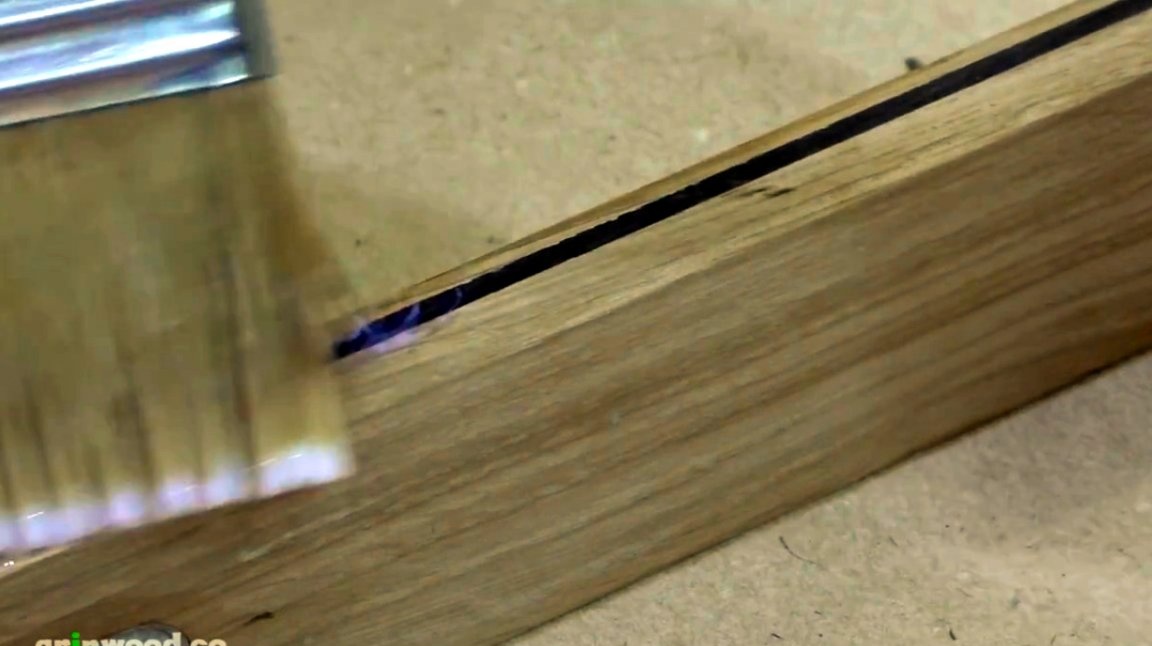
Next, the master will need to make a longitudinal groove for insertion from the LED strip. It is done on the central part of the workpiece on a milling machine.
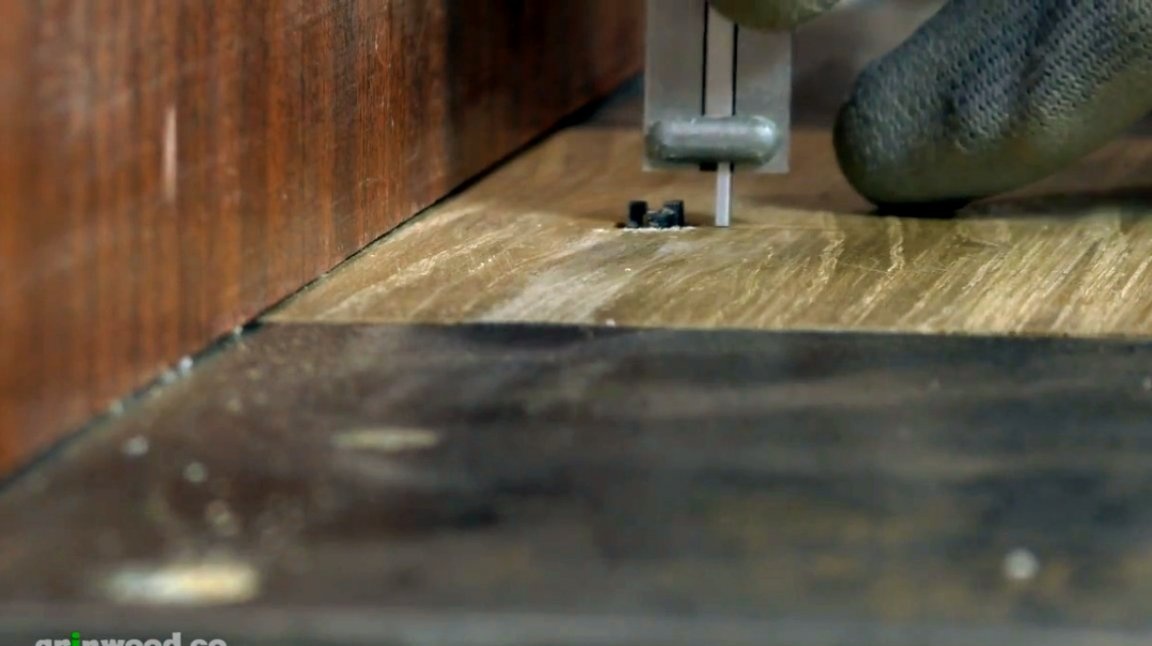
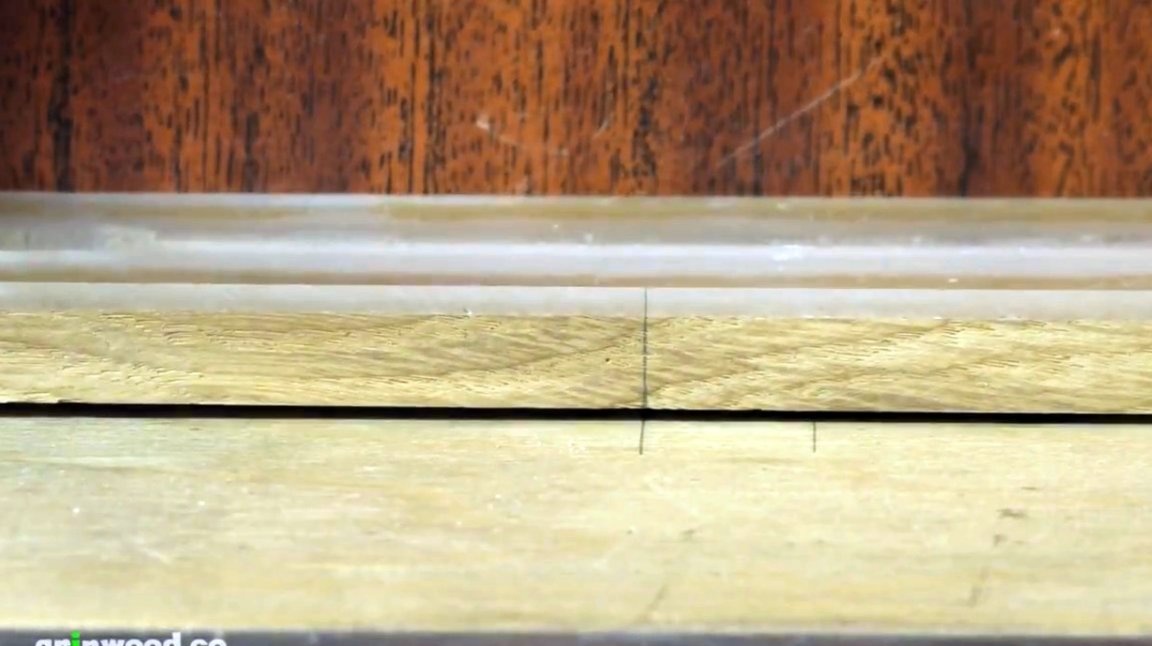
In order to comply with all dimensions, the necessary marks are placed on the edges of the workpiece and the workbench.
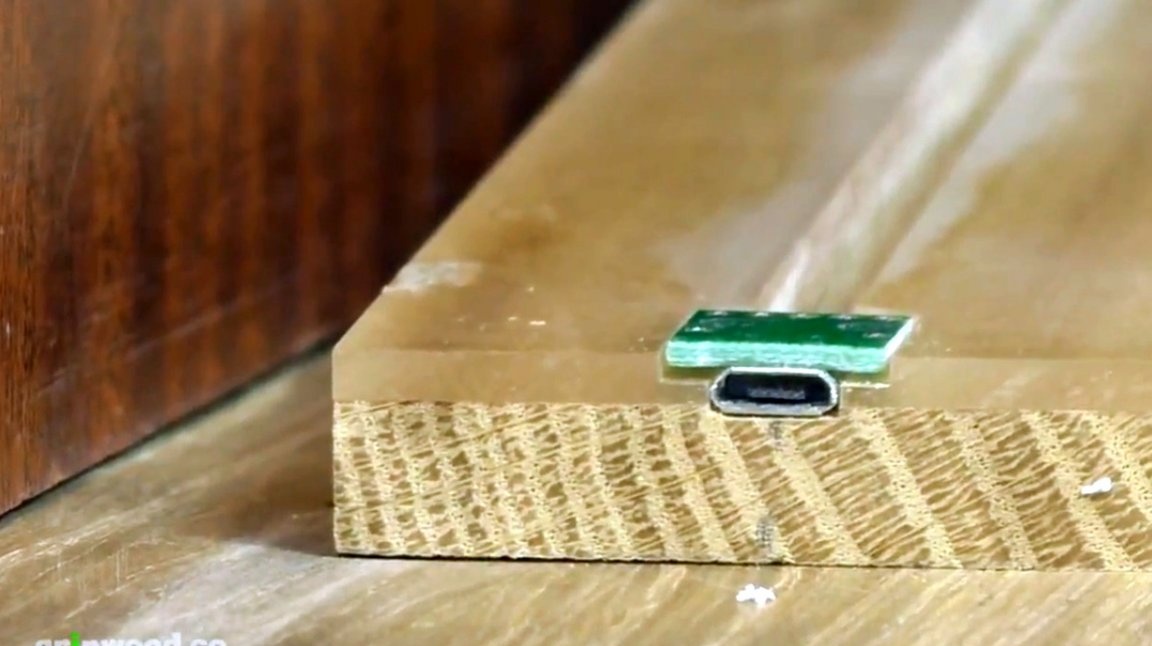
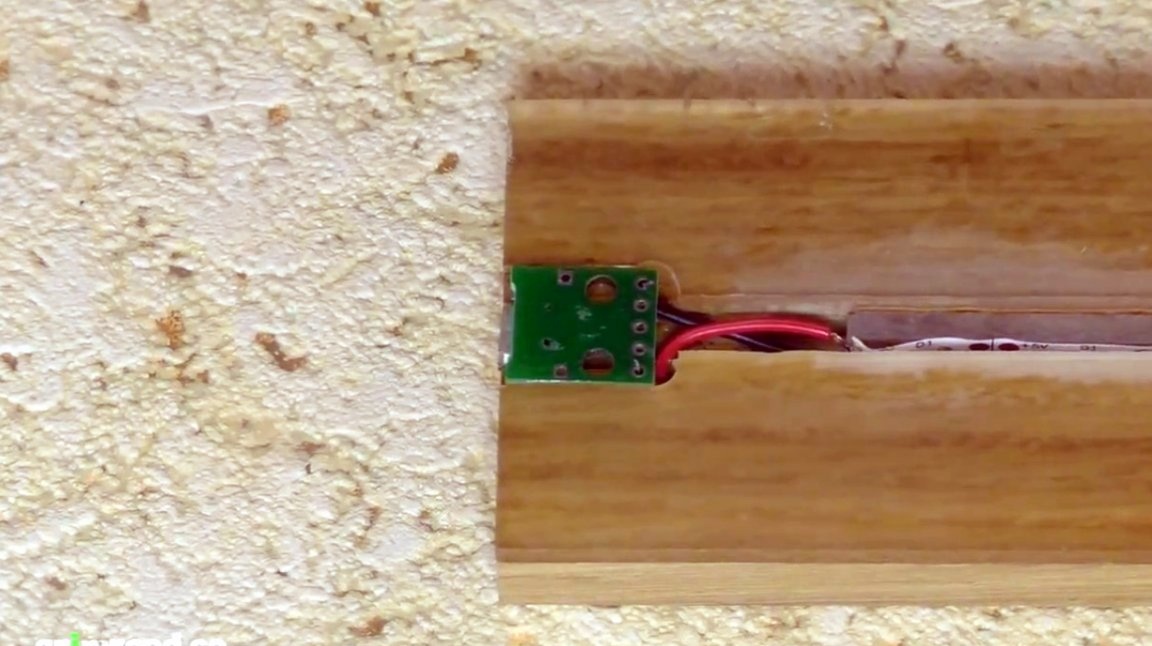
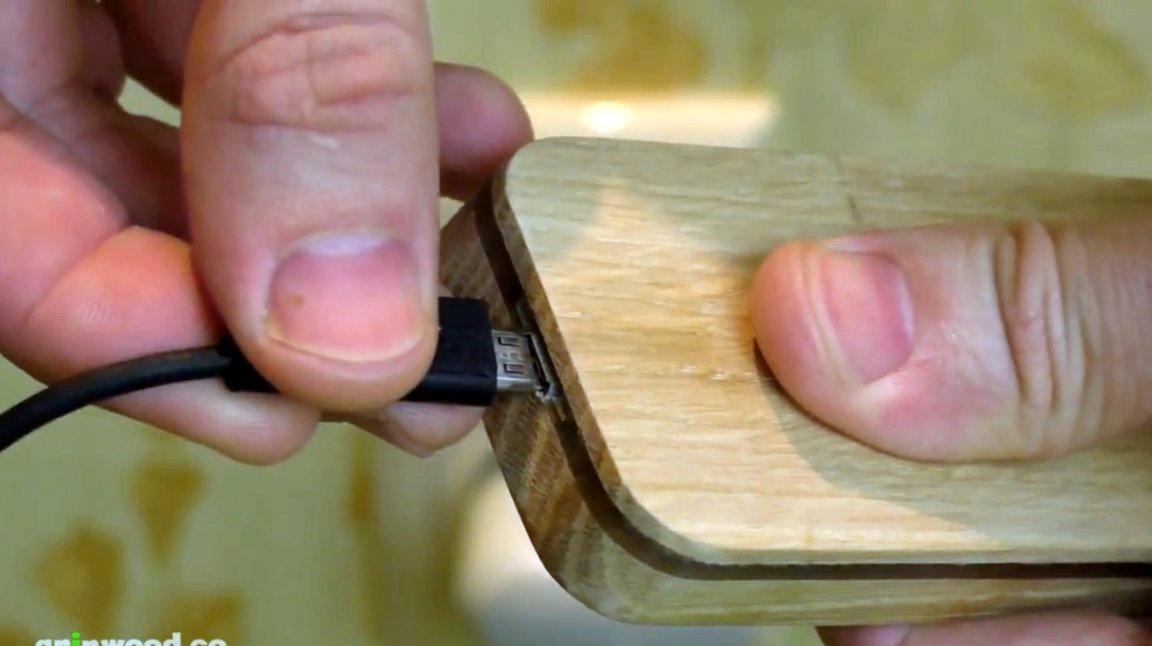
So, the groove is ready, now you need to make a notch for the microUSB connector and the board.
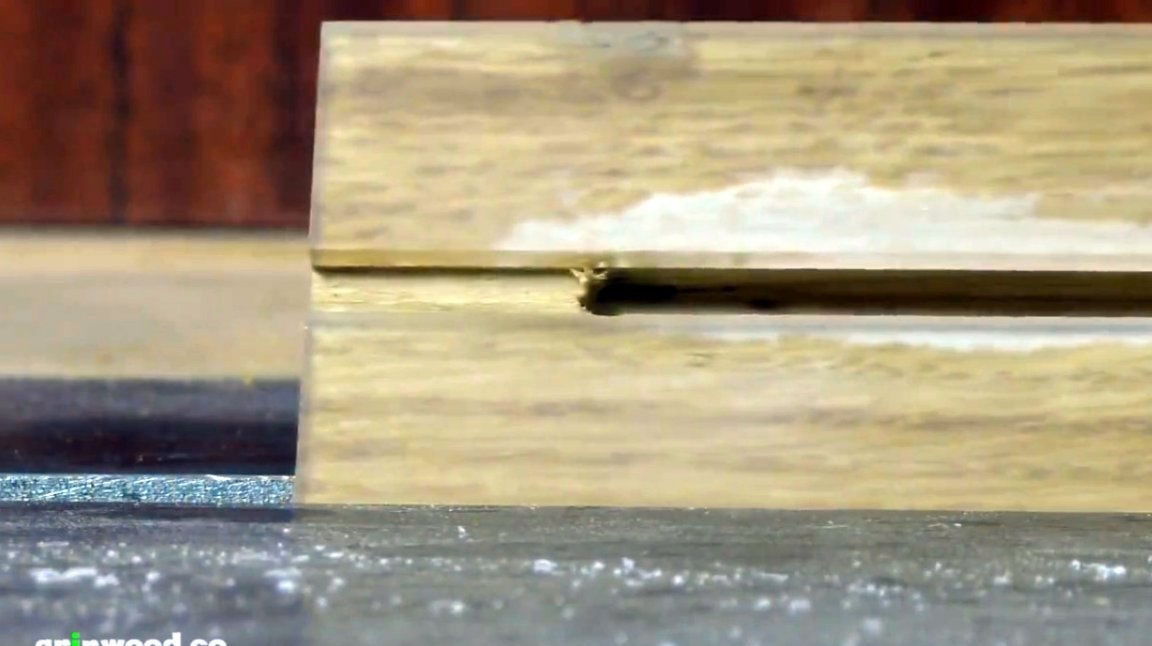
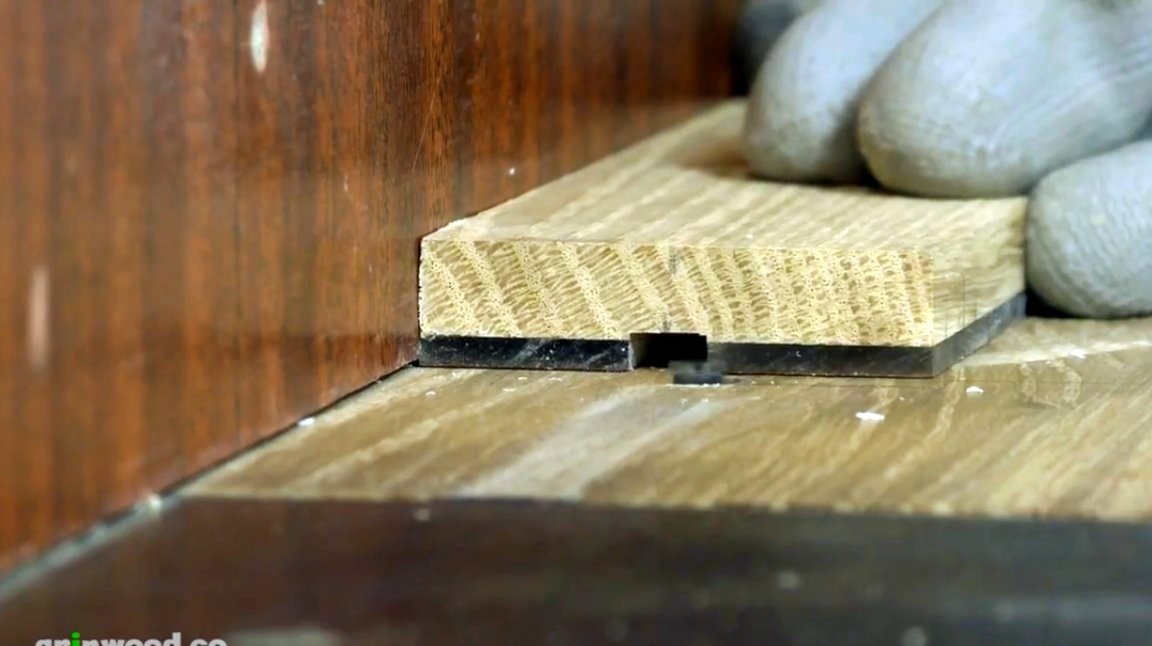
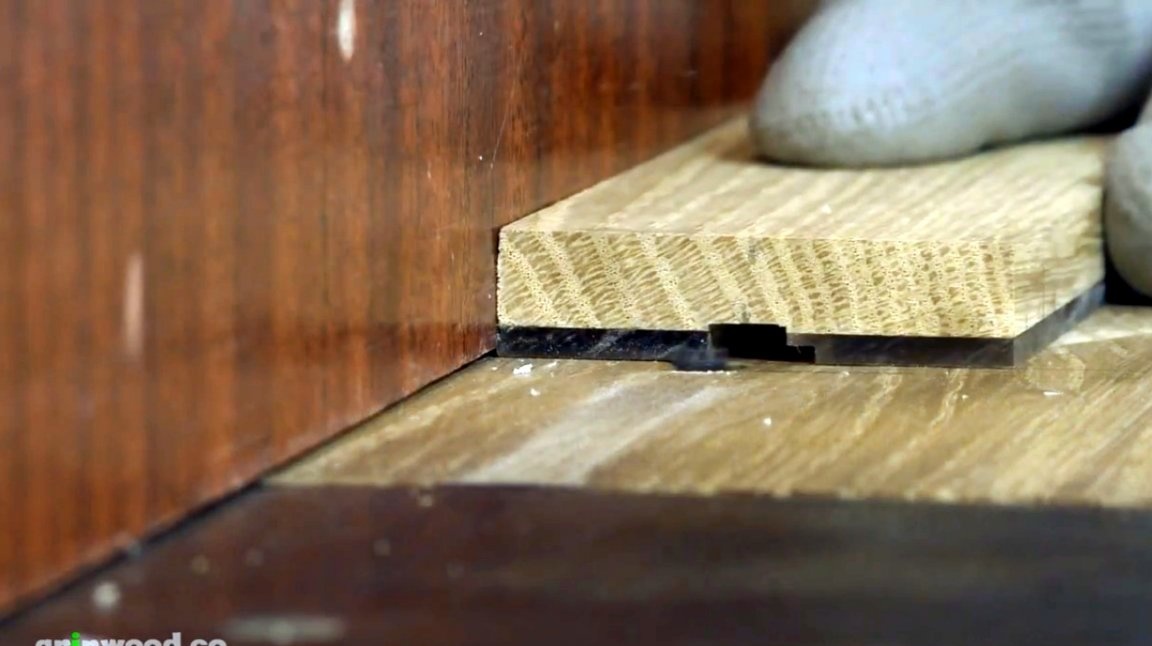
At the second edge of the groove, the author decided to make another notch for a smooth turn of the LED strip.

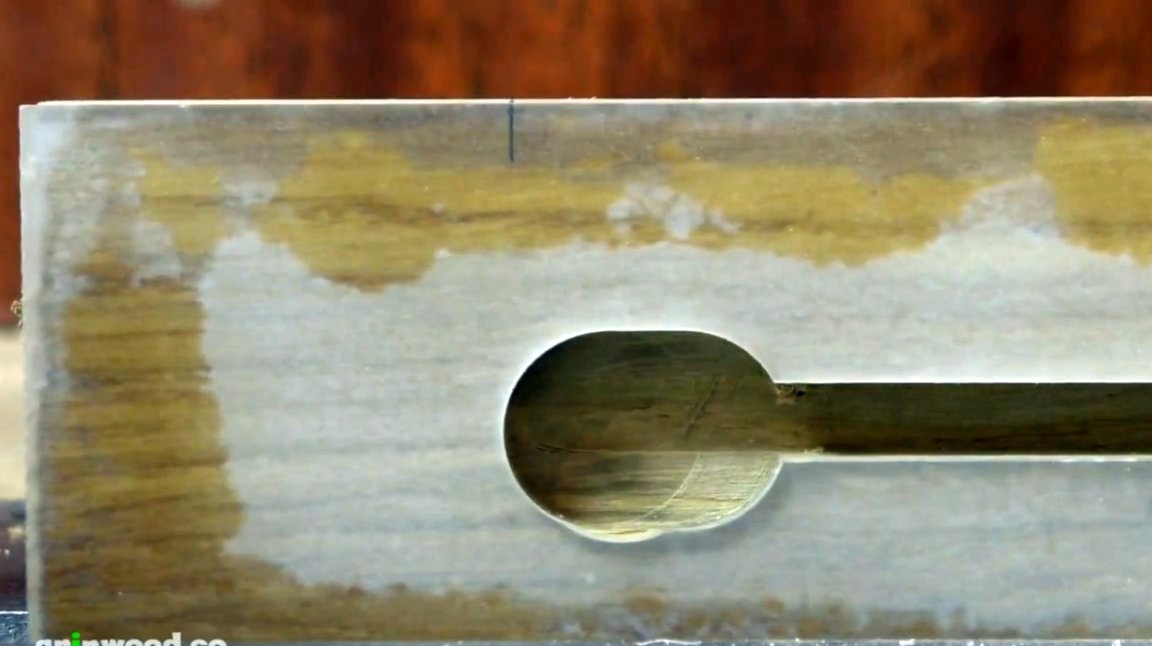
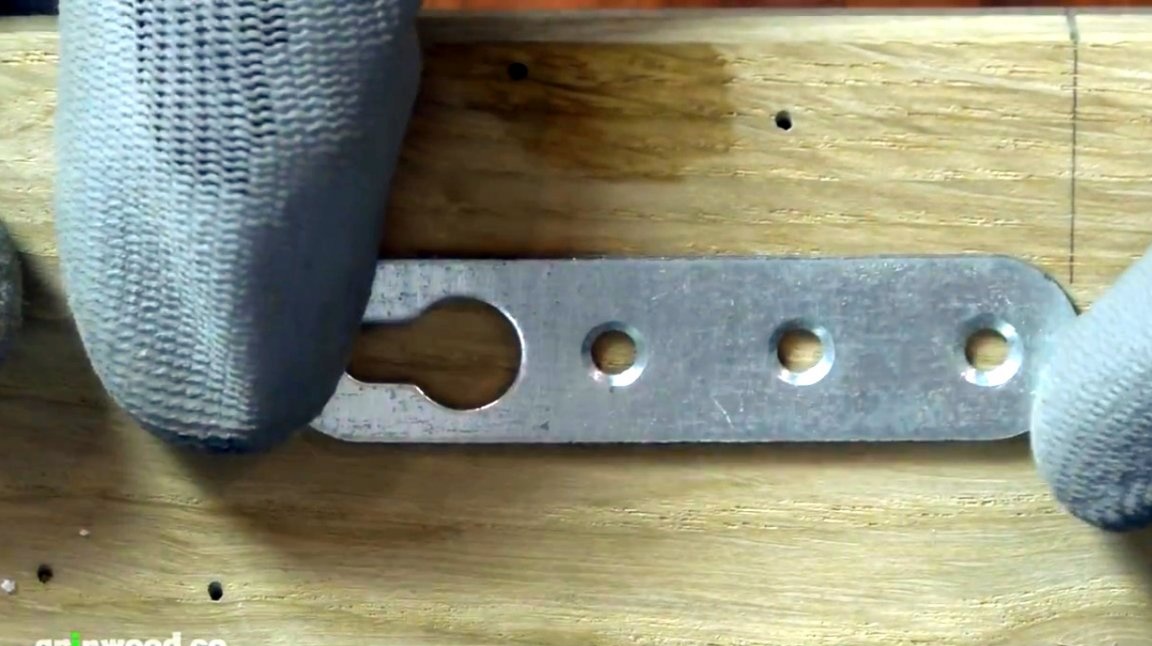
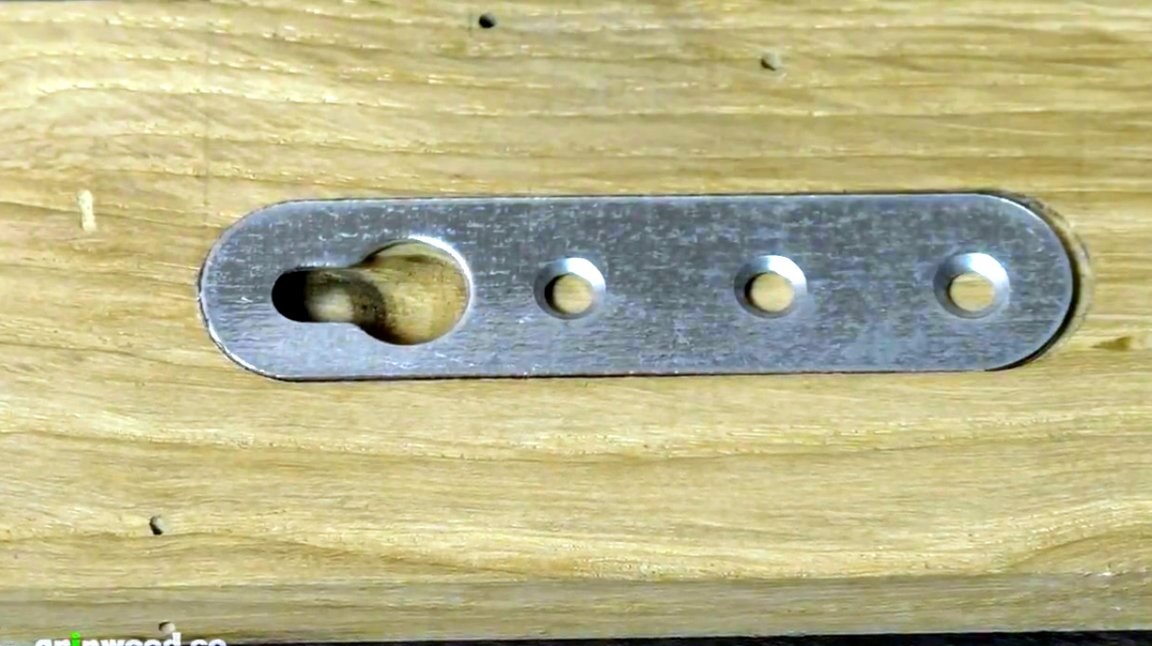
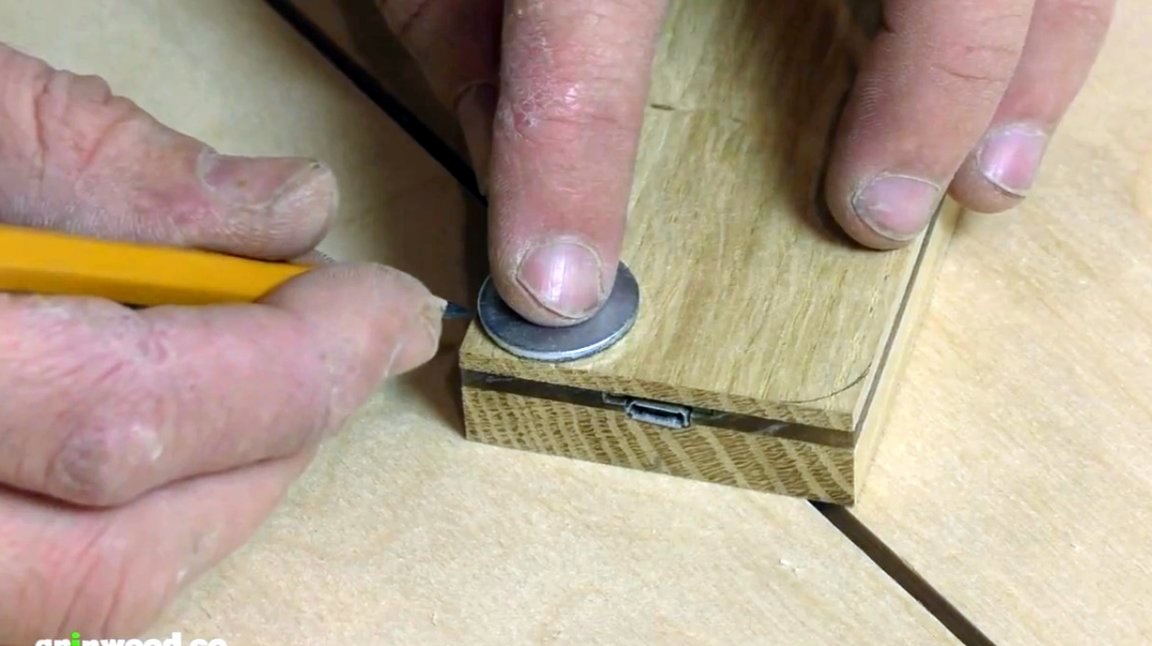
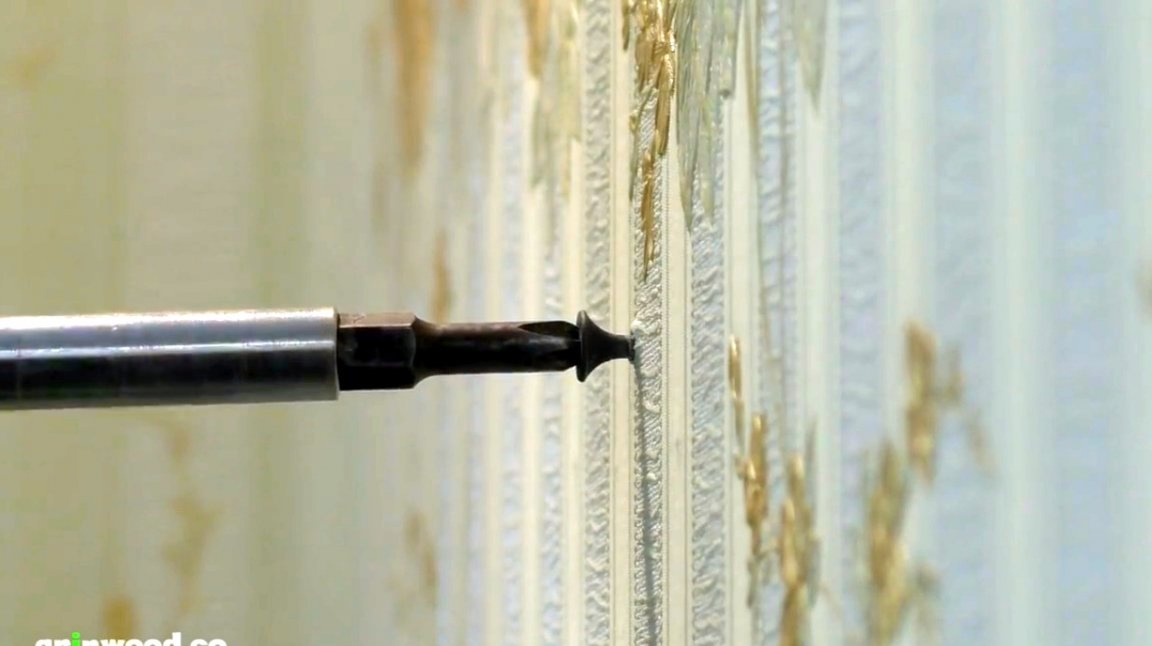
In the upper part of the lamp, the master mills the seat for the suspension.

For the qualitative formation of the light source itself in shape, he decides to cut another plank of plexiglass.

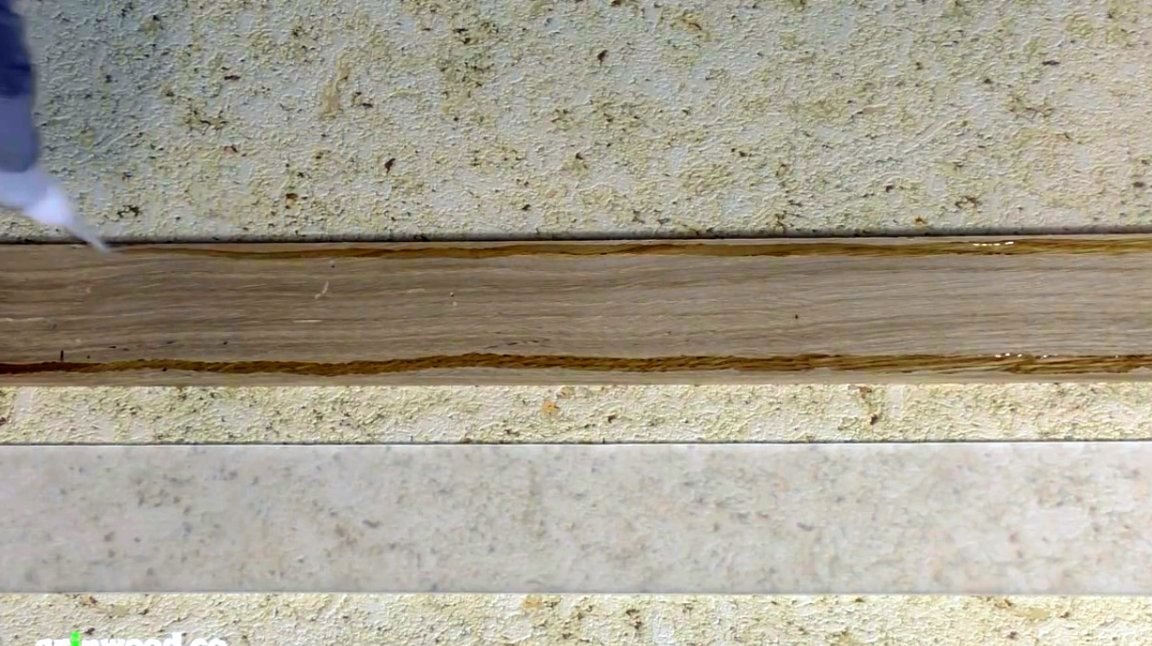
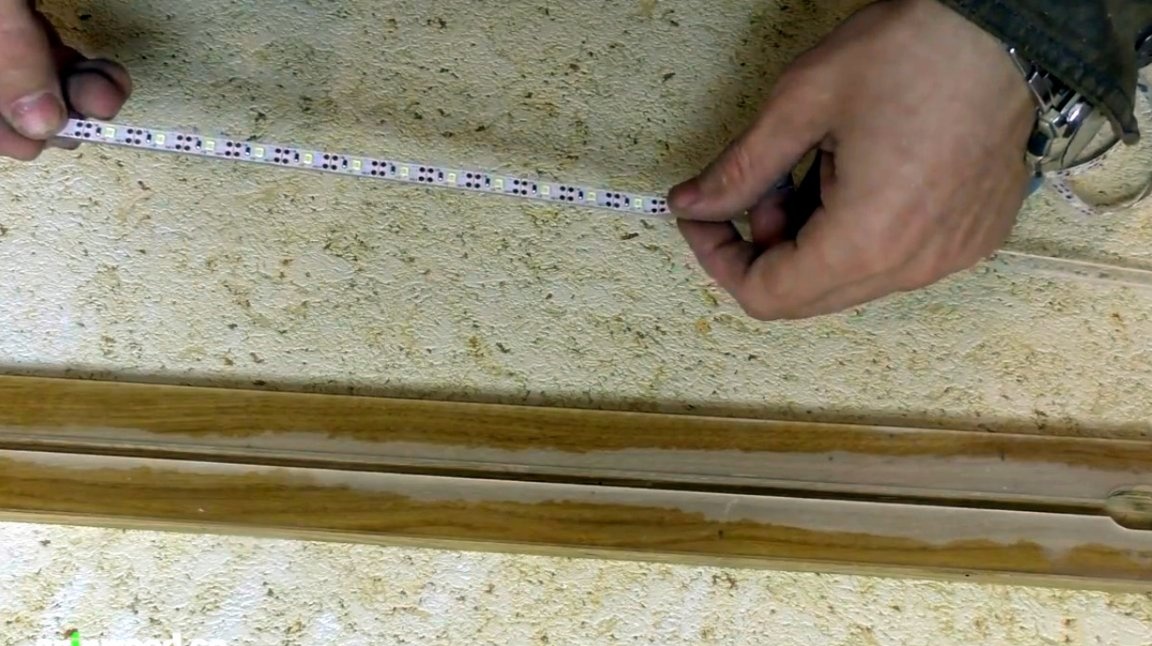
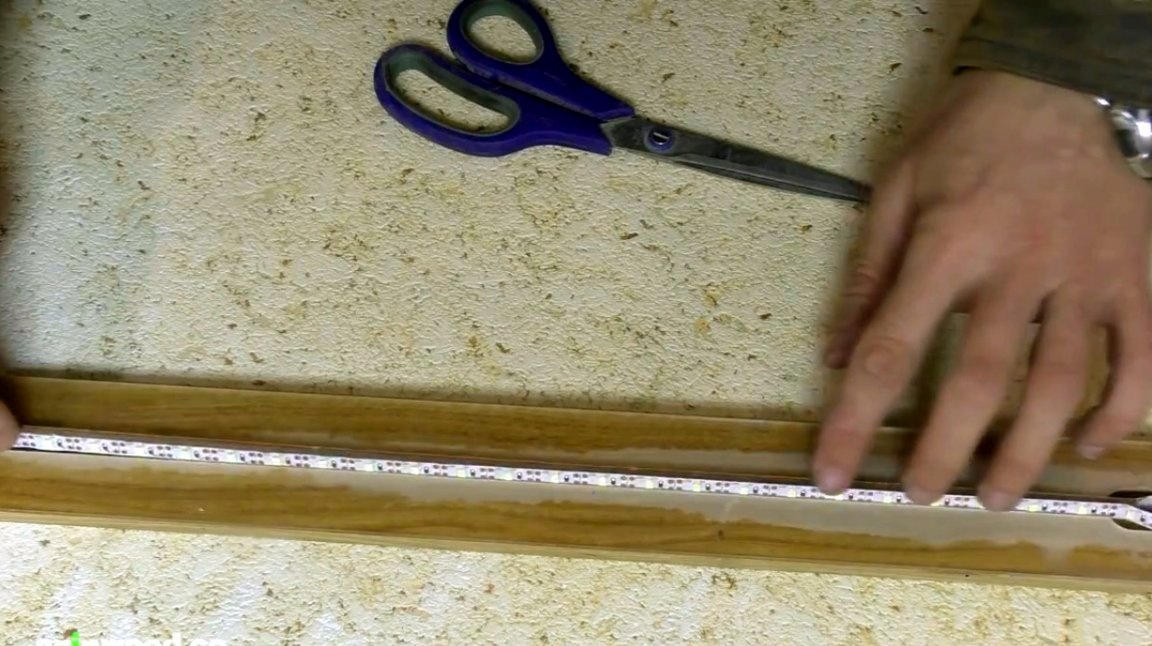
The author will use an ordinary LED strip of white light with a supply voltage of 5 V. It must be cut off in size strictly observing the marks on the tape.
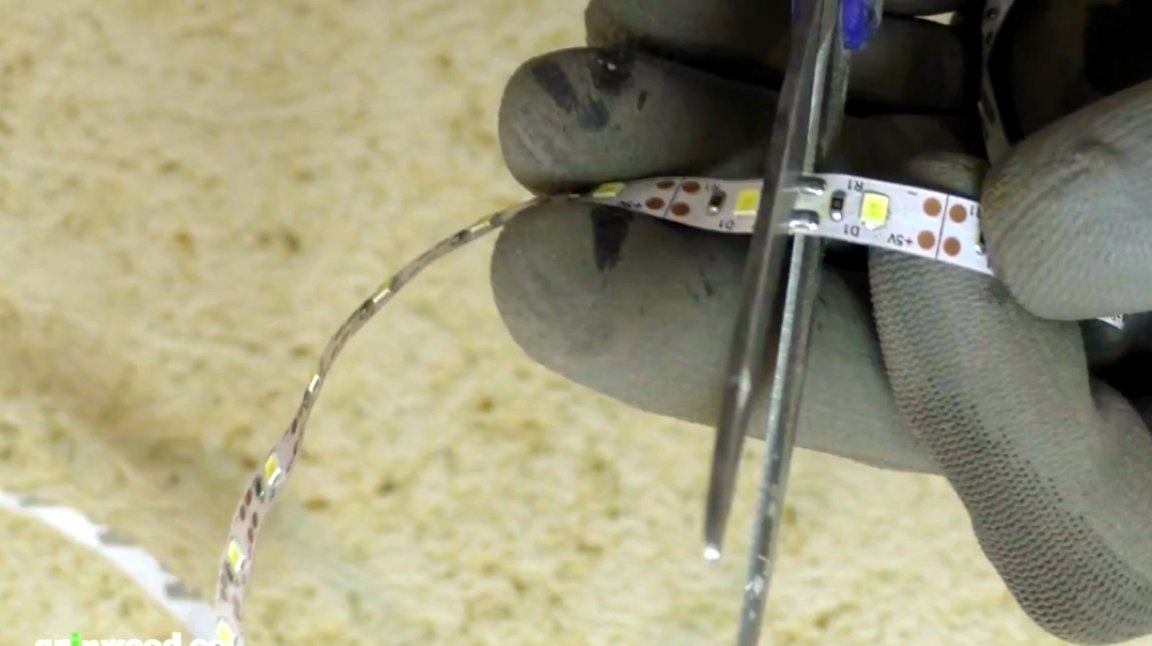
Then the whole tape is glued around the Plexiglas strip on both sides.
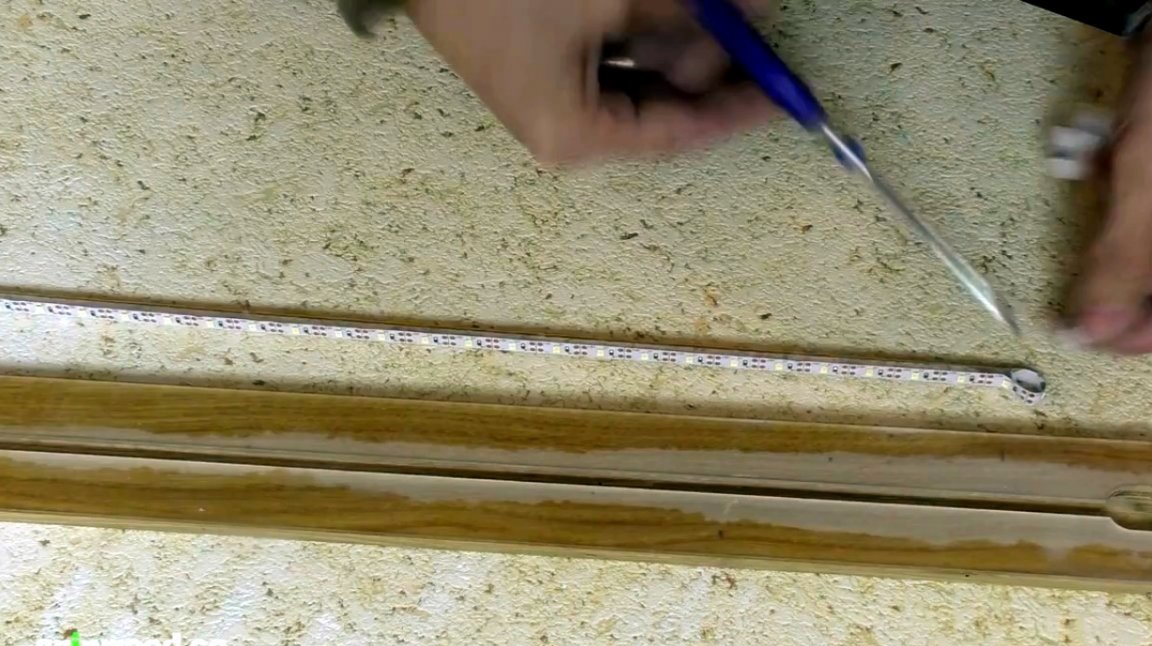
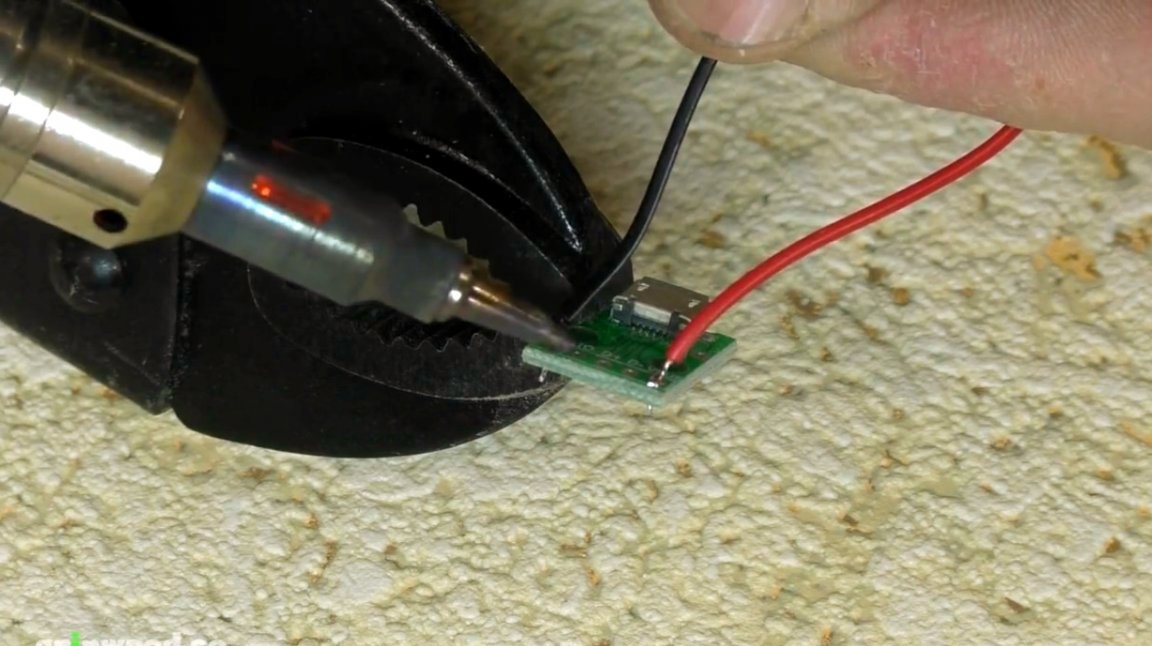
Actually, the tape contacts are soldered to a special adapter on microUSB.
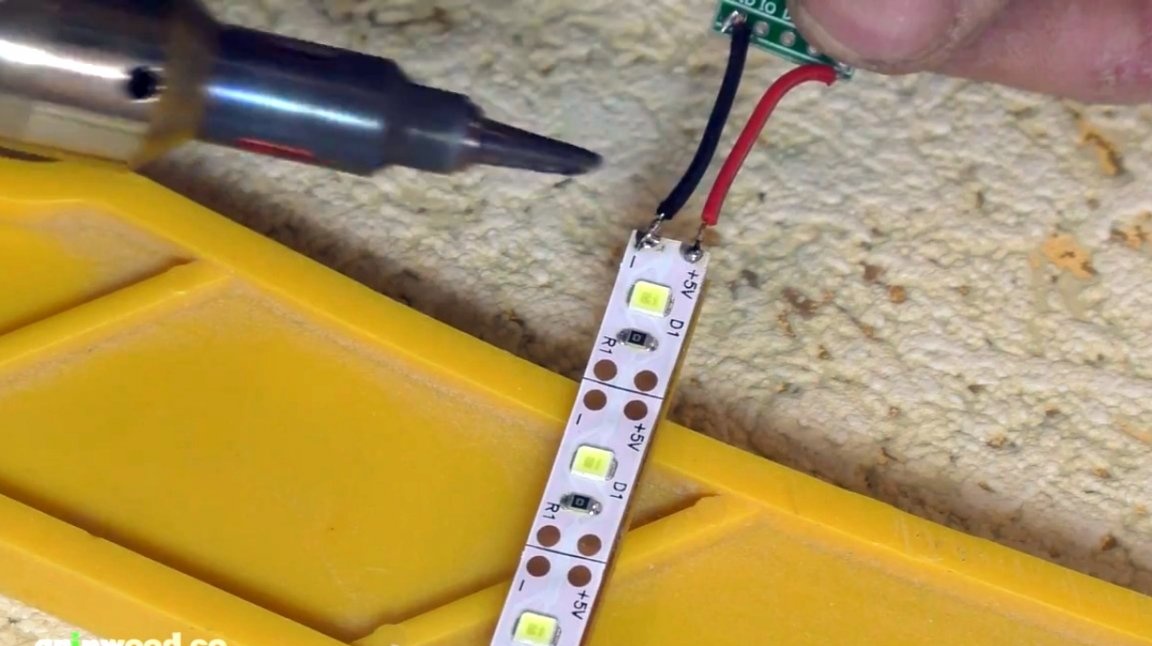
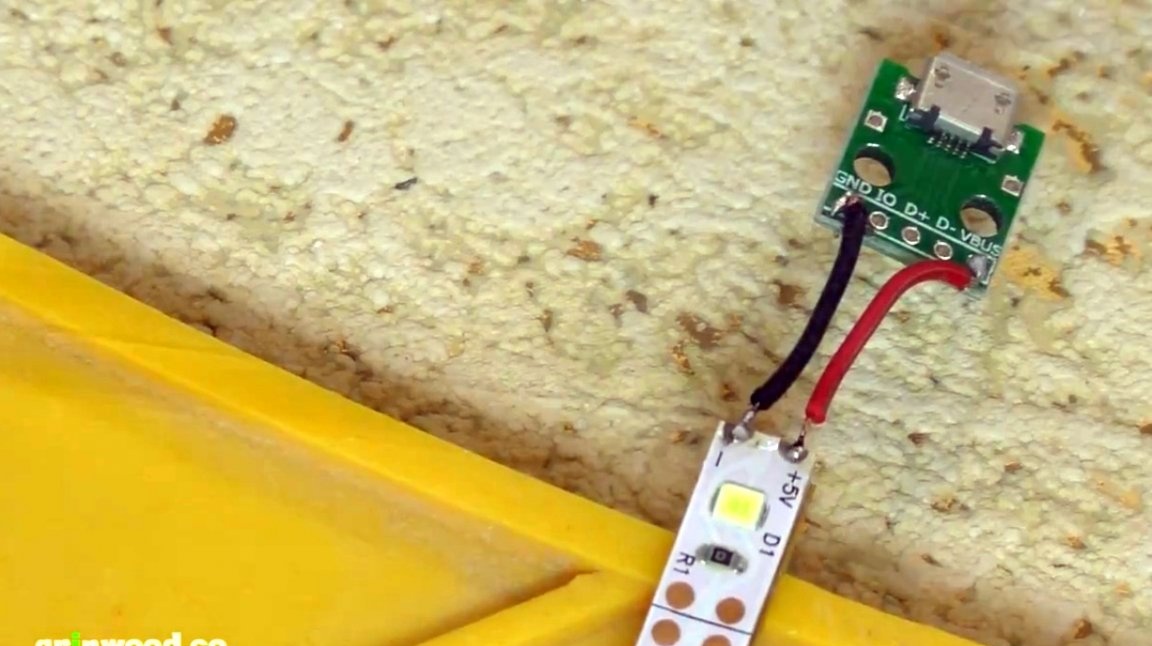
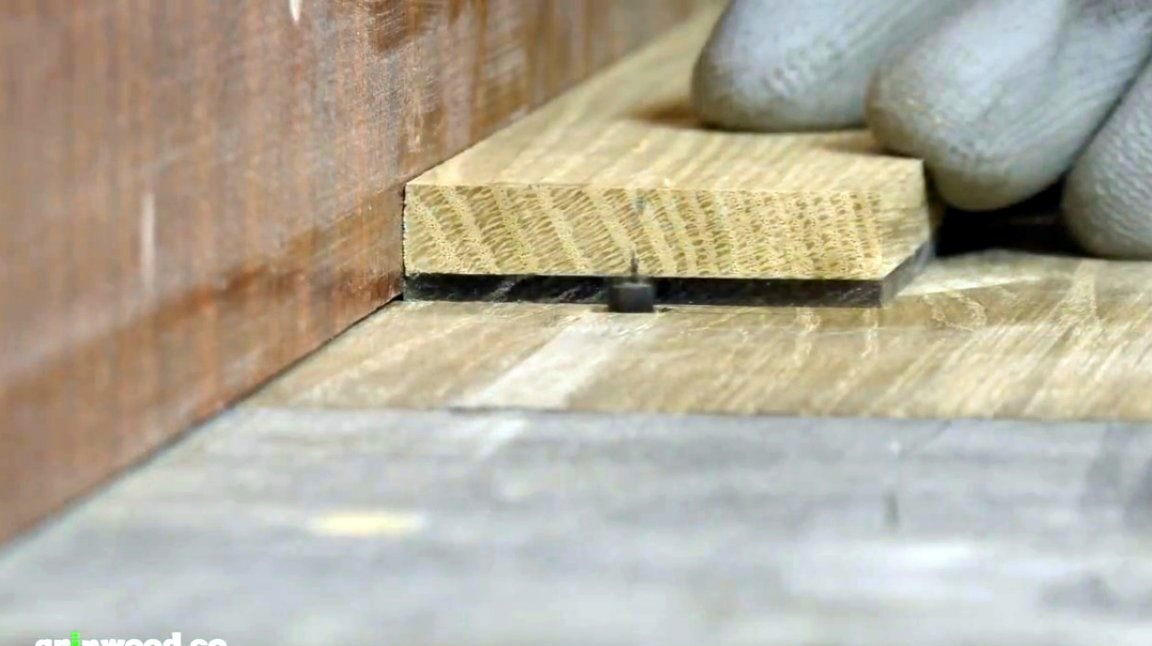
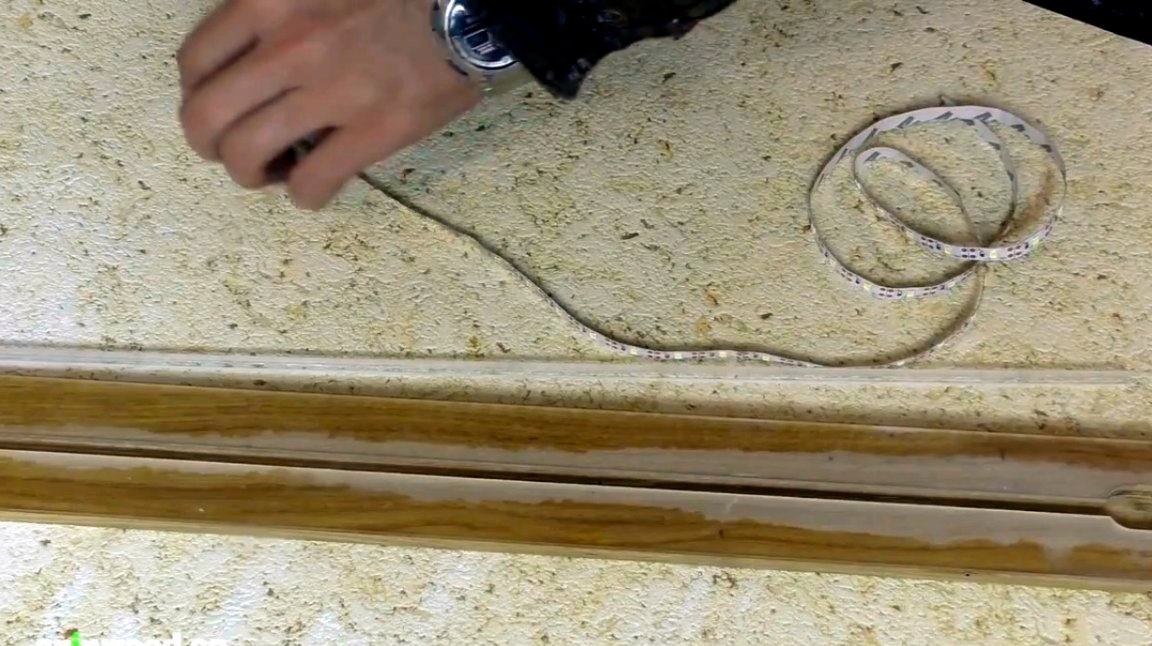
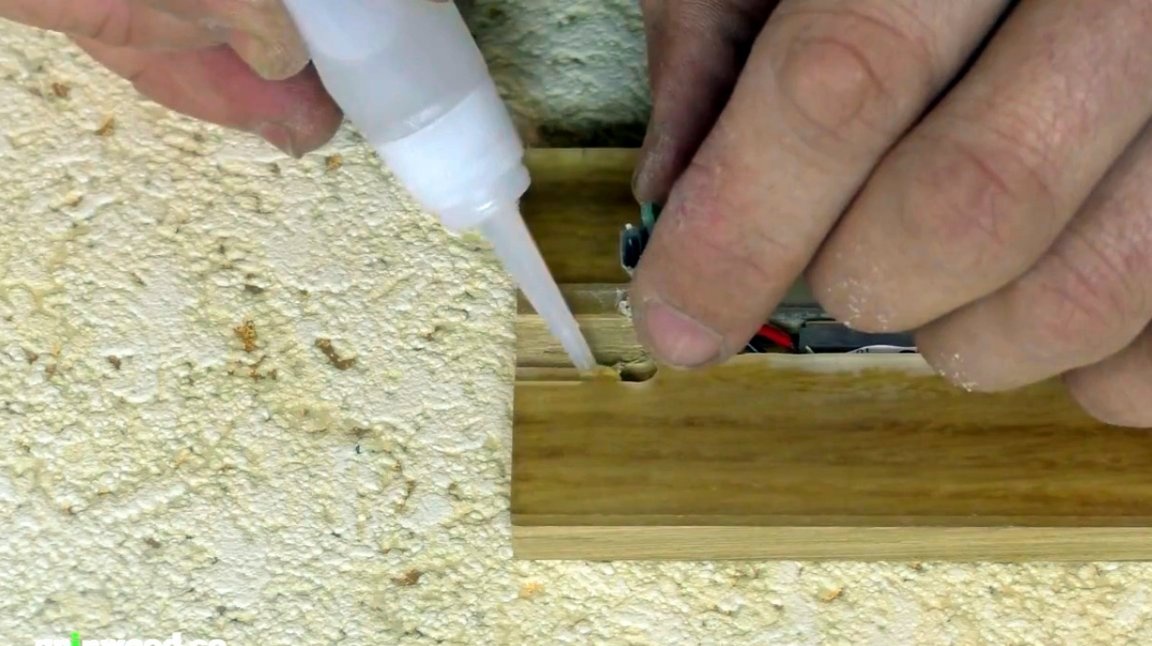
The strap with tape is fixed in the groove with a second glue. The power connector is also glued.
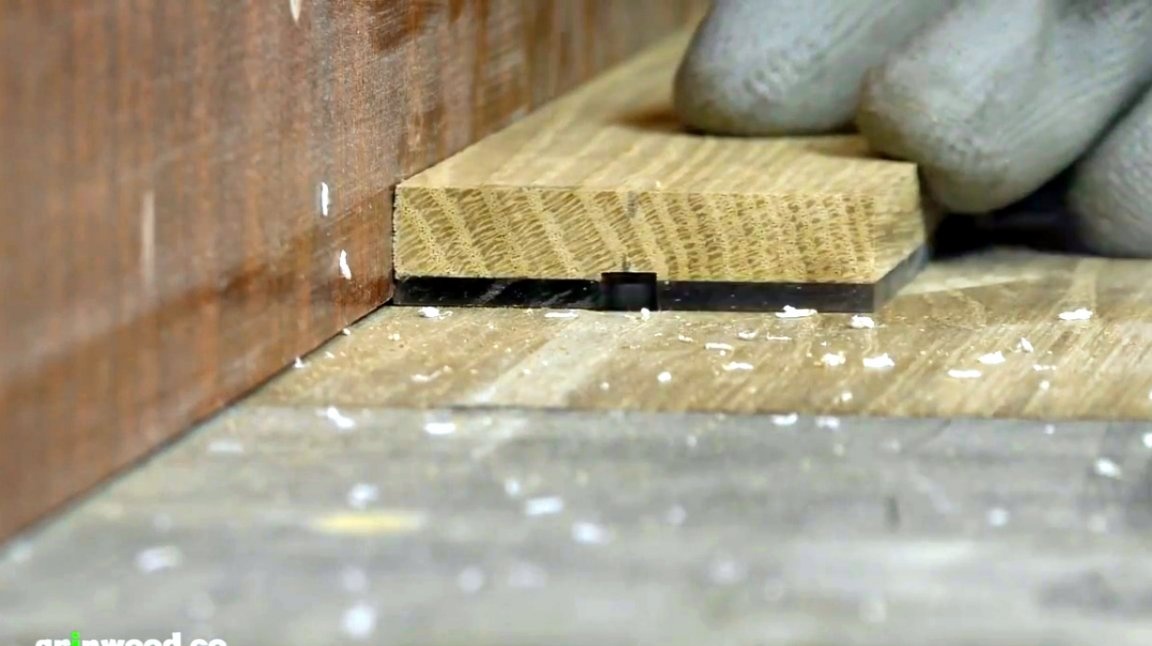
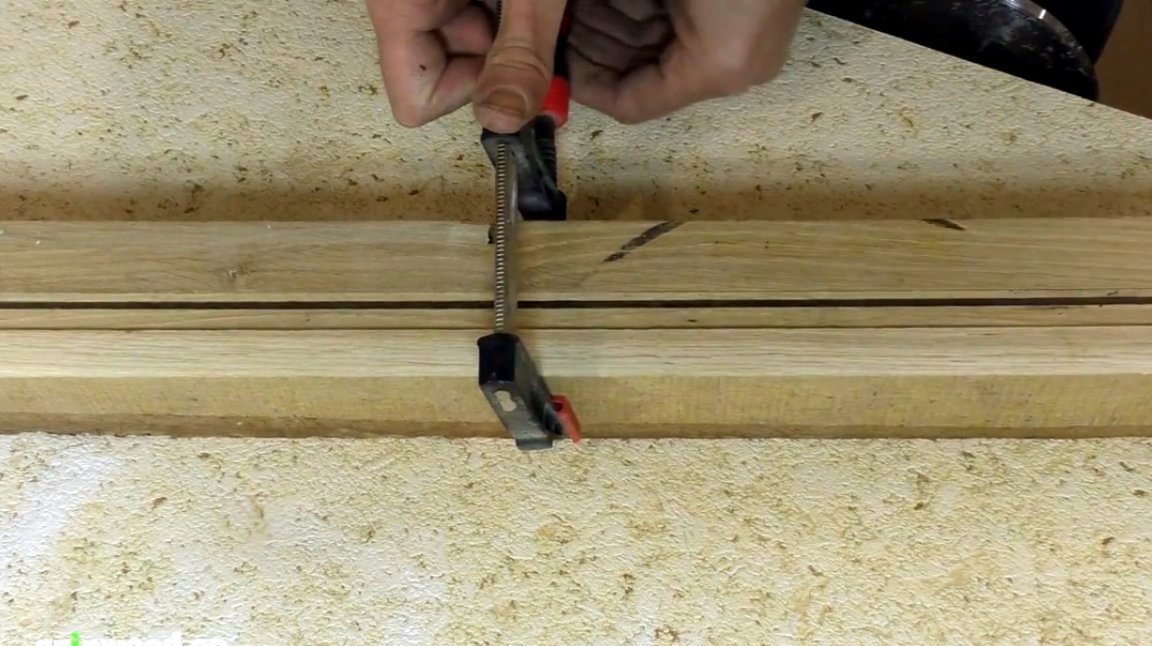
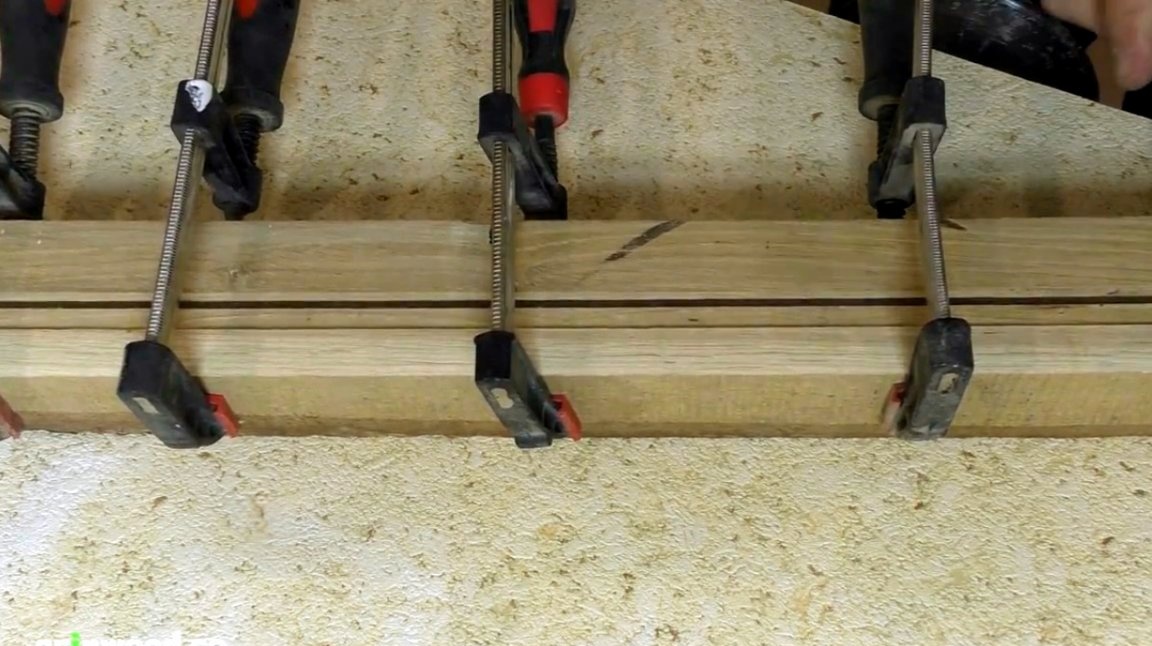
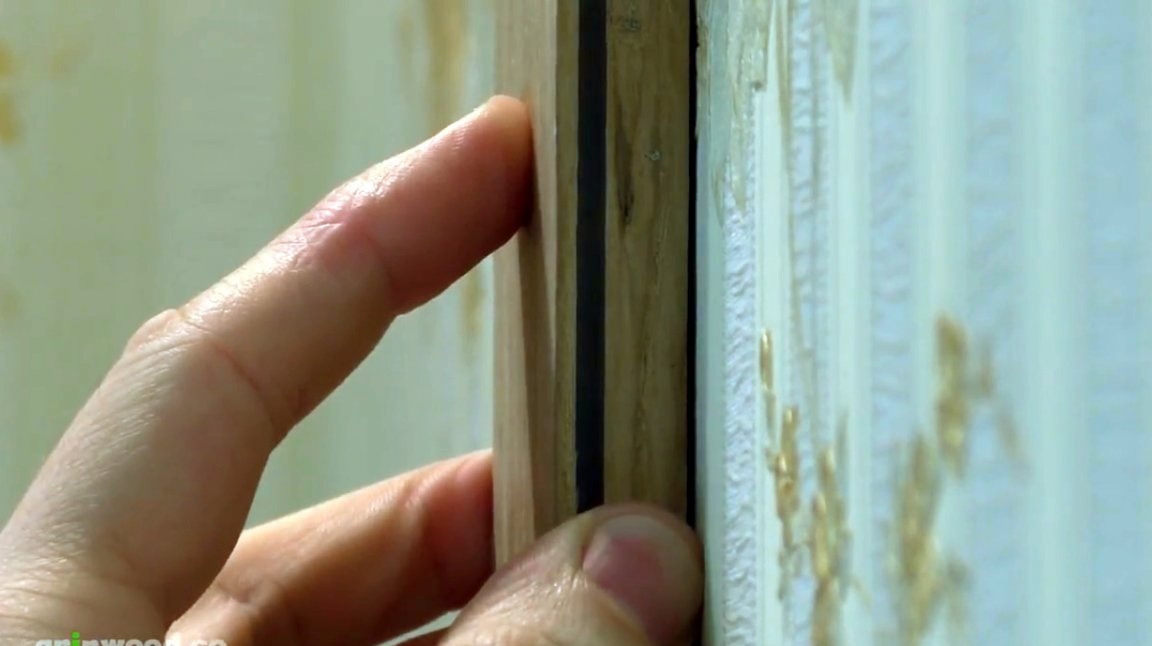
It's time to stick the second part of this lamp. This is the remaining thin bar.

After gluing, it is desirable to clamp the entire structure between a pair of boards with clamps.
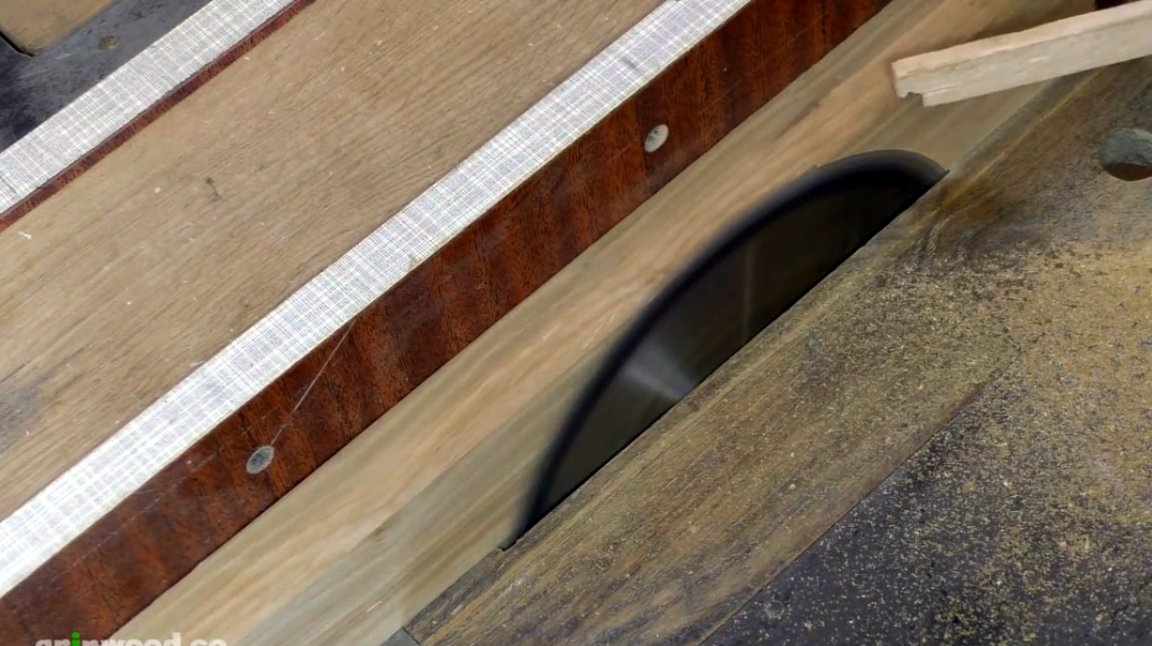
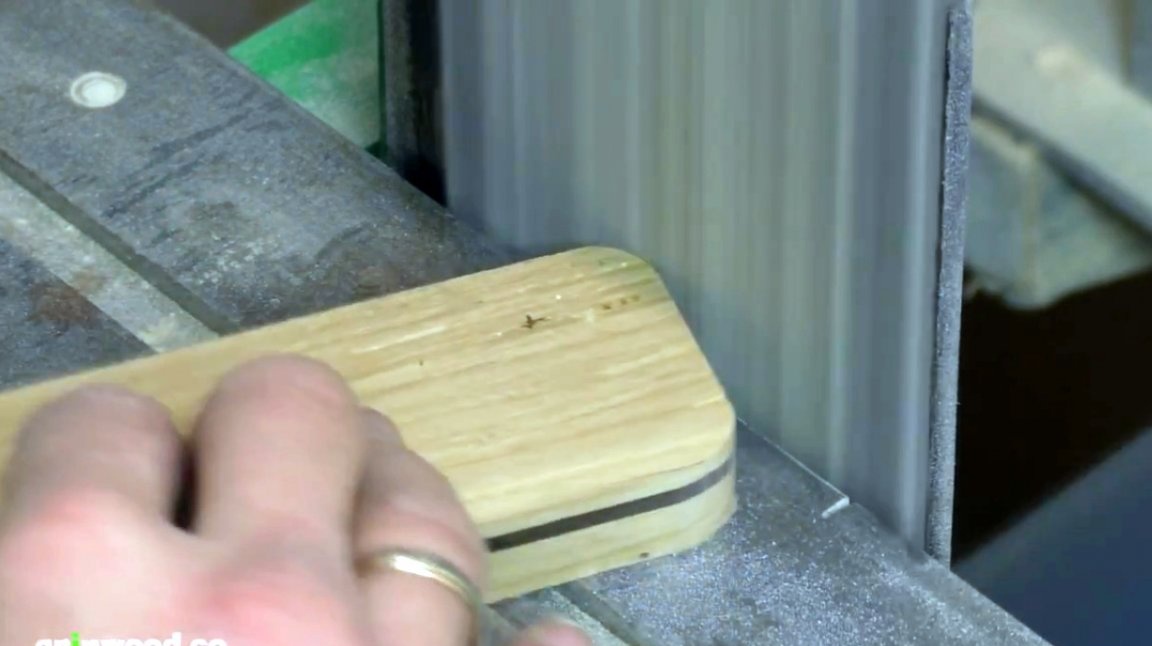
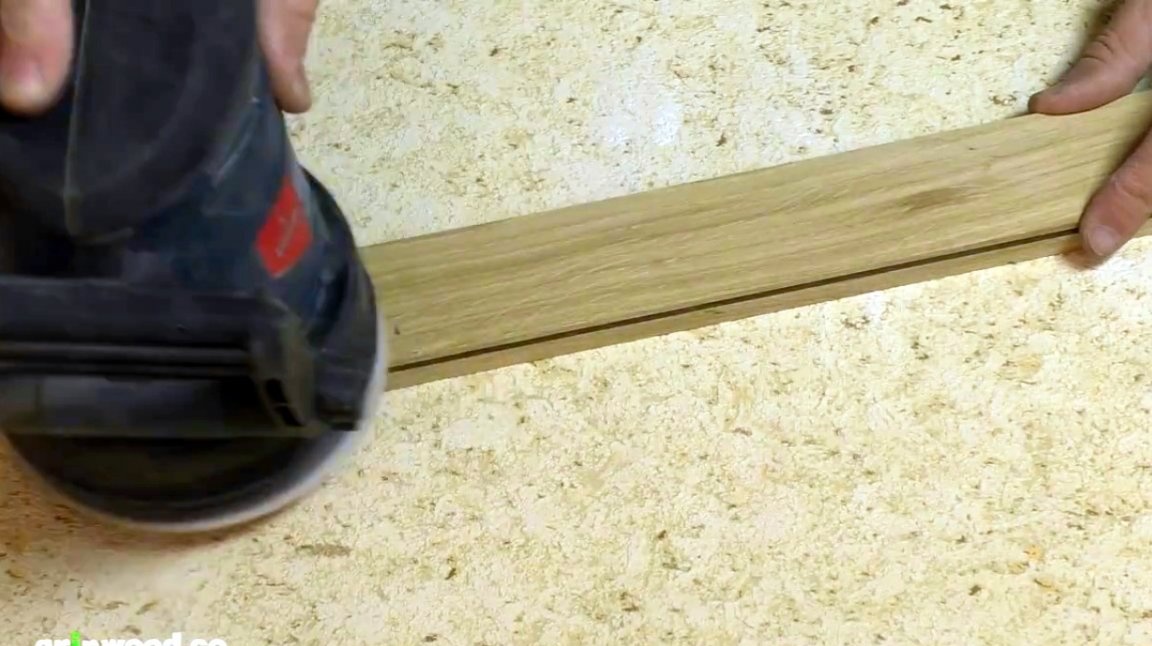
So, the glue has dried, now the edges of the product are cut with a circular saw.

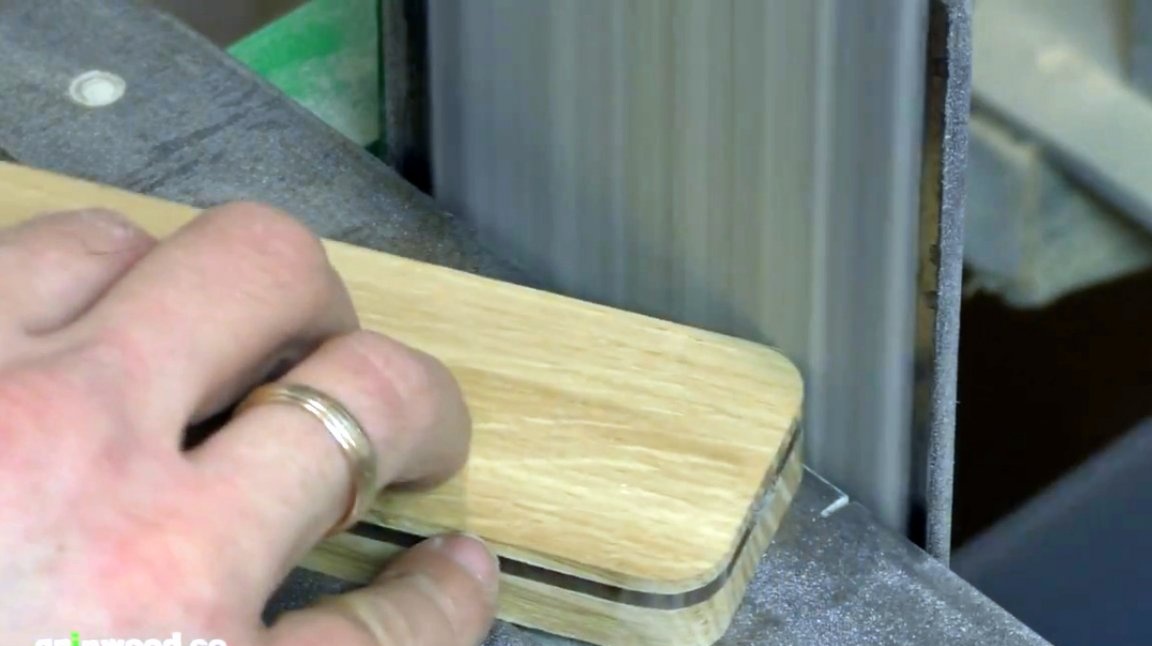
Radii are marked on the corners of the luminaire, and grind on a belt sander.
All possible defects and chips formed can easily be masked with a mixture of PVA glue and fine sawdust.
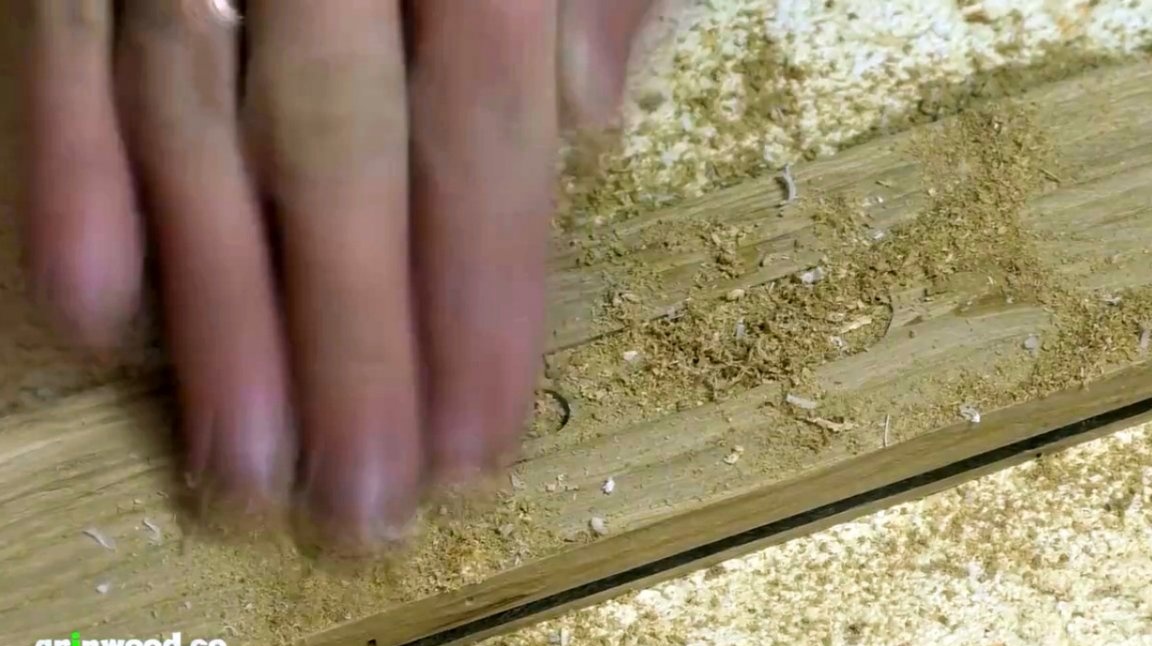
After the glue dries, all faces and surfaces of the product are polished with an orbital machine.

It remains only to impregnate the surface with a stain, and then cover it with several layers of acrylic varnish.
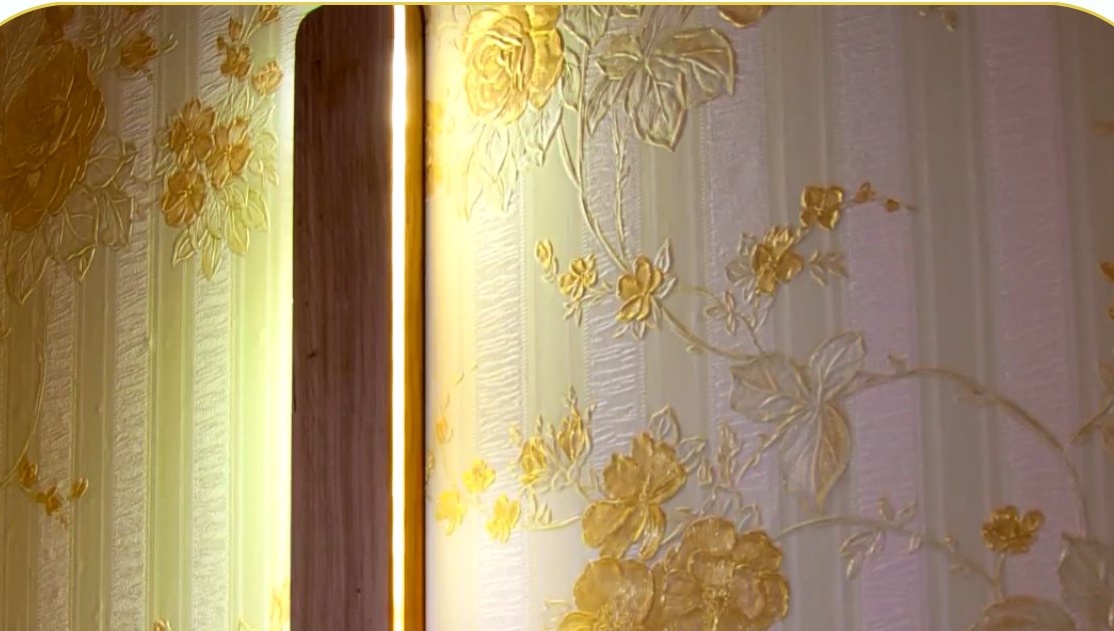
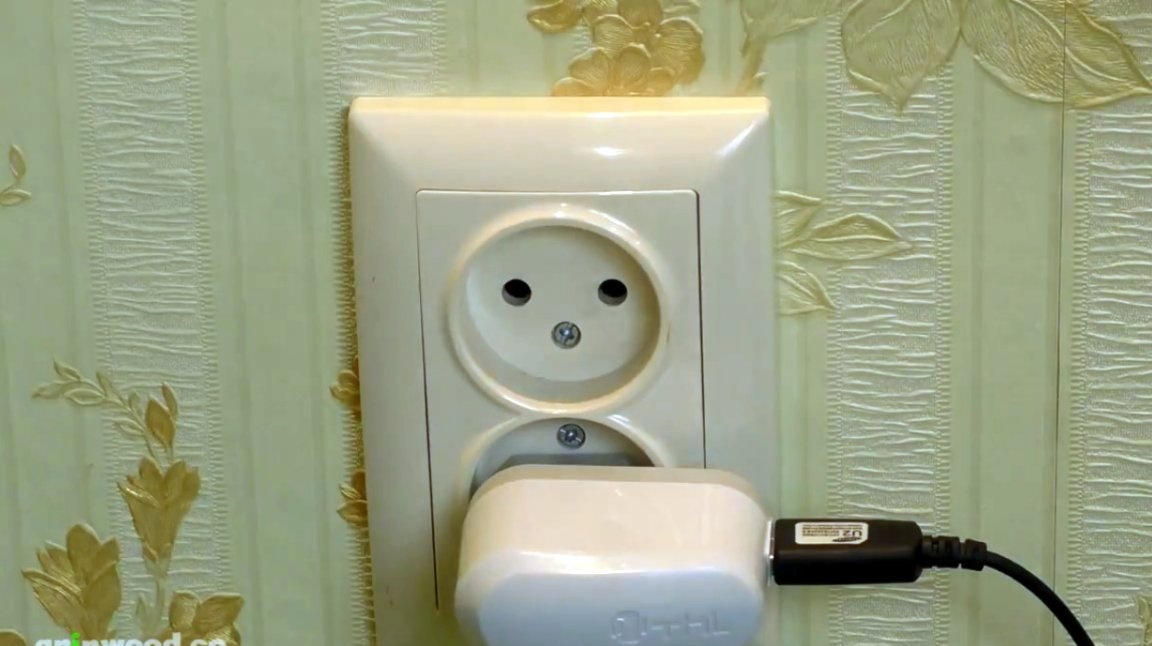
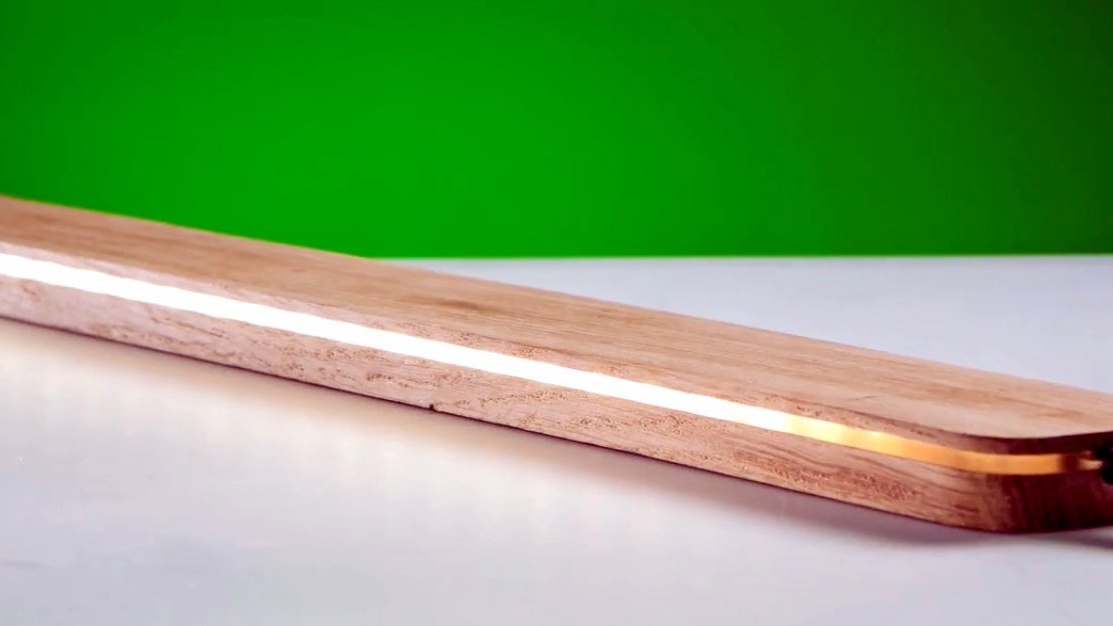
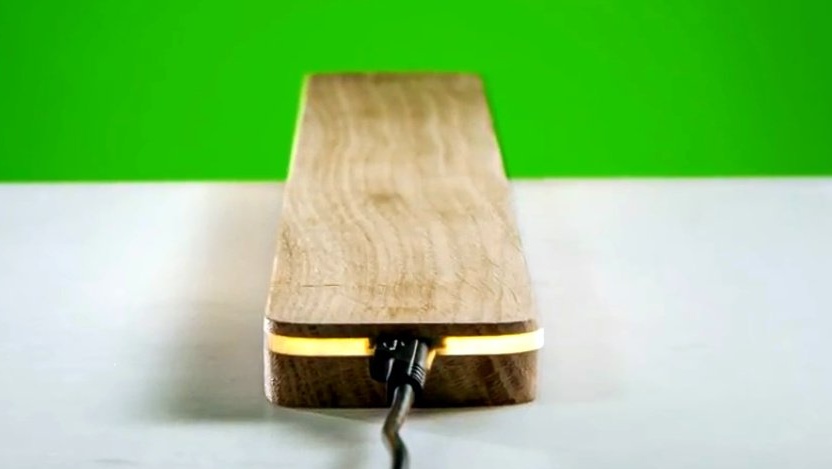
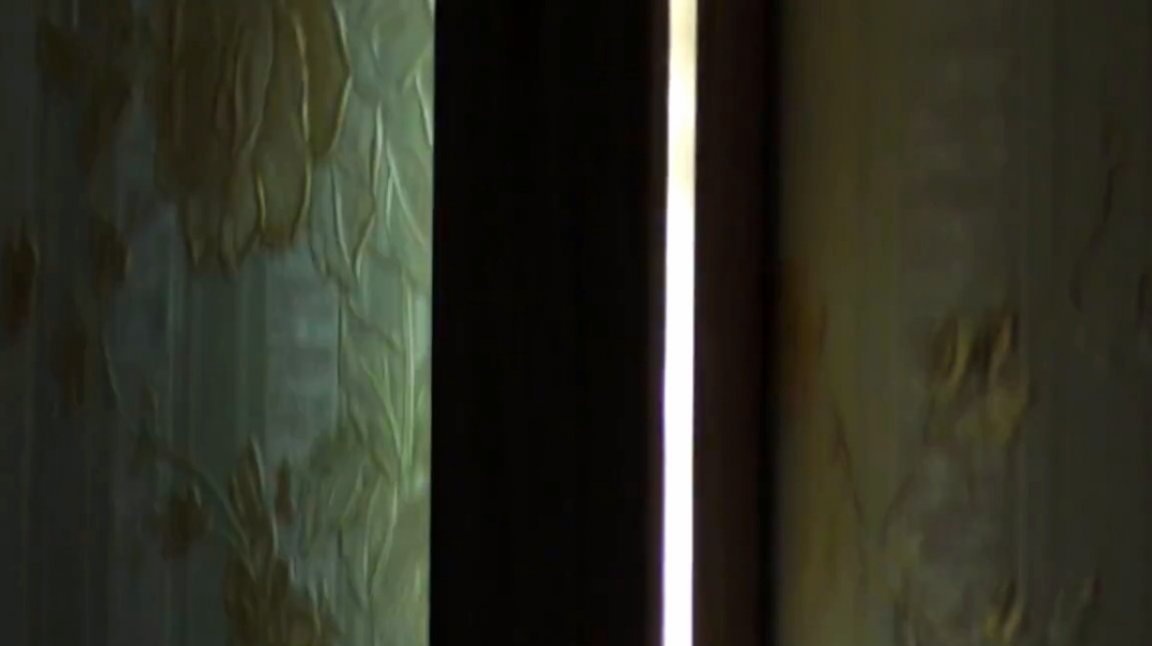
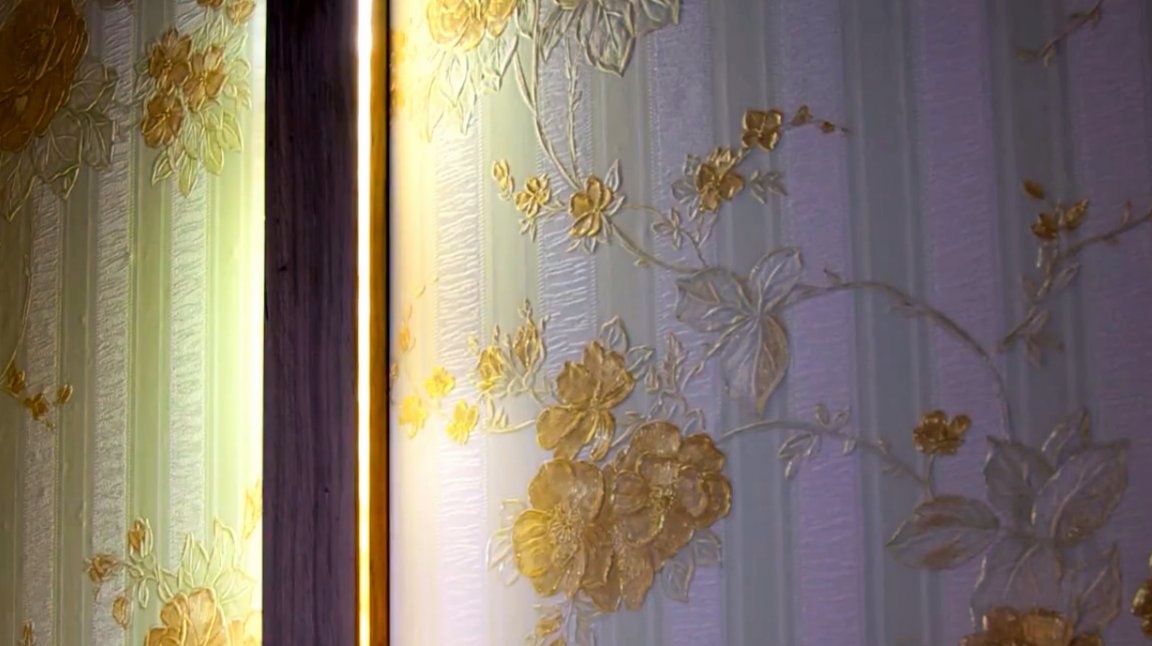
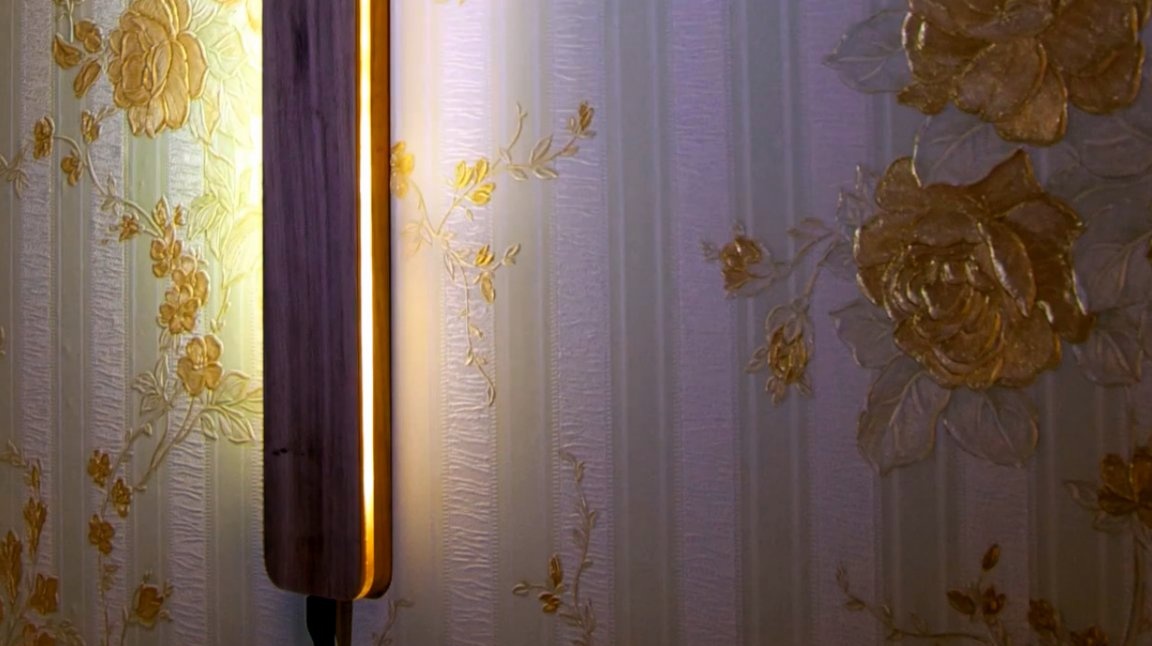
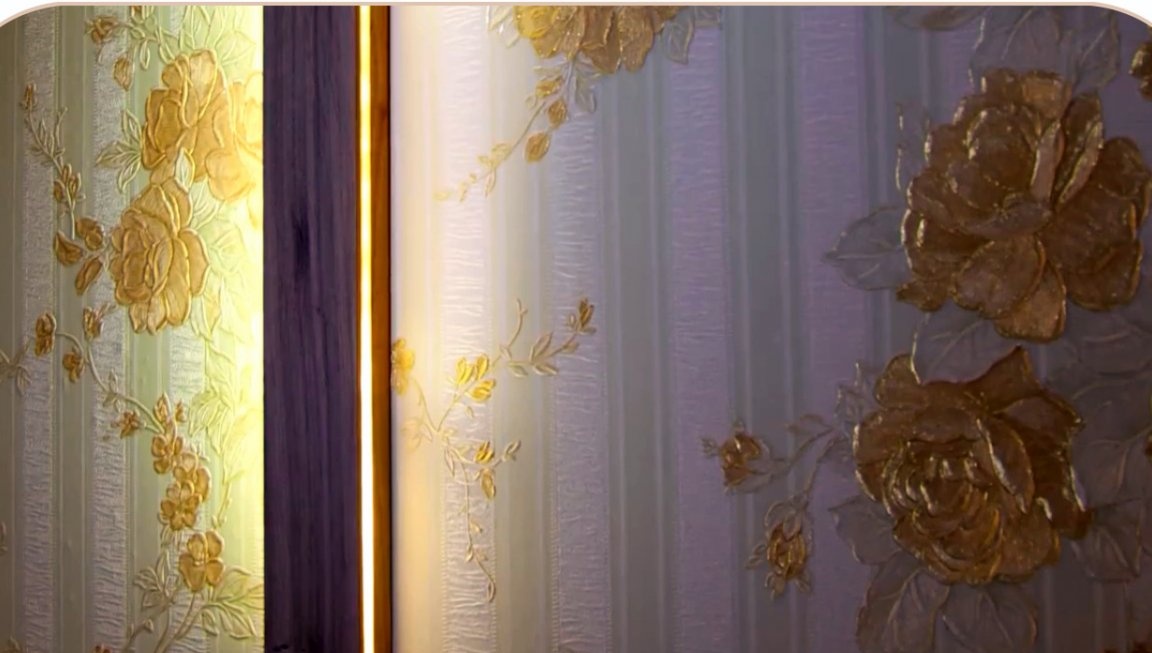
Everything is ready, you can connect the lamp to a power source, and hang it on the wall.


It turns out here is such a compact lamp, the main light from which will spread to the sides.
Here's an interesting product from the master. Of course, instead of the usual LED strip, you can use the address, but about the use of such tapes was described in a recent article. When using the controllers recommended in it, it is possible to fully control the lighting using a smartphone.
I thank the author for the simple but interesting idea of creating a background lamp!
All good mood, good luck, and interesting ideas!
Author video can be found here.