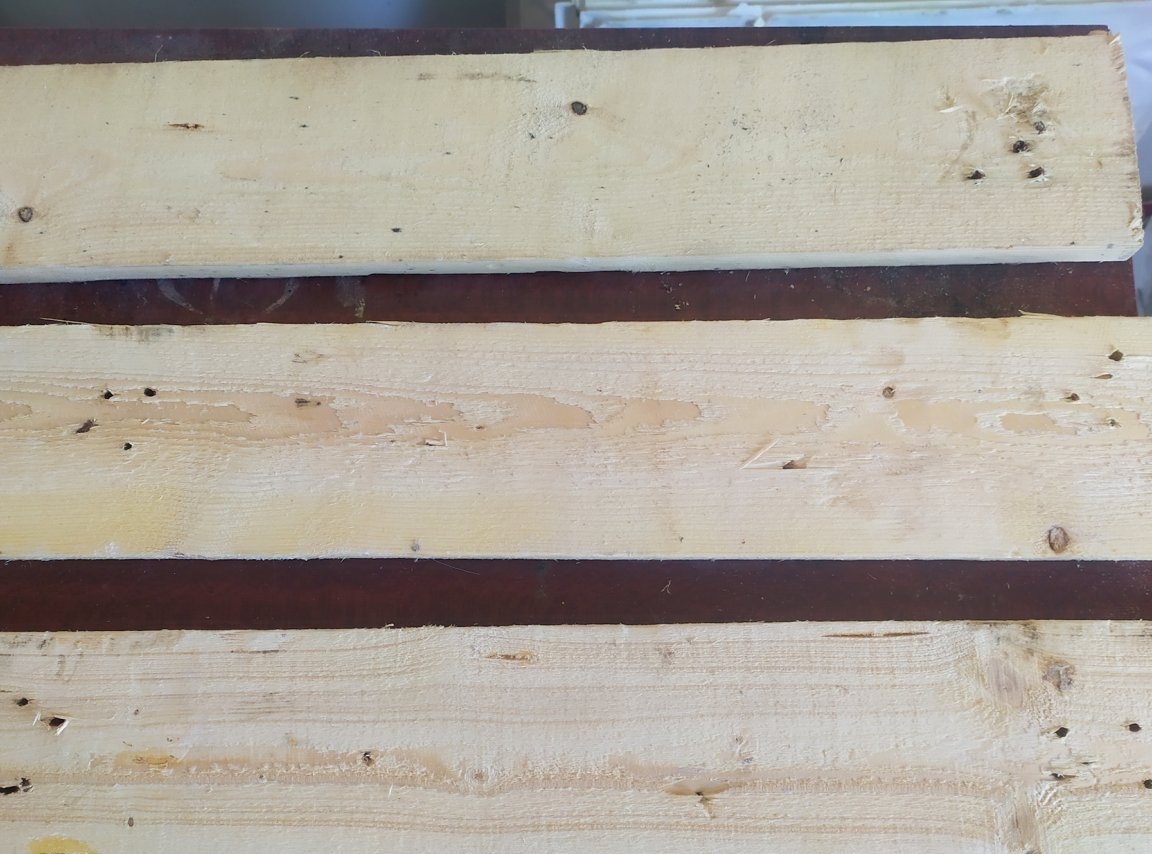
A tray is a very useful thing in the house, especially if you like coffee in bed or for a meal near the computer. Also, with its help, you can greatly facilitate the flow of tea to guests. Anyway, someday, come in handy. I will do it from the boards that remained from the pallet. Therefore, you can not be surprised why there are so many holes from nails. In general, you can make from any old boards, only you need to handle them well.
Tools and materials:
- Boards
- Electric jigsaw
- Sander
- Knife country paper
- Self-tapping screws
- drill
- Roulette
- A pen
- Stain
- Putty for wood
- Palette knife or small spatula
- Acrylic varnish
- brush
- Strap for pens
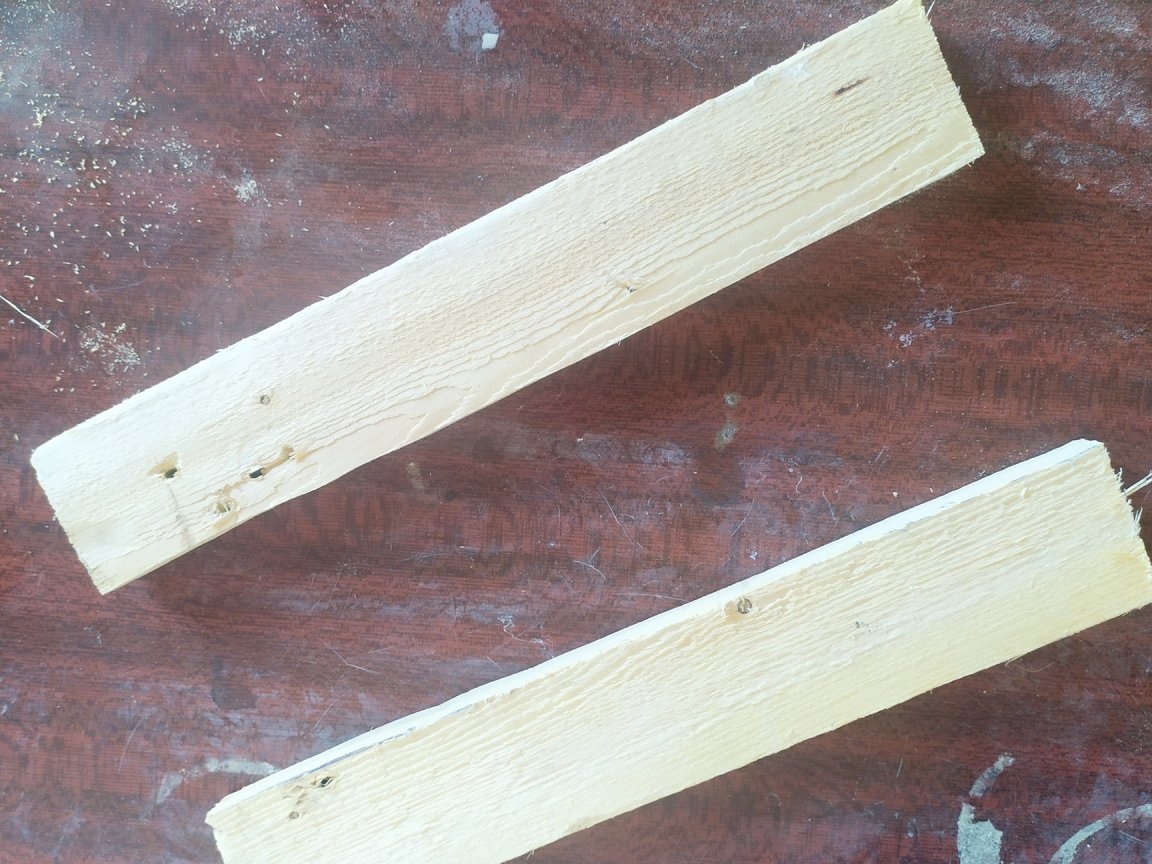
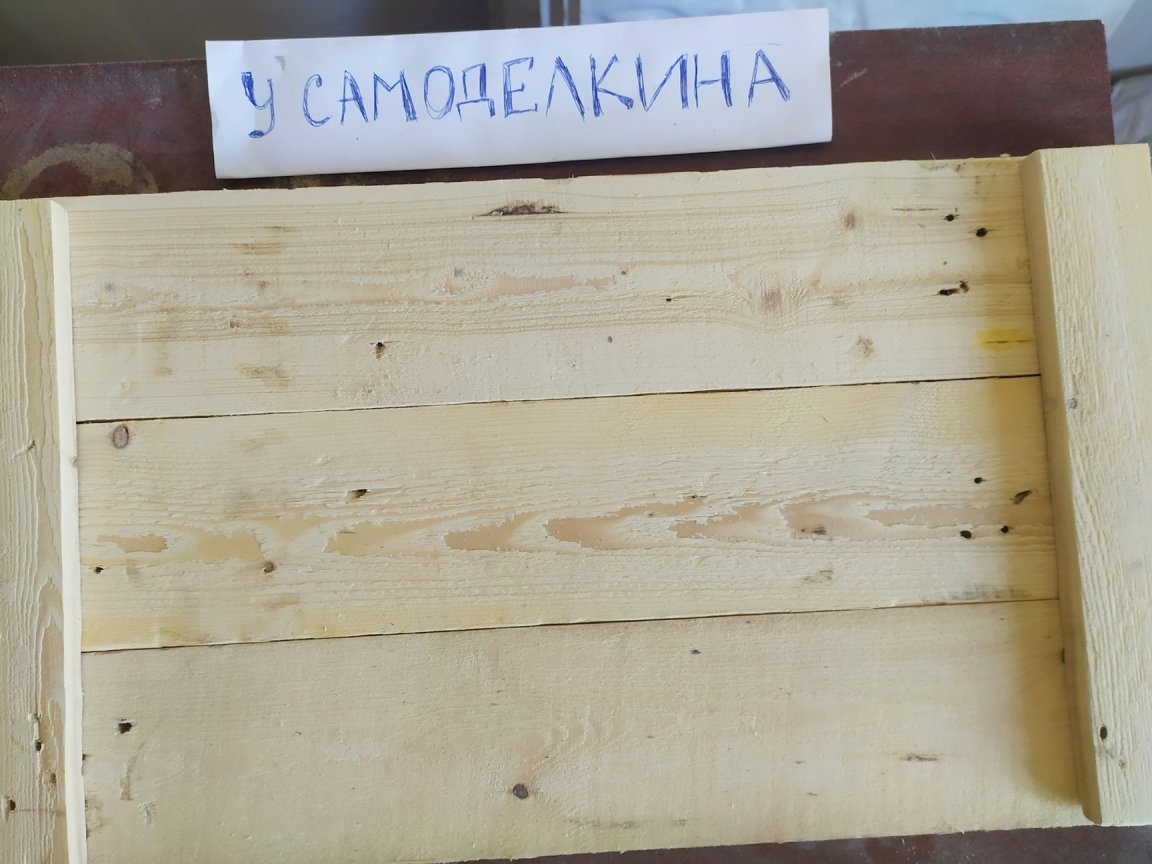
To begin with, we need to determine the size of the future tray. My boards are 100mm wide, for the width of the tray I decided to combine three pieces. That is, the width of the tray will be 300mm.
You can choose any length, but it is better not too small, otherwise, except coffee, nothing will fit there. I got a length of 550 mm.
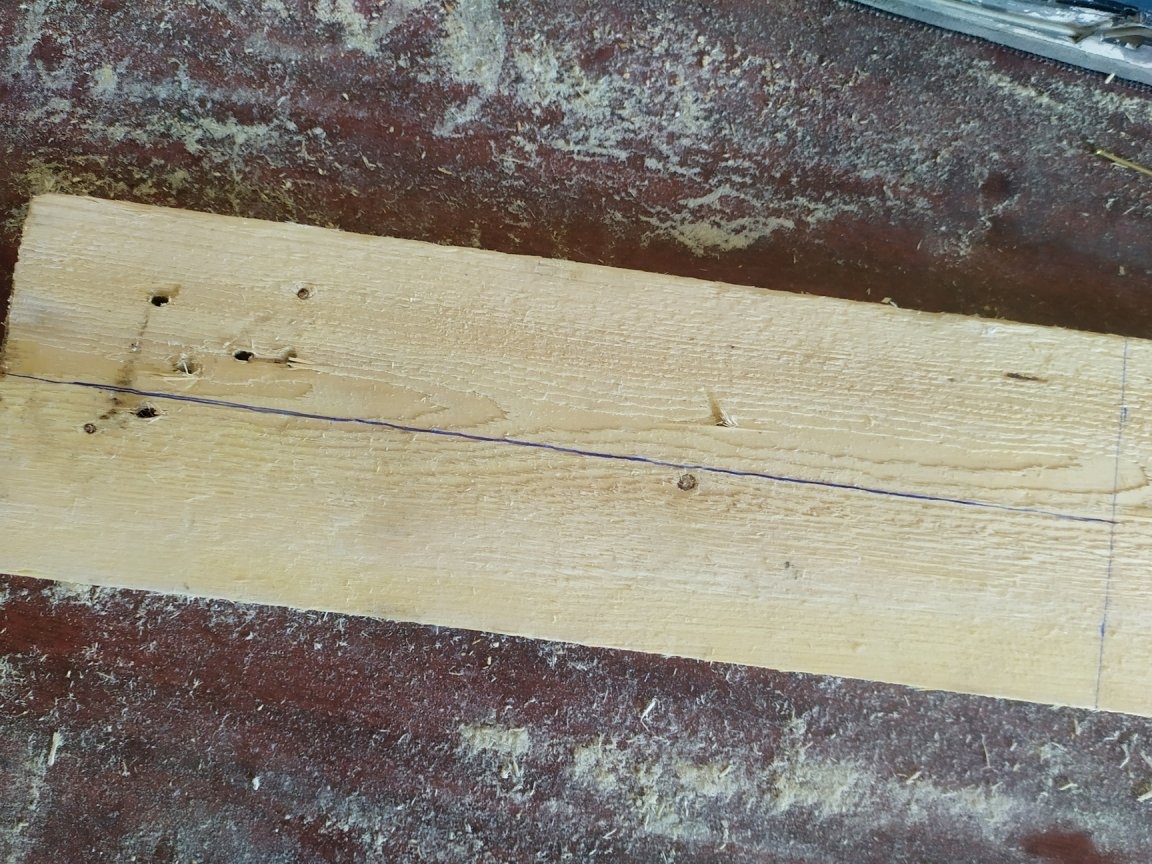
Now measure the desired length on the boards and mark with a pen or pencil.
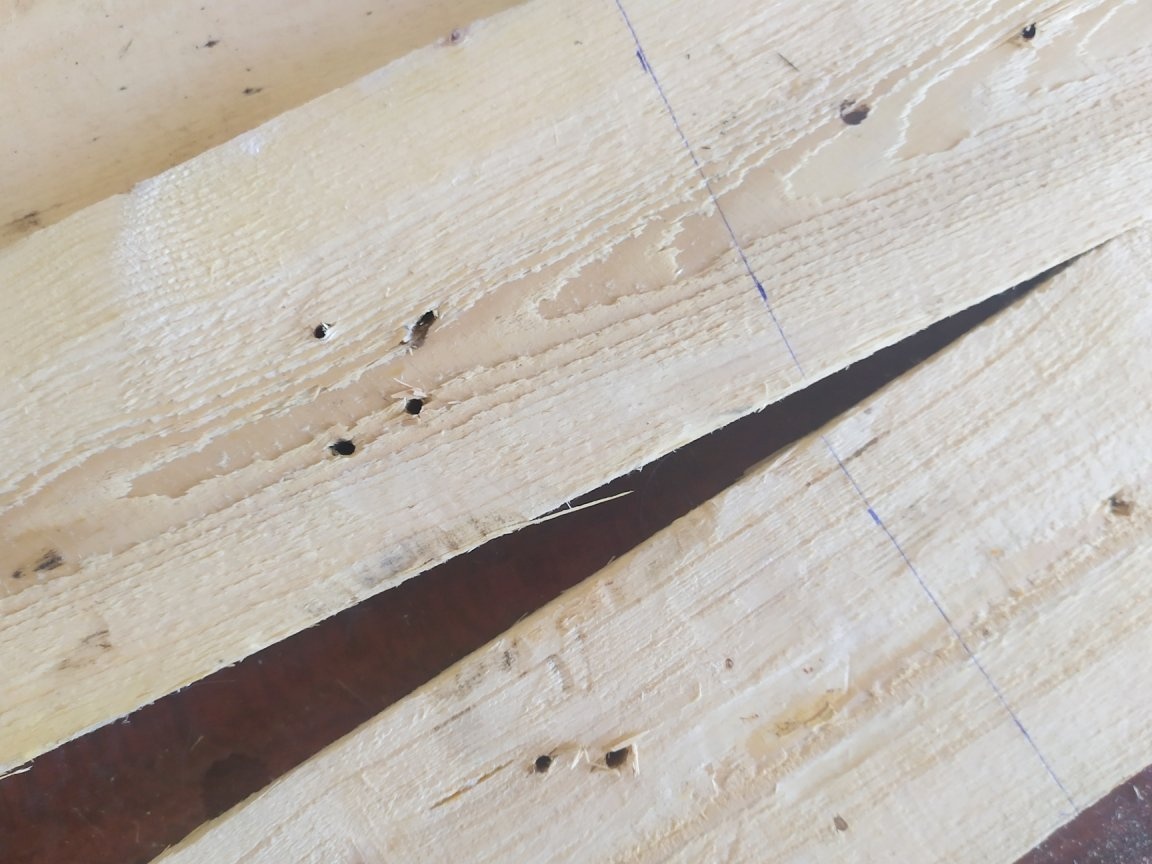
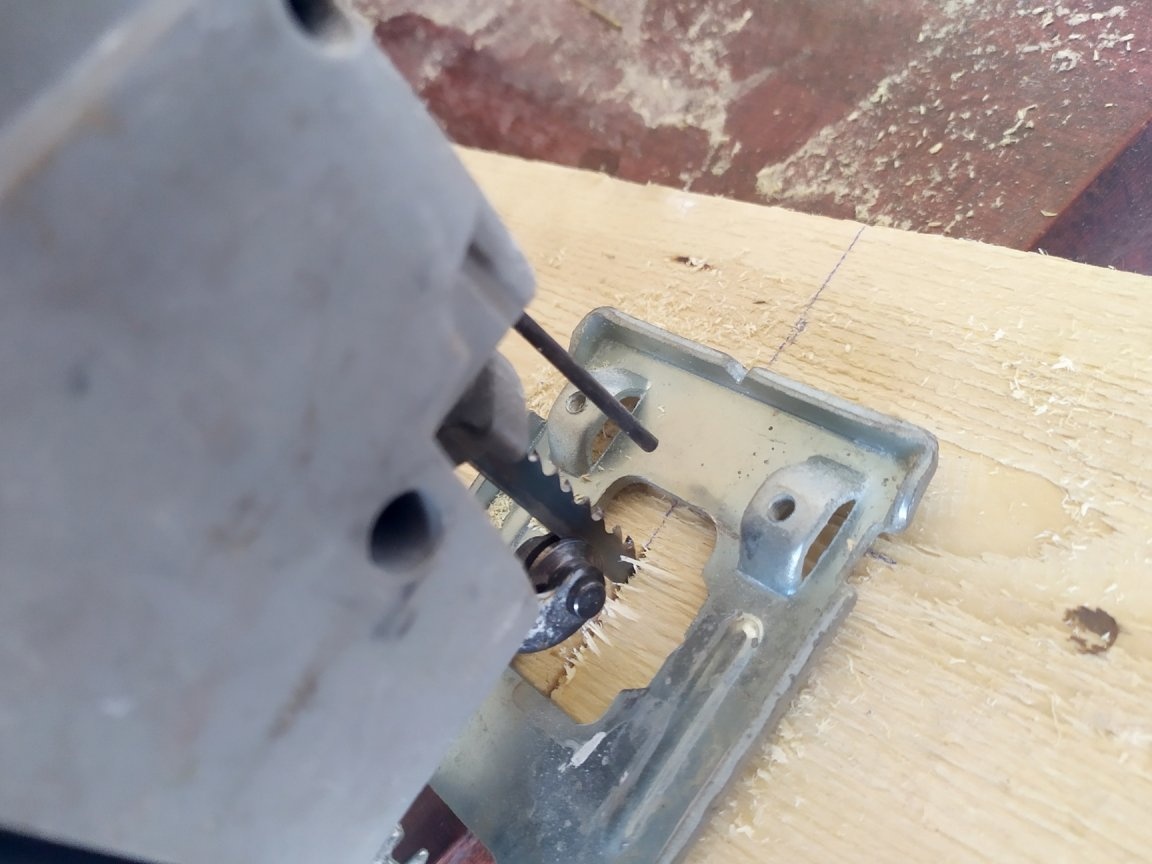
When the mark is made, cut off the desired dimensions with a jigsaw. It is advisable to do this without chips, depending on the nail file.
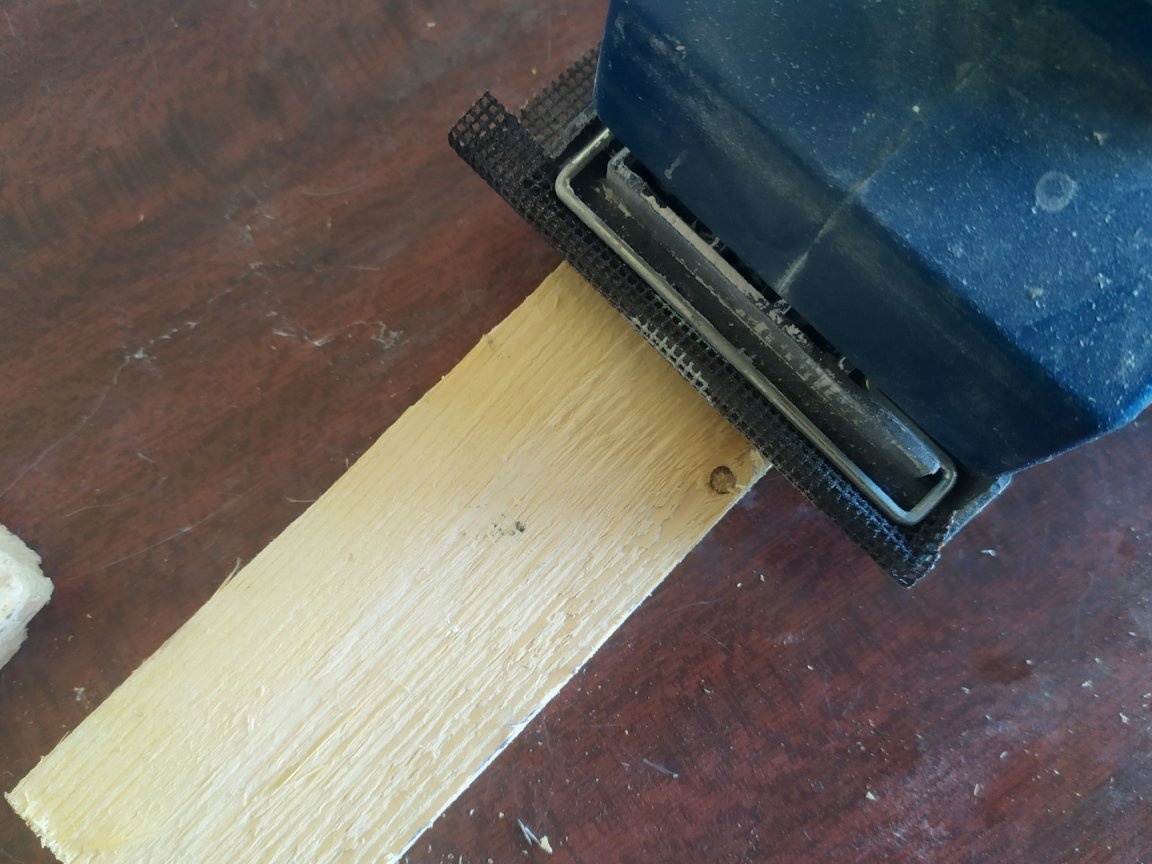
When the necessary three parts are cut out, they need to be sanded. It’s hard to do it with your hands, it’s better with a grinding machine.
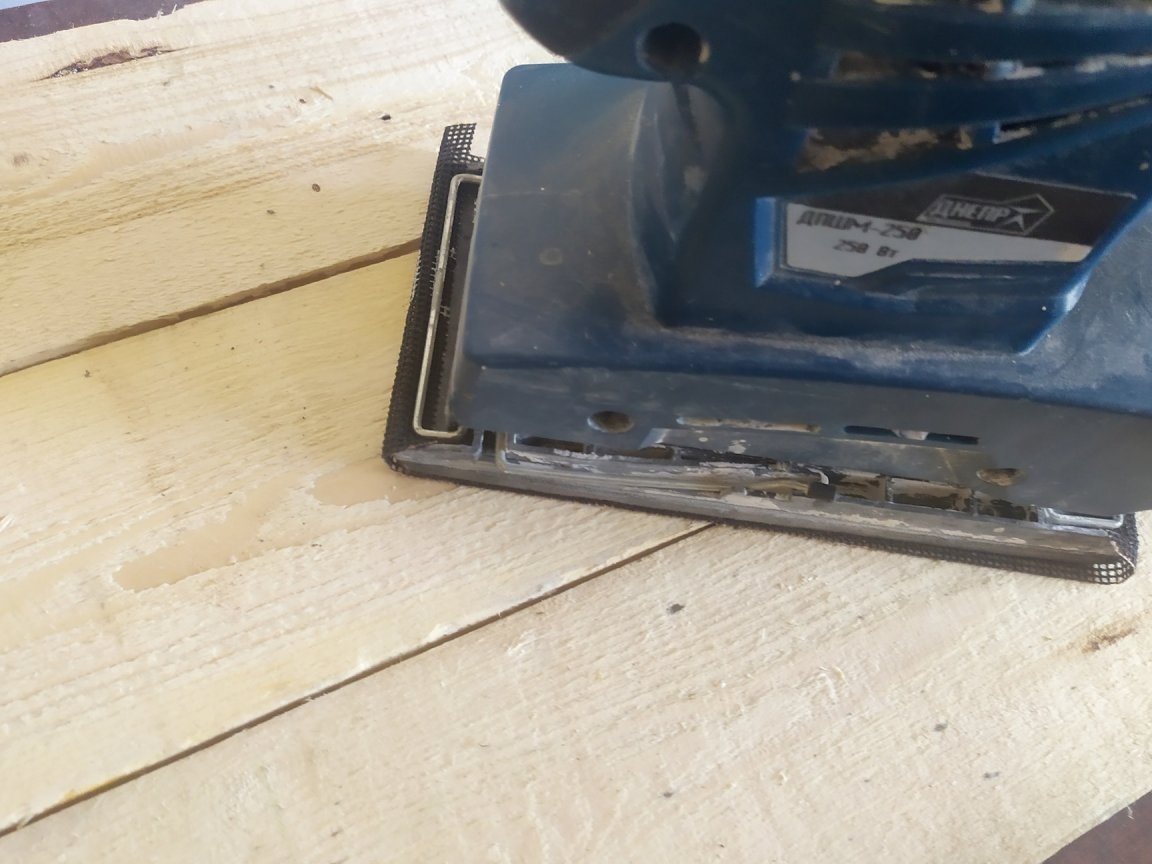
Since my little things were made for the pallet, they are very rude, but nevertheless, an interesting texture is visible there.
You need to skin until all the chips are gone. It took me no more than ten minutes. Do not forget about the sides.
When the three parts are ready, you can think about how to fix them. I decided to fasten the straps on both sides. If you do not have wooden slats on hand, up to 50 mm wide, then they also need to be cut.
The length of the rail corresponds to the width of the pallet, it is 300mm. And the width is arbitrary, I will have 50mm.
I took the unnecessary stitch, cut the width, and cut it in half, and that's what happened.
Now these slats also need to be sanded.
When finished with the grinder, you can fasten them.
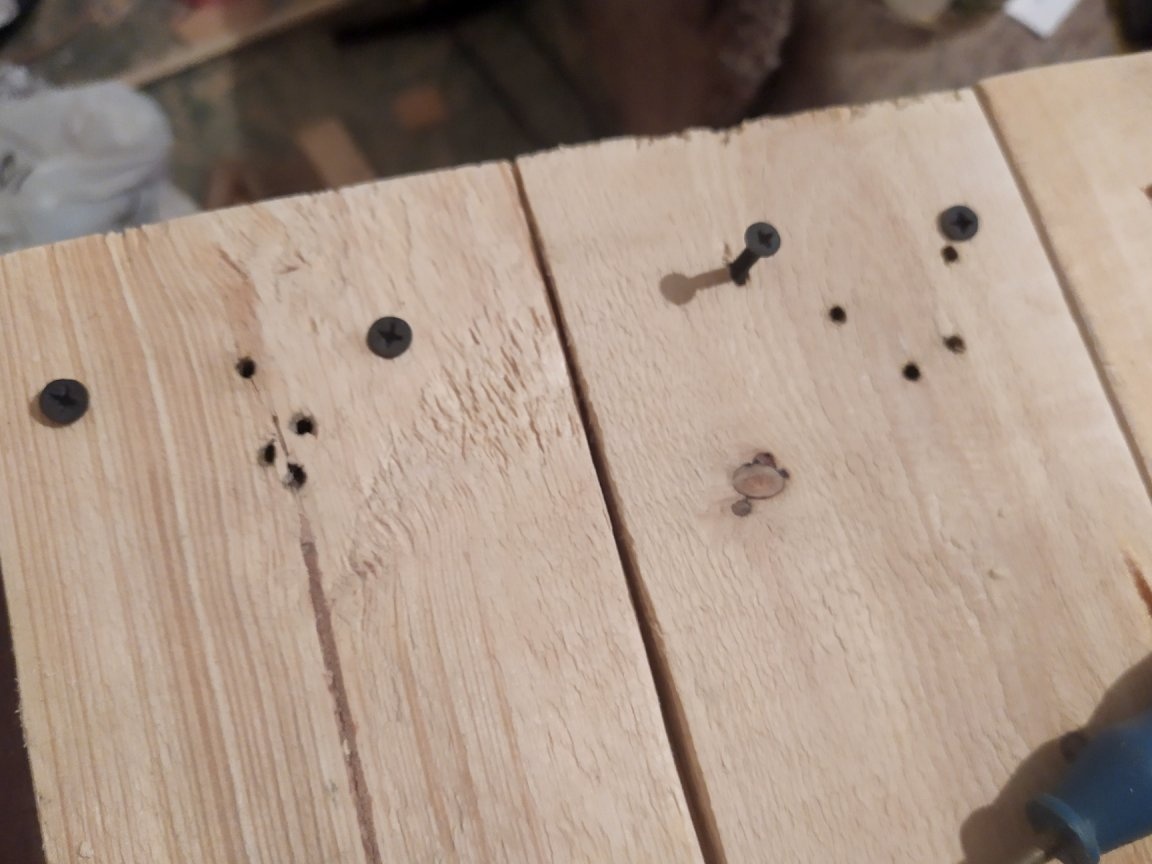
Planks I will place at the top of the tray, they will serve as sides. Therefore, it turns over all the blanks completely, and we make marks for the self-tapping screws. For each flange, two screws.
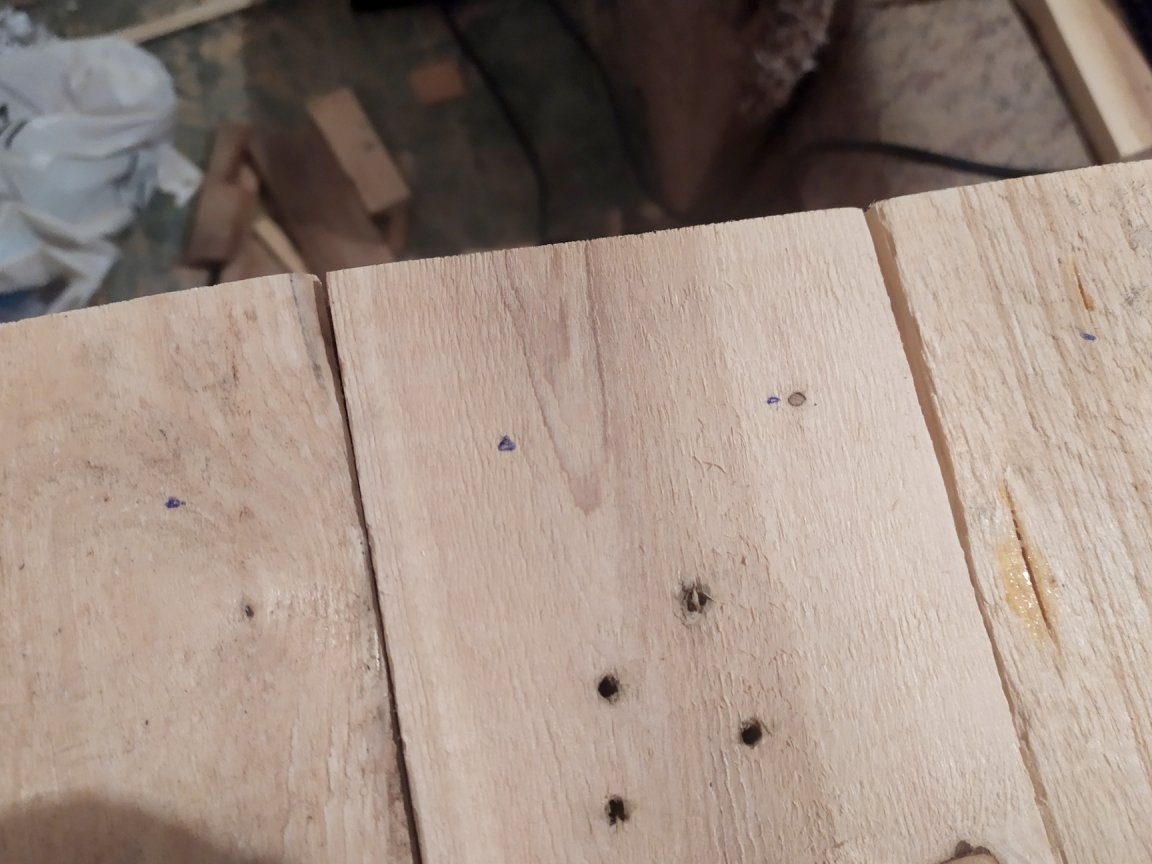
We make holes with a drill, then screw in screws, only 12 pieces.
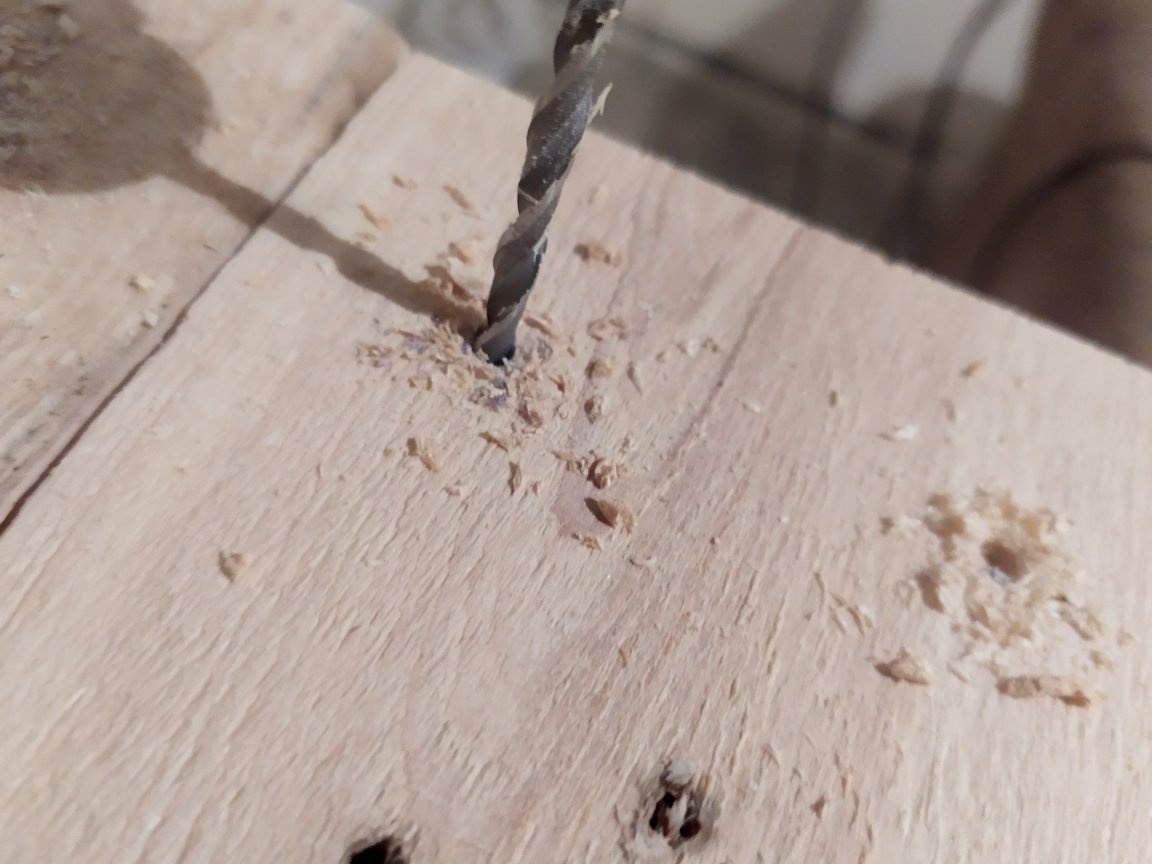
The length of the self-tapping screw depends on the thickness of the board, they should not be too short, and too long, I have about 25mm each.
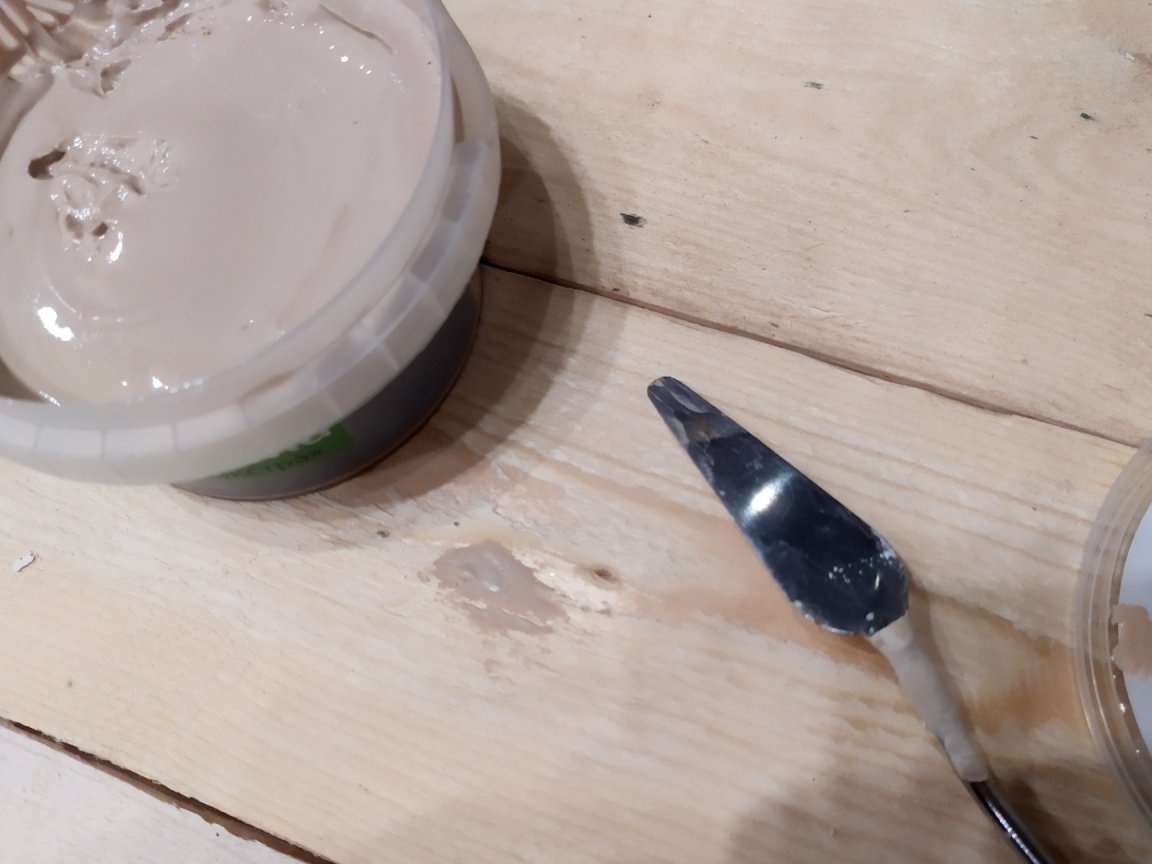
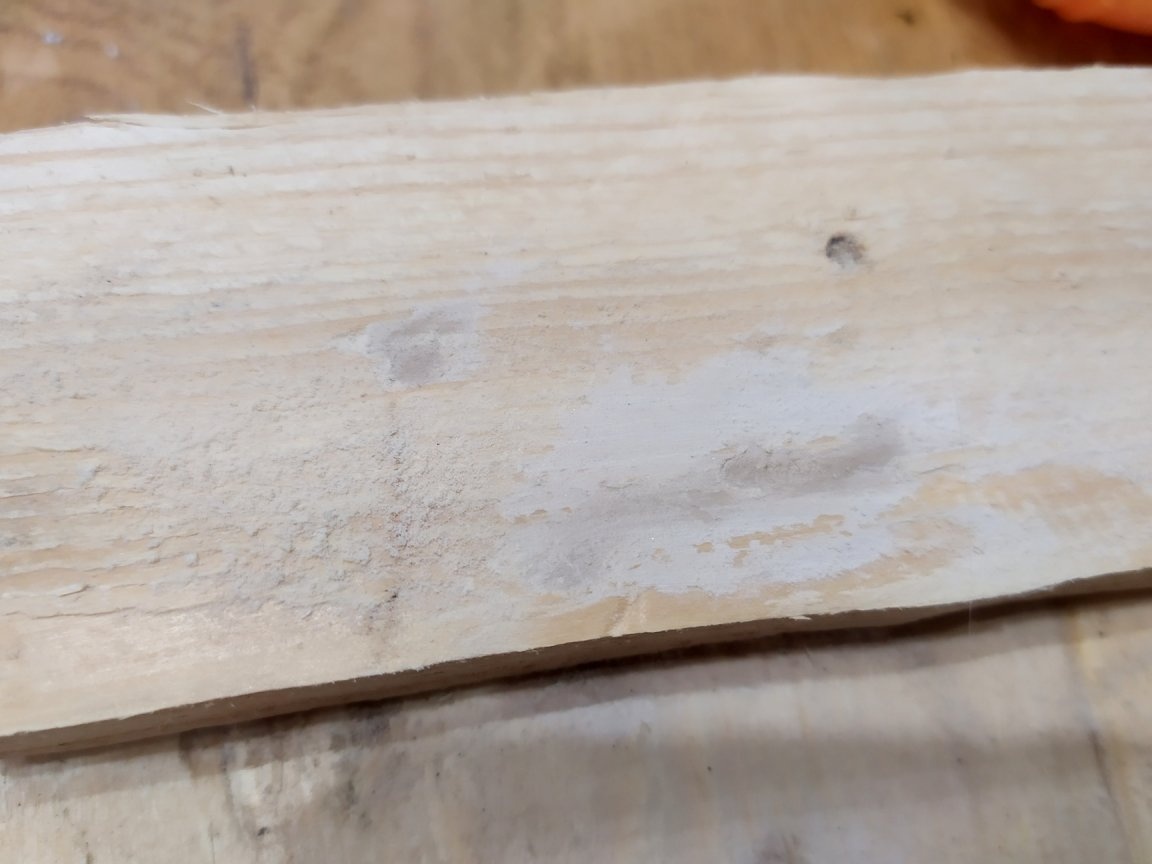
So, now the tray remains to be painted.Since I have flaws in the form of holes from nails, they must first be hidden. This can be done with putty on wood. I had a putty on hand, matching the color of a tree.
But, usually, after painting, the stain does not take such a putty, and these areas remain visible. Therefore, I will have to mask the places of putty with a color scheme. Fortunately, the tree has a heterogeneous color, so it will be almost imperceptible. However, the next time I will take putty to match the stain, although this does not guarantee the result. You could also cover it with wood dust with PVA, but I wanted to try another option, as an experiment.
I will cover up with a palette knife, it is small and comfortable.
When all the excess holes are smeared, let the putty dry. After that, you will need to sand until it is completely smooth. This can be done with your hands, so as not to breed excess dust.
Before painting, it is necessary to clean from dust. With a damp cloth, all this must be removed.
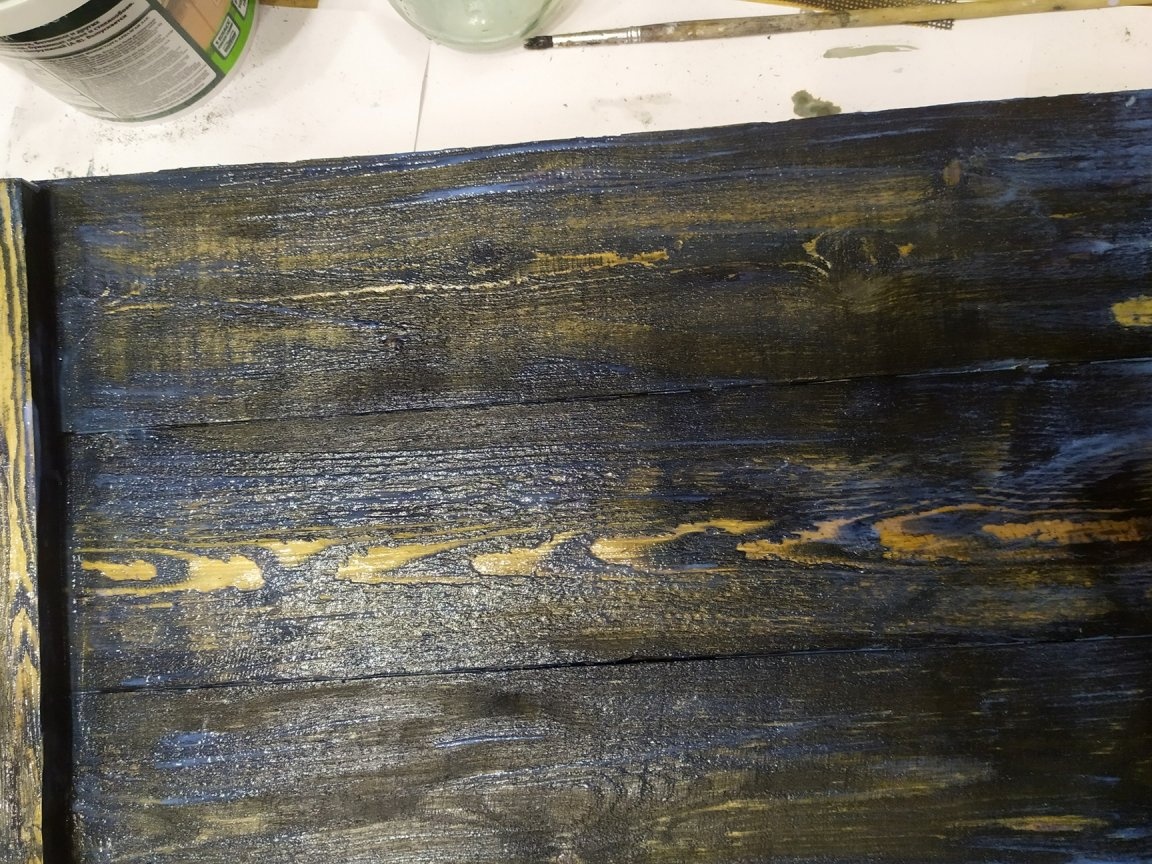
Shake the stain, pour into a jar, and paint from all sides.
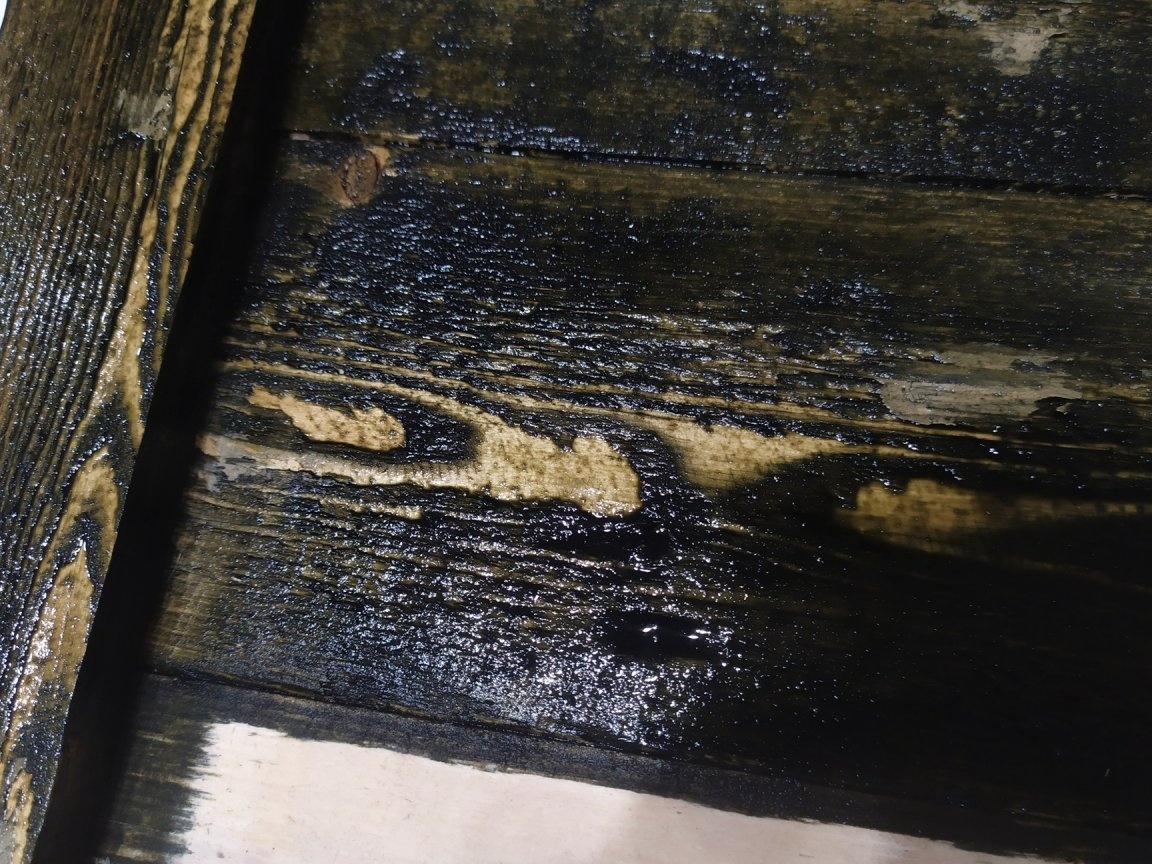
Here I want to make a small digression to clarify the moment with putty. As expected, it is very noticeable on a dark stain. I had a black color on hand, and I smeared light spots. However, the color scheme began to look darker than the stain.
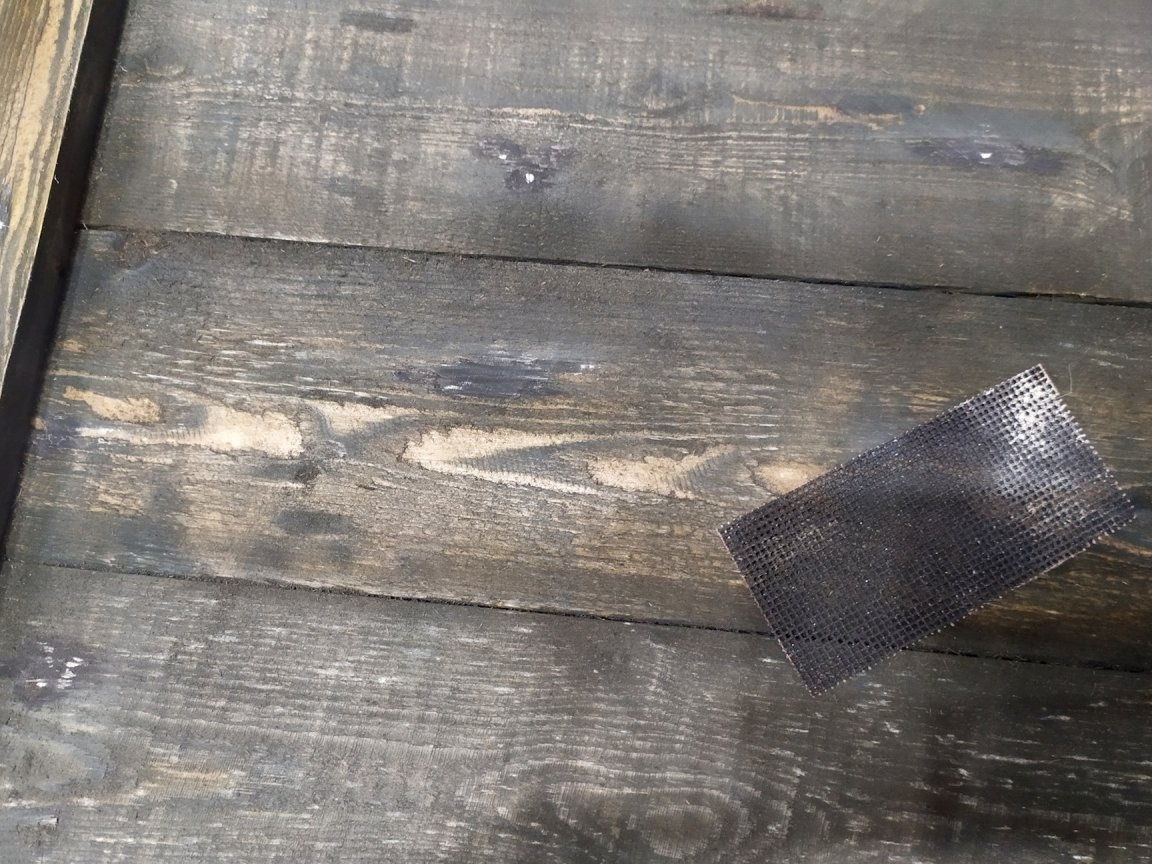
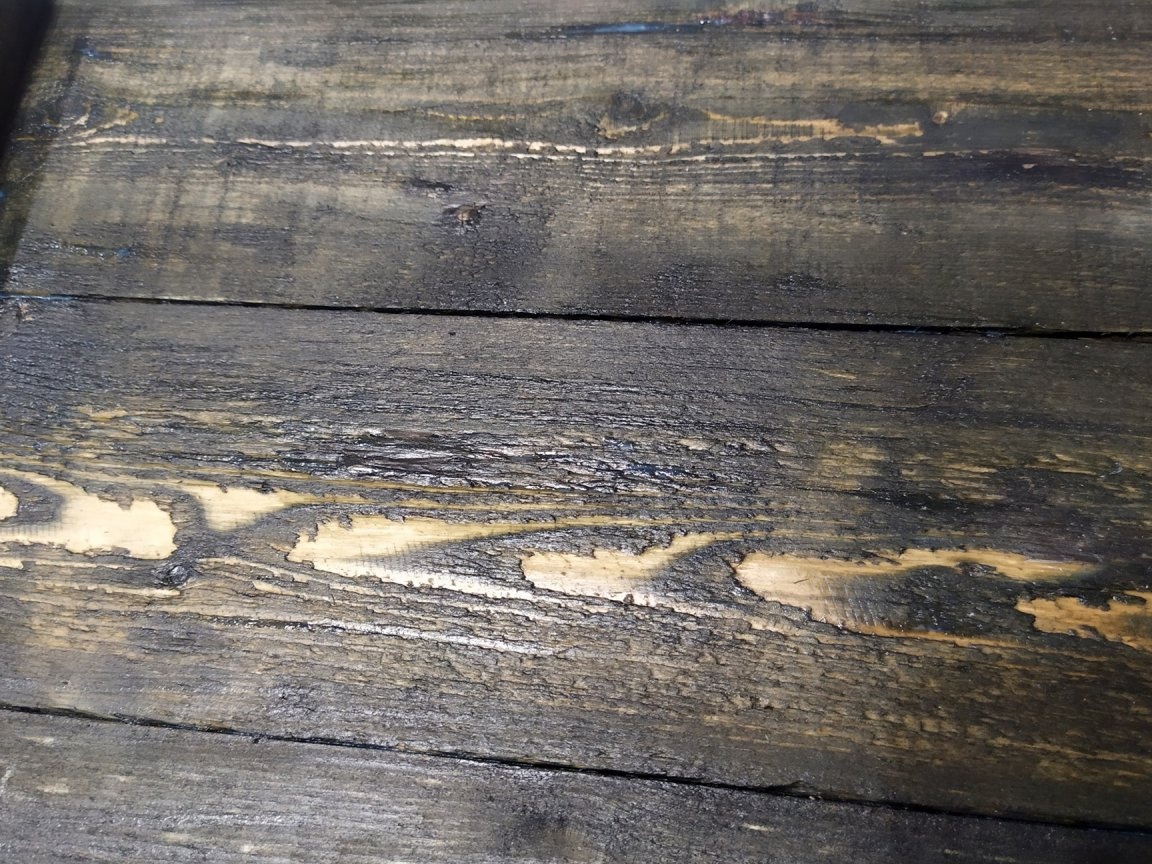
Then I skinned the entire tray, and this added light bald spots on a dark color. The result was so-so.
But then I tried to spread the varnish, and it helped.
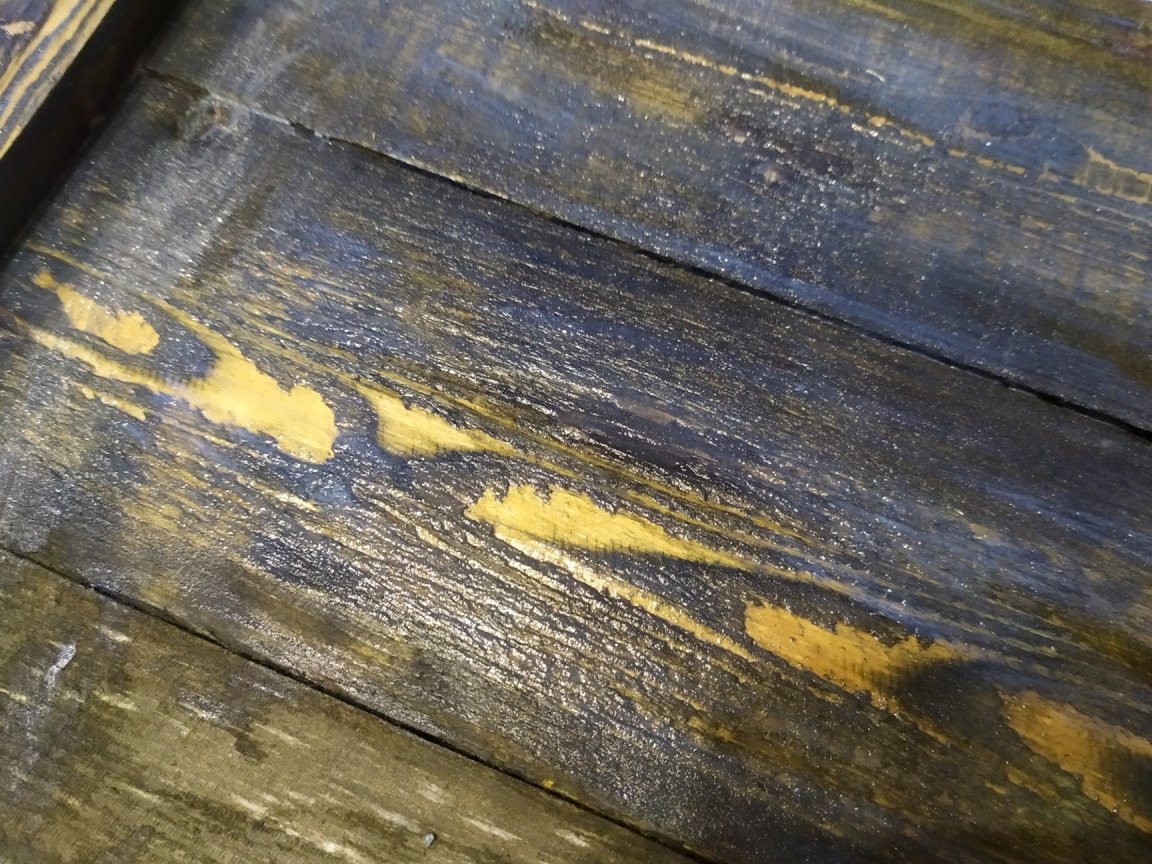
Varnish "dirt" in these problem areas, and they almost disappeared.
Somewhere I even forgot where I putty. Maybe, for real joiners, such an approach would seem strange and wrong. But I was quite satisfied with the effect, therefore, why not.
Back to the painting process. When the stain dries, you need to peel again, in order to lighten the textures a little, and remove the crawled fibers. After that, remove the dust with a cloth.
If you want a richer color, you can repeat the painting process. My color is quite dark, so I will leave it that way.
Now you can varnish. I always use acrylic matte varnish, it dries quickly and does not give cheap gloss. The first layer dried in about an hour. After that, you need to cover again, and preferably two. Since the tray will sometimes come in contact with water, that is, wash, it is better to protect it well, not to regret the varnish. And yet, it is not worth arranging lush bath procedures for him, it is enough to regularly wipe with a damp cloth.
When the varnish dries, you can proceed to the final stage. Although, you can leave it like that.
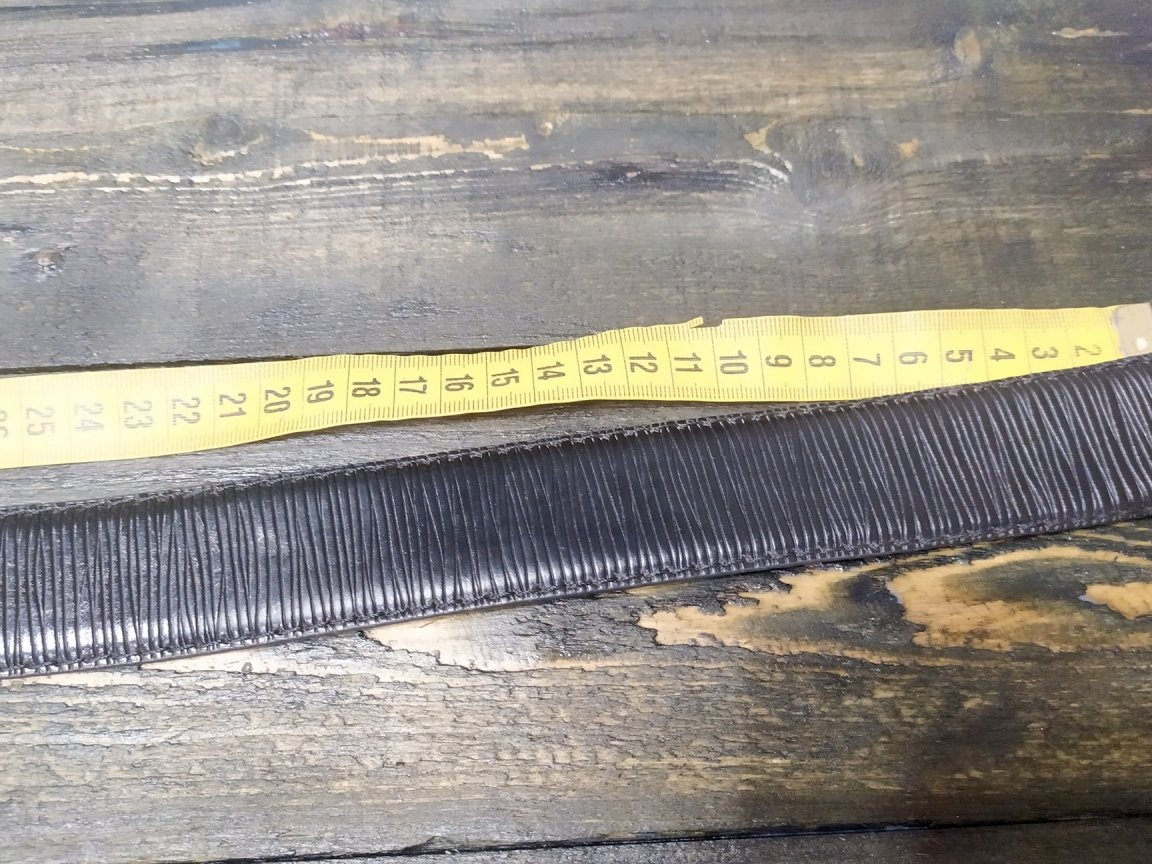
But I decided to make pens. On the Internet, I liked the idea of handles from a belt. My husband just broke the belt, and I found him a great use.
Roughly pretends to be on the arm, what length do we need. I got 280mm.
And cut off two pieces.
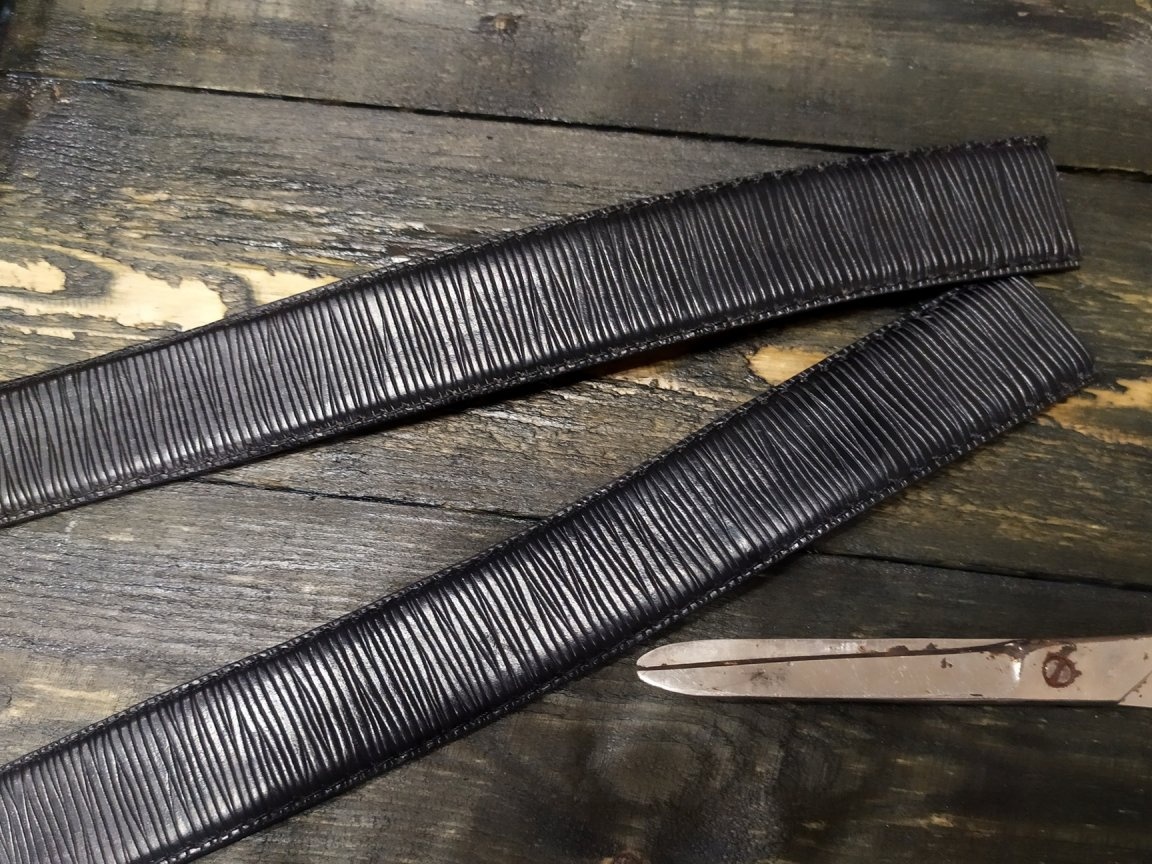
To soften the edges a little, they can be rounded.
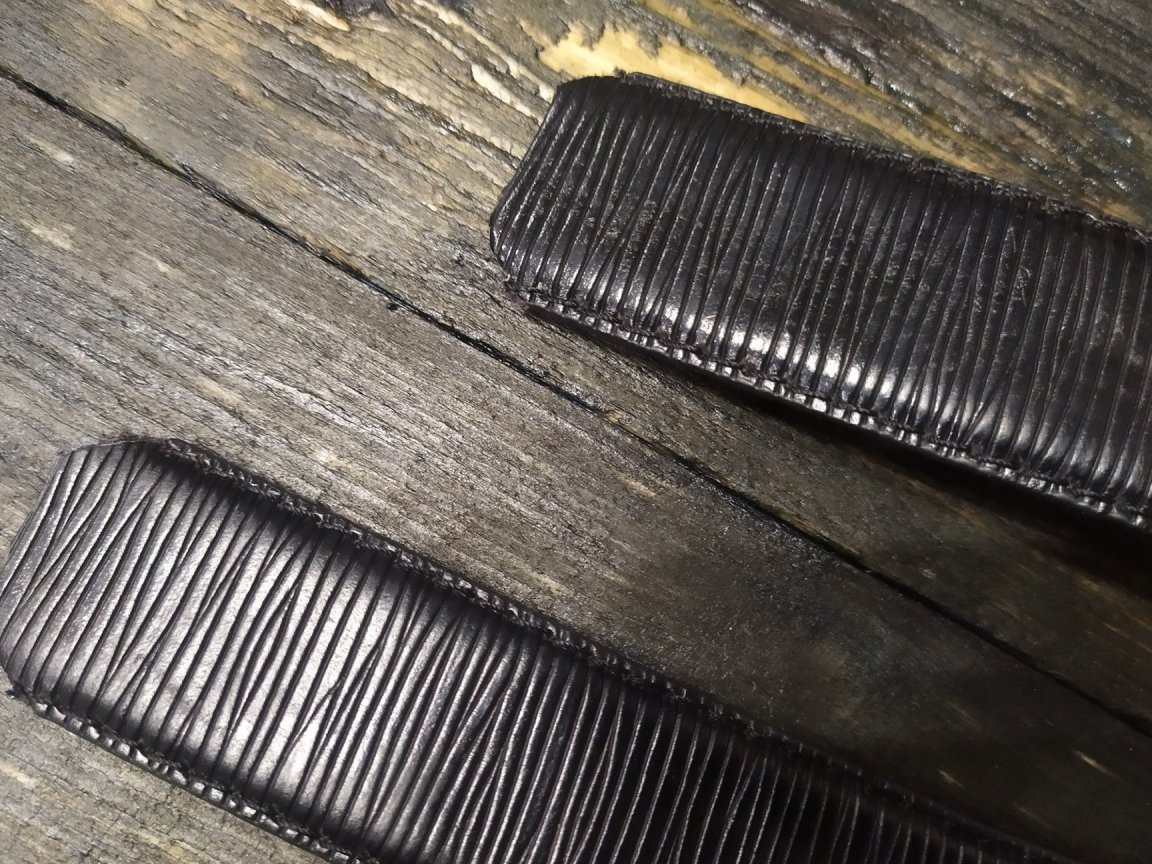
Then, we retreat from the edge (I retreated 40 mm), and fasten it to the screws. Too long are not needed, I have 17mm.
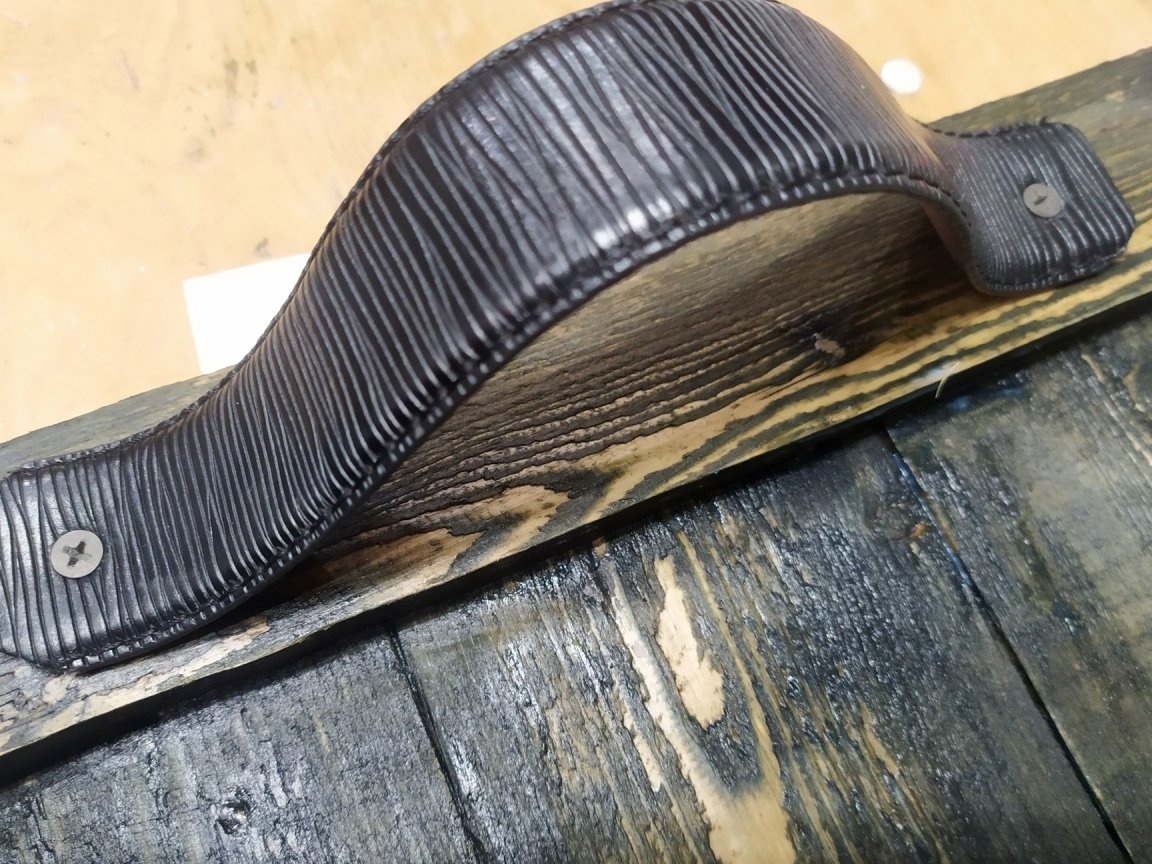
And on the other hand the same thing.
Well, that’s it, the tray is ready. It may have turned out to be a little brutal, but it's all because of the color. Thanks for attention.