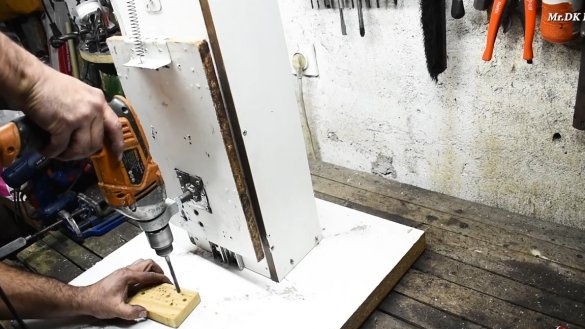
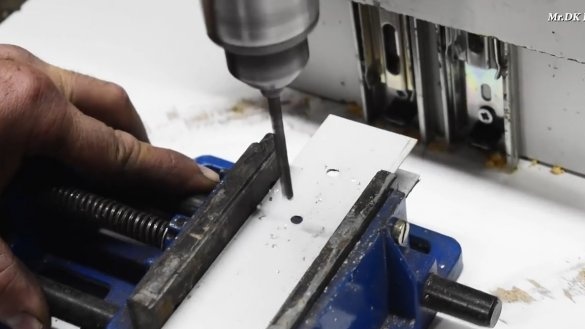
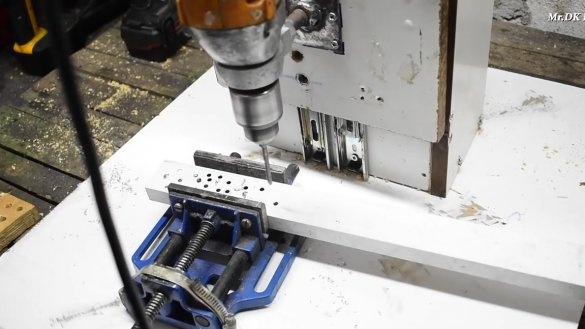
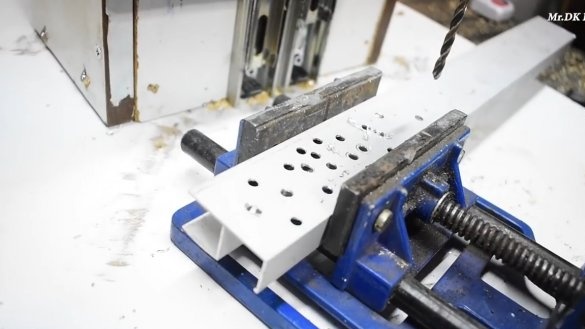
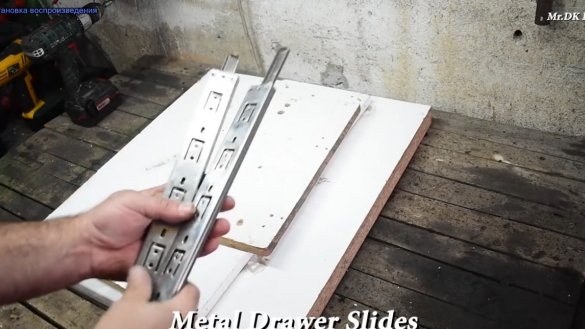
I welcome all fans to craft, I propose to consider the instructions for making a simple stand for a drill do it yourself. The author made the main part of the structure from chipboard, and used two furniture sliders as guides. The drill is inserted into a special holder and does not lock in any way, which makes the installation and removal process of the drill very fast. Of course, with such a stand it will not work to drill holes ideally at right angles, but for domestic purposes the adapt is useful. Now you do not need to aim with a drill every time, if you need to drill a hole in a square pipe and other parts. If the project interests you, I propose to study it in more detail!
Materials and tools used by the author:
Material List:
- two furniture sliders;
- chipboard or other material;
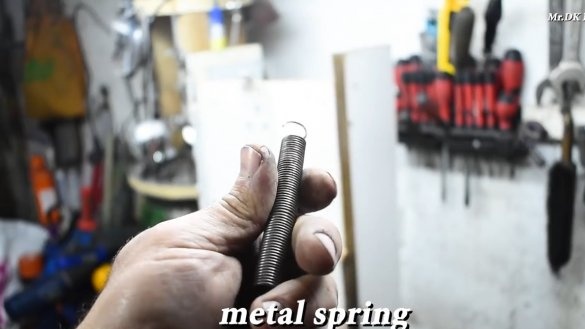
- spring;
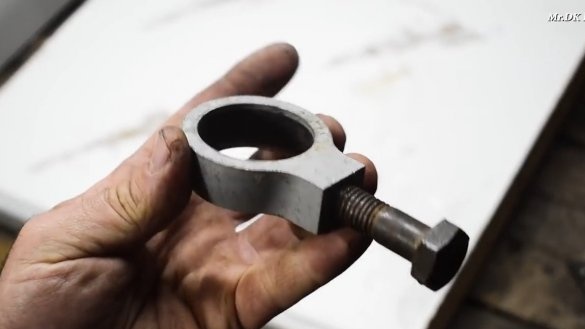
- holder for a drill (can be made from a pipe);
- a little sheet steel;
- a bolt;
- nut;
- self-tapping screws.
Tool List:
- screwdriver;
- a circular saw (or other tool that can be used to cut chipboard);
- grinder;
- welding machine;
- tape measure, marker.
Manufacturing process homemade:
Step one. Mobile platform
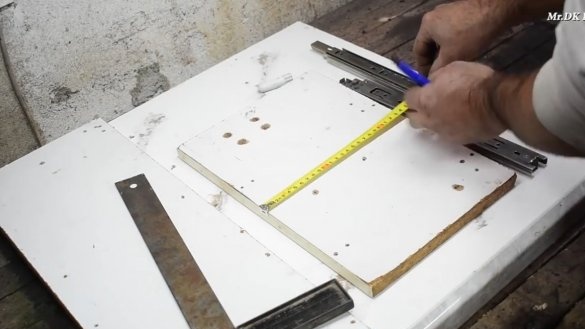
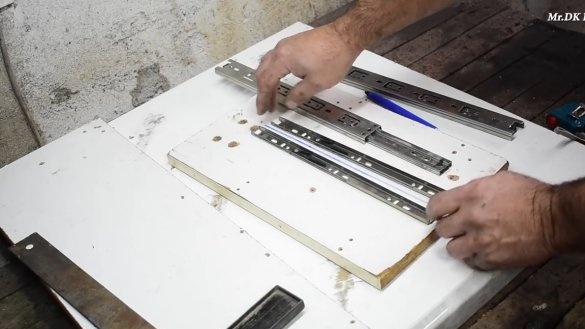
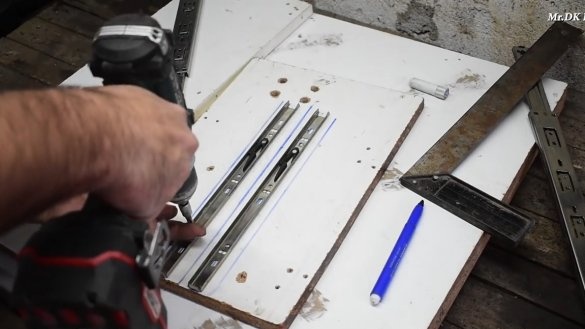
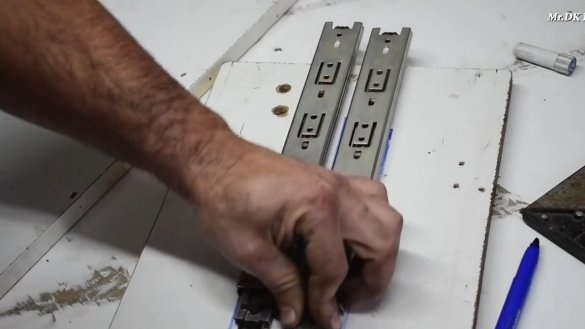
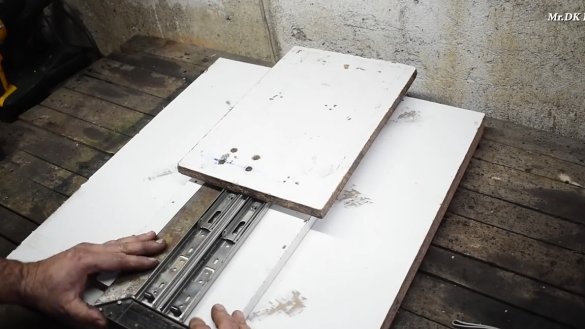
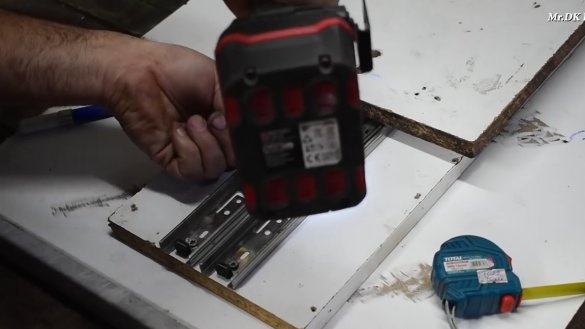
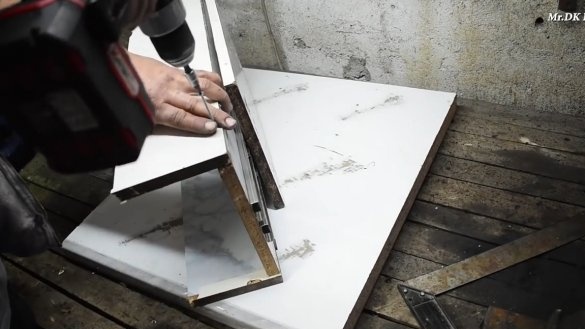
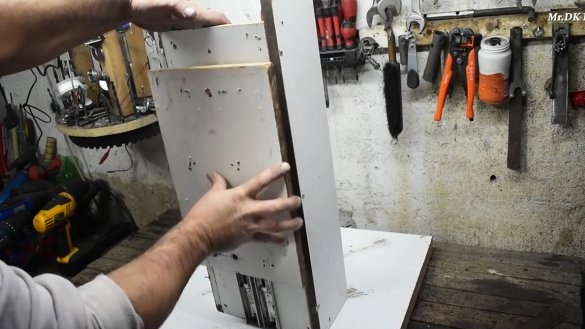
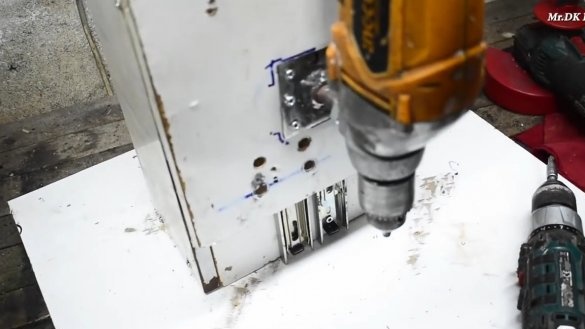
First of all, we will make a mobile platform on which a drill will be installed. The author adapted furniture sliders as linear bearings, they are durable, reliable and they usually do not have backlashes. For a mobile platform, cut a piece of chipboard or other material that is available. Also cut out the rectangle for the rack itself. We fasten one half of the sliders to the rack, and the other to the movable platform. Sliders need to be placed clearly parallel, otherwise they will wedge. Before the final tightening of the screws, it is better to move the platform so that the sliders themselves are exposed in parallel, and then everything can be tightened.
Step Two Stand and base
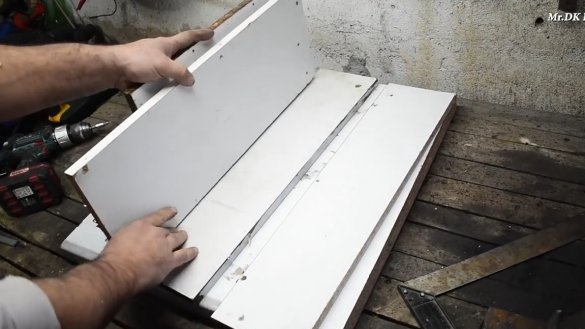
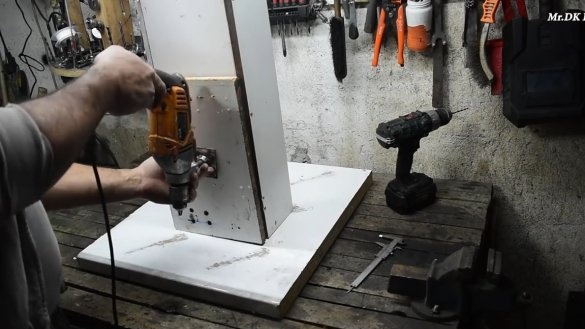
We assemble the rack, for this we cut off two more rectangles and fasten them on the sides to the main rack, as a result, we get a kind of “channel” from chipboard, this design will be quite strong and it can be firmly screwed to the base. For the base, we are also looking for a sheet of chipboard of suitable sizes and fasten the rack with screws. The stand should be positioned clearly at right angles to the base.
Step Three Drill mount
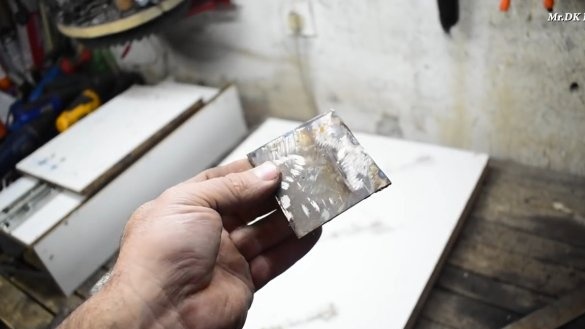
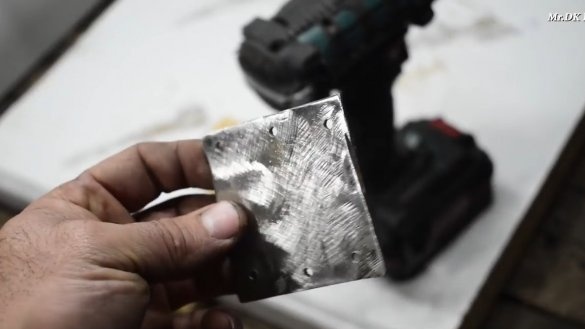
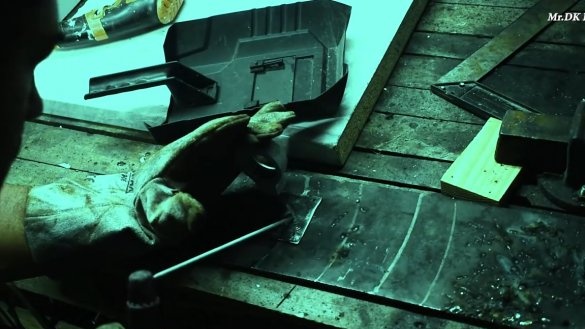
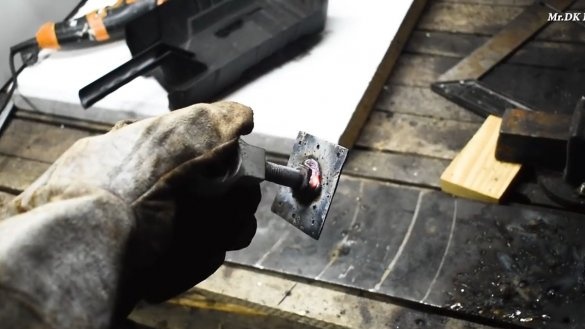
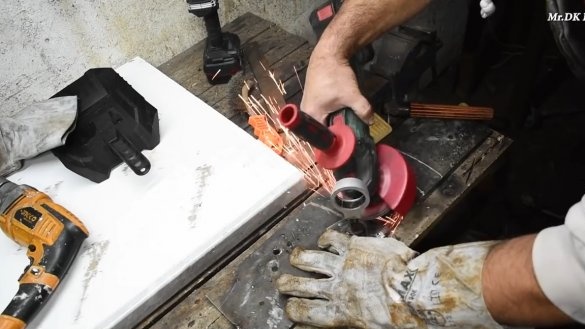
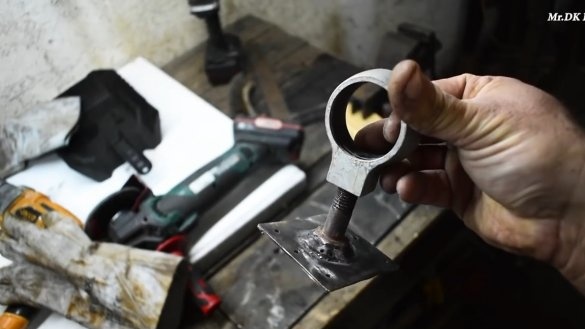
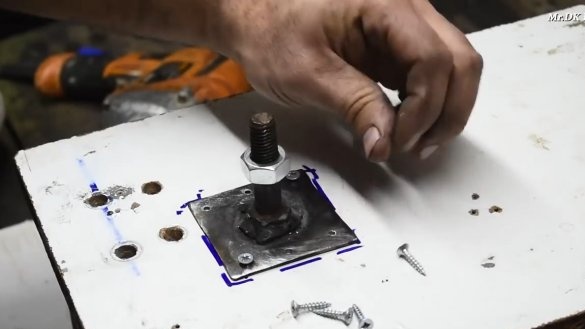
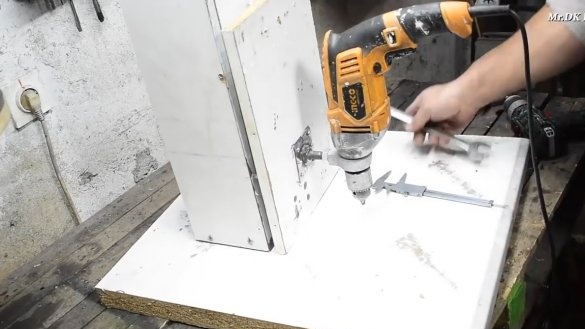
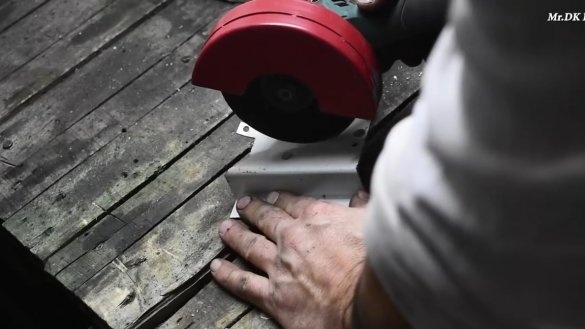
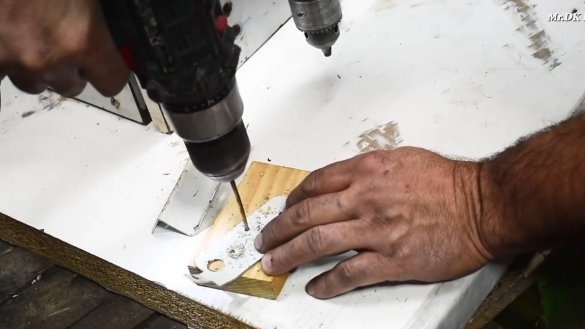
The author had a special holder for the drill, we are looking for pain of a suitable length under it, and we also need a piece of sheet steel.We weld the bolt to steel at a right angle, now it remains to drill holes in the plate so that this whole thing can be screwed to a movable platform. We fasten the fasteners in place with screws and install the holder for the drill. So that the holder does not rotate on the bolt, we fix it with a nut, but you can use superglue by dropping it onto the thread after adjustment.
Step Four Spring and test
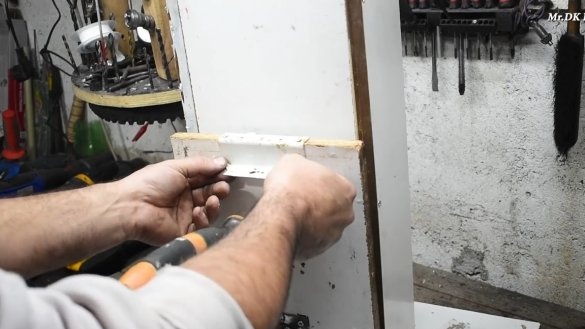
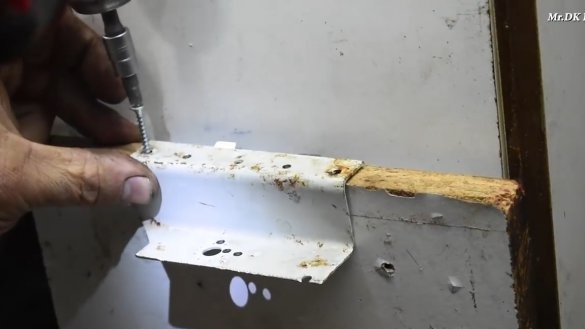
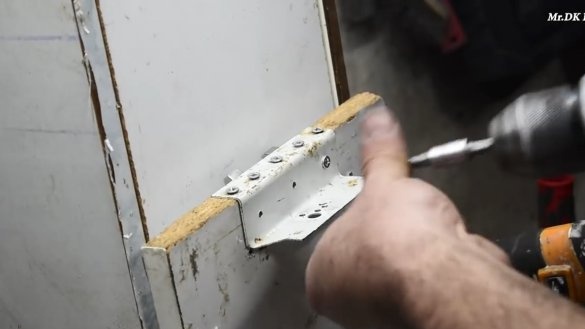
It remains to install a spring on the stand so that it lifts the drill itself up. To install the spring, the author made special fasteners from sheet steel and screwed them securely like chipboard. If one spring for the machine is not enough, you can use several.
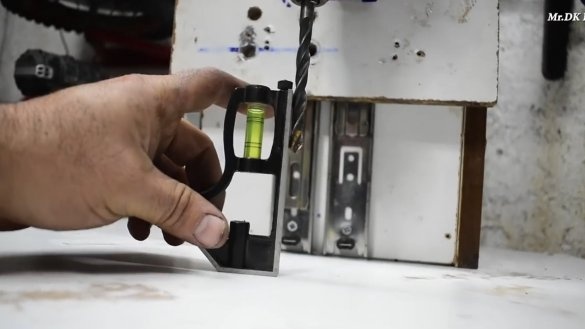
That's all, now the drill stand is ready. Perfectly complement it with a small drill vise. We put the drill holder and check whether the drill is at a right angle. You can drill, now everything is done much safer and easier than hand-drilling with a drill. When you no longer need to drill, you can easily pull out the drill and go do your own thing. The project is completed on this, I hope you liked the homemade work, and you found useful thoughts for yourself. Good luck and creative inspiration, if you decide to repeat this. Do not forget to share your ideas and homemade things with us!

