

Good health to all. One of my acquaintances, who is engaged in decorating celebrations and celebrations, asked me to make a cutter for her foam for her, similar to what was briefly mentioned in the article Shoe Shop Clock, only she needs to cut more dimensional details - letters, numbers, flowers, hearts of meter growth, therefore it should be portable. To my surprise, on the site "", and on other sites of the masters, I did not find anything suitable. Basically all of these fixtures made “on snot”, like I could do “hand in hand” (I did and probably will do) for myself, but in this case it was an order, and especially ladies. Do not give her the bare transformer with a bunch of wires, so I decided to fill this gap and make the device in a more or less presentable form.
The main disadvantages of the home-made foam thermo-cutters offered on the Internet are the connection to a step-down transformer located separately, which is why the heating is constantly on. Therefore, it was decided to make the tool compact by combining a step-down transformer in one case, which should be turned on only for the duration of the cutting itself, and also added a heating power switch. What came of this, and I want to tell in this article.
To make a thermal cutter, we need:
1. Hand jigsaw (tool and material)
2. Drill or screwdriver
3. Sandpaper
4. Drills ø2.5 ø5 and ø8 mm
5. M3 taps
6. Soldering iron, solder, flux
7. Step-down transformer 30 W
8. Micro switch type MP (I have a microwave)
9. Slide switch (KVV70-2P3W or similar)
10. Diode (forward current of at least 5 A)
11. Fiberglass 2 mm.
12. Plywood 4mm
13. Nichrome wire ø0.3-0.5 mm
14. Contacts of the magnetic starter 2 pcs
15. Screws, nuts, washers M3-M5
16. Power cord with plug (length optional), wire cuts 0.5-1.5 mm2.
So, I started to “dance from the stove”, more precisely from the transformer. I did not particularly go into the calculations, I limited myself to focusing on the principle of "necessary-enough", it is still problematic to find a ready-made transformer, which means you have to rewind a suitable one in size. I’ll make a reservation right away — the transformer did it “quickly,” the customer, although she didn’t hurry, asked to be quick, it didn’t turn out like she intended, but “what grew, then grew,” it was too lazy to redo it. When repeating, please take into account my "schools."
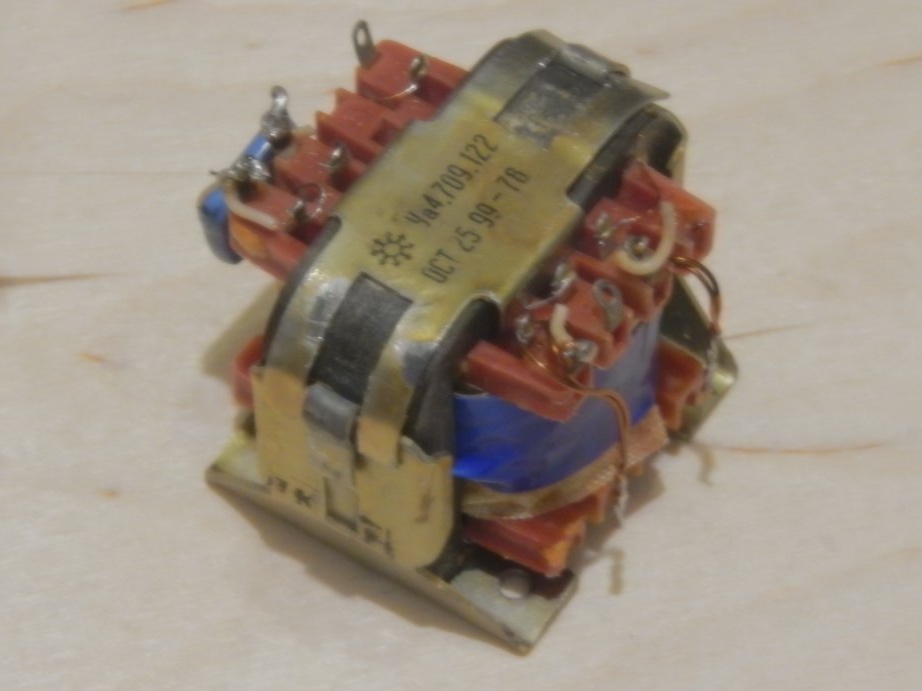
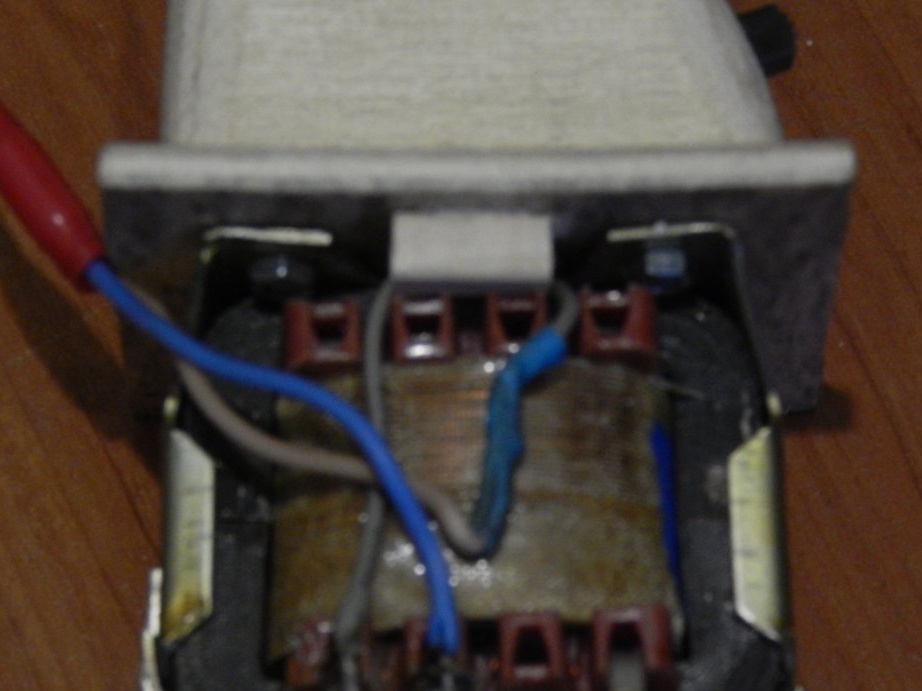
To heat a nichrome wire with a length of 125 mm and a diameter of 0.3-0.5 mm (resistance 0.7-2 Ohm), the secondary voltage of about 3V and a current of about 5A were considered sufficient (I repeat, all calculations are approximate, the resistance of nichrome increases when heated). There was a transformer with an armored core with a cross-sectional area of 6 cm, which corresponds to an overall power of 30 W, which is quite enough. I wasn’t very sophisticated with rewinding, I could not count the number of turns per volt — the outer turns were saturated with varnish, I had to simply cut and wind up a new “from the bald” wire ø 1.5 mm into “two threads”. This method of winding involved a stepwise adjustment of power, but I went too far with the number of turns, so I just had to connect the windings in parallel.
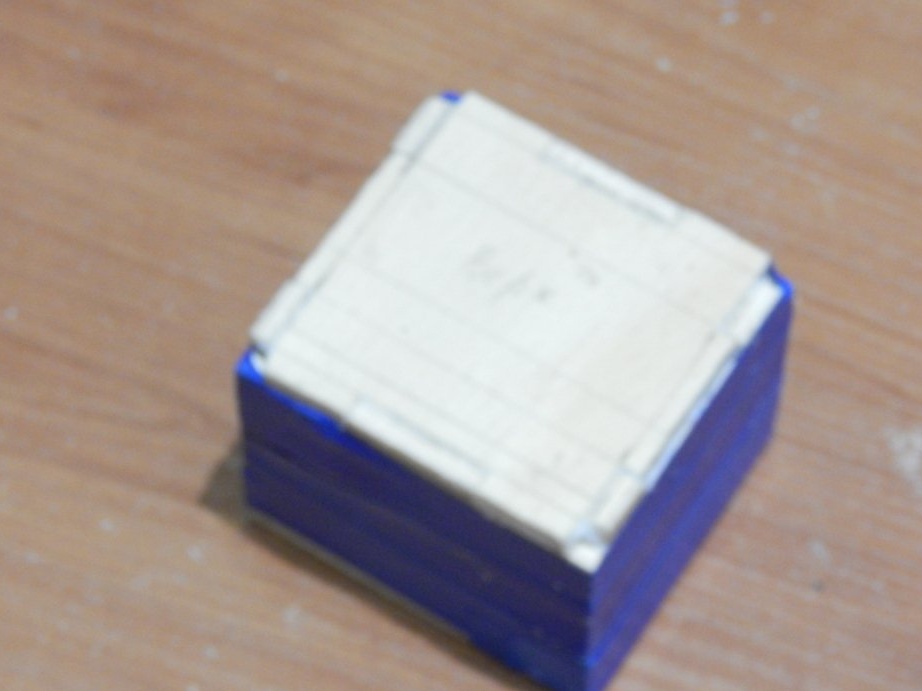
The process of disassembling-rewinding-assembling the transformer did not take off, considering it unnecessary, I just post the photo of the already rewound.
The device case was decided to be made in the image and likeness of a cordless drill (screwdriver) because of the most, in my opinion, successful ergonomics. I went through the manufacturing options for a long time, from gluing from fiberglass with epoxy resin to using an empty bottle with a sprayer (I had to somehow place the power button). In the end, he decided to make the case a stacked “sandwich” of plywood 4 mm thick. Plywood was chosen as a material because of the ease of processing, gluing and the ability to simply cut out cavities for switch-switches. The power button (trigger, trigger, tangent, I ask you not to find fault with the names, in the future I will call it as I want) as it turned out, making plywood is also much easier.
With the determination of the dimensions of the case, he again began to “dance” from the transformer, more precisely, from the manufacture of the box in which he would be placed. On the plywood sheet, we draw the details.

And then we saw it out with an ordinary jigsaw (which will later become part of the product).
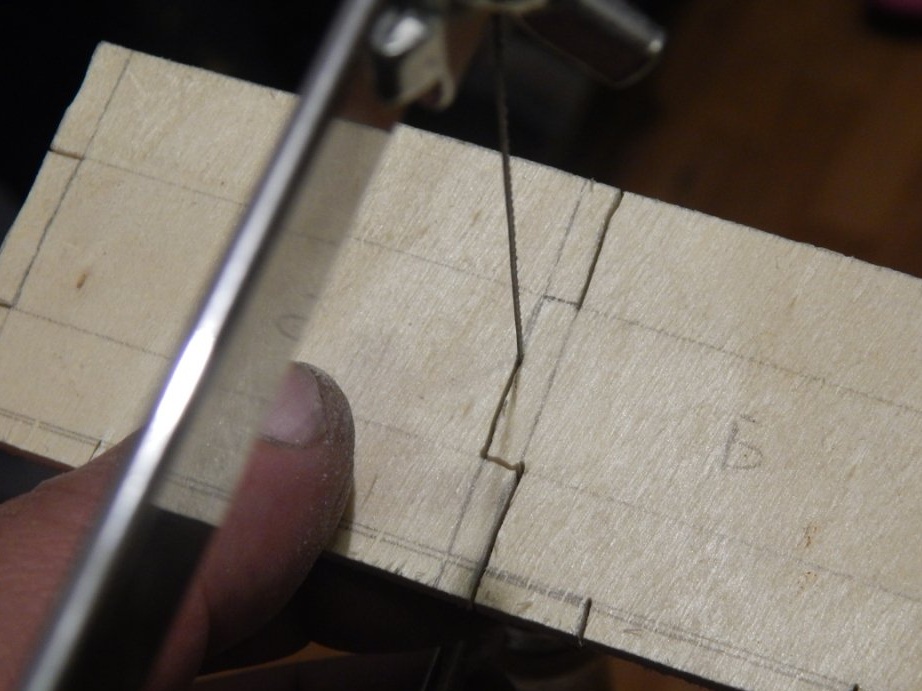
It should turn out such a set of parts that we glue together
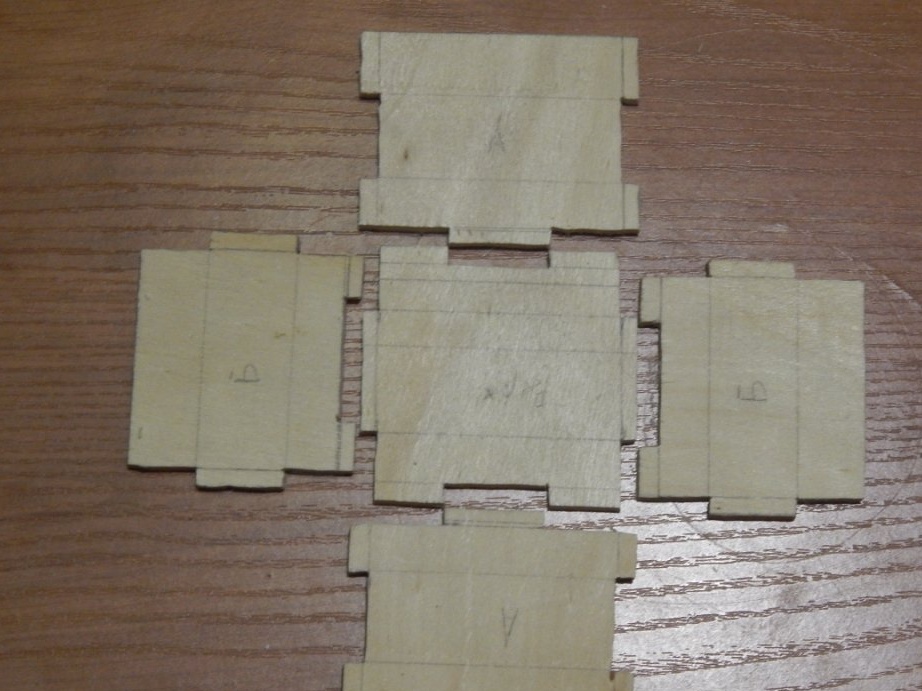
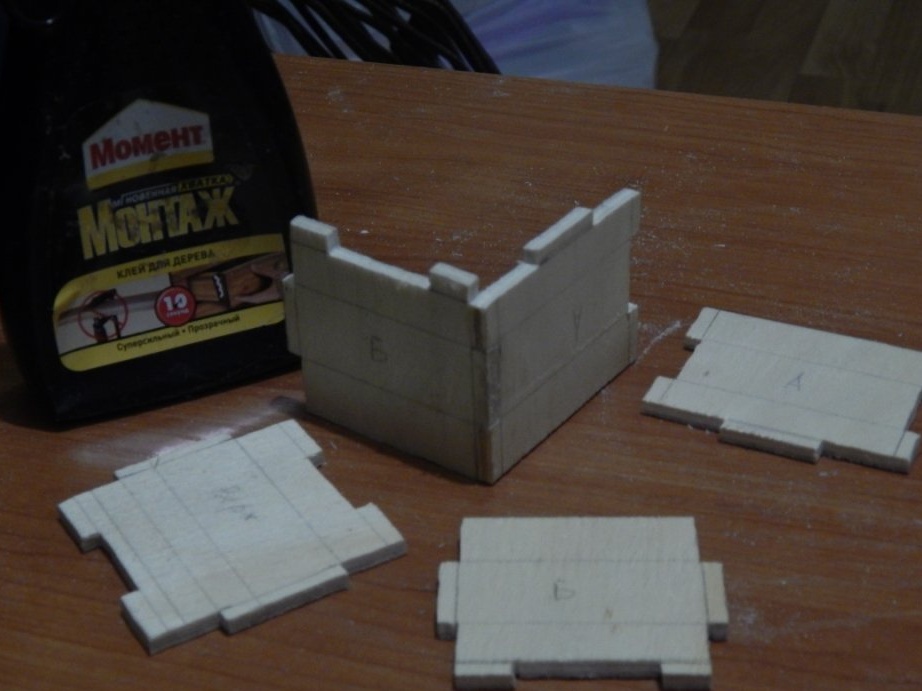
Bonding with blue tape until the glue dries. The part on which the transformer and the handle will later be mounted will be the starting point of our design.

The dimensions of the handle in which the switch-switches should be placed were determined by the dimensions of the transformer box, the jigsaw bracket and the dimensions of its own palm.
She, of course, is more feminine for me, but this, in principle, is not critical
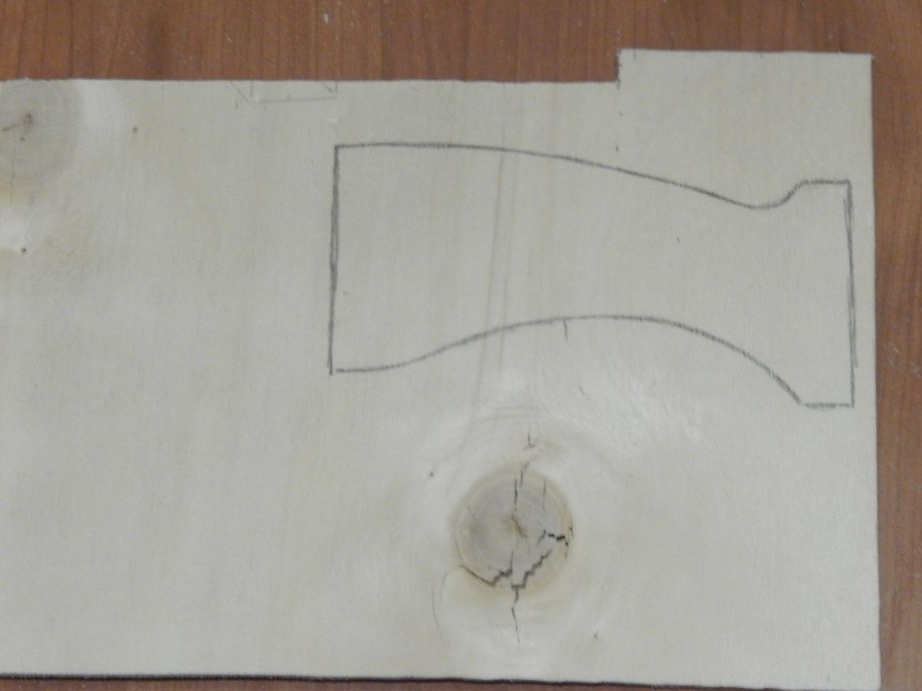
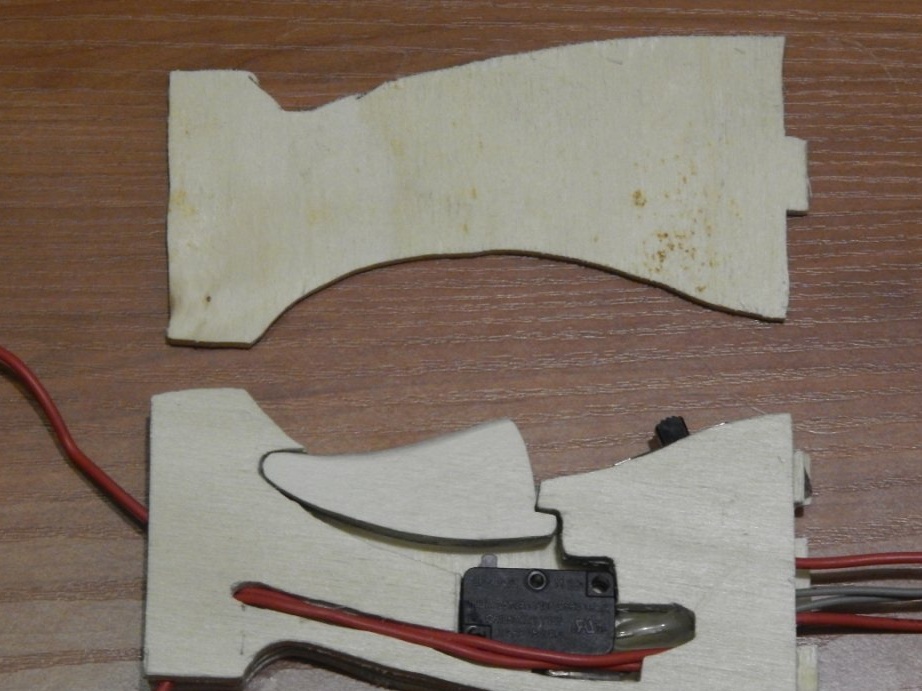
First you need to determine the installation location of the switch, I used this part from an old microwave. Based on the location of the switch, we determine the size and stroke of the “trigger” (well, I don’t want to call this part another name)
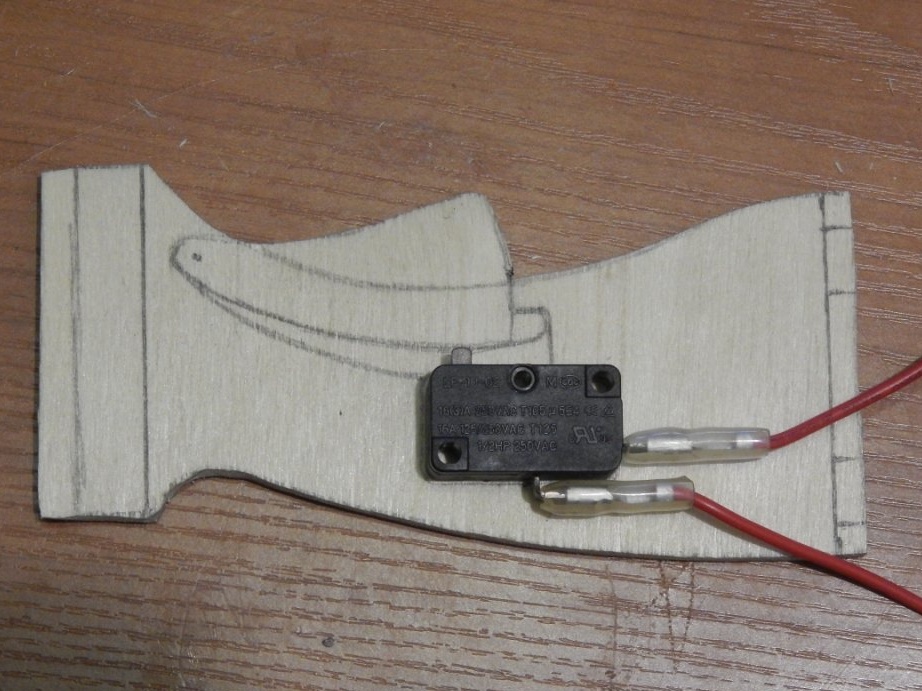
We use the sawn blank as a template for the manufacture of subsequent parts.
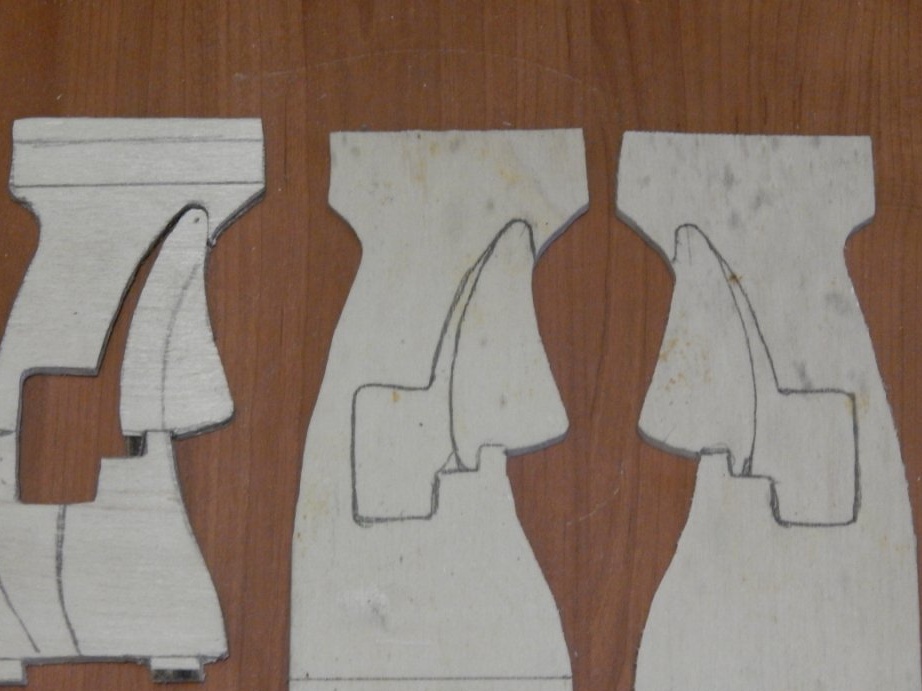
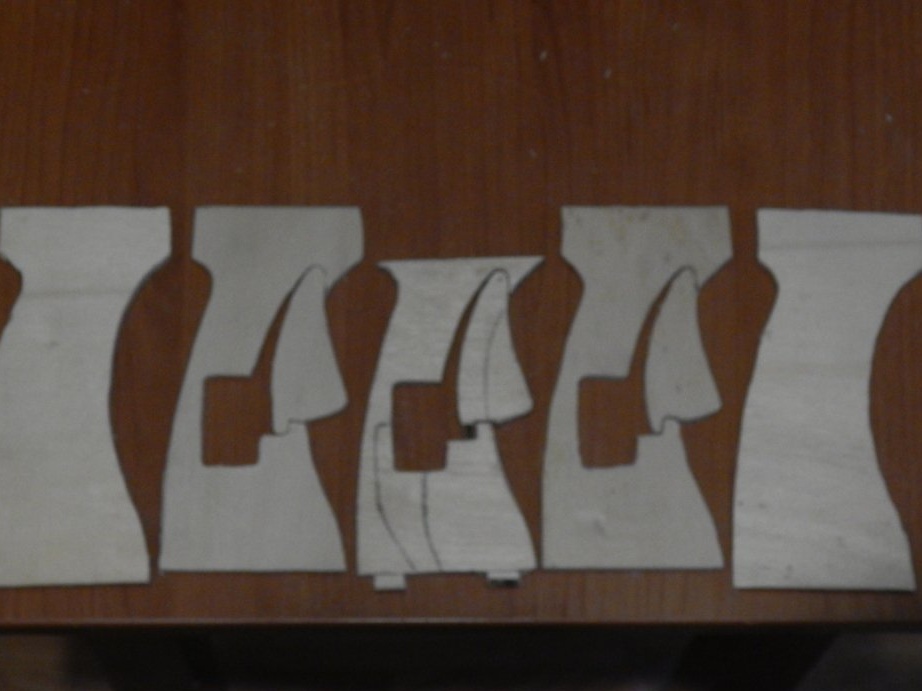
We cut the “trigger” and the cavities for the switches on the three internal parts, the two external ones will simply be covers. The photo is hard to see, but I can say that the direction of the plywood fibers on the parts alternates as it should in multilayer plywood.
When all the details of the handle are cut, we begin to glue our “sandwich”.

A diode of the type 1N4001 should not be taken into account in the photograph; it has been replaced by our good, Soviet, “lose” KD213A. The diode is soldered in parallel to the contacts of the slide switch and is designed to reduce the heating power (it does not matter the direction of switching on, the heating element doesn’t care what half-cycle it is), since it didn’t work with the windings. The contacts of the dual slide switch are connected in parallel to increase the “throughput”. Of course, they are not designed for high currents, but switching will occur when the power is off, so they must withstand.
We continue to glue the layers of the case, making cuts for the wires that go to the heating element during the course of the play.
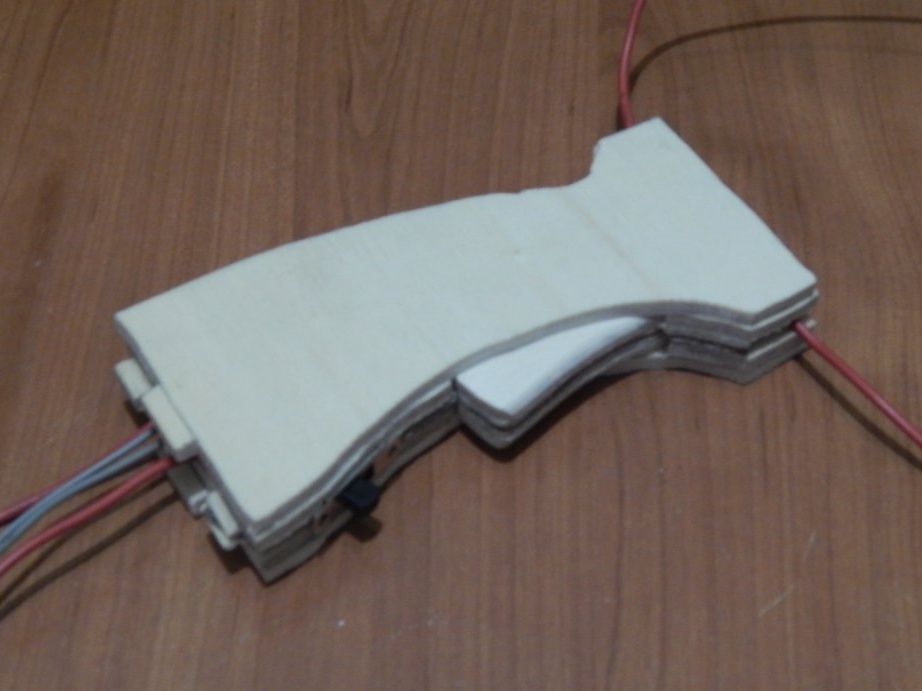
A fully glued (but not yet finished) handle looks like this
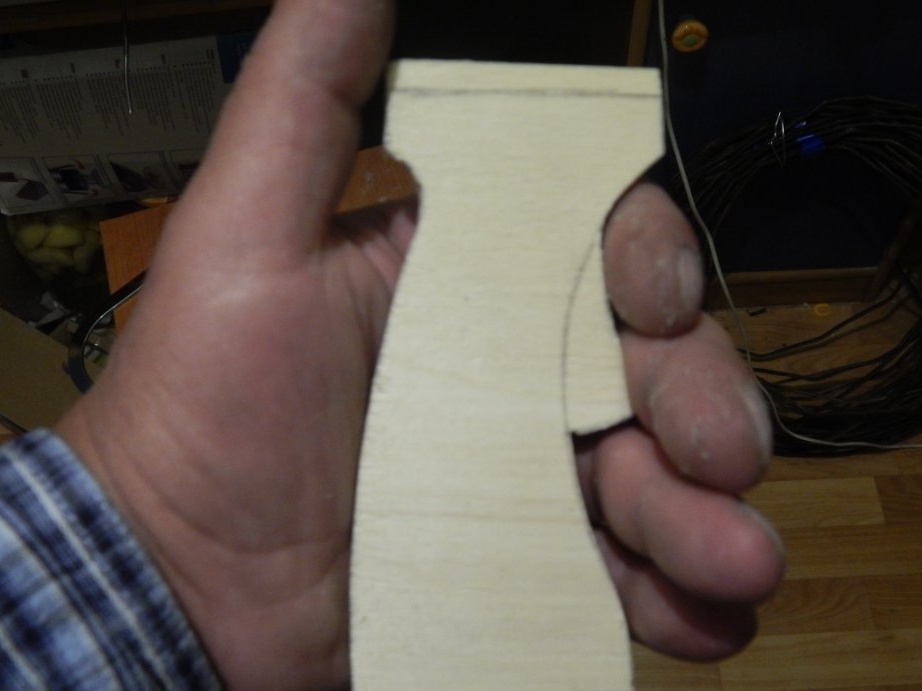
In order for the "trigger" to move freely in the housing, its side planes were processed with sandpaper to slightly reduce its thickness. Also, before assembly, the edges were processed and the front corners were rounded.
After the final assembly of the handle, so that it is not “prickly” in the hand, give it a “presentation”, grind the corners with sandpaper.
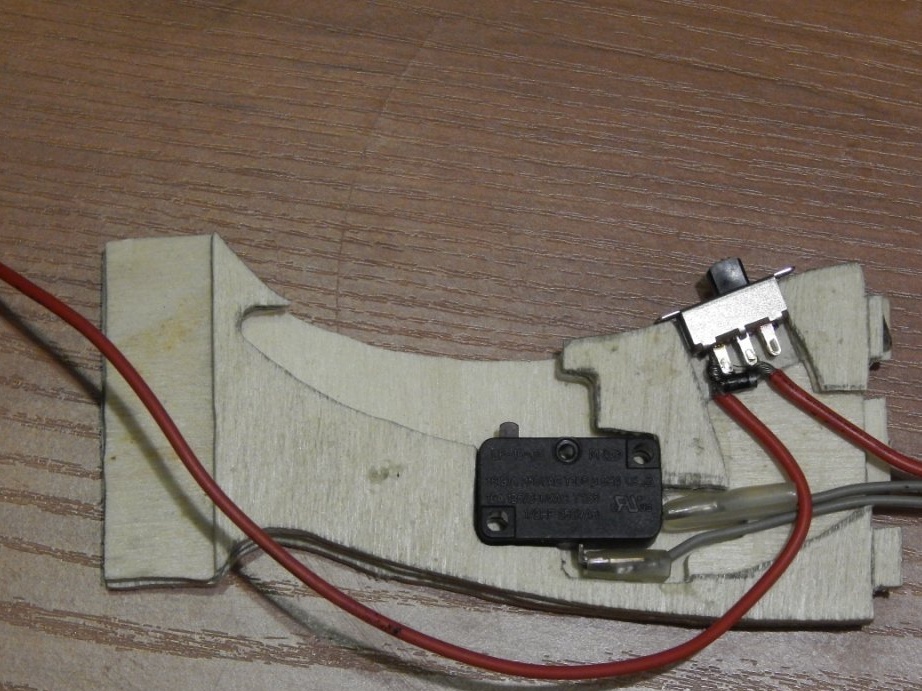
We install the transformer, passing under it the power wires and power buttons.
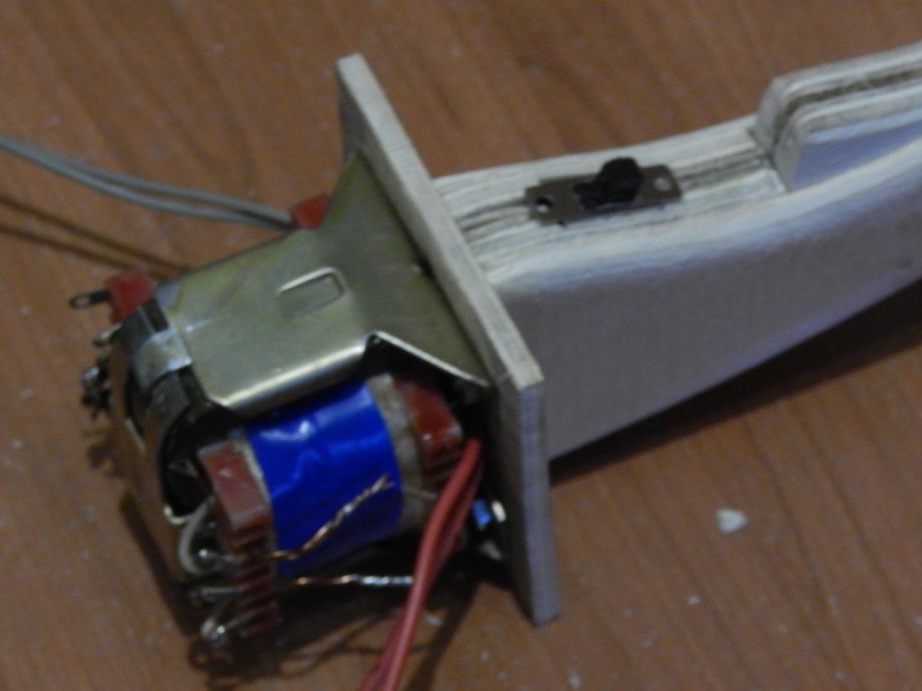
Solder the wires coming from the handle to the secondary winding directly (a switch with a diode is already installed inside), and the power cord to the primary through the power button. We isolate the compounds with heat shrink.
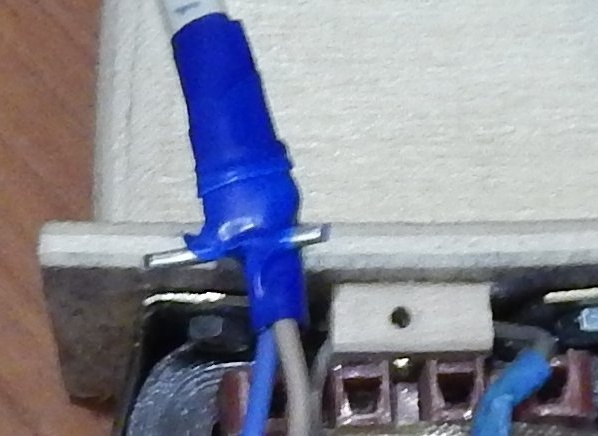
To prevent the power cord from falling out of the case, we fasten to it with a blue electrical tape a stopper - “antennae” bent from aluminum wire.
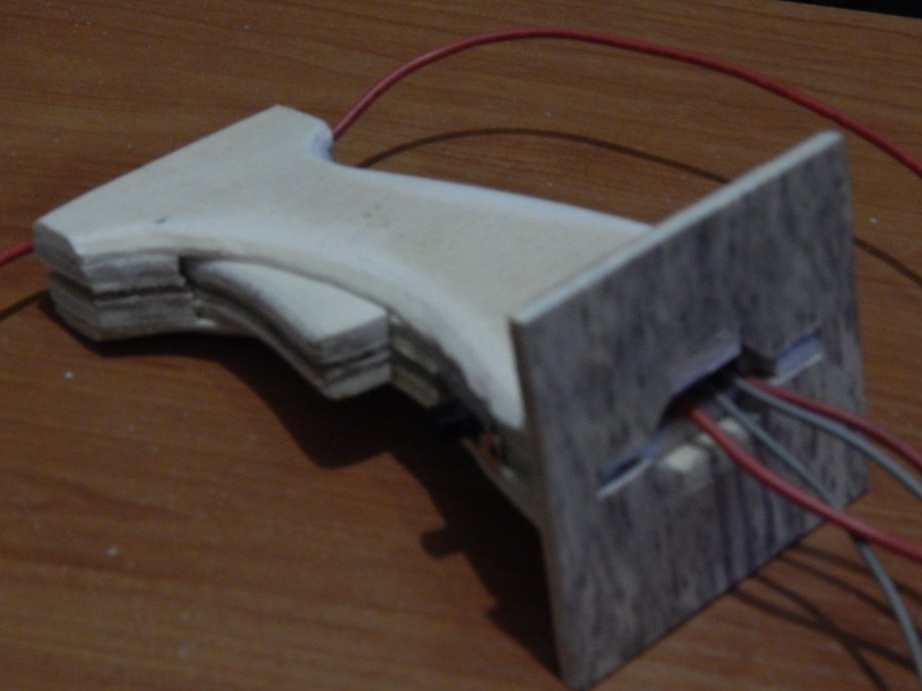
In its final form, the handle looks like this:
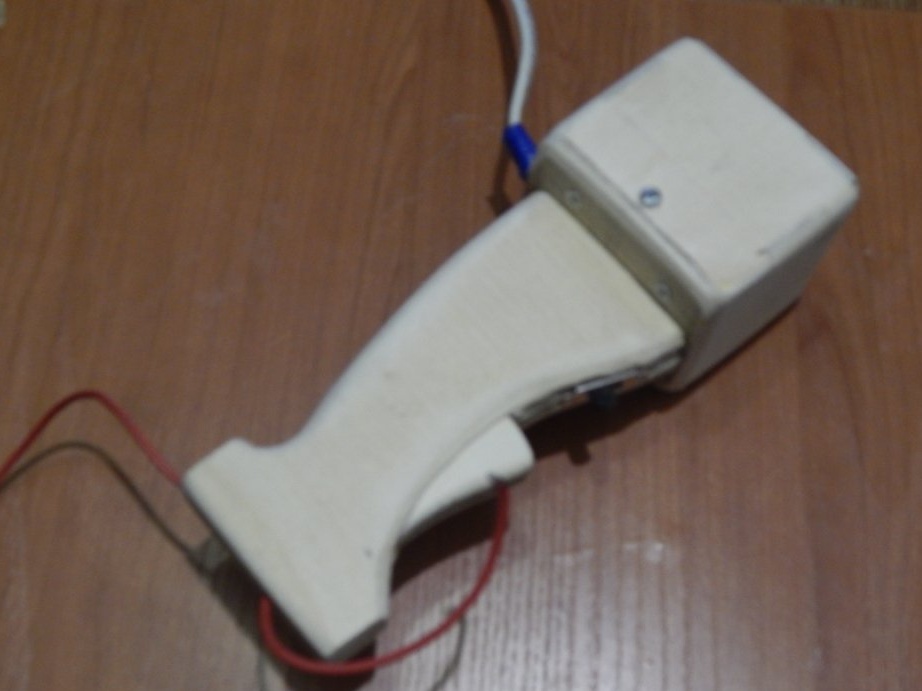
I didn’t paint or varnish it in order to exclude the possibility of gluing the “trigger” to the handle body.
Now we proceed to finalize the jigsaw staples. As an insulator, I used fiberglass 2 mm thick.
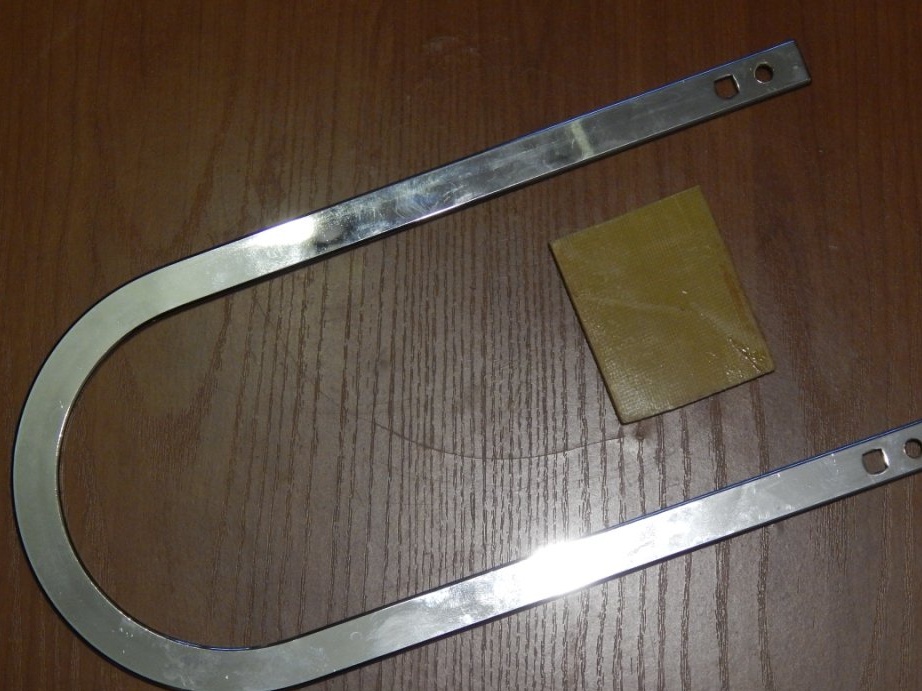
At the ends of the bracket
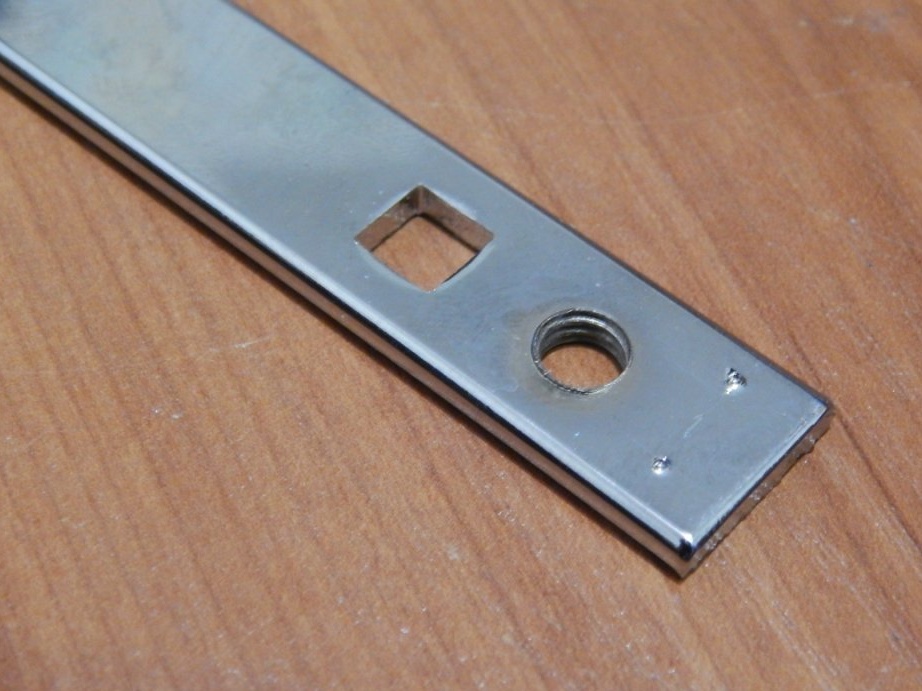
We drill two holes 2.5 mm
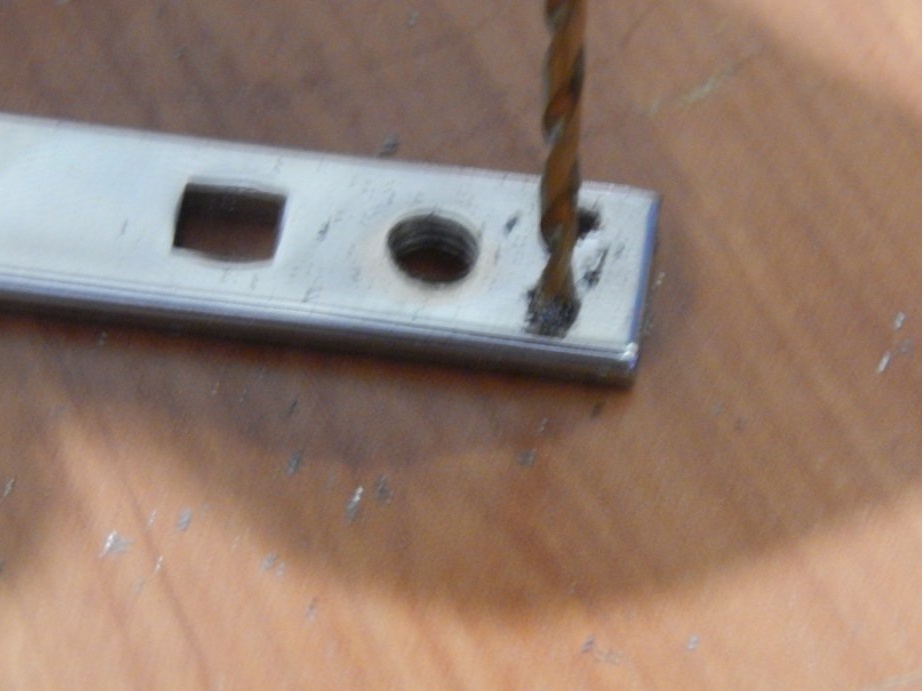
Then we cut the M3 thread to fasten the insulating plate (as it turned out later it was enough to do this only at one end of the bracket).

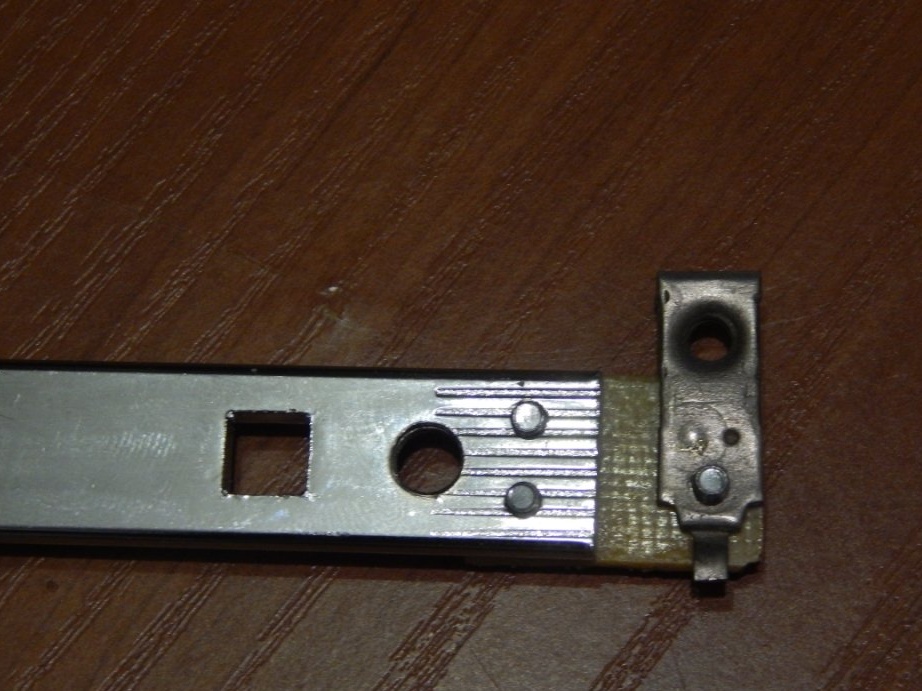
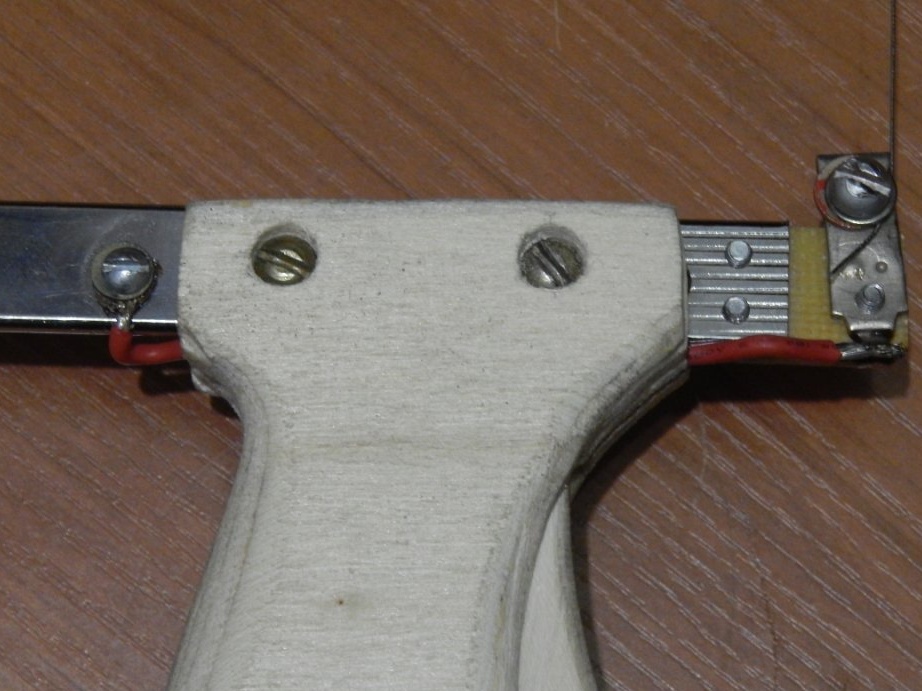
To fix the nichrome wire, an input contact plate from an old electric meter and a fixed contact from a magnetic starter were used
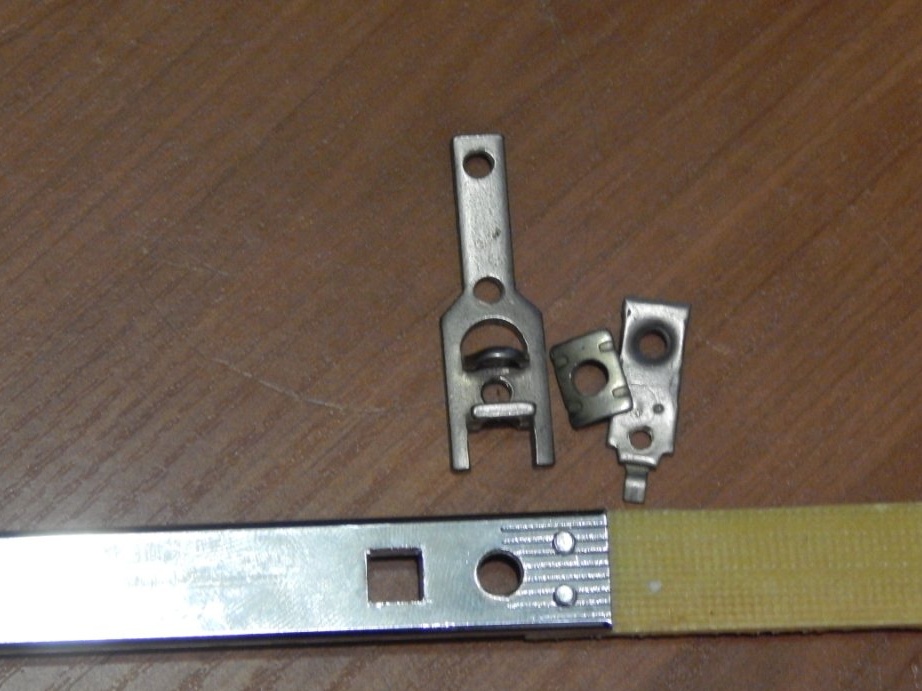
Since the jigsaw bracket will be used as a conductor, it is not necessary to isolate the upper end. I wanted to install the upper insulating plate for symmetrical mounting, but then I considered it unnecessary and used a part of the electric meter, which, with a little refinement, worked very well.
The lower contact plate was already installed, guided by the upper fixture, so that the nichrome was stretched relatively smoothly. It doesn’t matter for work, but still I didn’t want it to look crooked.
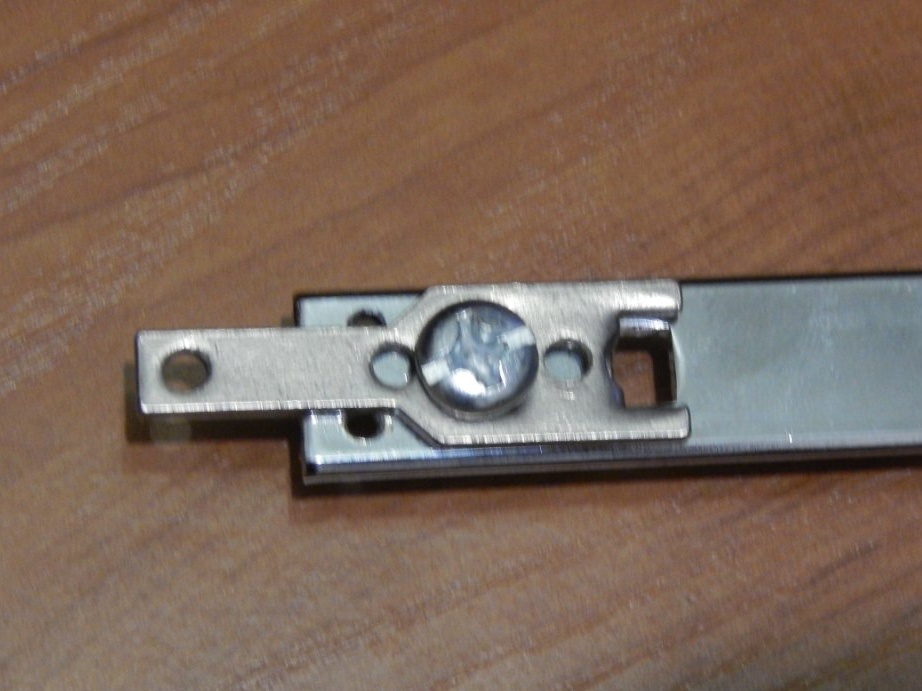
To connect the bracket to the handle in the bracket, it was enough to drill only one hole in addition to the existing ones.
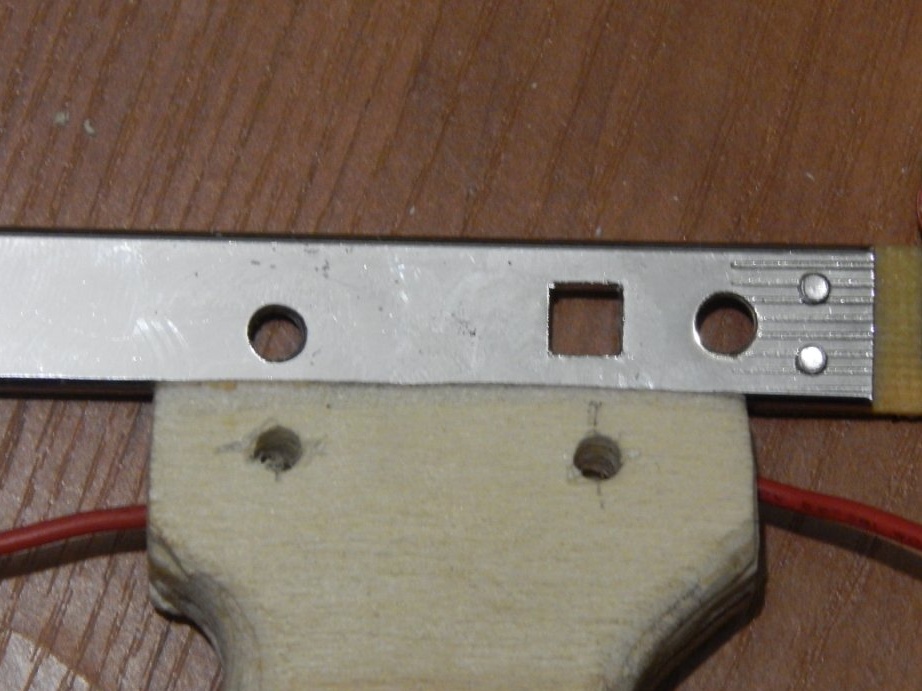
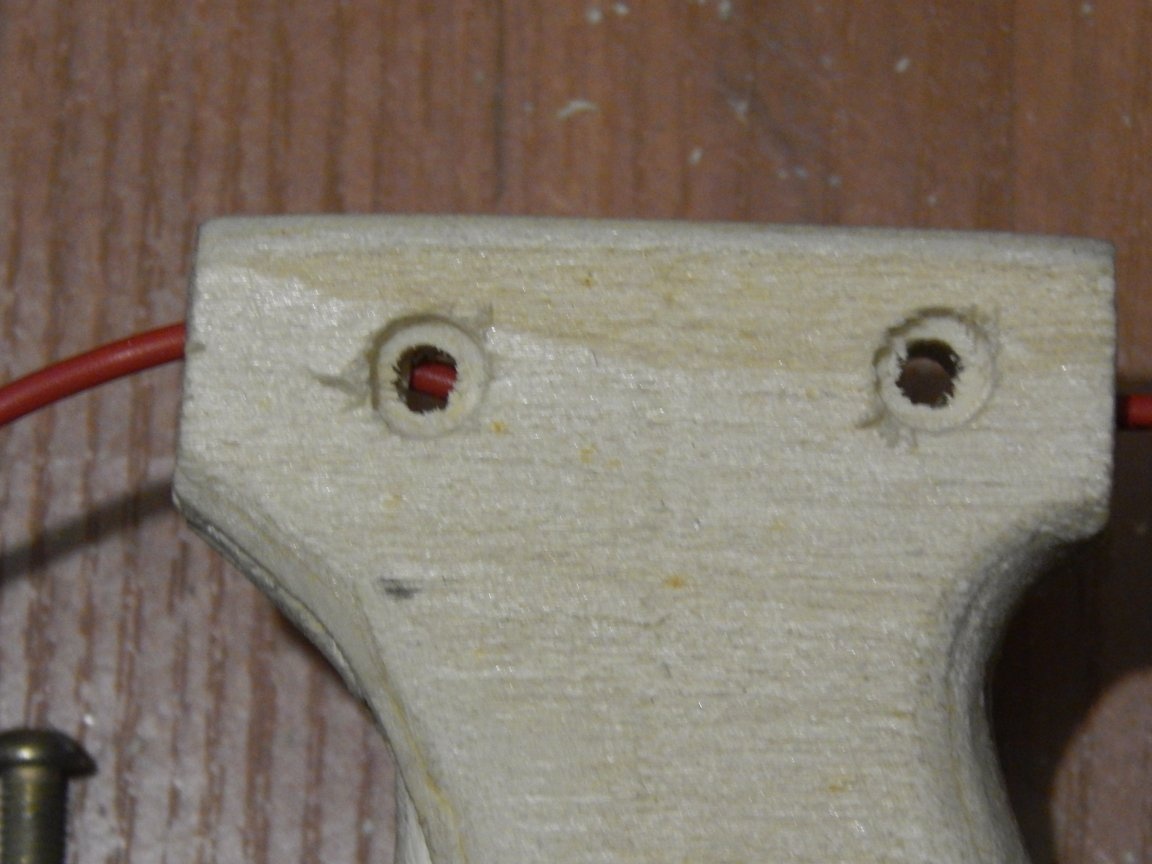
The parts are interconnected by two M5 bolts with semicircular spline heads (the type of head does not play a role). Nuts and bolt heads are recessed in the handle body, for which through holes were drilled up to ø8 mm. to a depth of 5 mm.
We connect one of the wires coming from the secondary winding of the transformer directly to the bracket using a screw.
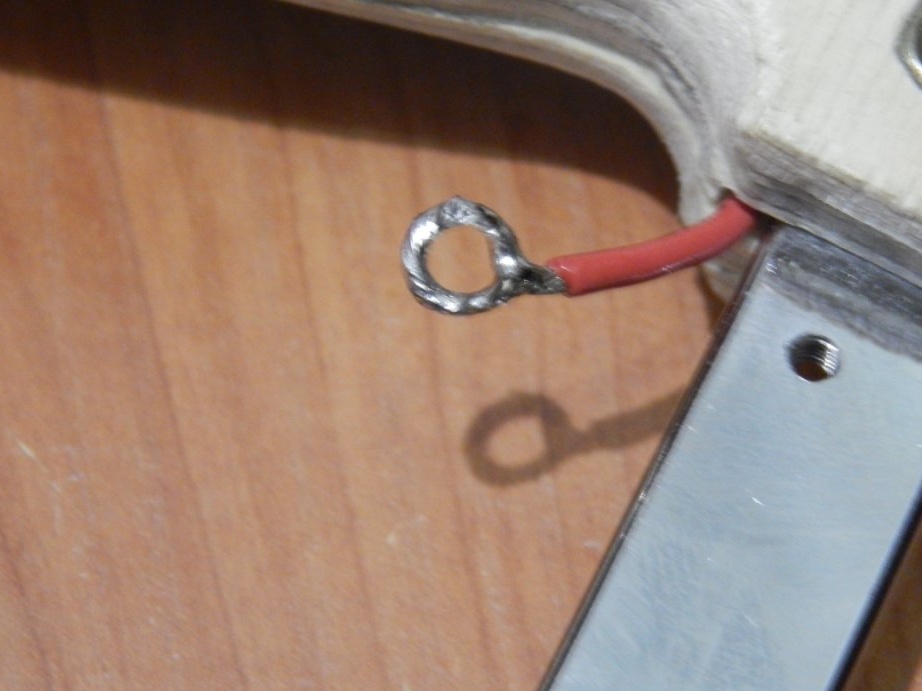
Solder another to the contact plate on the insulator.
We install the nichrome wire work element in the same way as a jigsaw file, with the only difference being that we clamp it between two washers, making one revolution around the screw. Be sure to make a small stretch of the wire, since nichrome when heated is quite much longer. Nichrome was used from a spiral used in household appliances.
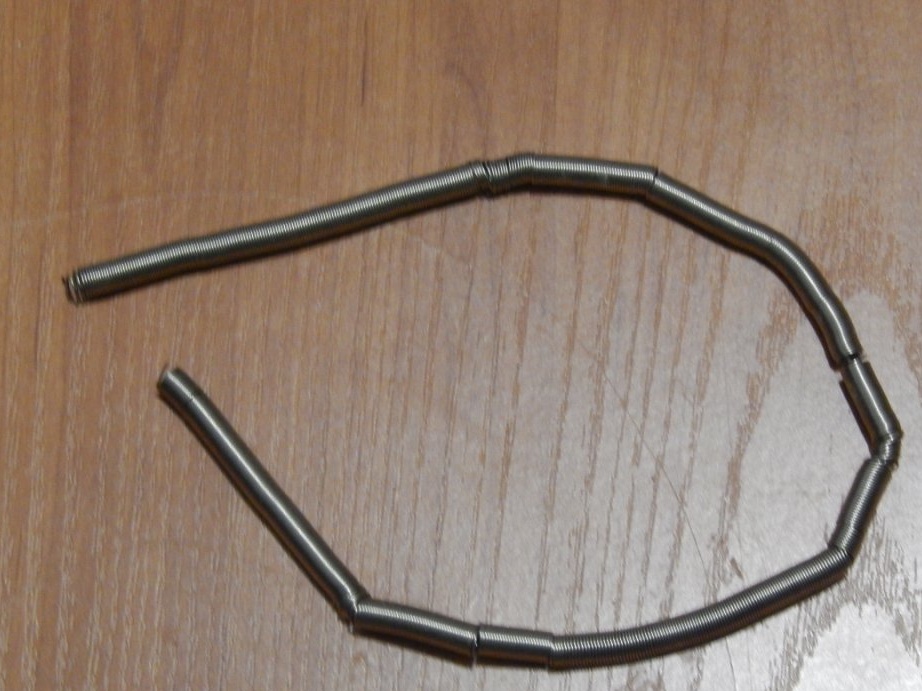
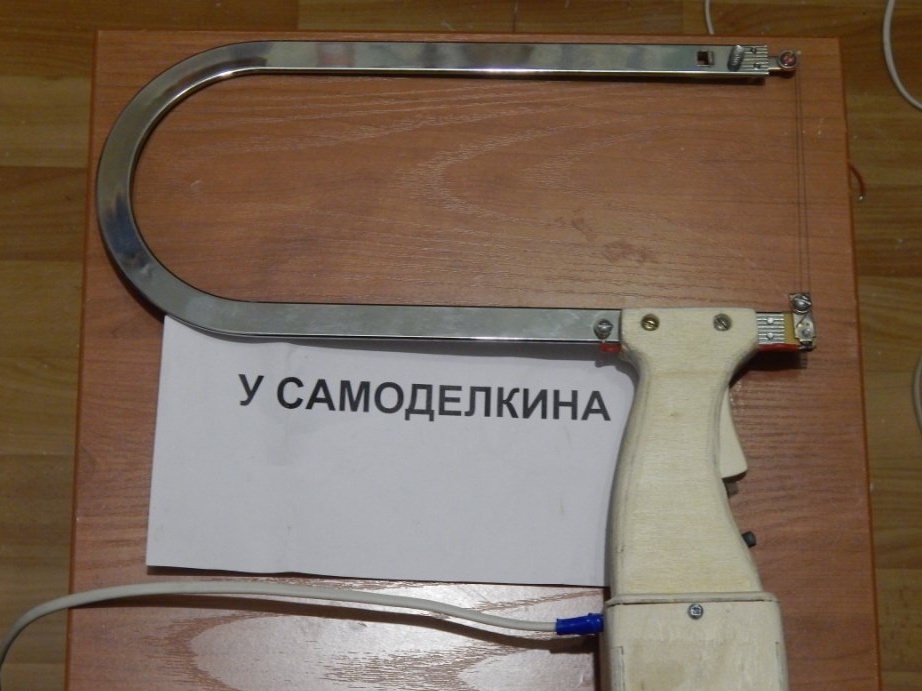
As a result, we got such a tool for working with polystyrene.
I suggest looking at how the tool works in a short video.