

Hello dear the inhabitants of our site! In this article I want to describe and show in all details the process of manufacturing an organizer for a certain number of screwdrivers, which does not take up much space in the workshop and which can be hung on any surface.
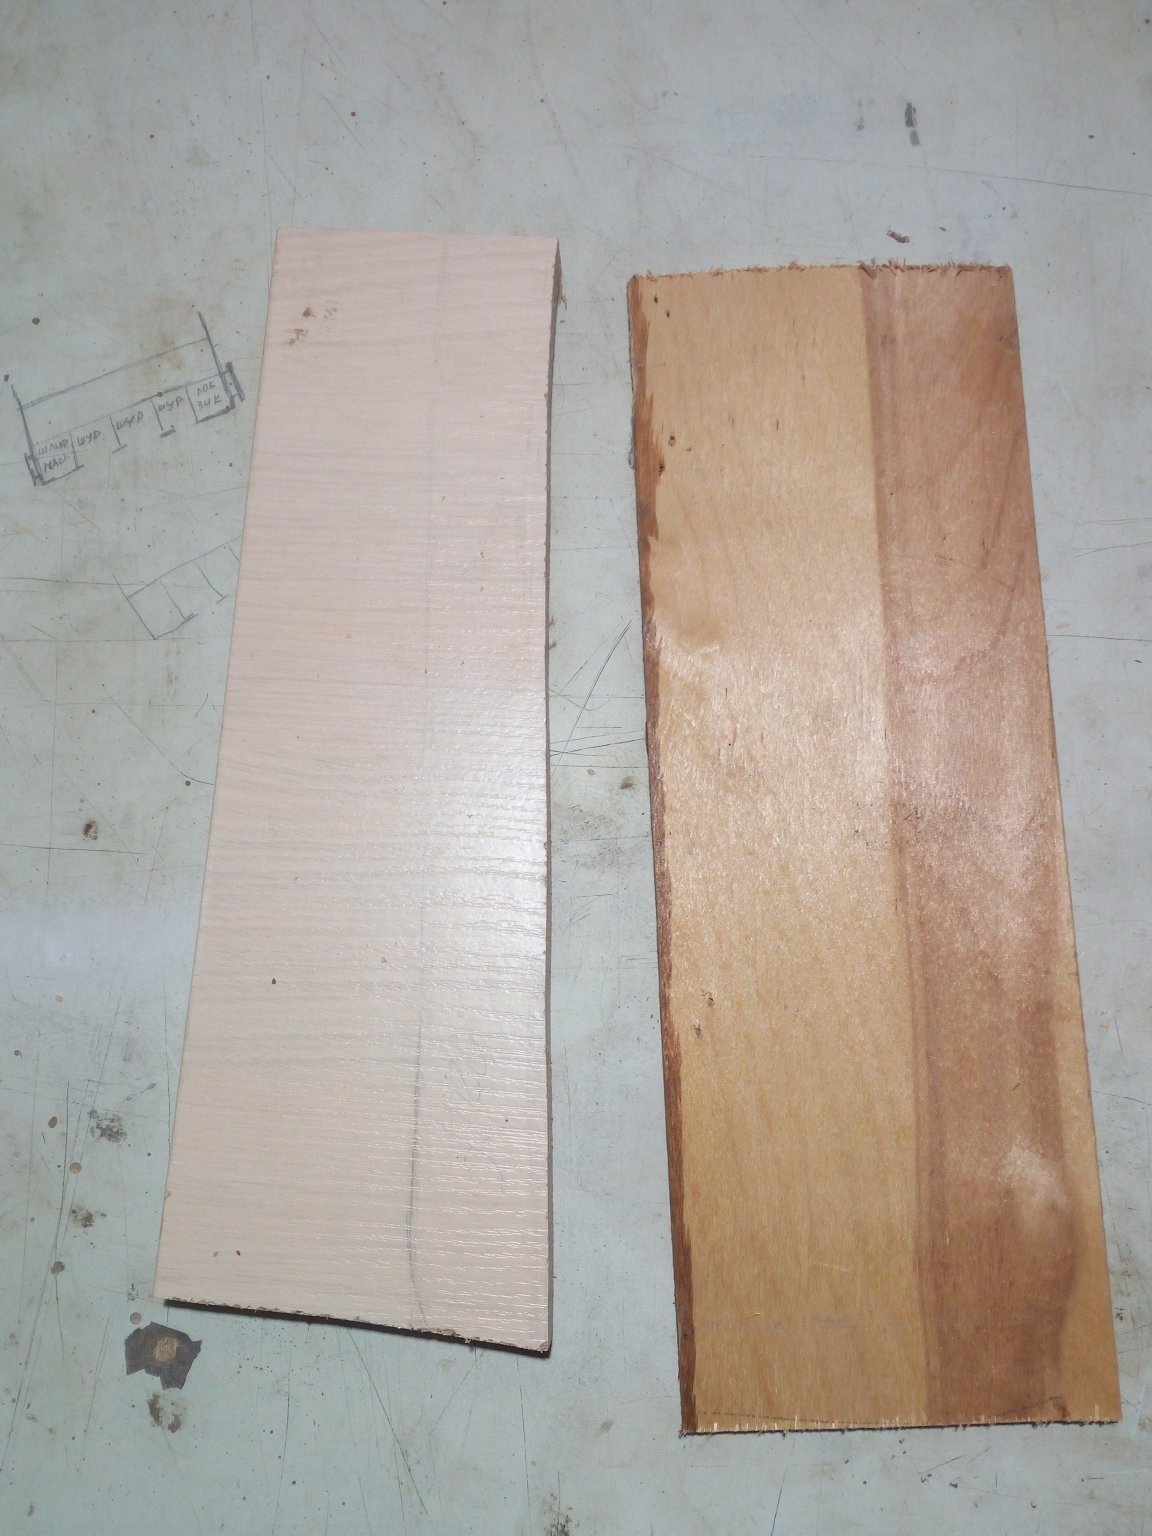
For its manufacture, I used a chipboard chip and a piece of plywood of 12 mm.
From the tools I needed:
-electric jigsaw with a file with small teeth,
a screwdriver with drills of different diameters,
-Sander,
M8 stud, 2 nuts and 4 washers, an aluminum tube and wood screws and a small piece of 0.2 mm steel.
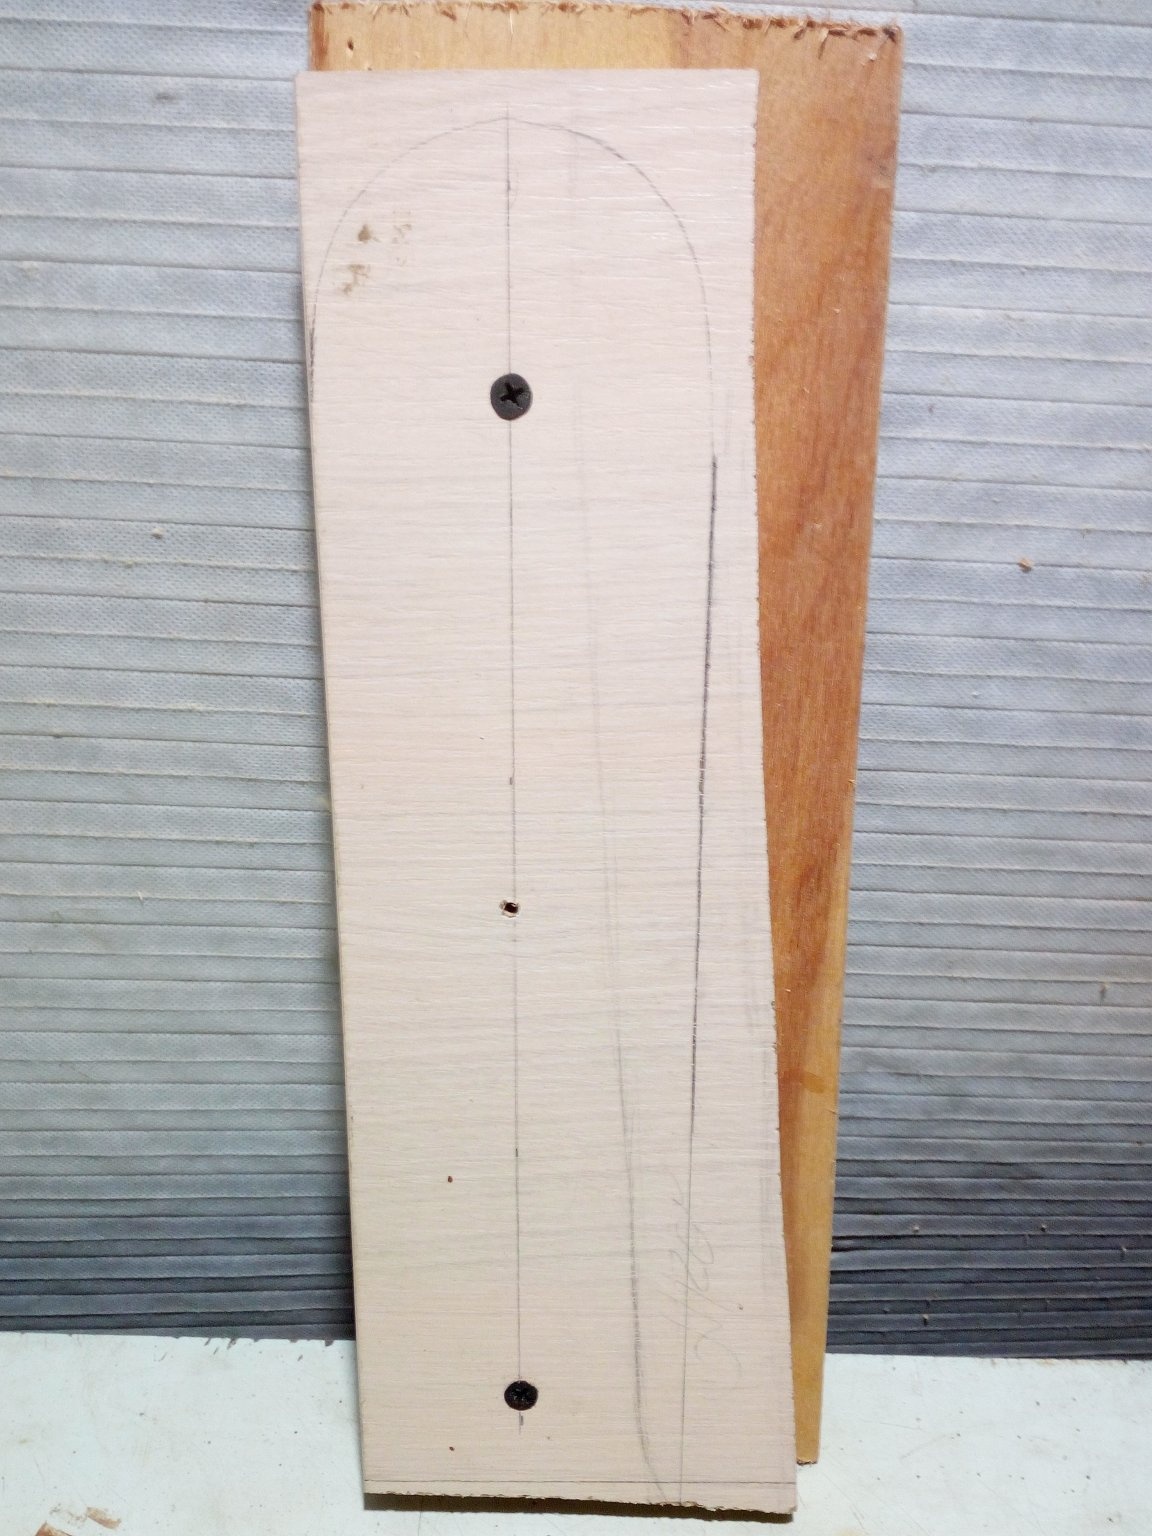
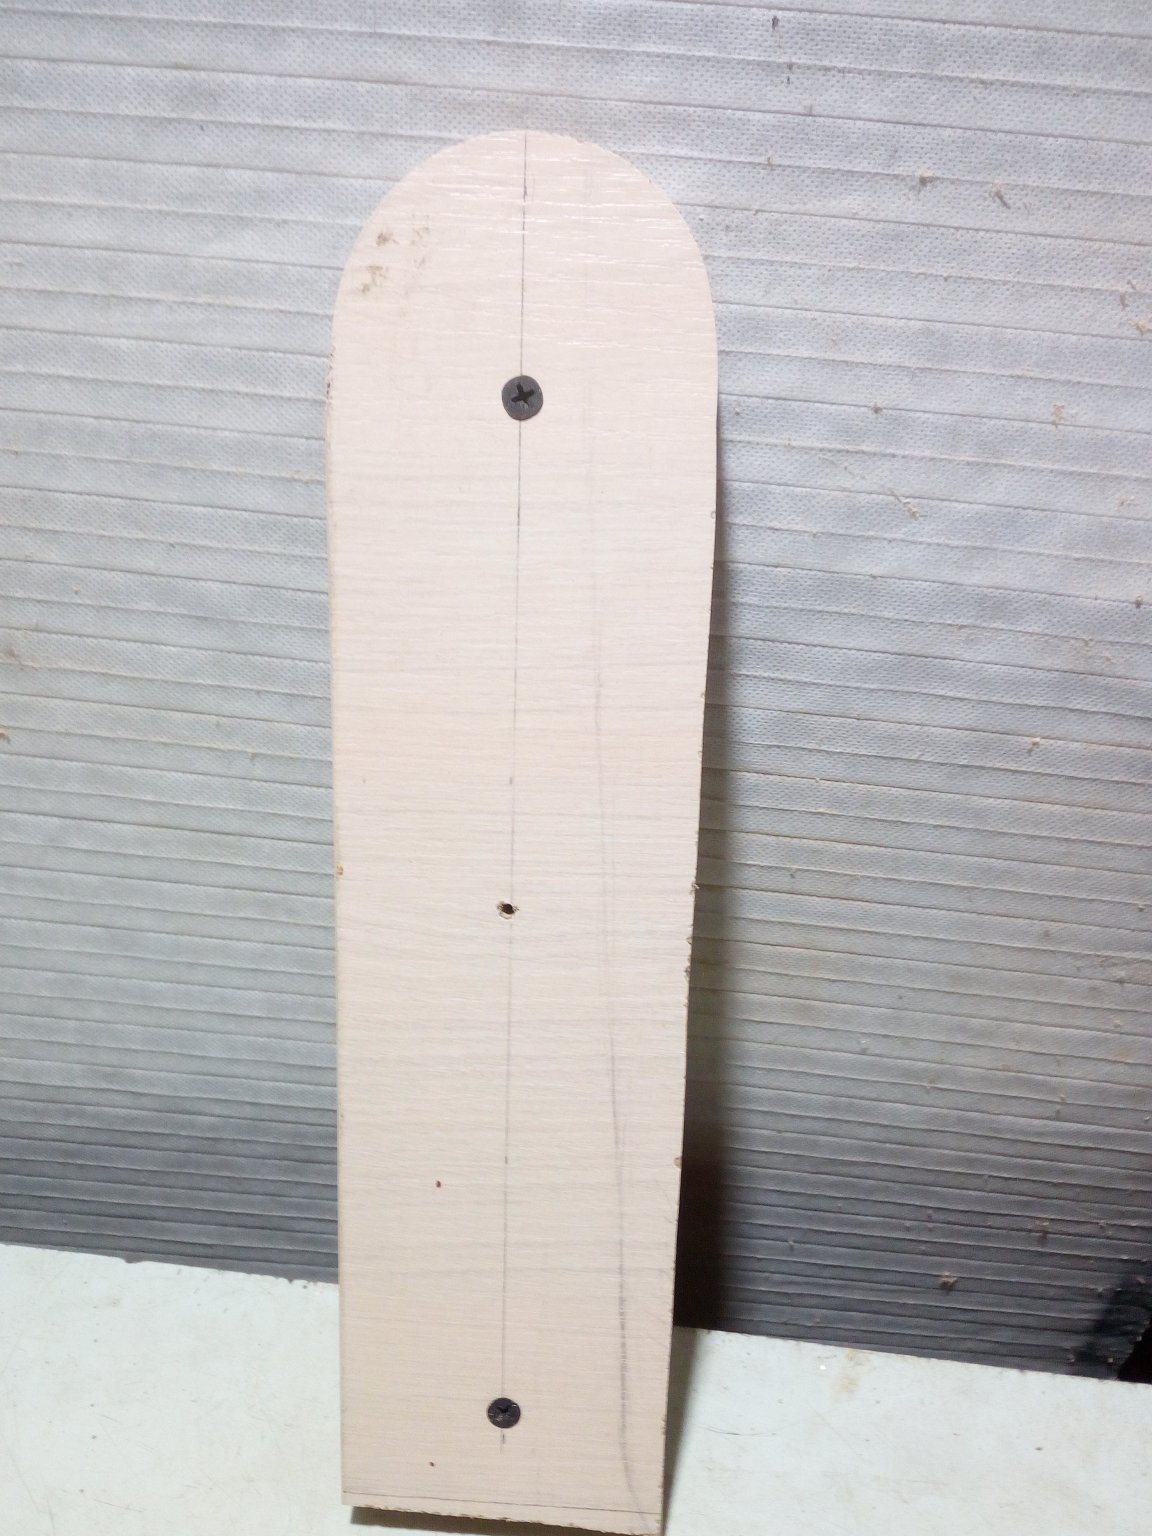
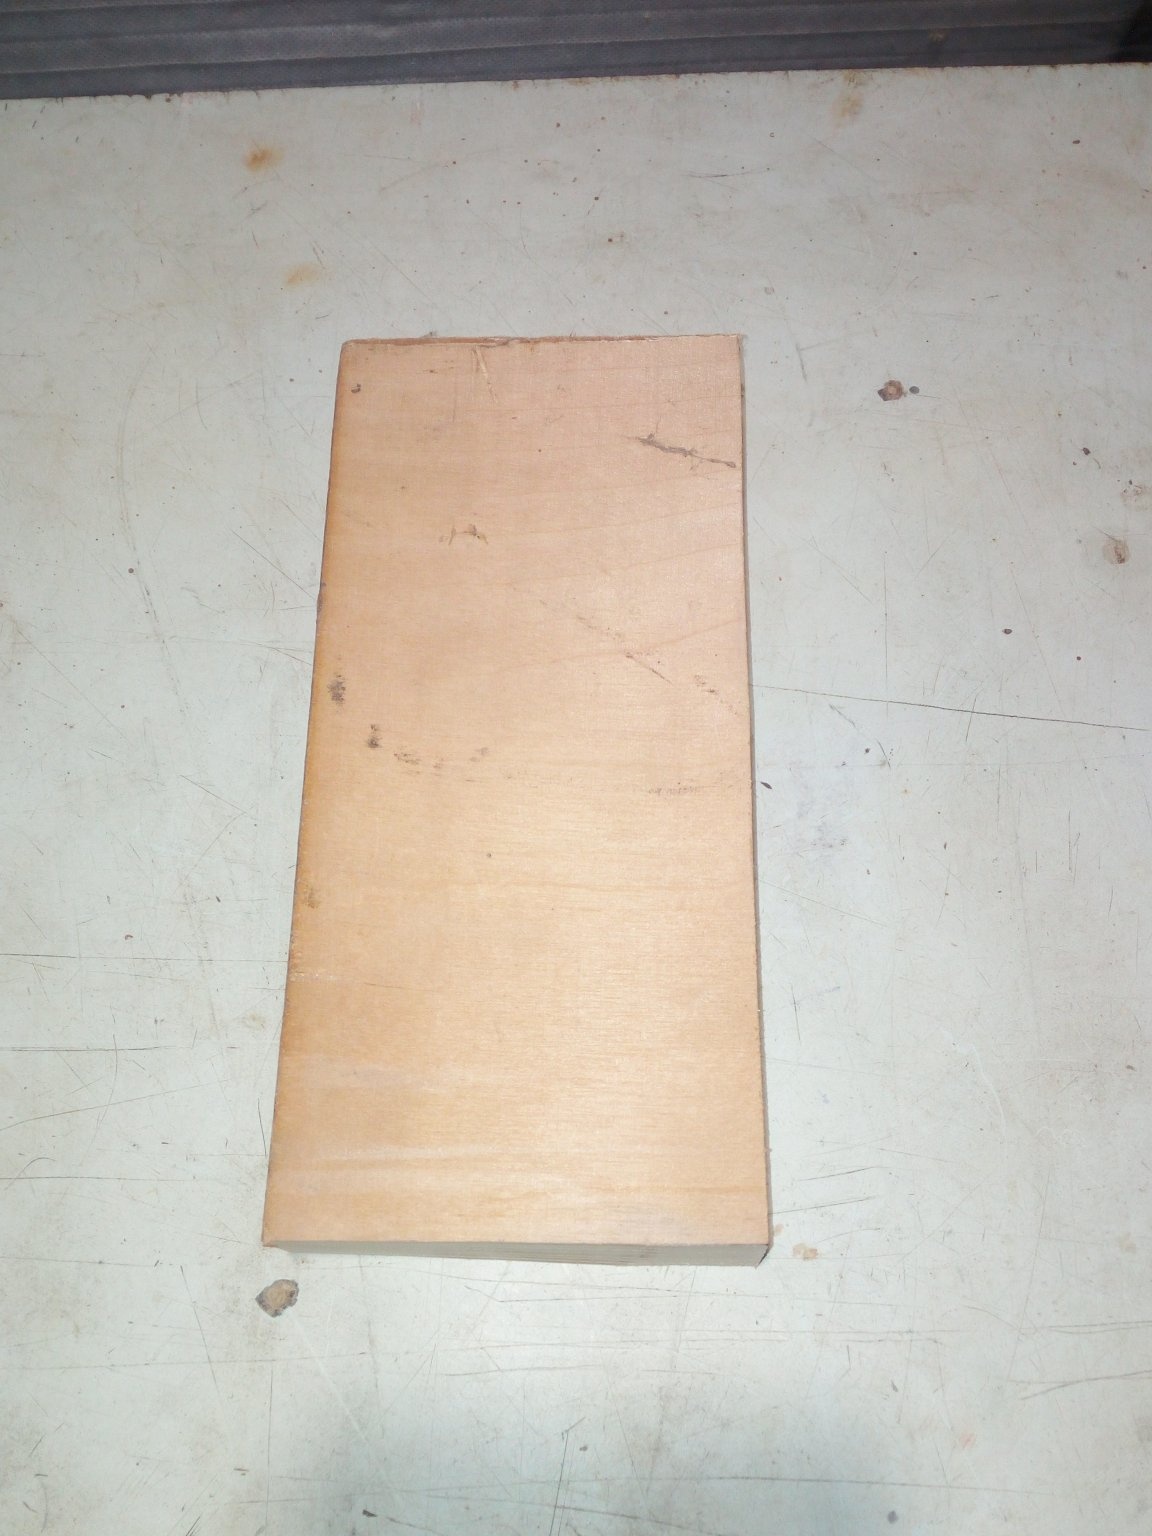
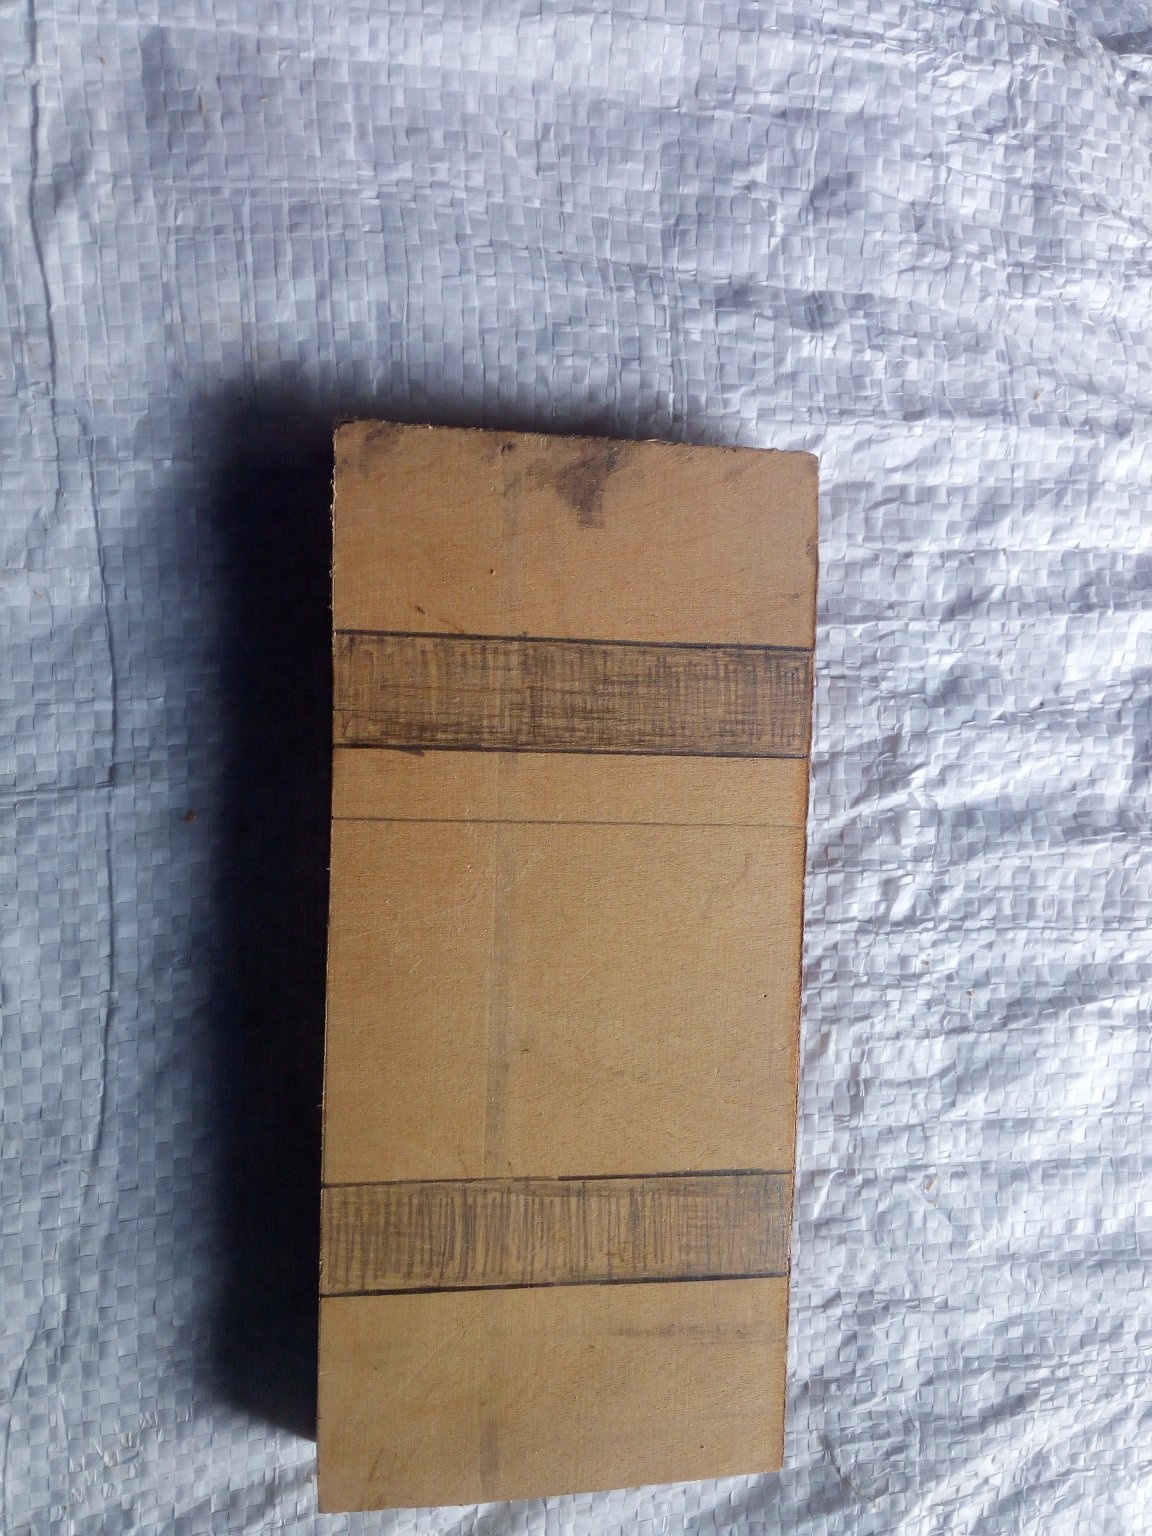
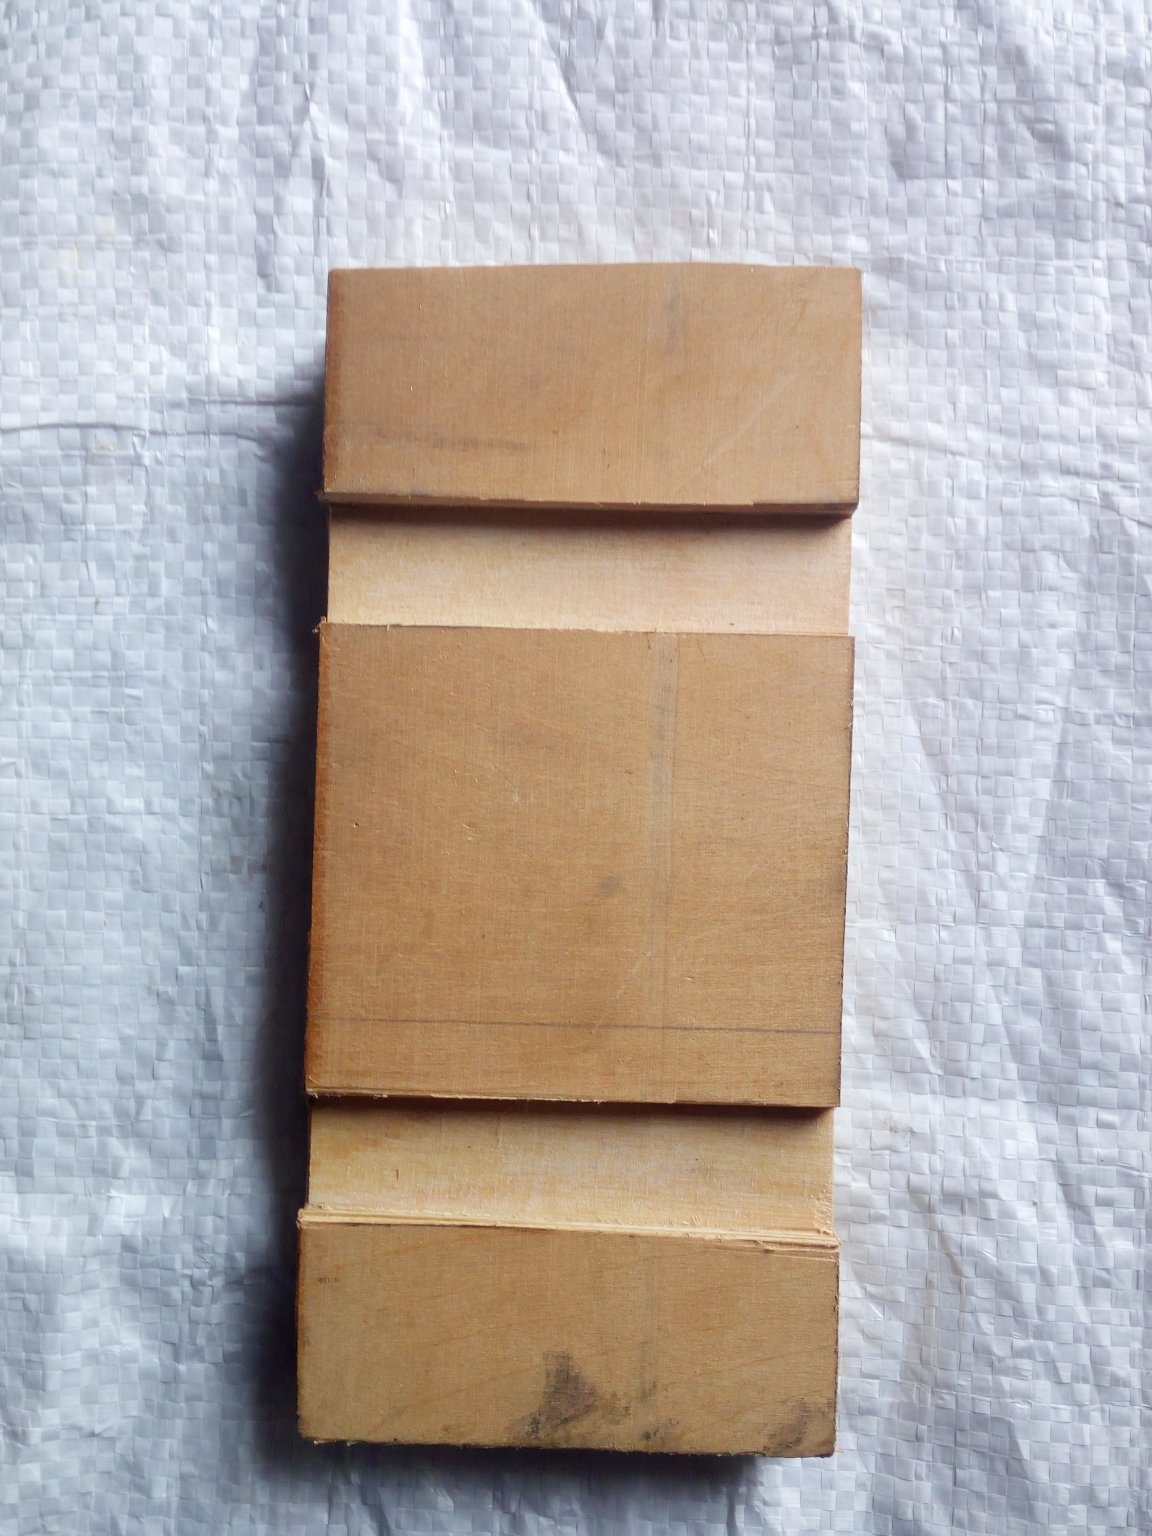
Whatever you say, a screwdriver in any workshop is a thing quite often in demand. I have a sufficient number of different shapes and sizes. I don’t know how others do it, but when I do something with their help, I can put them somewhere after work, and then look for it for a long time. This is completely inconvenient. So I decided to make such a small organizer for myself, in my case with 14 screwdrivers. For the basics, a piece of chipboard and a piece of plywood came up to me. It could be made entirely of plywood, but I figured that the upper base should be thicker. Taking two blanks, I connected them together with self-tapping screws, having previously drawn the center line on them. It is necessary to connect so that when drilling holes they are exactly on one against the other and have no displacement.
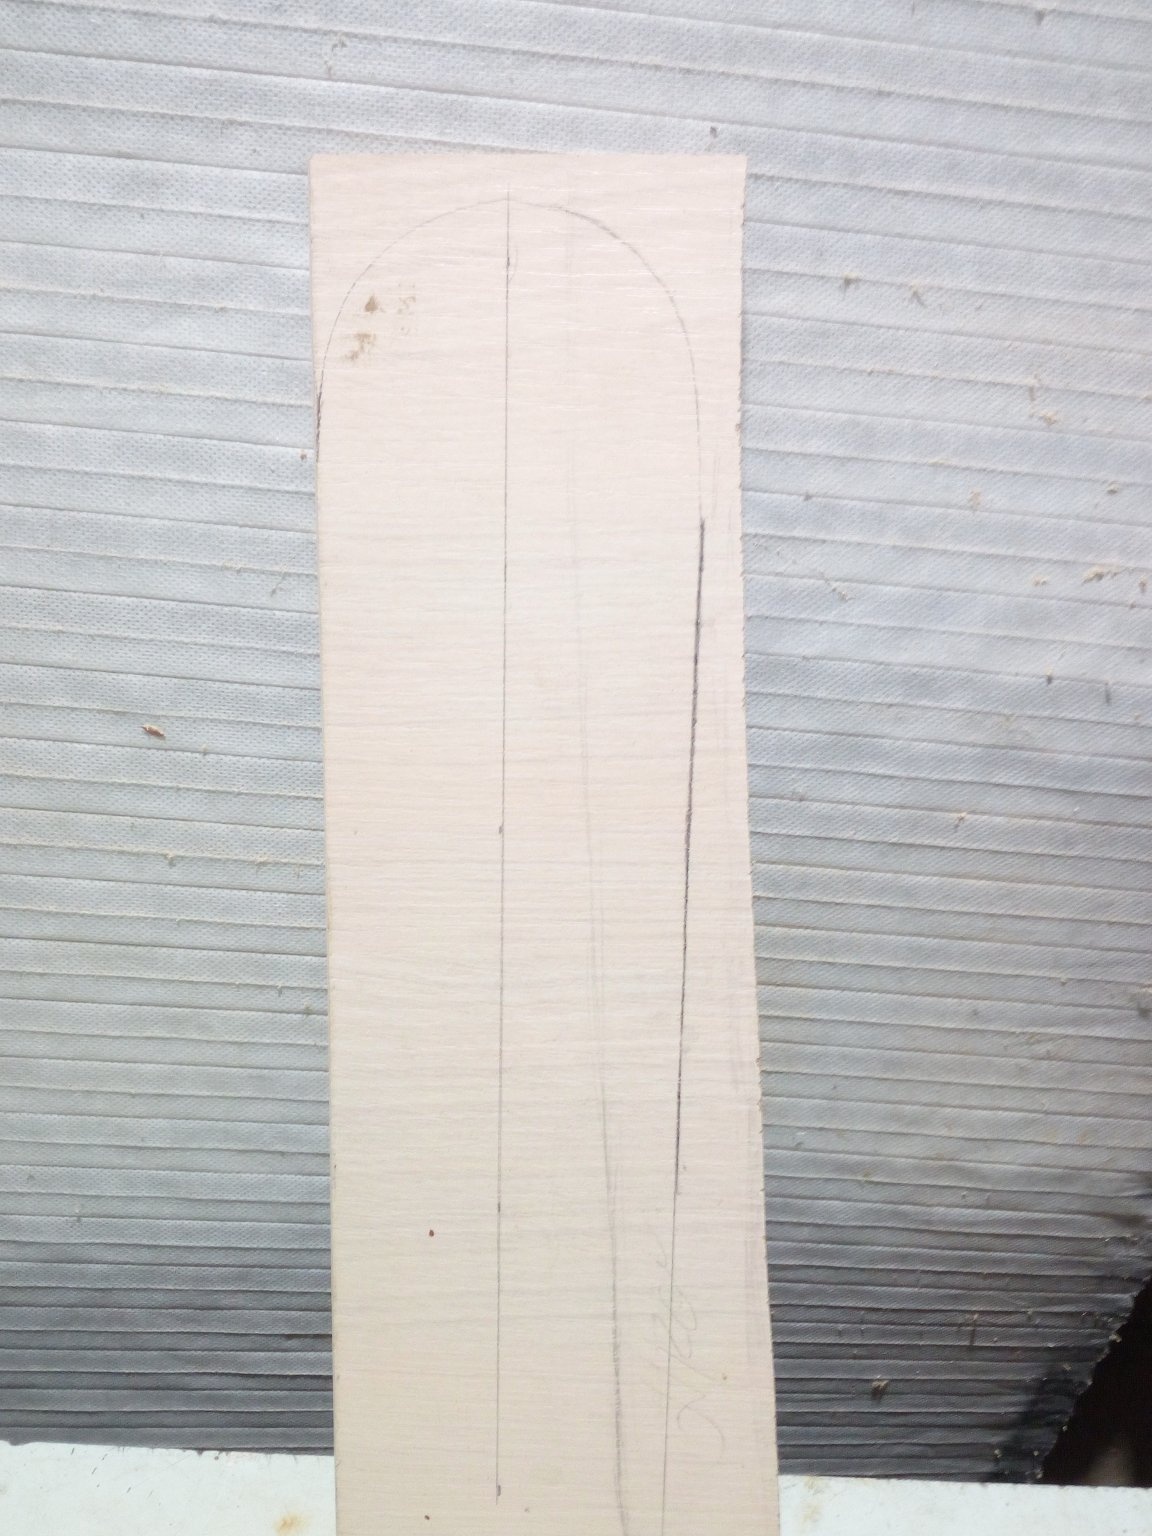
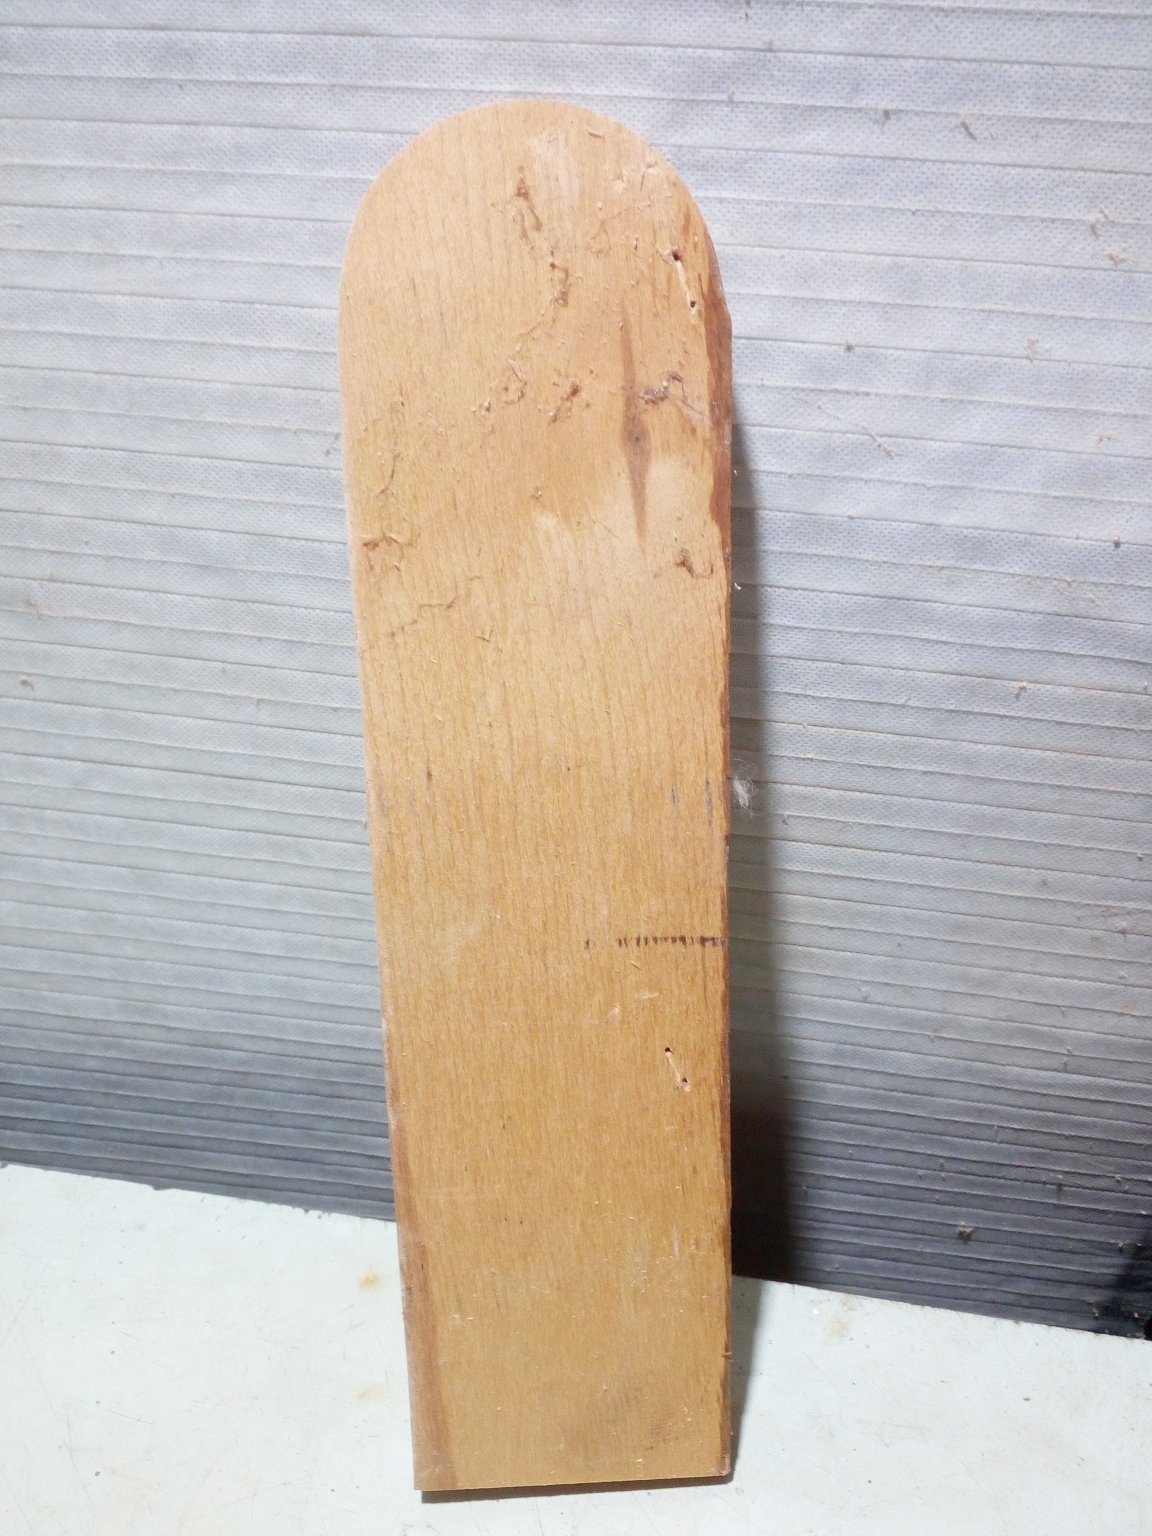
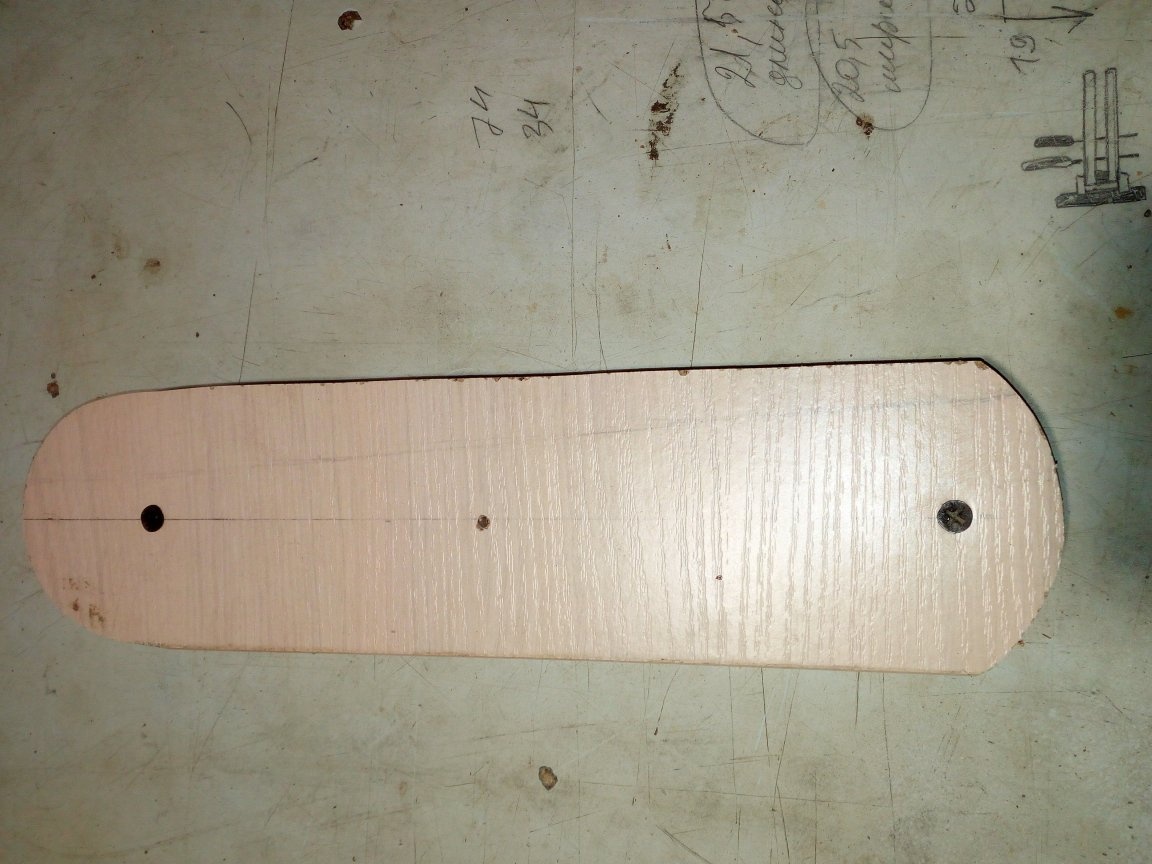
Then, on the top blank, I drew the form of the organizer, the one that I want to see in the end. With the help of a jigsaw, I cut out these parts according to the markup. After I round the second end and drill the central hole for the mount.
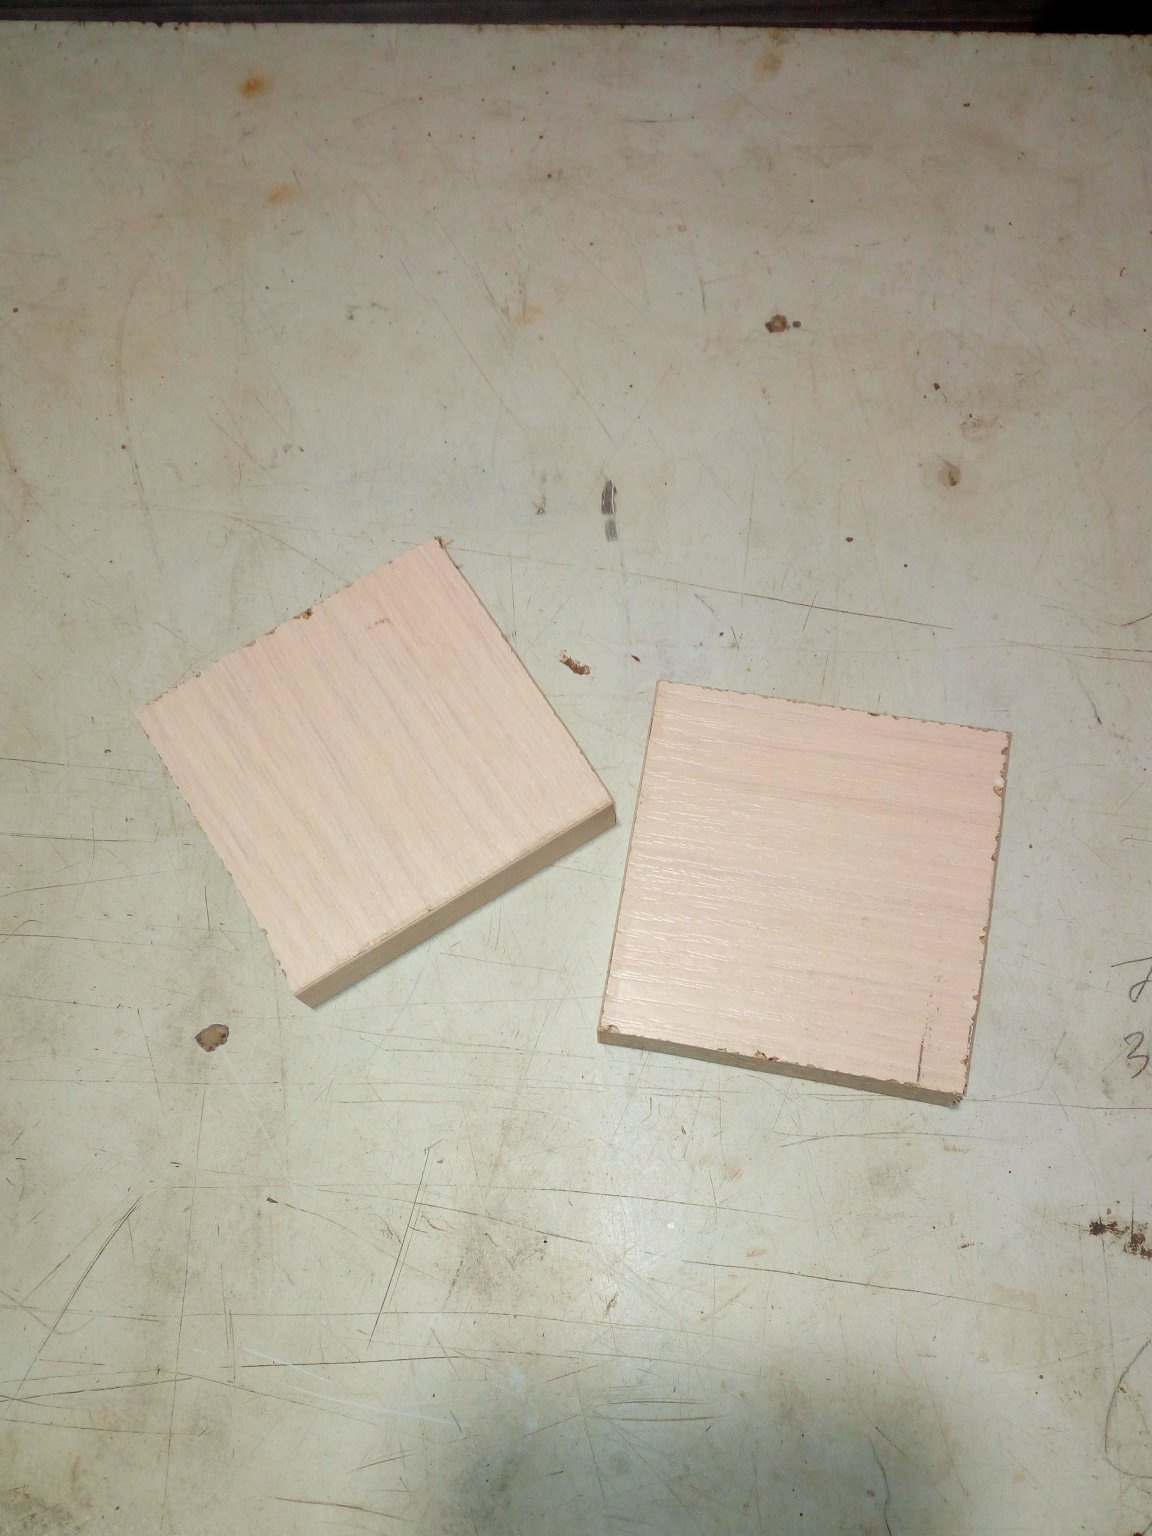
From a chipboard I cut out 2 square billets on which previously sawn parts will be attached. Under these squares, I make a rectangular base on which they will be installed.
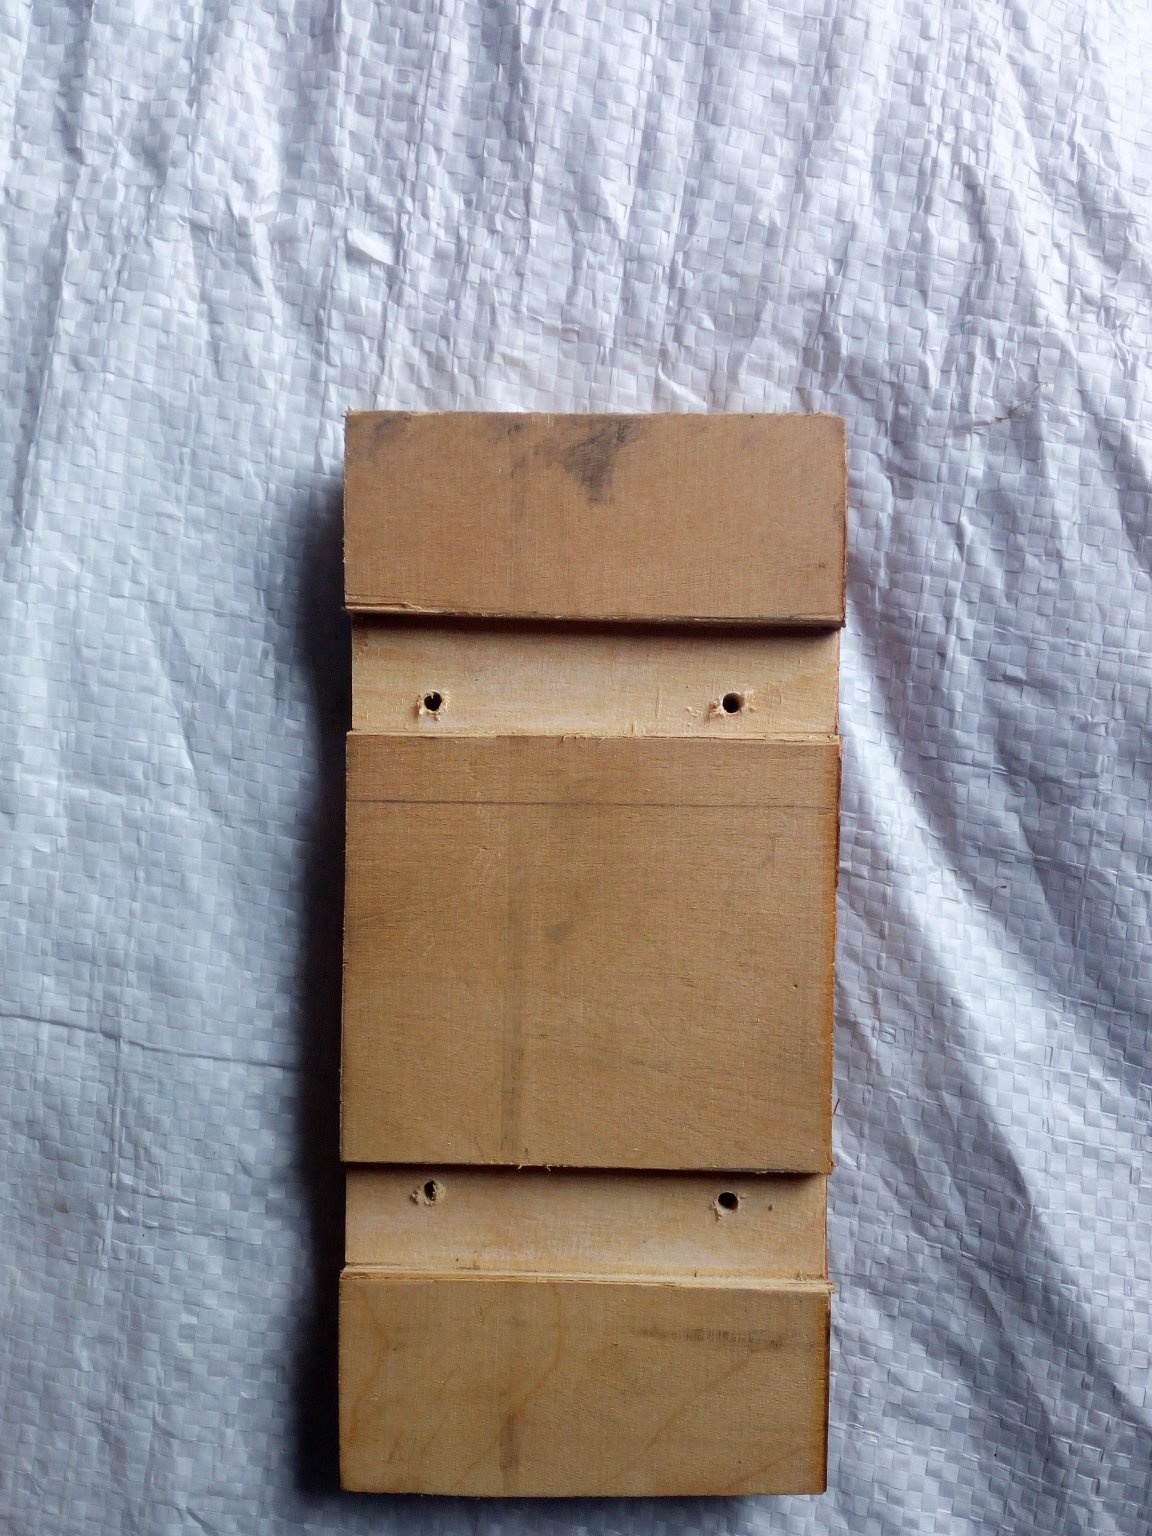
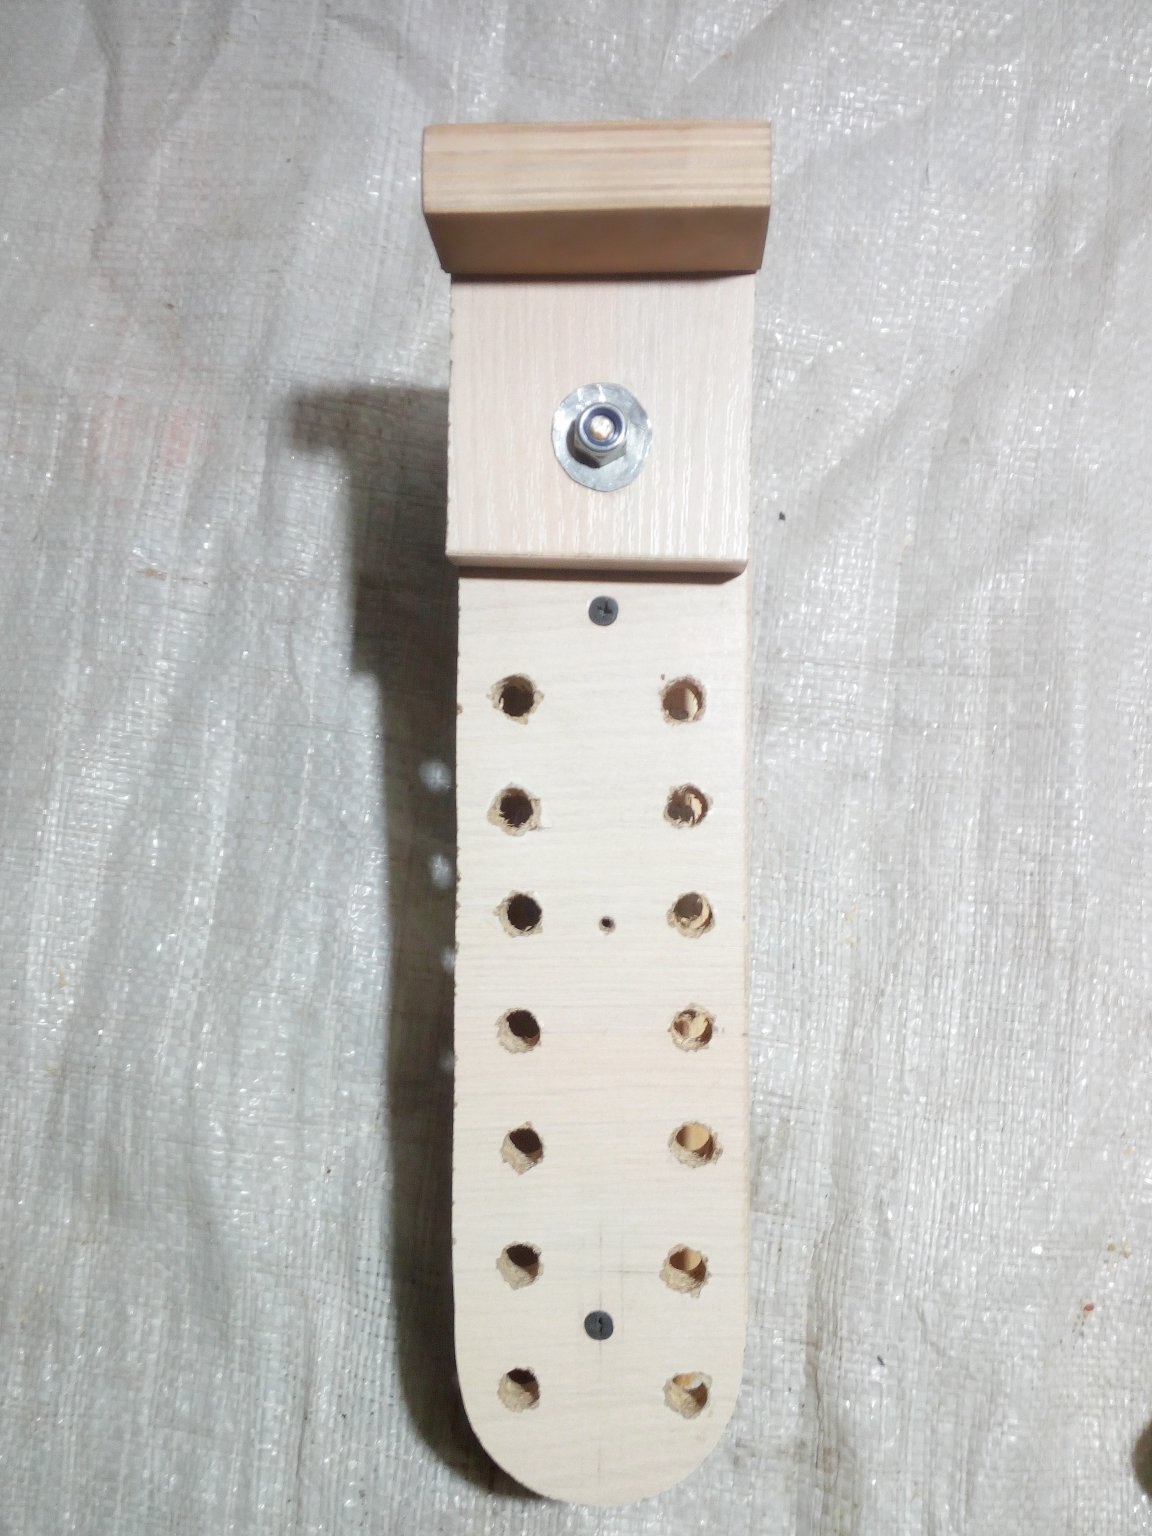
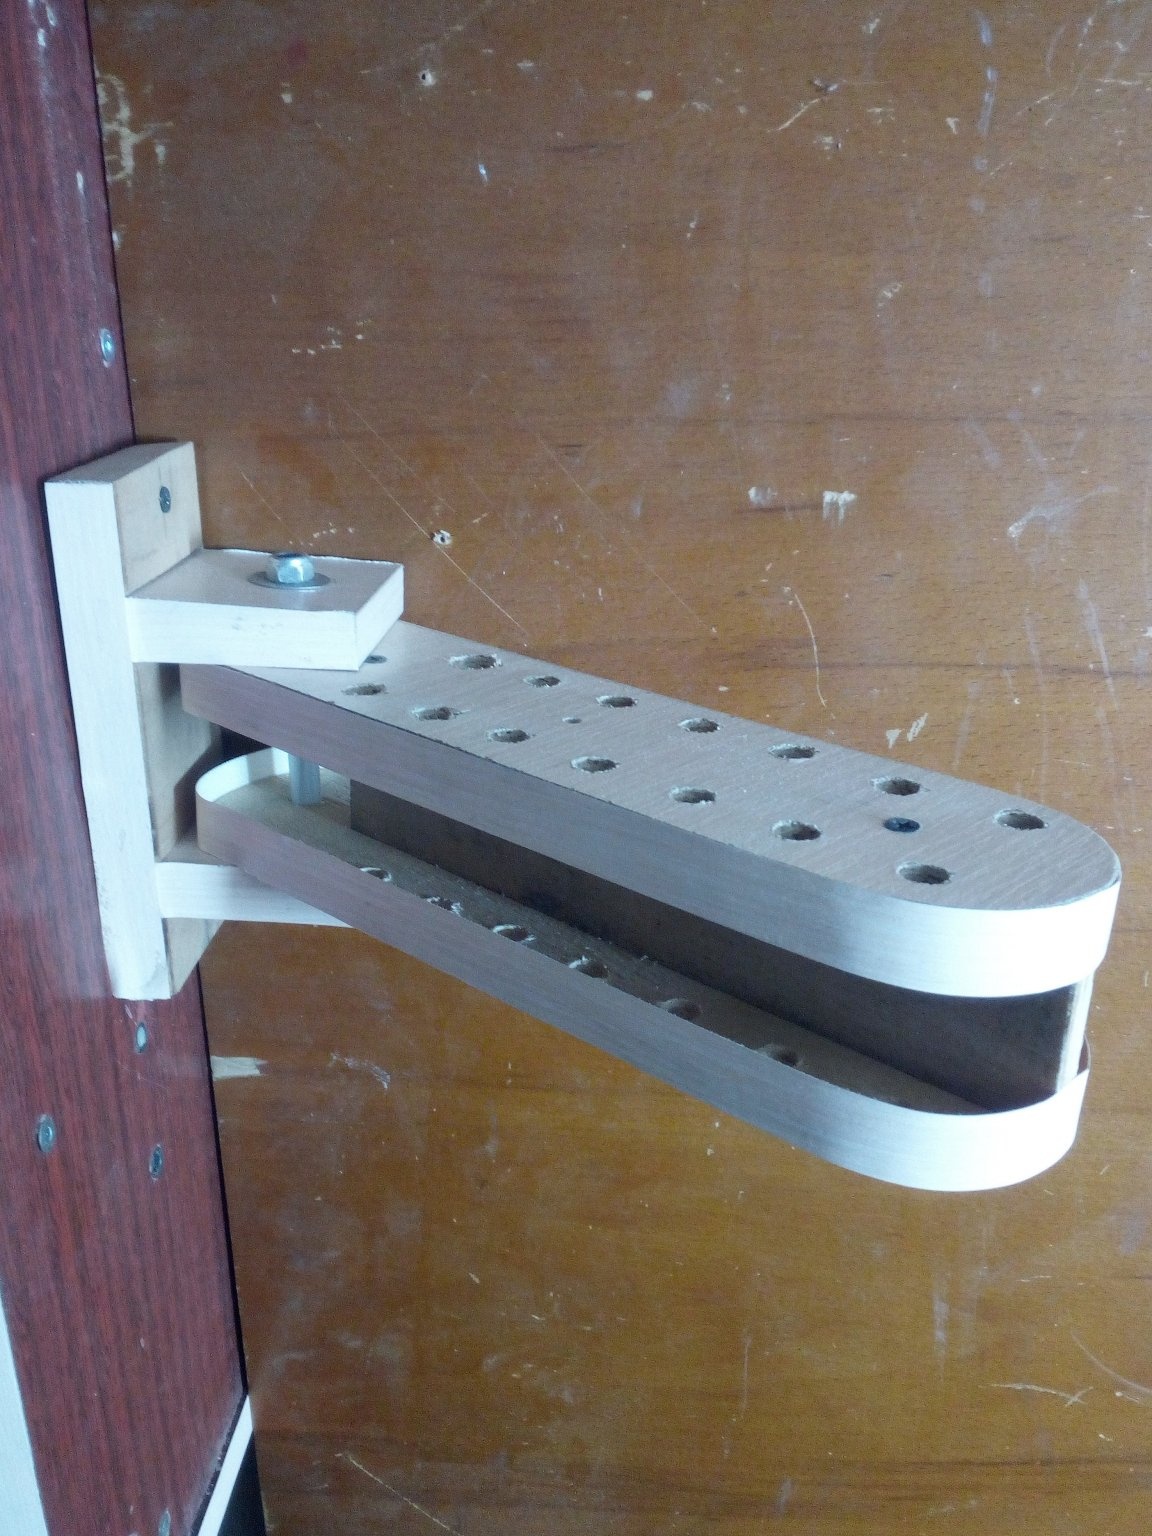
Then I make a marking for the holes in which the screwdrivers will enter. First, with a drill of a smaller diameter, I mark the holes, then with a larger drill, so that the largest screwdriver enters this hole, I drill through the existing ones.
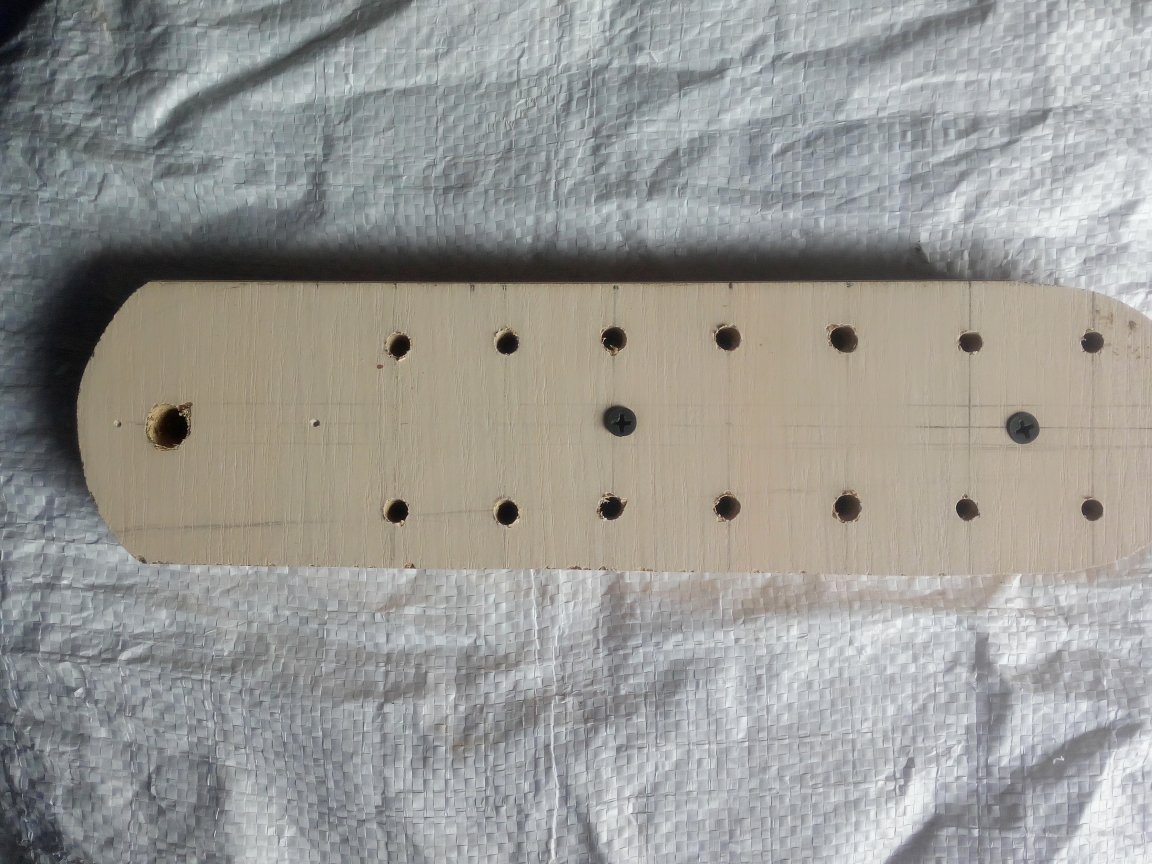
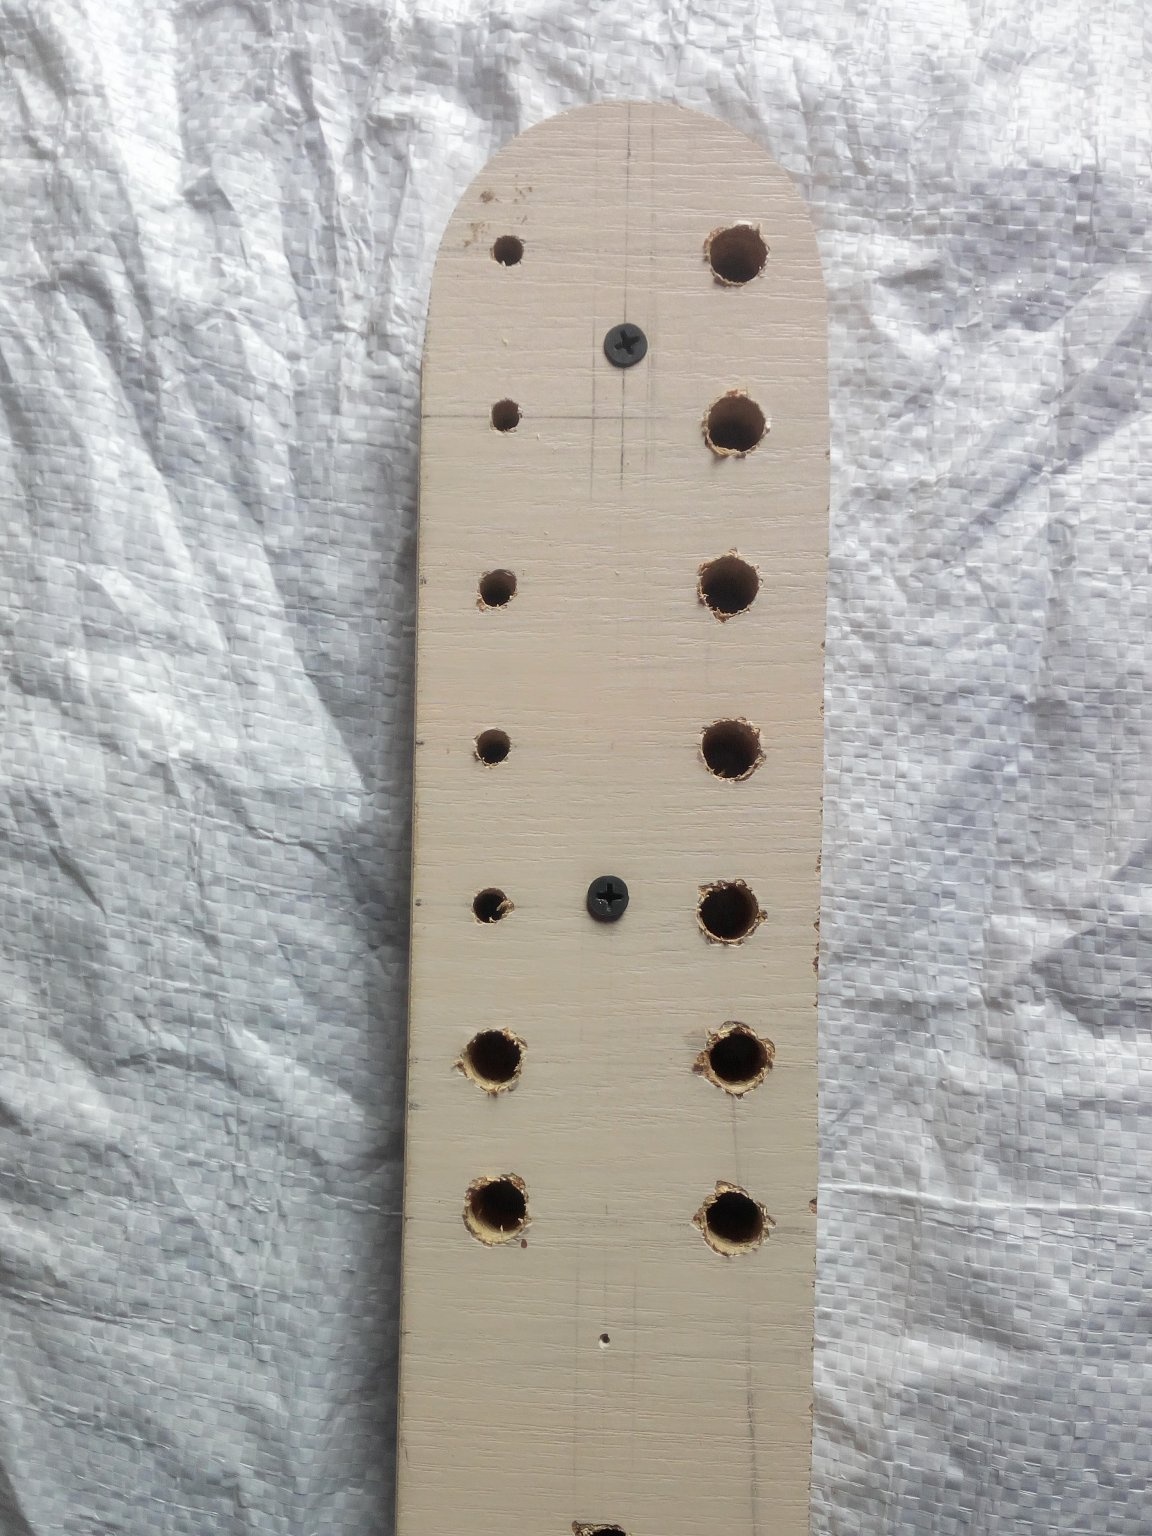
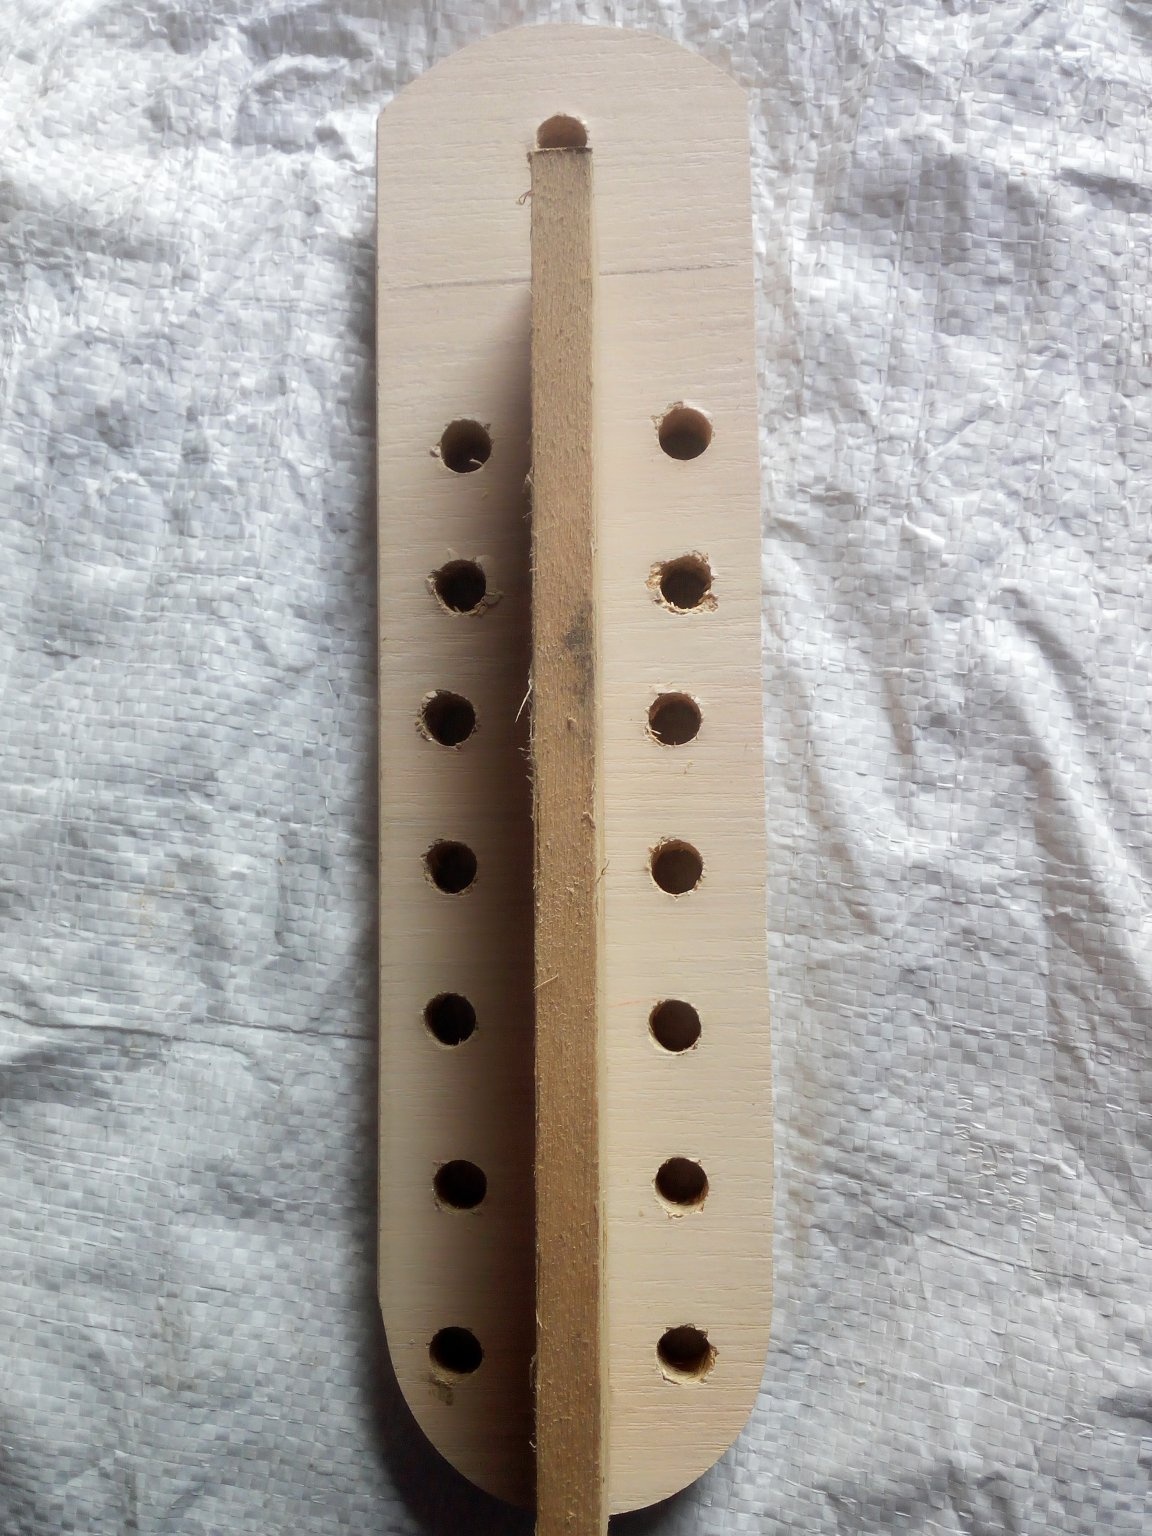
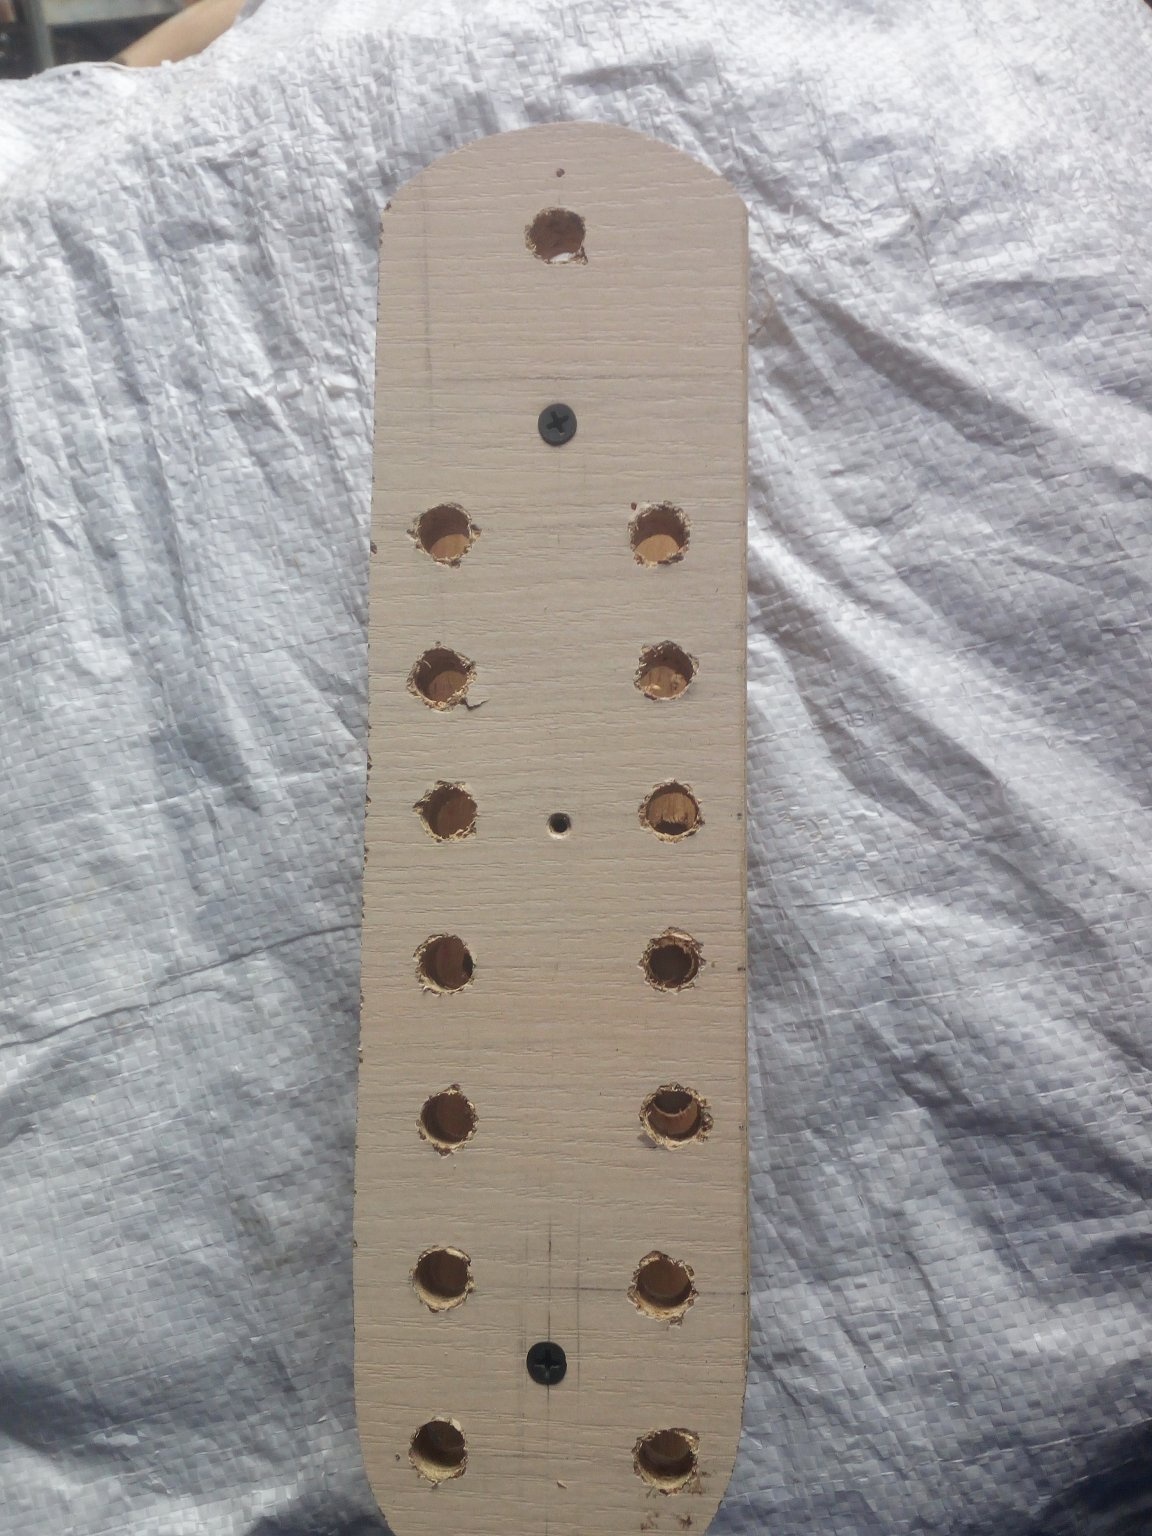
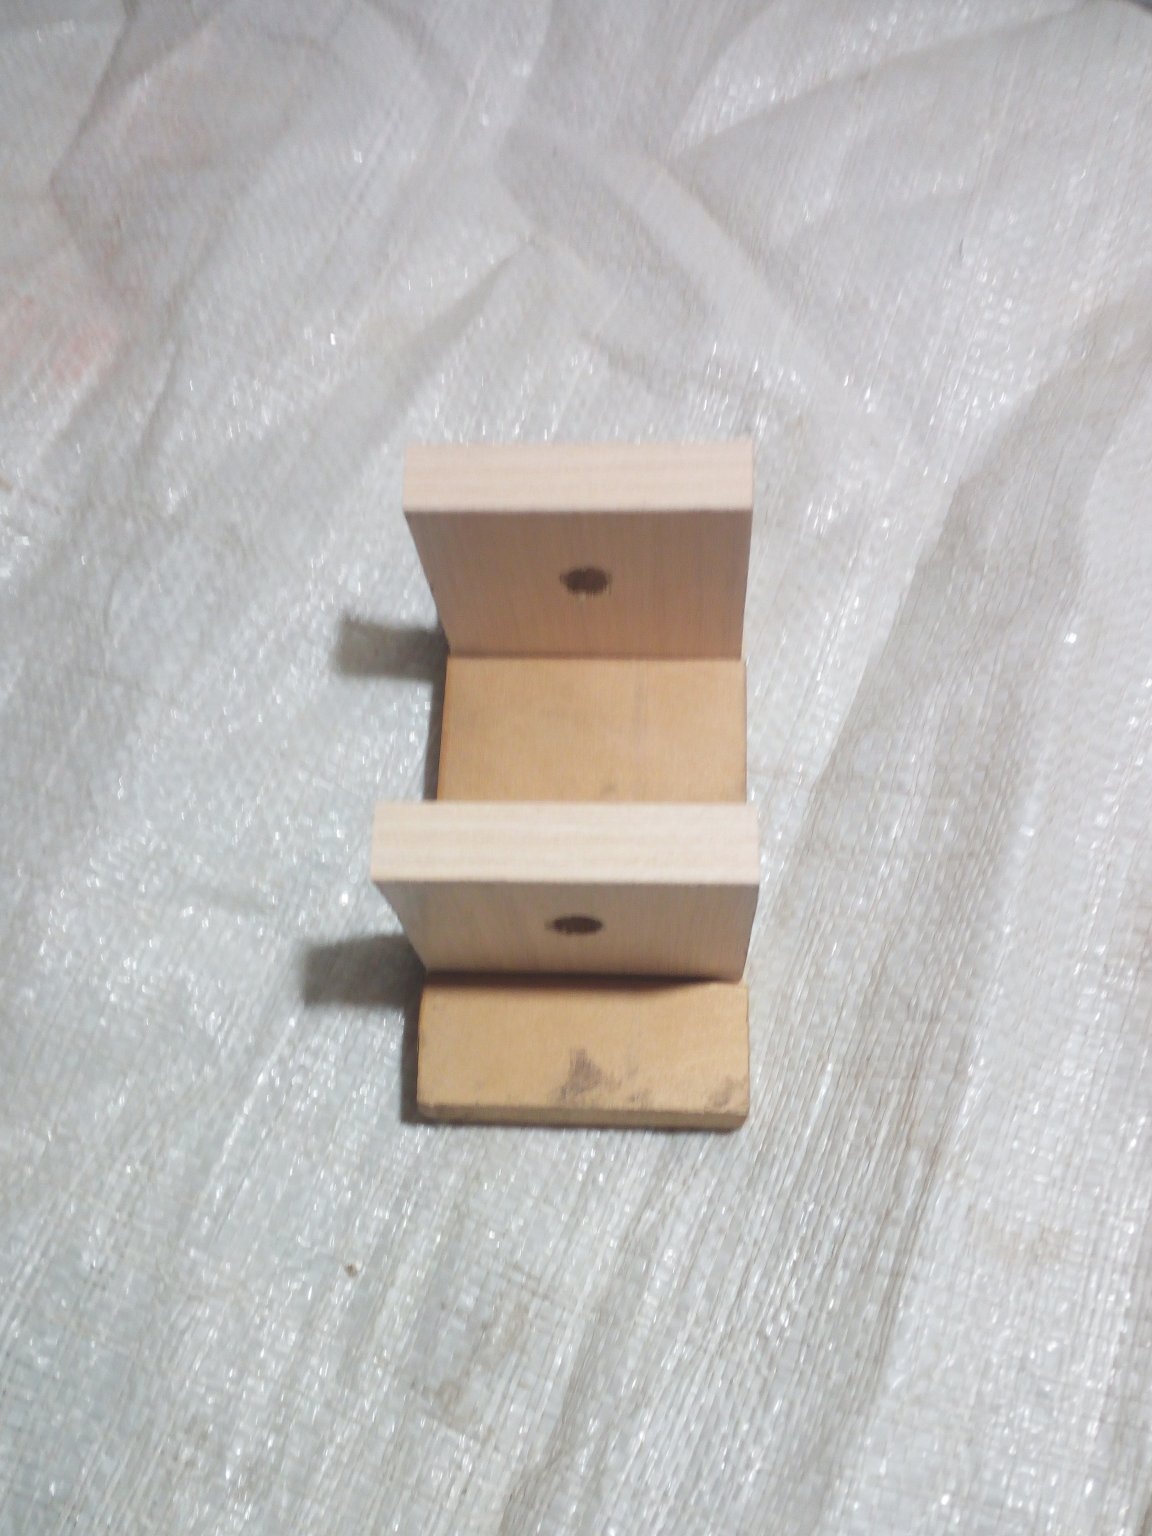
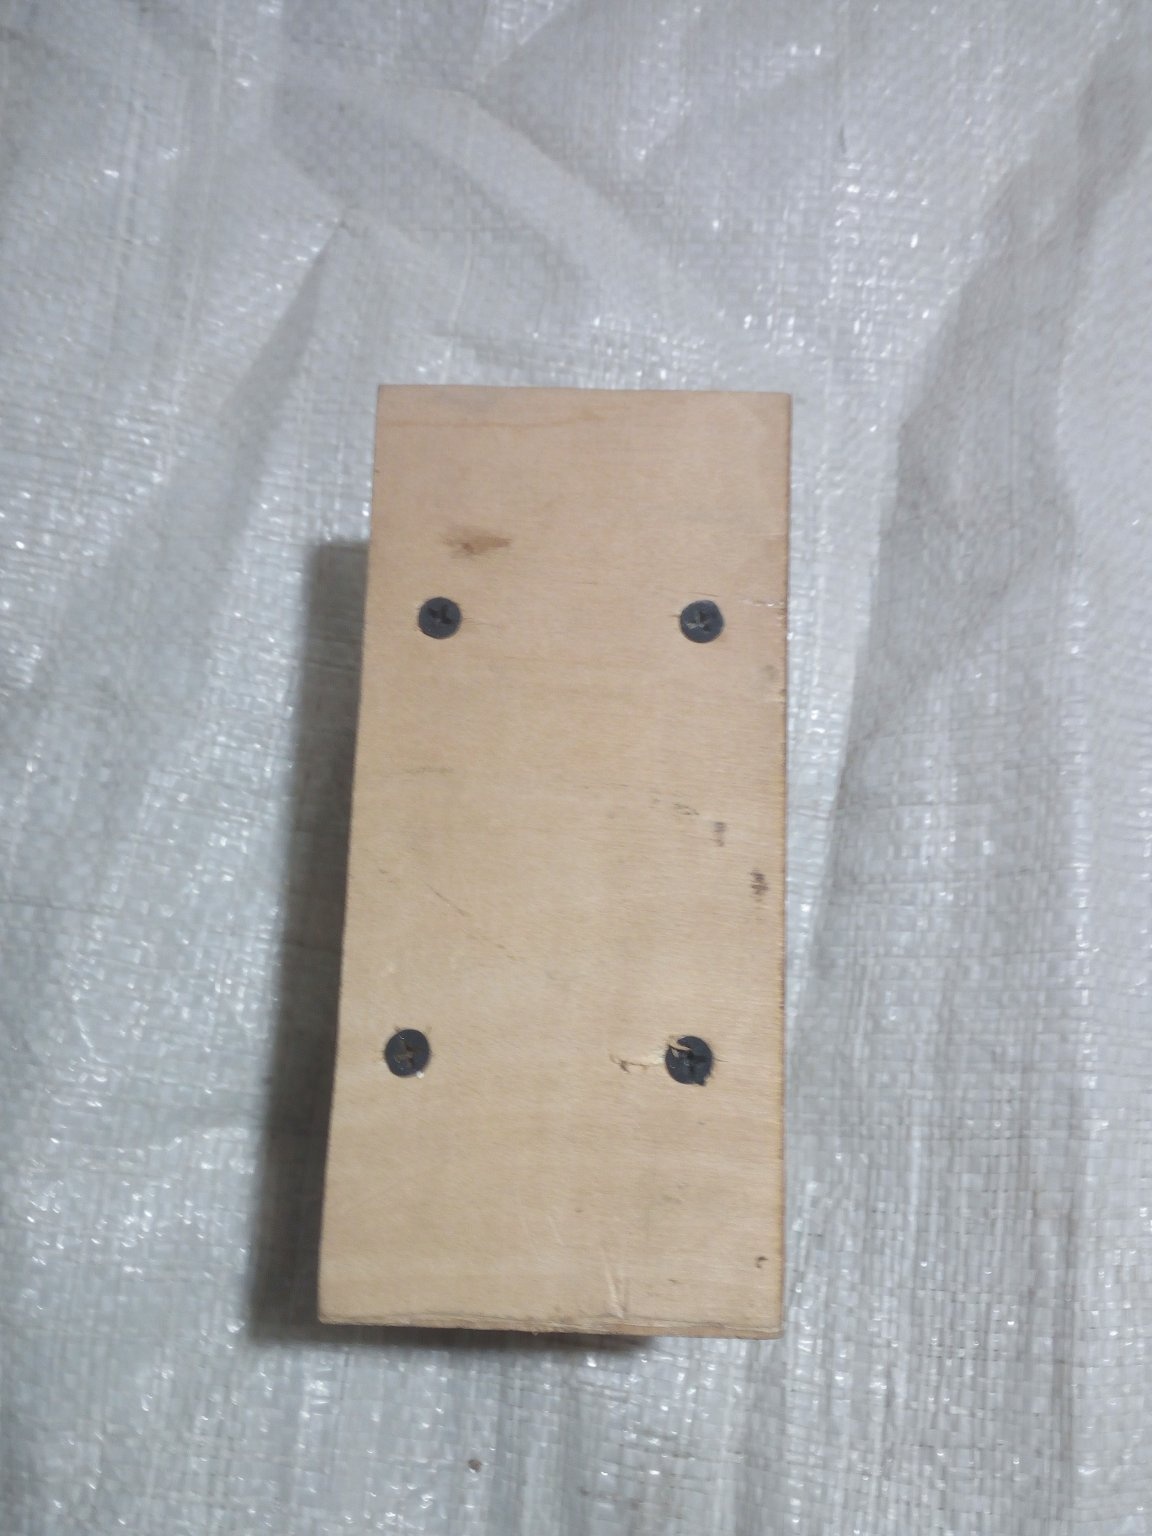
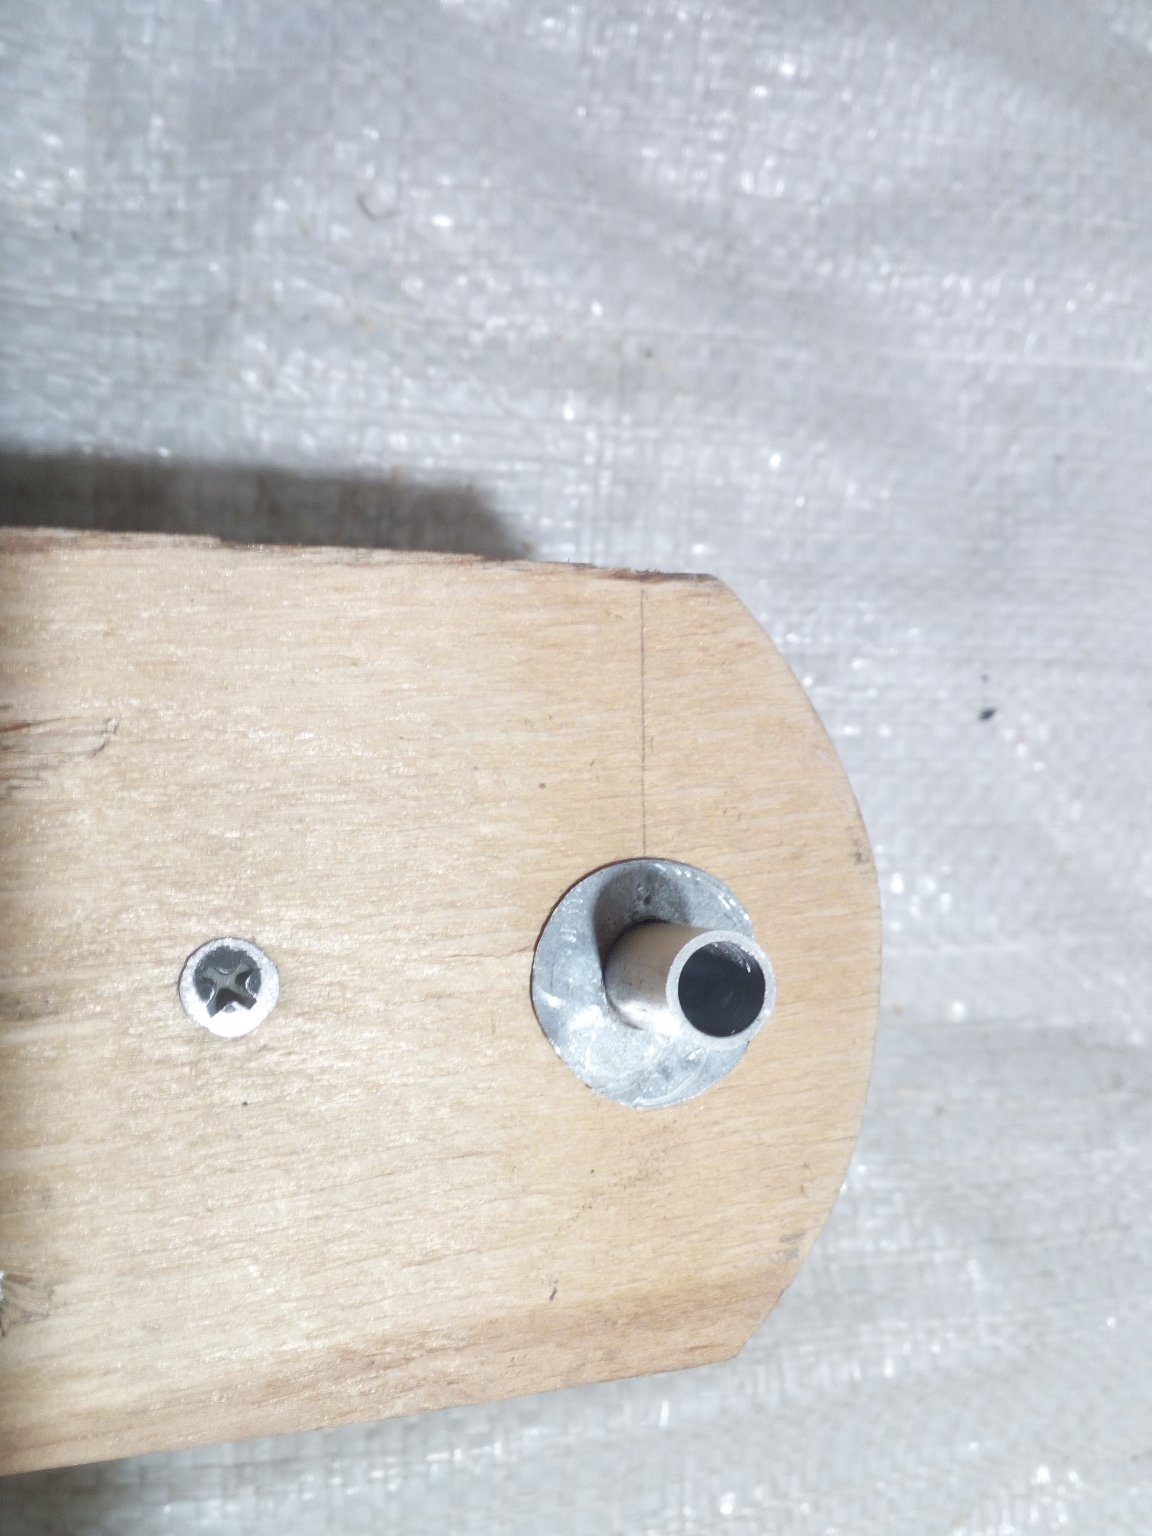
Separate the workpiece. Between them I fix the spacer bar so that the screwdrivers are more stable in the holes. I fix it with self-tapping screws, having previously drilled holes for them. After the dividing plate is installed, I take up the foundation.Since now I can precisely mark where square fasteners - eyes will be installed, after marking I make small indentations at the base, 0.5 cm each. I drill holes for self-tapping screws into them. In the eyes, in the center I make holes. I fix them to the base.
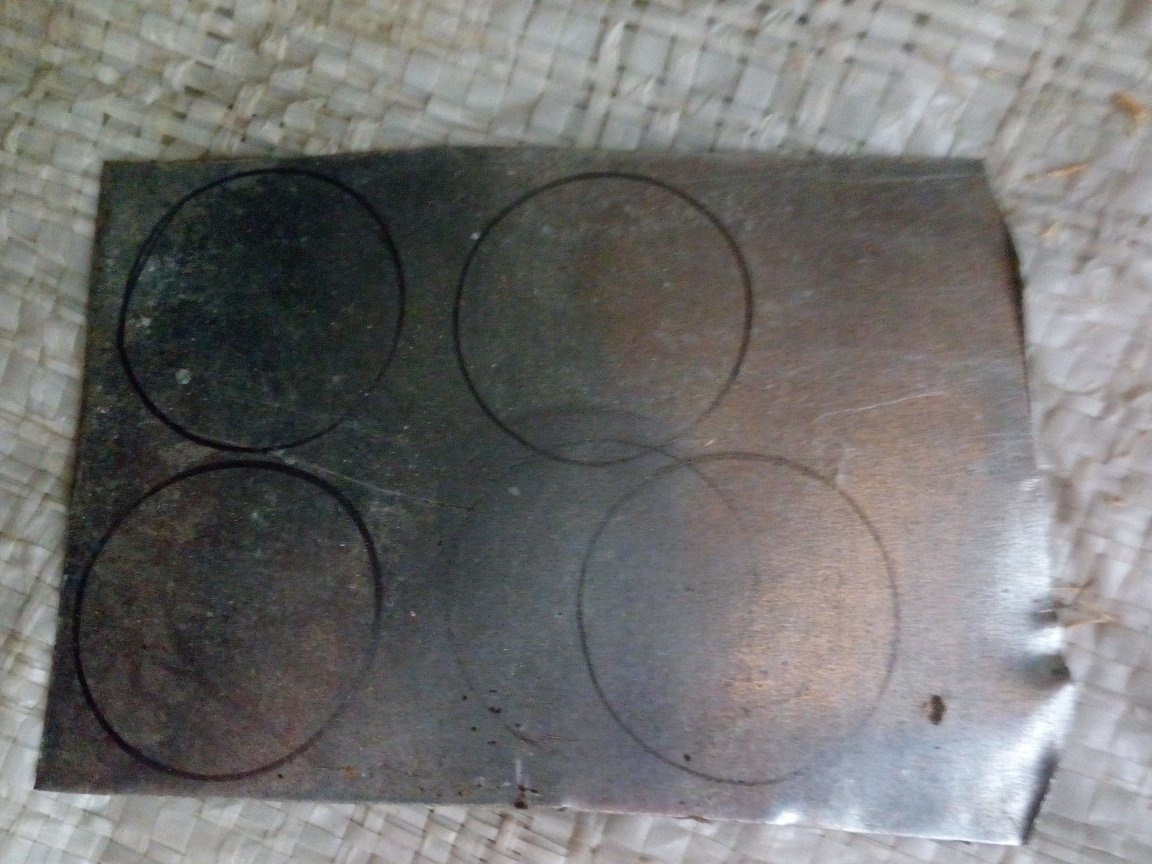
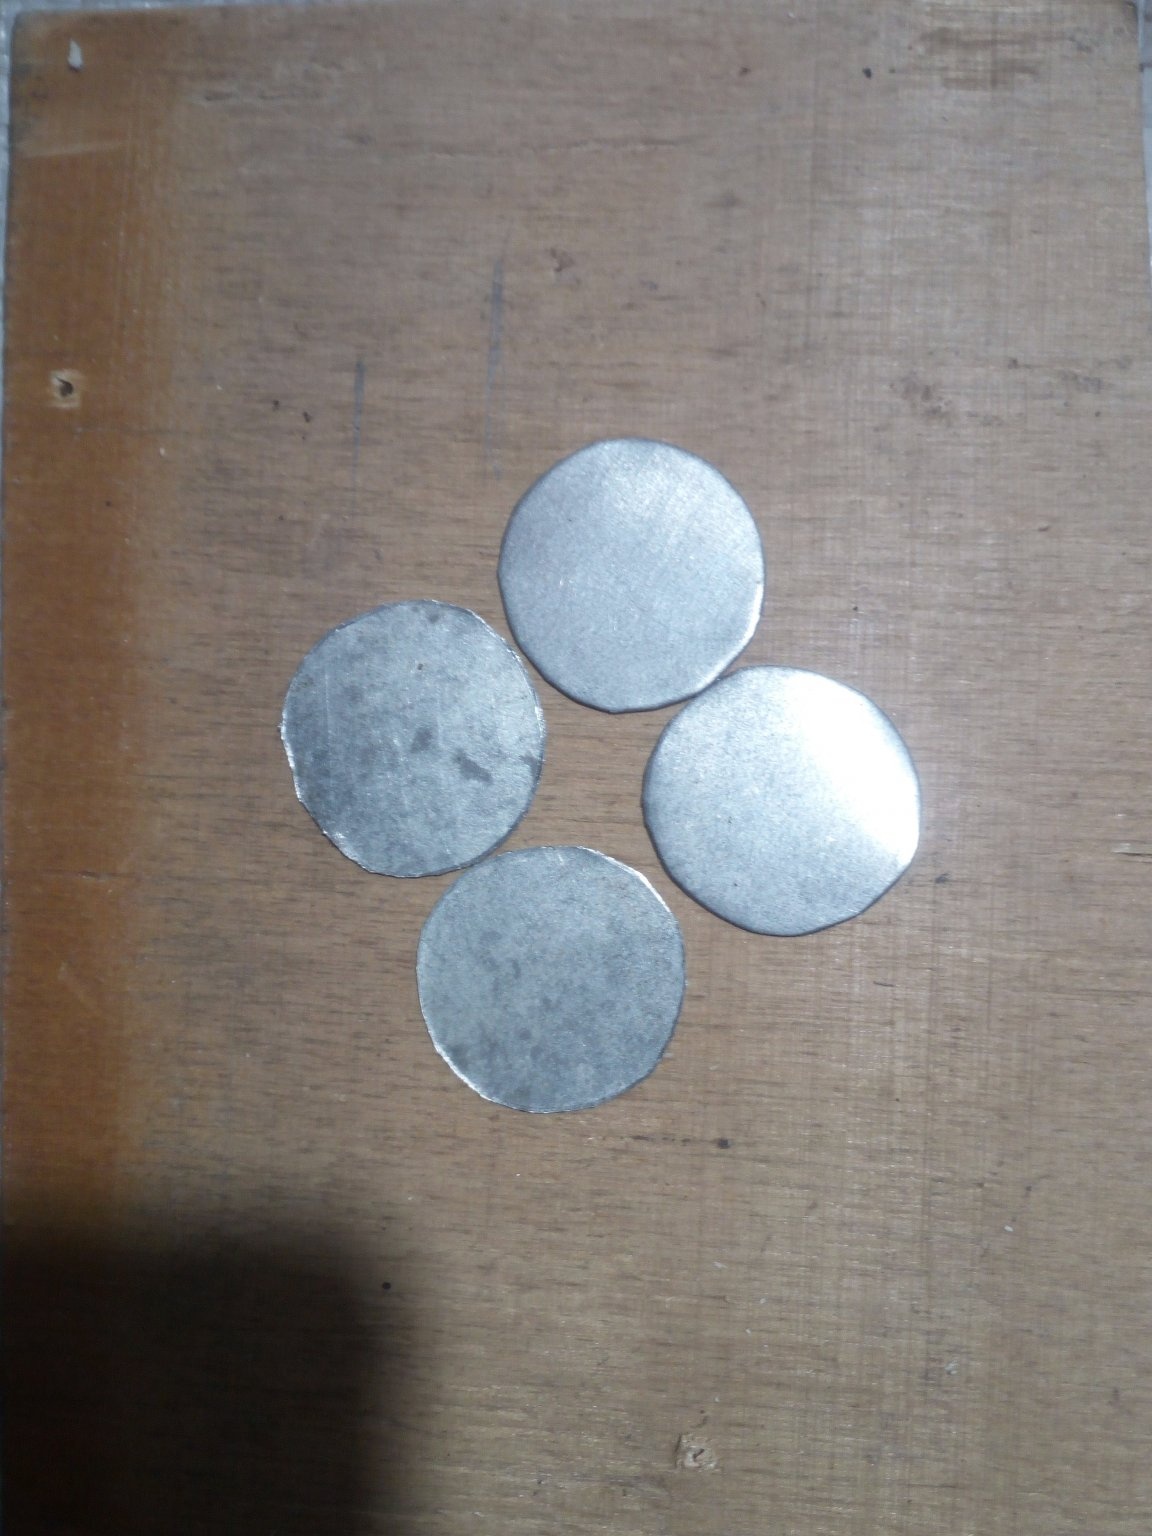
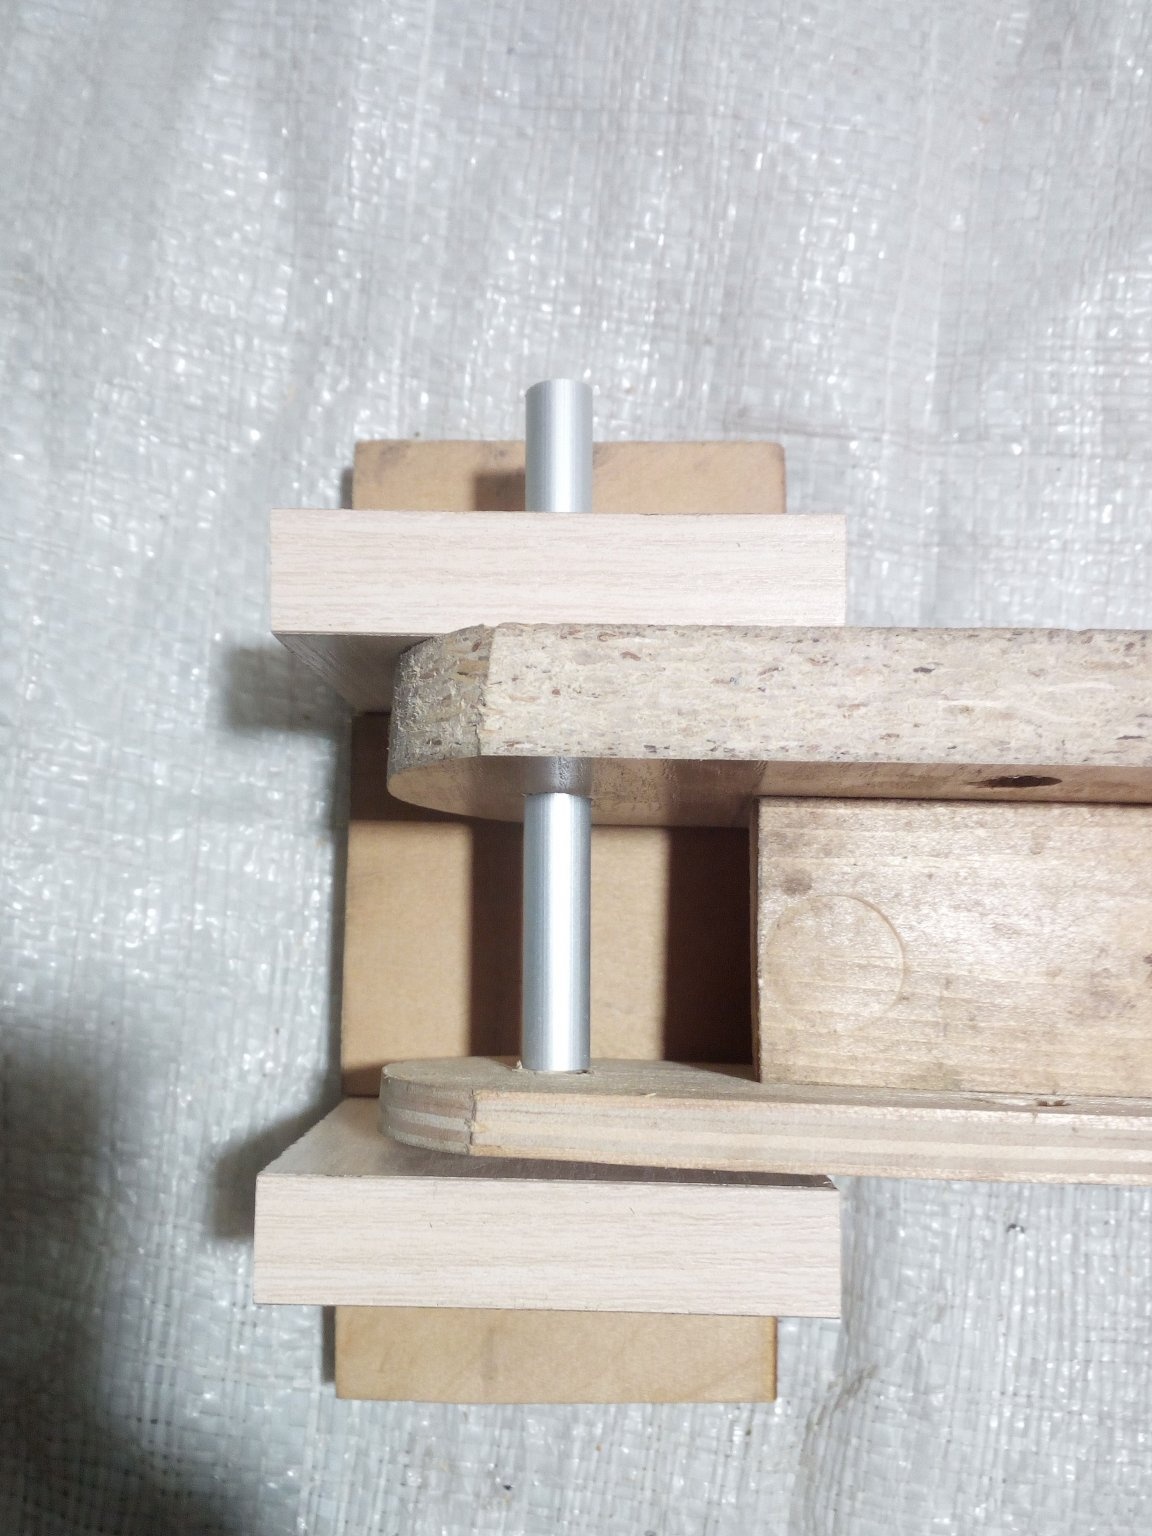
I cut off a piece of aluminum tube of such a diameter so that the M8 pin can enter it. This tube will be like a casing in this mounting unit. It protects the wooden parts of the product from rapid wear. Because the stud is threaded, when turning the platform the tree will be eaten more and more and in the end the mount will loose and become unusable. Immediately cut out the spacers from the tin. There was no right size, so I had to improvise. You need to drill holes in them before you cut them. Otherwise it will be very inconvenient to make them. All parts required for assembly are shown in the photo below.

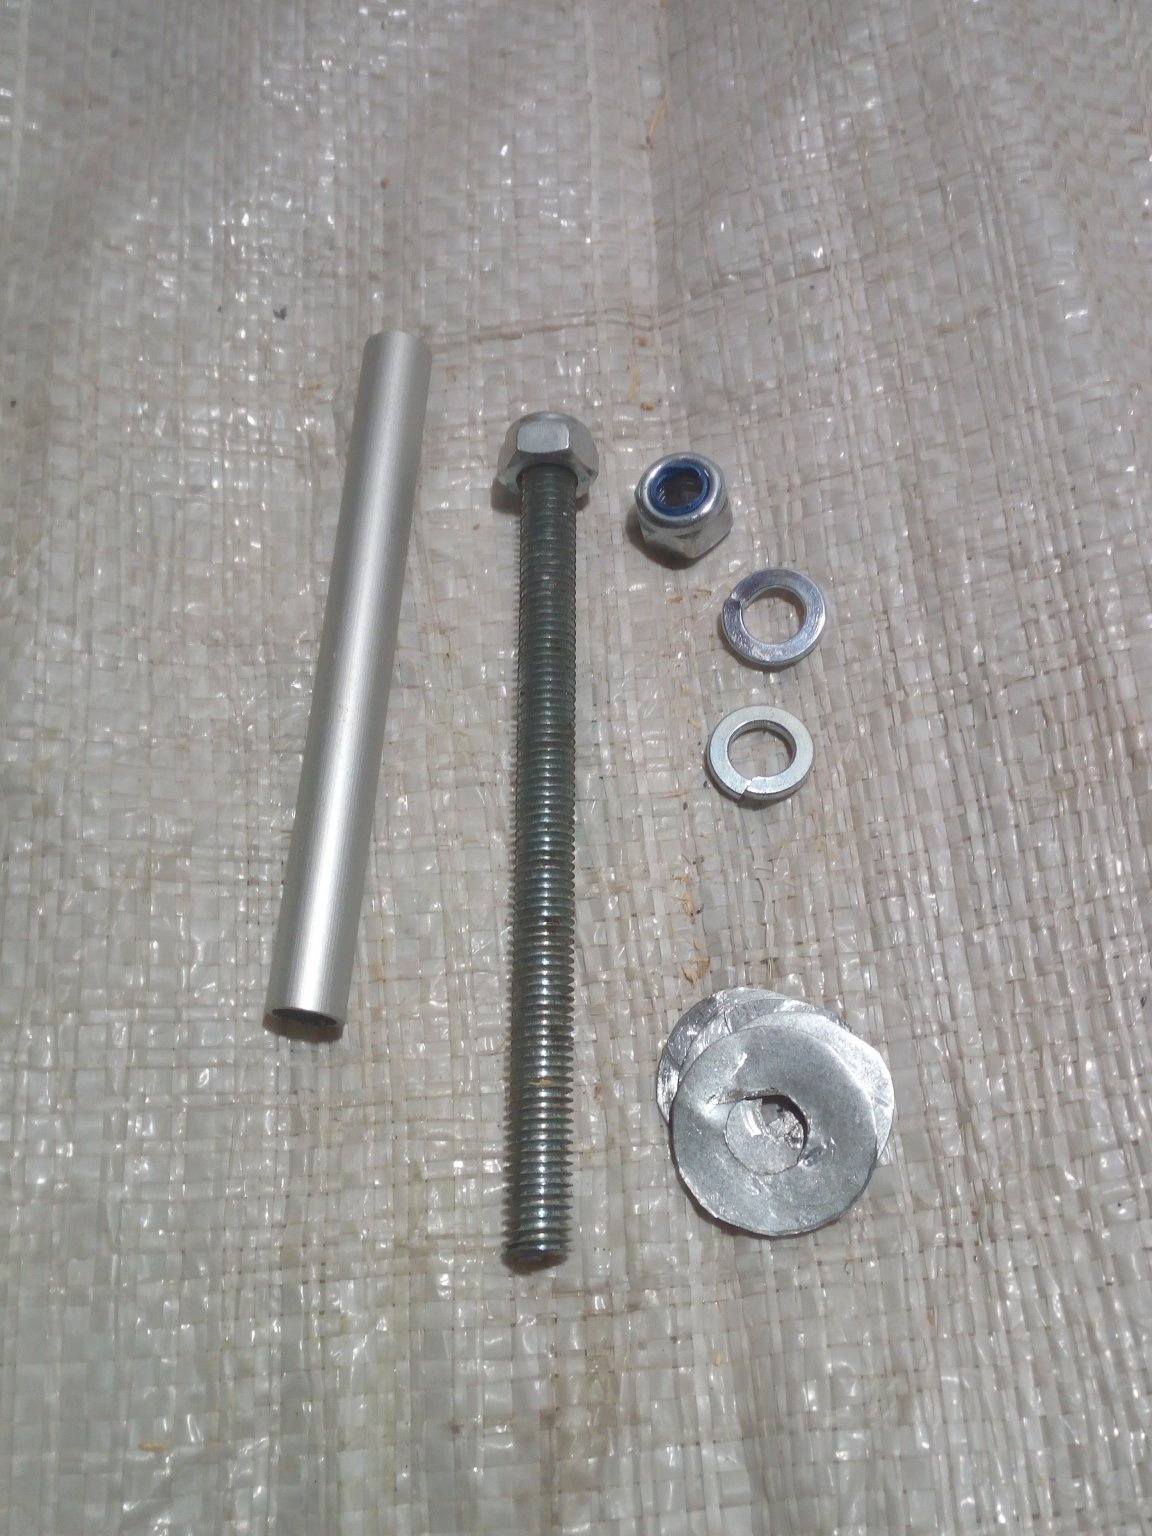
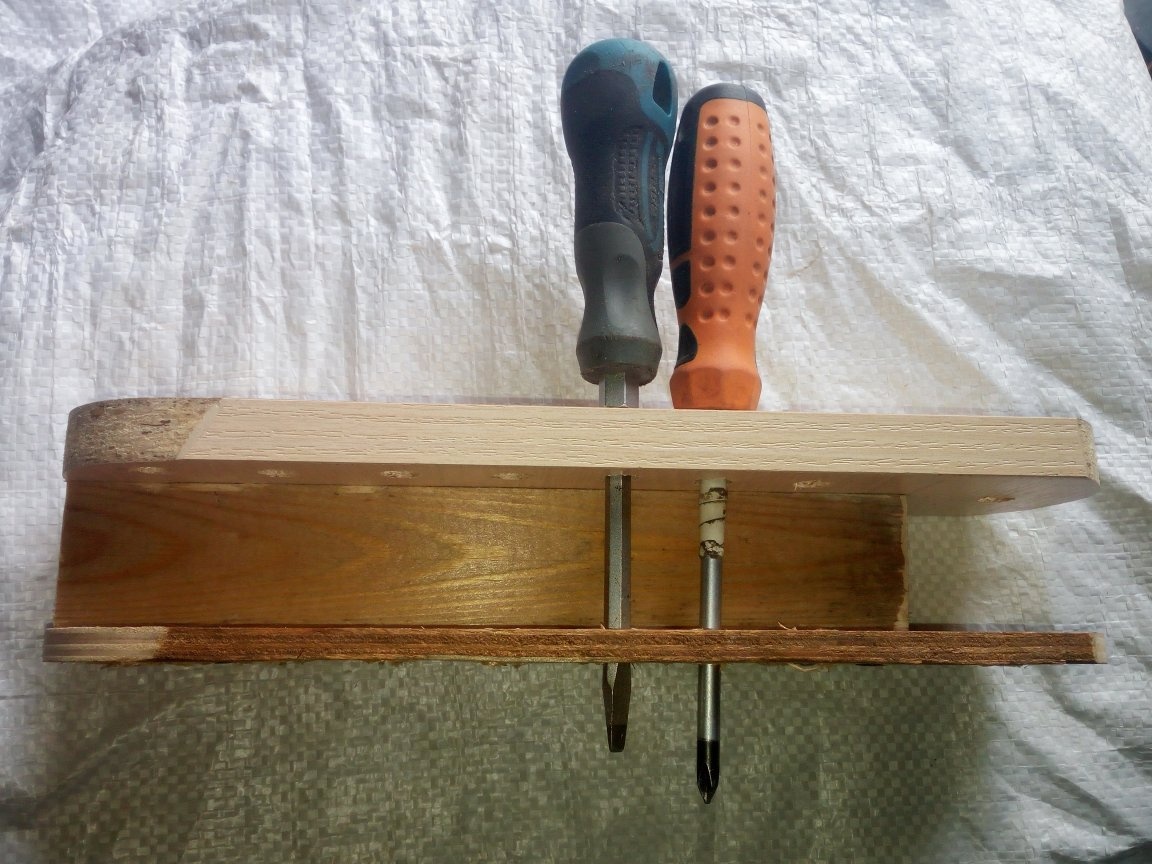
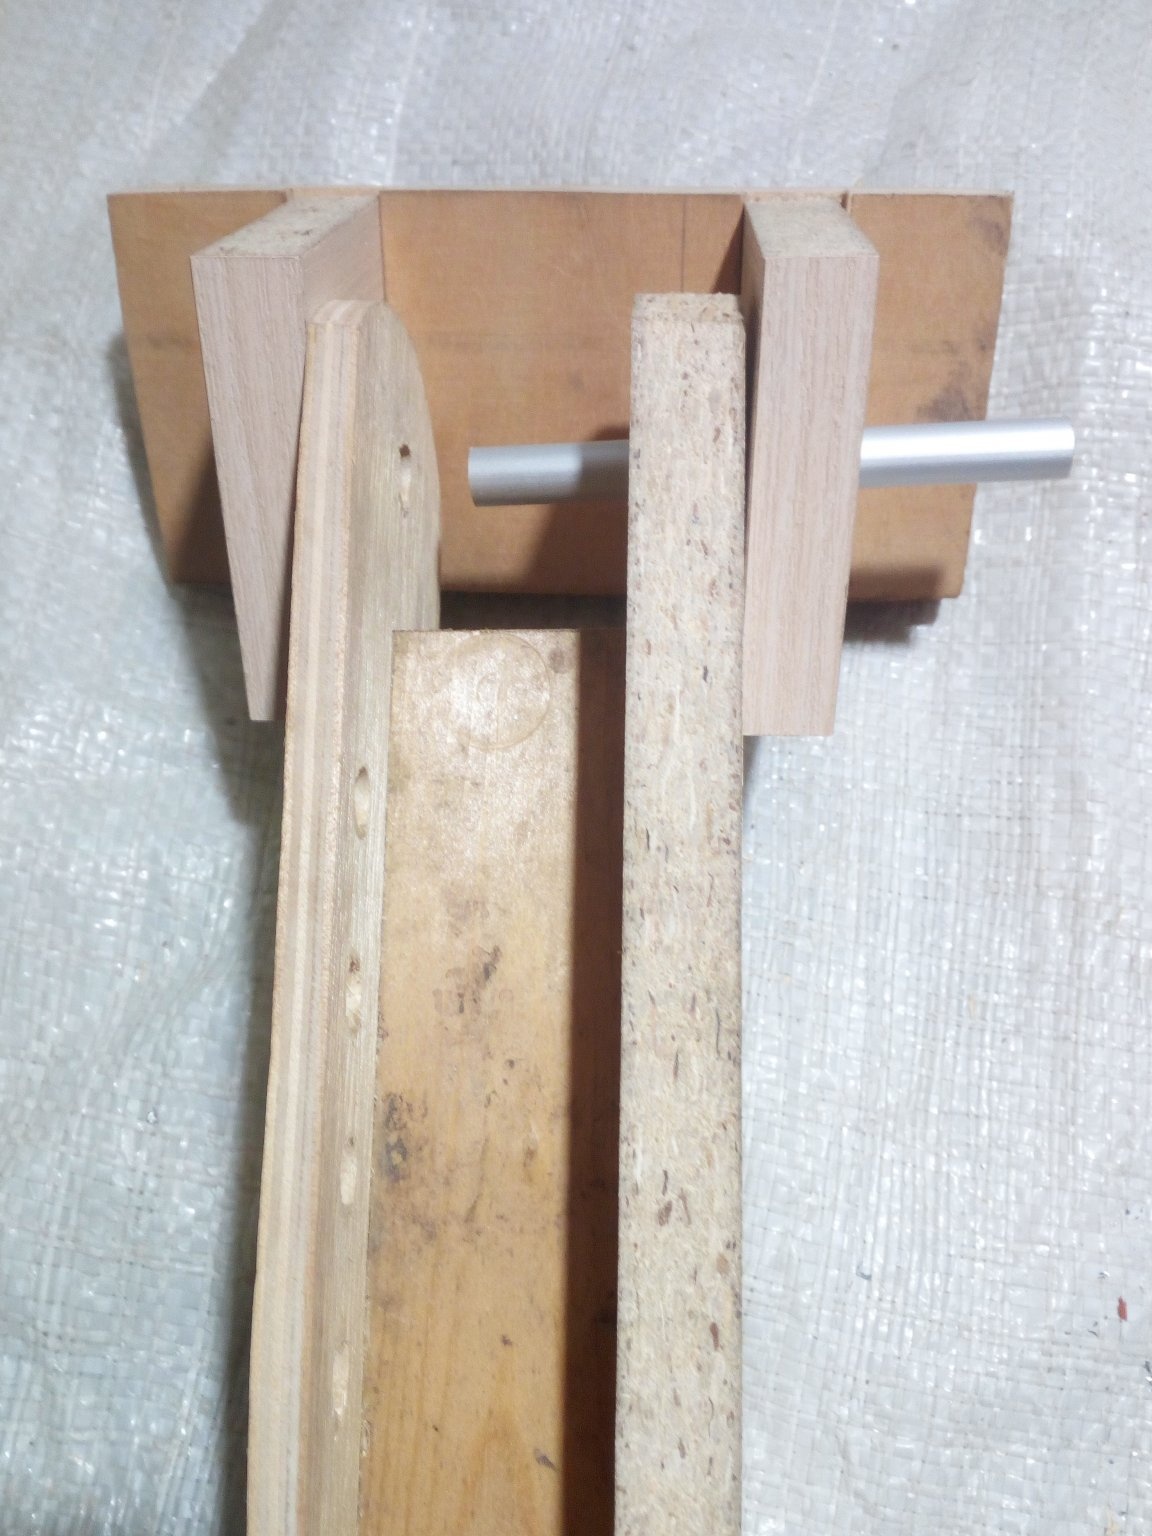
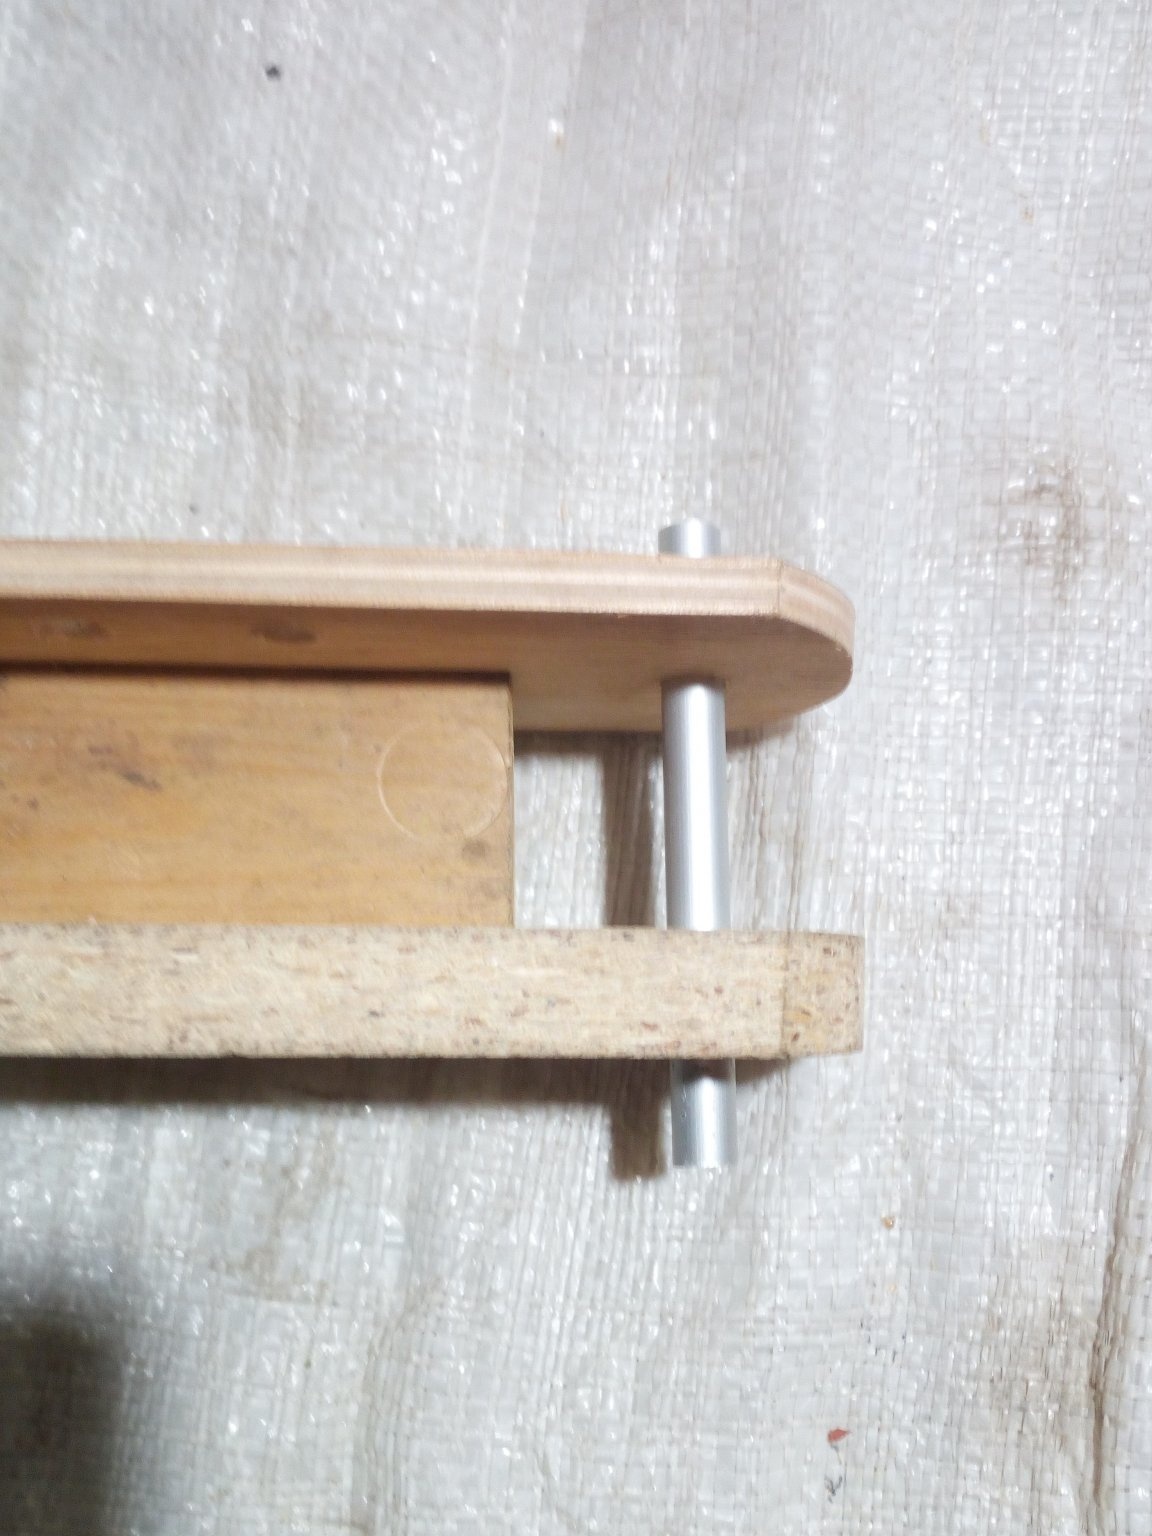
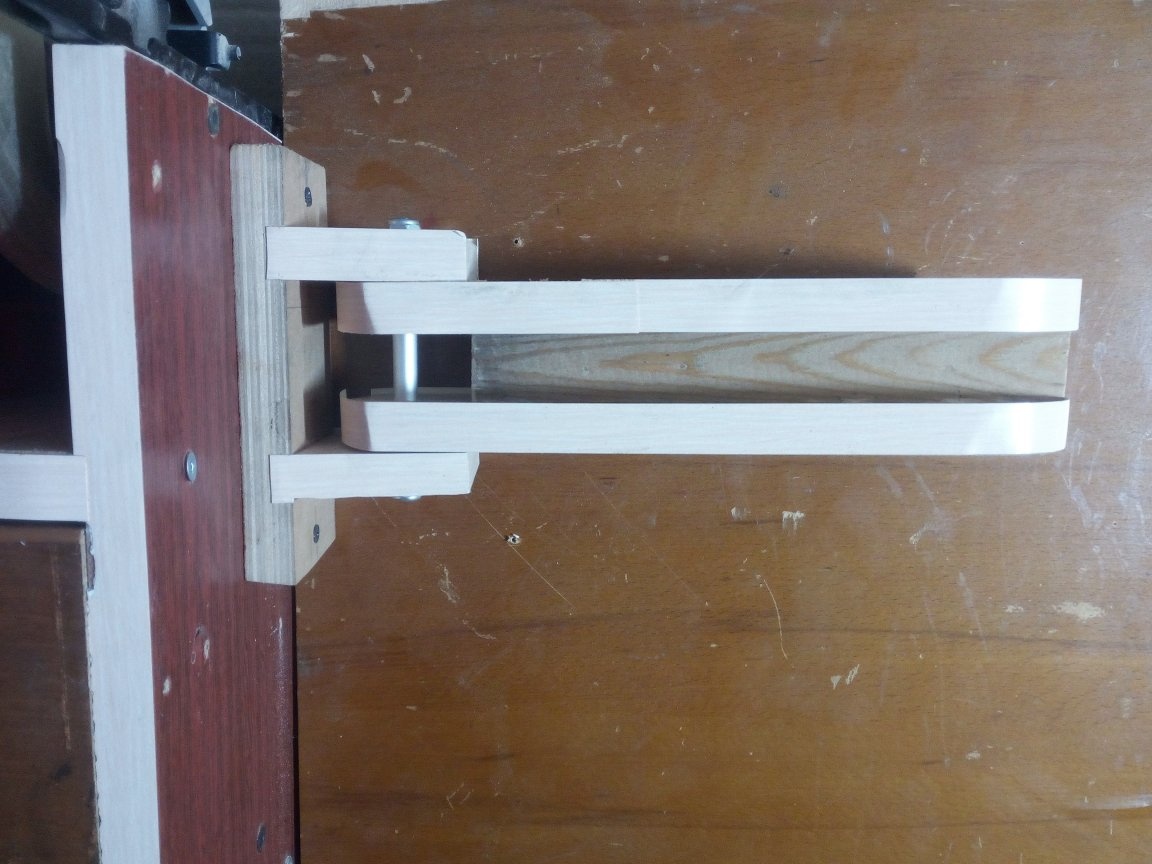
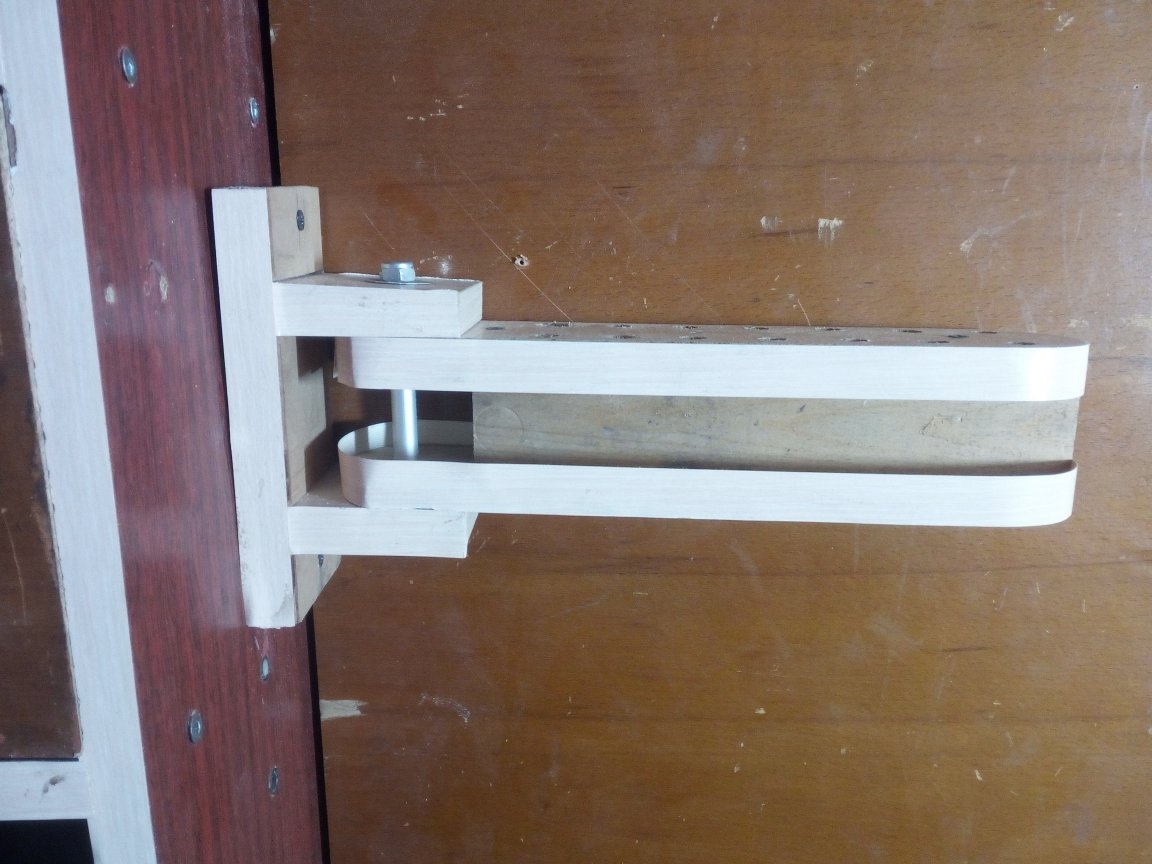
Getting to the assembly. I insert the aluminum tube into the holes of the eyes and both parts of the shelves. Washers are installed between them. Next, I insert a hairpin into the tube. At both ends, nuts with washers are wrapped. The tube should be flush with the eyes, otherwise there will be practically no sense in installing the studs.
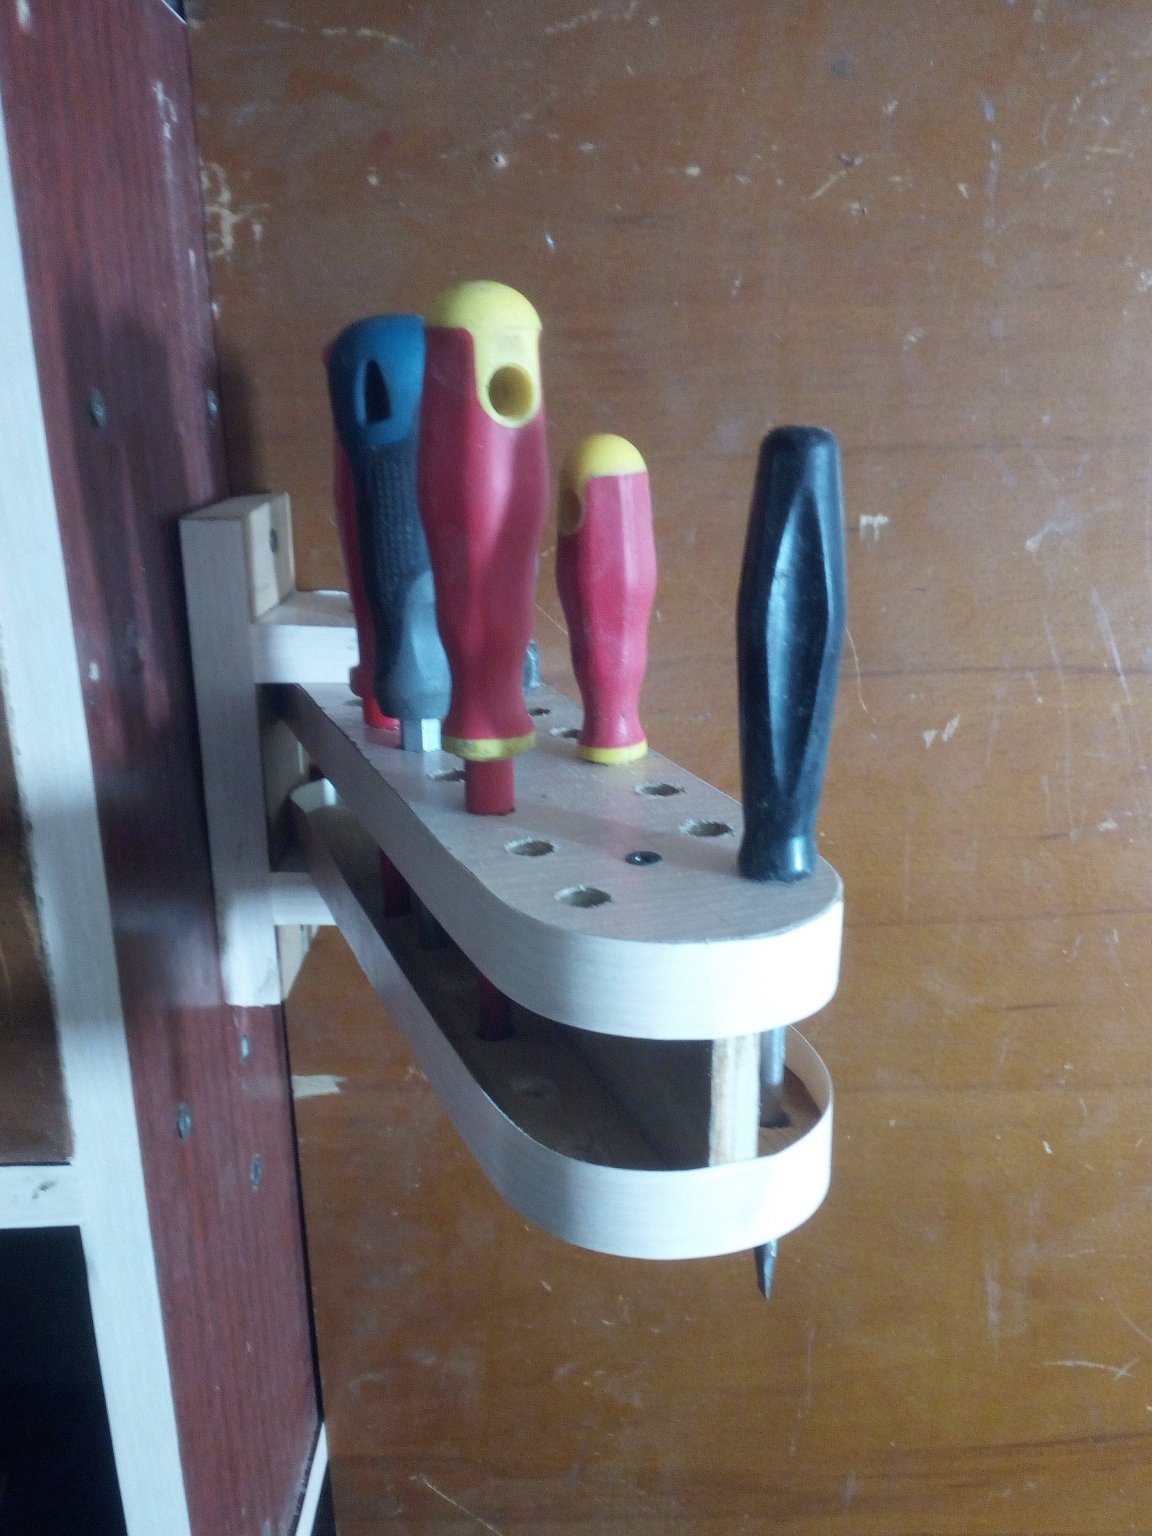
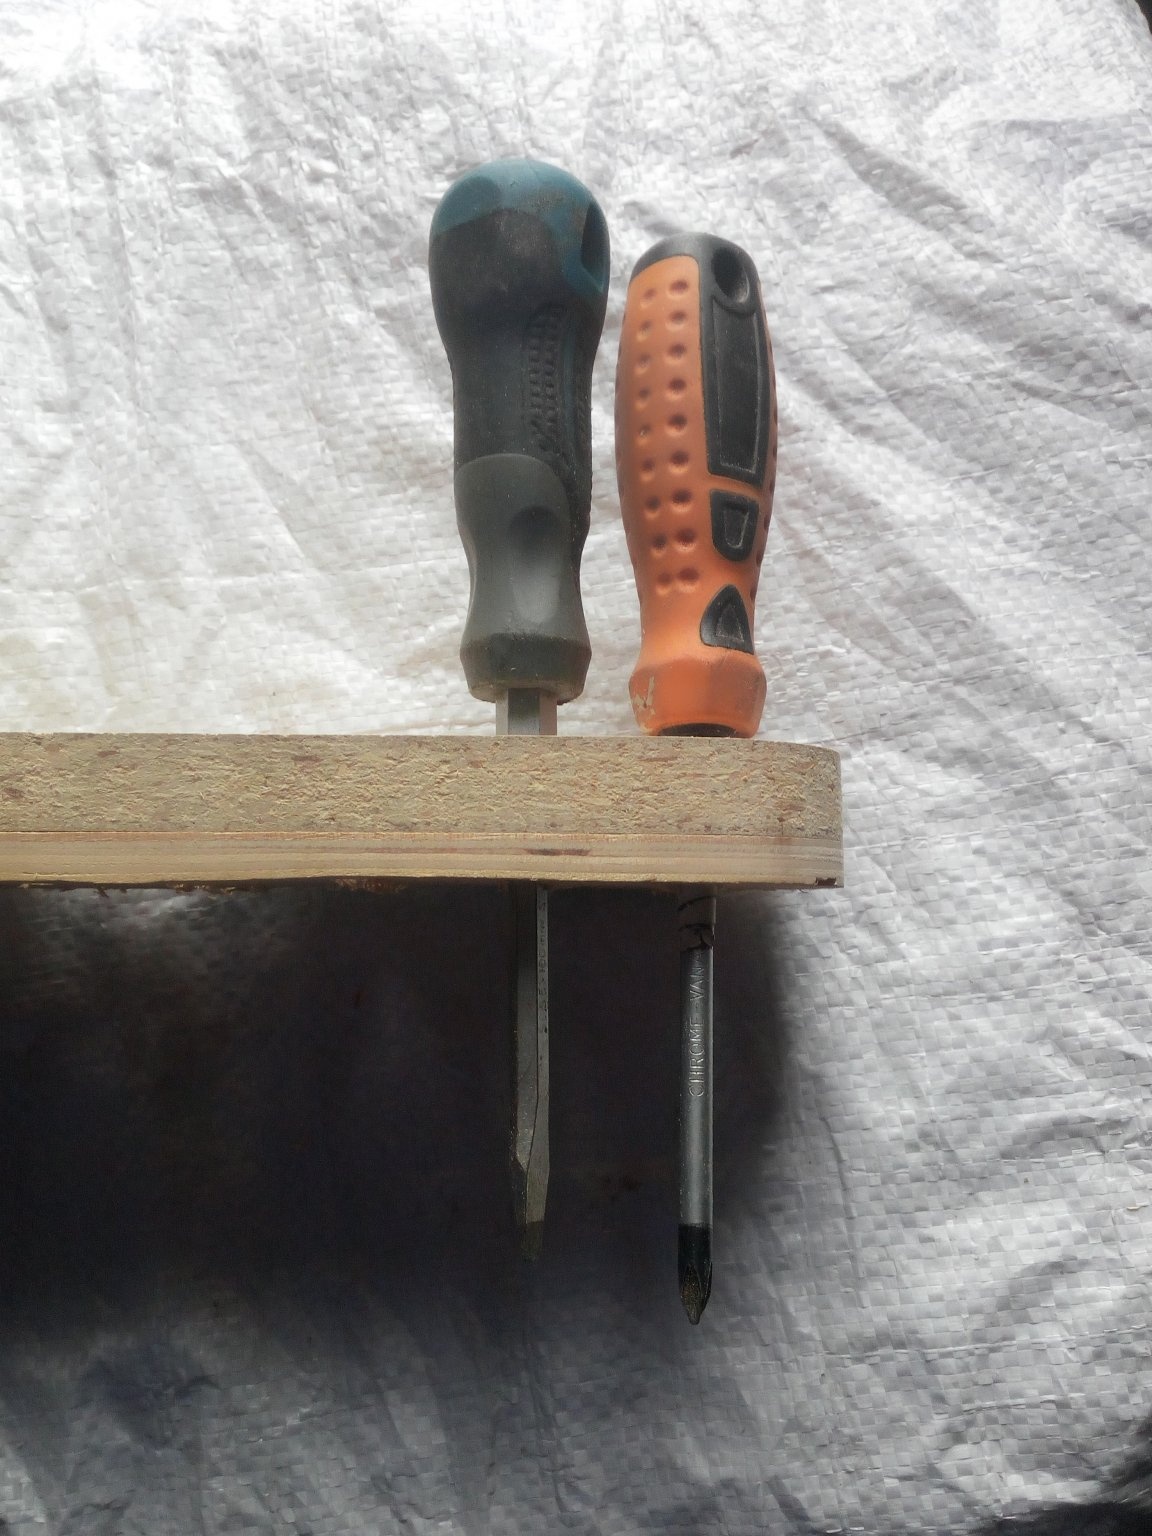
I cover with furniture tape both shelves and eyes. And here is what happened in the end:

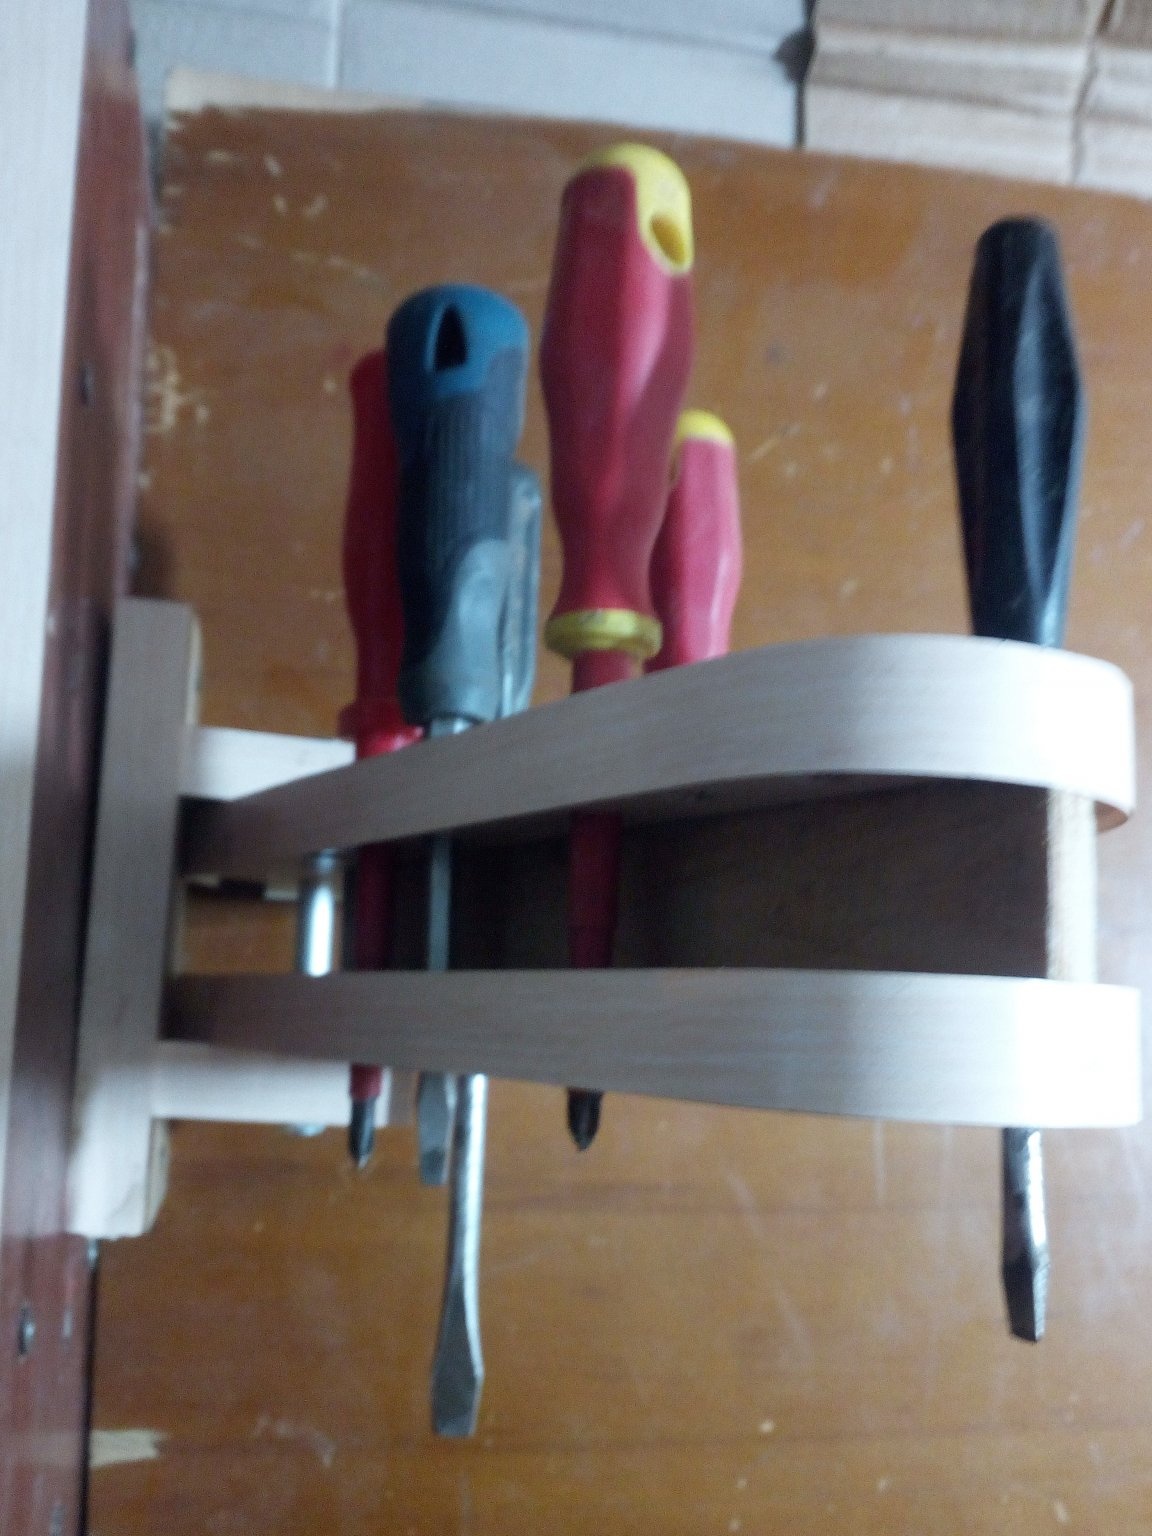
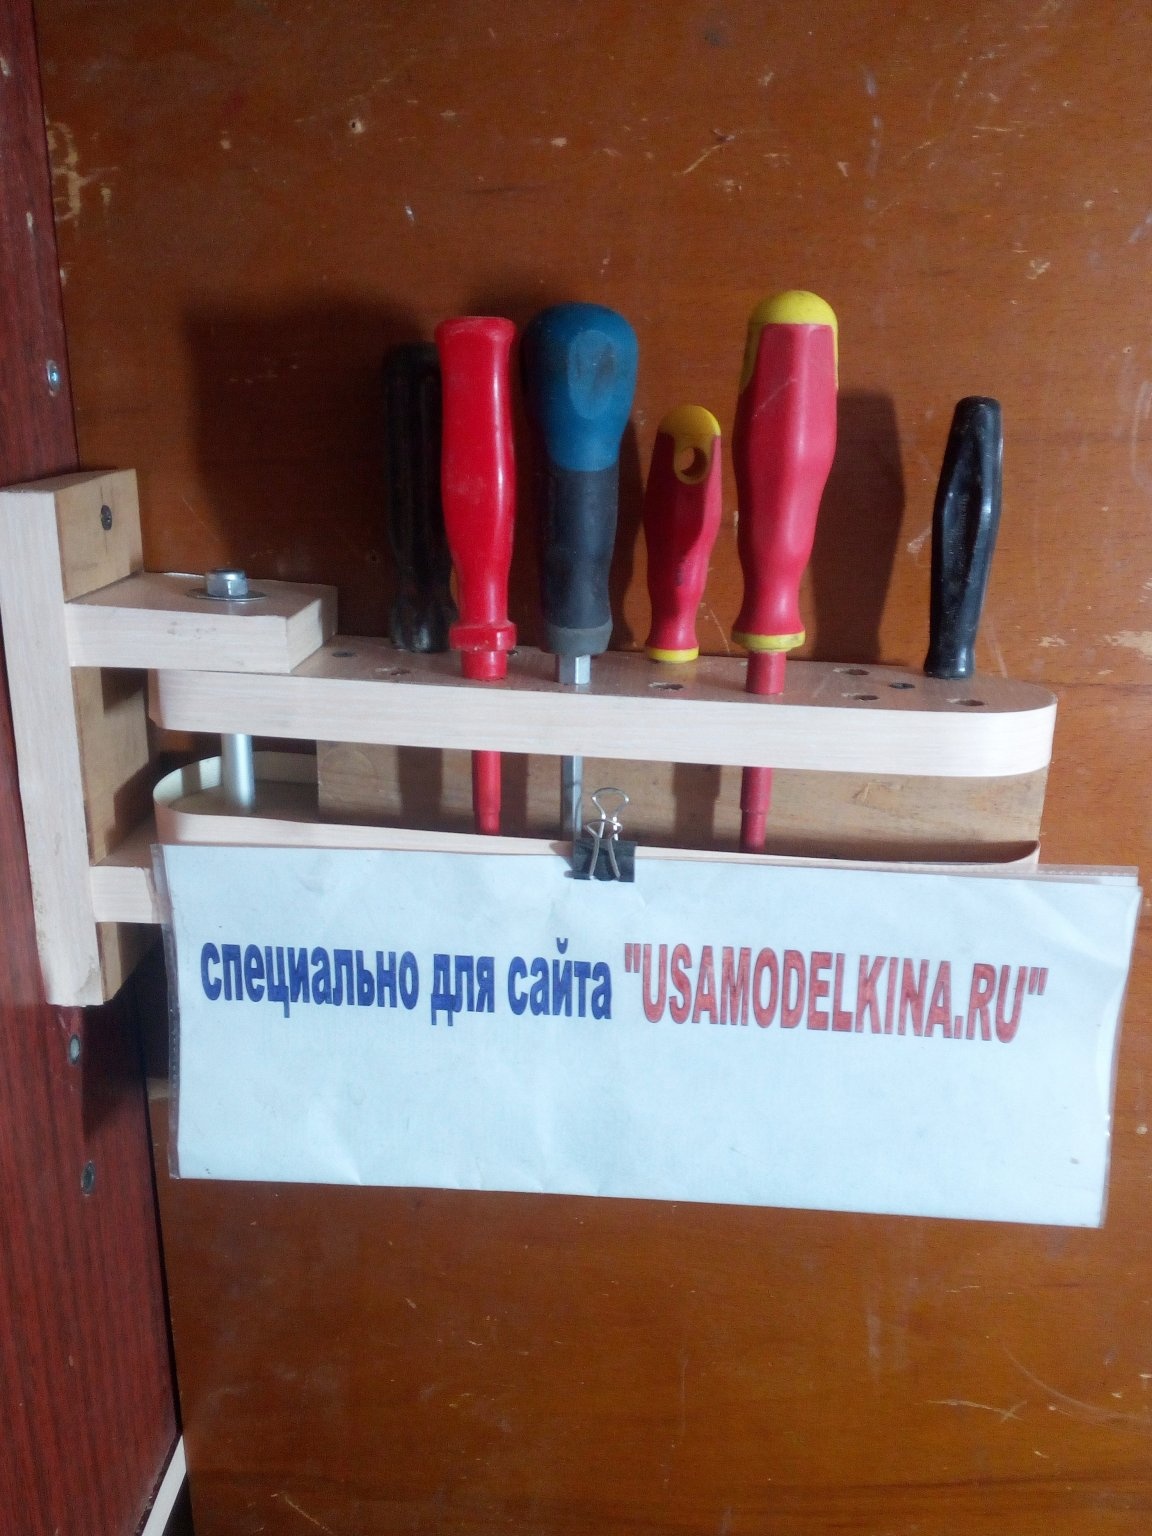
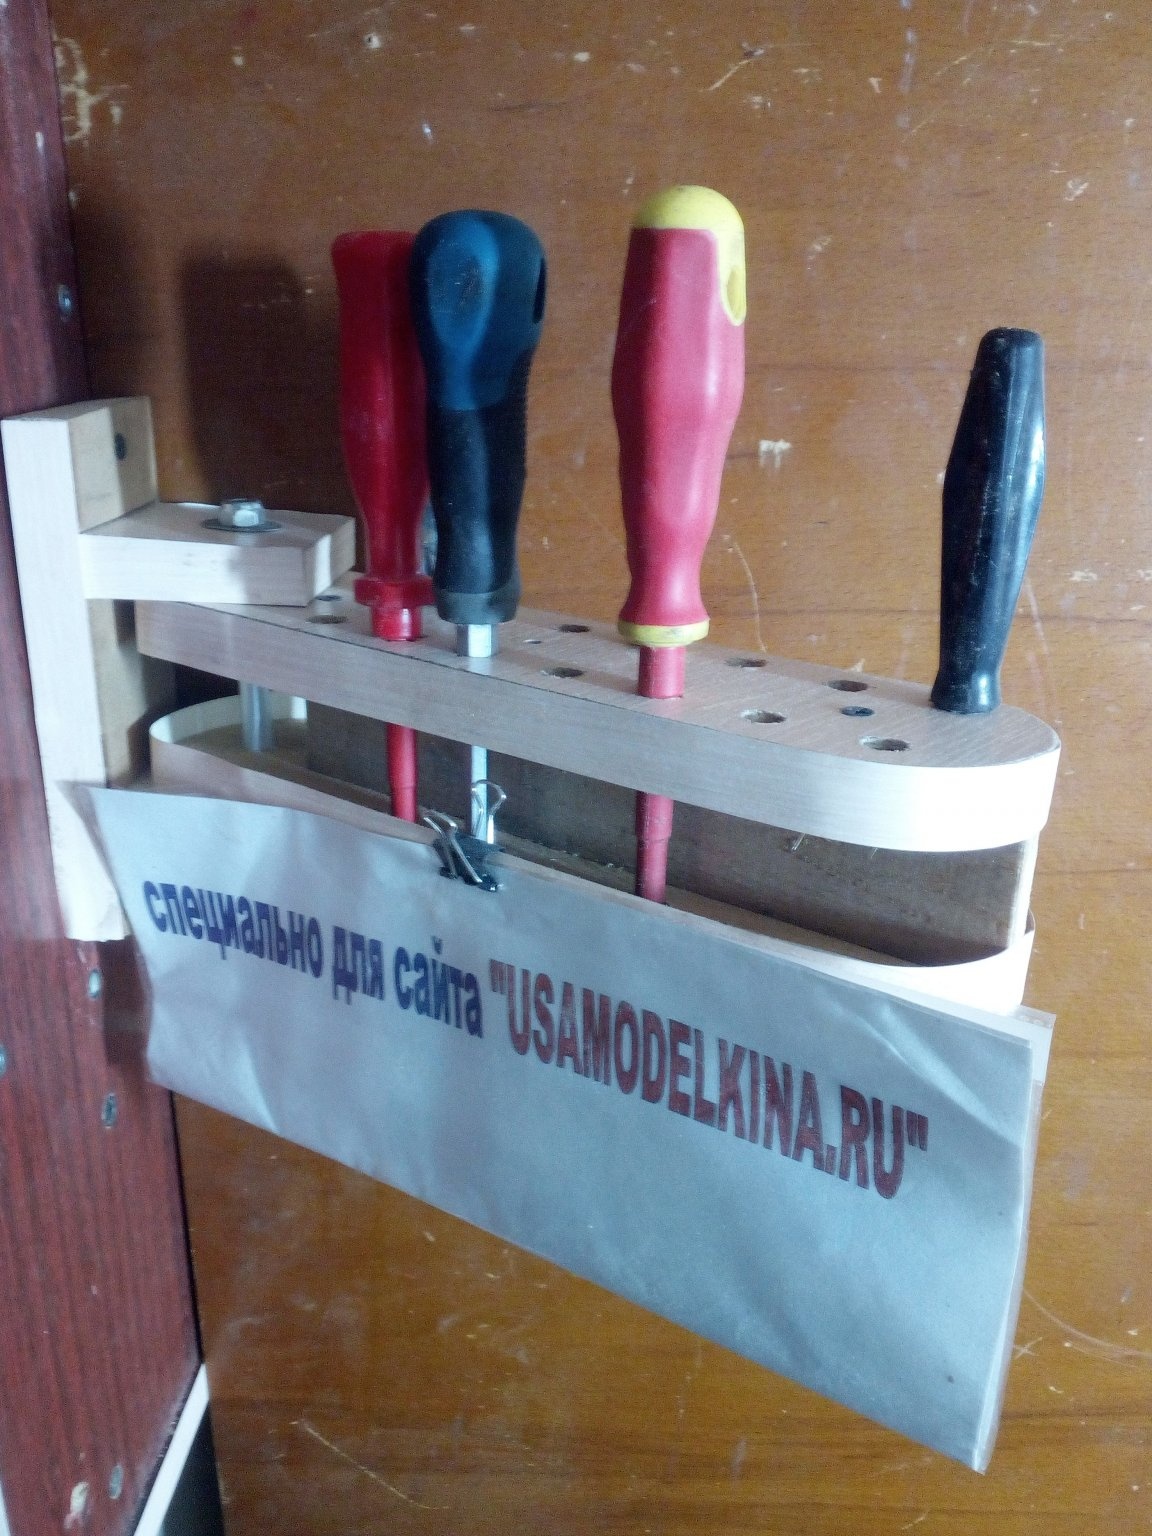
I was satisfied with the result. This organizer is easy to hang at a place convenient for me, screwdrivers are stable and have easy access to them.
On this I say goodbye to you. I wish you all creative ideas and conditions for their implementation!