
Hello! Today in our article will be described in detail and shown how to make very useful homemade. Namely, today we will consider how to make a compact cyclone vacuum cleaner from improvised means. This homemade product can be useful to all those who often like to craft something. This vacuum cleaner will perfectly cope with sawdust and any other large debris, because of its compactness it will not take up much space compared to other cyclone vacuum cleaners. This vacuum cleaner can cope with a large amount of work, but is perfect for home use in home workshop. Well, well, I think you should not delay with a long introduction, they drove.
For a homemade compact cyclone vacuum cleaner you will need:
- PVC pipes
- A small sheet of plastic
- Plastic jar with a lid
- Class 775 electric motor
- Power connector
- Power Supply
- switch
- CD / DVD discs
- wire
- rubber tube
- Plastic corrugated pipe
Of the tools you will also need
- Stationery knife
- Super glue
- Hot glue
- Drill with drills
- soldering iron
- Sandpaper
- marker
- Ruler
- cogs
- Compass
Manufacturing a compact cyclone vacuum cleaner.
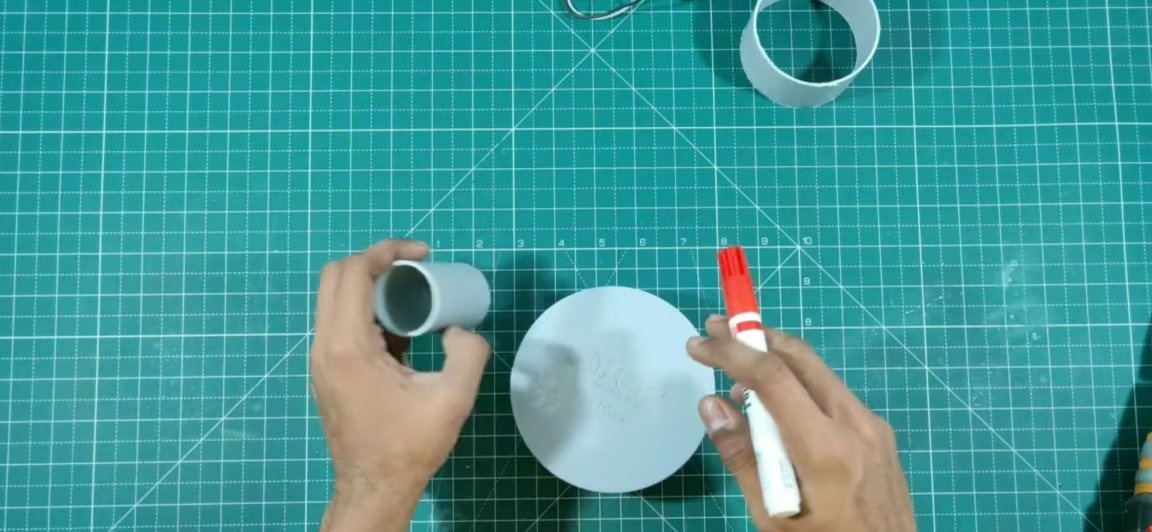
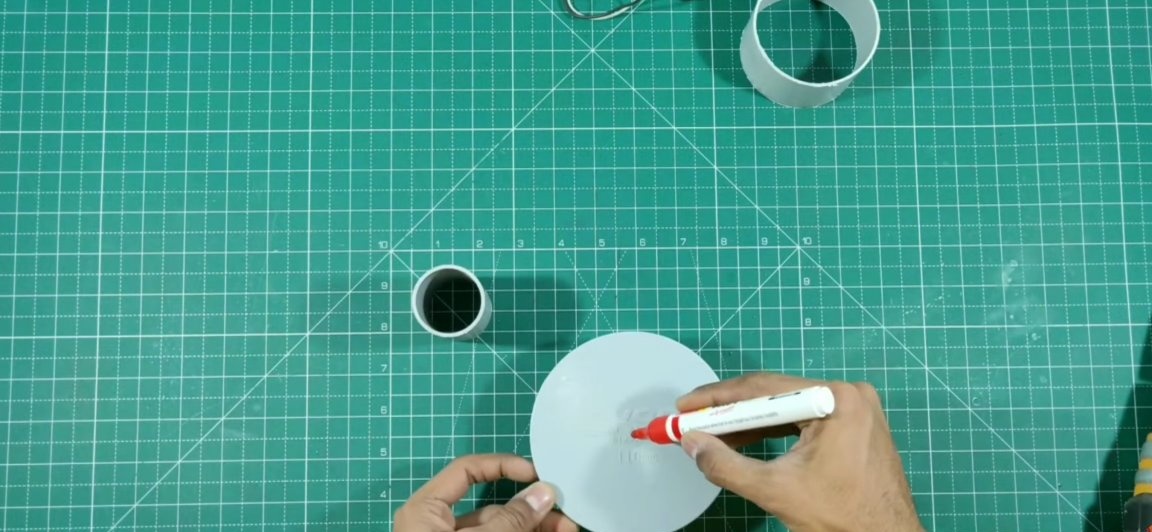
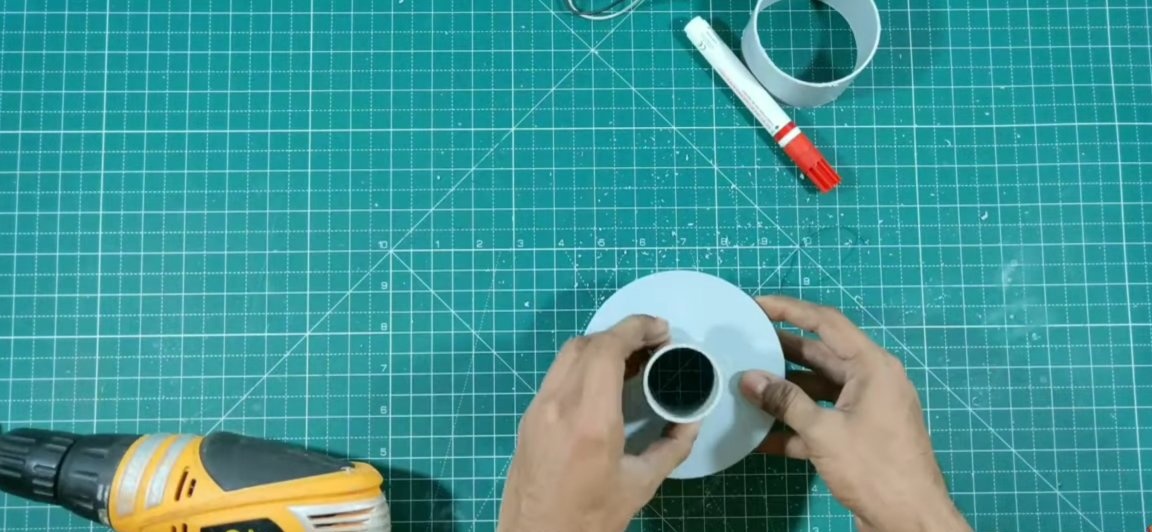
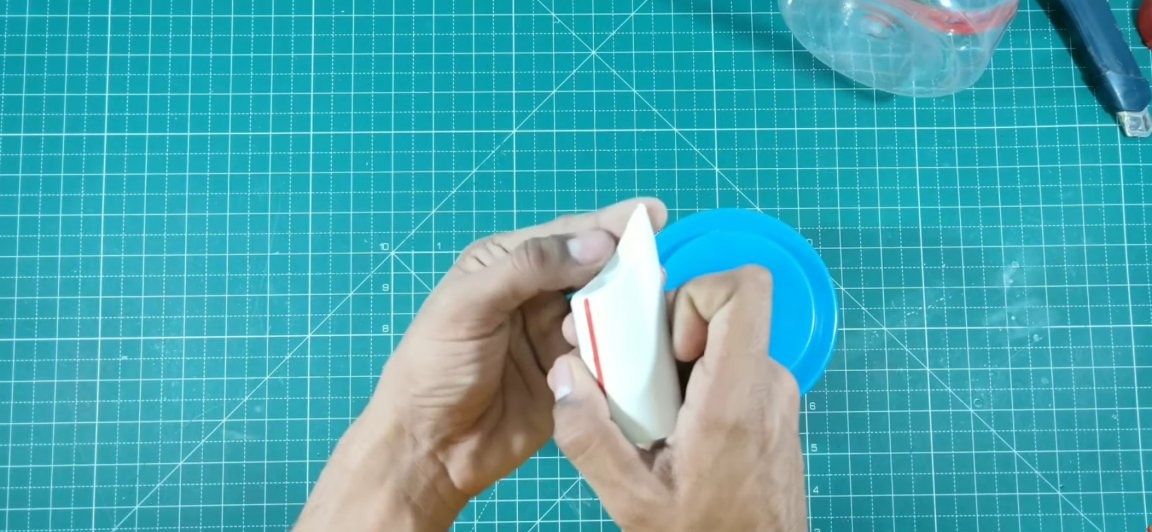
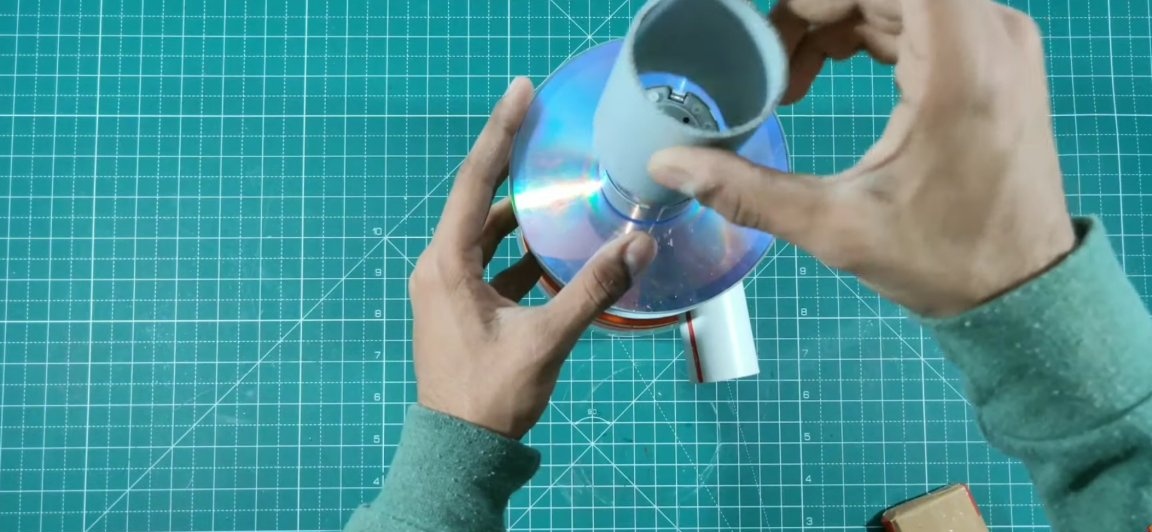
To begin with, you should take the plug of the sewer PVC pipe. A piece of PVC pipe (diameter 20 mm) should be attached to this plug. To do this, we make a hole in the plug suitable for the size, this is most conveniently done with a drill and a step drill. Then we connect these two elements with each other using superglue.
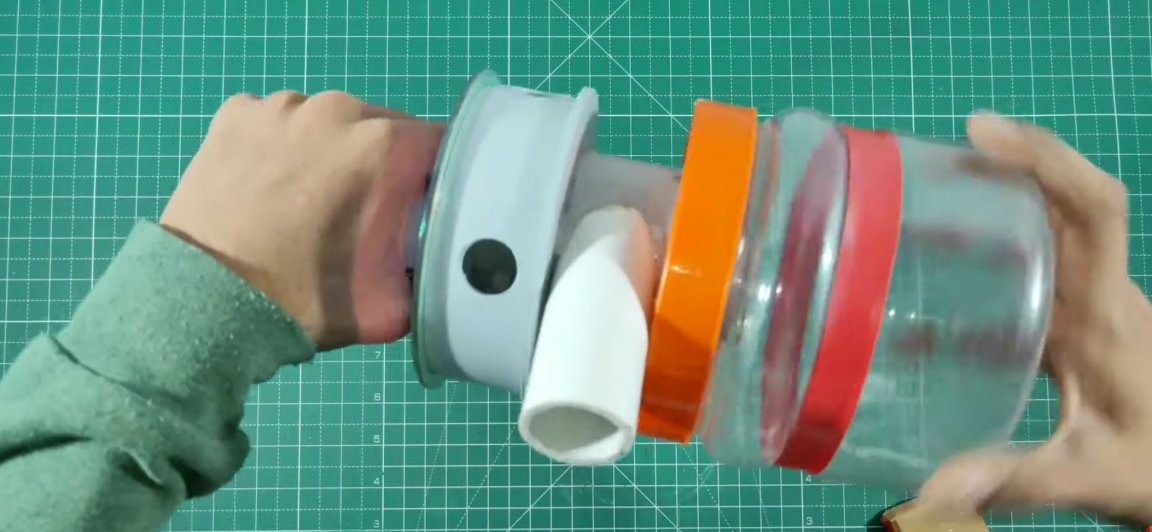
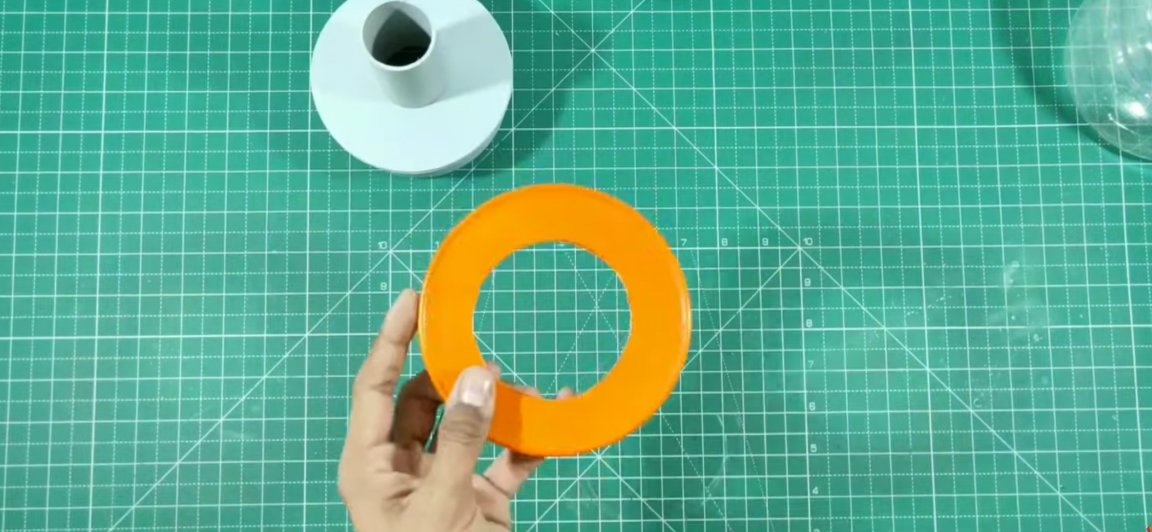
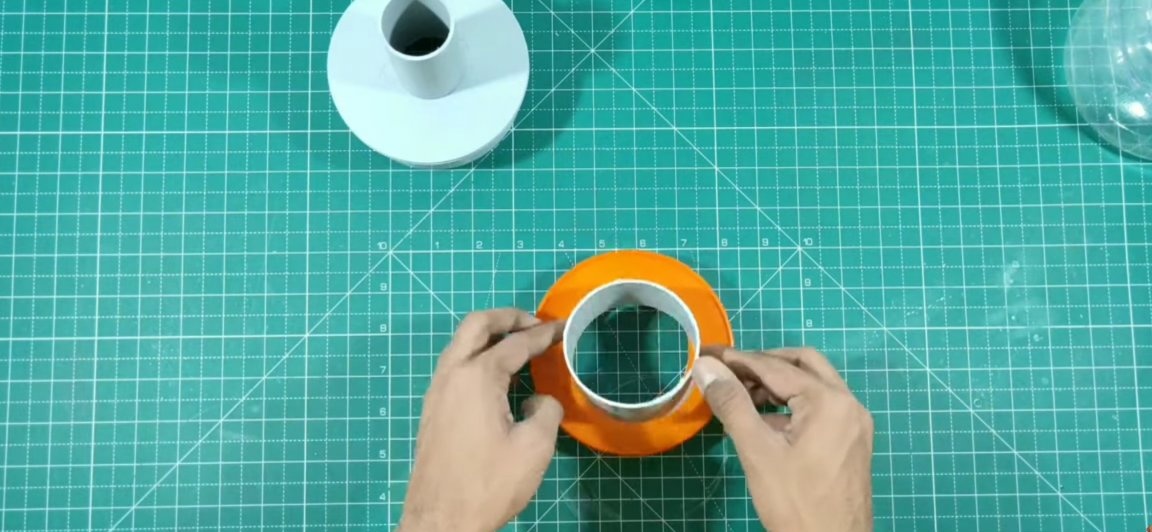
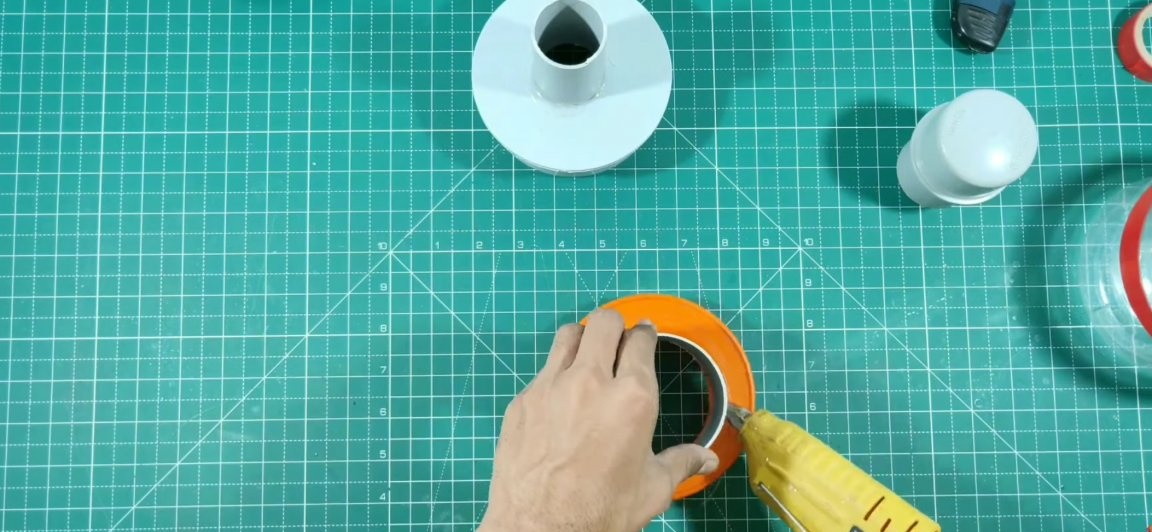
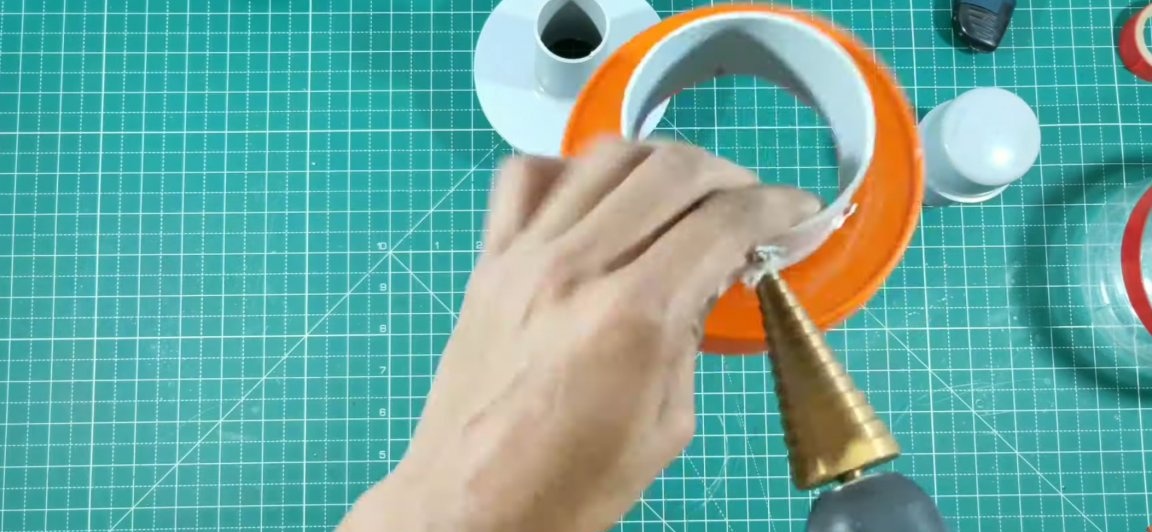
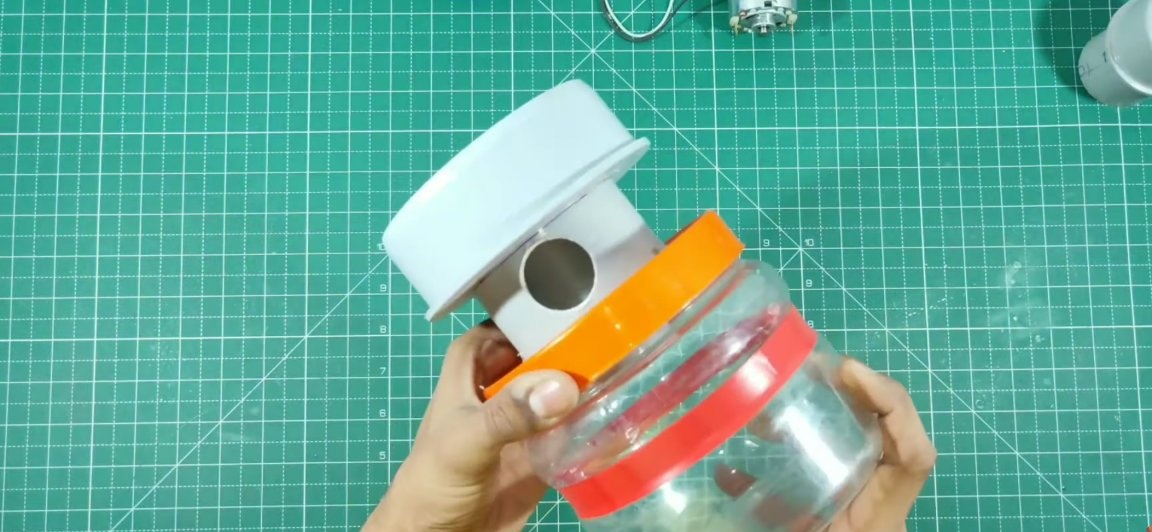
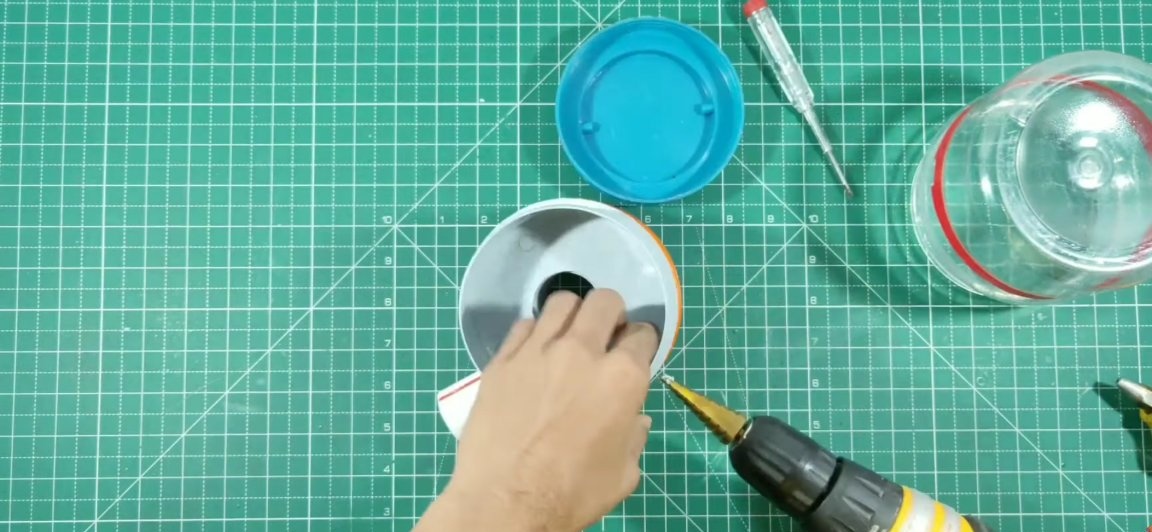
Then take a plastic jar. The jar will act as a garbage container, that is, the larger the jar you choose, the more garbage you can remove at a time. I recommend using a jar with thick walls. A “sleeve” should be glued to the lid from the jar of your choice (see photo), its diameter should be larger than the diameter of the tube glued to the plug earlier, but smaller than the plug itself. And the length of this "sleeve" should be slightly shorter than the tube. We attach this “coupling” to the lid of the can, circle it with a marker on the inside and cut out the hole with a clerical knife strictly along the office. After cutting a hole in the lid, glue the “sleeve” to the indicated place (see photo) using superglue.Before gluing any plastic parts, I recommend sanding them a little, so the connection will be more reliable. By combining the two previously mentioned elements, in the indicated places in the photo we make holes and put the wire through them and twist it. This is necessary for a reliable connection. And at the end we seal the connection with hot glue.

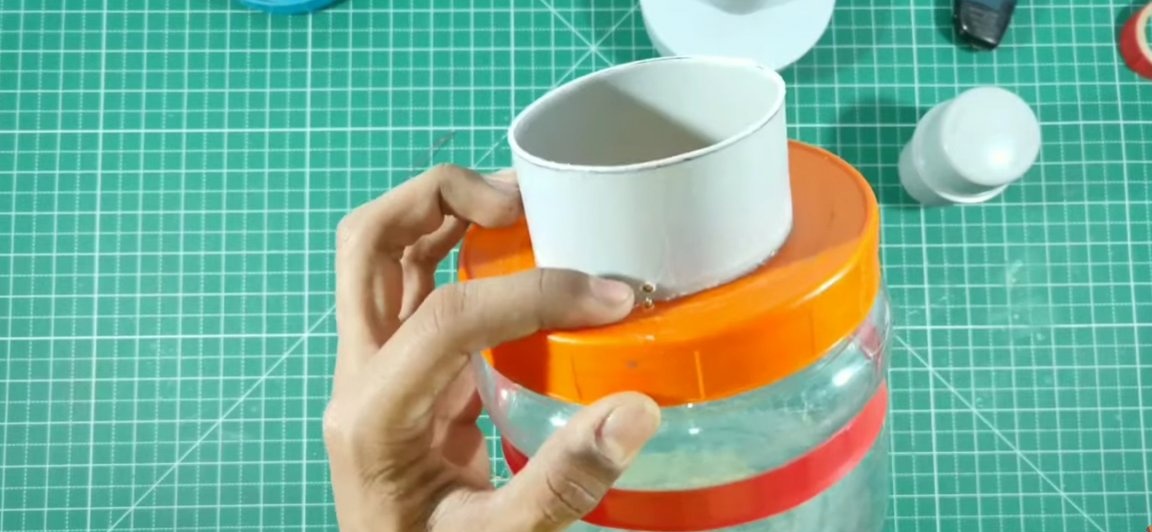
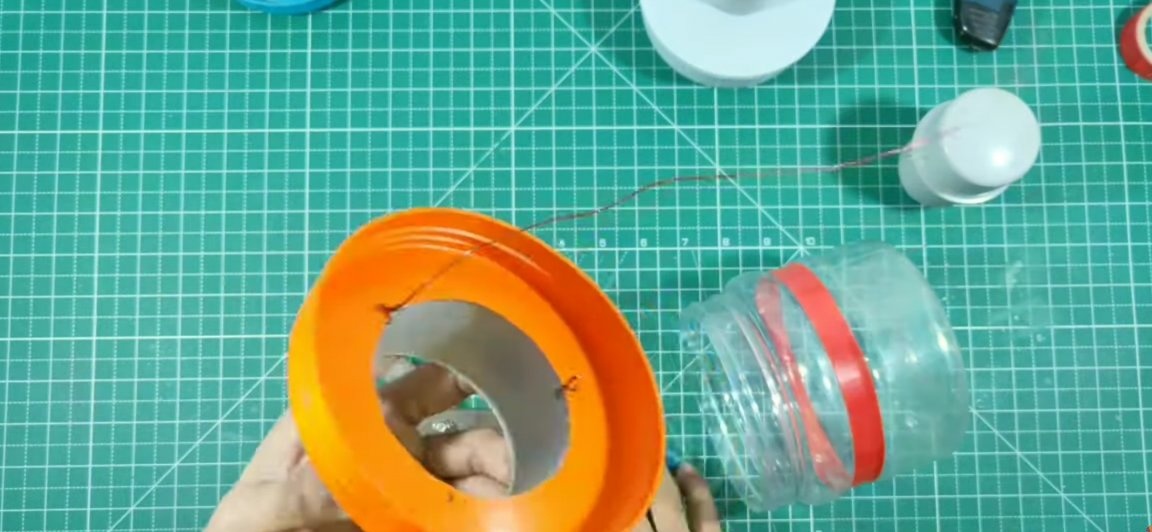
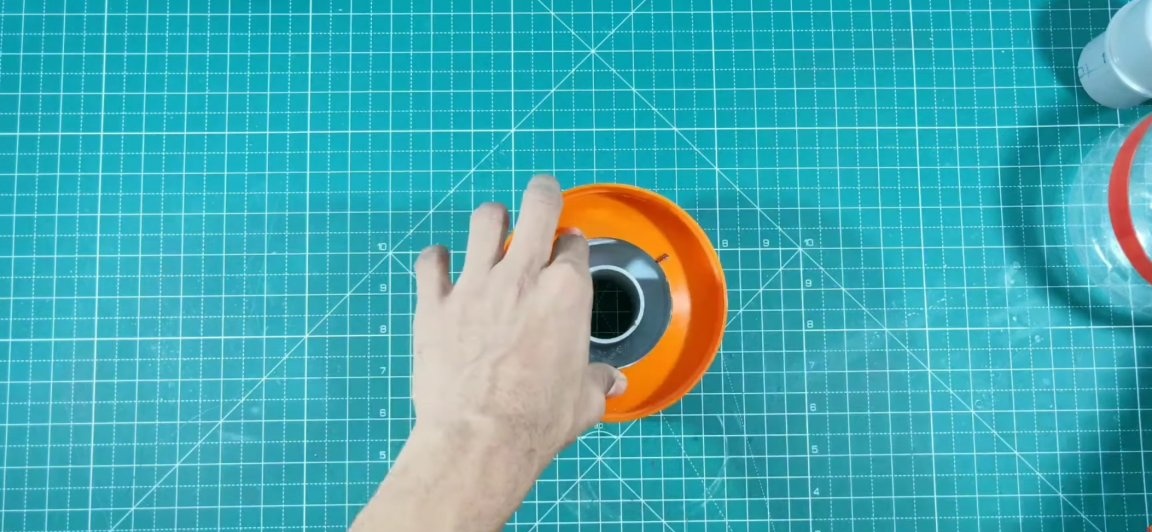
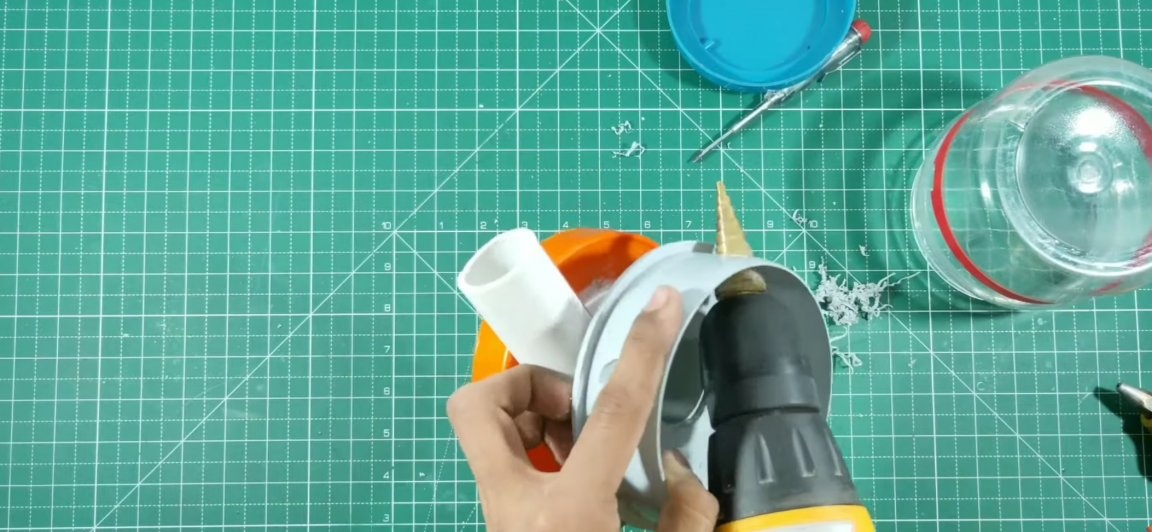
Then, in the newly installed coupling, a large round hole should be made on the side, it should be done using a step drill. Then, the two blanks just made should be joined together as shown in the photo. This should be done with superglue and then seal the connection with hot glue.

Then we cut a piece of 5-6 cm long from twenty millimeter PVC pipes. One of the ends of this segment should be rounded so that it fits snugly against that large hole made with a step drill earlier. We glue this segment to the hole itself, as it is shown below.
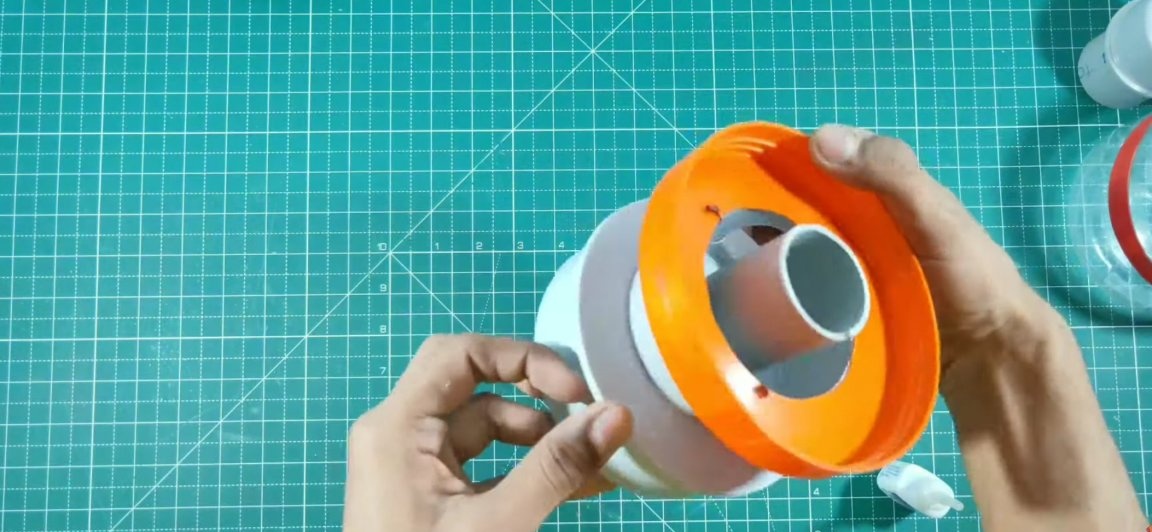

Next, in the PVC sewer plug, we make four holes opposite each other, air will come out through these holes.
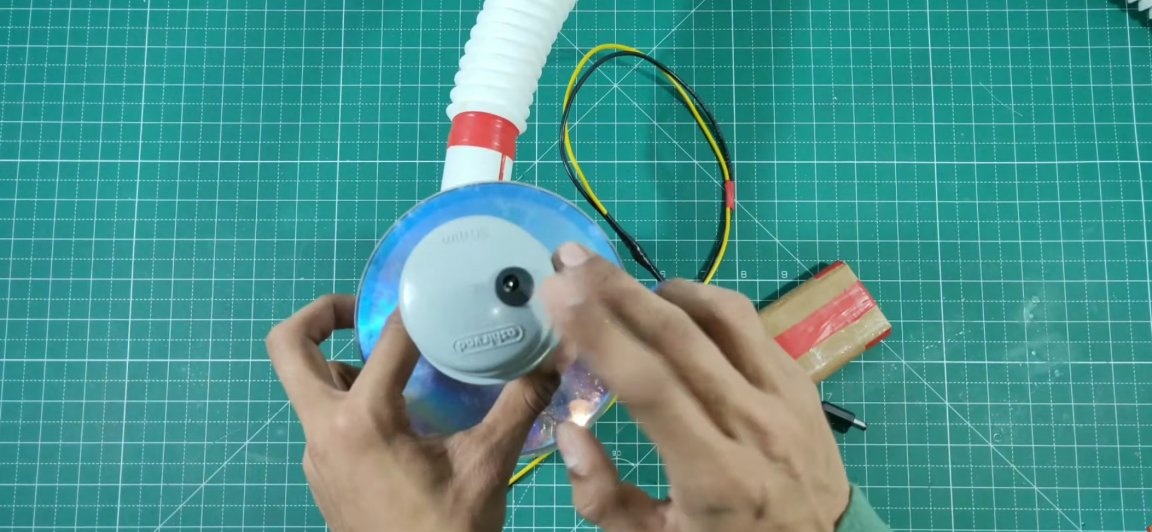
The next step is to manufacture a motor mount for the electric motor, and the electric motor will be fixed on it. For engine mounts you will need old CDs or DVDs (I think they can definitely be opened in the middle of the trash).
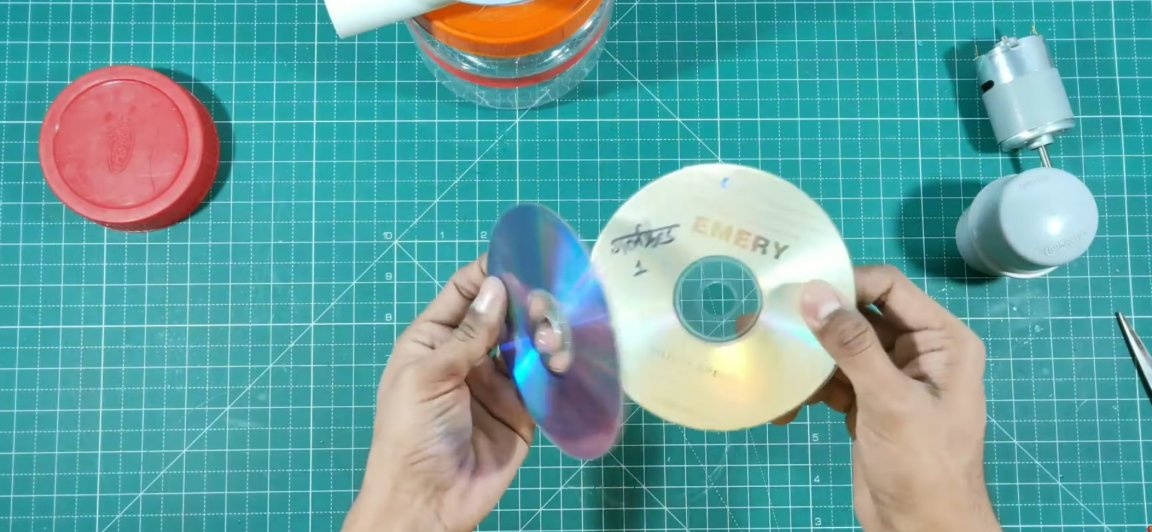
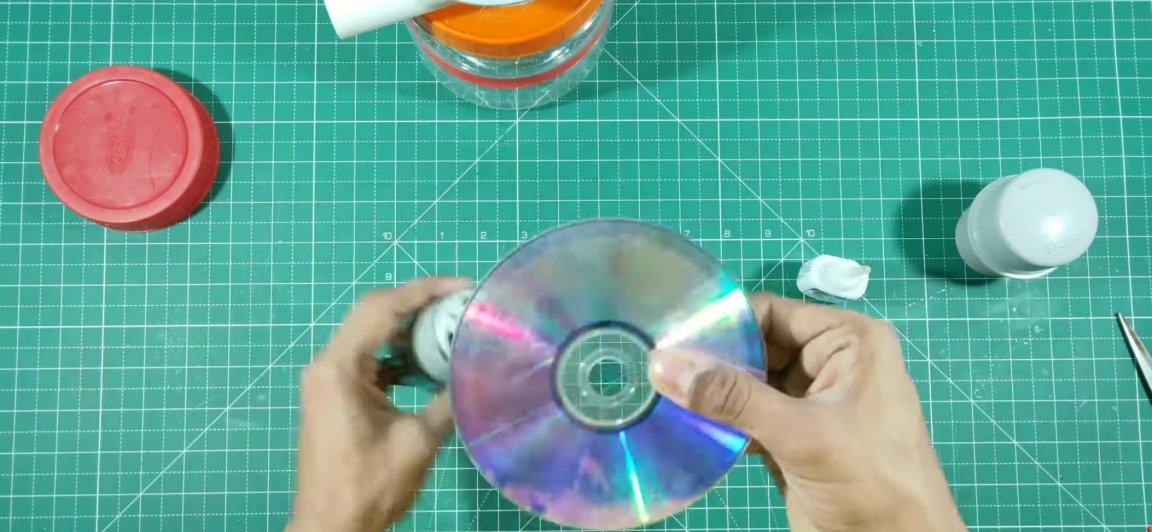
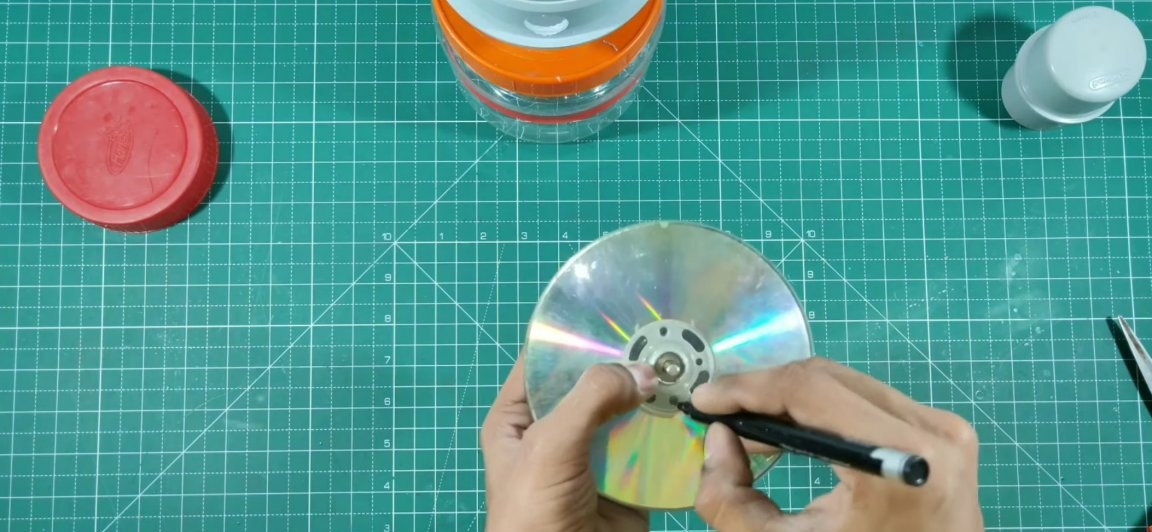
For the engine mount, you can use one disc, but for greater reliability of the design, the author decided to take two discs and glue them together using superglue. Having glued both disks together, we apply an electric motor to them so that its shaft is located exactly in the center. We mark with a marker a place for engine mounting holes. We make holes and fasten the electric motor itself to the engine mount.
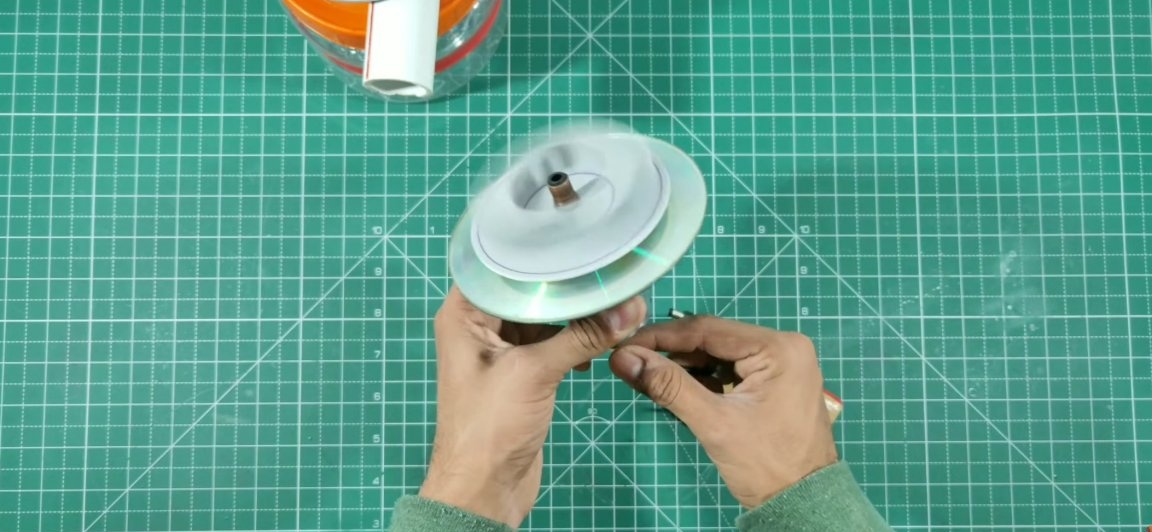
We turn to the manufacture of the impeller itself. For her, first we take a plastic sewer plug, from which we cut an even circle. The diameter of the circle should be slightly smaller than the diameter of the sewer plug that was used previously. Then, in order to be able to fix this part on the motor shaft, a suitable rubber tube should be selected. This method of connecting the impeller will help to dampen the vibration a little, which in this case cannot be avoided. We make a hole in the circle just cut out, under the rubber hose and install it in it, fixing it with superglue.
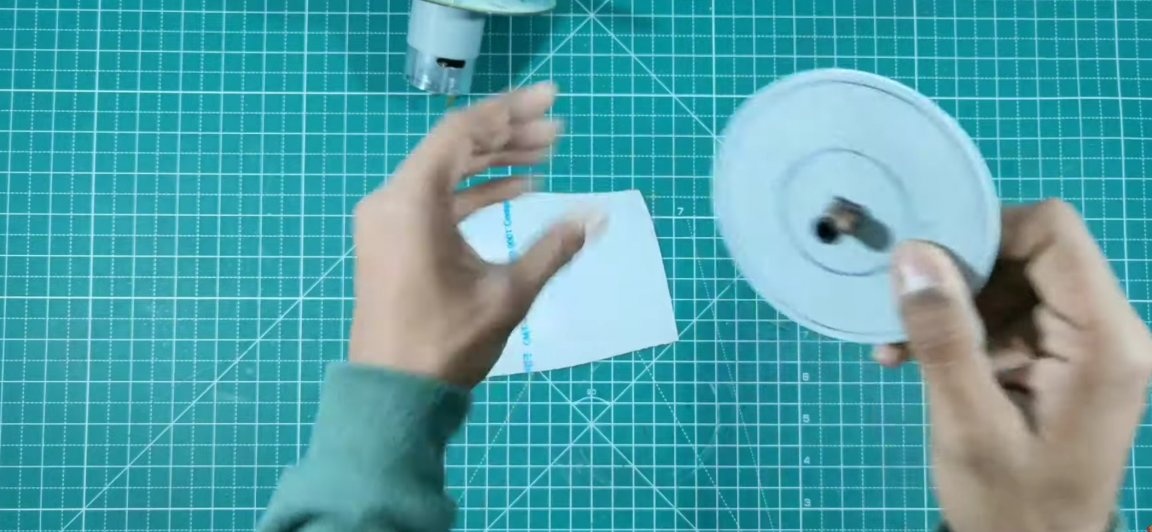
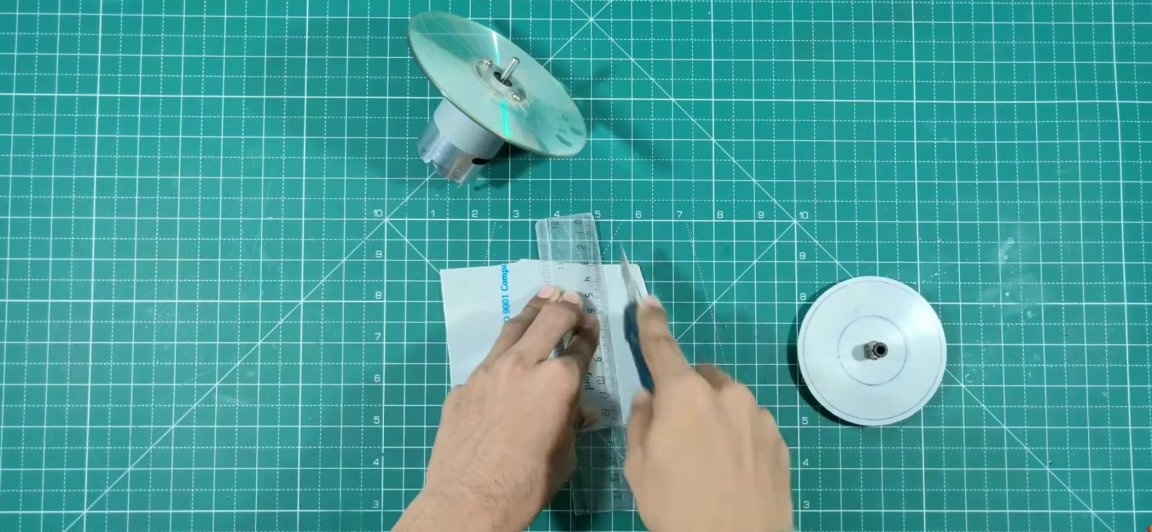
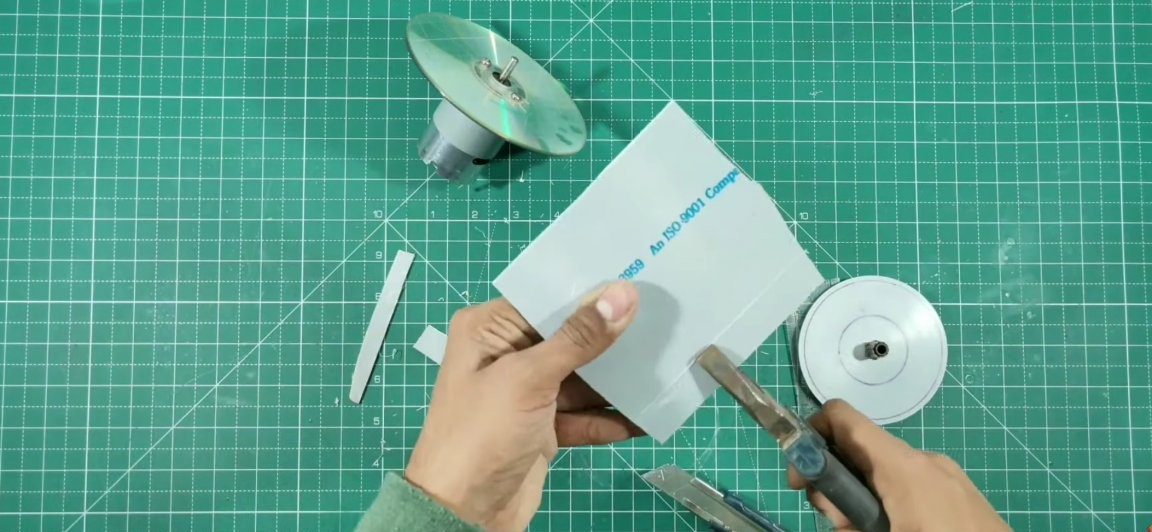
Now we should cut the blades, we will cut the blades from plastic, for this we first cut strips from a plastic sheet. In order to smoothly cut these same stripes, I recommend doing so, namely to take the lines first with the help of an office knife and a ruler, and then break them off with the help of a pair of pliers. The strips themselves should be about 15-20 mm wide.
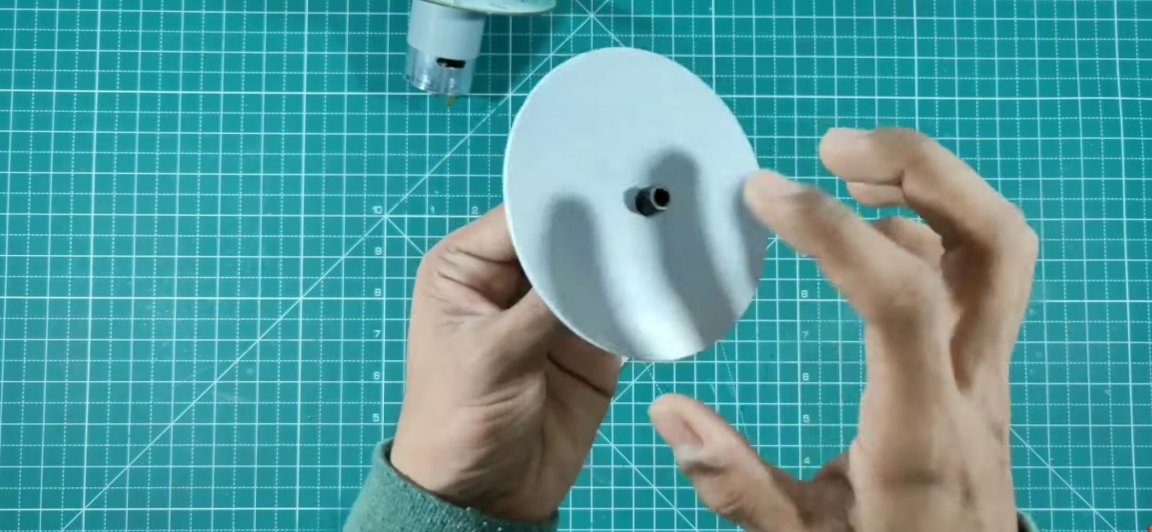
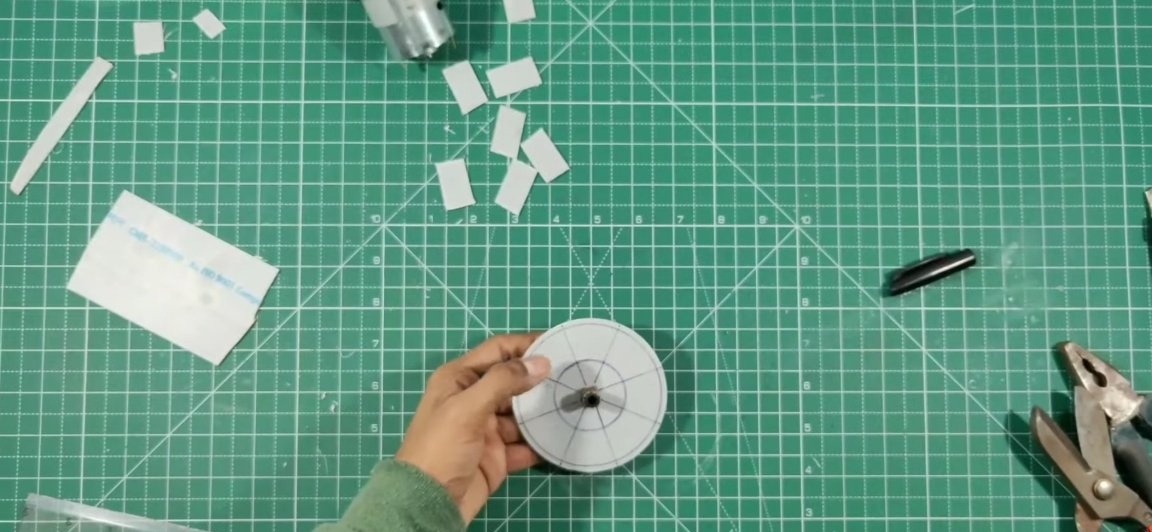
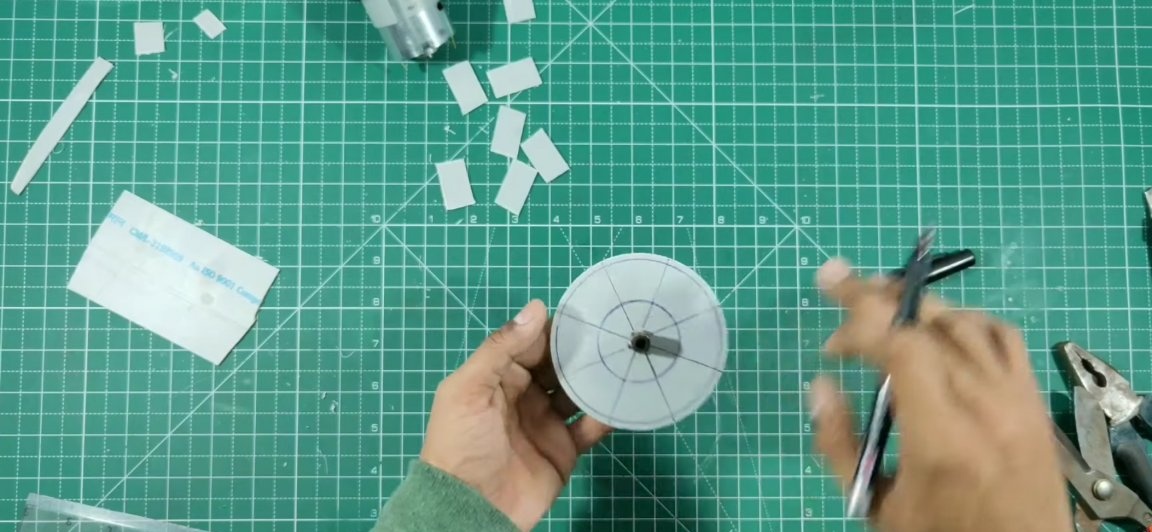
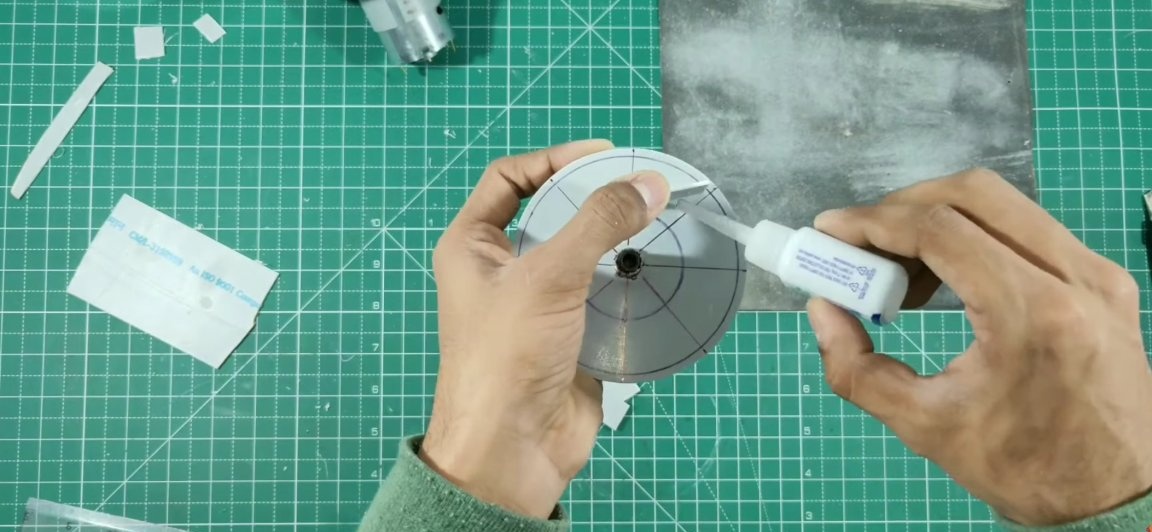
Then take a round billet with a tube and do the following. It should be "cut" for this, first we divide this circle into 8 identical parts. Then, using a compass, draw two circles of different diameters. One of the circles should be large, almost completely occupy the workpiece. The second circle should be smaller and located almost at the shaft itself (see photo). As a result, we get 8 four squares, on the diagonals of which we will glue the blades.
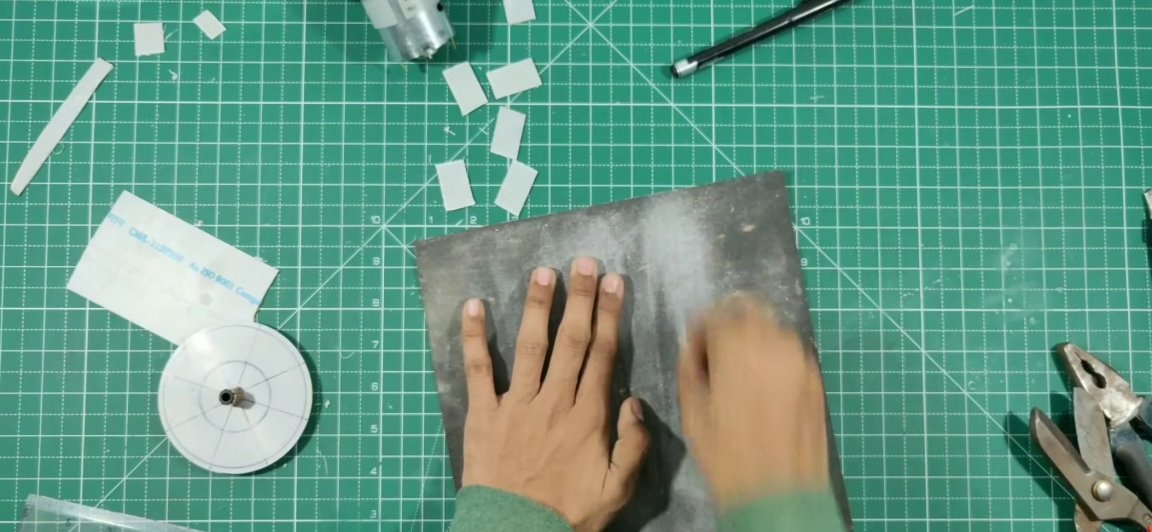
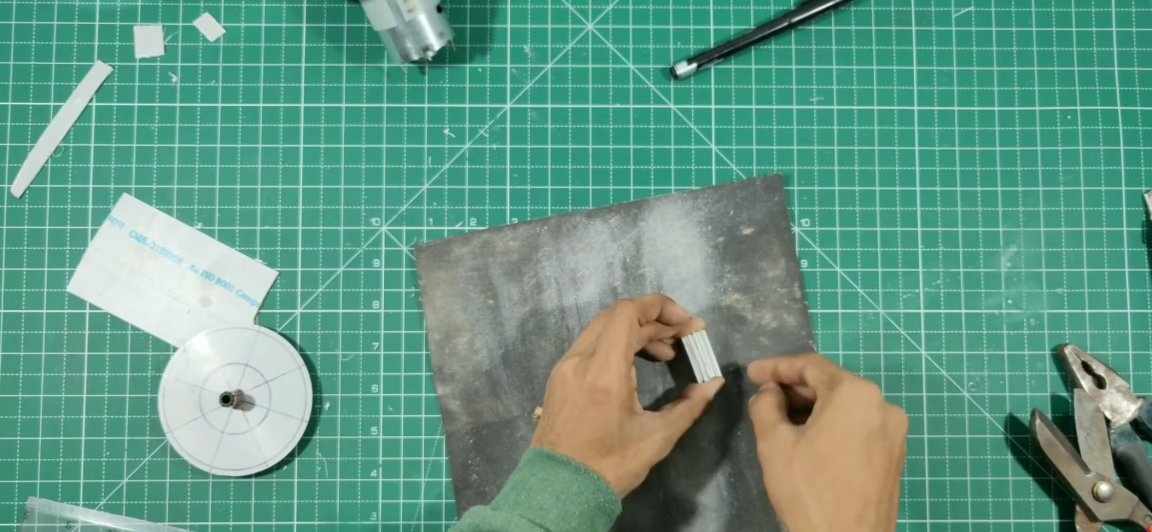
Now we finally measure the length of the blades, and cut the recently cut strips into 8 identical blades. Before gluing the blades in place, they should be treated with sandpaper, removing burrs. But that’s not all, after which you should take all the blades and put them into one sandwich, and then process them together with sandpaper. This is necessary so that we have all the blades as identical as possible, this will avoid unnecessary unnecessary vibrations.

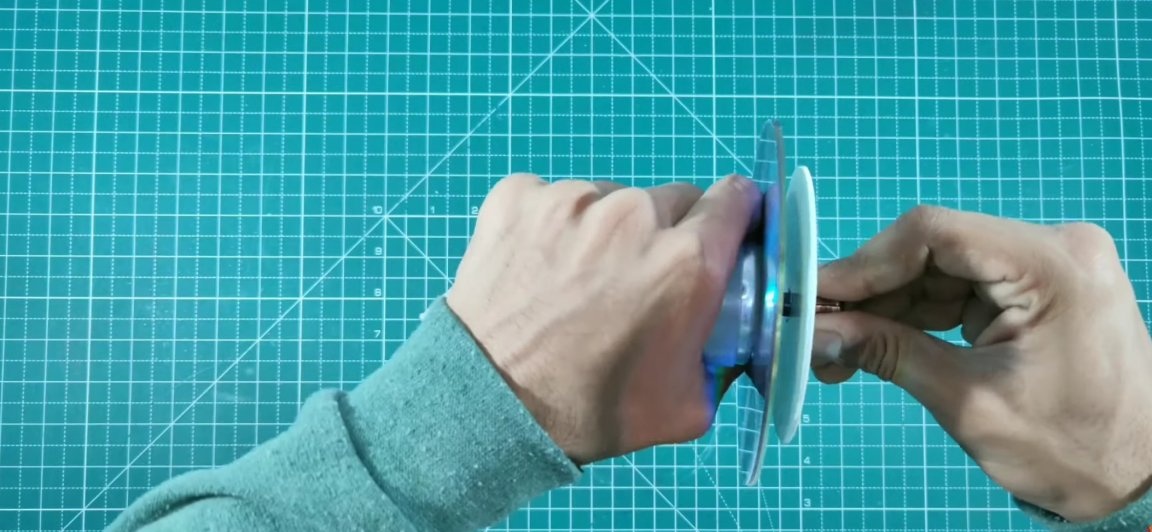
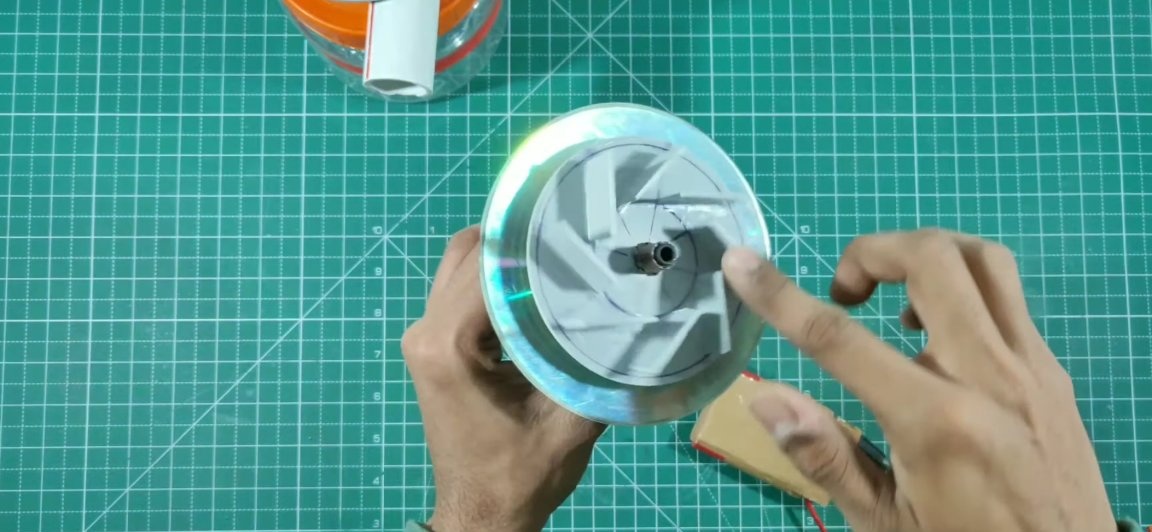
Just now proceed to gluing the blades. As already mentioned, the blades should be glued diagonally on the applied quadrangles on a round plastic blank. It should be noted that the blades should be glued very carefully, this should only be done with superglue without the use of hot glue, as large vibrations can occur. The blades should be glued exactly perpendicular to their base, so the efficiency of the finished impeller will be maximum.
After that, we put the finished impeller on the motor shaft and test it by supplying power to the engine. At the first start, be careful, as a poorly glued blade can fly off. If nothing has fallen off after start-up and vibration during rotation of the impeller is minimal, then continue assembly.

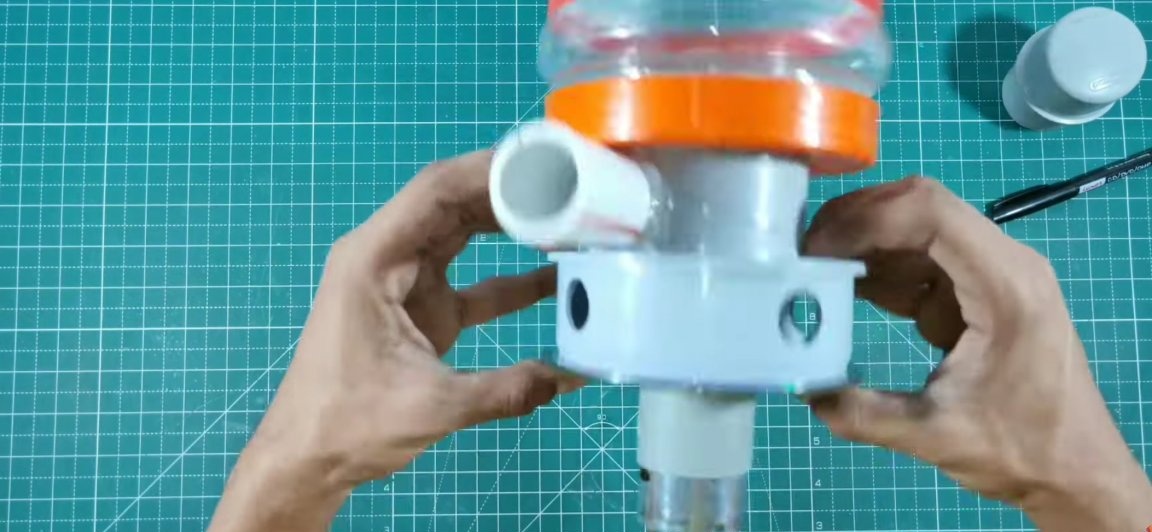
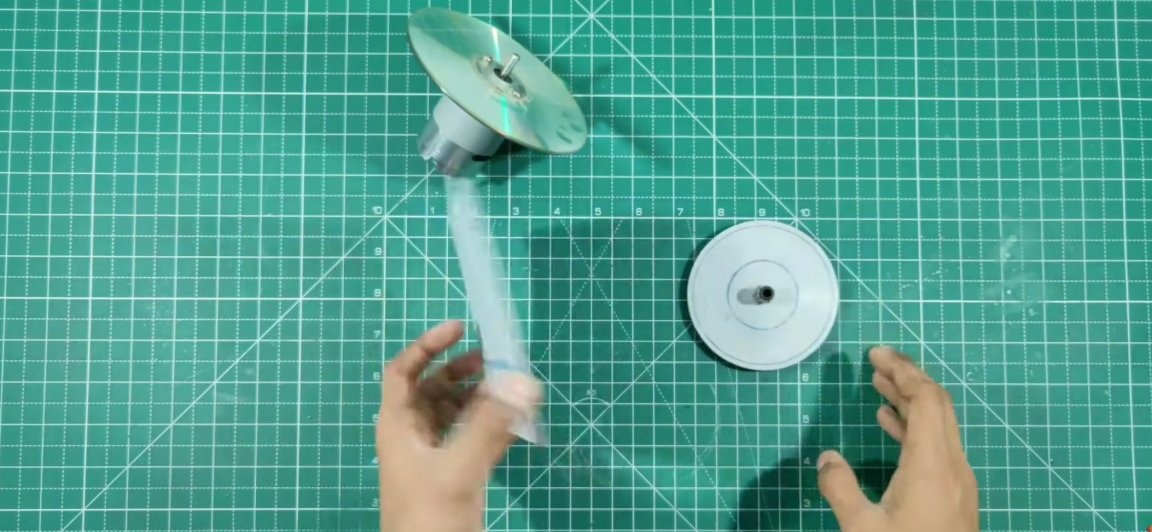
We install the engine with the impeller installed on it in its place (see photo) before that, additionally dropping a couple of drops of glue at the junction of the impeller with the motor shaft (for greater certainty).

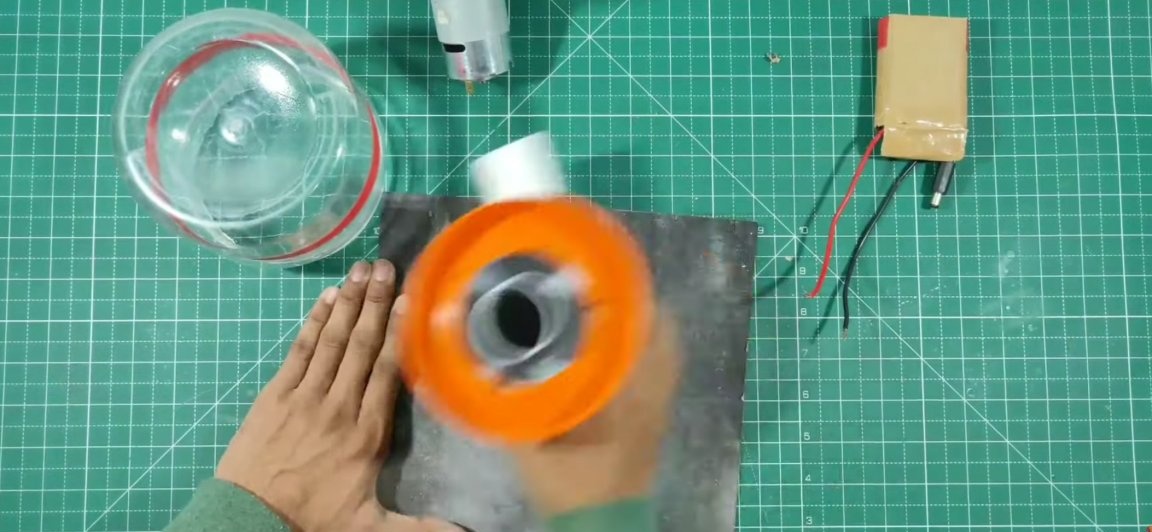
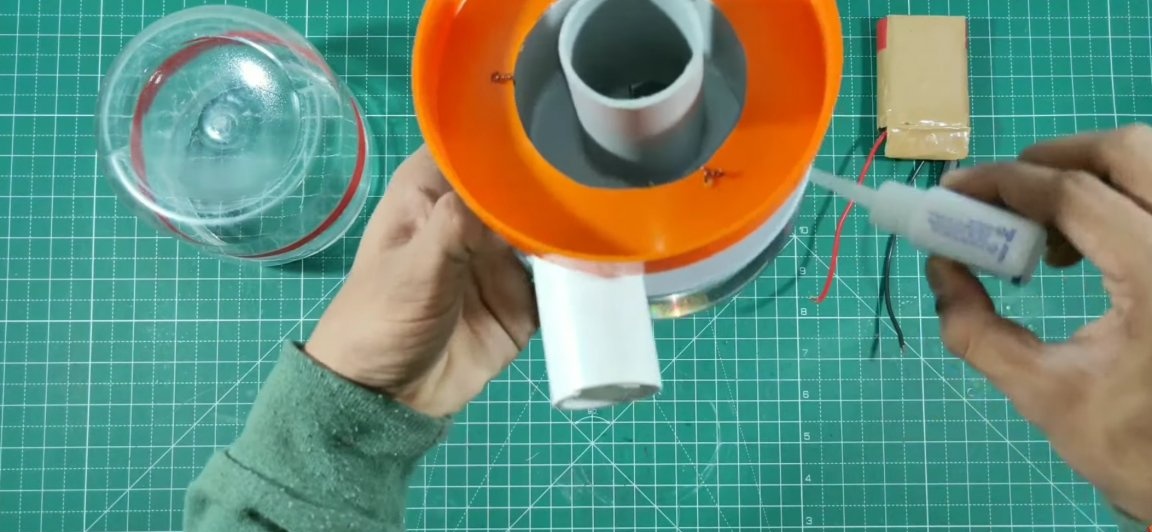
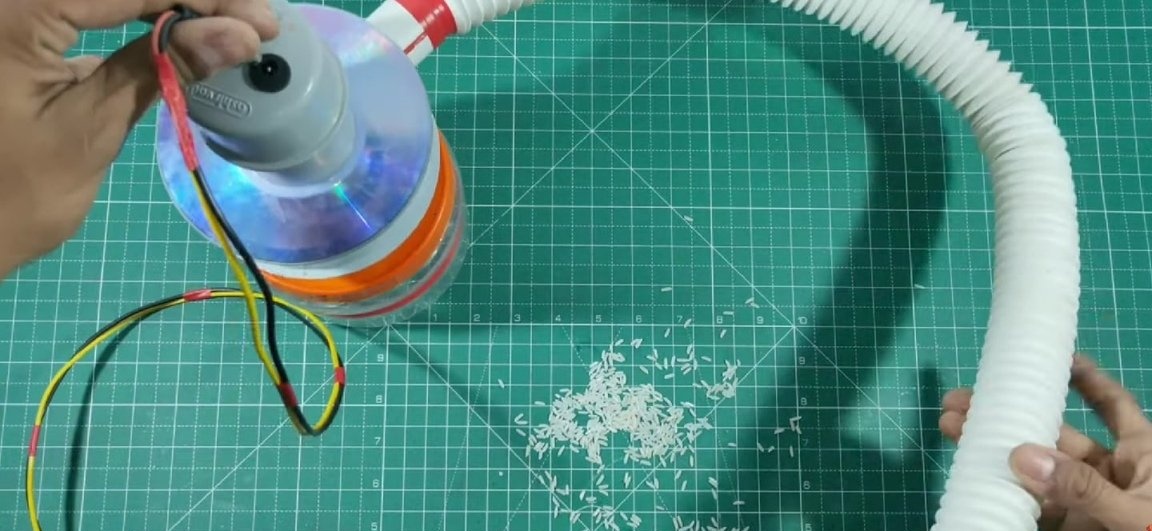
After that, so that the engine doesn’t “stick out” with us just like that, for aesthetics, we will make it a casing. As the body, we take a piece of pipe from a slightly larger diameter than the diameter of the engine itself, and glue this piece to the engine mount. And we plug the newly installed pipe with a special plug. On this plug just place the connector for powering the electric motor.


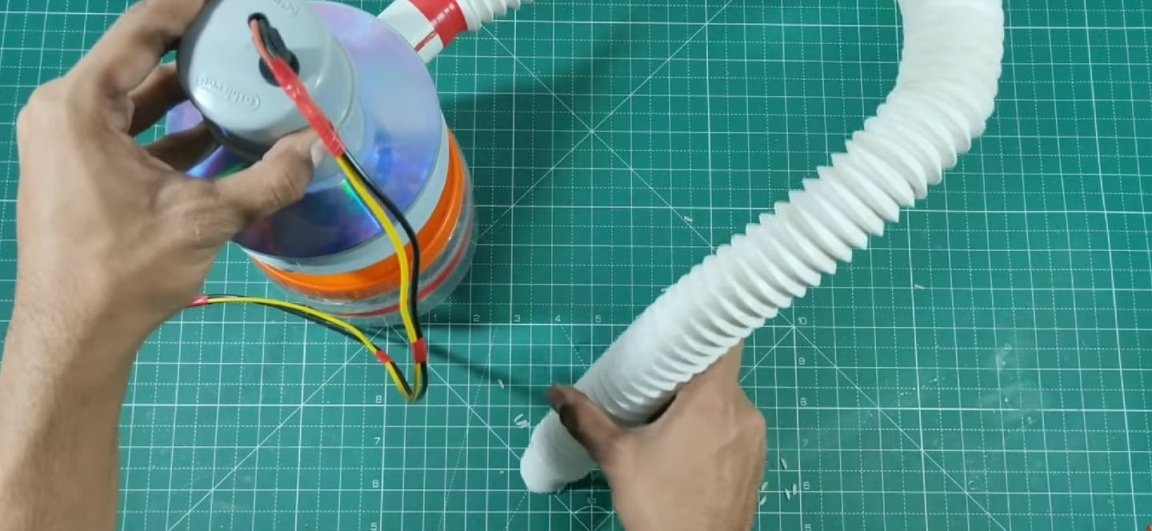
All is ready! We pass to tests. But first, install a plastic corrugated hose on the pipe (on the one that is 20mm). We connect power and test. As you can see, this homemade product does its job perfectly.

Here is a video of the author of the homemade:
Well, thank you all for your attention and good luck in future projects, friends!