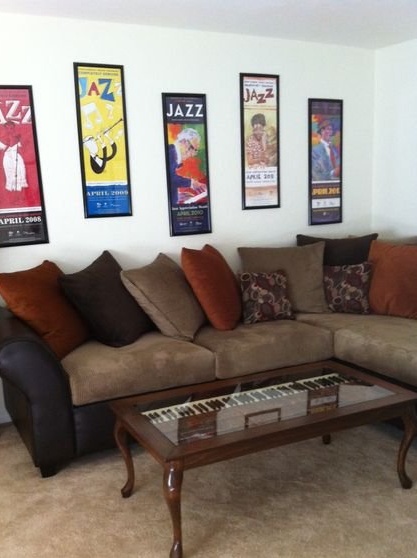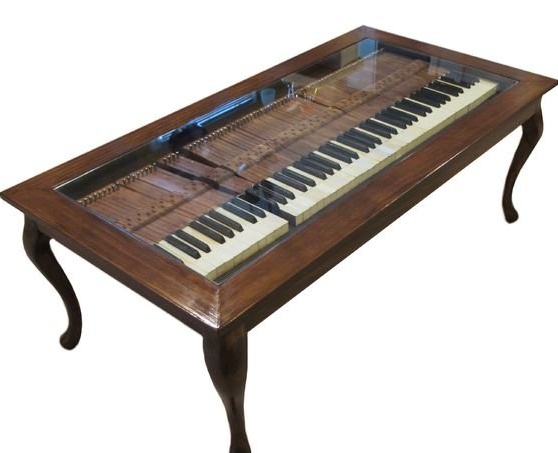
Are you a fan of music or just a lover of creative things? Then this instruction is for you. Few people suspect the possibility of using the details of an old piano to create a new thing.
To make this amazing table we need:
• piano keys
• 4 table legs
• 4 parts for countertops (122x61 cm.)
• parts for the apron (112x51 cm)
• pads for support (117 cm and 56 cm)
• thick plywood measuring 117x56 cm.
• wood glue
• grit sandpaper 120, 220, 300
• alcohol
• paint color dark walnut
• polyurethane
Instruments:
• Circular Saw
• milling machine
• grinding machine
• centimeter
• drill
• brush (for painting)
• cotton rags / old t-shirts
• brush (for polyurethane)
Step 1: Make the Frame
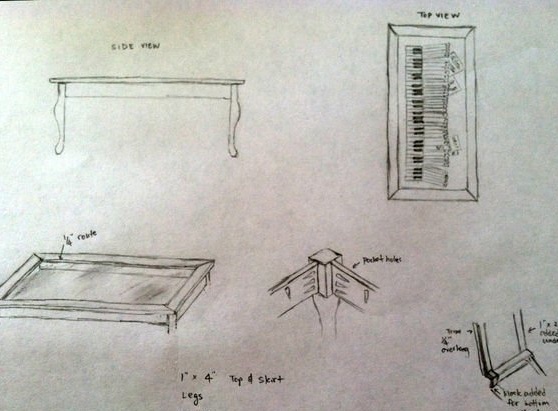
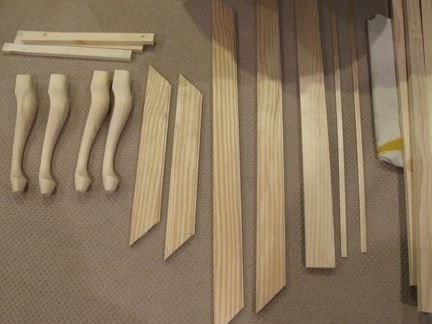
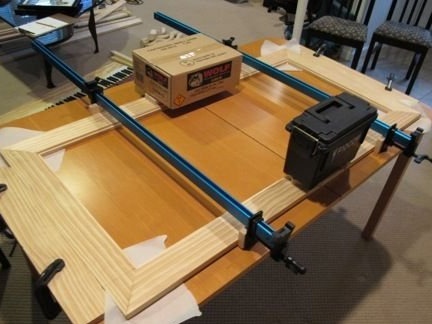
In appearance, the frame will look like a frame under the photo. The first thing to do is take the four pieces and glue them together to form a countertop. If possible, provide uniform pressure on them. Wait for it to dry.
Step 2: Preparing the Parts
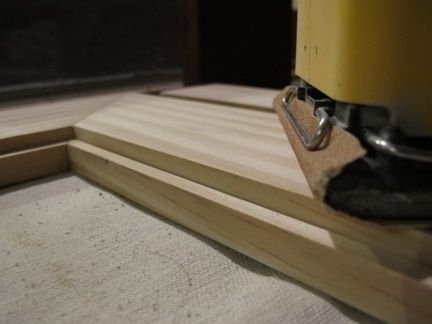
Sand all wood pieces with 120 grit sandpaper.
Step 3: make a notch
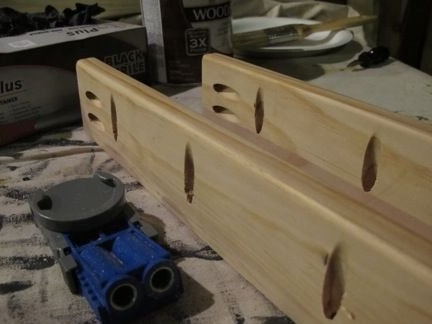
Drill blind holes on the inside of the apron. They need to be made on top of the legs and in front of the countertop.
To assemble the table, you need to turn the countertop over, and then attach the legs in each corner. Using glue for working with wooden surfaces, fix the apron on the legs.
Step 4: Paint
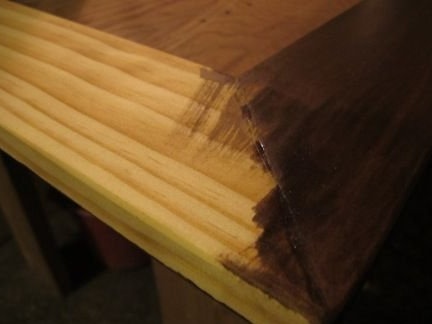
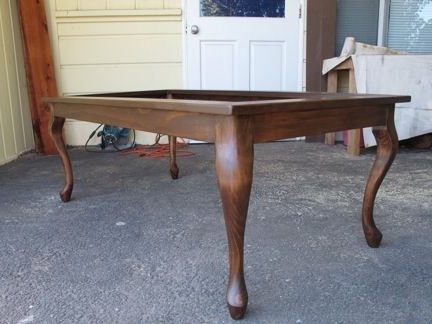
After the initial assembly of the table, treat the entire surface with 220 grit sandpaper. Then apply alcohol to the rag and wipe the table. This will remove the grinding dust from it. Apply paint in two or three coats. Let it dry.
Step 5: Take The Bottom
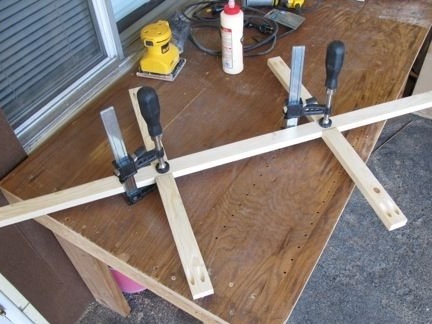
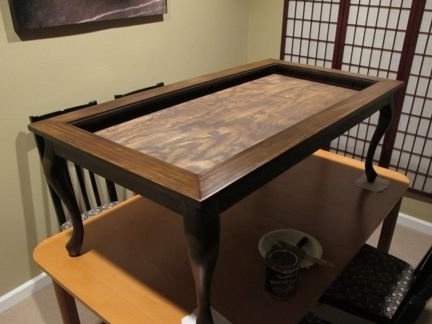
Use the milling machine to cut the plinths to create a connection. As shown in the photo, assemble the base.
Step 6: Install the Keys
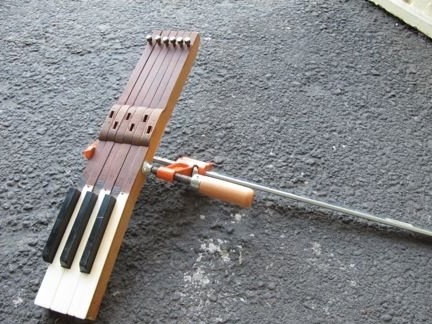
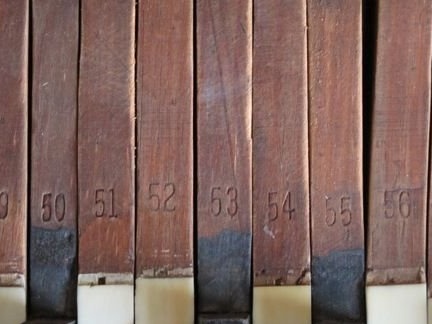
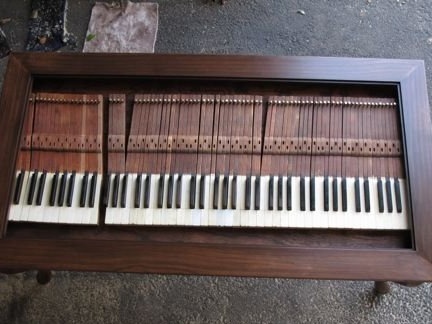
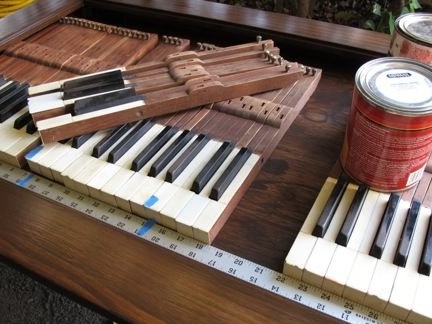
The keys of the piano should have a small gap. Glue each key separately. You can use the ruler to mark their location.
Step 7: Finish the Countertop
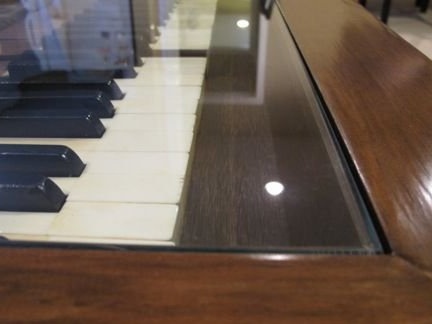
Using a brush, apply polyurethane to the edges of the table (the inner side where the glass will be installed). Lay a glass surface and allow time to dry.
