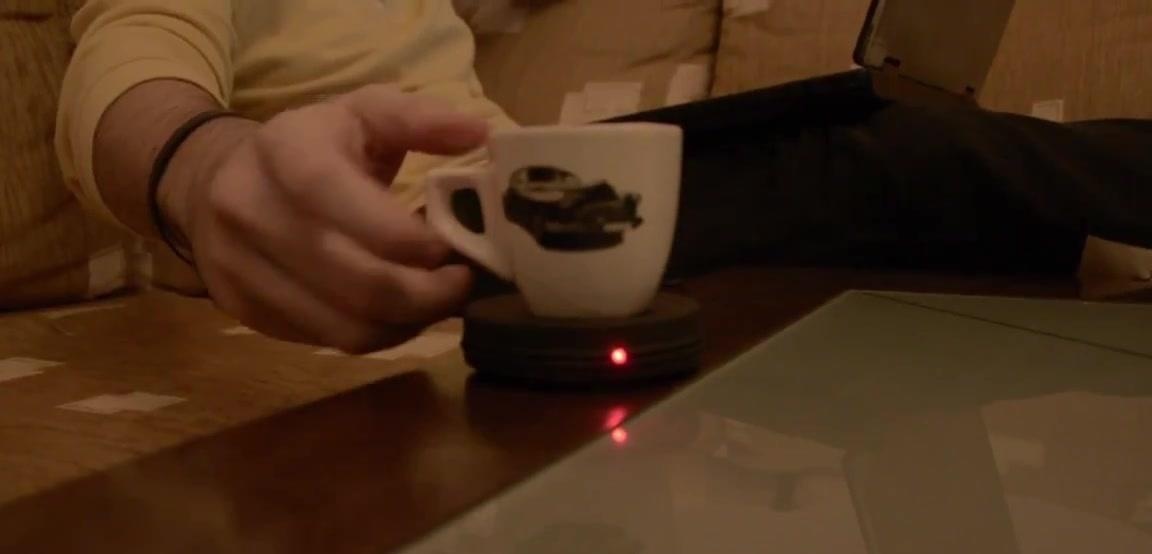
Sitting at the computer sometimes I want to enjoy a cup of hot tea or coffee. But what if the coffee prepared for several minutes had time to cool? We offer a USB cup heater, the manufacture of which we decided to devote to this review.
We advise you to start by watching the author’s video
So, what do we need:
- metal box;
- unnecessary processor;
- light;
- USB cable;
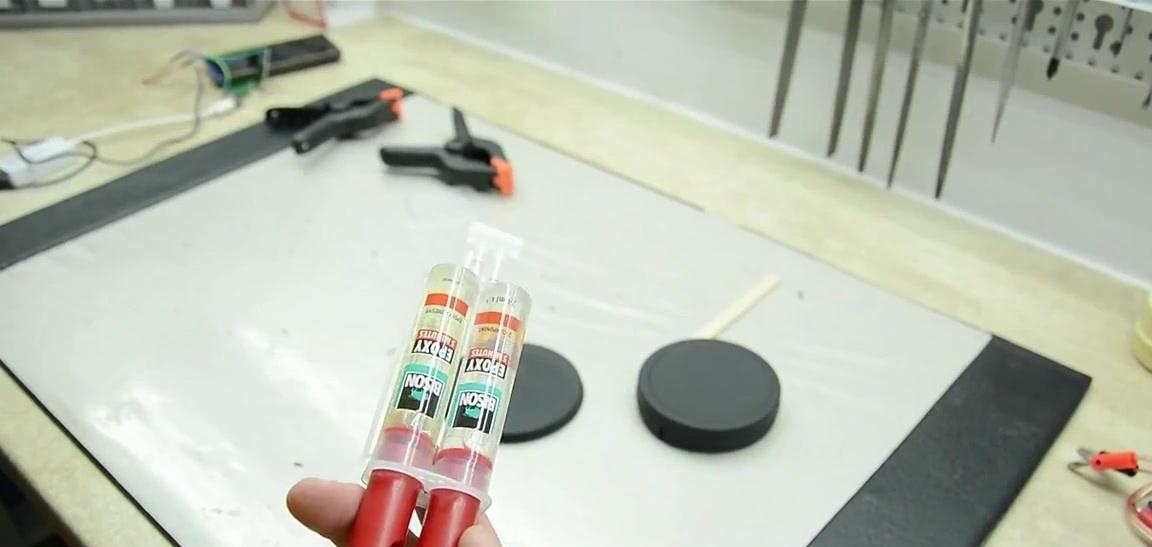
- heat-resistant adhesive;
- self-adhesive soft legs.
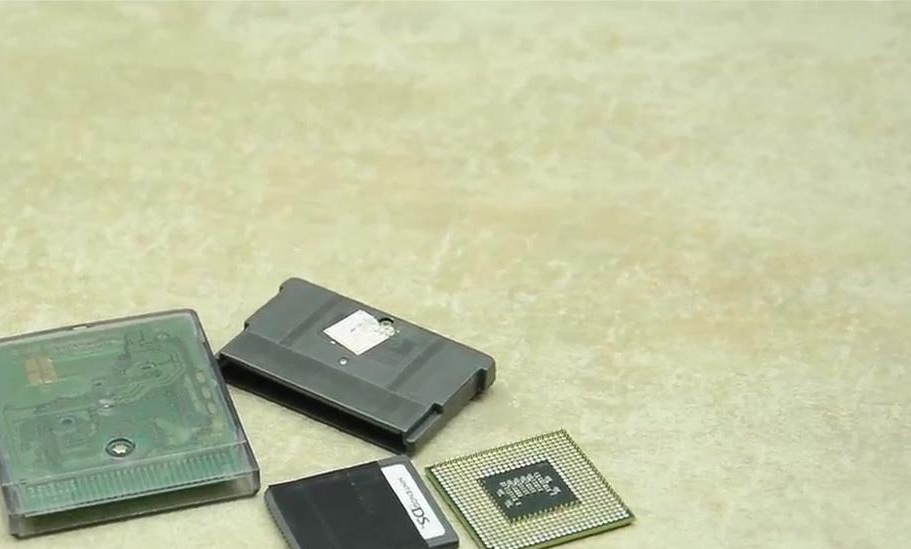
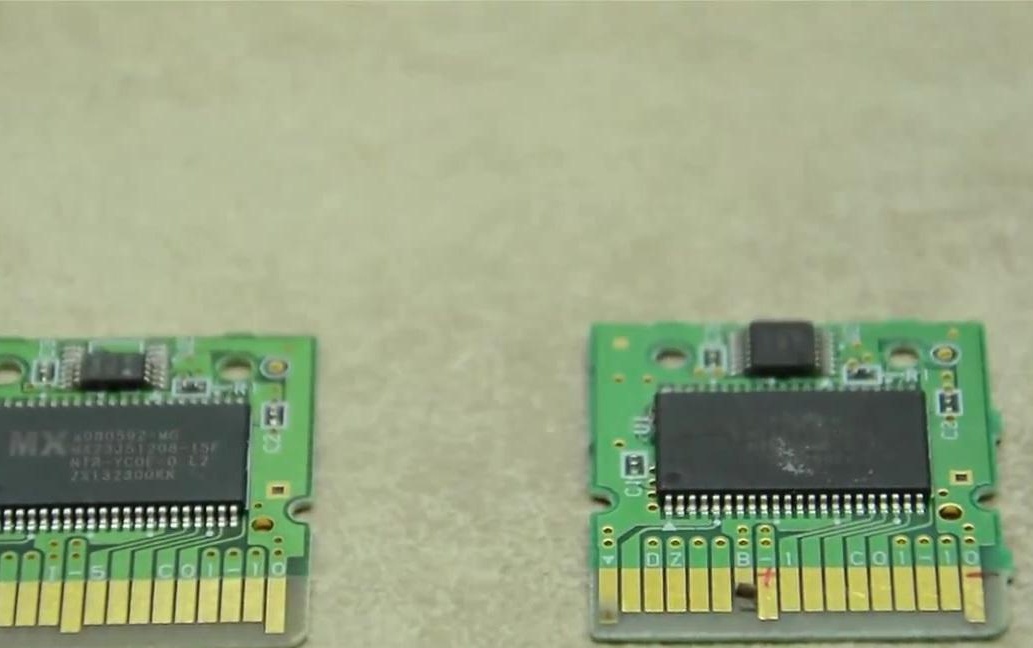
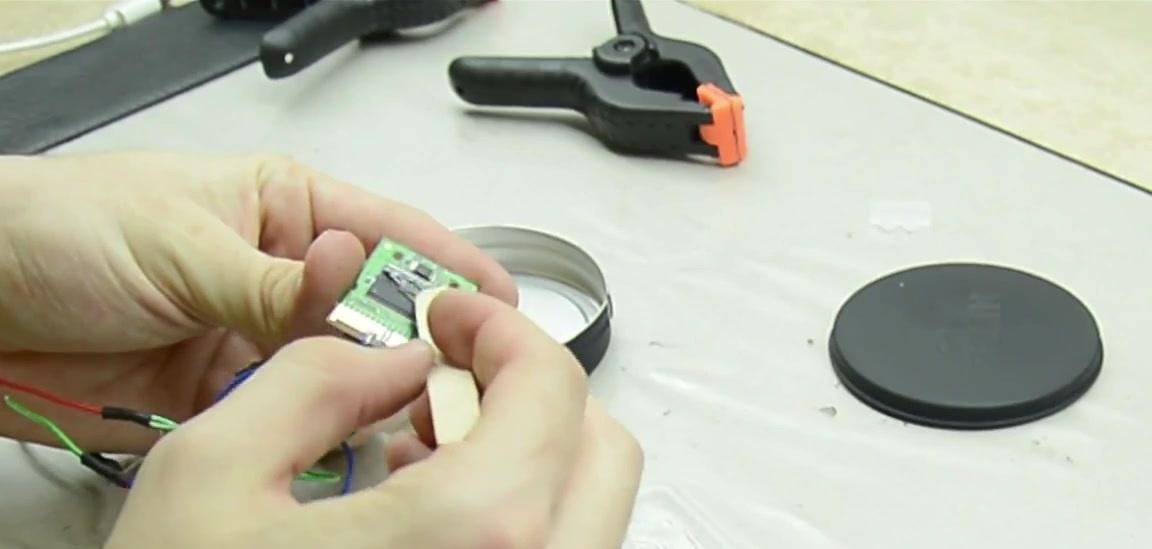
Let's start with a little clarification. You can use the processor from a PC, but there are 500 legs on it, and this greatly complicates the work, given that you need to find the right legs. Instead, the author advises using an old card from the Nintendo console, which is also a processor. It is also necessary to take into account the design of the computer to which the heater will be connected. In particular, you need to have information about the type of USB connector - USB 2.0 or USB 3.0. The author has USB 3.0 installed on the computer, so we will consider it as an example.
USB 2.0 is capable of delivering 500 mA, while USB 3.0 is 900 mA. We connect the plus and minus contacts as shown in the figure below and we get 290 mA. Using two cards, it turns out 580 mA.
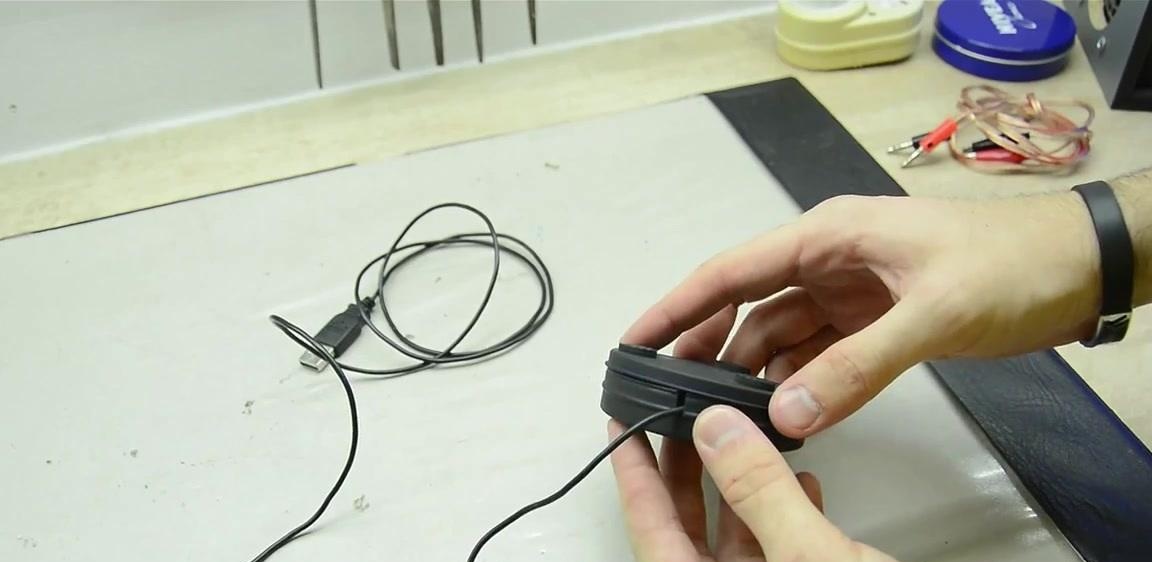
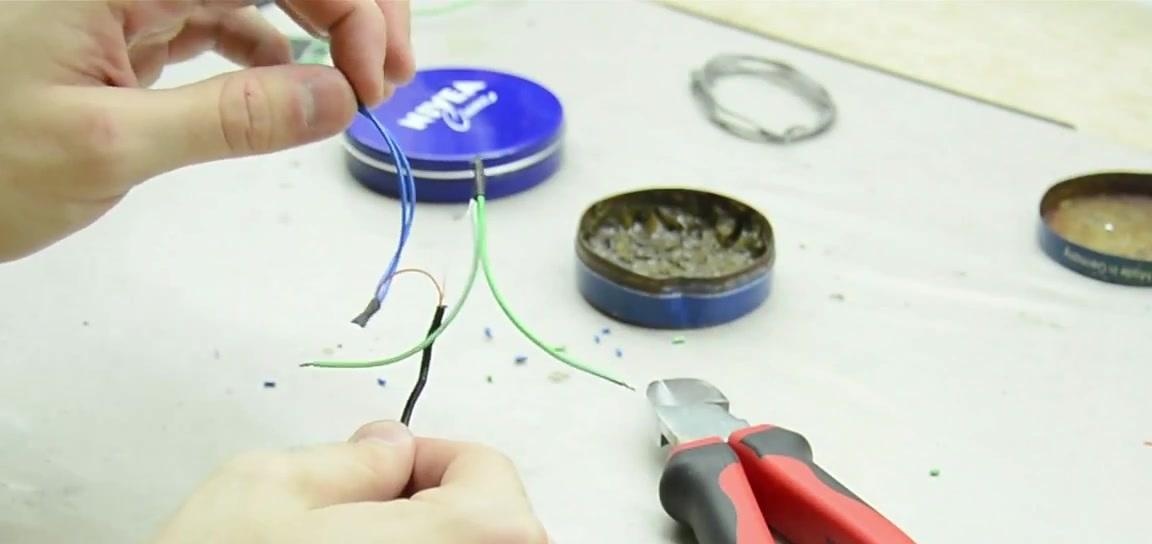
Next, take a USB cable and strip one end. Blue and green wires will not be used. We add two wires to each of the remaining two, not forgetting the isolation. It turns out two pluses and two minuses.

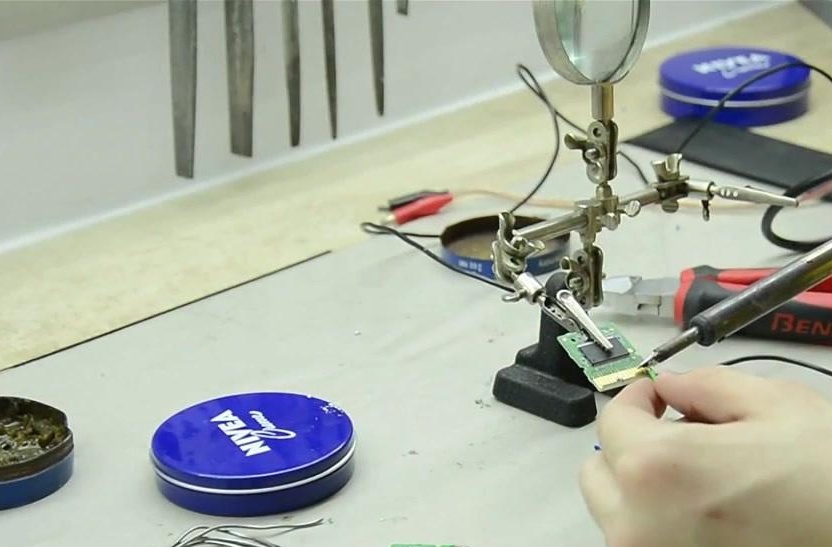
Solder the plus and minus wires to the cards.
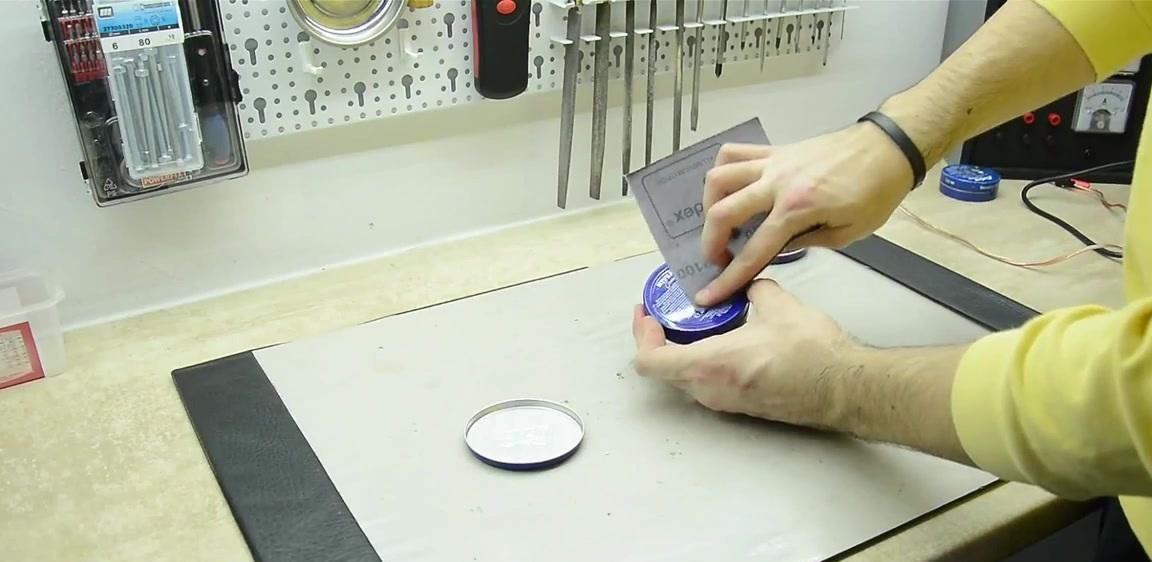
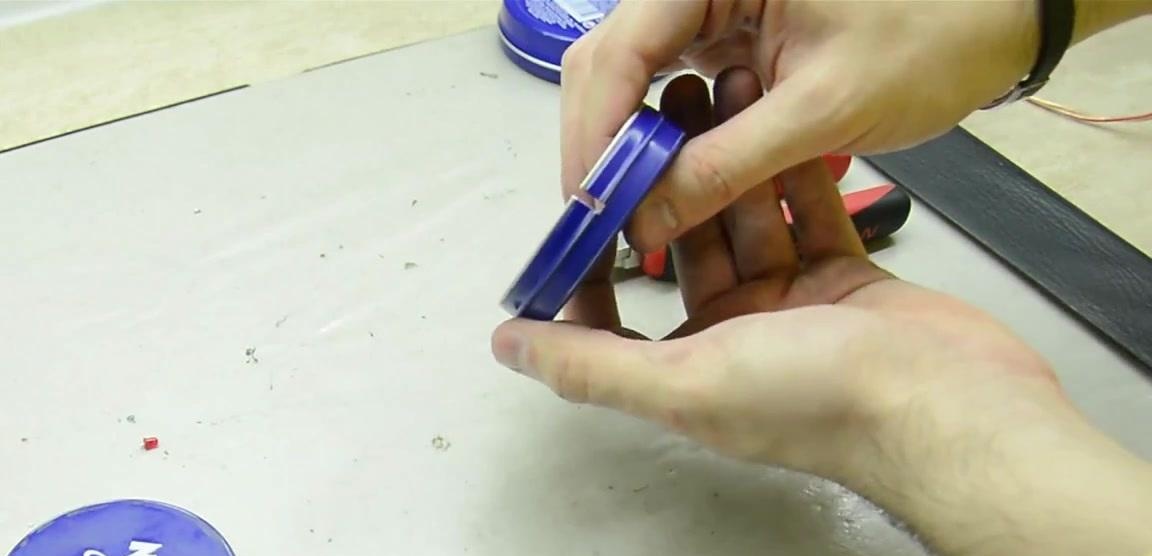
Let's move on to the preparation of the box. The author uses a box of cream on which to make two holes. One is necessary for the input of the wire, and the second will have an LED bulb installed.
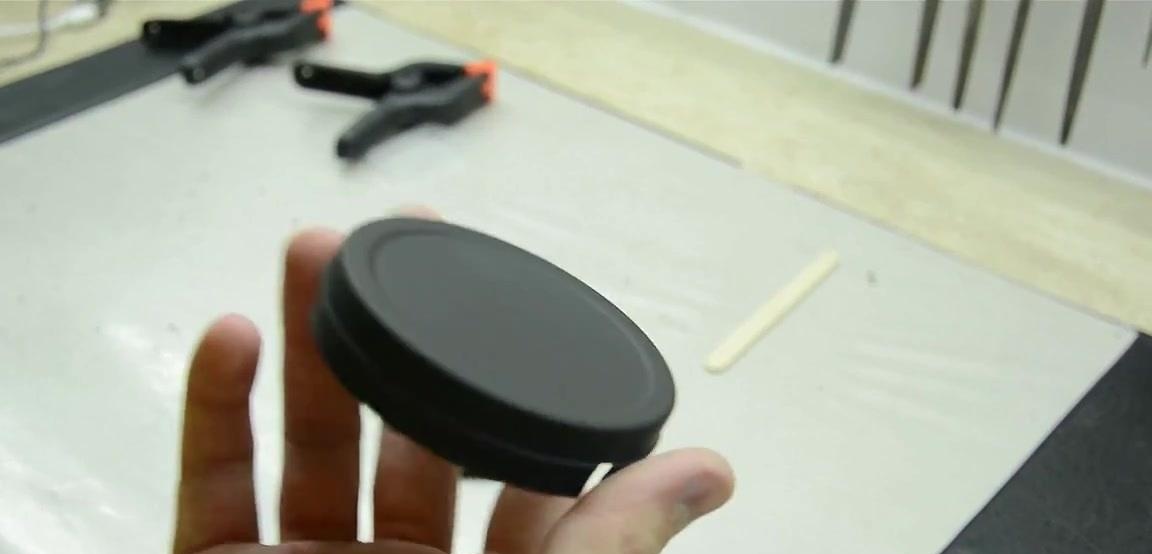
Repaint the box in any color.
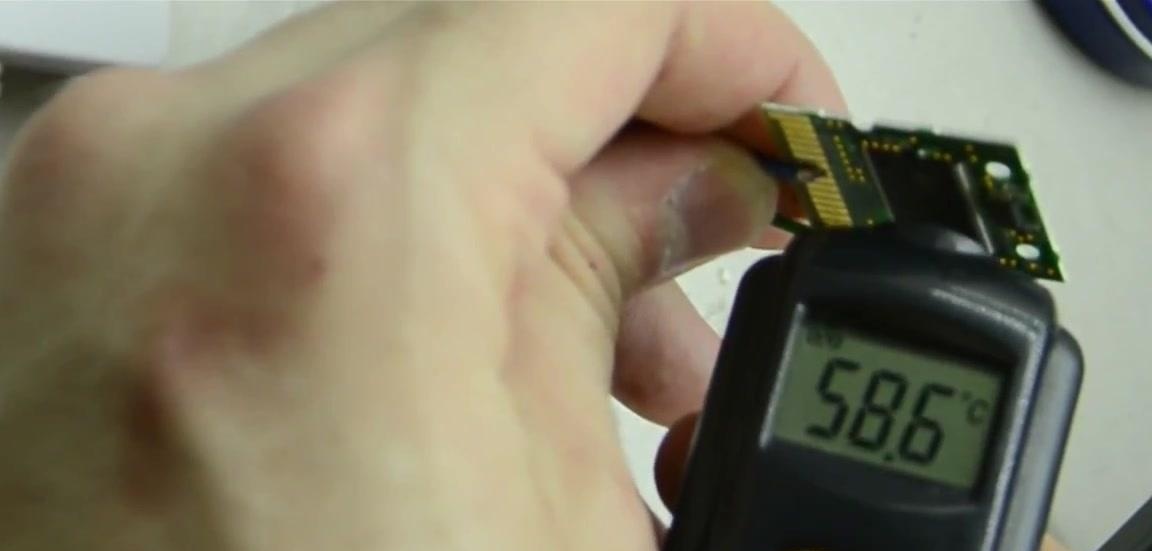
We put a thick layer of glue on the board itself, which will be heated to a temperature exceeding 70 degrees Celsius. In this case, the glue will also serve as thermal paste. Next, apply a thin layer of glue to the card and glue it into the body.
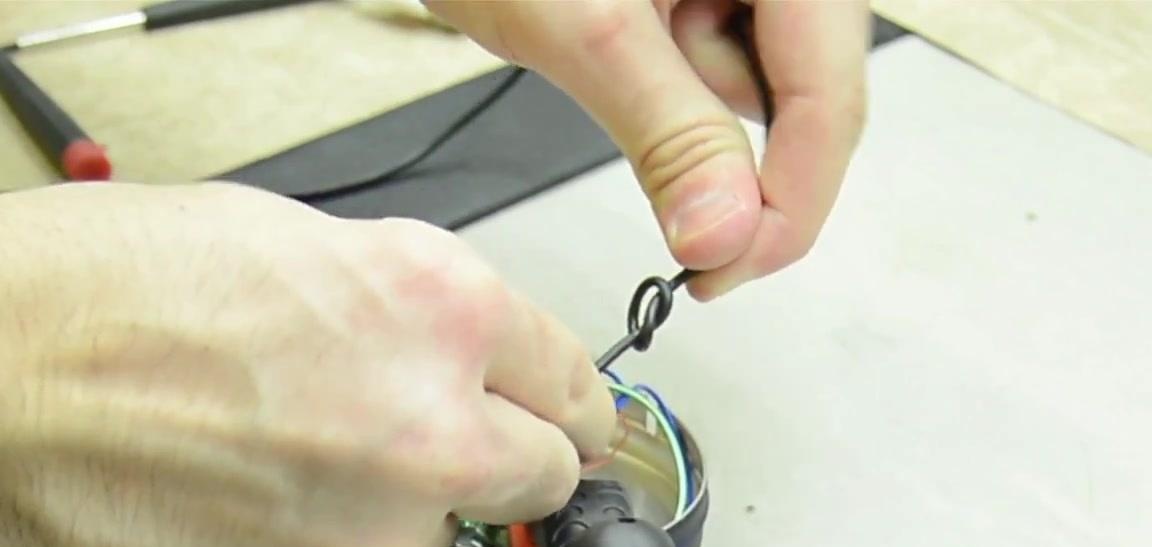
In order not to accidentally pull out the wire, you need to tie a knot on it.
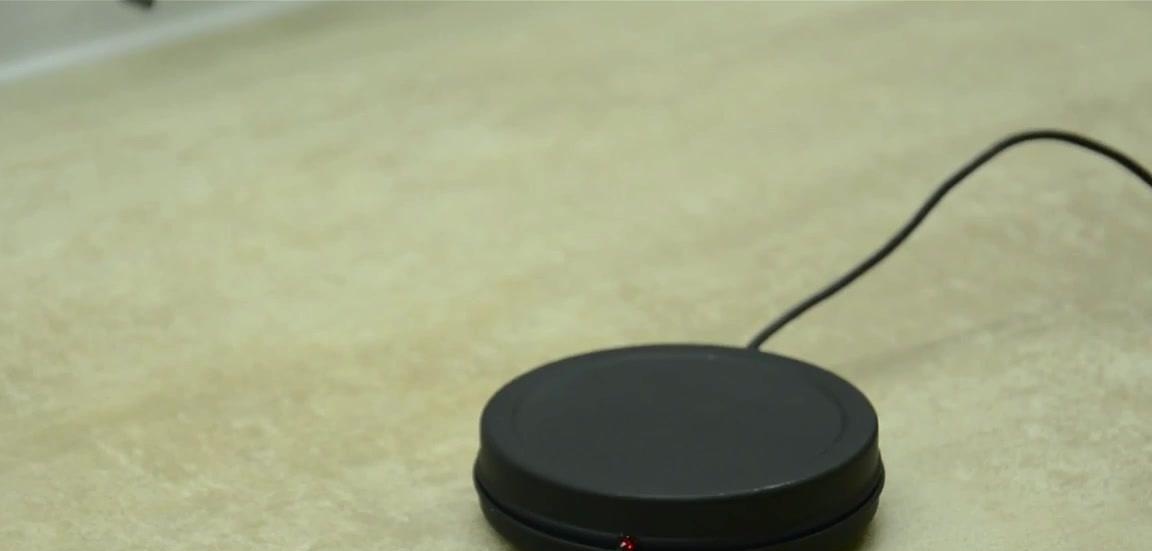
On the bottom of the heater glue soft legs, which should give it stability.

We install the LED light bulb and close the box. Our heater is ready.