When you really want a powerful crossbow, but there is no money for a good factory cross, you just have to pack up your courage, roll up your sleeves and start making your own crossbow on your own.
To make a crossbow, we need such materials and tools.
Materials:
* A bar of non-resinous species of wood, size 700x10x10 mm.
* The second leaf of the car spring Moskvich.
* Profile pipe 50x50x2 mm. 10 cm long.
* Profile pipe 15x15x1.5 mm.
* A small piece of sheet metal 2 mm.
* Metal stainless steel 4 mm thick. and 0.5-1 mm. (for the trigger).
* Steel angle 50x450 mm. 35 cm long.
* Bar D = 8 mm. 40 cm long.
* Bolts with nuts D = 8
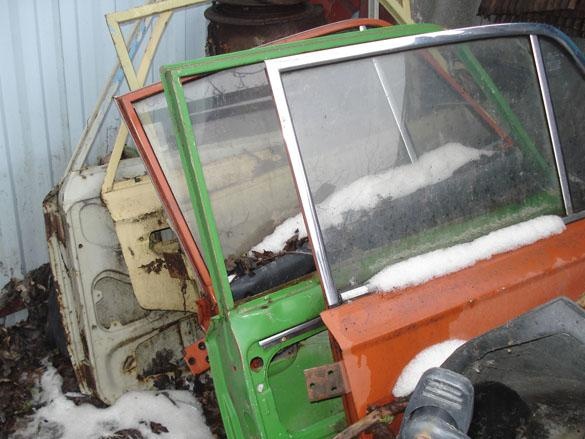
* Stainless steel molding with a door VAZ-2106 2 pcs.
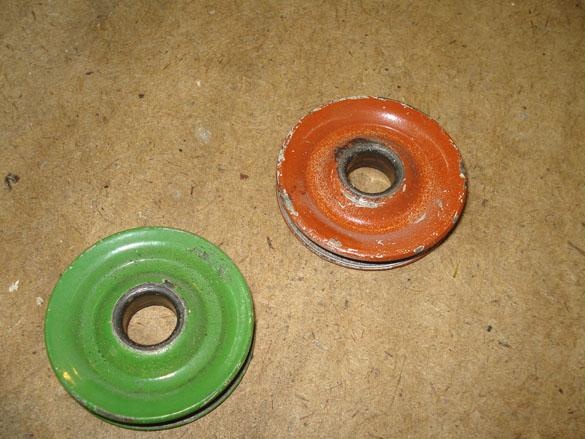
* 2 metal rollers, glass lifting mechanism from a VAZ car door.
* Cable D = 3 mm. 3 m long, two end loops.
* Epoxy resin, wood stain, wood varnish for outdoor applications.
* Two small springs (tensile).
* A dozen nails for roofing material, one nail of two hundred, a tube D = 6 mm., Small washers.
Instruments:
*Welding machine.
* Circular saw hand.
* Electric drill with speed control, carbide drills for metal D = 3, 5, 8, 10 mm.
* Grinder, cutting discs for metal, grinding wheels for wood.
* Wrenches, pliers, screwdriver, vise, narrow chisel, knife.
* File, sandpaper.
* Goggles.
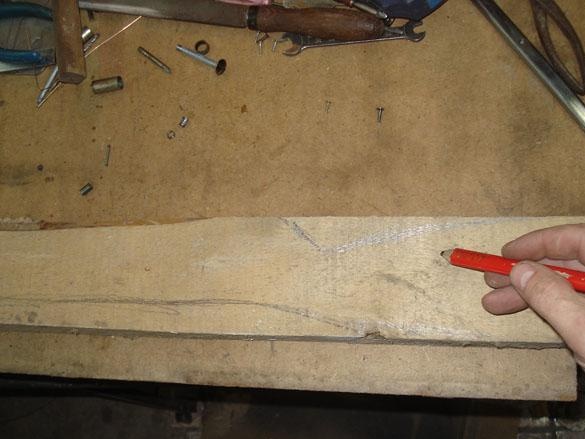
Item 1. Making a bed.
Take a well-dried wooden block, I had from birch, we sketch a sketch of a bed on it. Each butt size is done for ourselves (for your height), and the bed, depending on the length of the arrows that you will use. I use 440 mm arrows, but I had to save on the butt, I left only 300 mm, so the total length was 740 mm, I didn’t dare to do it anymore.
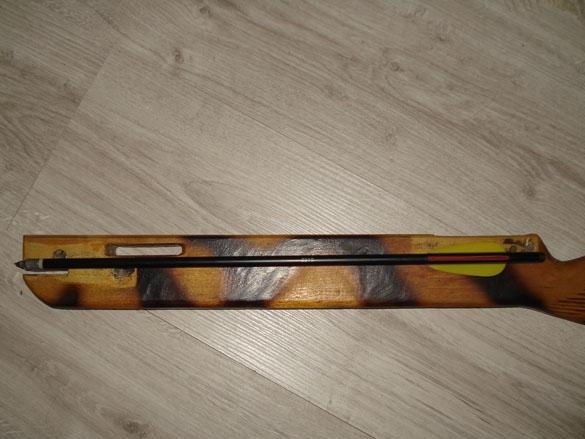
We draw a marking for a selection of the guide, for feathering the boom, width 5 mm, depth 10 mm.
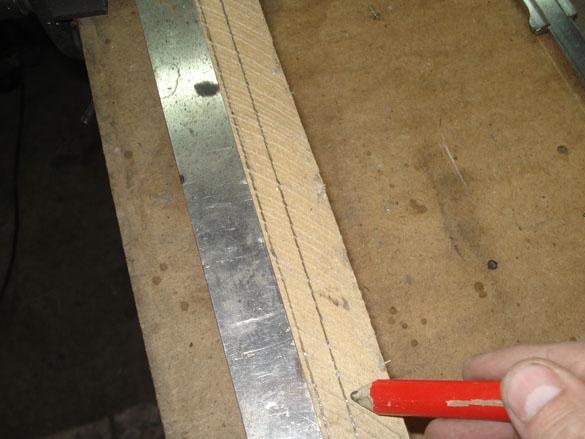
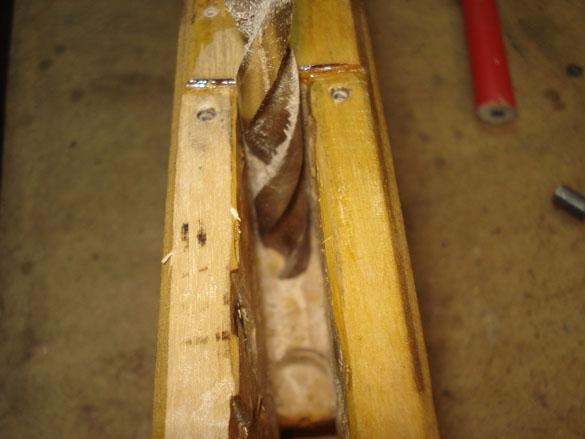
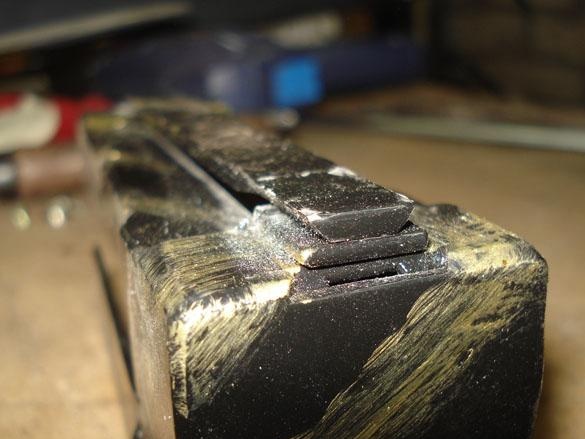
Using a circular saw, we cut out the groove the entire length, to the end of the trigger (lock).
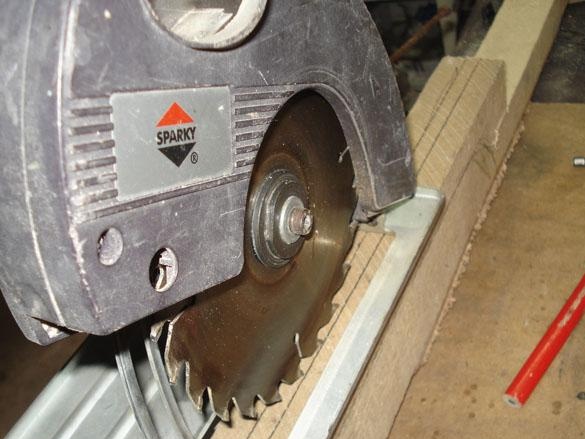
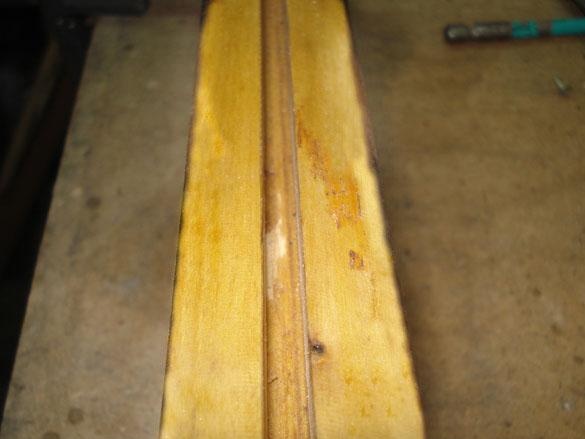
It should be something like this.
Using a drill D = 12 mm. select the cavity under the trigger device, align the ledges with a chisel and a knife. We drill a hole for the trigger, bore with a chisel and a knife.
Item 2. Making a castle or trigger device.
We take the type of "nut" as the basis of the castle.So that nothing rusts, we will use a stainless steel, take a sheet 4-5 mm thick, if you can’t find one, make a stack of several sheets glued together and taken on rivets. Draw the shape of the parts on the metal.
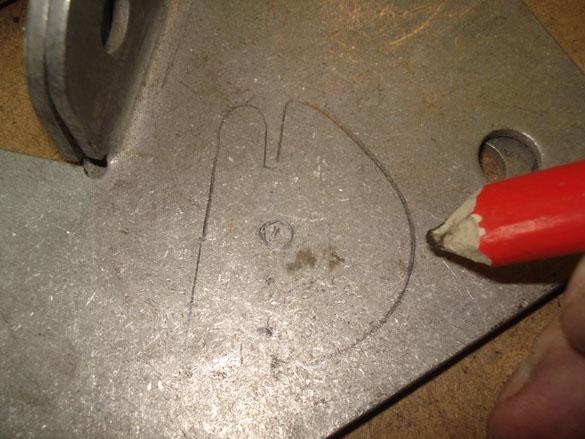
With the help of a cutting disc and a grinder, we cut out according to the marking of the workpiece.
In the center of the "nut" we drill a hole for the axis of rotation D = 6 mm.
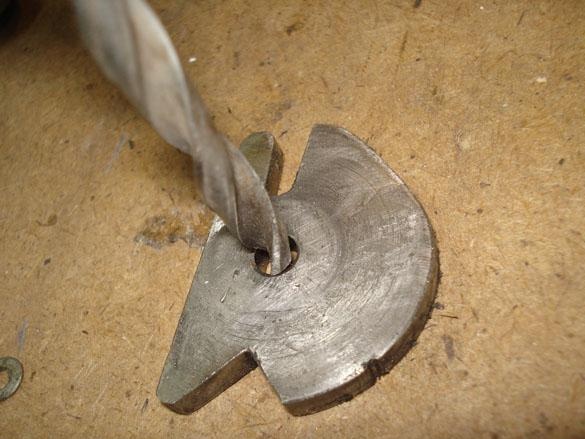
We process all sides with a file.
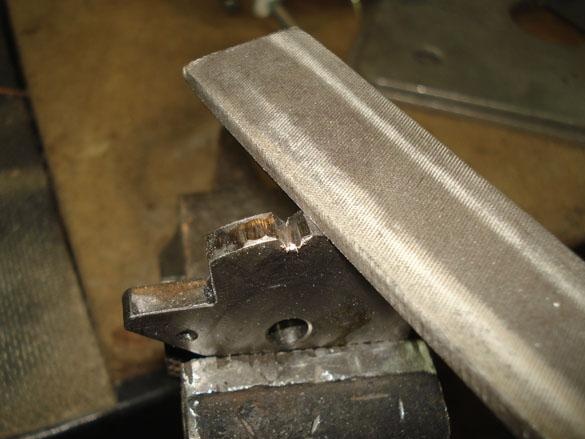
We grind with emery paper, achieving a completely smooth surface.
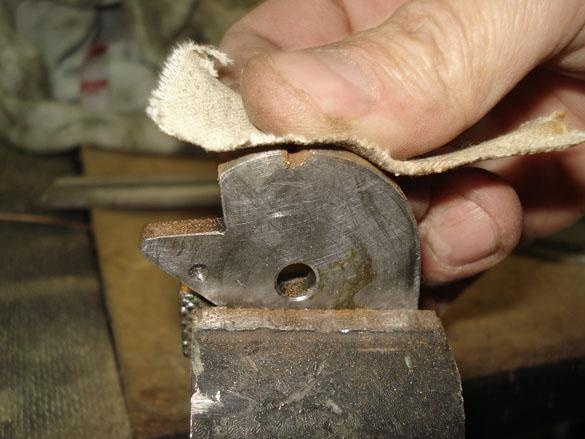
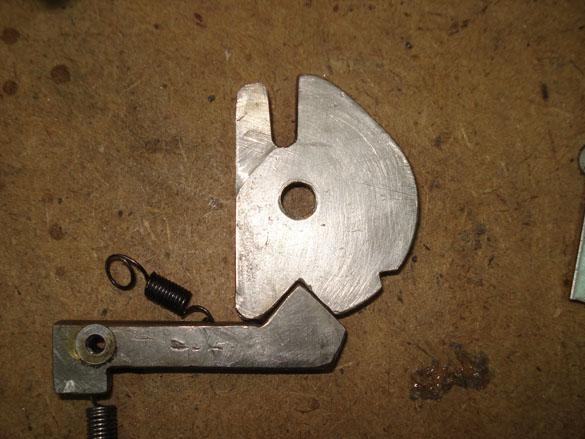
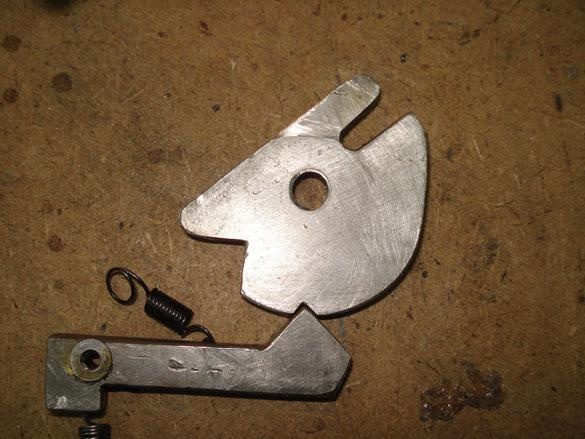
It should be something like this.
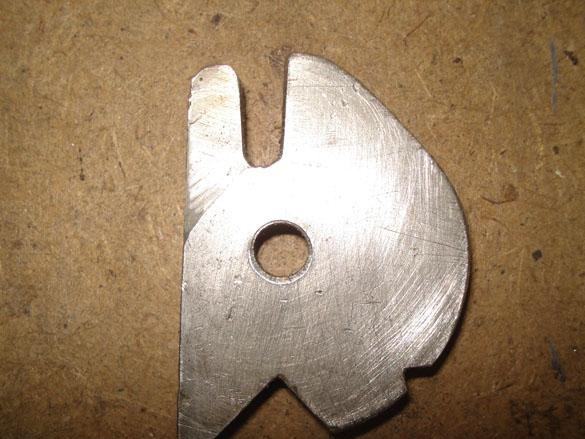
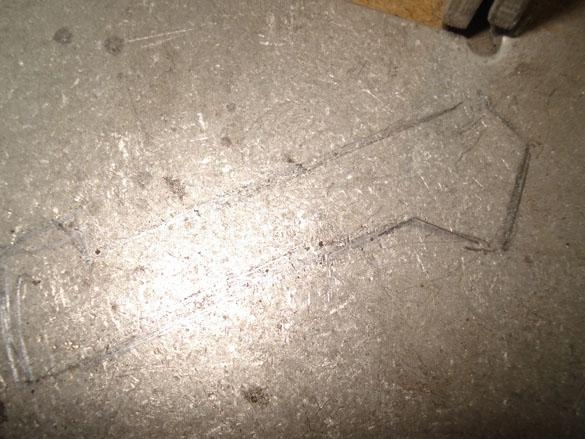
We grind the remaining elements of the castle, whispering.
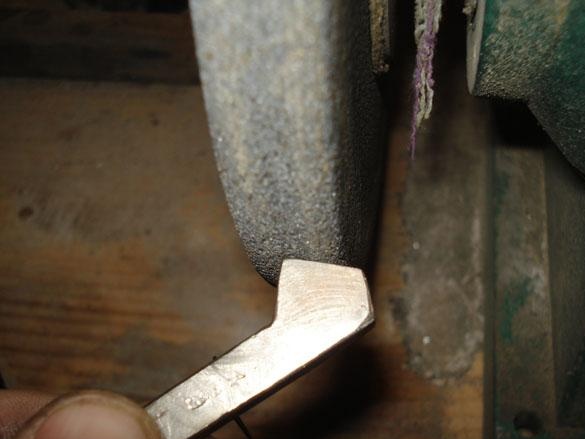
I extend the trigger with two thin sheets of stainless steel, I fix it on homemade rivets.
On the grinder we achieve the desired shape of the workpieces.
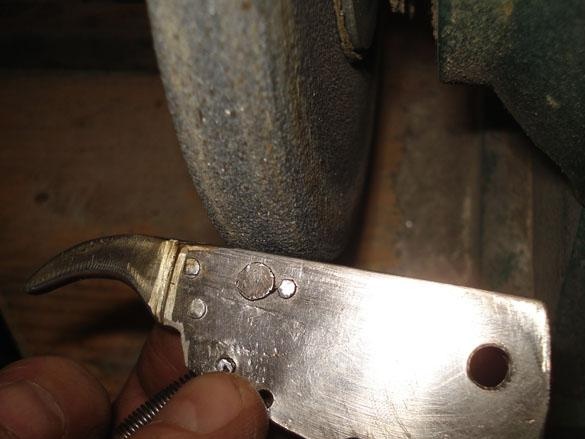
From a thin sheet of metal we make the trigger housing.
We drill three holes D = 2.5 mm in a whisper in the body, one for the mounting axis and two for mounting the springs.
Attach the trigger spring into place.

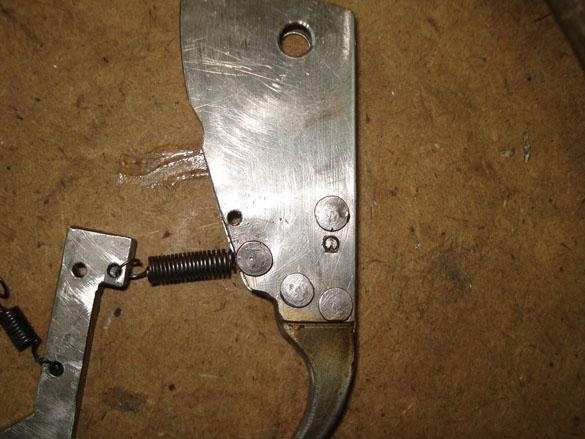
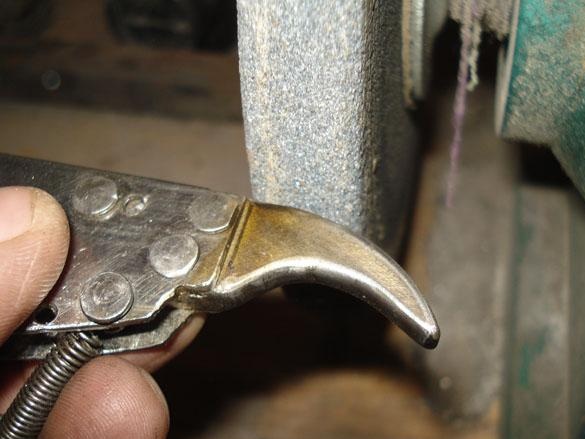
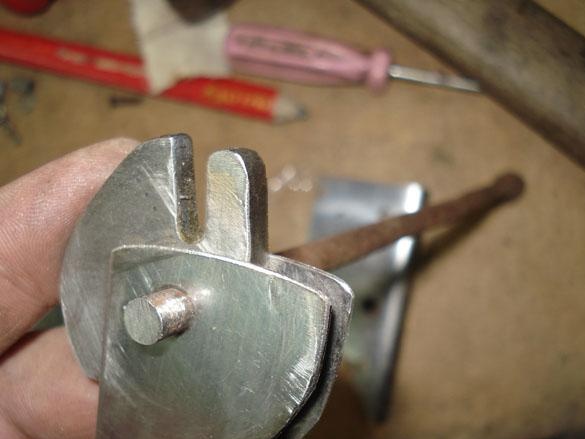
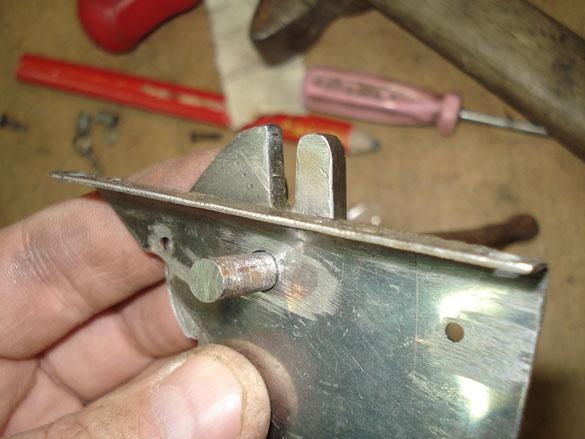
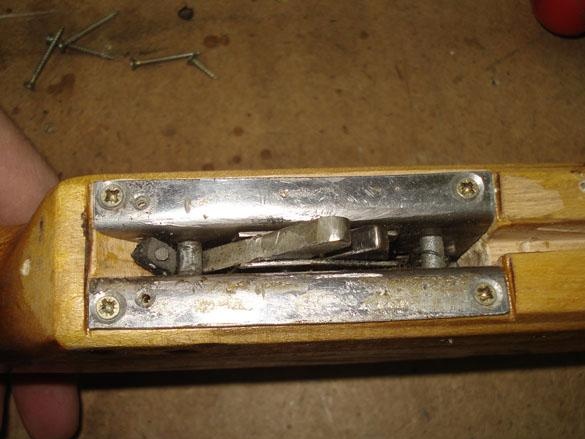
Let's see on the table how the details become cocked.
And like after a shot.
We apply one side of the case to the inside of the mechanism and drill in place of the hole for all axes.
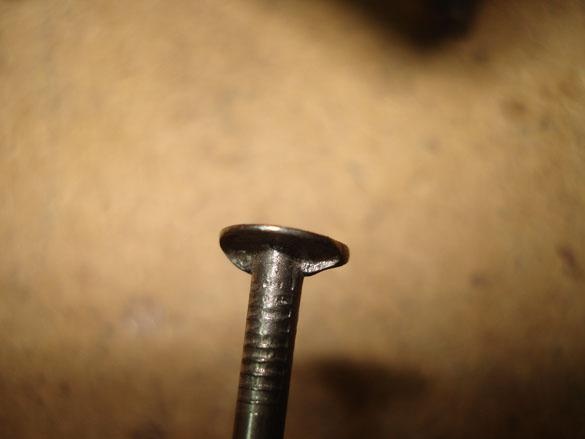
From the nail of two hundred, with a diameter of 6 mm, we make the axis for the "nut".
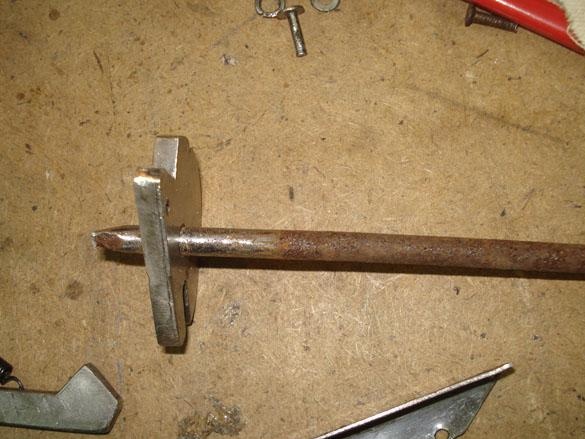
Saw off the sharp end of the nail.
We measure the length of the future axis, saw off.
From thin nails for roofing material, we make the rest of the rivet axis. With a grinder we remove the ebbs on the heads of the nails.
Now they lie well against the body ..

Install the sear on the axis in the housing, use intermediate washers.
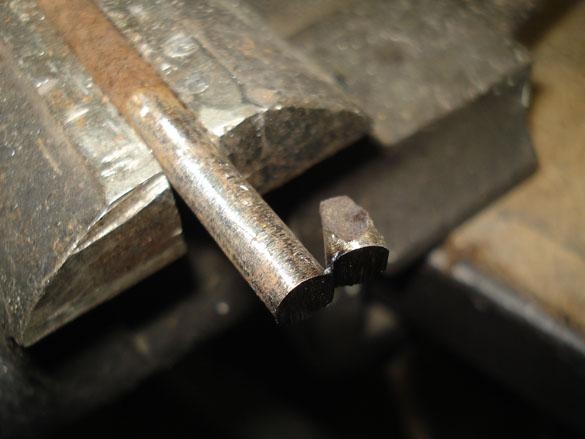
Saw off the excess length of the nail, leaving 1 mm. in two directions for rolling.
Using the anvil, we roll with a hammer the end of the axis.
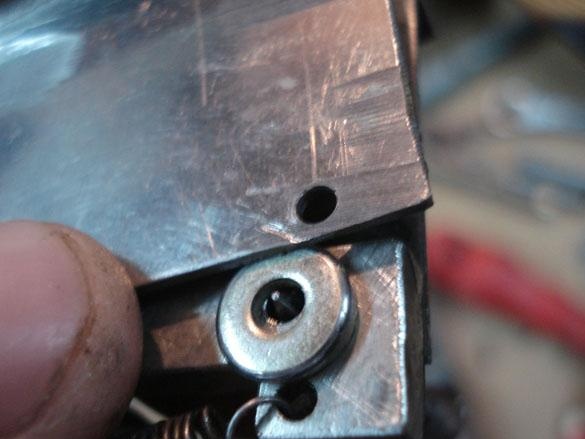
We drill a hole for the axle with a spacer, to fasten the spring, it whispered.
From a suitable tube, saw off the spacer sleeve on this axis.
We shift to the side one side of the body.
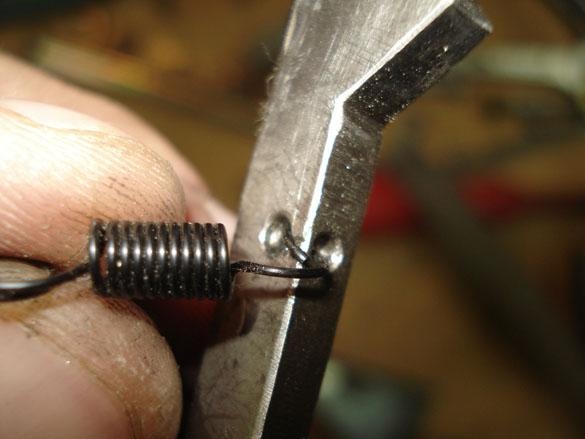
We install the axis, the sleeve and engage the spring.
Putting the halves together.

Saw off the extra length, leave a ledge of 1 mm. under the hammer.
Rolling.

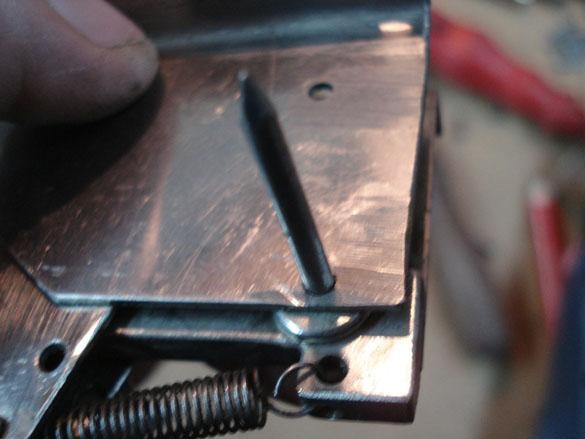
Now you can put the largest axis-rivet lock. Combine the holes.
Take the previously measured and sawn-off axis D = 6 mm., Immediately with a slightly tapping hammer on one side.
Set in place.
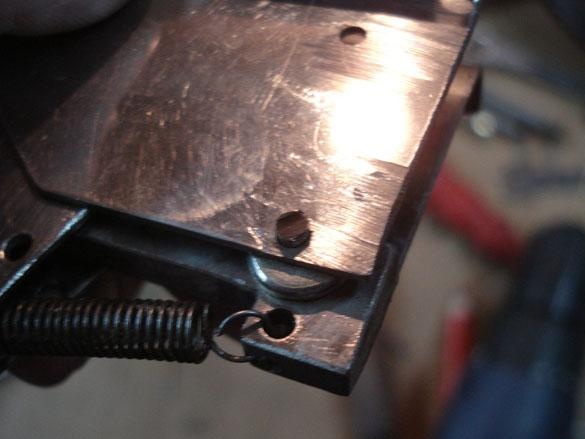
And also roll up, the main thing is not to overdo it, so as not to jam the movable mechanism inside.
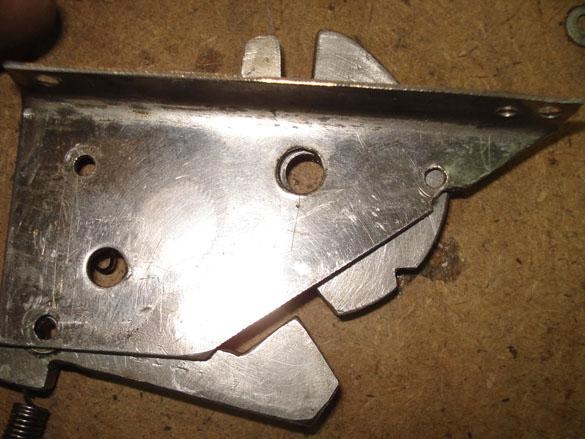
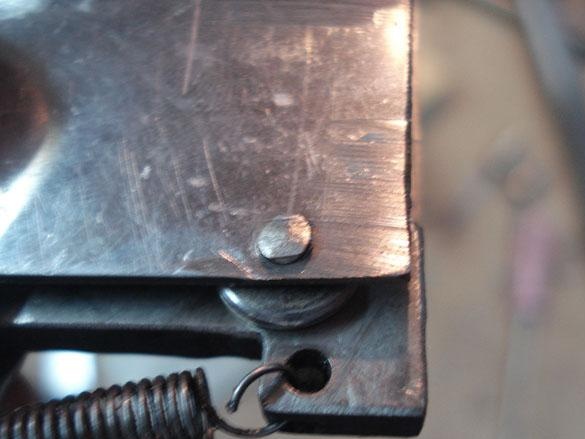
Item 3. Installing the lock mechanism in the box.
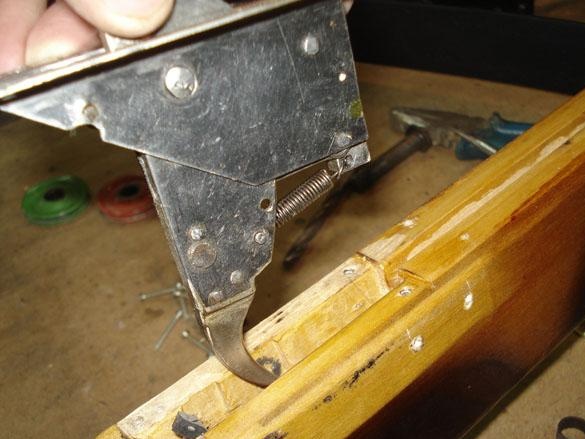
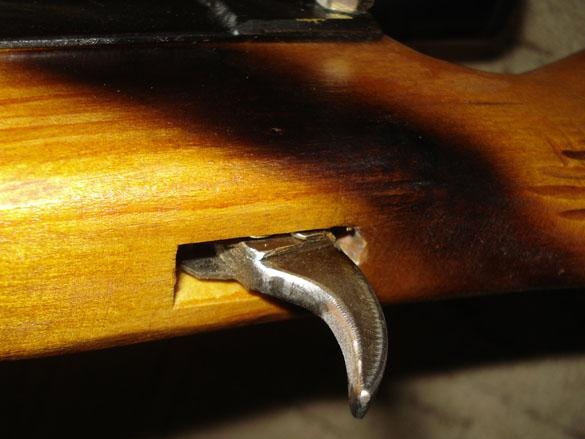
If something prevents you from taking a castle well, we’ll modify it with a chisel or knife. After installation, check how the trigger goes.
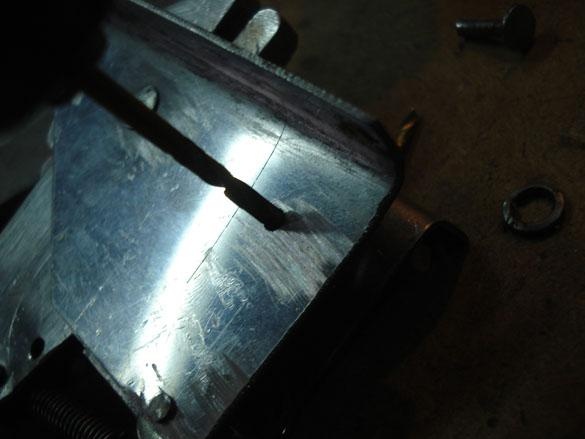
If everything is normal, you can drill holes for mounting screws and screw them into place.
Point 4. Guides for an arrow.
Now we need decorations from the door of the VAZ-2006, they are also made of stainless steel, which is very good. To give them additional rigidity, an epoxy resin was poured inside.

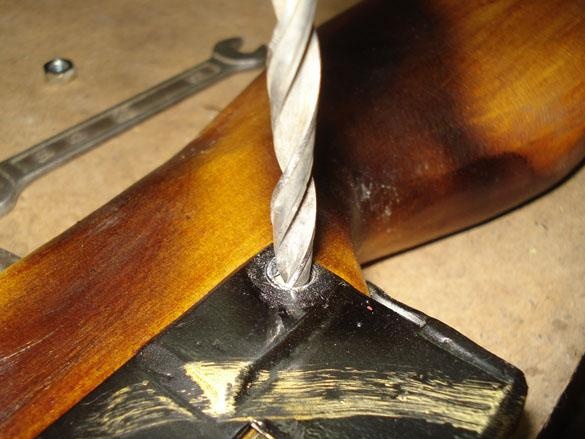
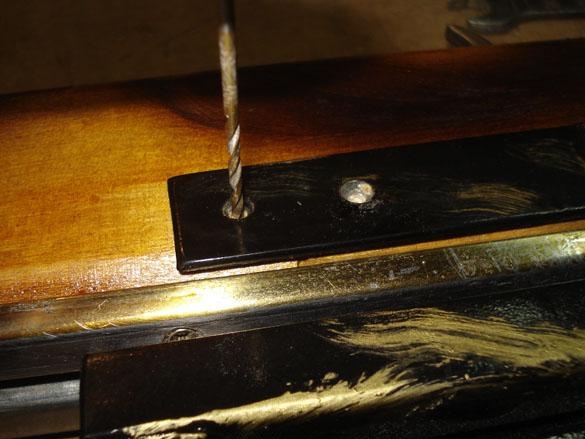
After complete hardening, in a day, we will drill four holes in each of D = 3 mm., For fixing screws.
We will make large drills for the heads of the self-tapping screws so that the bowstring cable does not catch when it slides along it.
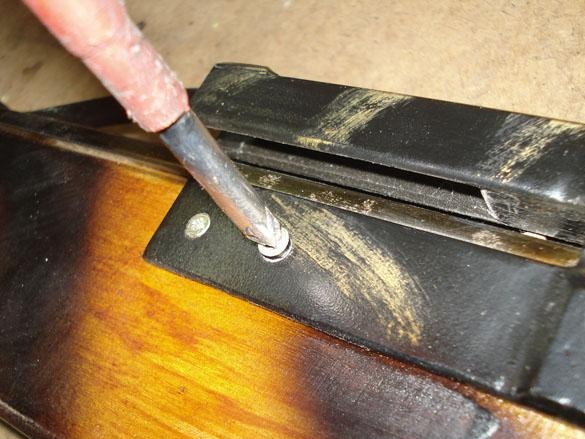
Fine sandpaper polishes the outlets of the holes to remove all burrs that damage the cable.
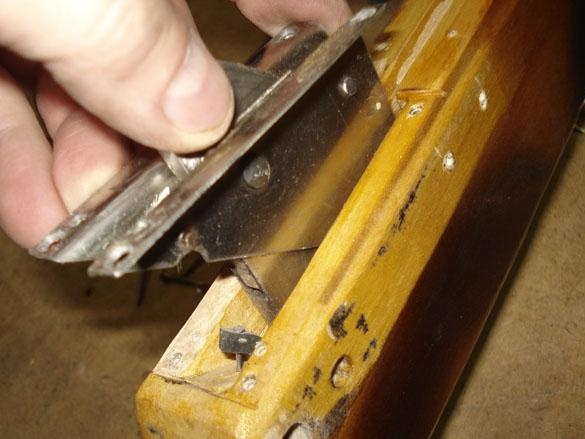
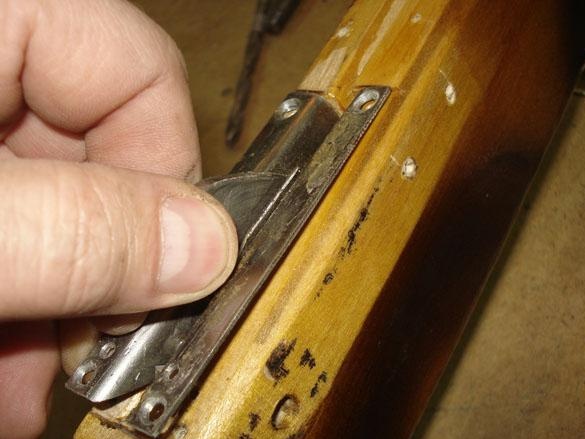
Ready guides are installed on the bed.
We make sure that the screws do not pass through in thin places.
We check that the lock goes without hooks on the guides.
Point 5. Making an arc or shoulders.
From the same donor doors, we extract the rollers of the glass lifting mechanism with the help of a grinder.
From them we will make blocks on the shoulders, and the arc itself from the second leaf of the spring, an old Moskvich machine.
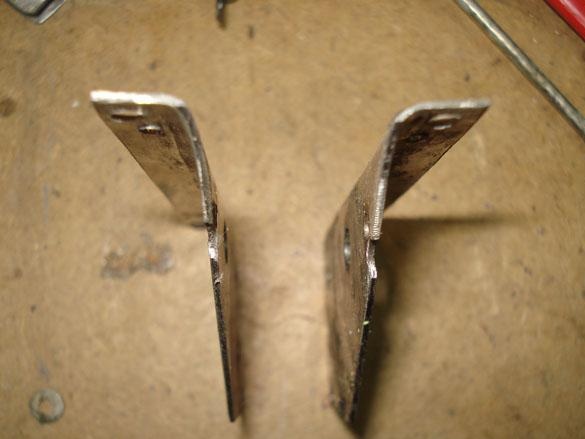
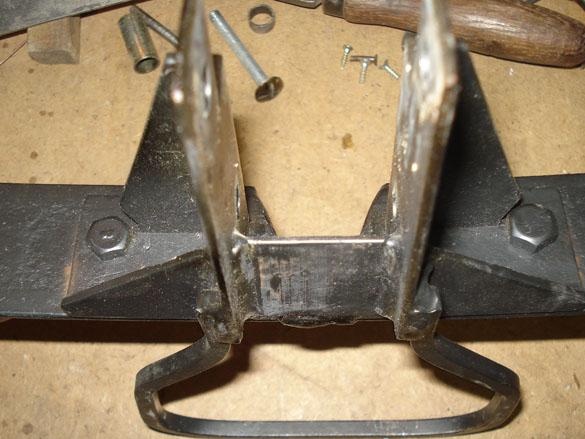
We produce pads for mounting springs to the bed.
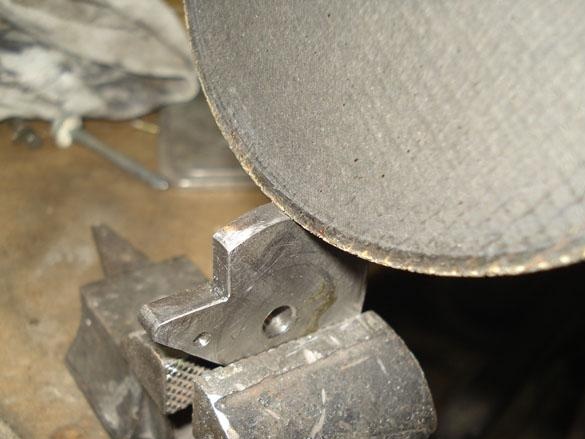
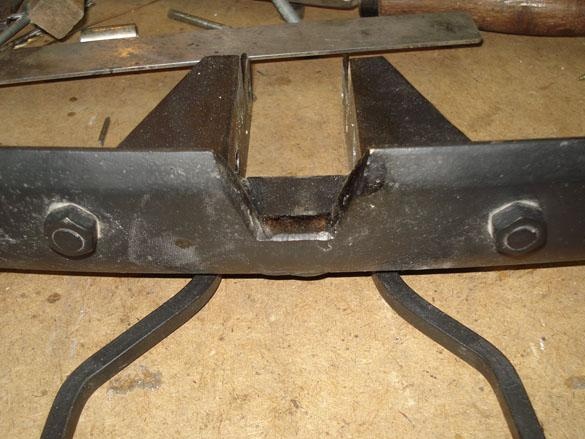
For this, from a corner of 50x50 mm. we will cut out the constituent elements in order to assemble by welding, here is such a fastener (block).
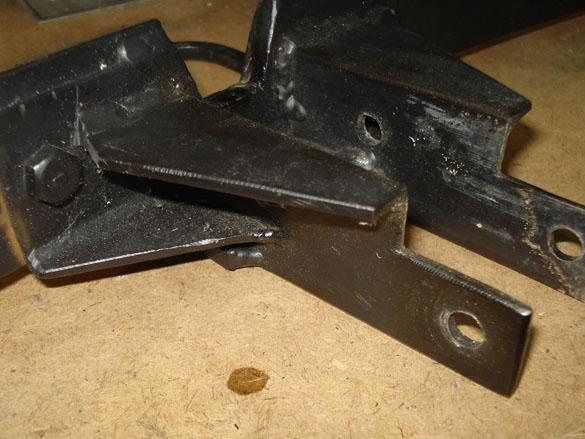
We process welds with a grinder. Let's drill fixing holes D = 10 mm. under the bolts.
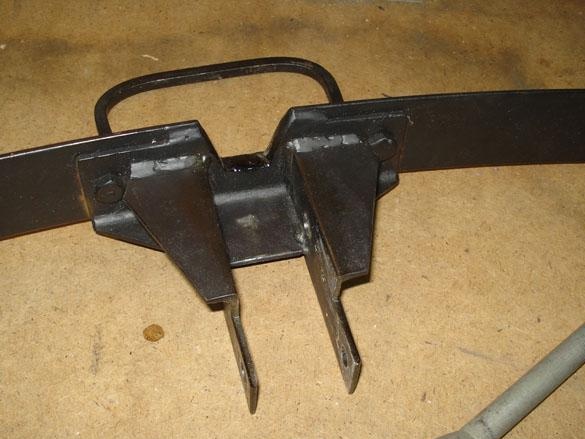
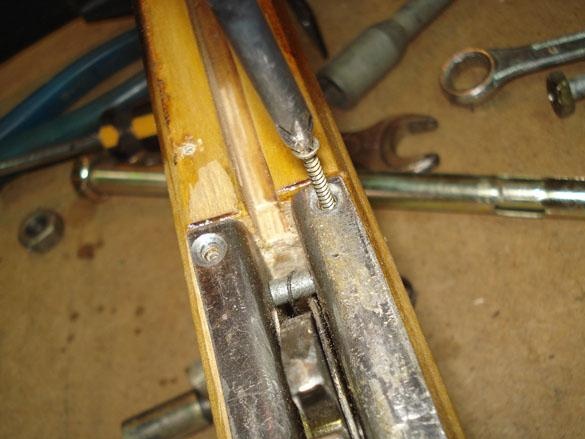
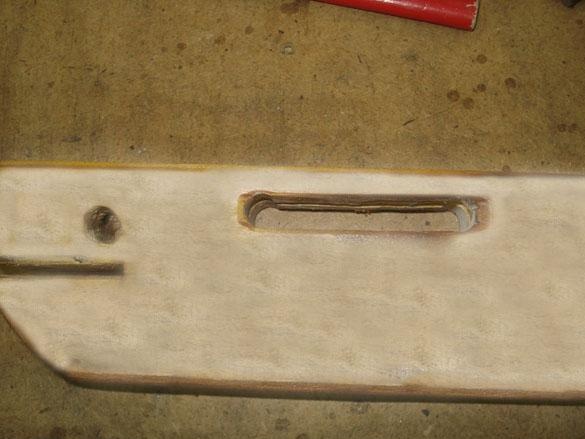
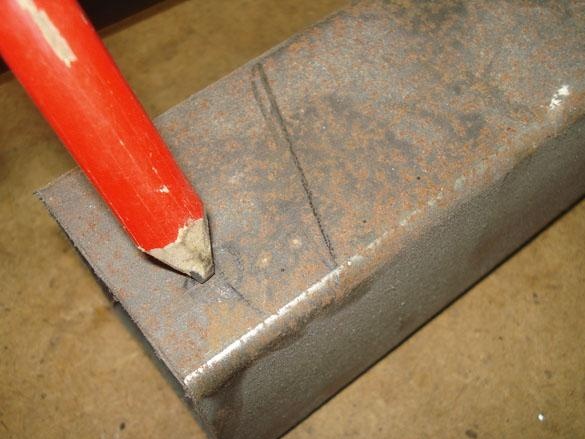
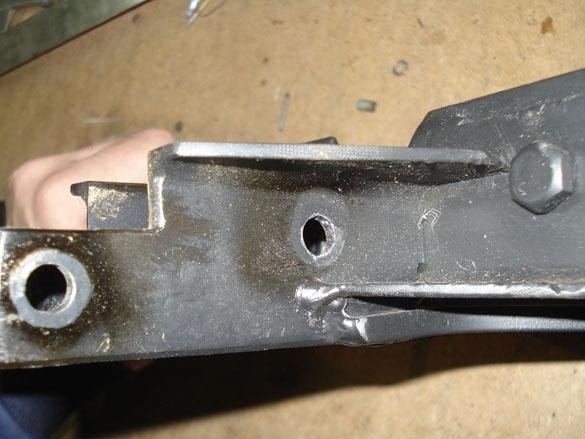
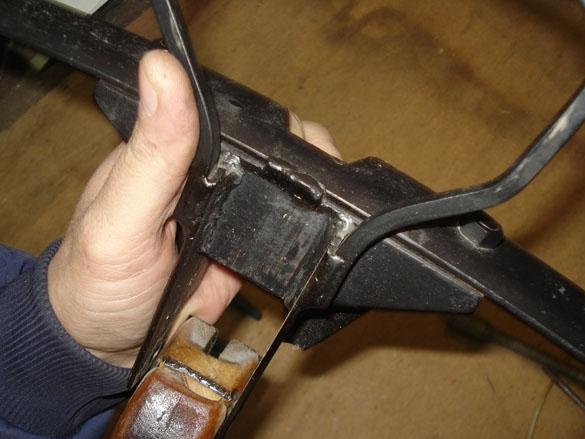
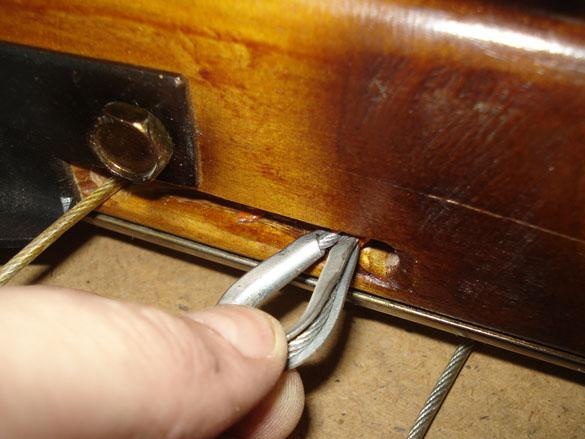
According to the finished sample and the size of the resulting pads, we make grooves for fastening in the box. We try on the landing, we achieve a tight approach and fastening. According to the estimated position of the future bowstring, we outline and make a through groove in the sidewall of the bed, 70 mm long. 10 mm wide, lower bowstrings will go here.
We bend and weld the leg bracket (stirrup).
Ears for the blocks.
From the profile pipe 50x50 we make eyes for attaching the roller blocks to the arc (spring).
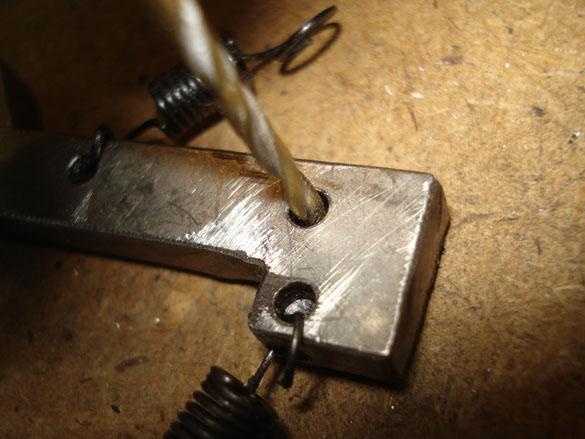
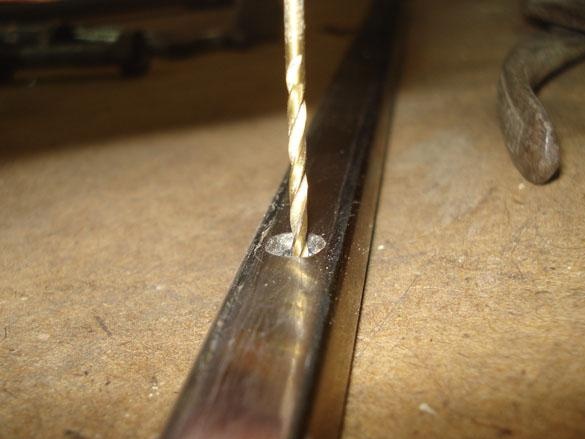
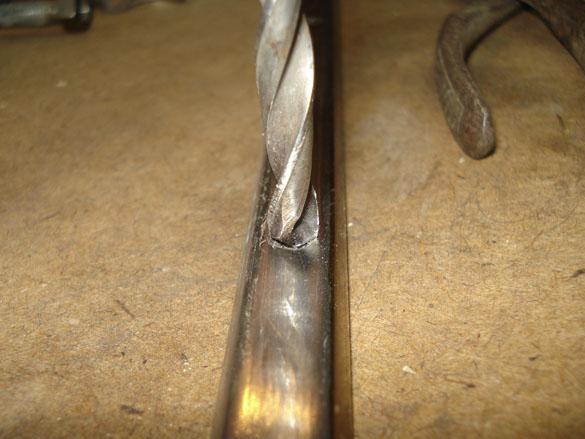
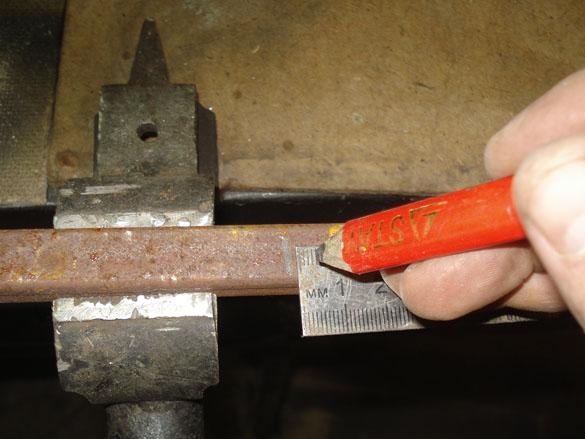
The hardest part in making the arc itself from the spring in home conditions, it is to drill holes. It is necessary to drill with a drill at low speeds so that the drill does not burn, constantly use water. If possible, drill with drills of different diameters, from thin to thick in increments of 0.5-1 mm., Constantly sharpen the tool.
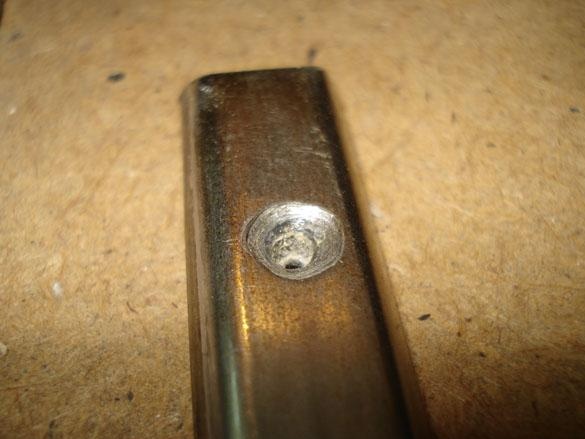
We fasten the staples to short M8 bolts, grind the hats.
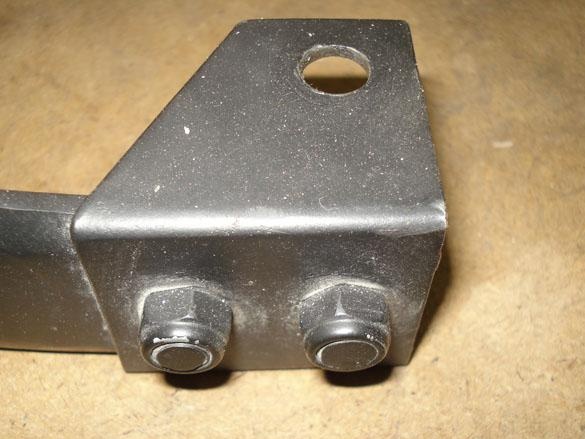
We fasten the spring to the block with two M8 bolts with subsequent small welding along the edge of the mount.
Now you need to open the bed with varnish and dry.
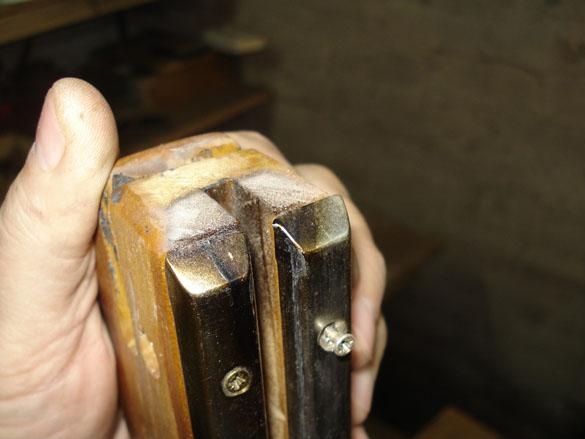
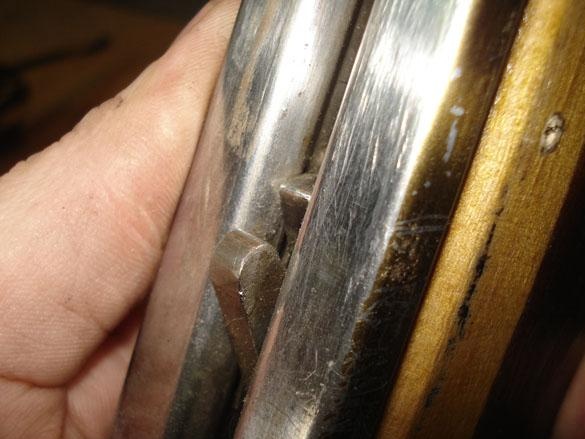
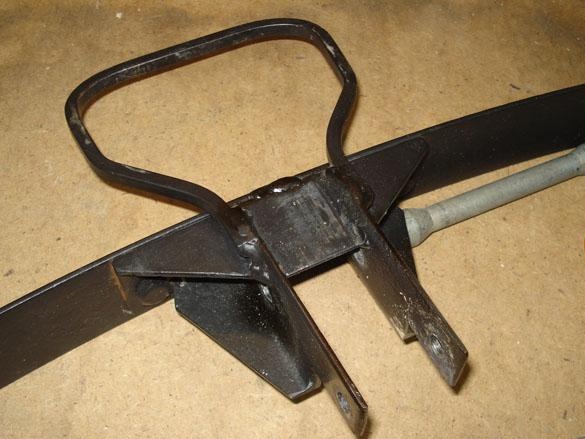
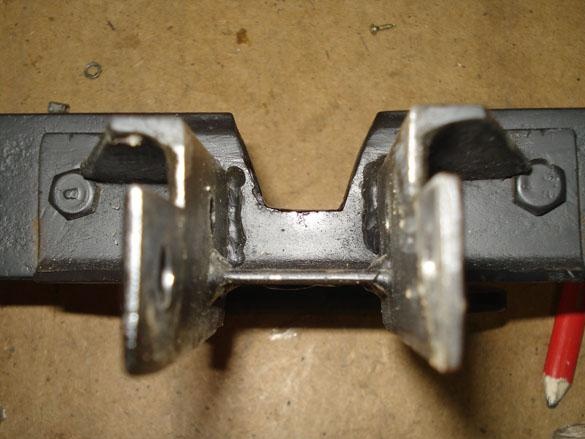
We install a block with an arc on the bed, we upset a metal-tree with a hammer for a tight fit.
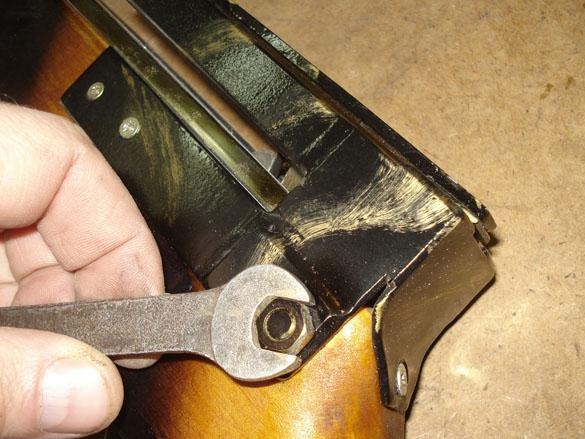
We insert and tighten the bolts on the M8.
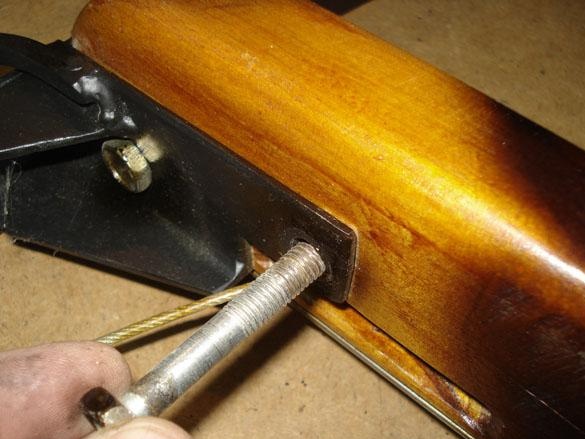
From the long M10 bolts, we make the axle bolts, reduced in length with a short thread, for the blocks.
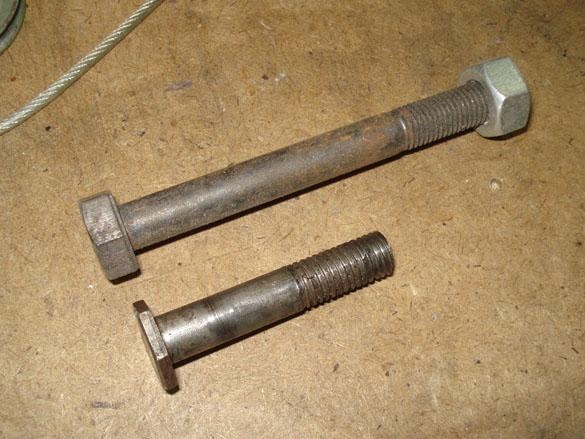
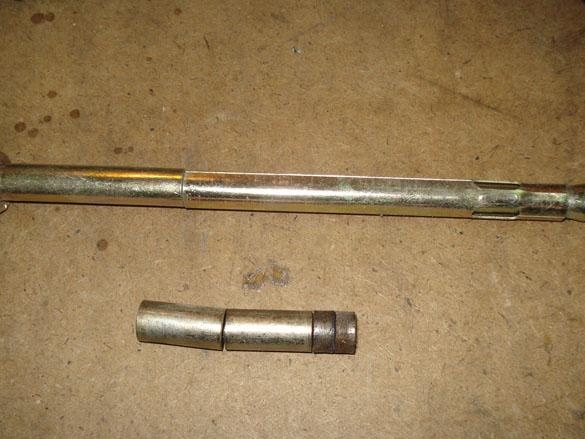
Take the tube from the anchor and make spacers for the axes of the blocks from it.
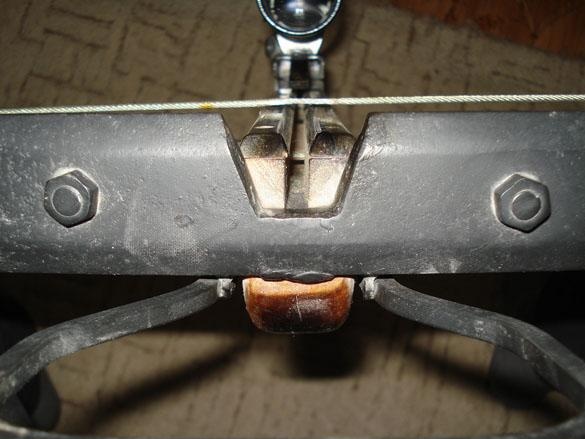
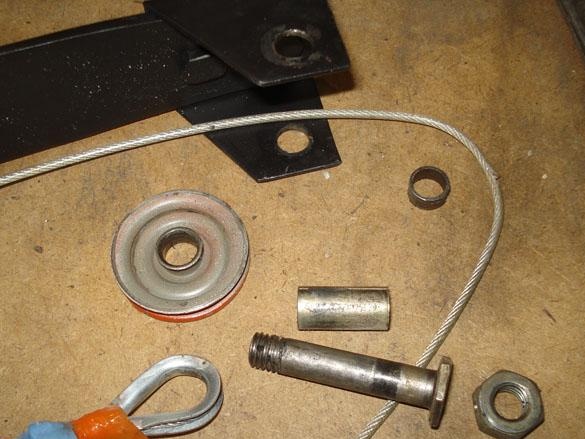
Let's drill holes D = 10 mm in the ears. for installing blocks. We install hard loop tips on the cable.
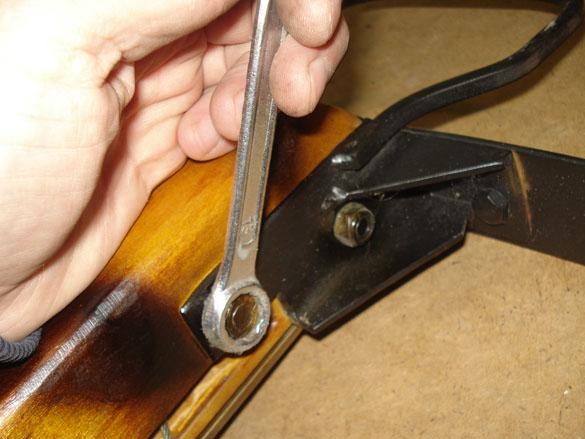
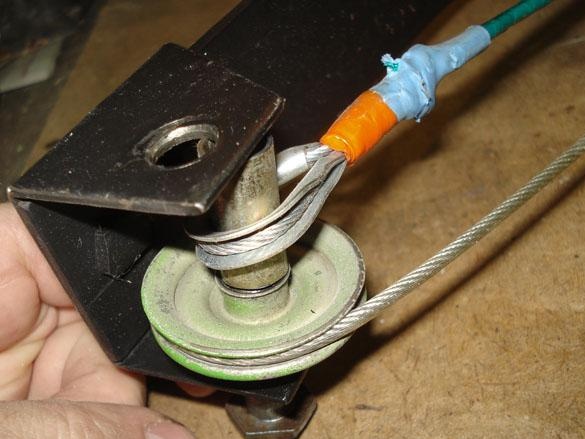
We install a cable block on one side of the shoulder. Do not tighten the nut so that the rotation of the roller does not pinch.
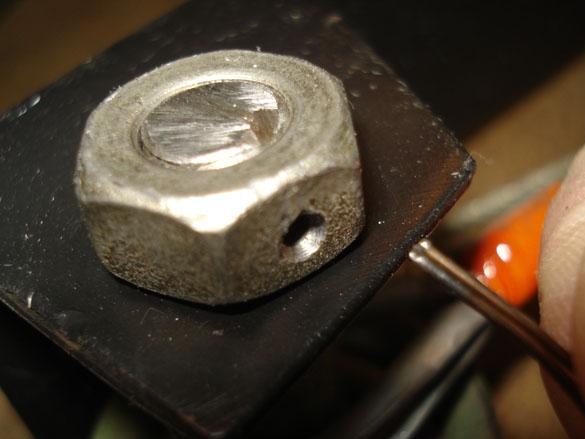
In the nut and bolt, drill a hole for the stud.


We install the hairpin and tighten it with the nut in the direction of unscrewing.
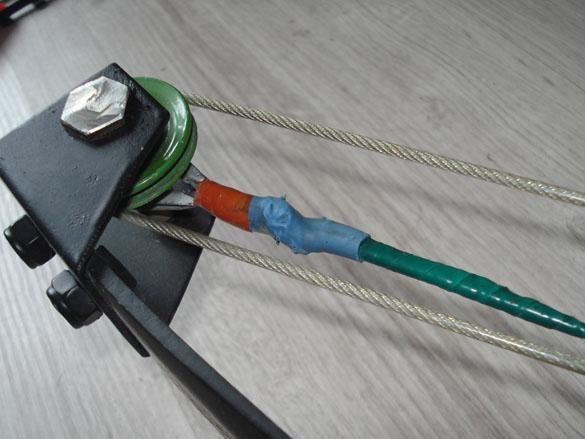
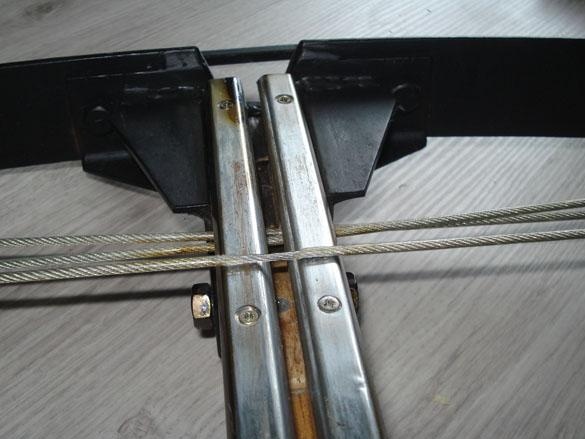
We put the cable through the hole of the bed and do the same with the installation of the roller on the other side of the shoulder.
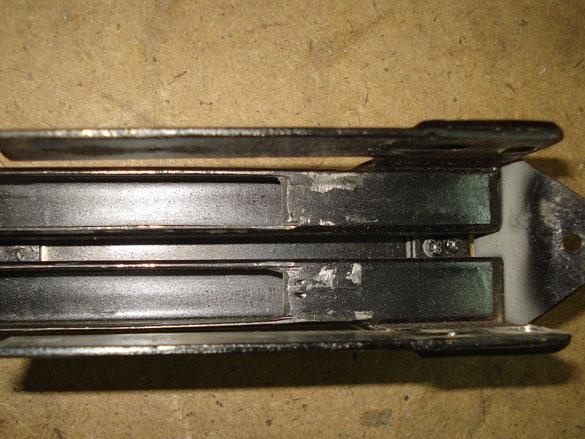
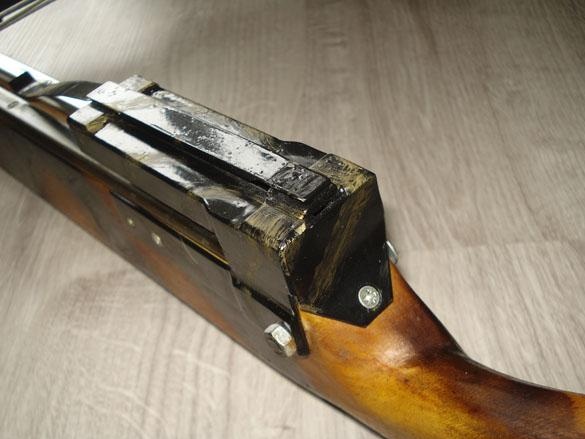
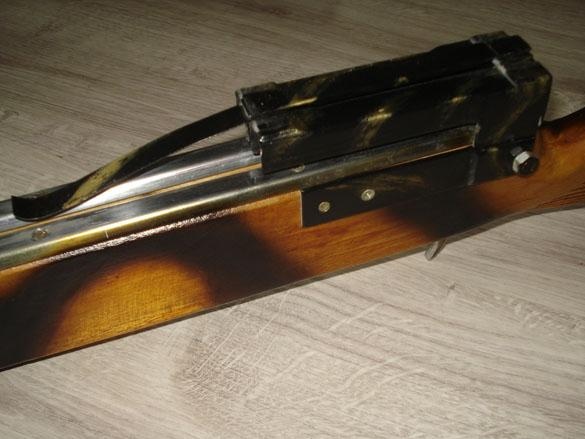
Point 6. The upper part of the castle.
From the profile pipe 15x15 mm. saw off two pieces of 120 mm. From the sheet metal we grind two (G) shaped blanks, one rectangular plate (on top) and a triangle (on the back).
By welding, we connect all the parts together, we clean the welding seams with a grinding disc, so that it would turn out to be a whole piece.
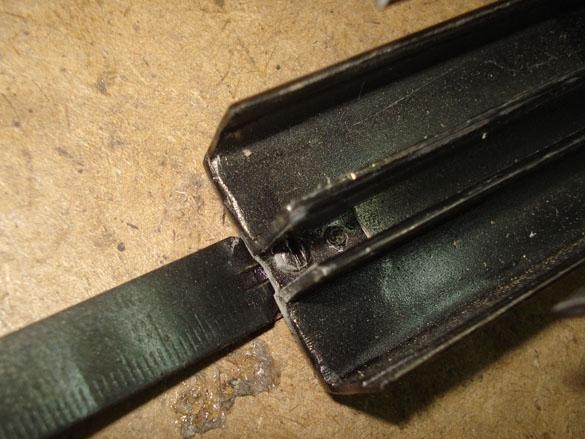
From the old folding steel meter, we make an elastic boom holder.

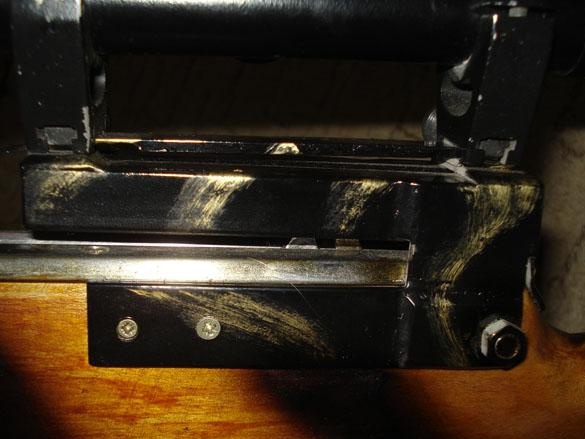
The photo shows the mounting bolts of the rail for the optical sight.
The same thing only bolts at the same time clamp the boom holder.
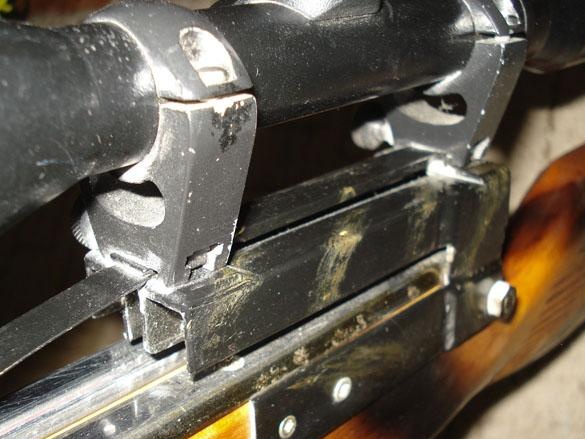
The rail itself sight (dovetail) of the same sheet metal 2 mm., With the sharpened sides for mounting optics.
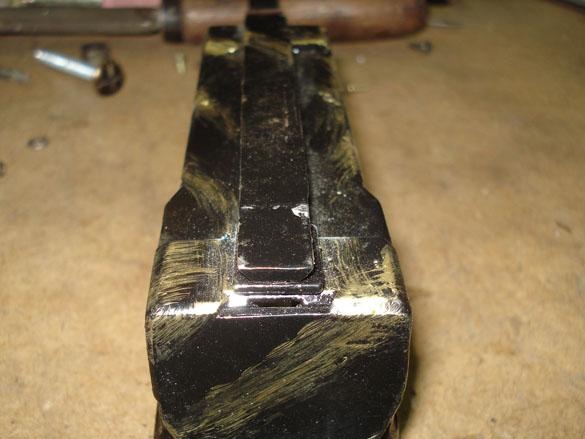
You can see the square lining on the optics rail to raise the back and thereby tilt the scope down to correctly aim at a target further than 25 m.
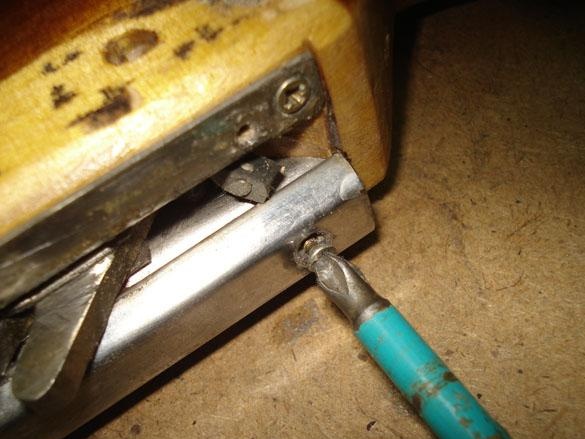
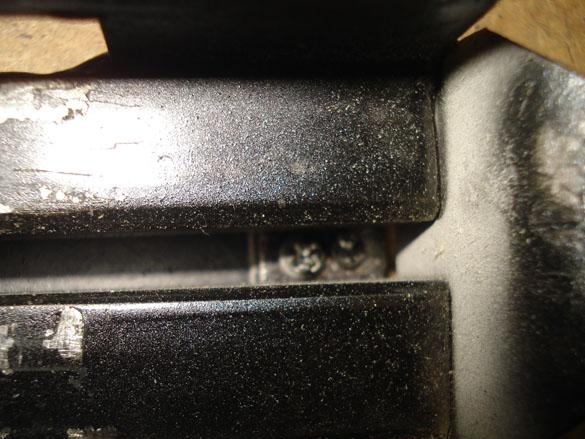
We install the lock bracket on the bed and drill holes for fastening, screws and an M6 bolt.
We twist small self-tapping screws so that they do not go out into the plumage channel of the arrow.
We twist the screw back.
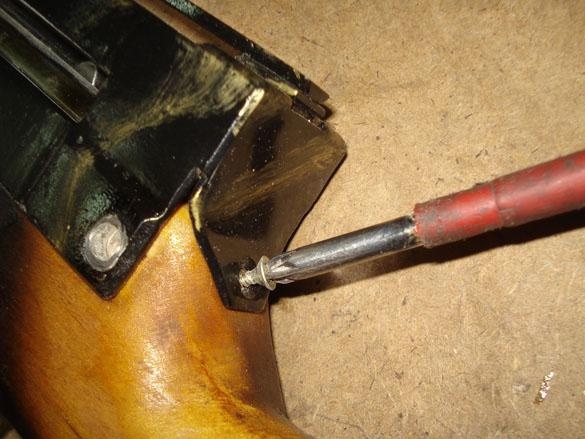
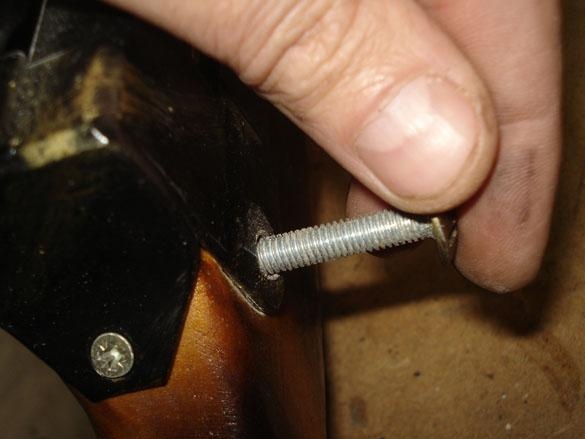
In addition, we drill a hole and install the last bolt.
We establish an optical sight.