

How to build a borage do it yourselfquickly and without special expenses.
Materials and tools:
Screwdriver
construction stapler
wood knife
-roulette
- Film 6x3 m long
- Six boards 15 cm wide, 5 m long
- Six bars with a cross section of 5x5 cm
- Self-tapping screws 50-100 mm long
Detailed manufacturing description:
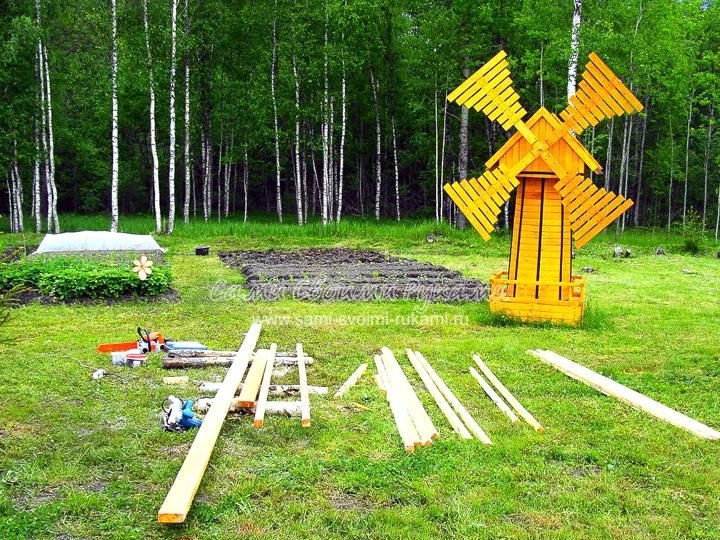
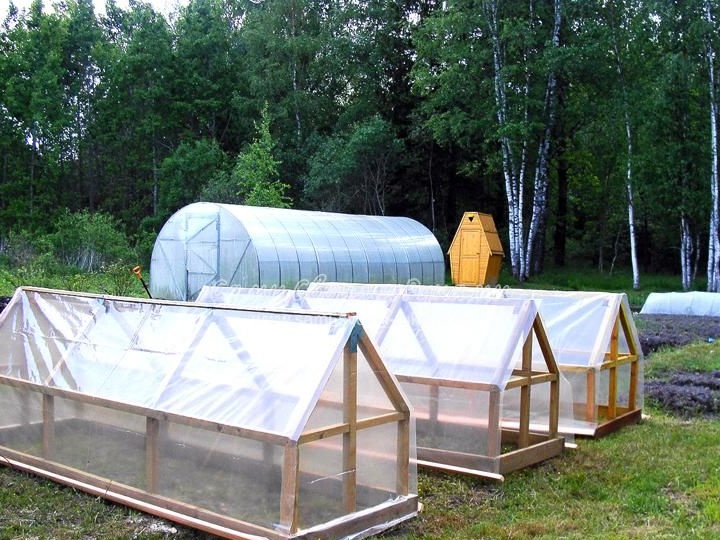
After construction work in the country, often there is a lot of material that can be used for business, and craft something useful for the garden. Buying ready-made frames of greenhouses is not at all profitable, it is much simpler and cheaper to do everything yourself. Especially when all the tools are in stock.
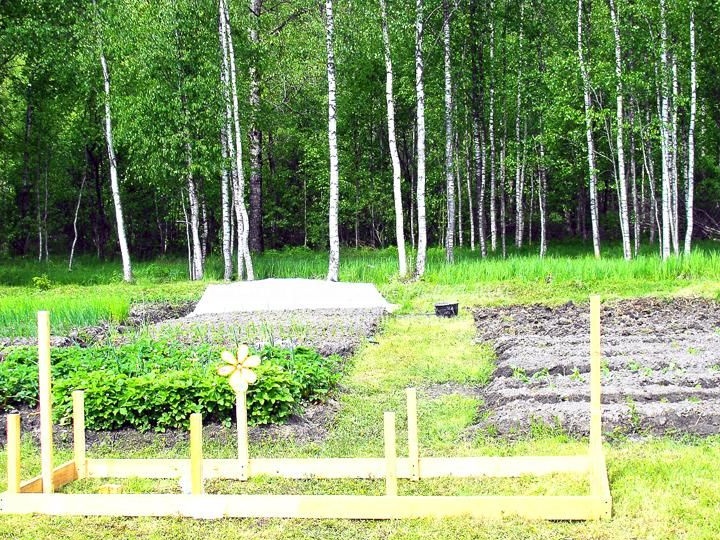
To begin with, boards of the required length are sawn and twisted into corner bars 50 cm high. In the middle of the end planks, a bar 1.5 m high is fixed for the base of the plank that will be on top. And on the side boards, the prepared bars of 50 centimeters are already attached.
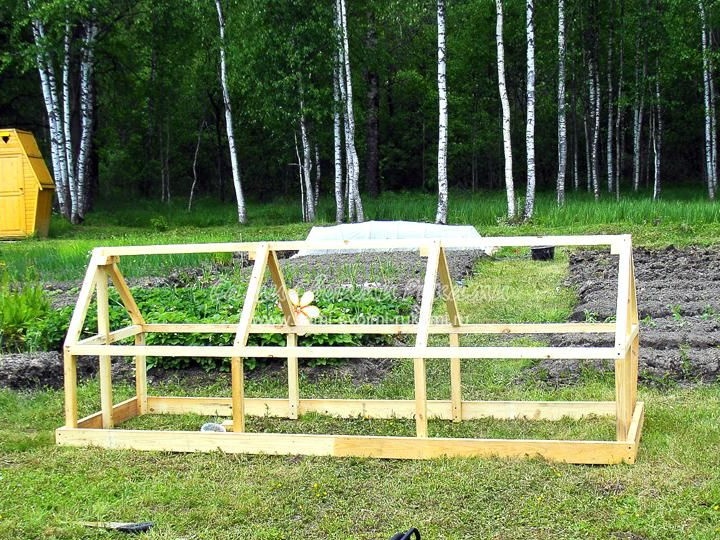
Next, the frame of the borage is assembled. On the shorter bars, on the side, a 5-meter-long bar is superimposed which is fixed with self-tapping screws. The same thing is done on the other hand. In order for the construction to be more rigid, a similar operation is also done from the end side, fixing it with self-tapping screws as well. After the jibs for the roof are already being prepared. There are eight of them, the angle is determined quite simply - by applying a bar and outlining with a pencil. When the angle is measured, the excess part of the bar is cut off with a hacksaw in pencil. Finished bars are attached to the screws. Again, a longitudinal bar is added to the joints for rigidity, but this is not necessary.
From an aesthetic point of view, and to lengthen the life of the borage itself, the frame is covered with an antiseptic.
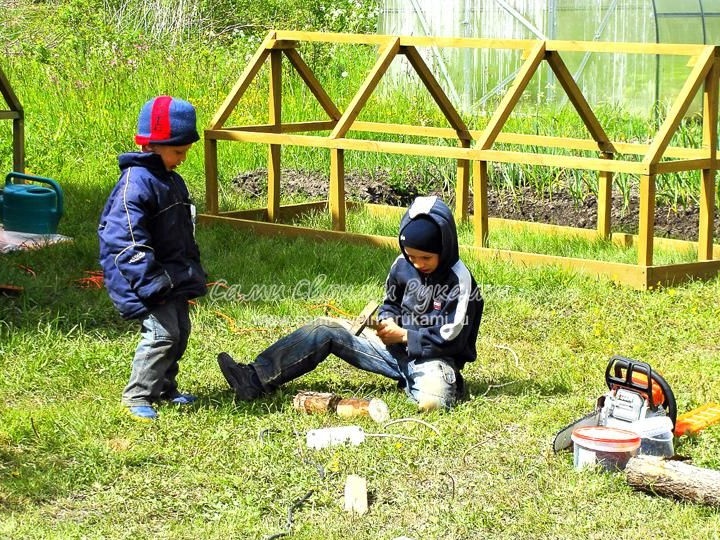
The photo already shows three ready-made borage. The essence of photography itself is how the film is attached. Everything, as before, will not be particularly difficult. To begin with, the sides are sewn up, the film is cut according to their size and fastened with a construction stapler. After it is wrapped with a film, it is leveled and attached from above with screws on the edged board along the board. The same operation is done with the hanging “wings” of the film, pressed by the half of the board and attached to the bar. It keeps quite reliable.
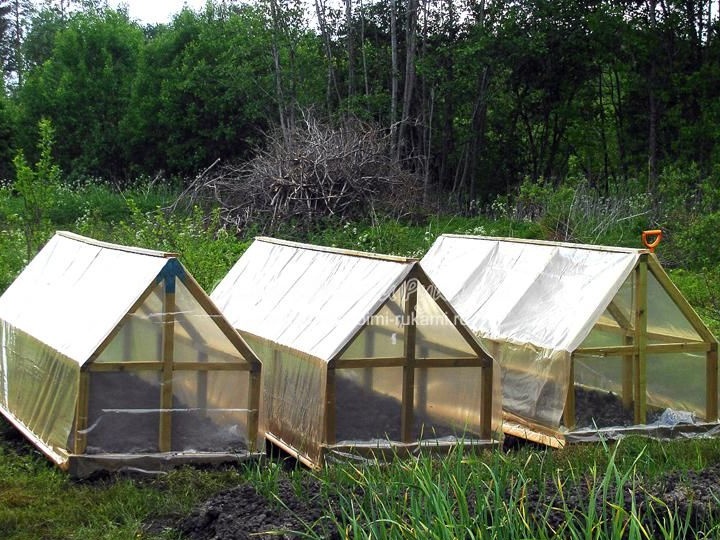
Maybe this work is not suitable for the exhibition, but the thing is. And without any troubles, quickly and efficiently.