In order to the garage it was possible to work comfortably all year round, it should have a heating system. Most often in garages you can find the so-called potbelly stoves. Such furnaces are made quickly and simply from a minimum amount of materials. Some potbelly stoves are not only for heating, they can also be used for cooking.
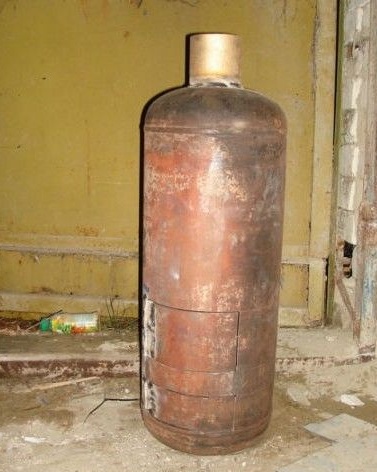
The article will consider an example of creating a potbelly stove for a garage from an ordinary gas cylinder.
Materials and tools for manufacturing:
- gas bottle;
- grinder;
- a hacksaw;
- hammer;
- welding;
- a sheet of paper, a marker;
- pipes for the chimney;
- hinges for hanging doors.
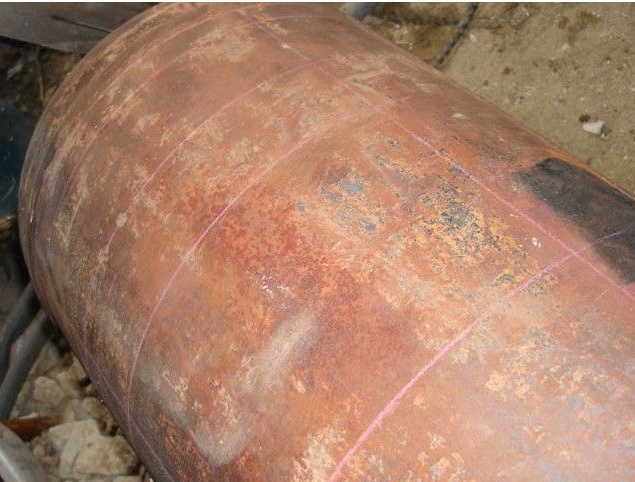
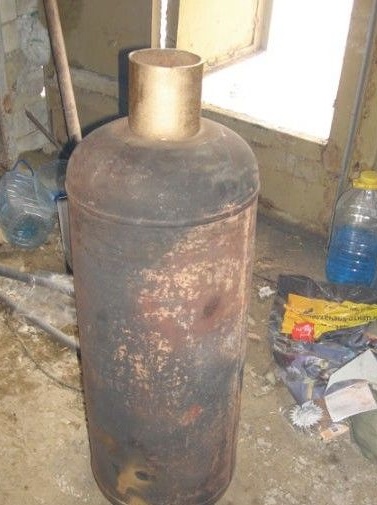
Step one. Balloon preparation
Dangerously!

Before you start creating a potbelly stove from a gas cylinder, you need to neutralize it, since it can explode when cutting. To neutralize the balloon, the author recommends that it be burned at the stake in a deserted place.
To burn the cylinder, you first need to unscrew the valve and bleed all the gas. Also, the cylinder can be turned over and the remaining gas can be drained from it. Next, you need to remove the valve. To do this, a hacksaw is taken and with its help an incision is made at the base of the valve with a depth of about 2 mm. Then the valve is knocked down by the exact blow of a hammer.
When firing, the cylinder is placed horizontally and lined with firewood, which is then set on fire. According to the author, this method of firing is safe, since the cylinder is heated gradually and the flame does not go inside. But still, after the firewood is set on fire, it is advisable to move to a safe distance.
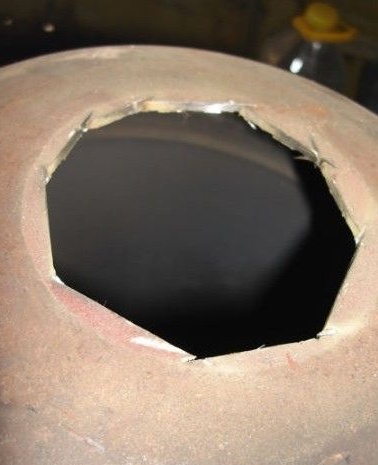
Step Two Hood
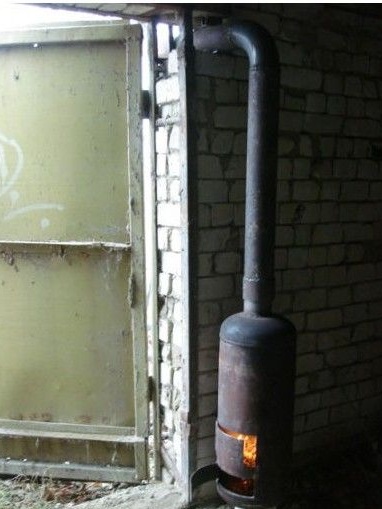
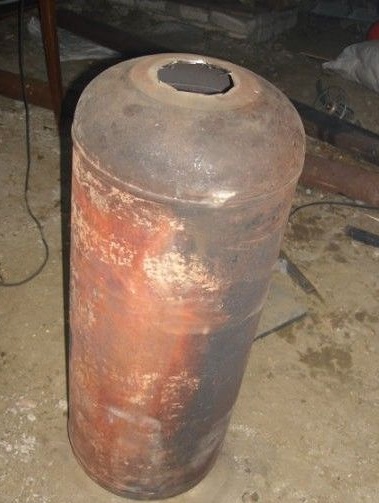
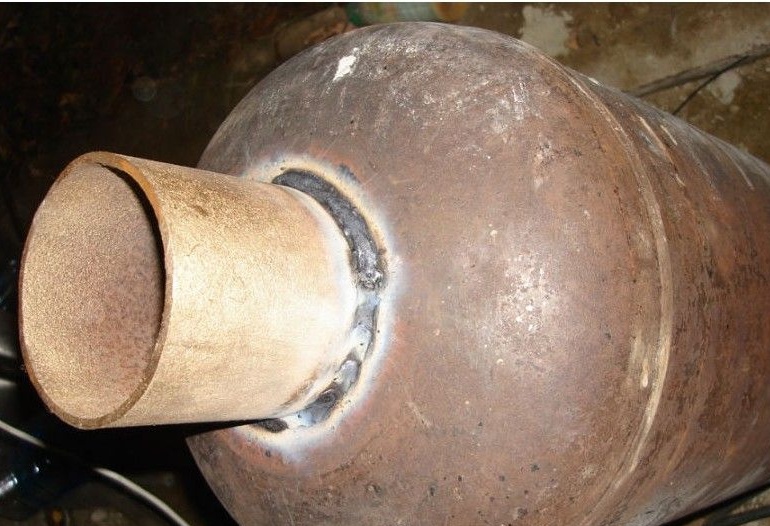
After the cylinder has cooled, you can safely get to work, now it certainly will not explode. First you need a piece of chalk and a grinder. In the upper part of the container, you need to use a chalk to draw a hole for the future hood. The diameter of the hole should be such that then a pipe for drawing can be welded to this place. The hole and the pipe must be such as to provide good traction for the stove, otherwise the smoke will go into the garage.
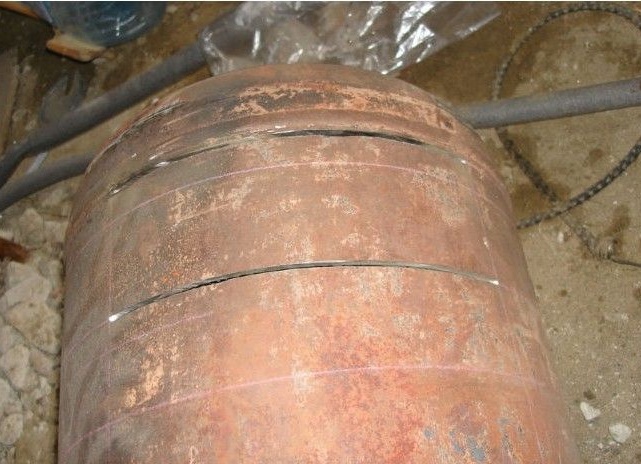
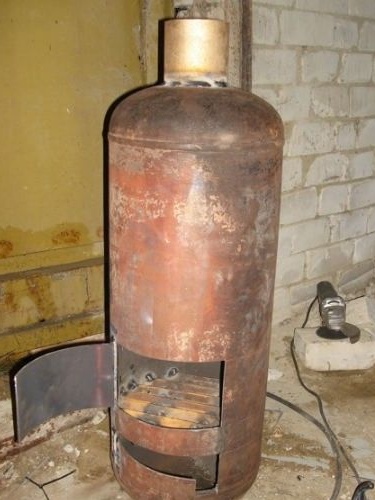
Step ThreeMaking a furnace and ash pan
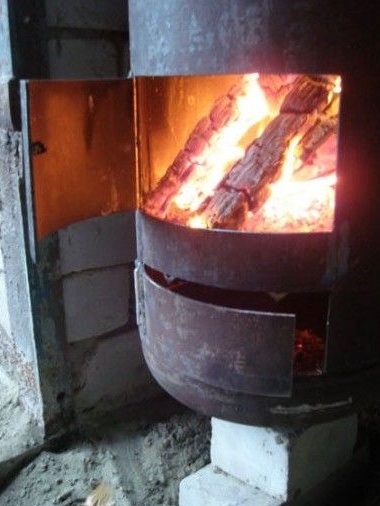
Now you need to arm again with chalk and determine the place under the furnace and ash pan. Both of these compartments will be located at the bottom of the container. Then, with the help of a grinder, two holes can be cut. As a result, there will remain two pieces of metal, they must be preserved, since the doors for the stove will be made of them.
At the same time, the ash pan will work as a blower for better burning.
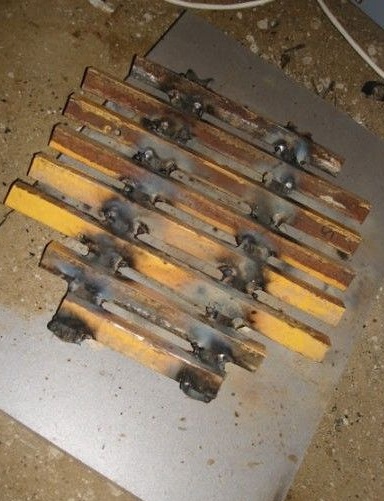
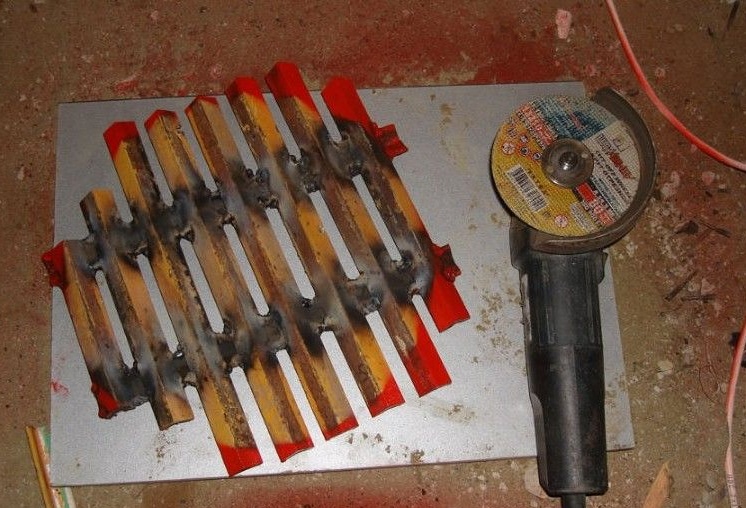
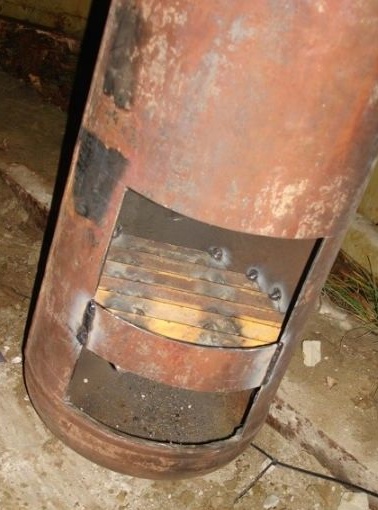
Step Four Making the grate
This grate will be installed in the cylinder between the furnace and the ash pan. Firewood will fall on it. Such a grill can be bought or made. do it yourself. For its manufacture, a steel corner or metal plates are suitable. You can still make holes in a piece of steel plate of a suitable size. Next, the grill is welded inside the container, as in the photo.
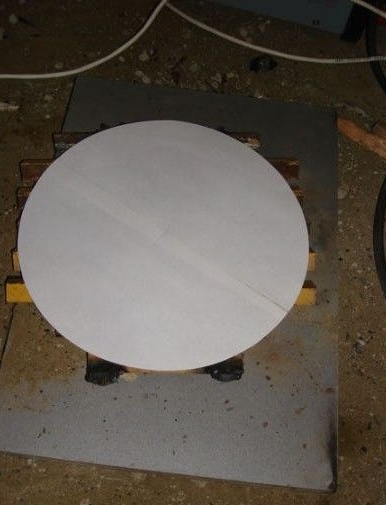
In order to accurately calculate the size when the lattice is made on its own, the bottom of the container must be placed on a sheet of paper, and then circled with a marker or paint. The resulting circle needs to be cut, as a result, a pattern will be obtained.
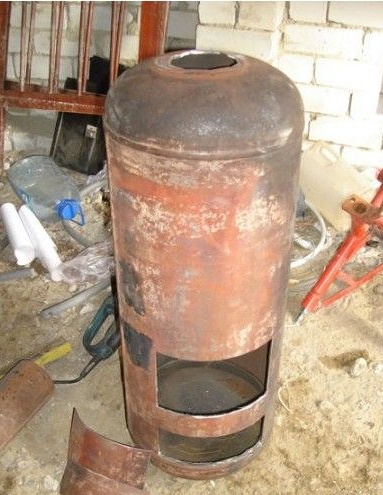
Step Five The final stage of assembly
At the final stage, the potbelly stove is already fully assembled. Here you already need to work on welding. The doors are hinged by welding. Alternatively, you can also use a drill and bolts with nuts, but this is a longer process.
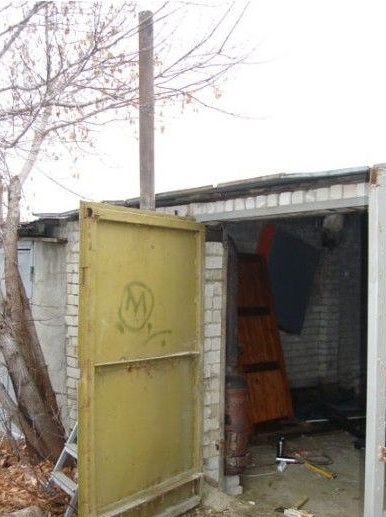
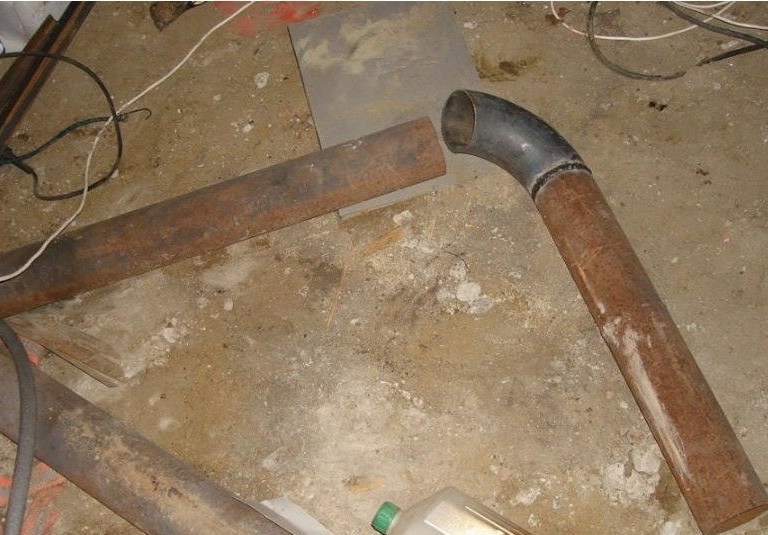
You also need to remember to assemble and weld the chimney, it is assembled from pipes of a suitable diameter. To get as much heat as possible, the chimney must be made as long as possible. It will be great if you skip it along the entire length of the garage. A chimney is welded to the top of the cylinder.
That's all, the potbelly stove is almost ready. In principle, it can already be tried to sink. If the draft is weak, you can try to extend the pipe up. You can also weld metal legs to a potbelly stove, if this is necessary, in extreme cases, it can also be placed on bricks.
The author also decided to improve the potbelly stove so that it could heat the kettle or cook something to eat. For these purposes, a burner was built in the upper part. It is made from the rear brake drums from the car.
Everything that burns is suitable as firewood for such a stove. The author most often uses old wooden window frames that are thrown away in large quantities. Their wood is often dry and such fuel gives a lot of heat. A potbelly stove warms up in 20 minutes. To make a potbelly stove more beautiful, it can be coated with heat-resistant paint or a primer.