
Hello to all lovers homemade, in this article I will talk about one interesting way of transforming plywood into an image of a casket. It’s not a secret that each of us has many acquaintances, friends and relatives, but sometimes it becomes difficult to choose a gift, whether it’s a birthday, a banquet or a wedding. I always want to present something original, memorable and created with a soul. As usual, people don’t want to greatly complicate the task of choosing a gift, choosing an easy way, namely to give money so that a person gets the thing that he needs or put it off for the next time, this is already a matter of taste. In this article, the author uses an unusual idea for packing money. The originality is to independently make a bill in the form of a wooden box, which is more valuable than a purchased gift, and the following information in the article will tell you how to do everything. Each person’s creative imagination is different, so caskets for storing money can look completely different: of various shapes and sizes. The casket, which will be the result, can be further modified with decor using decoupage or painted with acrylic.
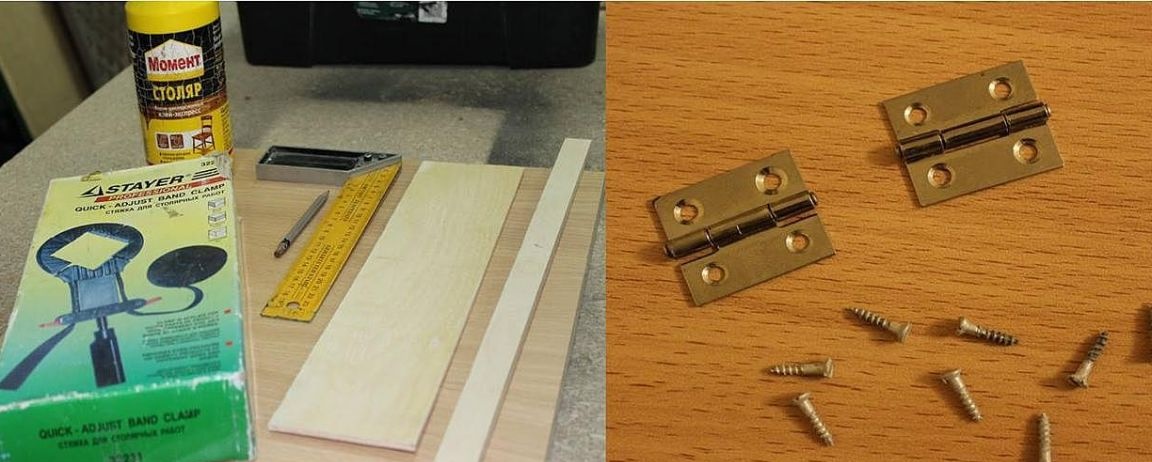
To independently make a wooden box for notes, you will need:
* A circular saw, can be replaced with a hand saw or an electric jigsaw.
* Sandpaper.
* Screed for carpentry, you can apply kapron thread.
* Square, screwdriver, ruler, stationery knife, brush, small weight.
* Joiner's glue.
* Plywood sheet 4 mm thick, another plywood sheet 8 mm thick.
* Neat decorative hinges.
* Self-tapping screws according to the number of holes in the hinges.
After all the parts and tools necessary for assembly are, we go directly to the assembly. Step one.
Using a pencil, draw a line on a sheet of plywood, which has a thickness of 4 mm, measuring from the edge of 19 cm. Using an electric jigsaw or a circular cut, mark the cut. When working with these power tools, be careful and take safety measures by protecting the eyes with glasses and hands with gloves.
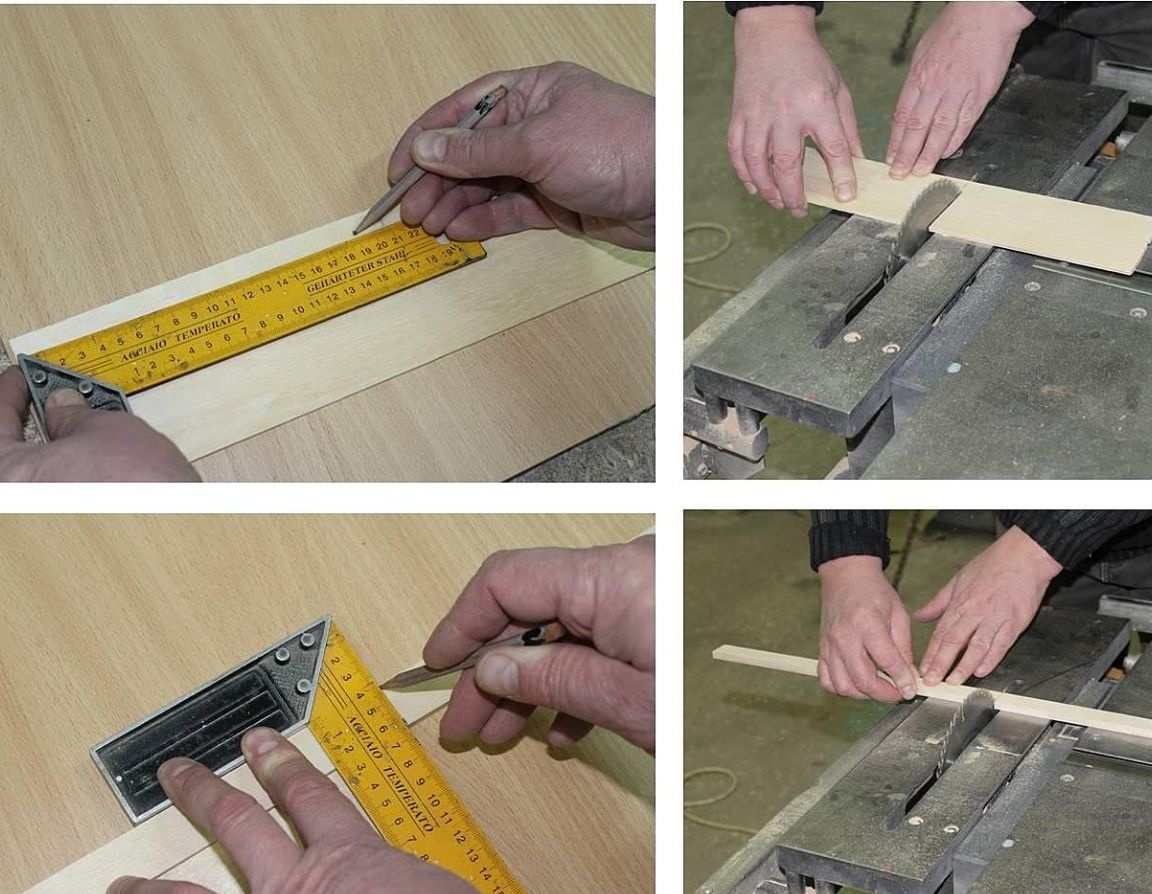
After sawing 4 mm plywood, go to 8 mm, mark the marking on it, two lines of 19 cm and two of 7.4 cm from the edge. Using the same circular saw, we saw off along the planned lines. The result will be 6 components, which are shown in the photo below. Sawing accuracy and evenness of the sides depend on the tool with which you will cut.For further convenience, all parts are numbered. With the help of sandpaper, the details need to be sanded.

Step Two
Putting the details together. Place part No. 1, one that is 19 x 9 cm in size, on a flat hard surface, this will be the bottom of the box. Then you will need parts No. 3 and No. 4 with similar dimensions between each other 19 by 2.3 cm. First of all, we apply carpentry glue to the long side of one of them, this is more convenient and more accurate with a thin brush. Being careful, press it evenly against the edge of part No. 1. We perform similar actions with part No. 4.
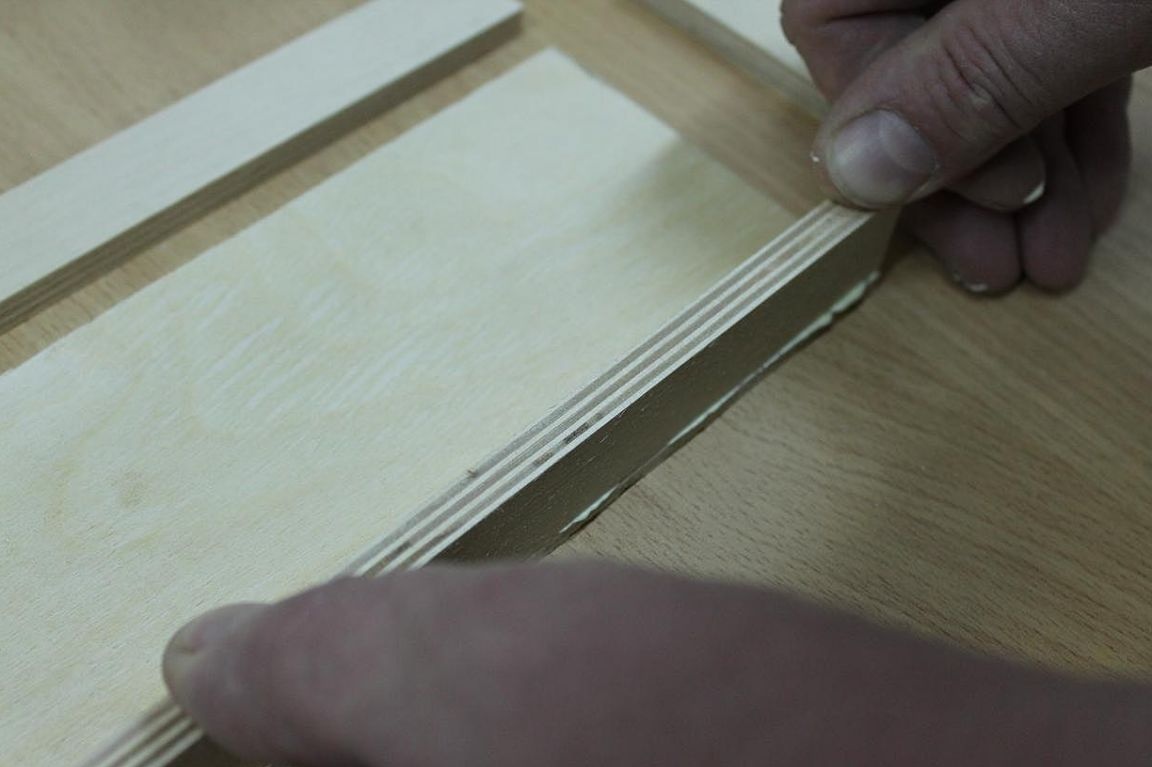
While the parts to be glued under numbers 3 and 4 will hold tightly, we turn to the side parts No. 5 and 6. On their sides, which we apply glue longer, and place them between parts 3 and 4. The ends should hide and not form large spikes and drops, after you are convinced of this, we press the parts for better bonding. Remove excess glue, which is likely to go beyond the edges of the joints, using an office knife.
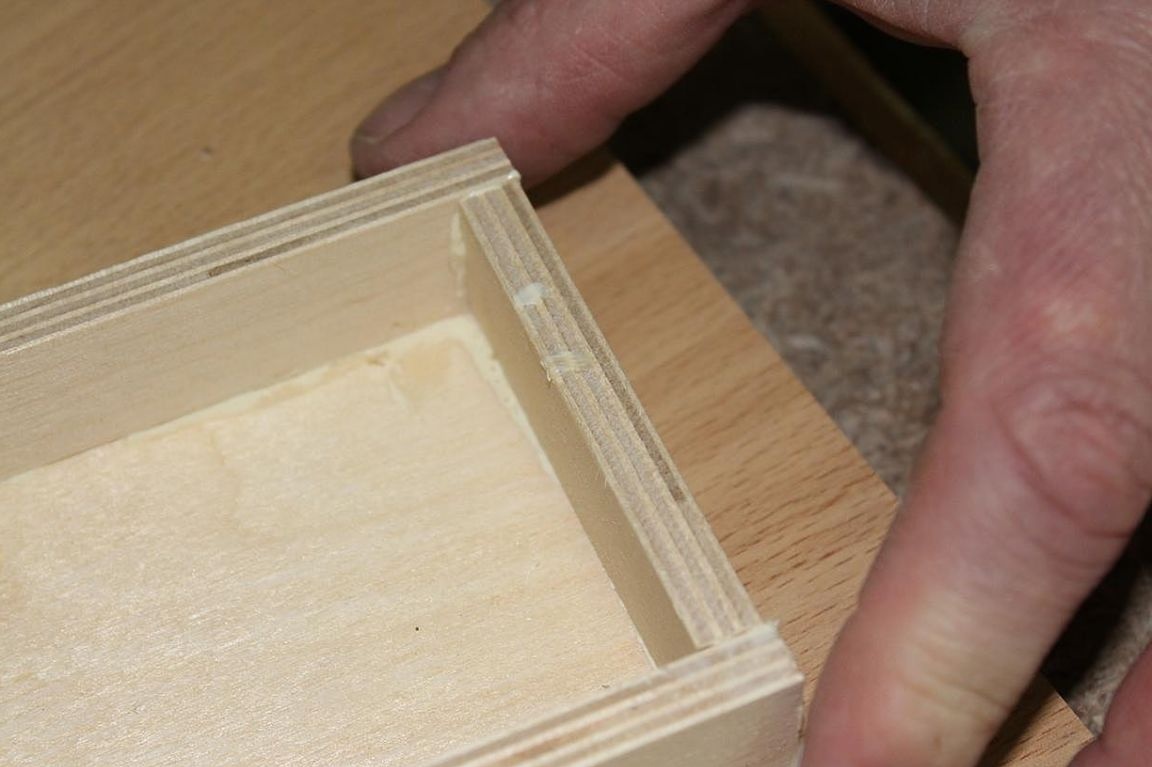
After pressing, in the subsequent setting of the parts, apply glue around the entire perimeter of the box and glue on top part 2, which will result in both top and bottom in different cases. The glue that has gone over the edges is removed in the same way as in the previous step.
We align the edges, trimming the corner, and in order to make the edges of the wooden casket as even as possible, we use a screed that will evenly compress all the details.
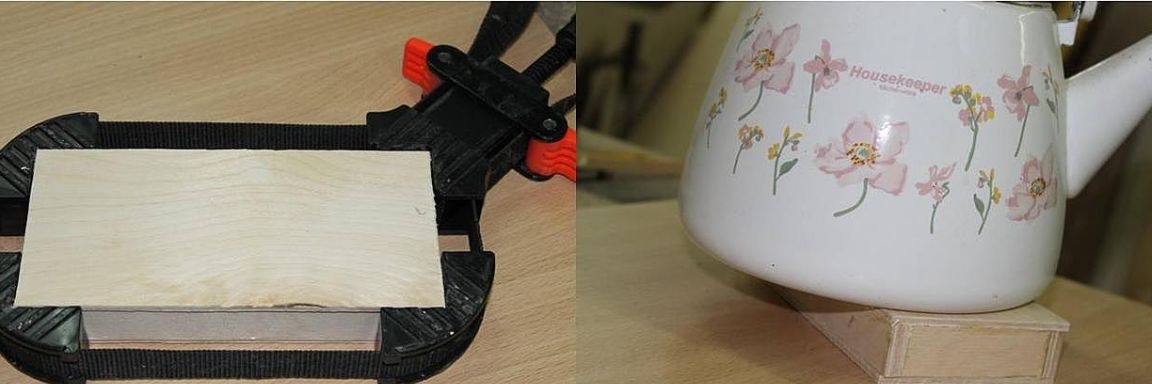
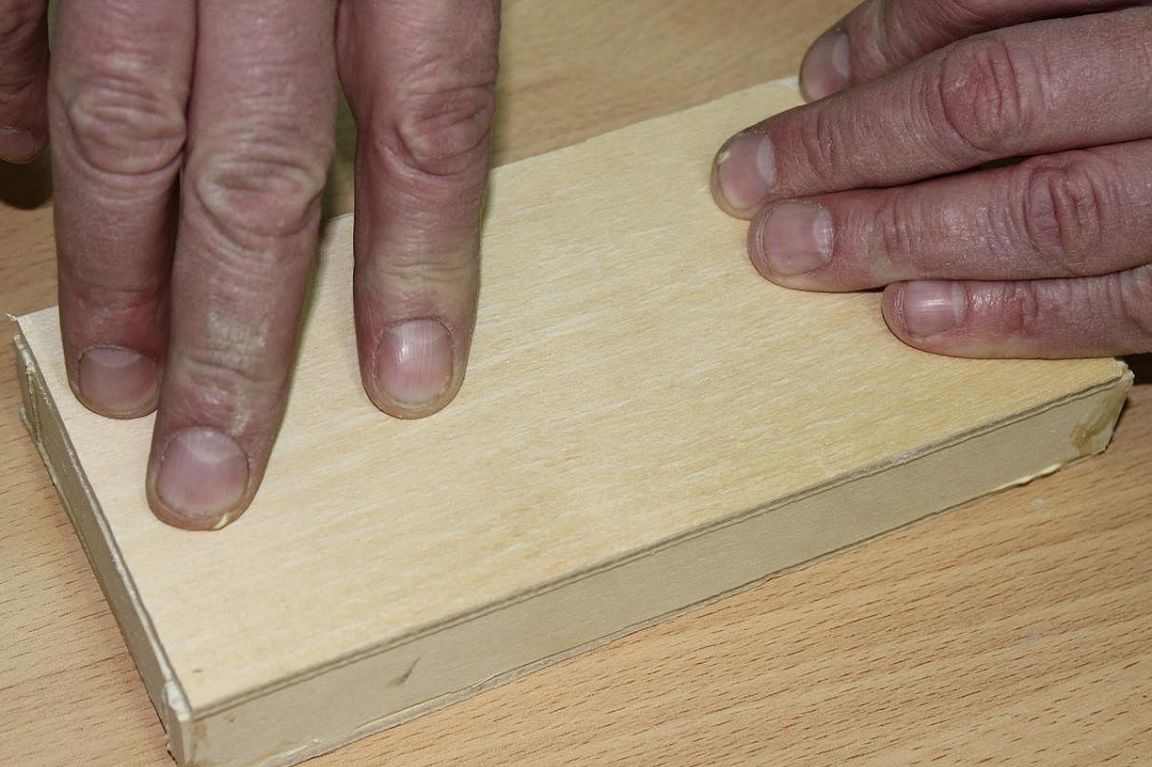
This box will dry for about 20 minutes, if the workpiece is symmetrical, then this step is not necessary. Find something heavier and press the workpiece with this load, leaving the glue to dry completely. When the bonding time has passed, you can review the workpiece for slots, which ideally should be absent. If they still exist, then additionally cover these places with glue and leave them pressed down for another 20 minutes.
Step Three
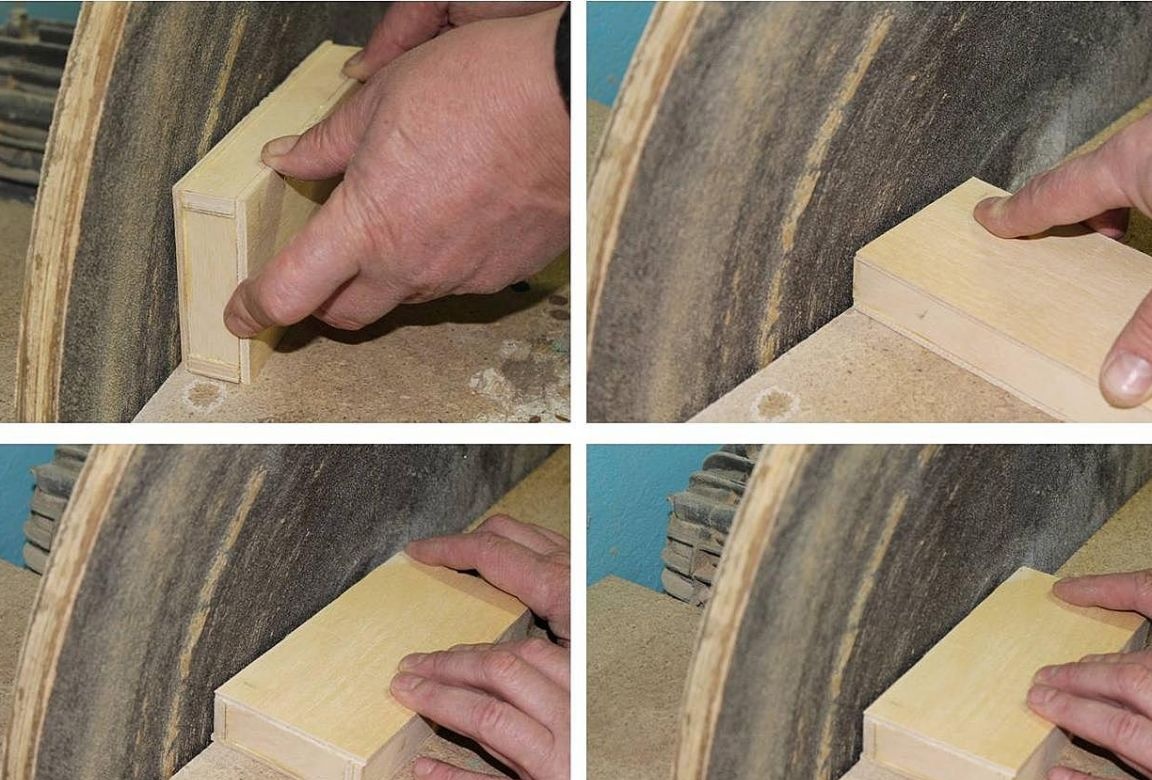
When working with wood, an operation such as grinding is necessary, which gives the product a solid look and removes all the manufacturing flaws made at the rougher processing stages. Having freed the workpiece from the load that pressed it, you can proceed to grinding. Each side must be sanded so that its surface is smooth and free from scuffing; this process is performed with each side of the box. Using a grinding wheel, the operating time can be reduced several times than with manual grinding.
Step Four
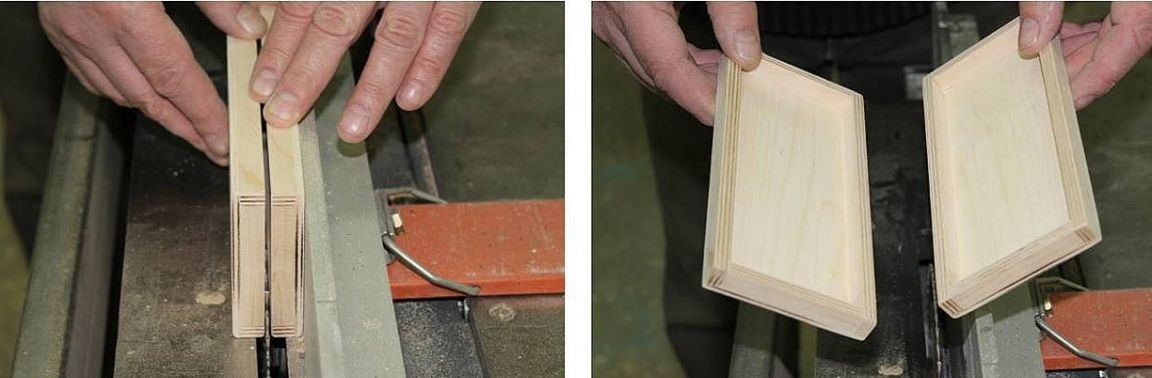
In this step, we will cut the box into two parts, it’s like in focus, only without the reverse process. Using the marking made around the perimeter of the casket, which divides it into two identical parts by thickness, we cut it strictly along the line using a jigsaw, since at this moment we need to achieve greater accuracy. On the same grinding wheel we process two parts, as a result we get two smooth identical parts.
Step Five
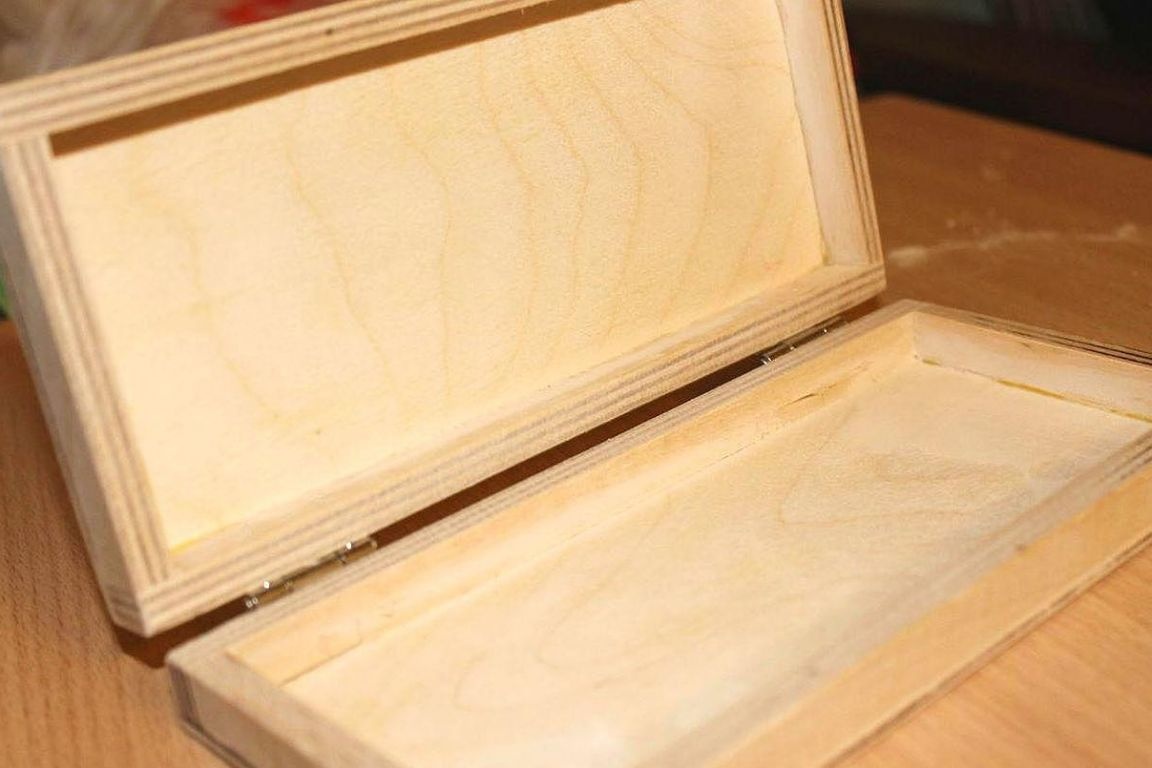
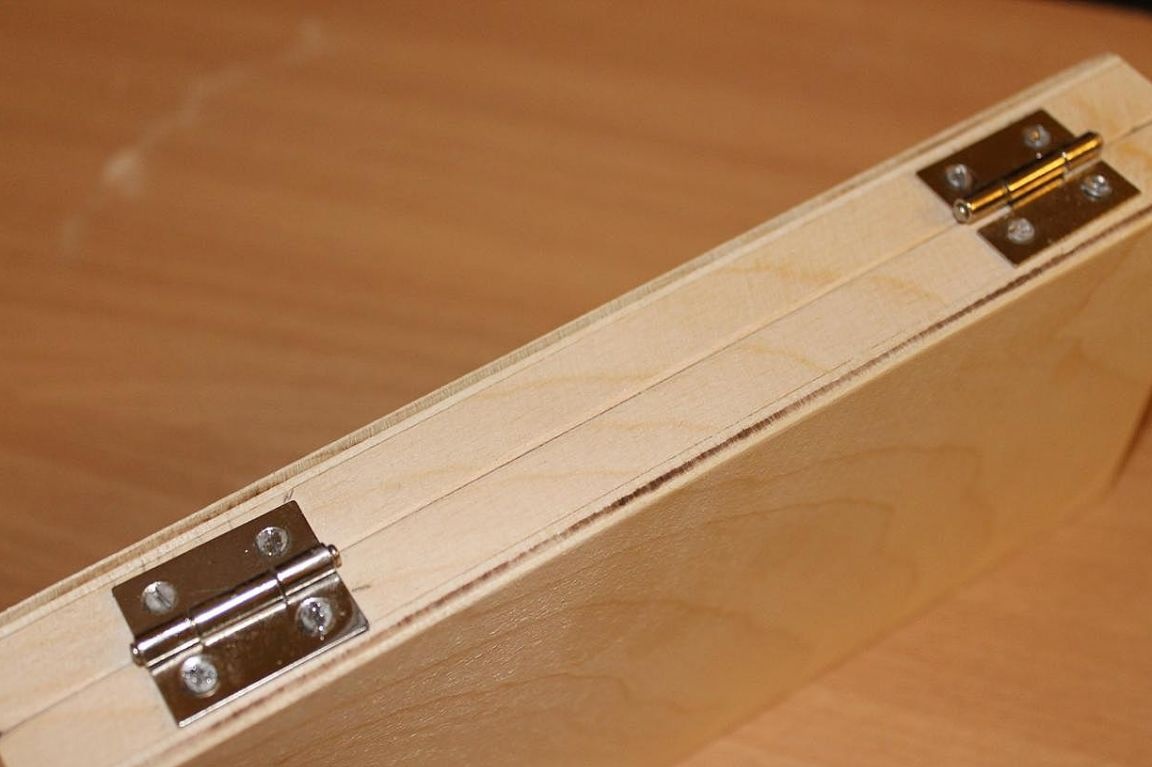
In the final stage of assembly, you need to attach neat decorative loops to the casket. Having attached the loops to the side of one of the parts, make a marking for the screws and screw them with a screwdriver, after having previously drilled holes with a screwdriver, which is slightly thinner than the diameter of the thread of the screws.
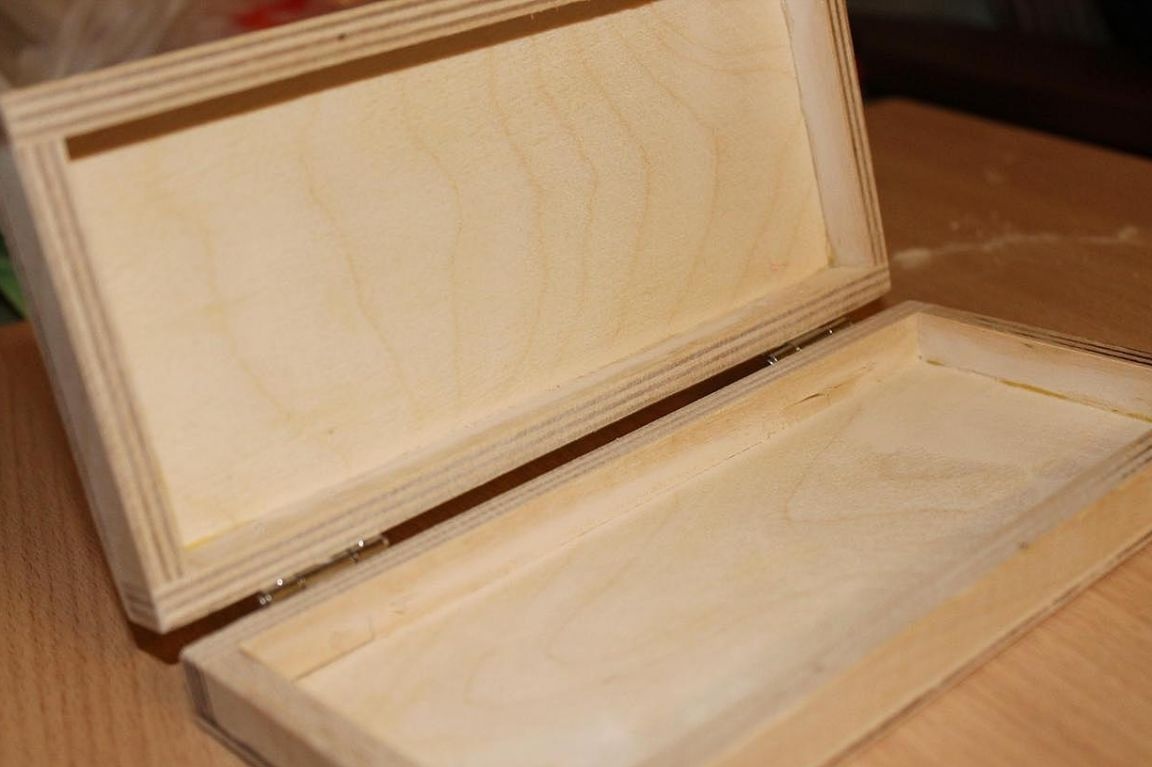
On this, the wooden box for notes is ready, it can be painted with acrylic paints, as well as varnished or give your own design.
Thanks to all.