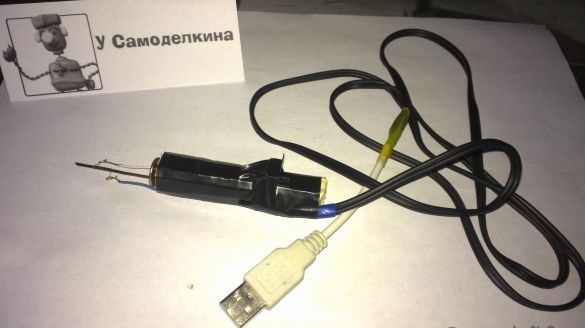
Convenient and compact soldering iron do it yourselfpowered by USB. Heats up quickly and cools down. Solder wherever you want by connecting the power bank.
Now online a bunch of different homemade soldering irons. I decided to do something average, easy to execute and take the best of the ones I’ve looked at homemade.
The goal was to make the soldering iron compact, quickly heating, lightweight and most importantly portable.
I decided to abandon the built-in battery to reduce weight and ease of use. The wire does not interfere. You can screw a light bulb to illuminate the work area with a separate button.
For homemade work we need:
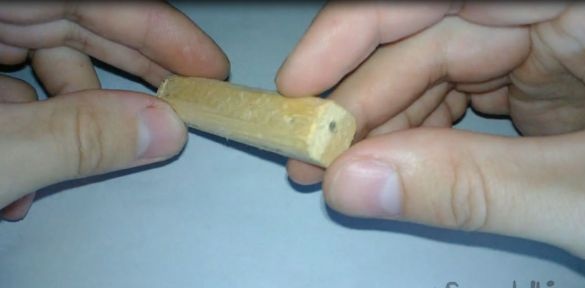
1. Wooden block (I took 7cm x 1.5cm x 1.5cm)
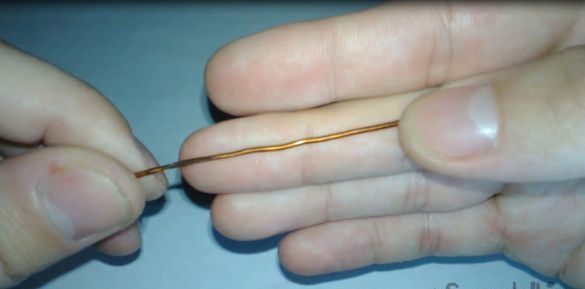
2. Copper wire with a diameter of 1 mm and a length of 9 cm (can be longer)
3. Nichrome wire 7cm long (took from an old soldering iron)
4. A bolt or a self-tapping screw with a flat hat (you can put a washer)
5. The switch
6. 2 thin wiring (I took out of twisted pair)
7. USB plug with a wire of the length you need
8. Electrical tape, heat shrink and super glue
9. Fiberglass
From the tools:
1. Soldering iron
2. Pliers
3. Screwdriver for bolt or self-tapping screw
Step 1.
The first step is to prepare a bar. Adjust in length so that it is convenient to hold, grind corners.
Step 2
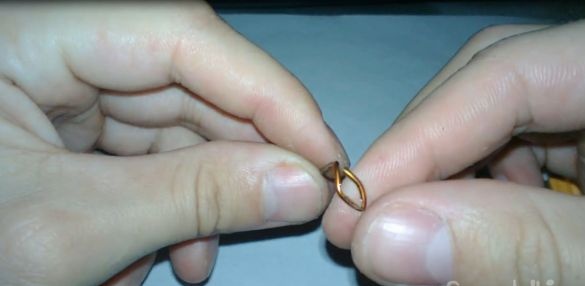
We take a copper wire with a diameter of 1 mm from 9 cm to 12 cm in length and bend the ring with pliers at one end so that a bolt or a self-tapping screw penetrates.
Step 3
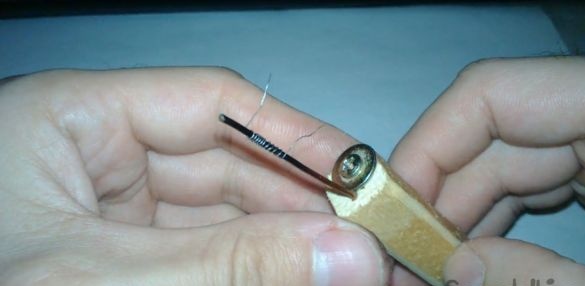
We take a nichrome wire 7 cm long and wind it in a spiral (denser, but not to touch each other) on the straight end of the copper wire, leaving a working place for soldering.
Attention! Do not forget to insulate the copper rod from nichrome wire with fiberglass:
Step 4
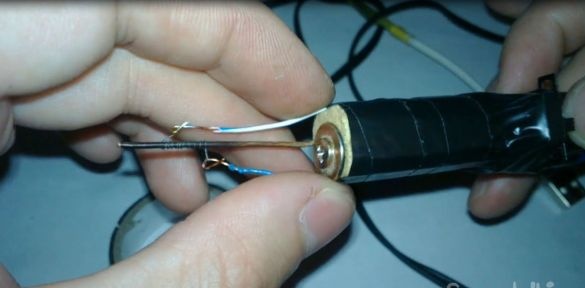
Next, we fasten the copper wire to the bar with a bolt or a self-tapping screw.
Step 5
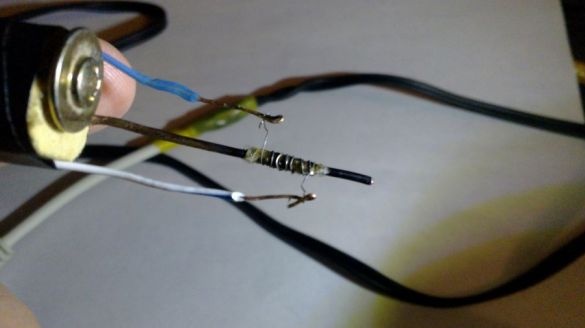
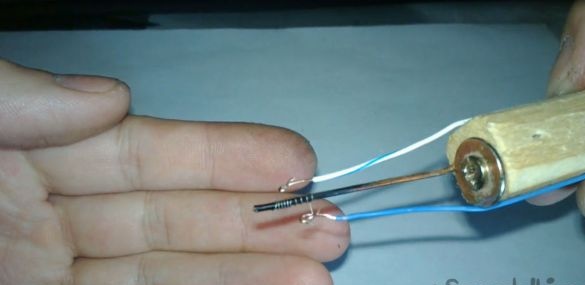
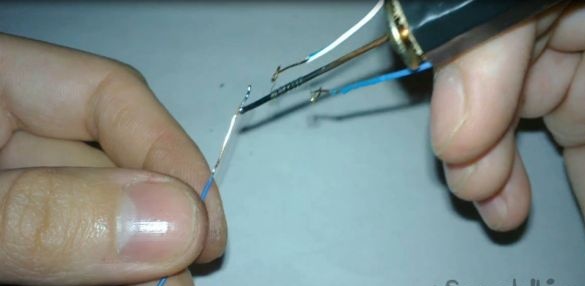
We fasten two copper wires to the nichrome wire as shown in the photo.
Step 6
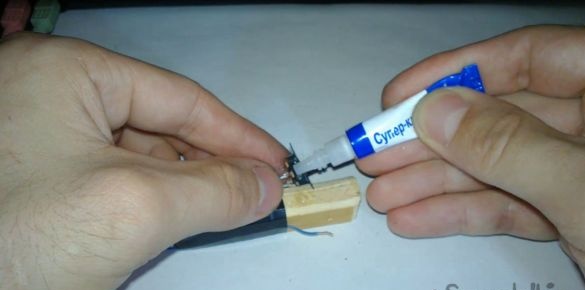
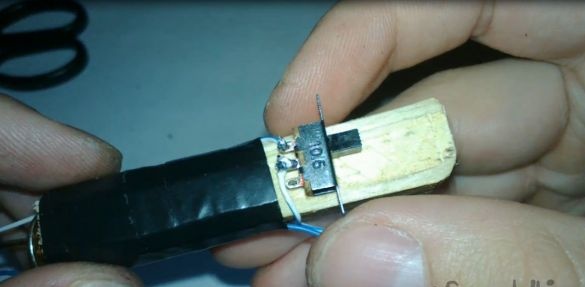
We glue the switch to the bar, solder the wiring to the switch and wrap the bottom of the bar with electrical tape to fix the wires.
Step 7
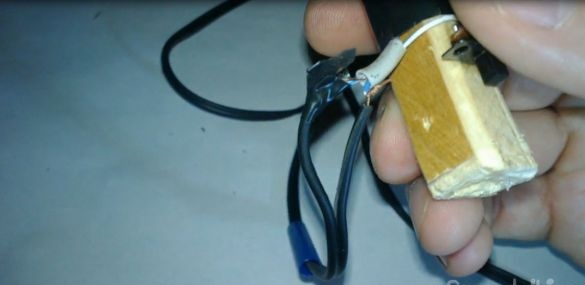
Next, take a USB plug with a wire and connect it to the wires. Polarity does not matter. Do not forget to insulate the wires from each other before shrinking the junction of the wires.
Step 8
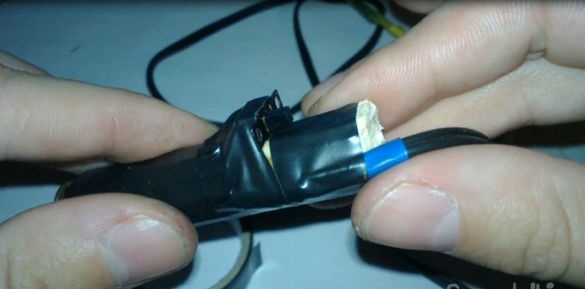
We wind the tape to the bar with tape and that's all.
Getting to the test of the soldering iron.
I took a 5V 2A power supply, but enough amperage and 1A. Heats up to a working state in 20 - 30 seconds. It was not difficult to pin the wire. Small parts solder well. Large elements, where there is a lot of tin, will not pull.And if it pulls, then you have to warm for a long time)
Video of step-by-step assembly and operation of the device for familiarization.


