Tired of a dust bag standing at home. It was decided to do something special.
The essence of the project is to develop a computer table - aesthetics.
Now the steps:
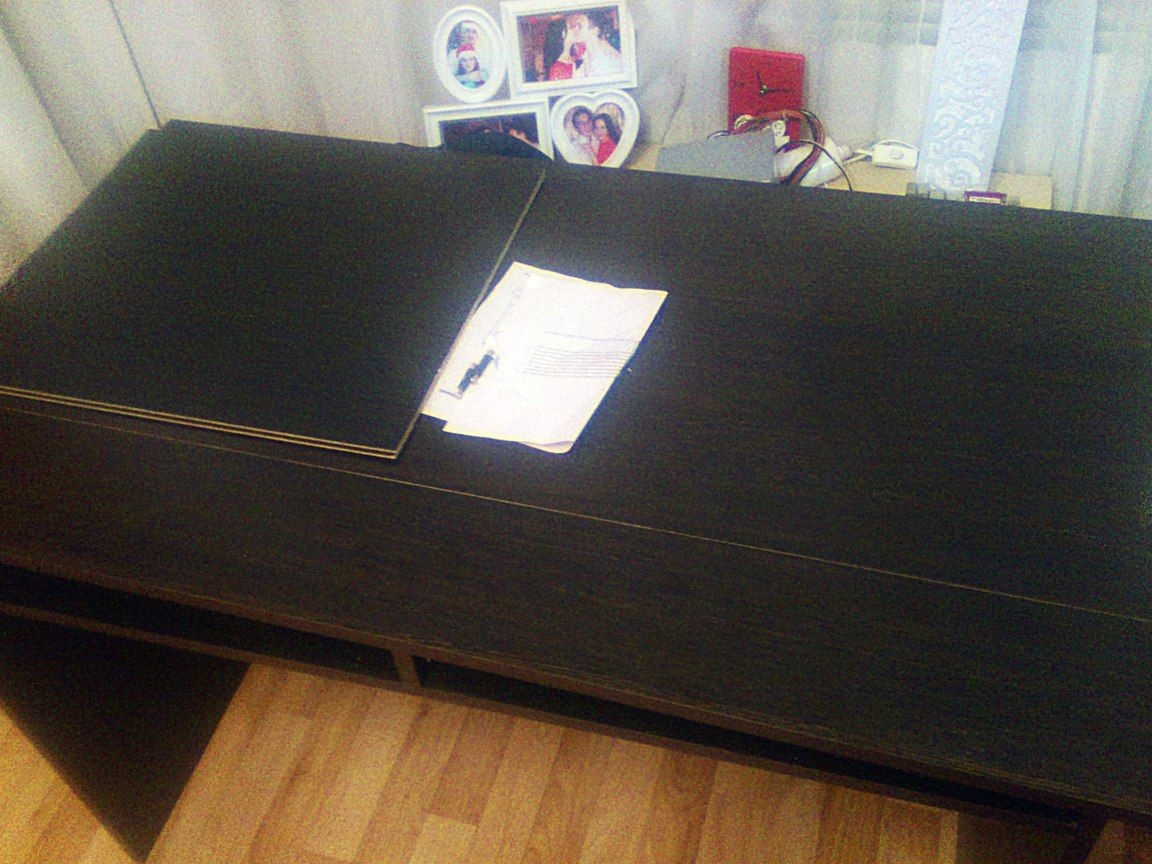
The most ordinary and reasonably cheap table was bought for $ 35.
This table formed the basis of the future table.
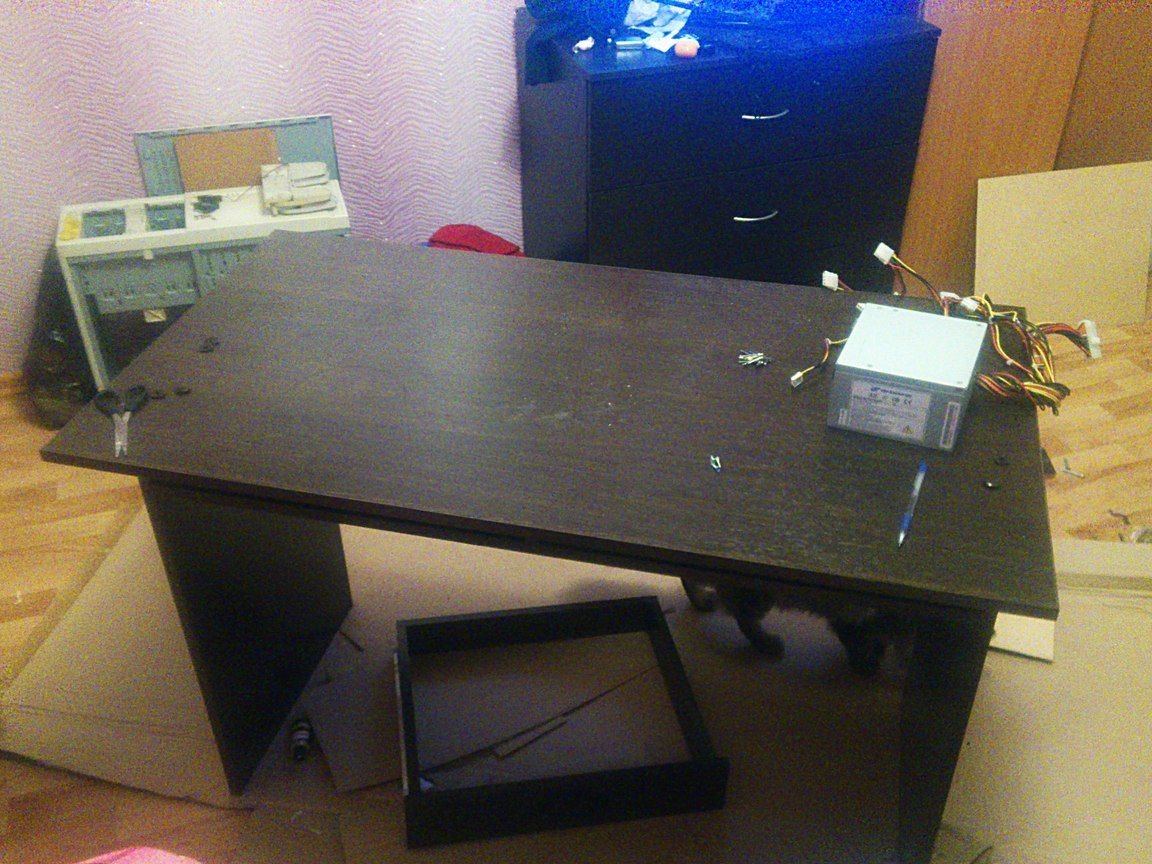
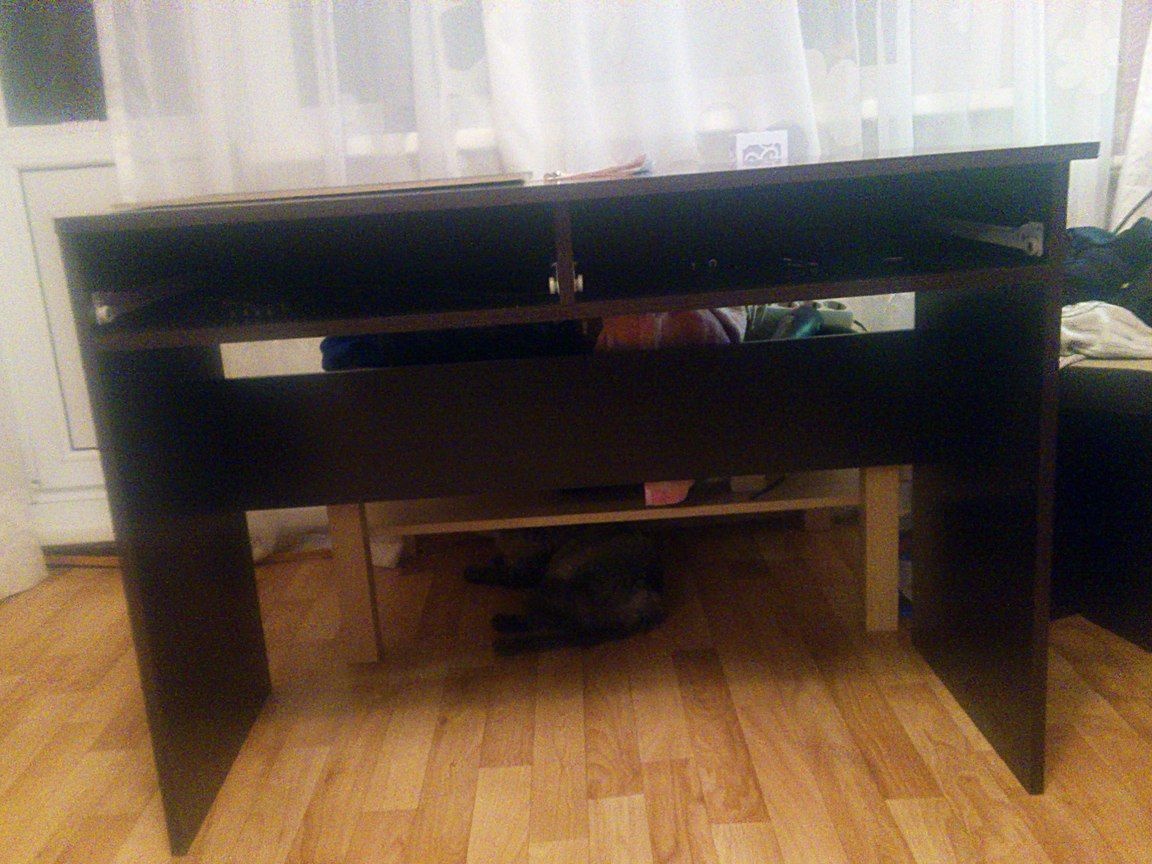
Step 1: Cut the legs. The legs of this table are made at a slight angle.
The cut was made by a grinder.
On both sides at the same angle.
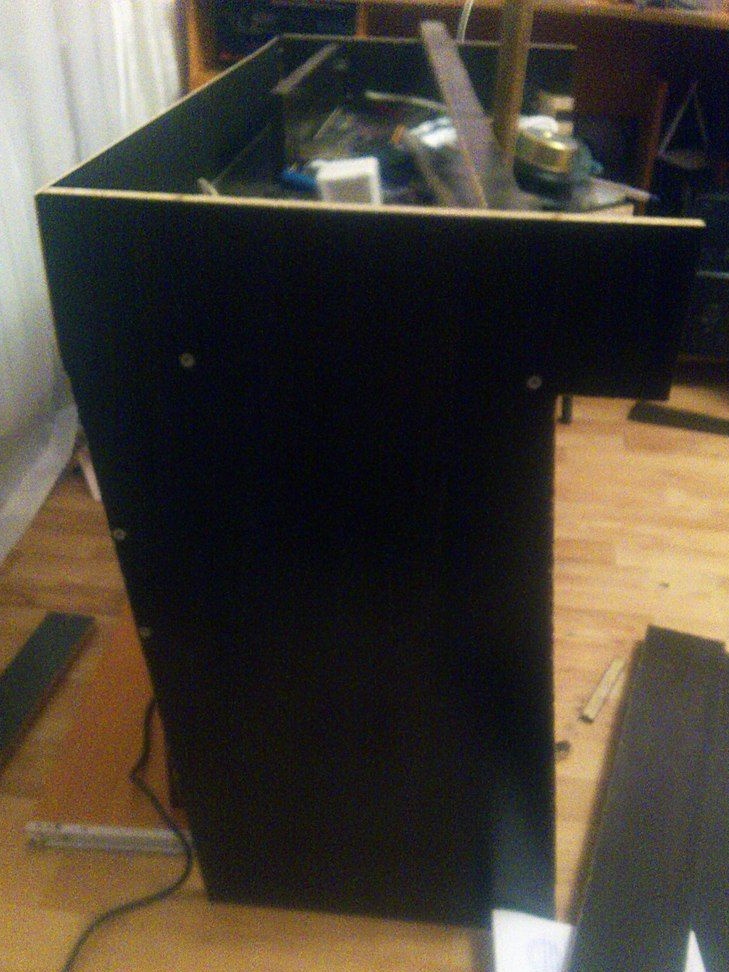
Step 2: Installation of temporary racks to exclude unexpected situations of a box dump.
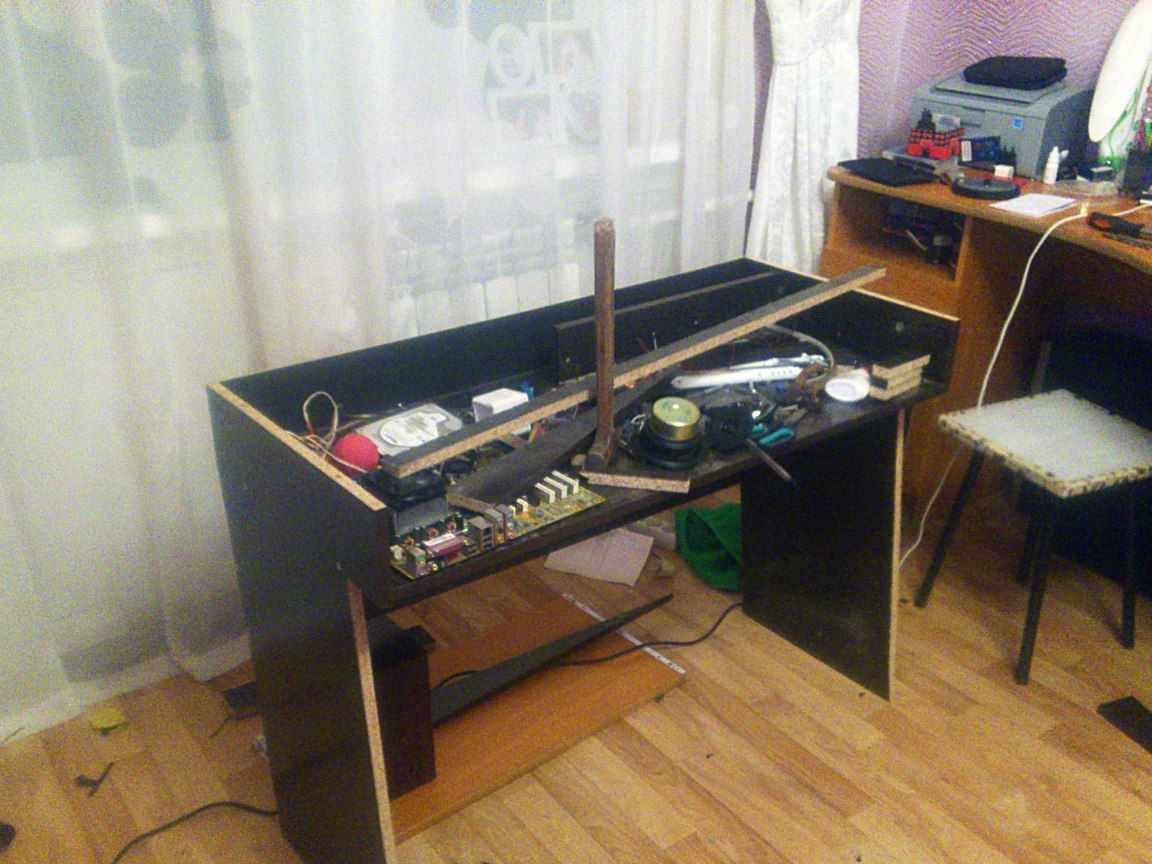
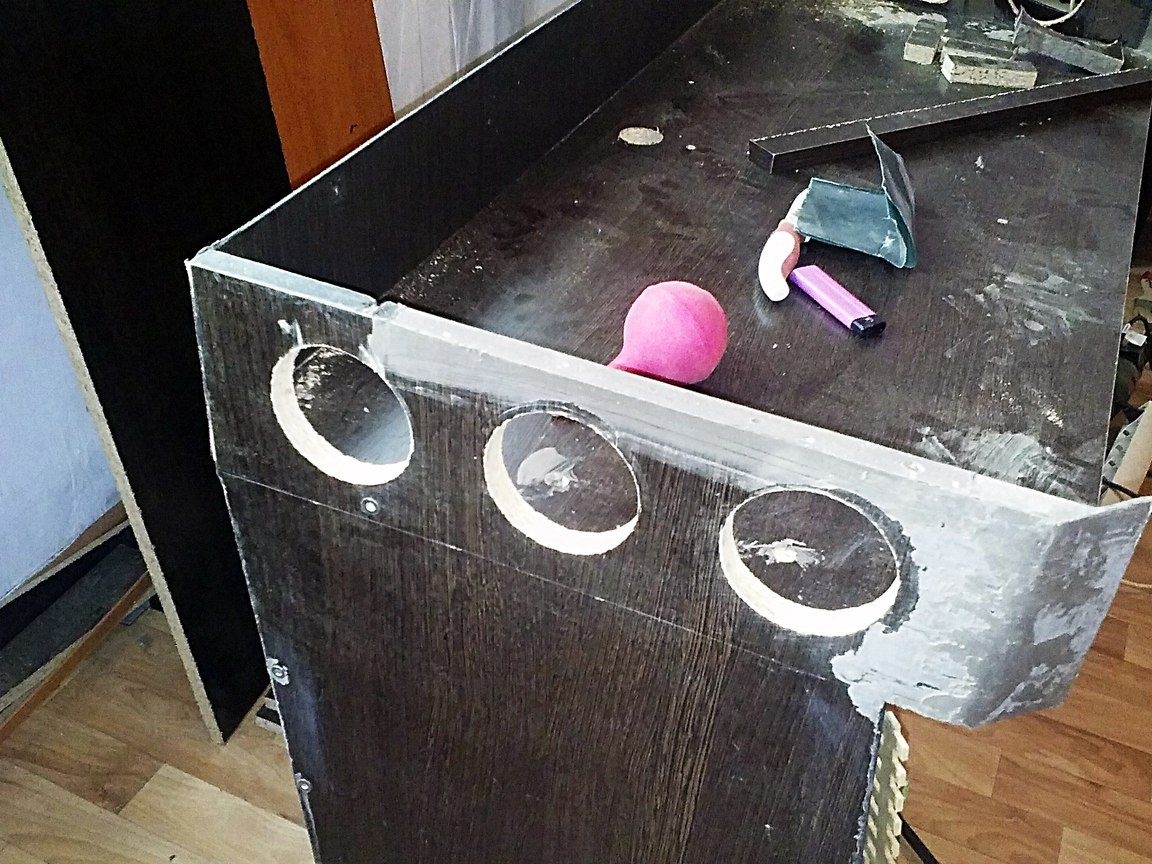
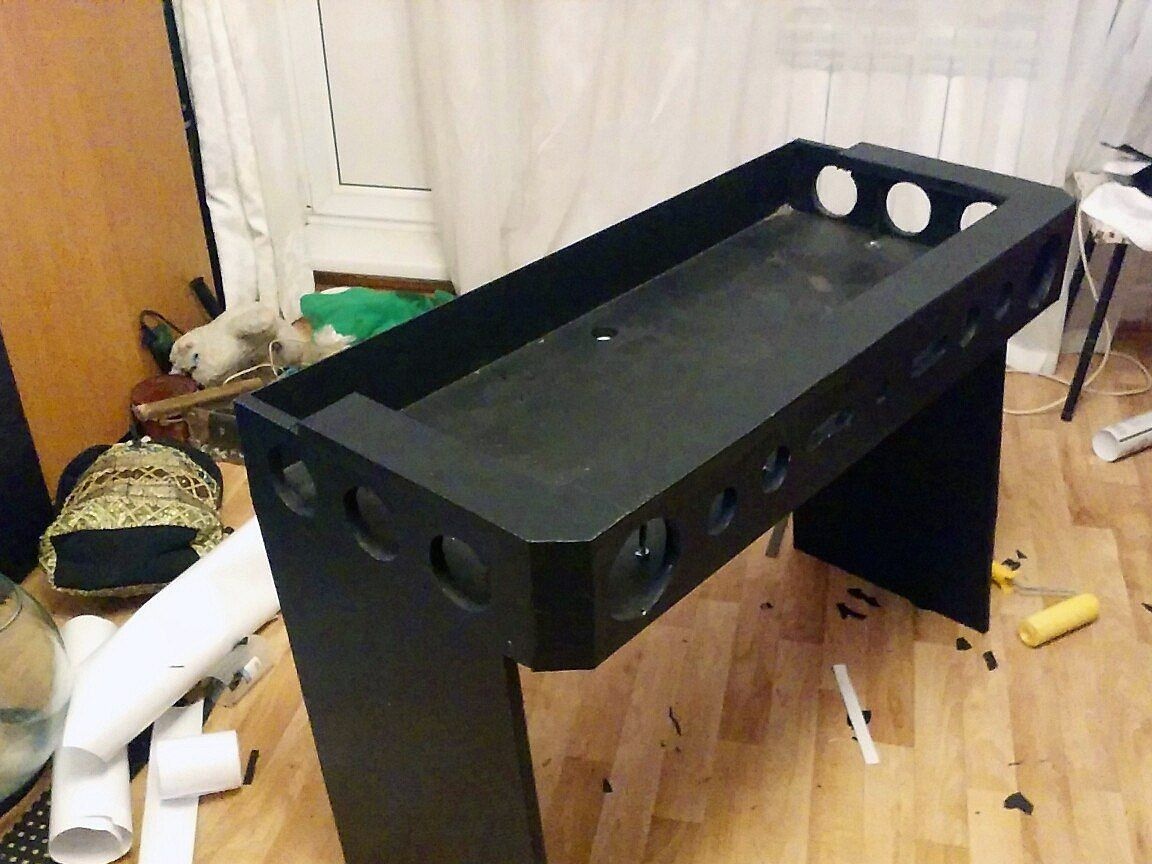
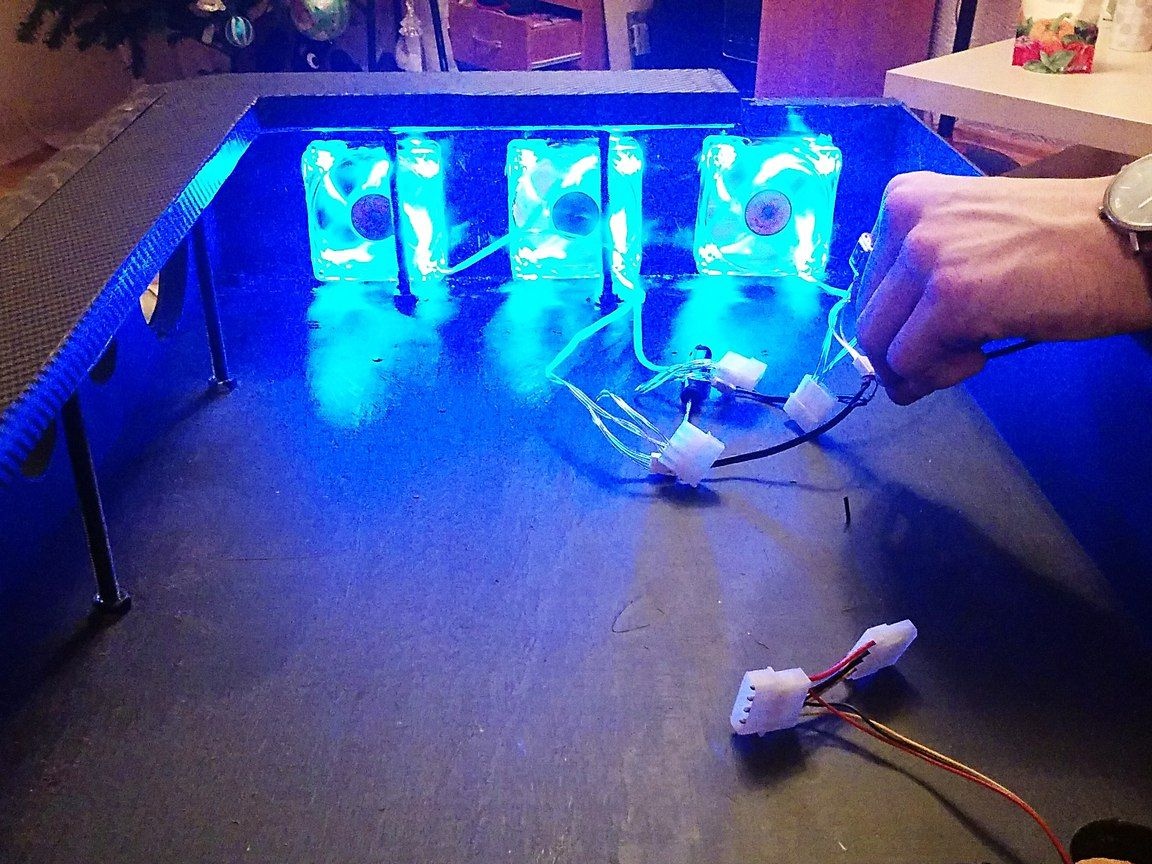
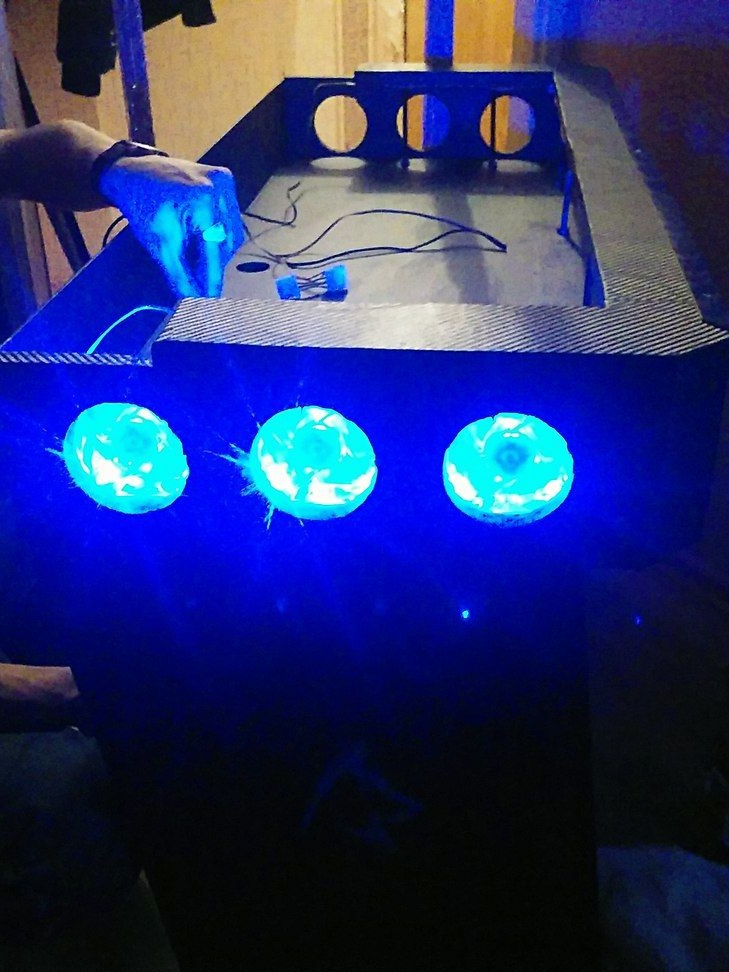
Step 3: I drank holes for installing 6 coolers 80x80
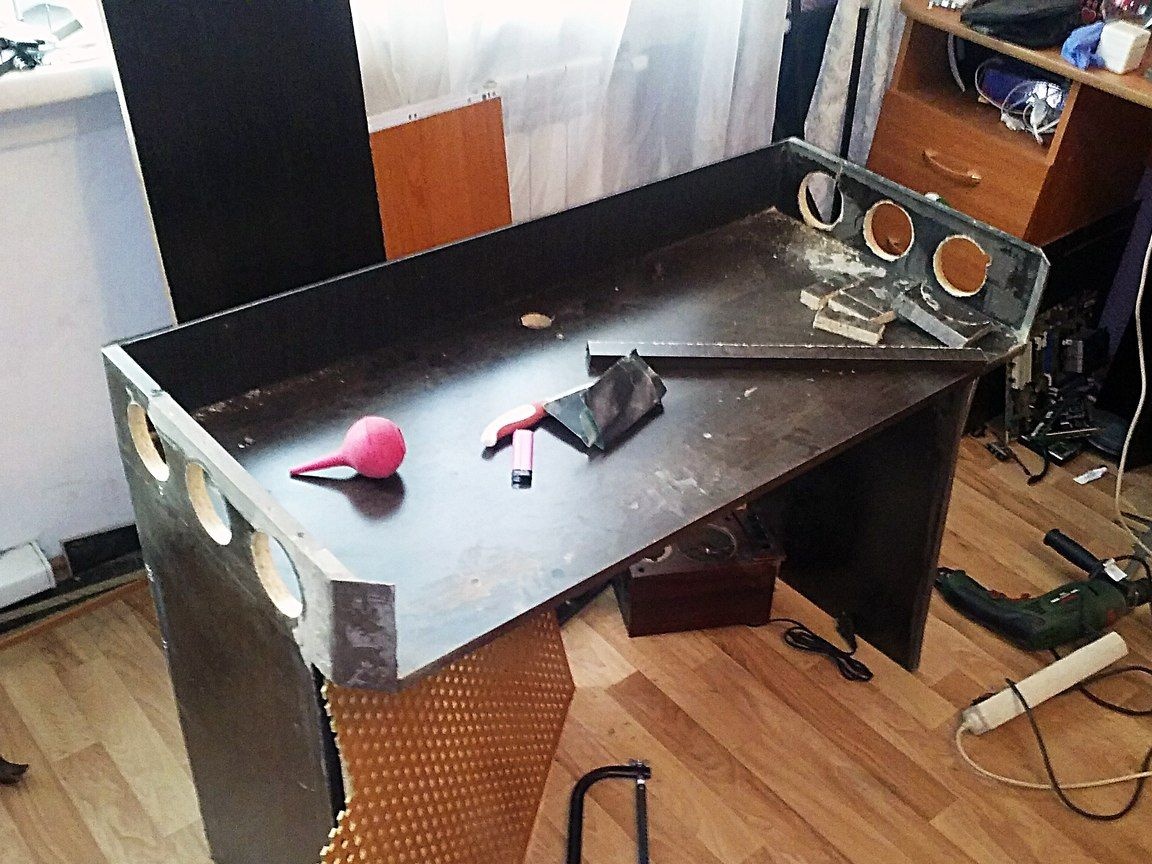
The holes are perfectly flat and at the same distance from each other.
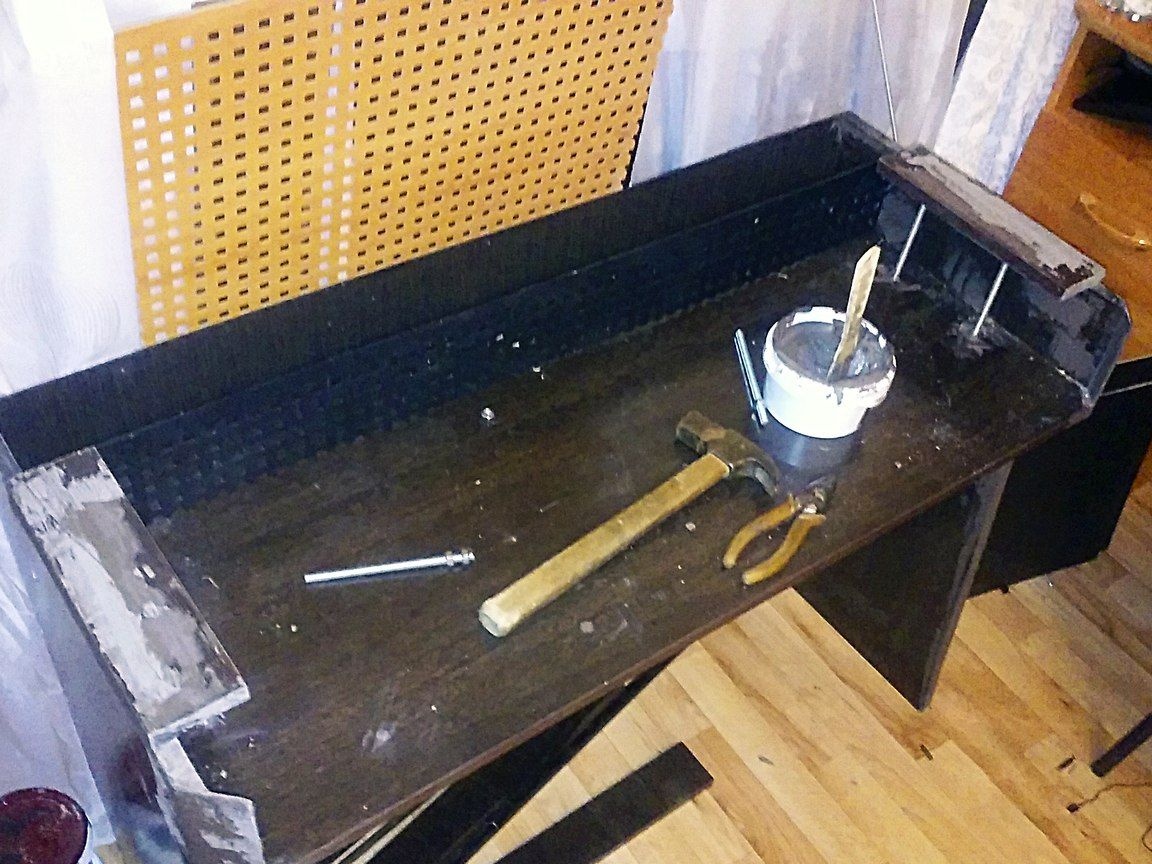
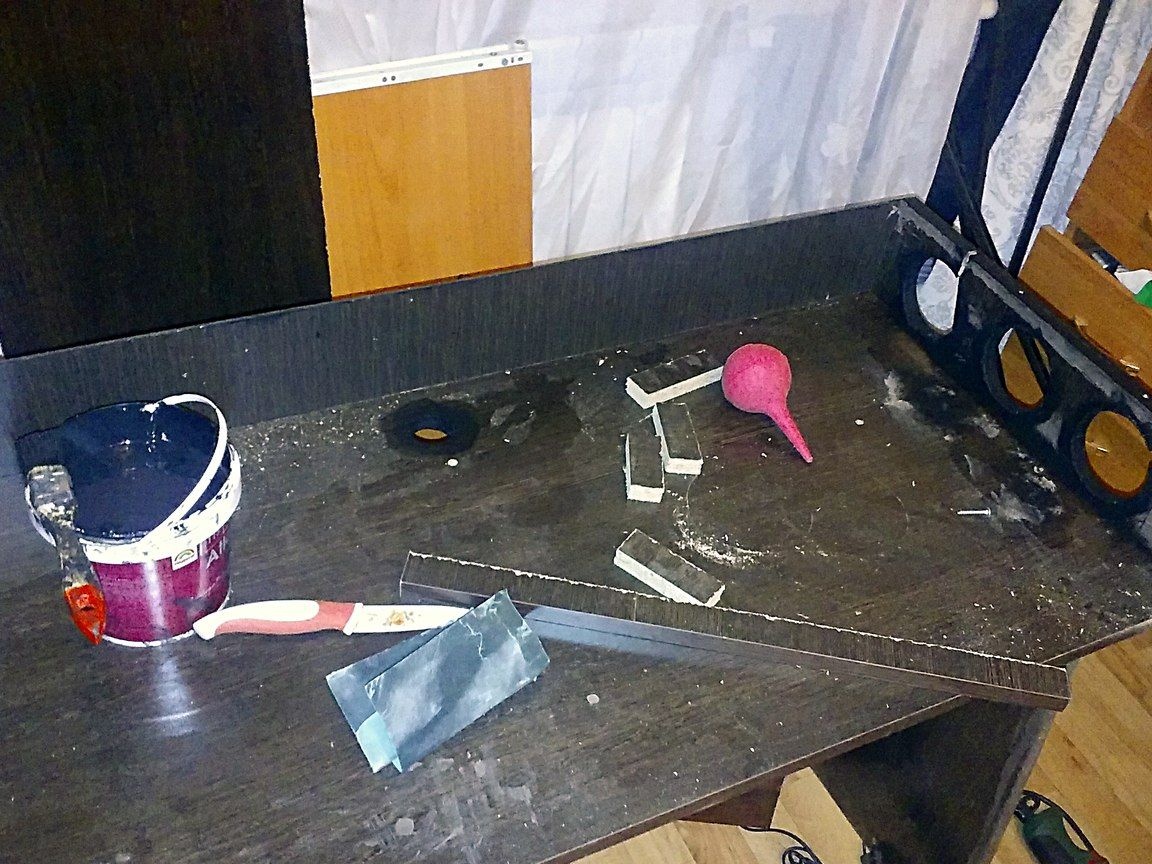
Step 4: Next, the table begins to clear of debris, the installation of the front (previously sawn part) and full painting of the body in a matte black color.
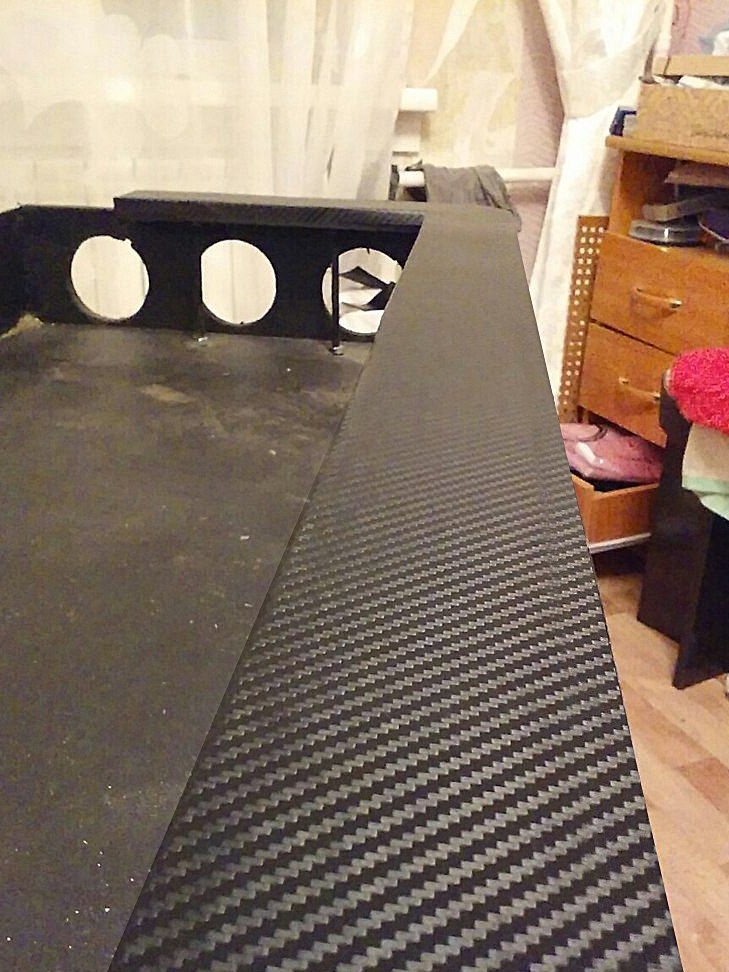
Step 5: After the paint has dried (24 hours), we proceed to pasting the table with carbon.
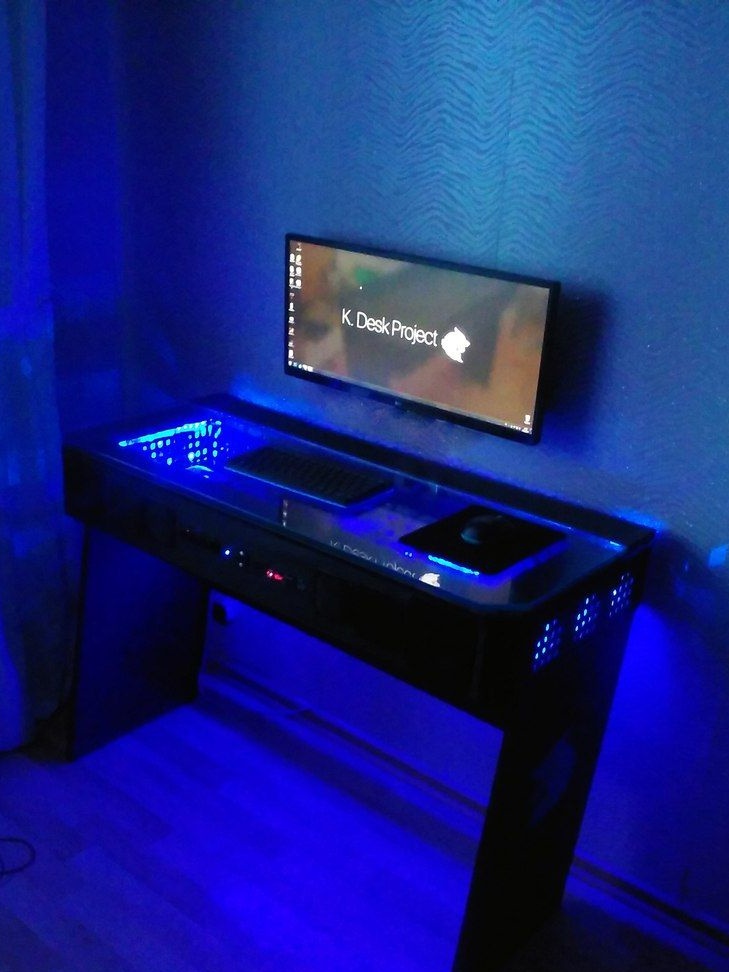
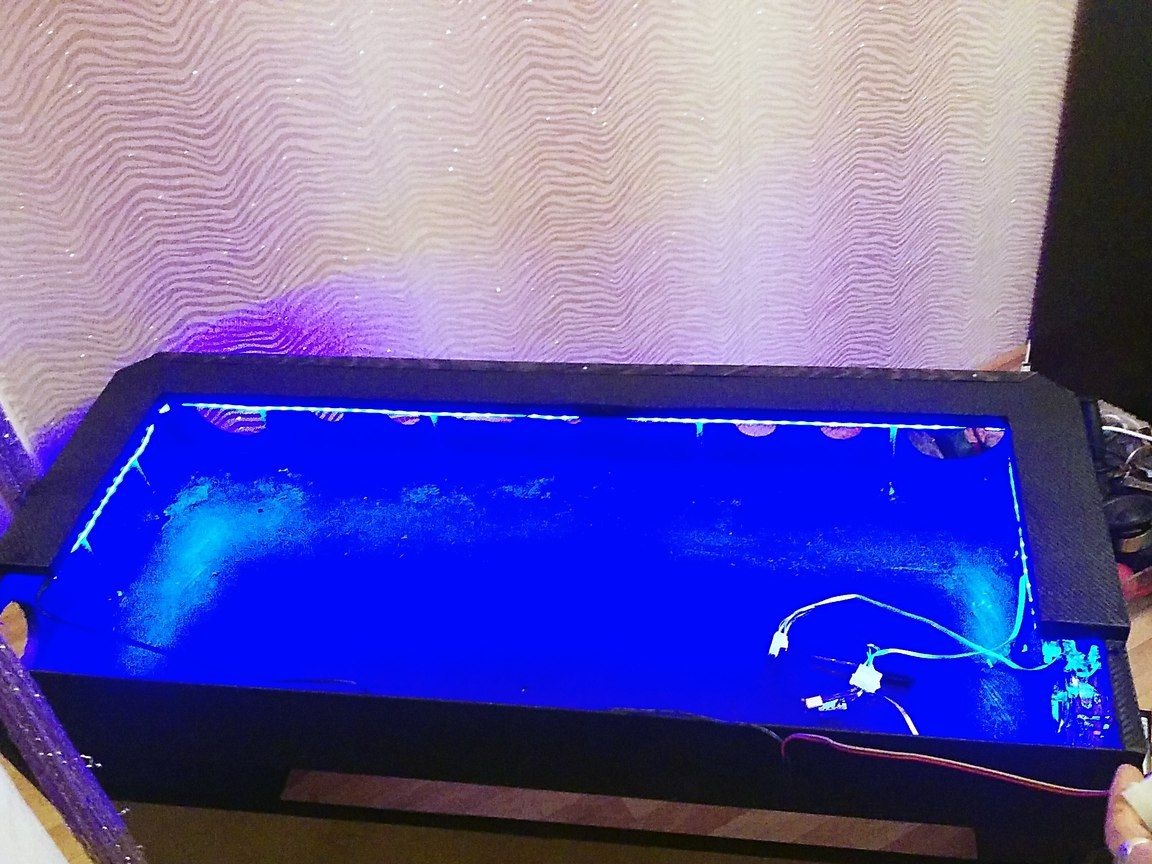
Step 6: Set the main neon backlight.
Step 7: Installation, connection and verification of coolers.
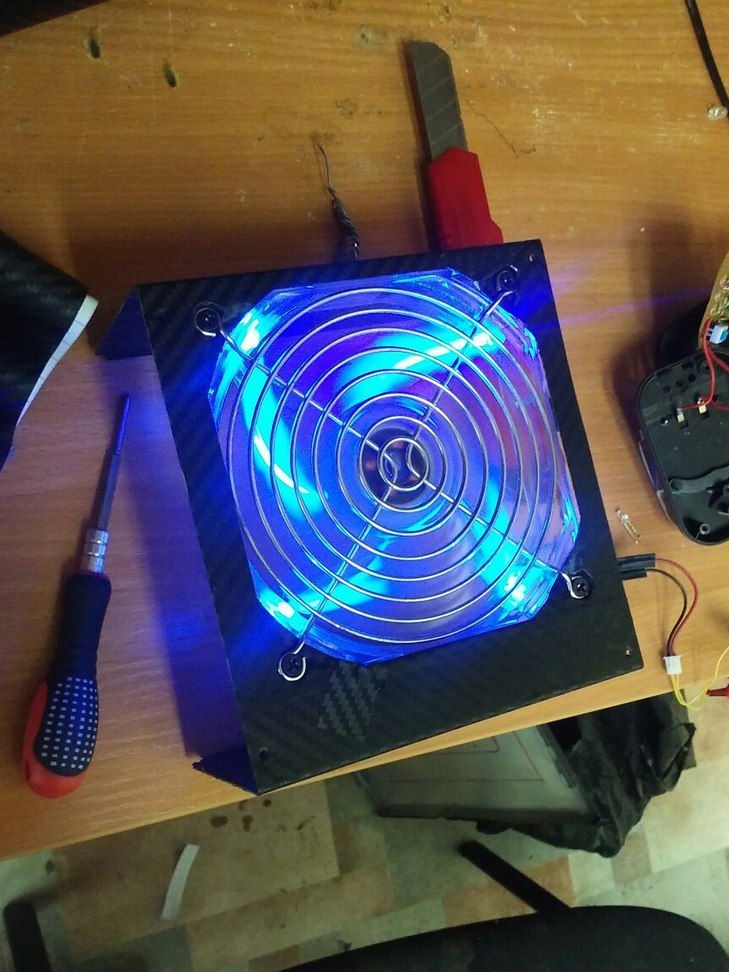
Step 8: Power supply (cooler) backlight
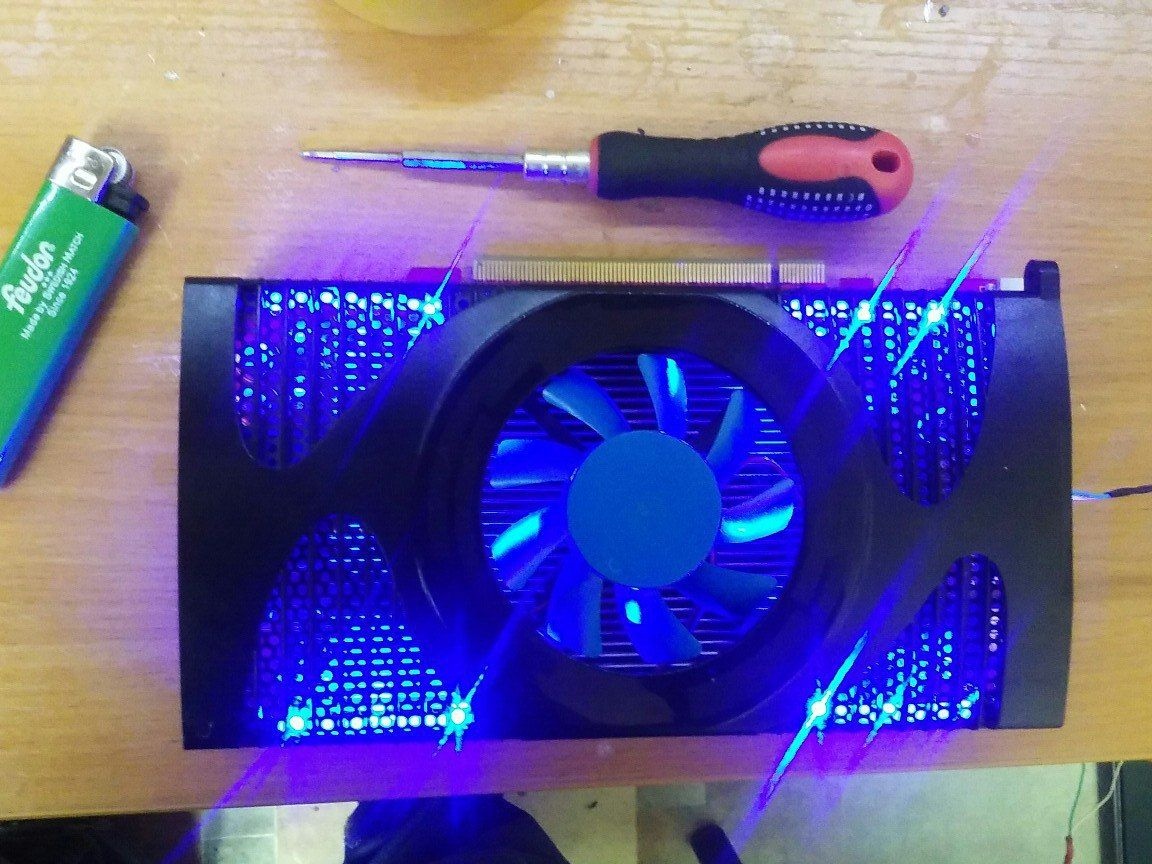
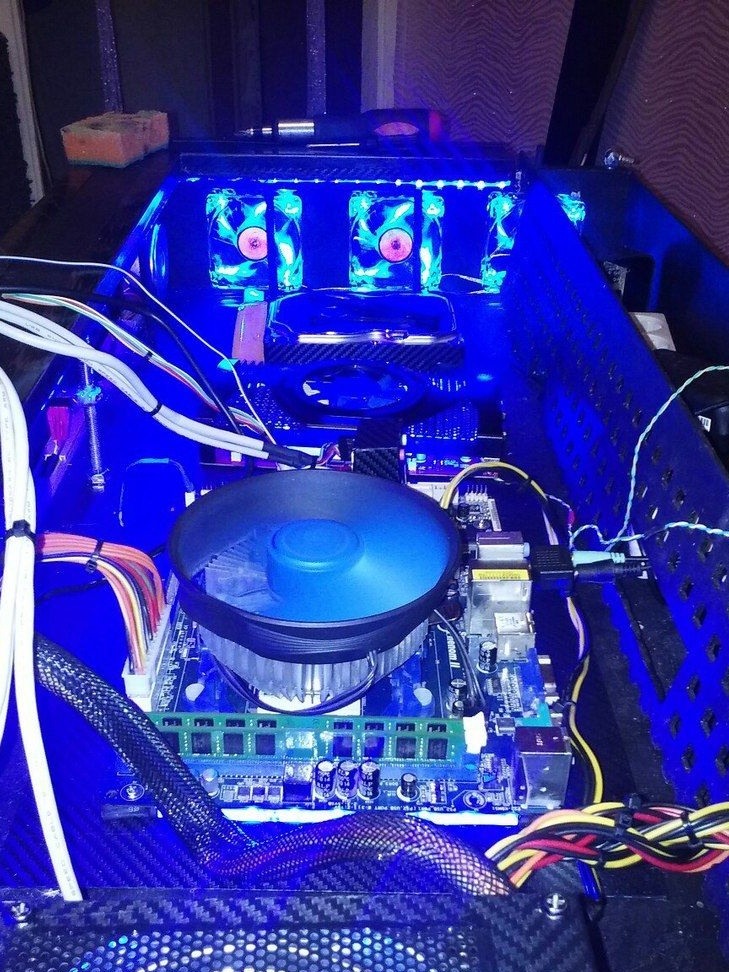
Step 9: Graphics card backlight
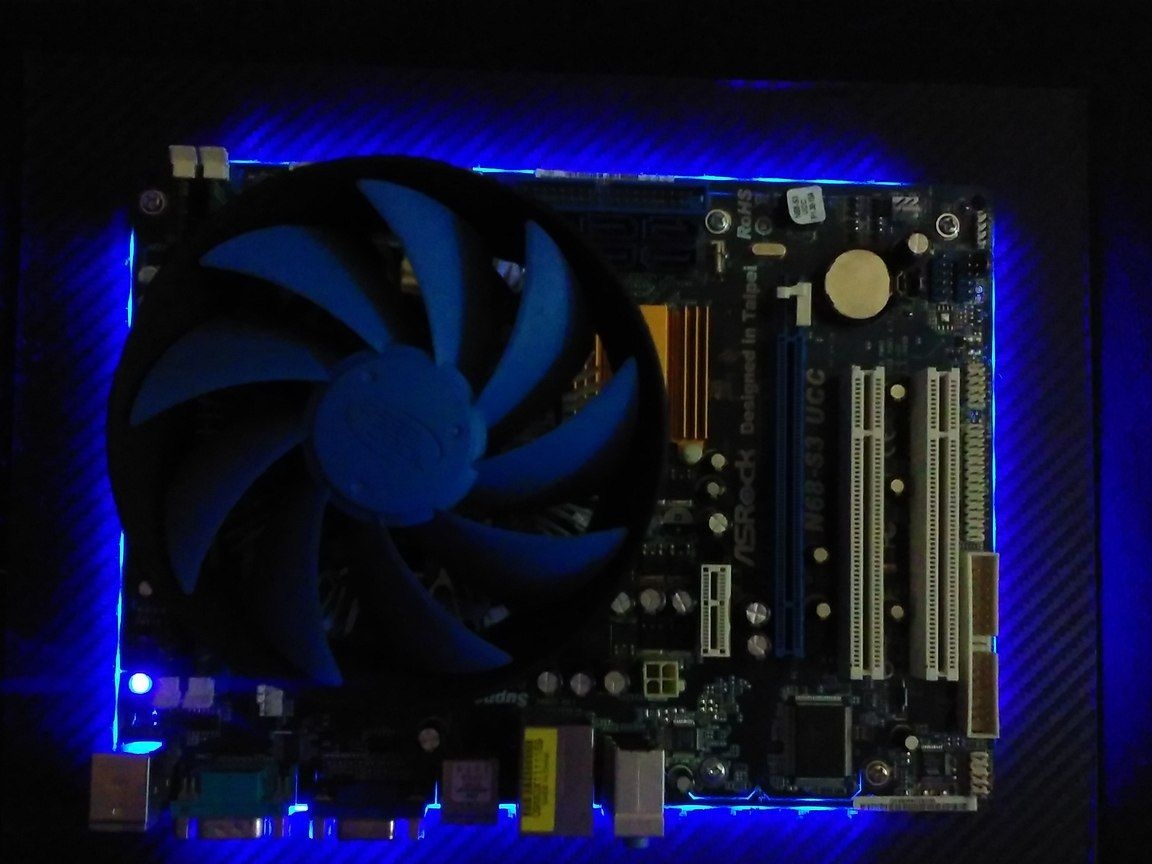
Step 10: Motherboard backlight
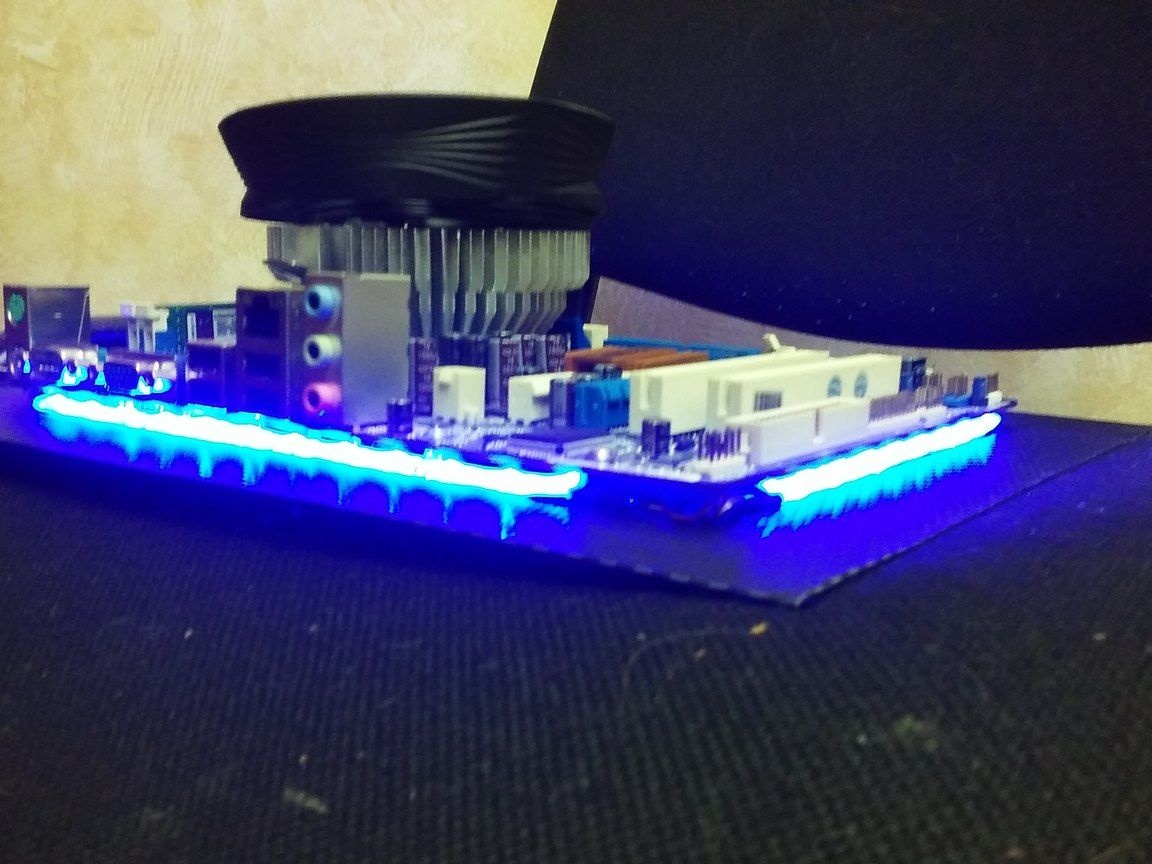
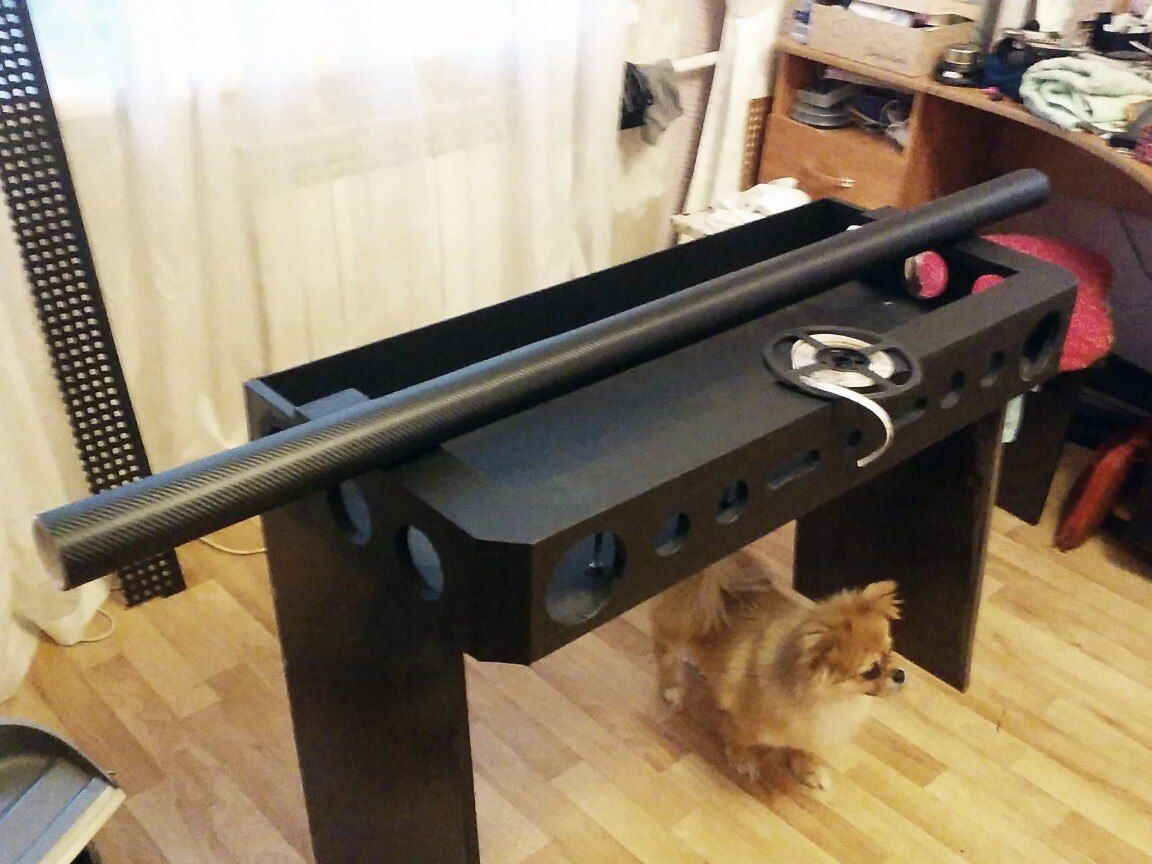
Step 11: Edge setting across the table
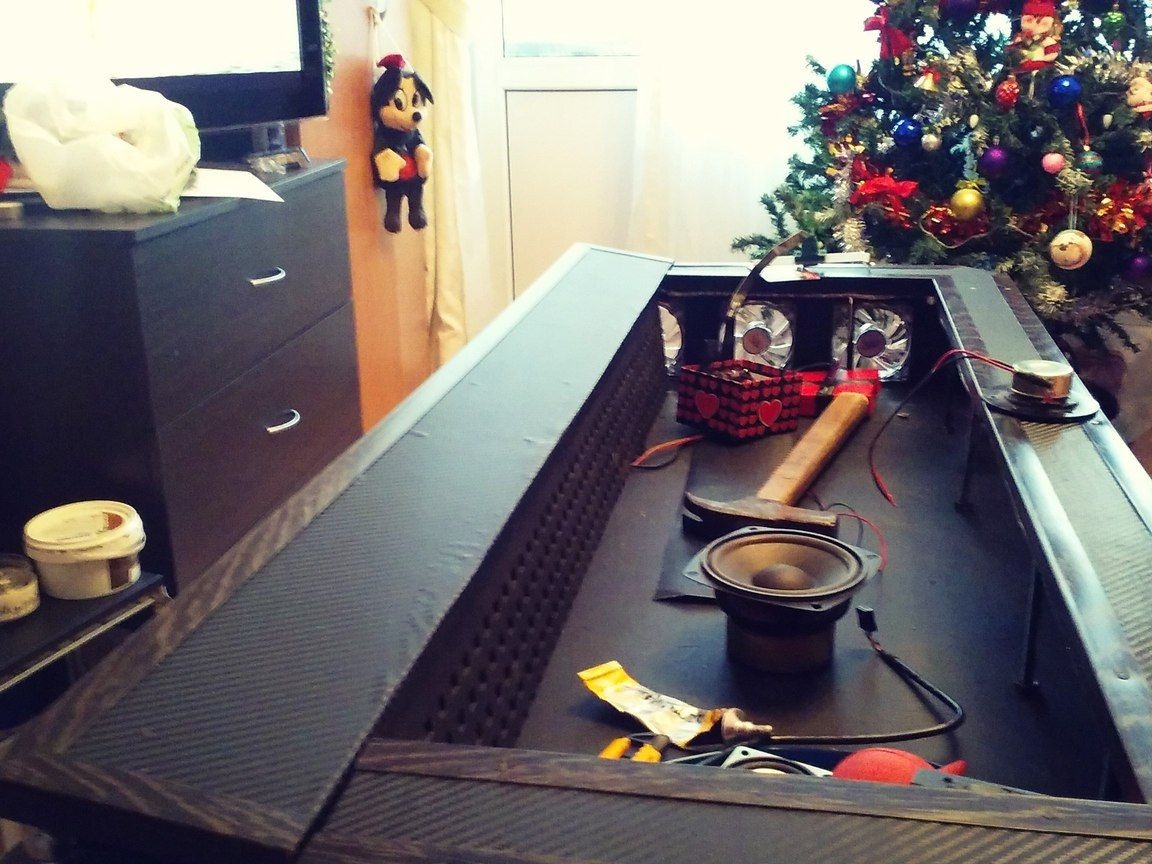
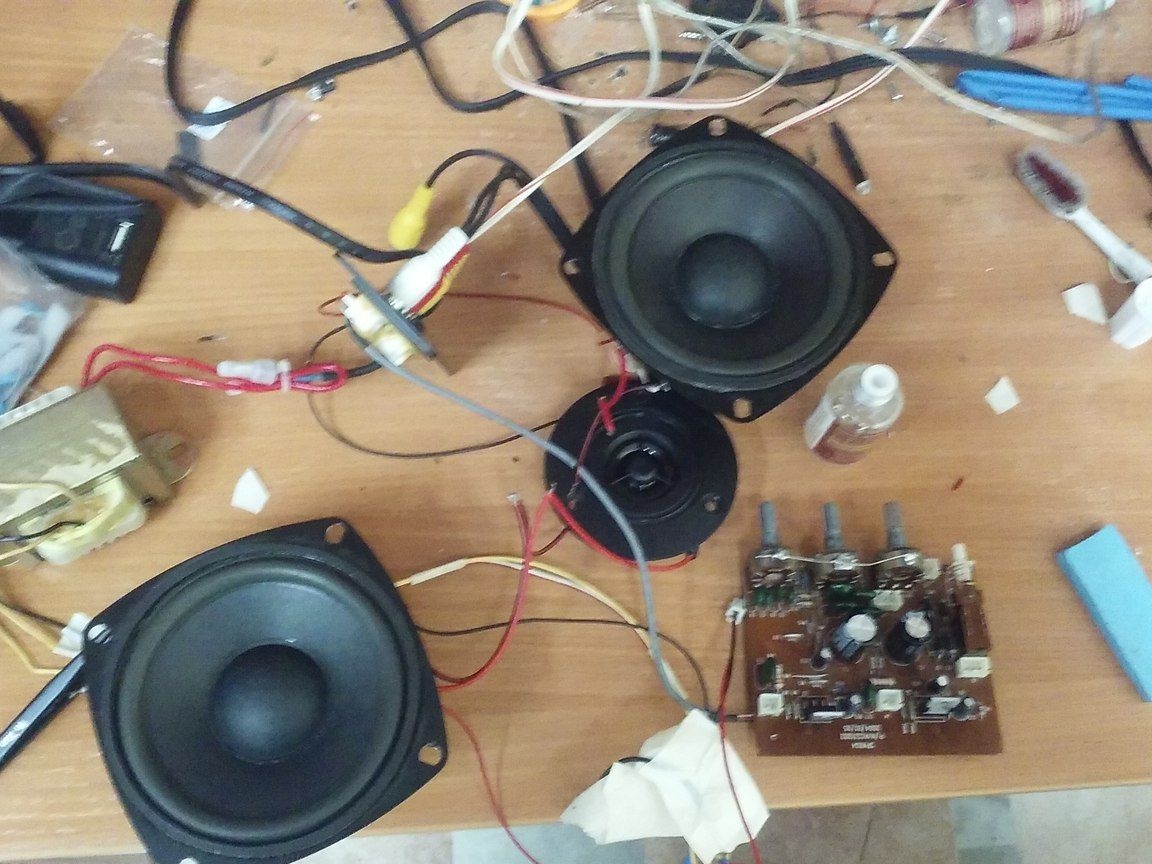
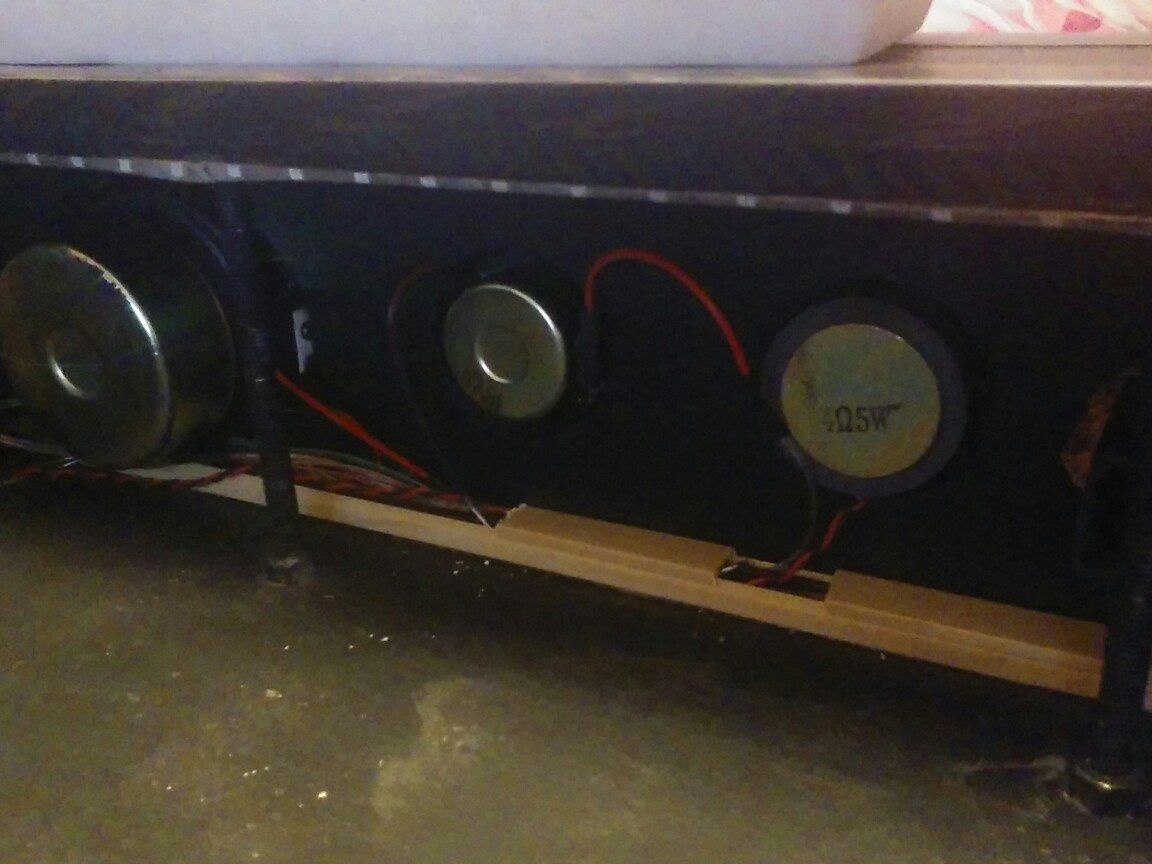
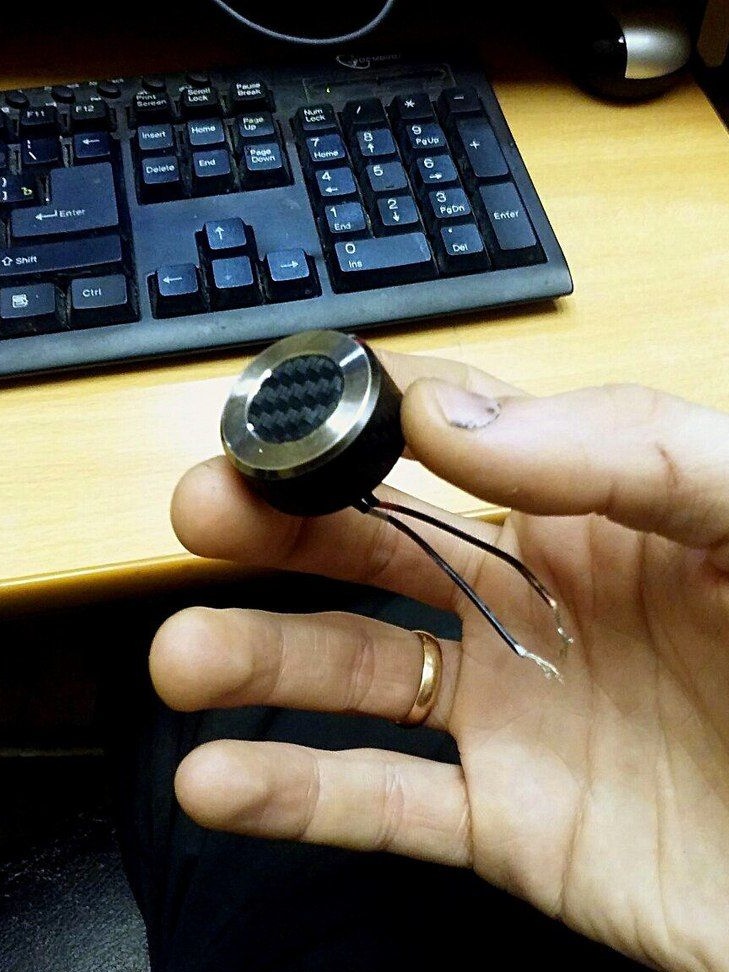
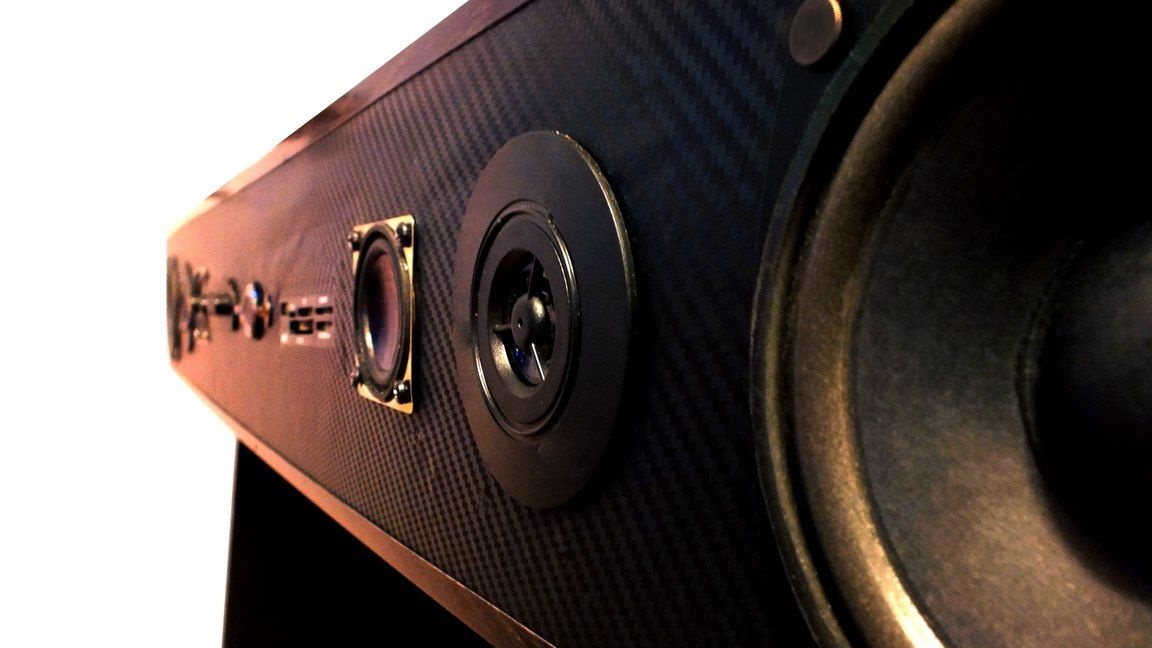
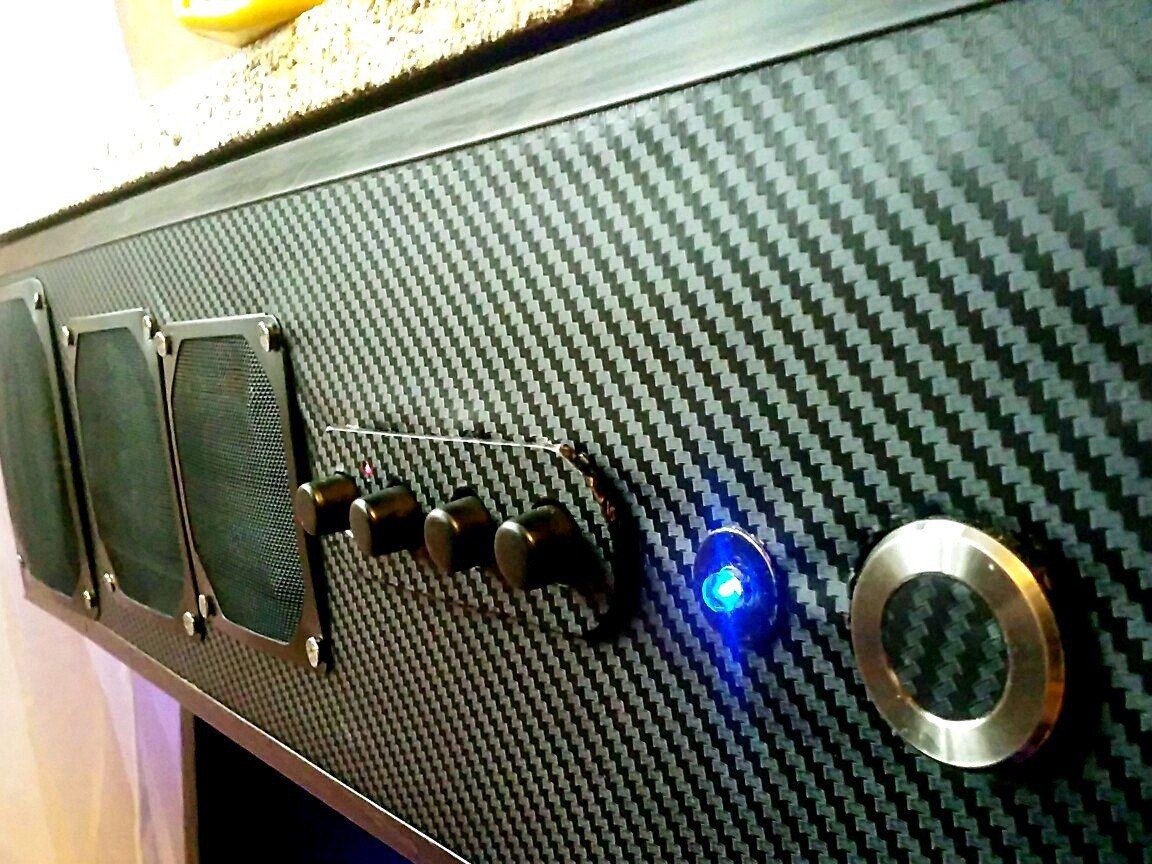
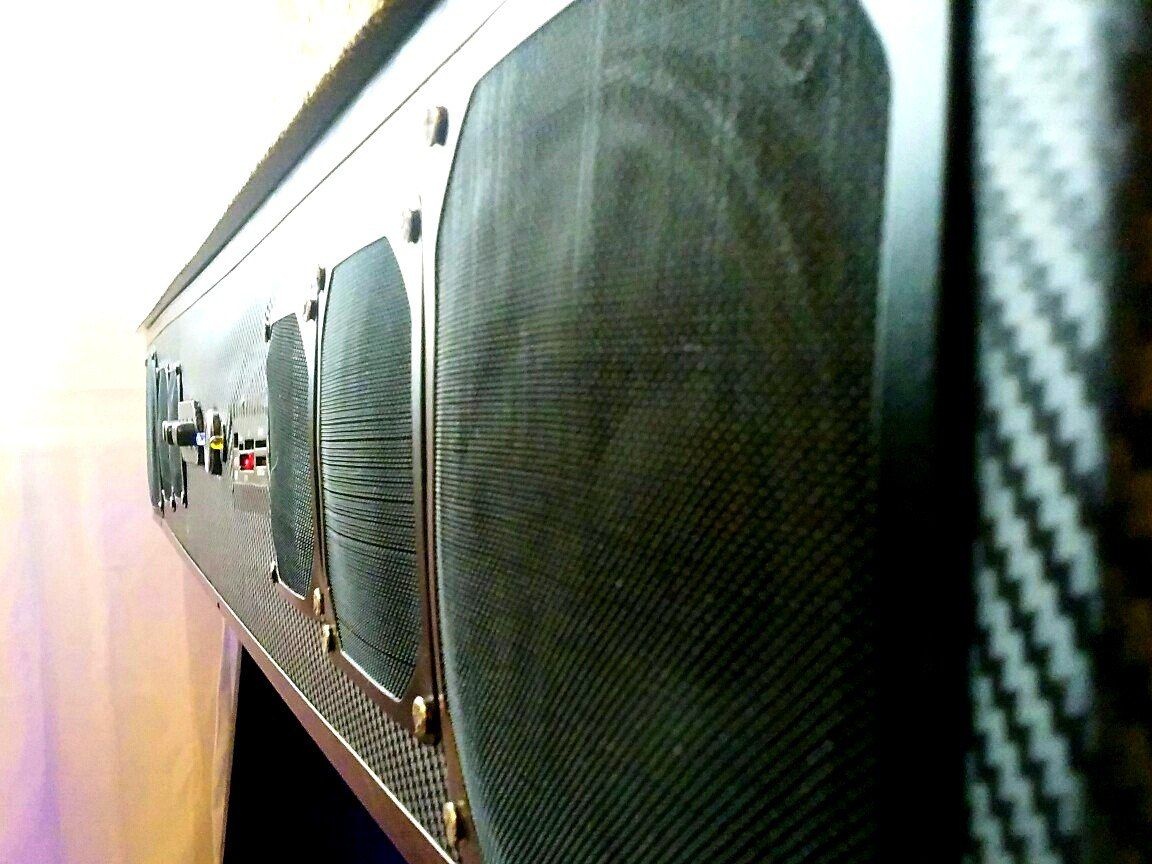
Step 12: There were old but good speakers. Full analysis and replacement of some elements to restore their performance.
Step 13: Logo installation on table legs

Step 14: We remove the wiring meters in the cable channel
Step 15: Checking the performance of the design. Everything works!
Clock power button for table
Step 16: Install metal grilles to hide speakers.
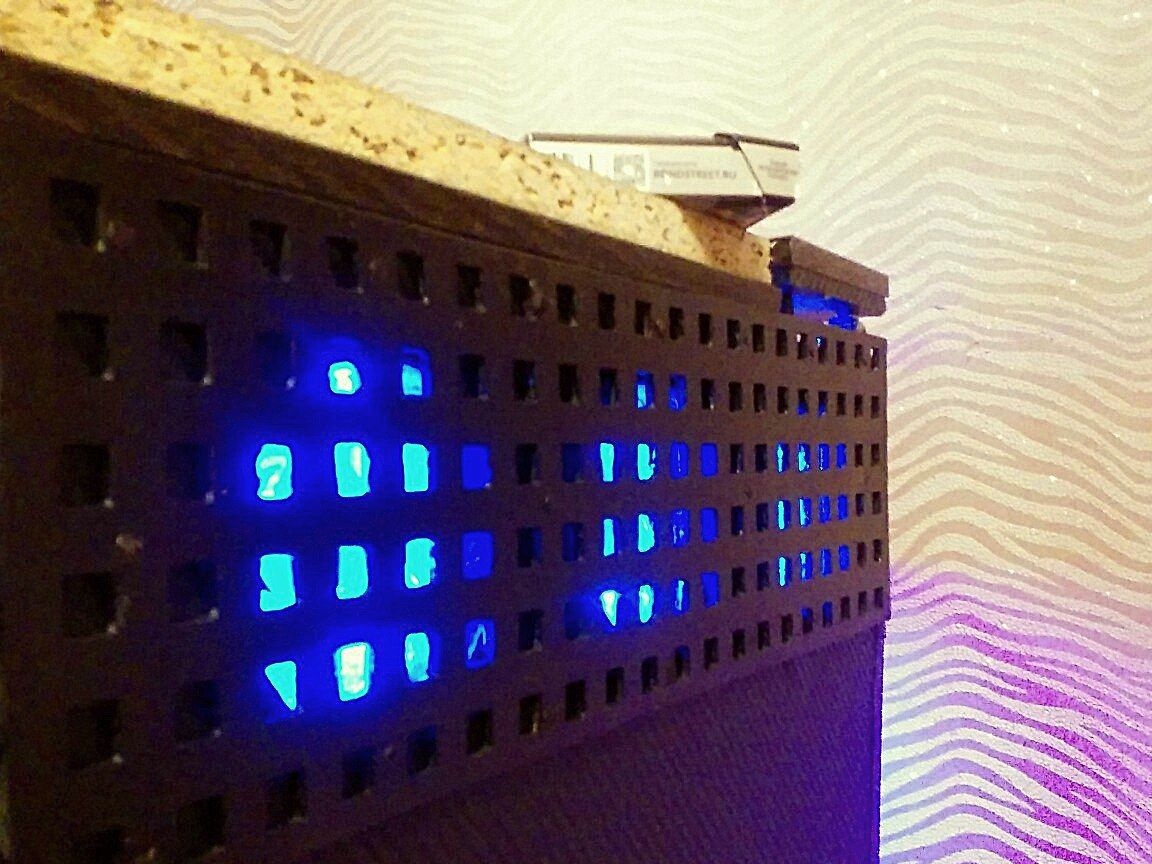
Step 17: Installation of side grilles to damp the light of coolers.
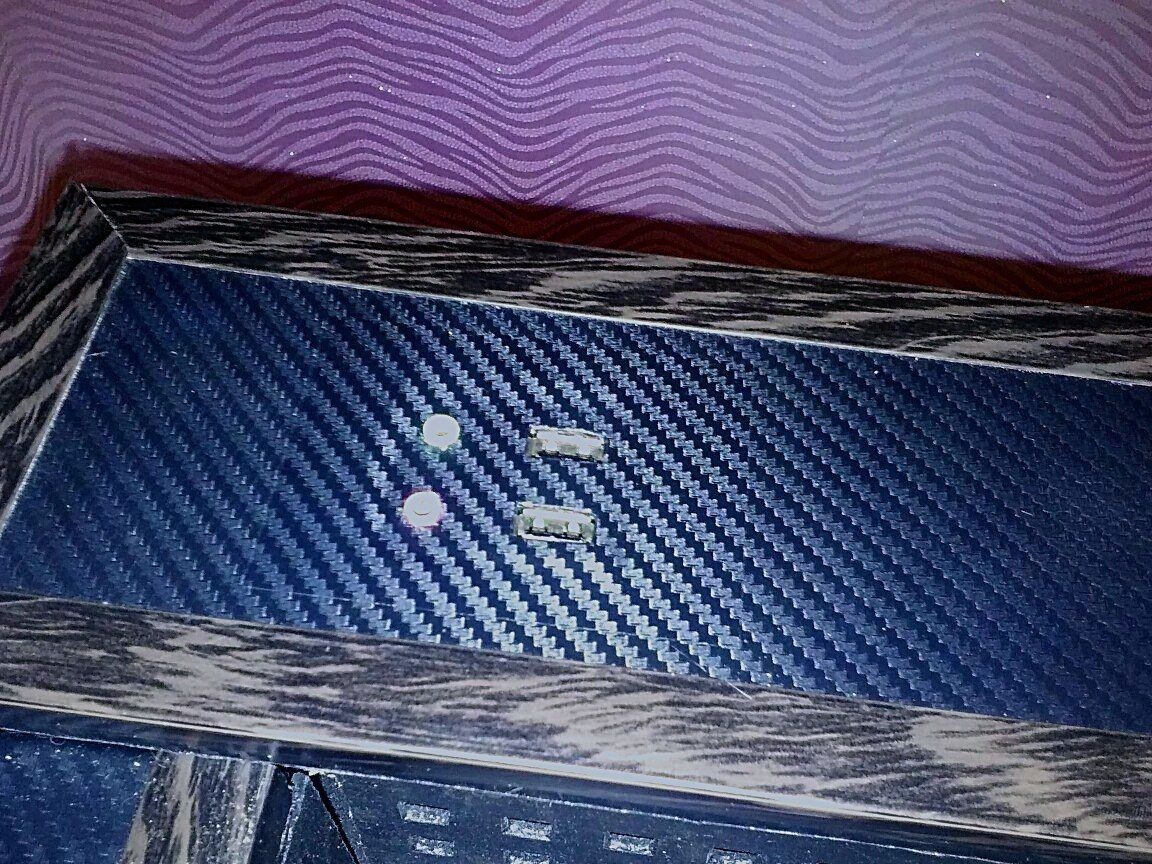
Step 18: Installing audio and usb connectors in the back of the table.
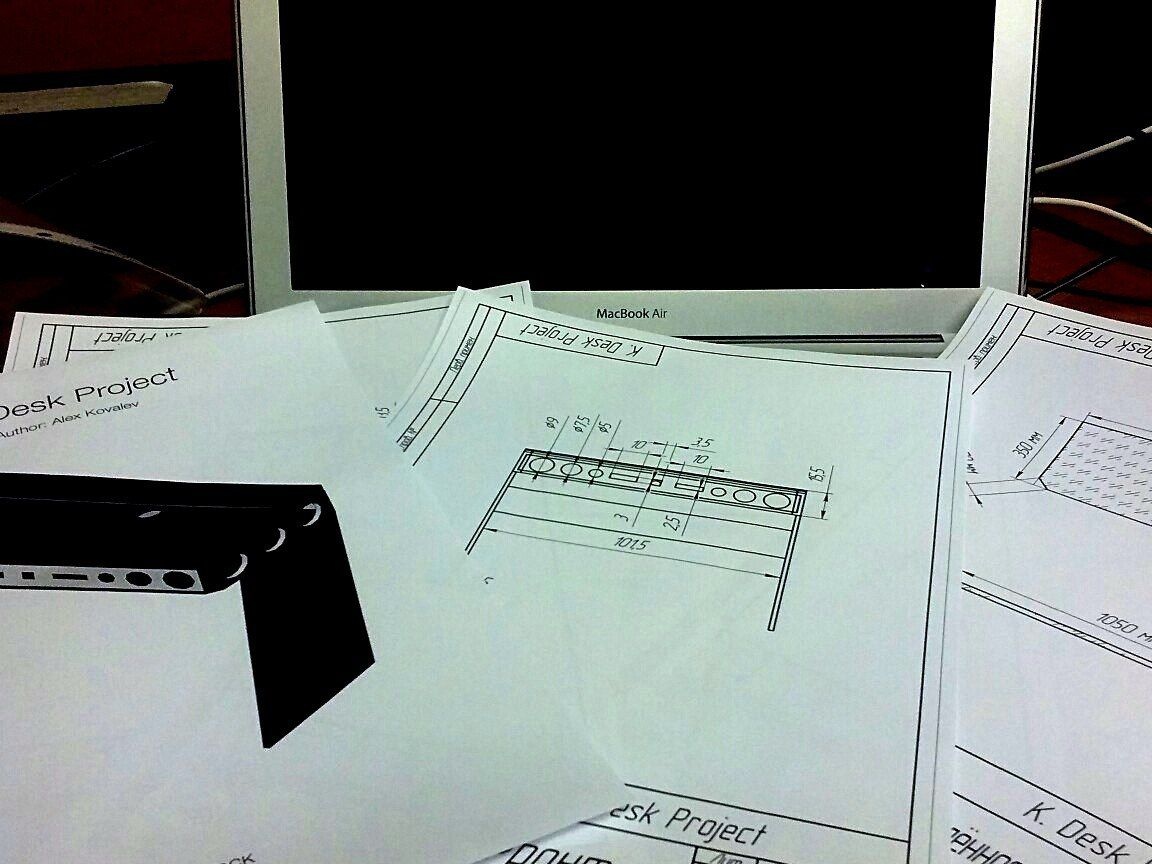
A small part of the drawings.
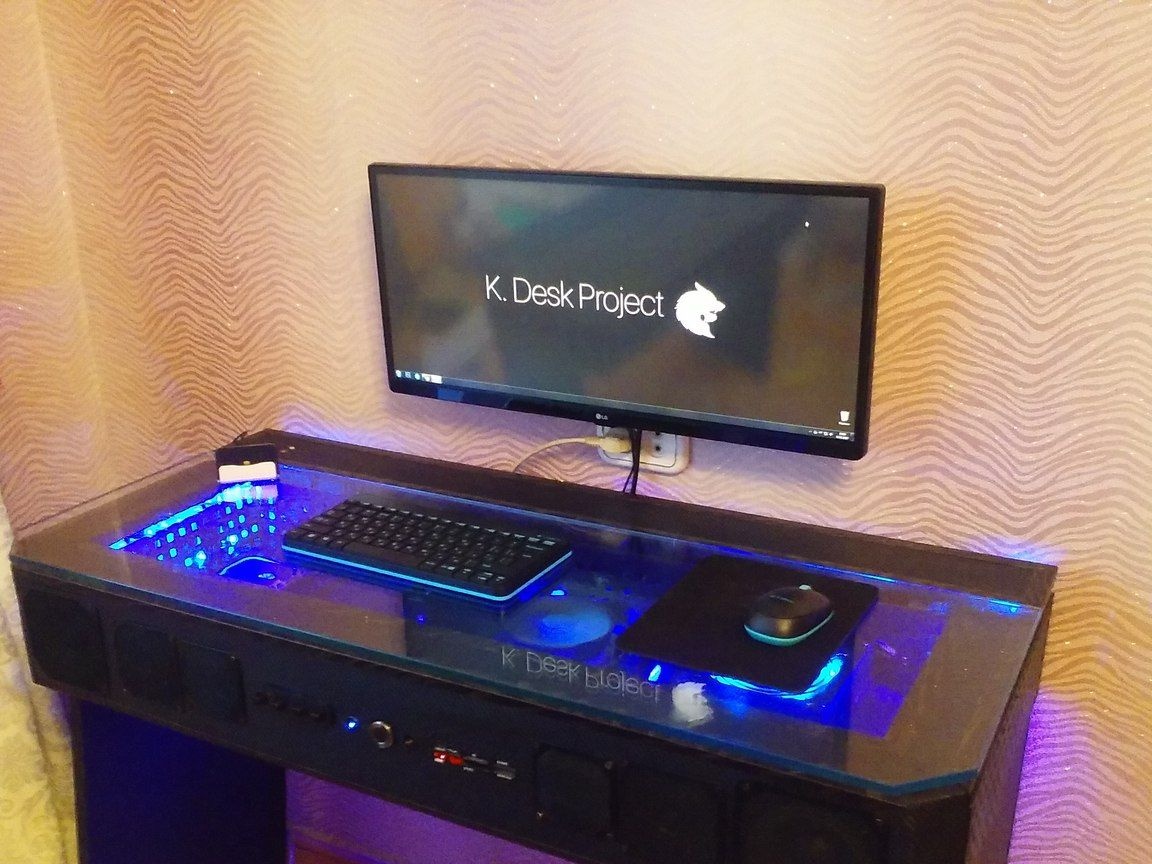
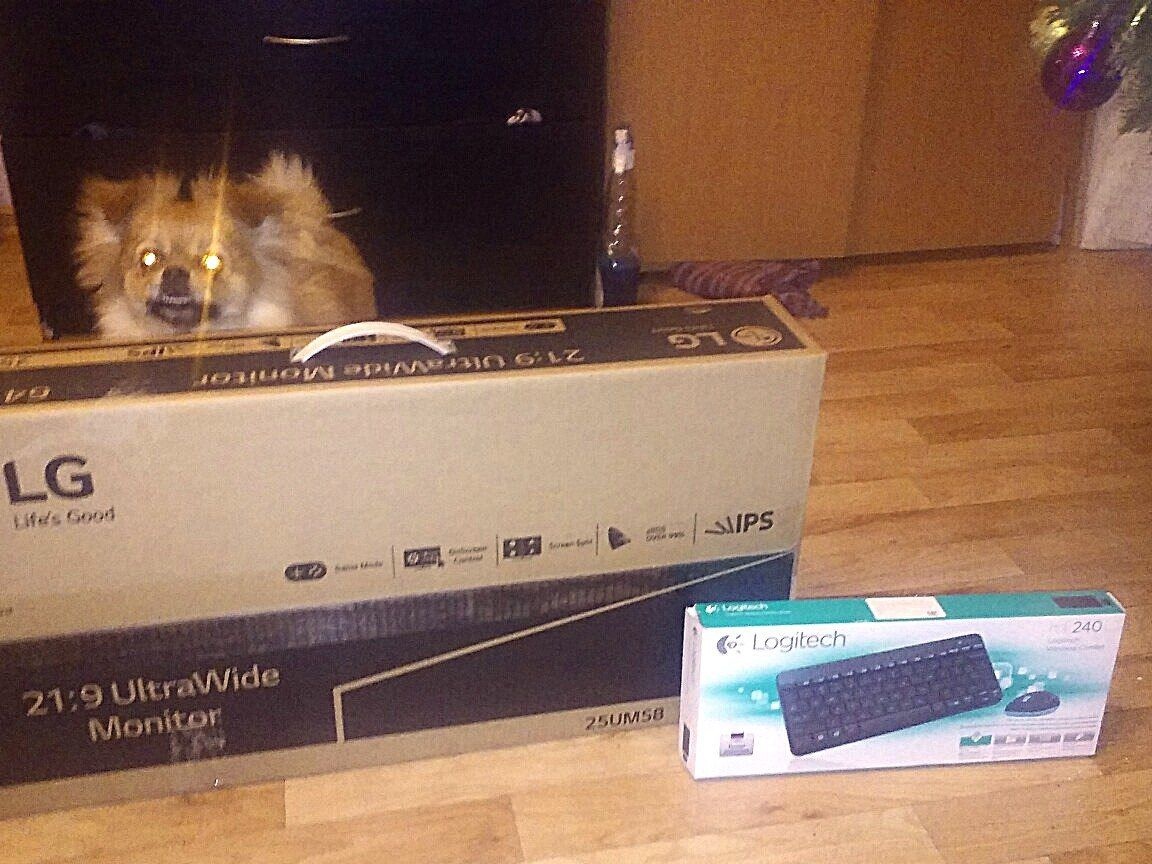
Step 19: A monitor and keyboard arrived. - We hang the monitor on the bracket.
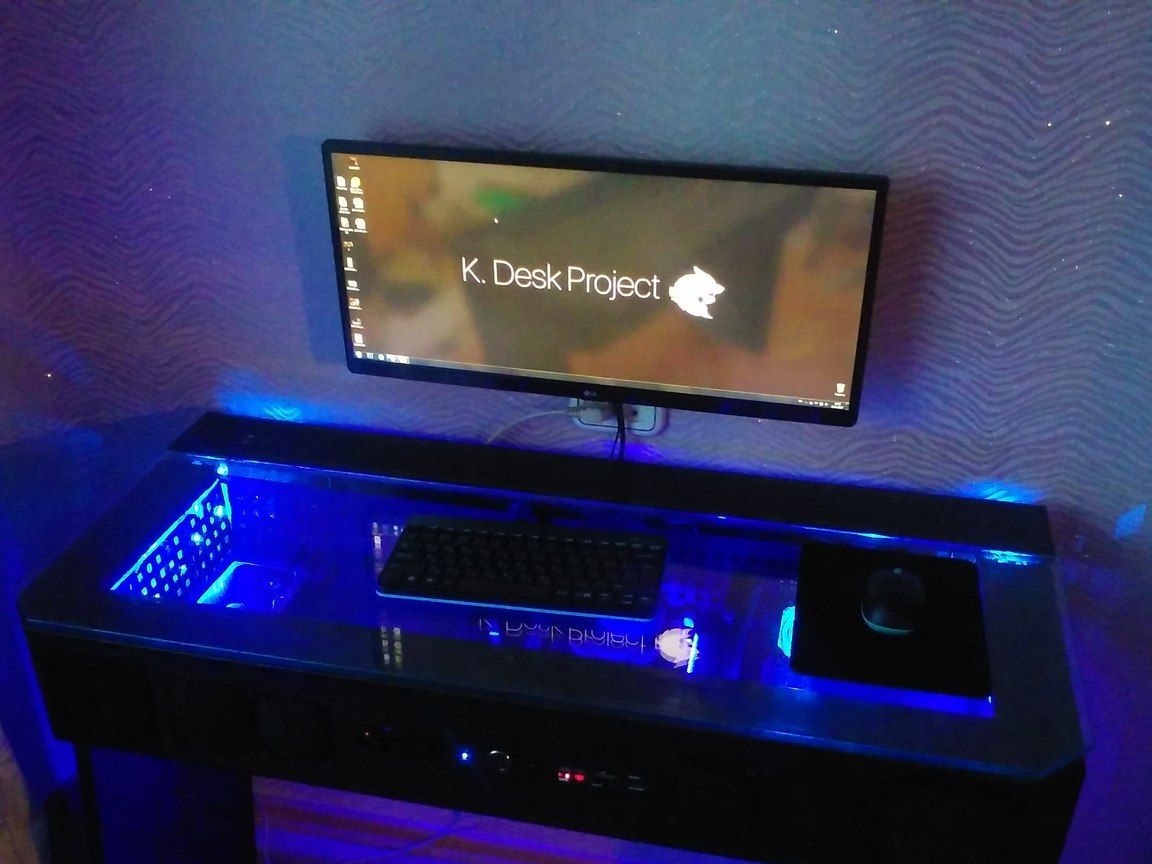
Step 20: Arrived 10mm glass (tempered) installation
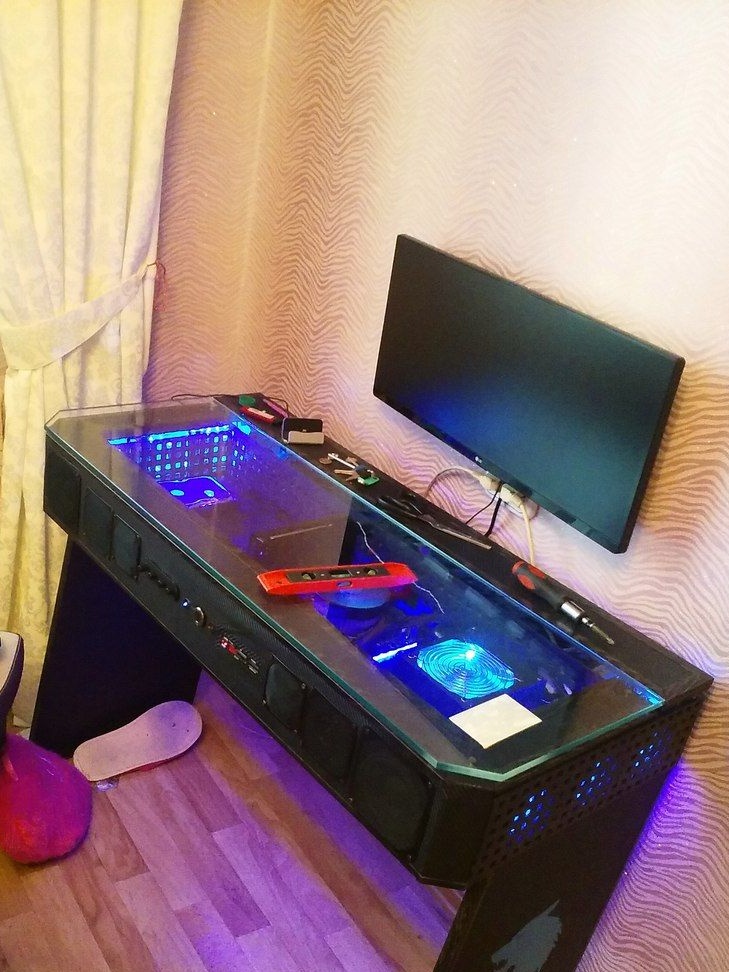
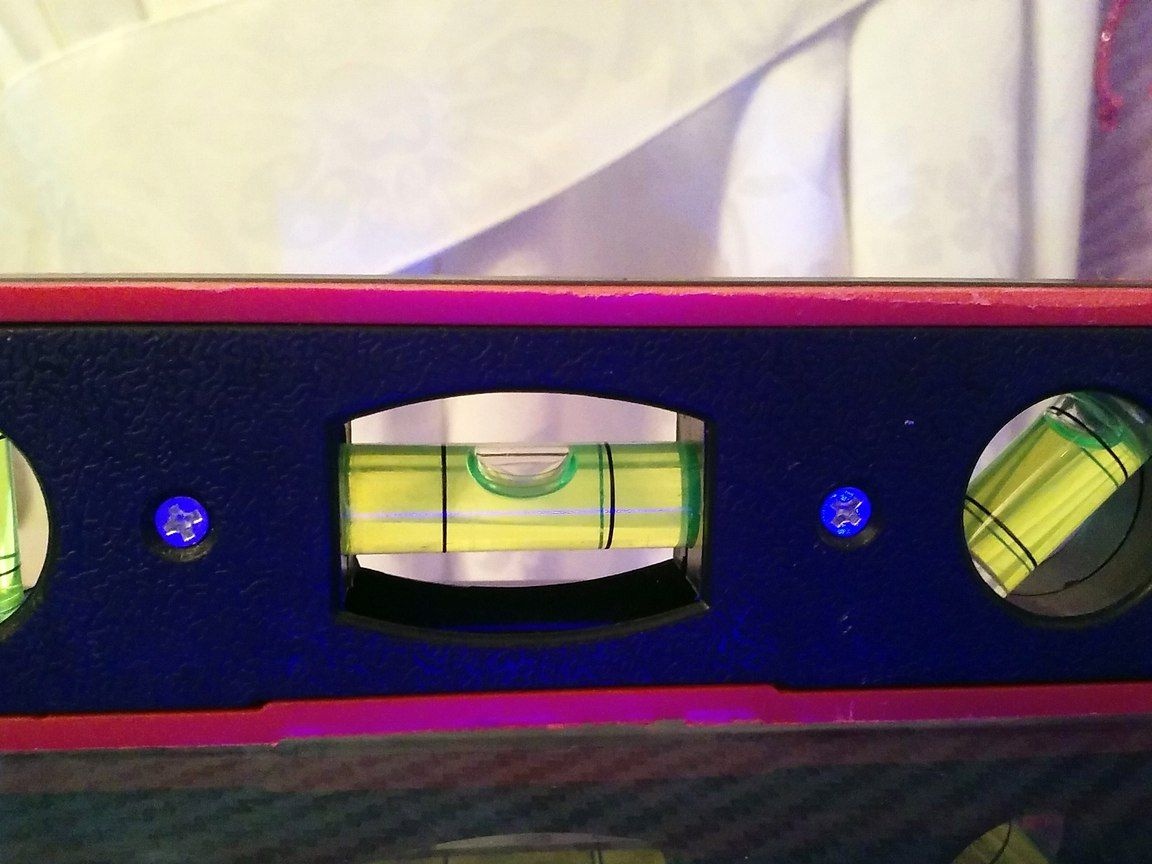
Step 21: Glass alignment. Smooth!
Step 22: Enjoying a new job.