Rechargeable batteries of the 18650 type are very popular now. They are used in power banks, powerful flashlights, laser pointers, portable speakers and for various homemade. Sold both with a charger and separately.
In this article I will tell you how to make a simple charger for these batteries.
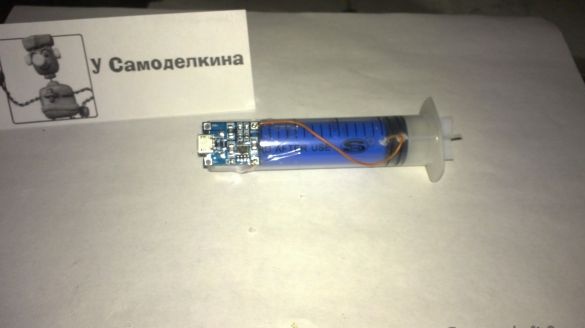
Assembling and testing the charger for reference.
We will need:
1. Syringe 20ml
2.2 copper wiring
3. A spring from the battery holder (from old equipment or toys)
4. 18650 lithium battery charge module on TP4056 5V 1A with micro USB interface ()
5. Hot melt adhesive
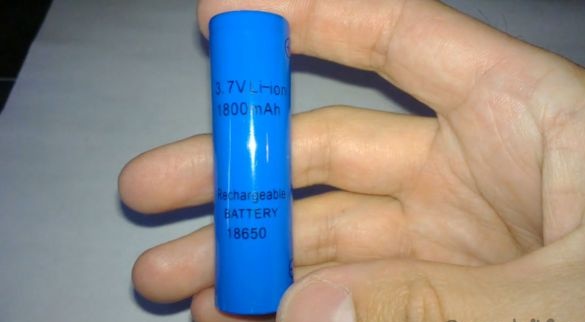
6. Battery type 18650 ()
From the tools:
1. Soldering iron
2. Glue gun
3. Stationery knife
Step 1
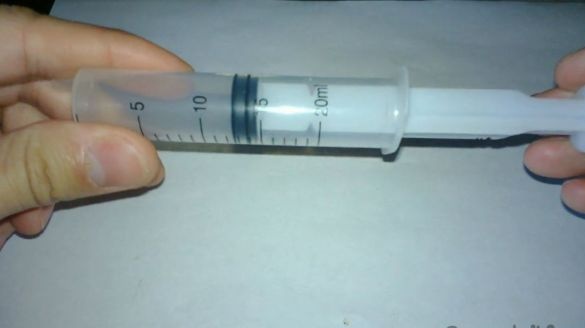
We will need a 20ml medical syringe
and a 18650 battery.
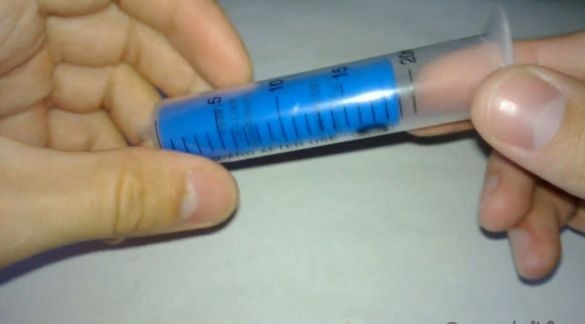
The syringe is ideal for the size of the battery.
Step 2
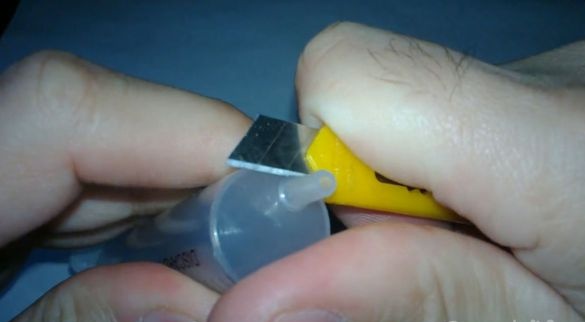
We cut off the tip of the syringe with a clerical knife (where the needle is inserted) so that it does not interfere with us in further operation.
Step 3
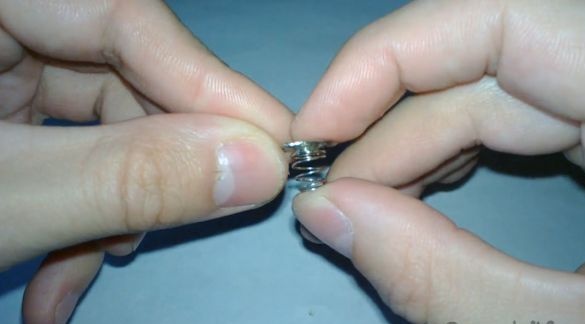
We take a spring from the battery holders from old equipment (for example, from the remote control or toys).
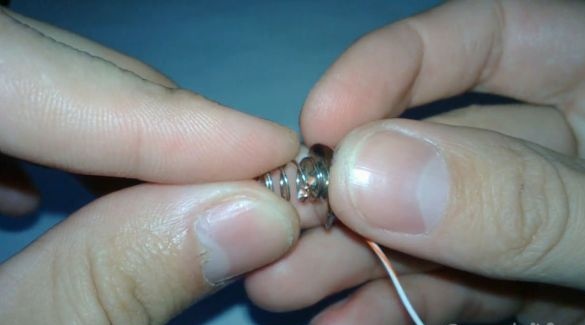
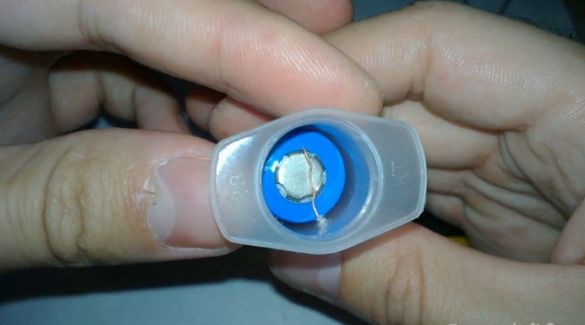
Pass the copper wires from below into the hole and fasten it to the coil of the spring as shown in the photo.
Step 4
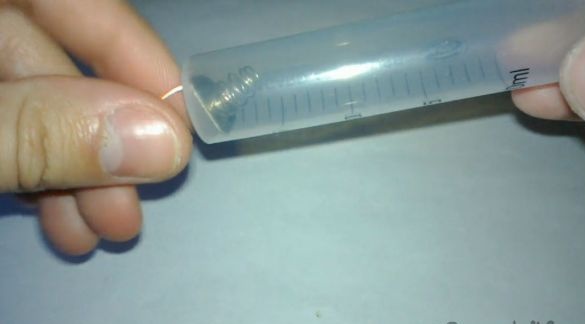
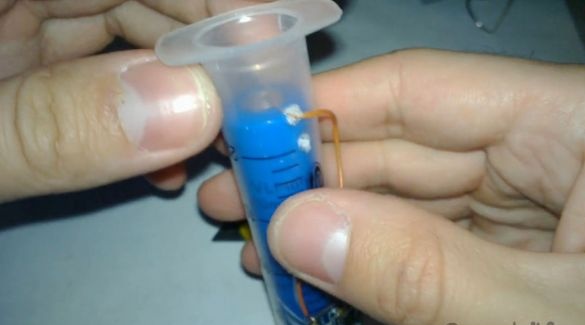
Next, place the wire with the spring in the inside of the syringe and thread the wire through the hole where the nozzle of the syringe was cut off. We fix the wire in the hole with hot glue.
Step 5
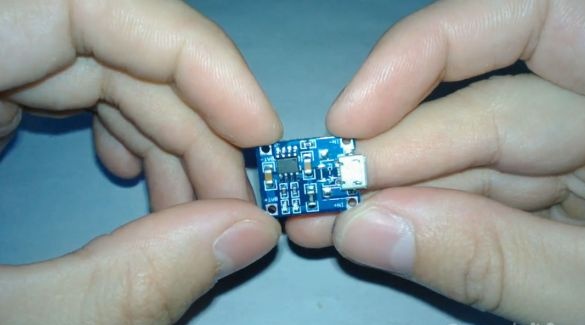
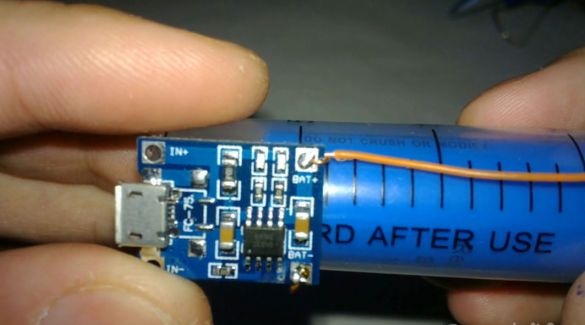
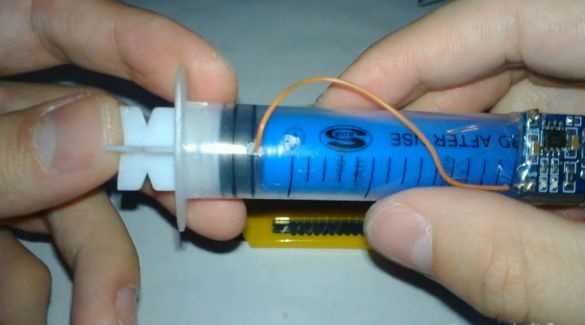
We take a module for charging 18650 lithium batteries on TP4056 5V 1A with a micro USB interface and attach it with hot melt adhesive to the syringe in a convenient place.
Observing the polarity, we bring the wires to the module and solder them with a soldering iron. You can isolate the module from the outside world with transparent tape.
A little about the TP4056 5V 1A module. ()
Designed to charge lithium batteries 3.7V current up to 1A. Due to the size and micro USB connector, this module is easily integrated into various devices and can serve as an alternative replacement for failed lithium battery chargers. It supports various types of lithium batteries, including the popular 18650. The module is not protected from reverse (not polarity-correct) connections, so be careful when connecting batteries.
Step 6
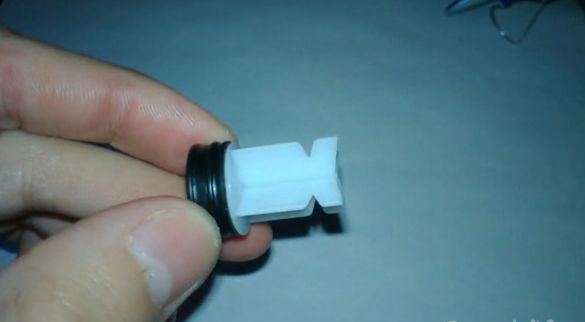
Cut off a small piece from the syringe piston at the base with an elastic band, as shown in the photo. This will fix the battery inside the syringe.
Step 7
We make a hole in the syringe for copper wiring so that it can touch the positive contact of the battery.
The hole must be made at a level when the battery is not fixed by the piston of the syringe. The photo shows that I mistakenly made one bottom hole in the locked position of the battery.
Step 8
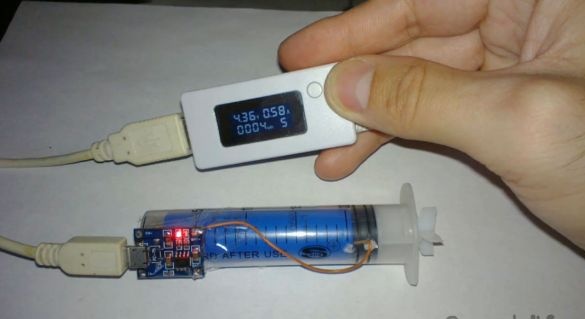
After the wire is passed through the hole made and the piston is fixed with a piston, you can start the test of the charger.
The charger is stable. The battery does not heat up while charging.
Thanks to the indication on the module, it is possible to monitor the charging process (red LED) and the completion of the battery charge process (blue LED). The device is relevant due to the low cost of consumables for a homemade charger and not a complicated design.
You can also make 20 ml syringes and holders for this type of battery and use them in various homemade products.


